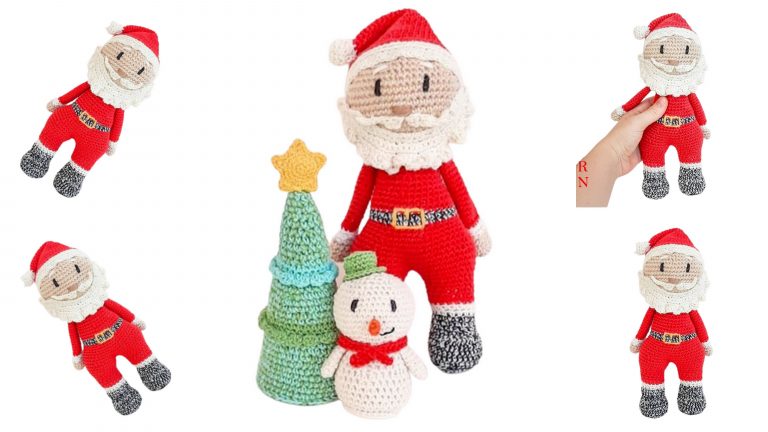
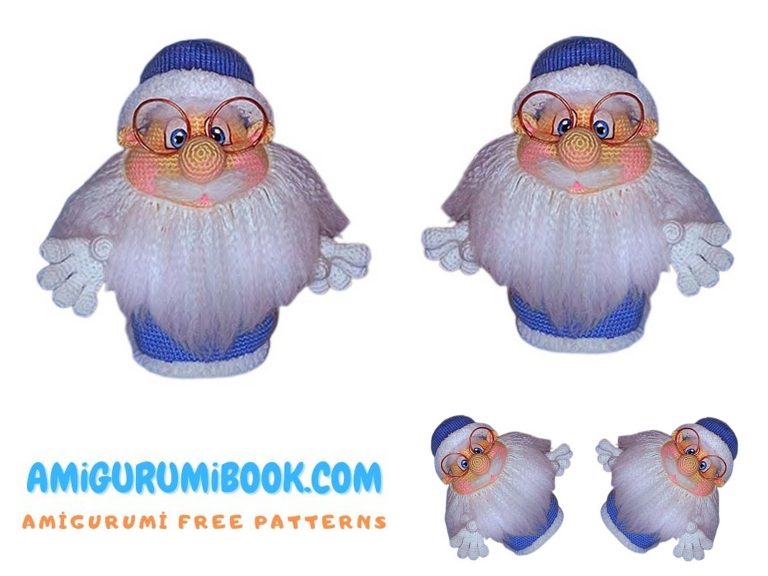
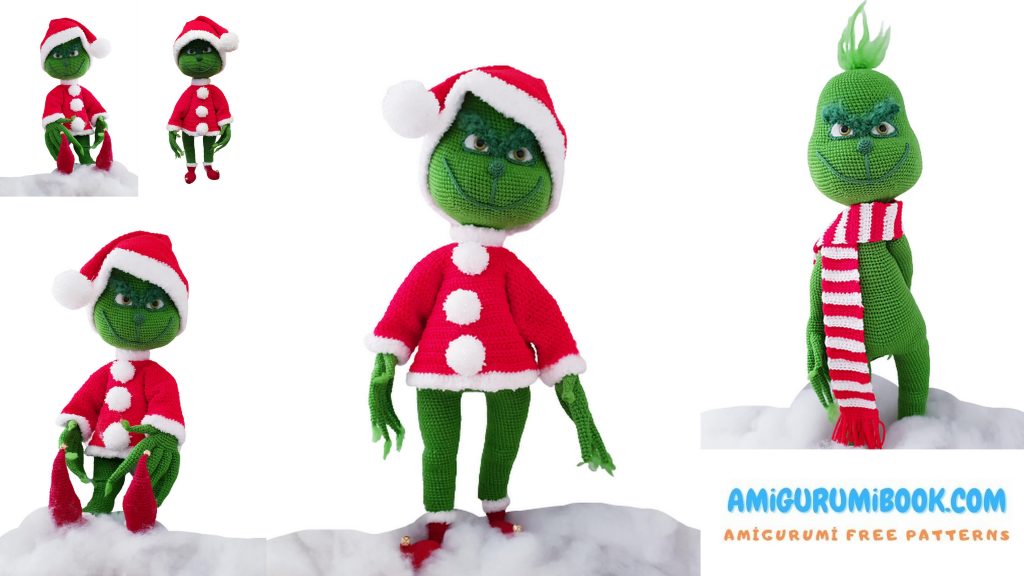
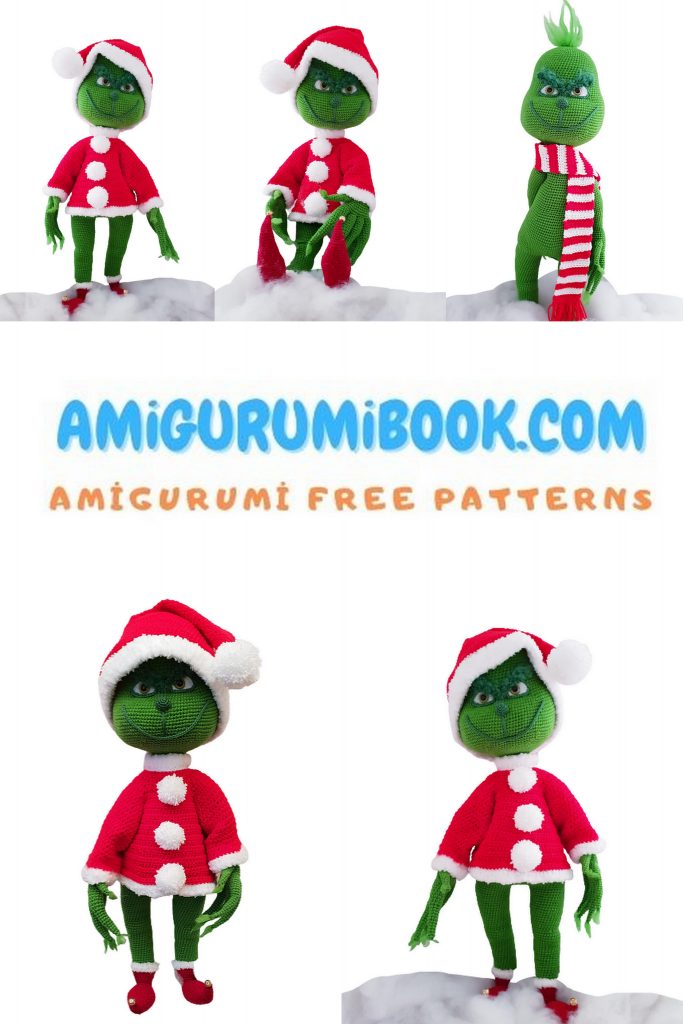
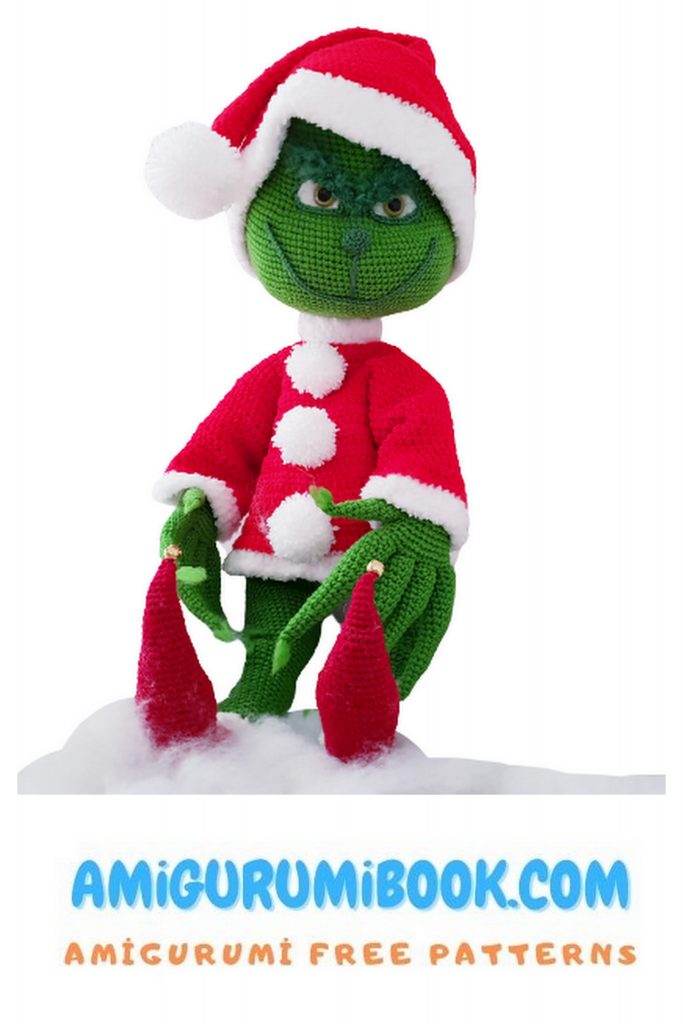
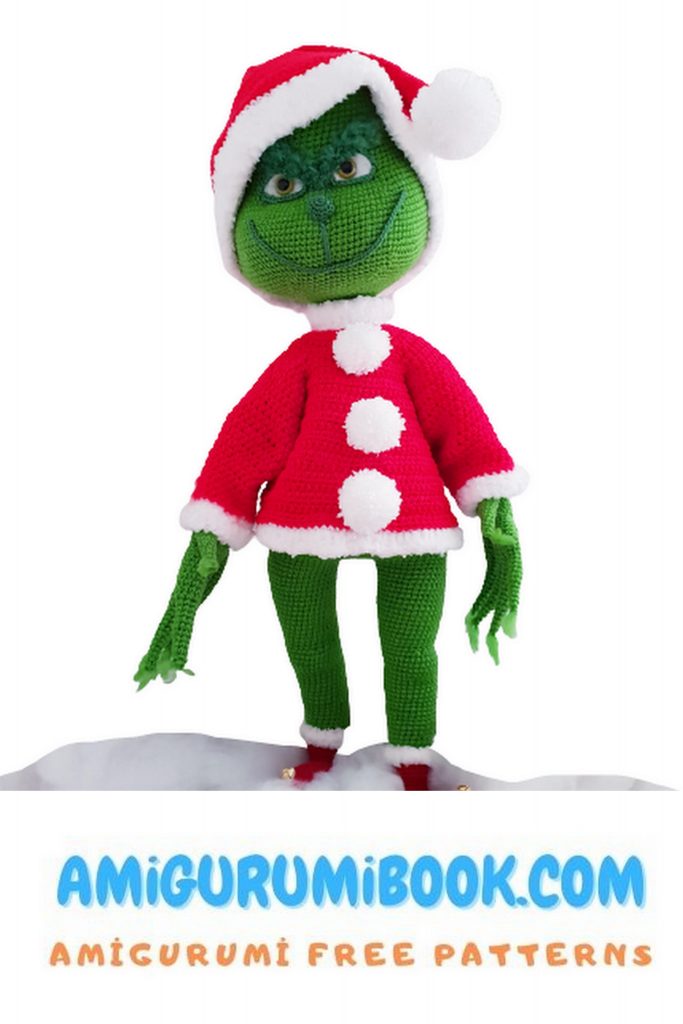
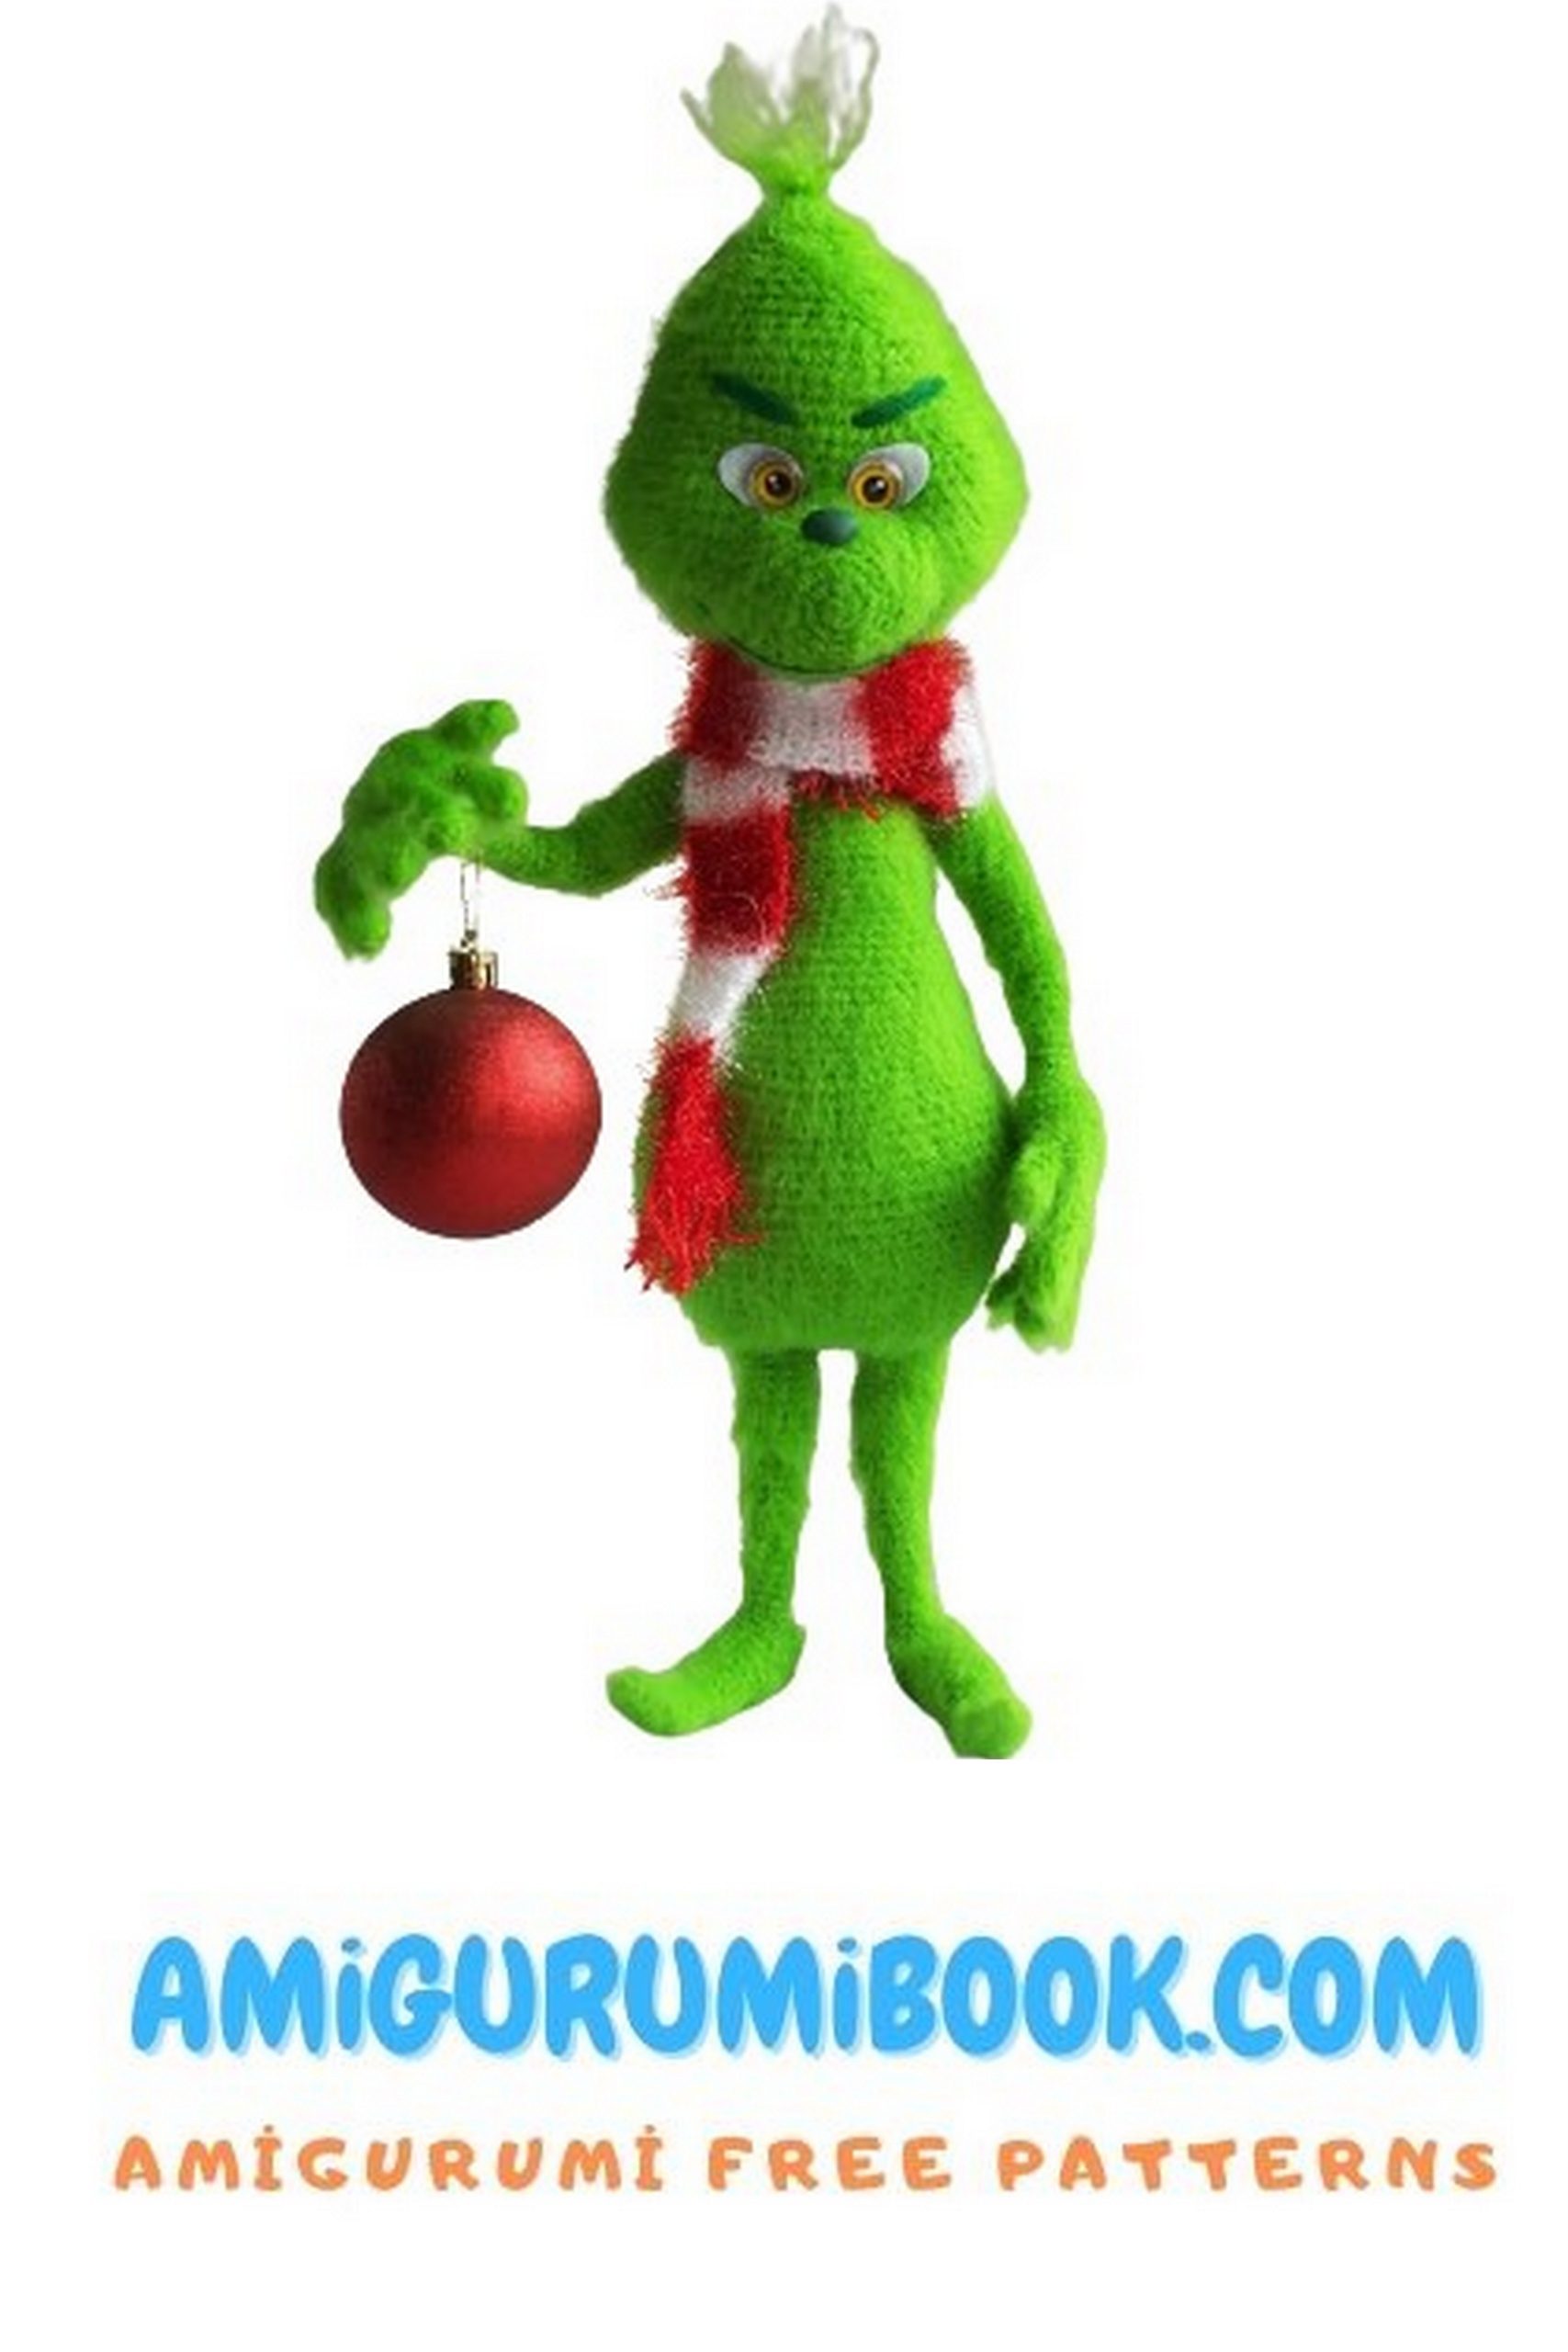
Christmas Grouch Amigurumi Free Pattern
Amigurumi free patterns of all characters are on this site. In this article, we shared the amigurumi christmas grouch pattern.
Abbreviations:
sc – single crochet
hsc – half single crochet
inc – increase
dec – decrease
sl-st – slip stitch
ch – chain
Materials:
The yarn is red, green, emerald green, white and white fluffy.
Hook for your yarn.
2 small gold bells (for the tops of the boots).
2 pcs 16mm safety eyes.
5 red buttons.
White felt.
Wire, wire cutters, brush, electrical tape, stitching needle, scissors, any filler.
PATTERN

Left hand Thumb
Green yarn
1) 8 ch close in a circle cn (8)
2-7) sc to end of row (8)
8) (2sc, dec) x 2 (6)
9-12) sc to end of row (6)
13) (1sc, dec) x 2 (4)
14) (dec) x 2 (2) Leave thread

Fingers x 4
Green yarn
1) 10 ch close in a circle cn (10)
2-9) sc to end of row (10)
10) (3sc, dec) x 2 (8)
11-16) sc to end of row (8)
17) (2sc, dec) x 2 (6)
18-21) sc to end of row (6)
22) (1sc, dec) x 2 (4)
23) (dec) x 2 (2) Leave thread
We do not cut the thread on the last finger, we knit further 1) (1 finger = 5sc, 2 finger = 5sc, 3 finger = 5sc, 4 finger = 10sc, 3 finger = 5sc, 2 finger = 5sc, 1 finger = 5sc) (40)
Place a marker. Fill your fingers with filler.
2) (3sc, dec) x 8 (32)
3) sc to end of row (32)
4) (2sc, dec) x 8 (24)
5) sc to end of row (24)
We knit the thumb.
6) 12sc, 4sc together through the hand and finger, 8sc (24)
7) 12sc, sc gap between finger and hand, 4sc along the remaining loops of the finger, 8sc (25)
8) 23sc, dec (24)
9) sc to end of row (24)
Stuff in your thumb and add more filler as needed.
10) (2sc, dec) x 6 (18)
11) sc to end of row (18)
12) (1sc, dec) x 6 (12)
13) sc to end of row (12)
14) (3sc, inc) x 3 (15)
15-17) sc to end of row (15)
18) (4sc, inc) x 3 (18)
19-21) sc to end of row (18)
22) (5sc, inc) x 3 (21)
23-25) sc to end of row (21)
26) (6sc, inc) x 3 (24)
27-46) sc to end of row (24)
47) (2sc, dec) x 6 (18)
48) (1sc, dec) x 6 (12)
49) (dec) x 6 (6)
50) (dec) x 3 (3)
We leave the thread for sewing.
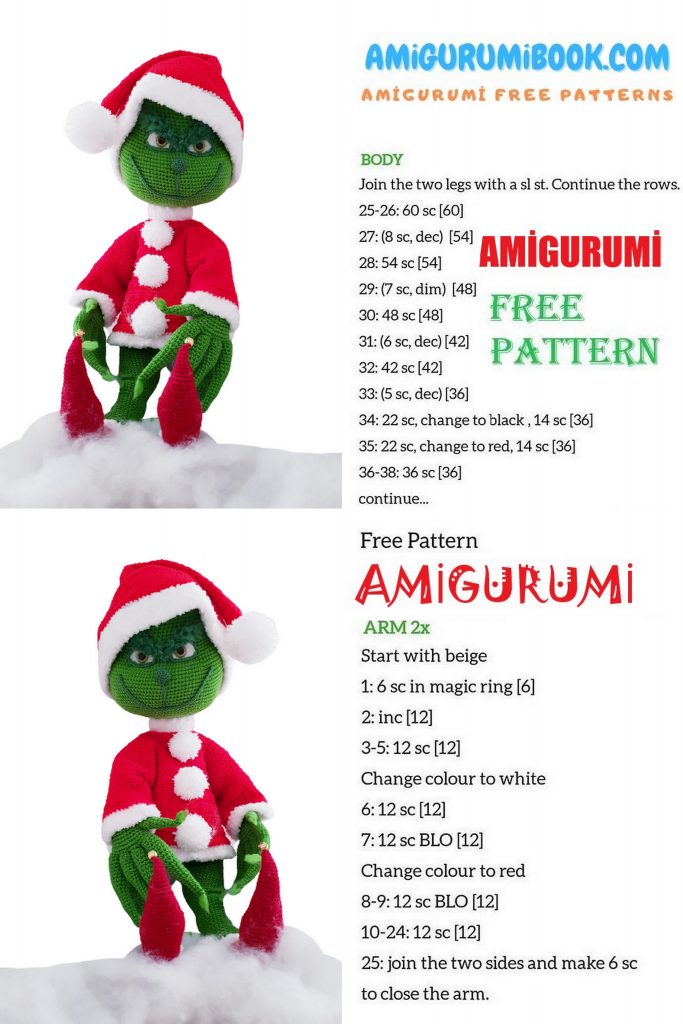
Right hand
Green thread
We knit everything similarly to the left hand up to row 5
5) 23sc, 1sc do not knit (23)
We knit the thumb.
6) sc of the previous row, 4sc on the thumb and hand together, 20sc (24)
7) sc into the gap between the finger and hand, 4sc along the remaining loops of the finger, 20sc (25)
Then we knit similarly to the left hand.
Then we fix the thread on each finger, divide it into several thin ones, you can add more threads to make them look hairy and cut off the excess. See the photo below.
Boots, legs and body
Red thread.
1) 10sc into magic ring (10)
2) (inc) x 10 (20)
3-4) sc to end of row (20)
5) sc, 8 ch, 8 st skip, 11sc (12)
6) sc, 8 sc by ch, 11sc (20)
7-8) sc to end of row (20)
9) (3sc, inc) x 5 (25)
10-12) sc to end of row (25)
13) (4sc, inc) x 5 (30)
14-17) sc to end of row (30)
18) (8sc, dec) x 3 (27)
19) sc to end of row (27)
20) (7sc, dec) x 3 (24)
21) sc to end of row (24)
22) (6sc, dec) x 3 (21)
23) sc to end of row (21)
24) (5sc, dec) x 3 (18)
25) sc to end of row (18)
26) (4sc, dec) x 3 (15)
27-28) sc to end of row (15)
29) (3sc, dec) x 3 (12)
30-31) sc to end of row (12)
32) (2sc, dec) x 3 (9)
33-34) sc to end of row (9)
35) (1sc, dec) x 3 (6)
36) sc to end of row (6)
37) (dec) x 3 (3)
Sl-st, fasten and cut the thread, tie the second shoe the same way.
Insert the wire into the boot as shown in the photo. Wrap with duct tape.
Fill the boot with filler, attach the red thread to the back of the boot 1ch and continue knitting.
1) sc to the end of the row (16sc + 1 sc each in the corners so that there are no gaps!)
2) sc to the end of the row (18)
3) (2sc, dec) x 6 (24)
4-5) sc to end of row (24)
6) for pp – sc to the end of the row (24)
7) sc to end of row (24)
8) (3sc, inc) x 6 (30)
9) (4sc, inc) x 6 (36)
10) sc to end of row (36)
11) (1 ch, 1 sc skip, sc) to end of row
Change to white fluffy yarn. 1 ch and knit further
12) sc knit in each sc and ch.
13) sc to the end of the row.
14) sc to the end of the row, sl-st.
Unscrew the boot so that you have access to the back sts of row 6.
With a green thread, we begin to knit from the boot section 1 ch.
15) for the back pp – sc to the end of the row (24)
16-25) sc to end of row (24)
26) (11sc, inc) x 2 (26)
27-28) sc to end of row (26)
29) (12sc, inc) x 2 (28)
30-31) sc to end of row (28)
32) (13sc, inc) x 2 (30)
33-34) sc to end of row (30)
35) (dec) x 4, 8sc, (inc) x 4, 10sc (30)
36-39) sc to end of row (30)
40) (inc) x 4, 8 sc, (dec) x 4, 10sc (30)
41) sc to end of row (30)
42) (14sc, inc) x 2 (32)
43-44) sc to end of row (32)
45) (15sc, inc) x 2 (34)
46-47) sc to end of row (34)
48) (16sc, inc) x 2 (36)
49-57) sc to end of row (36)
58) sc to end of row (36)
We do not cut the thread on the right leg.
On the right leg we knit sc to the inside of the leg doing 6
ch and join to the inside of the left leg.
59) 36 sc on the left leg, 6sc on ch, 36sc on the right leg, 6sc on ch.
We put a marker here. (84)
60-61) sc to end of row (84)
62) 15sc, (sc, inc) x 20, 29sc (104)
63-65) sc to end of row (104)
66) 4sc, (dec, 4sc) x 3, 36sc, (4sc, dec) x 3, 28sc (98)
67) sc to end of row (98)
68) (47sc, dec) x 2 (96)
69) (14sc, dec) x 6 (90)
70) sc to end of row (90)
71) (13sc, dec) x 6 (84)
72-73) sc to end of row (84)
74) (12sc, dec) x 6 (78)
75-76) sc to end of row (78)
77) (11sc, dec) x 6 (72)
78-79) sc to end of row (72)
80) (10sc, dec) x 6 (66)
81-82) sc to end of row (66)
83) (9sc, dec) x 6 (60)
84) 18sc, (dec, 2sc) x 6, 18sc (54)
85-88) sc to end of row (54)
89) (7sc, dec) x 6 (48)
90-92) Sc around (48)
93) (6sc, dec) x 6 (42)
94-96) sc to end of row (42)
97) (5sc, dec) x 6 (36)
98-100) sc to end of row (36)
101) (4sc, dec) x 6 (30)
102-104) sc to end of row (30)
105) (3sc, dec) x 6 (24)
106-110) sc to end of row (24)
111) sc to end of row, sl-st (24) Leave thread to sew on.
You can sew bells to your boots.

Head
Green thread
1) 6sc into magic ring (6)
2) inc) x 6 (12)
3) (1sc, inc) x 6 (18)
4) (2sc, inc) x 6 (24)
5) (3sc, inc) x 6 (30)
6) (4sc, inc) x 6 (36)
7) (5sc, inc) x 6 (42)
8) (6sc, inc) x 6 (48)
9) (7sc, inc) x 6 (54)
10) (8sc, inc) x 6 (60)
11) (9sc, inc) x 6 (66)
12) (10sc, inc) x 6 (72)
13-25) sc to end of row (72)
26) (11sc, inc) x 6 (78)
27-28) sc to end of row (78)
29) 37sc, 2 ch, 2sc skip, 7sc, 2 ch, 2sc skip, 30sc (74)
30) 37sc, 2sc on ch, 7sc, 2sc on ch, 30sc (78)
31) 18sc, inc (sc, inc) x 20, (8sc, inc) x 2, inc (102)
32) sc to end of row (102)
33) (16sc, inc) x 6 (108)
34) (17sc, inc) x 6 (114)
35-45) sc to end of row (114)
46) (17sc, dec) x 6 (108)
47) (16sc, dec) x 6 (102)
48) (15sc, dec) x 6 (96)
49) (14stb, dec) x 6 (90)
50) (13sc, dec) x 6 (84)
51) (12sc, dec) x 6 (78)
52) (11sc, dec) x 6 (72)
Insert safety eyes in row 29. Cut out two ovals from white felt and place them between the head and eyes, as shown.
Start stuffing your head.
53) (10sc, dec) x 6 (66)
54) (9sc, dec) x 6 (60)
55) (8sc, dec) x 6 (54)
56) (7sc, dec) x 6 (48)
57) (6sc, dec) x 6 (42)
58) (5sc, dec) x 6 (36)
59) (4sc, dec) x 6 (30)
60) (3sc, dec) x 6, sl-st (24)
Upper eyelids x 2
Emerald green thread
16 ch, leaving a long thread. Pin the upper eyelids over the eyes.
Lower eyelids x 2
14 ch, leave thread.
Eye shaping
After you have stuffed your head firmly and your eyes are in place take a long green thread and a needle, insert the needle up through the neck and into the lower left corner of the eye, then insert the needle into the lower right corner of the eye, then back down and out through the neck, pull tight and tie a knot, repeat this for the other eye.
You can now secure the lower eyelids in place, once you are happy with the positioning on both the upper and lower eyelids, sew in place. (See photo.)
Lower eyelids x 2
Emerald green thread
19 ch, with 2 loops from the hook
1) dc x 3, dc x 4, hsc x 3, sc x 5, sl-st x 3.
Leave a long thread. Fasten eyebrows over the eyes and sew in place (see photo)
Cut off small threads and crochet them to the entire length of your eyebrows. (see photo)
Trim your brows with scissors. Now take a wire brush and comb the strands until they are fluffy, trim off any excess.
(See photo)
Nose
Emerald green thread
1) 6sc into magic ring (6)
2) (inc) x 6 (12)
3-4) sc to end of row (12)
Leave a long thread for sewing! Put a small amount of filler filling your nose and pin it to your face, and once you’re happy with the position, sew your nose on.
Mouth
Emerald green thread
50ch. Place your mouth over your face and sew in place. Embroider with a green stripe from the top center of the mouth to the bottom of the nose (see photo.)
This is how you should get it.
Sew the head to the body, for better stability, connect the head and body with a strong wire. When sewing on, do not forget to add filler to the head and body.
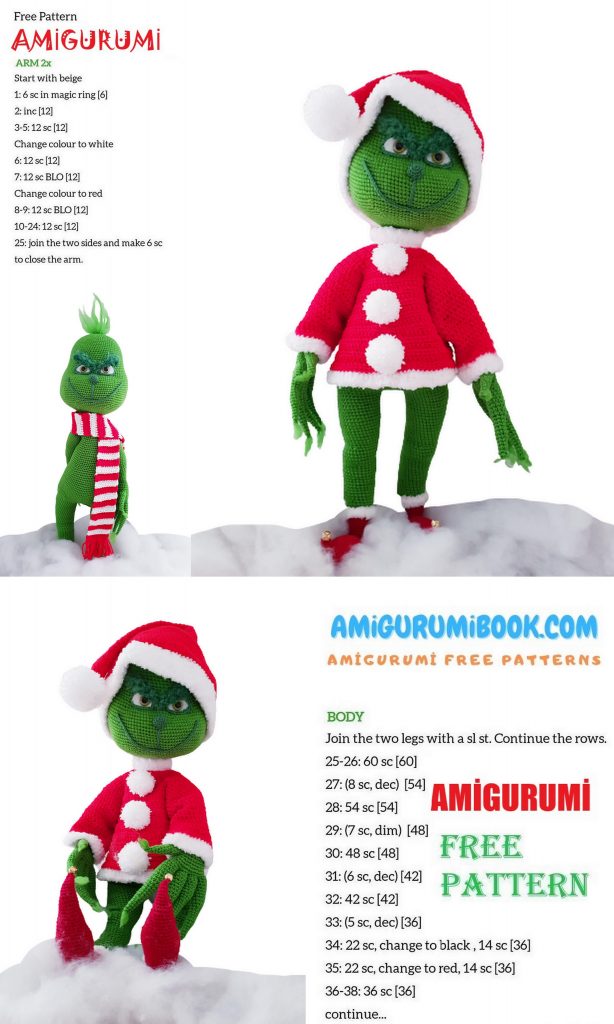
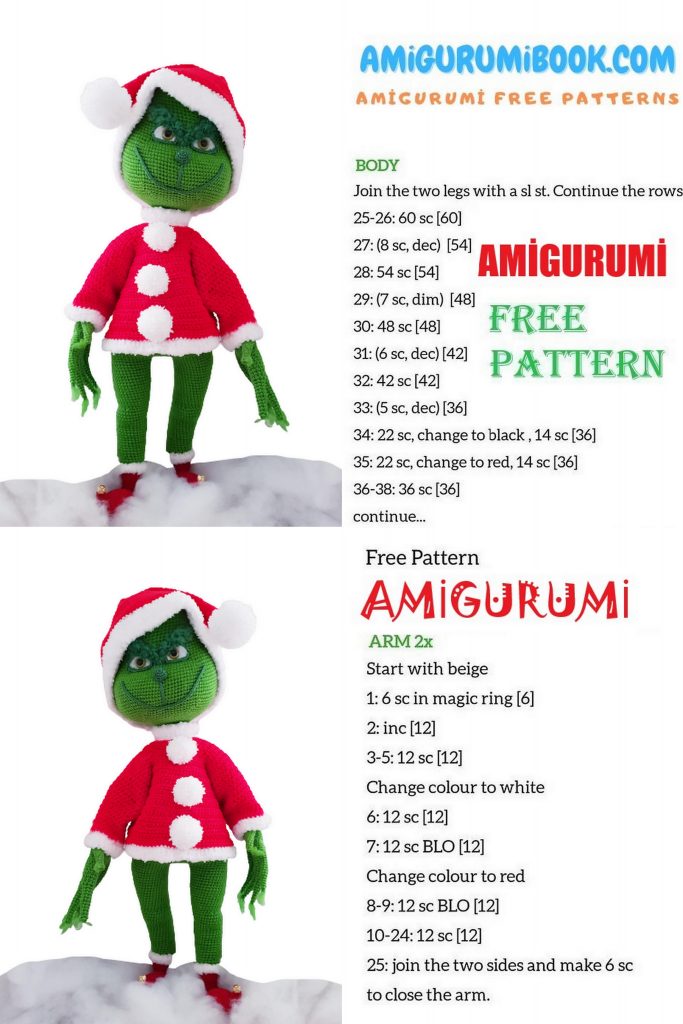
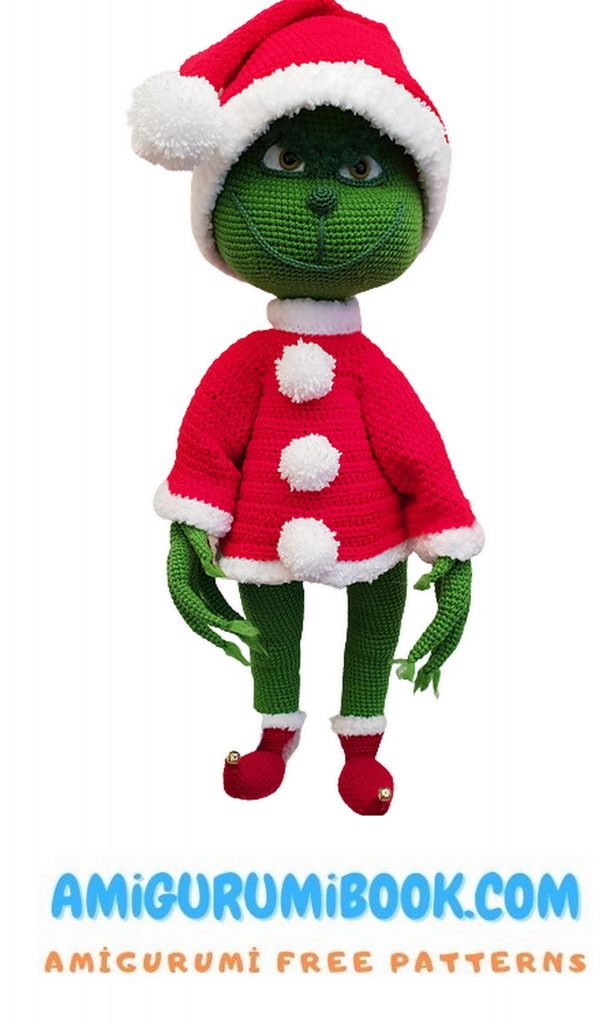
Christmas jacket
White thread
37 ch, with 2 loops from the hook
1) Sc in each ch (36)
Red thread ch, turn
2) Behind the back pp – sc to the end of the row, ch and turn (36)
3) (5sc, inc) x 6, ch and turn (42)
4) (20hsc, inc) x 2, ch and turn (44)
5) 5hsc, * (hsc, 2 ch, hsc) – in 1 st, 10hsc * – repeat * … * 2
times, (hsc, 2 ch, hsc) – in 1st, 5hsc, 1 ch and turn (48)
6) 5hsc, inc, (hsc, 2 ch, hsc) – in a chain ch, * inc, 10hsc, inc, (hsc, 2
ch, hsc) – in a chain of ch, repeat * to * 2 times, inc, 5hsc, ch and turn (64)
7) 8hsc, hsc in each of 2ch, 15ch, 16st skip, hsc in each
from 2ch, 16hsc, hsc to each of 2ch, 15ch, 16st to skip, hsc to
each of 2 ch, 8hsc, ch and turn (40)
8) 10hsc, hsc in each of 15 ch, 20hsc, hsc in each of 15ch,
10hsc, 1ch and turn (70)
9-12) hsc to end of row, 1 ch and turn (70)
13) (34hsc, inc) x 2, 1 ch and turn (72)
14) (11hsc, inc) x 6, 1 ch and turn (78)
15) (12hsc, inc) x 6, 1 ch and turn (84)
16-23) hsc in each st, 1 ch and turn (84)
Now we will knit the buttonholes, so we will work up the right side.
1) ch, 30sc, ch and turn (30)
2) for the back loops – 30sc, ch and turn (30)
3) 30sc, ch and turn (30)
4) (3sc, 2ch, 2 st skip) x 5, 5sc, ch and turn (20)
5) 5sc, sc in each of 2 ch, (3sc, sc in each of 2 ch) x 4, 3sc, sl-st.
Leave a long thread for sewing! Sew on 5 red buttons on the left side, aligning with the loops. (See photo)
Bottom of the jacket
With white fluffy yarn we attach 1 ch to the bottom of the jacket
1) for back pp sc in each st.
Sleeves x 2
Red thread
Attach the yarn on the shoulder of the jacket ch
1) 36hsc and put a marker (36)
2-11) 36hsc (36)
12) (4hsc, dec) x 6 (30)
13-18) 30hsc (30)
Change to white fluffy yarn ch
19) for rear semi hinges 30sc (30)
Repeat this procedure for the 2nd sleeve. Now we attach a white fluffy thread to the 3rd row of the jacket for the front pp, and we knit 1 row around the collar.
Make three pom-poms out of white yarn and sew to the front of the jacket.
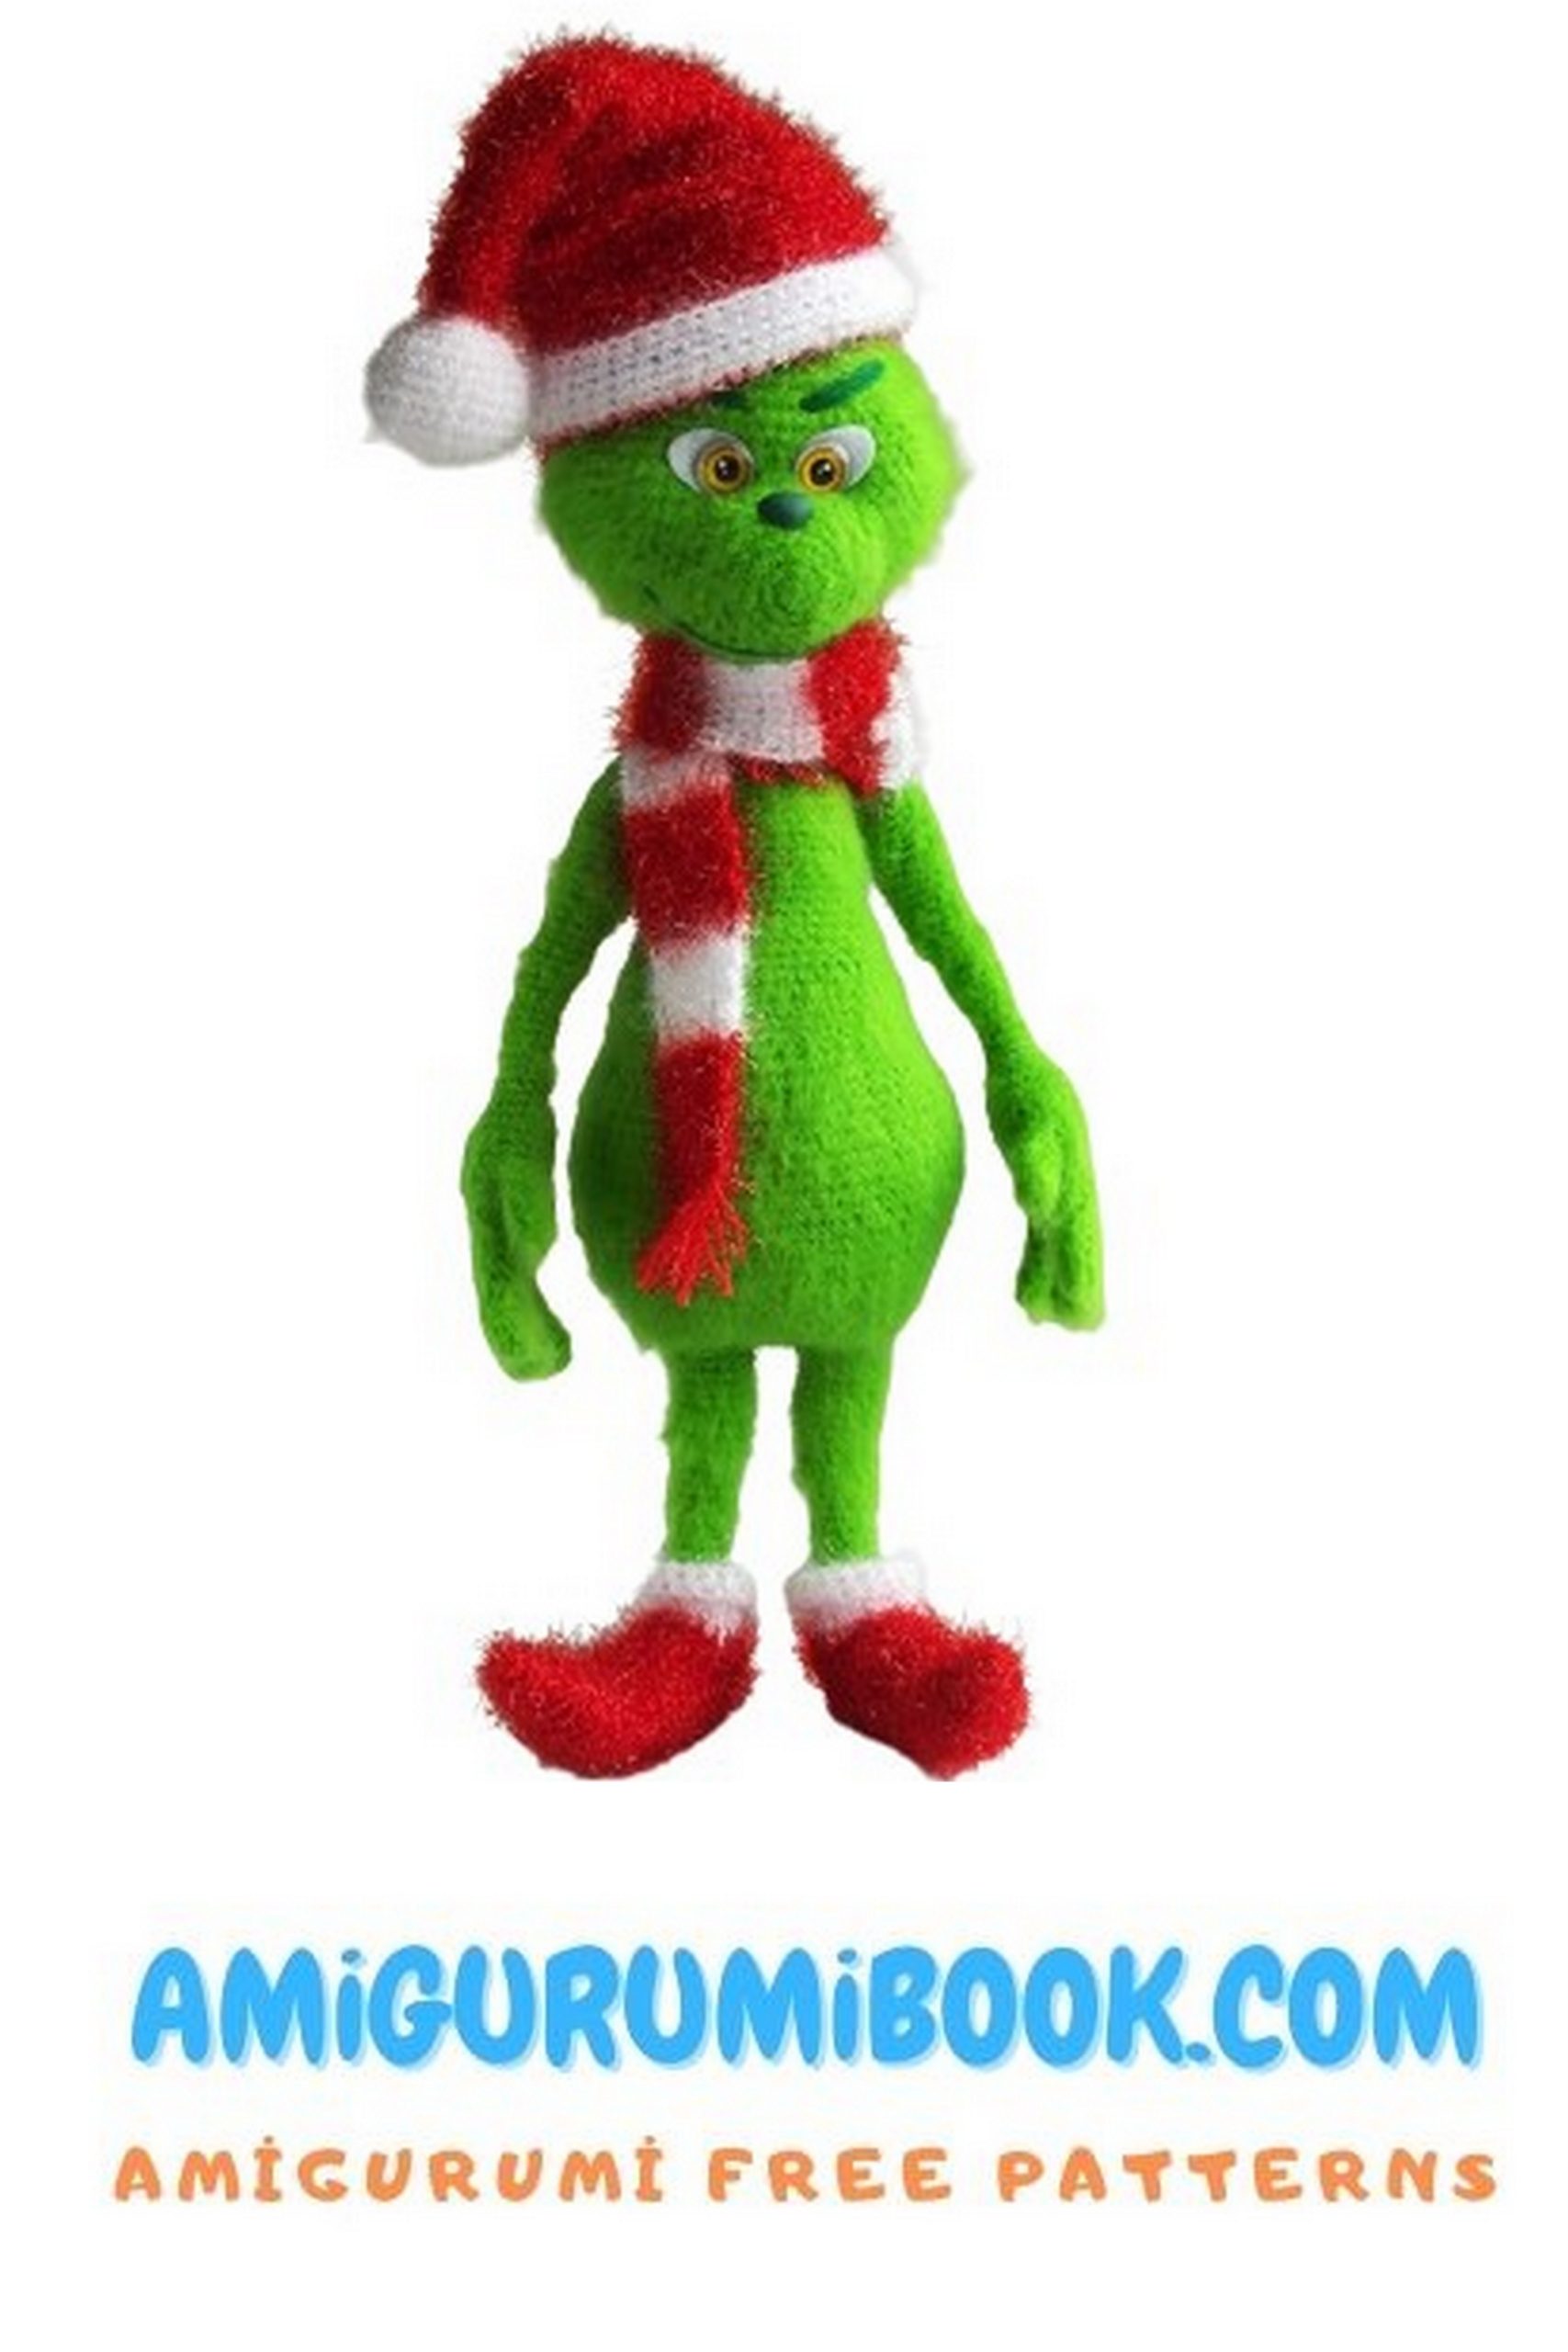
Hat
Red thread
1) 6hsc in the spacecraft ring (6)
2) (inc) x 6 (12)
3) hsc to the end of the row (12)
4) (1hsc, inc) x 6 (18)
5-7) hsc to end of row (18)
8) (2hsc, inc) x 6 (24)
9-10) hsc to end of row (24)
11) (3hsc, inc) x 6 (30)
12-13) hsc to end of row (30)
14) (4hsc, inc) x 6 (36)
15-16) hsc to end of row (36)
17) (5hsc, inc) x 6 (42)
18-19) hsc to end of row (42)
20) (6hsc, inc) x 6 (48)
21-22) hsc to end of row (48)
23) (7hsc, inc) x 6 (54)
24-25) hsc to end of row (54)
26) (8hsc, inc) x 6 (60)
27) hsc to end of row (60)
28) (9hsc, inc) x 6 (66)
29) hsc to end of row (66)
30) (10hsc, inc) x 6 (72)
31) hsc to end of row (72)
32) (11hsc, inc) x 6 (78)
33) hsc to end of row (78)
34) (12hsc, inc) x 6 (84)
35) hsc to end of row (84)
36) (13hsc, inc) x 6 (90)
37) hsc to end of row (90)
38) (14hsc, inc) x 6 (96)
39-40) hsc to end of row (96)
41) (15hsc, inc) x 6 (102)
42-43) hsc to end of row (102)
44) (16hsc, inc) x 6 (108)
45-46) hsc to end of row (108)
47) hsc to end of row (108)
Change the thread to white.
48) Behind back pp – sc to end of row, sl-st (108)
Change the thread to white fluffy.
49-51) hsc to end of row (108)
52) hsc to end of row, sl-st (108)
We make a pompom from white yarn and sew on the tip of the hat.
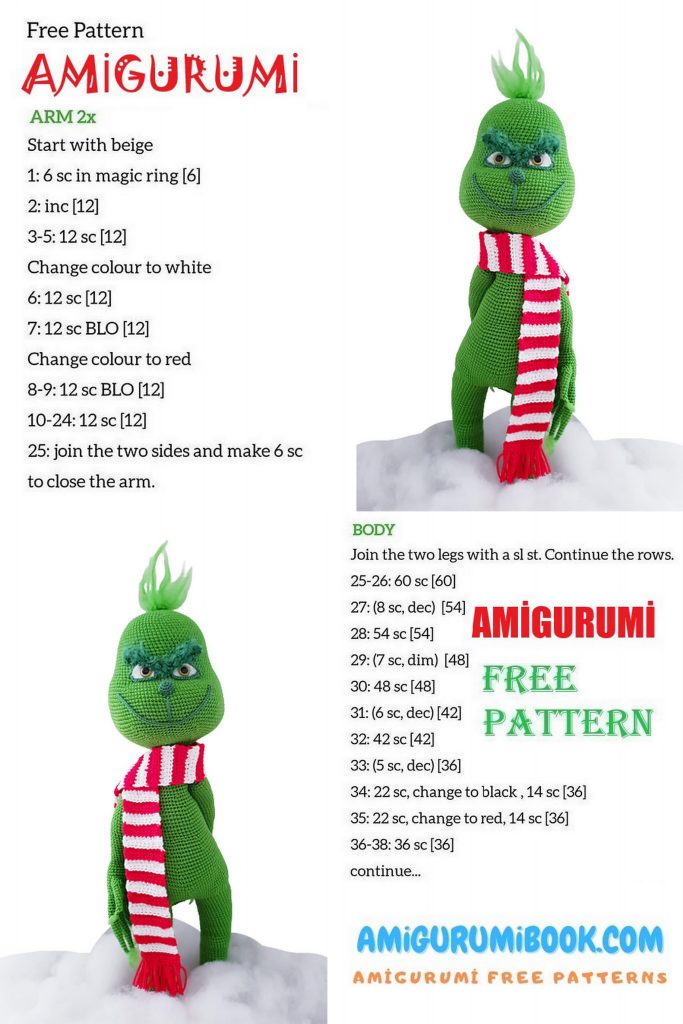
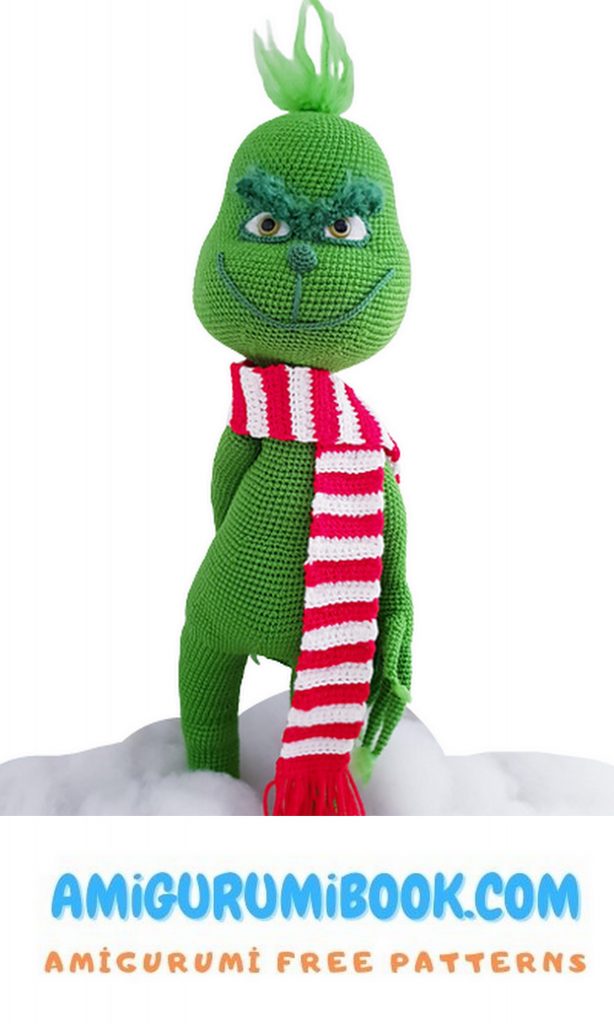
Scarf
Red thread
11 ch, from the second loop from the hook
1) 10sc, ch and turn (10)
2) 10sc, ch and turn (10)
White thread
3) For the rear pp – 10hsc, ch and turn (10)
4) 10hsc, ch and turn (10)
We continue to knit in rotary rows up to row 29, while changing the color of the thread every two rows and knit each odd row for pp. Finish the knitting with red thread and make tassels at each end of the scarf (see photo)
And finally, attach a few strands on the head with a green thread in any way convenient for you and comb them.
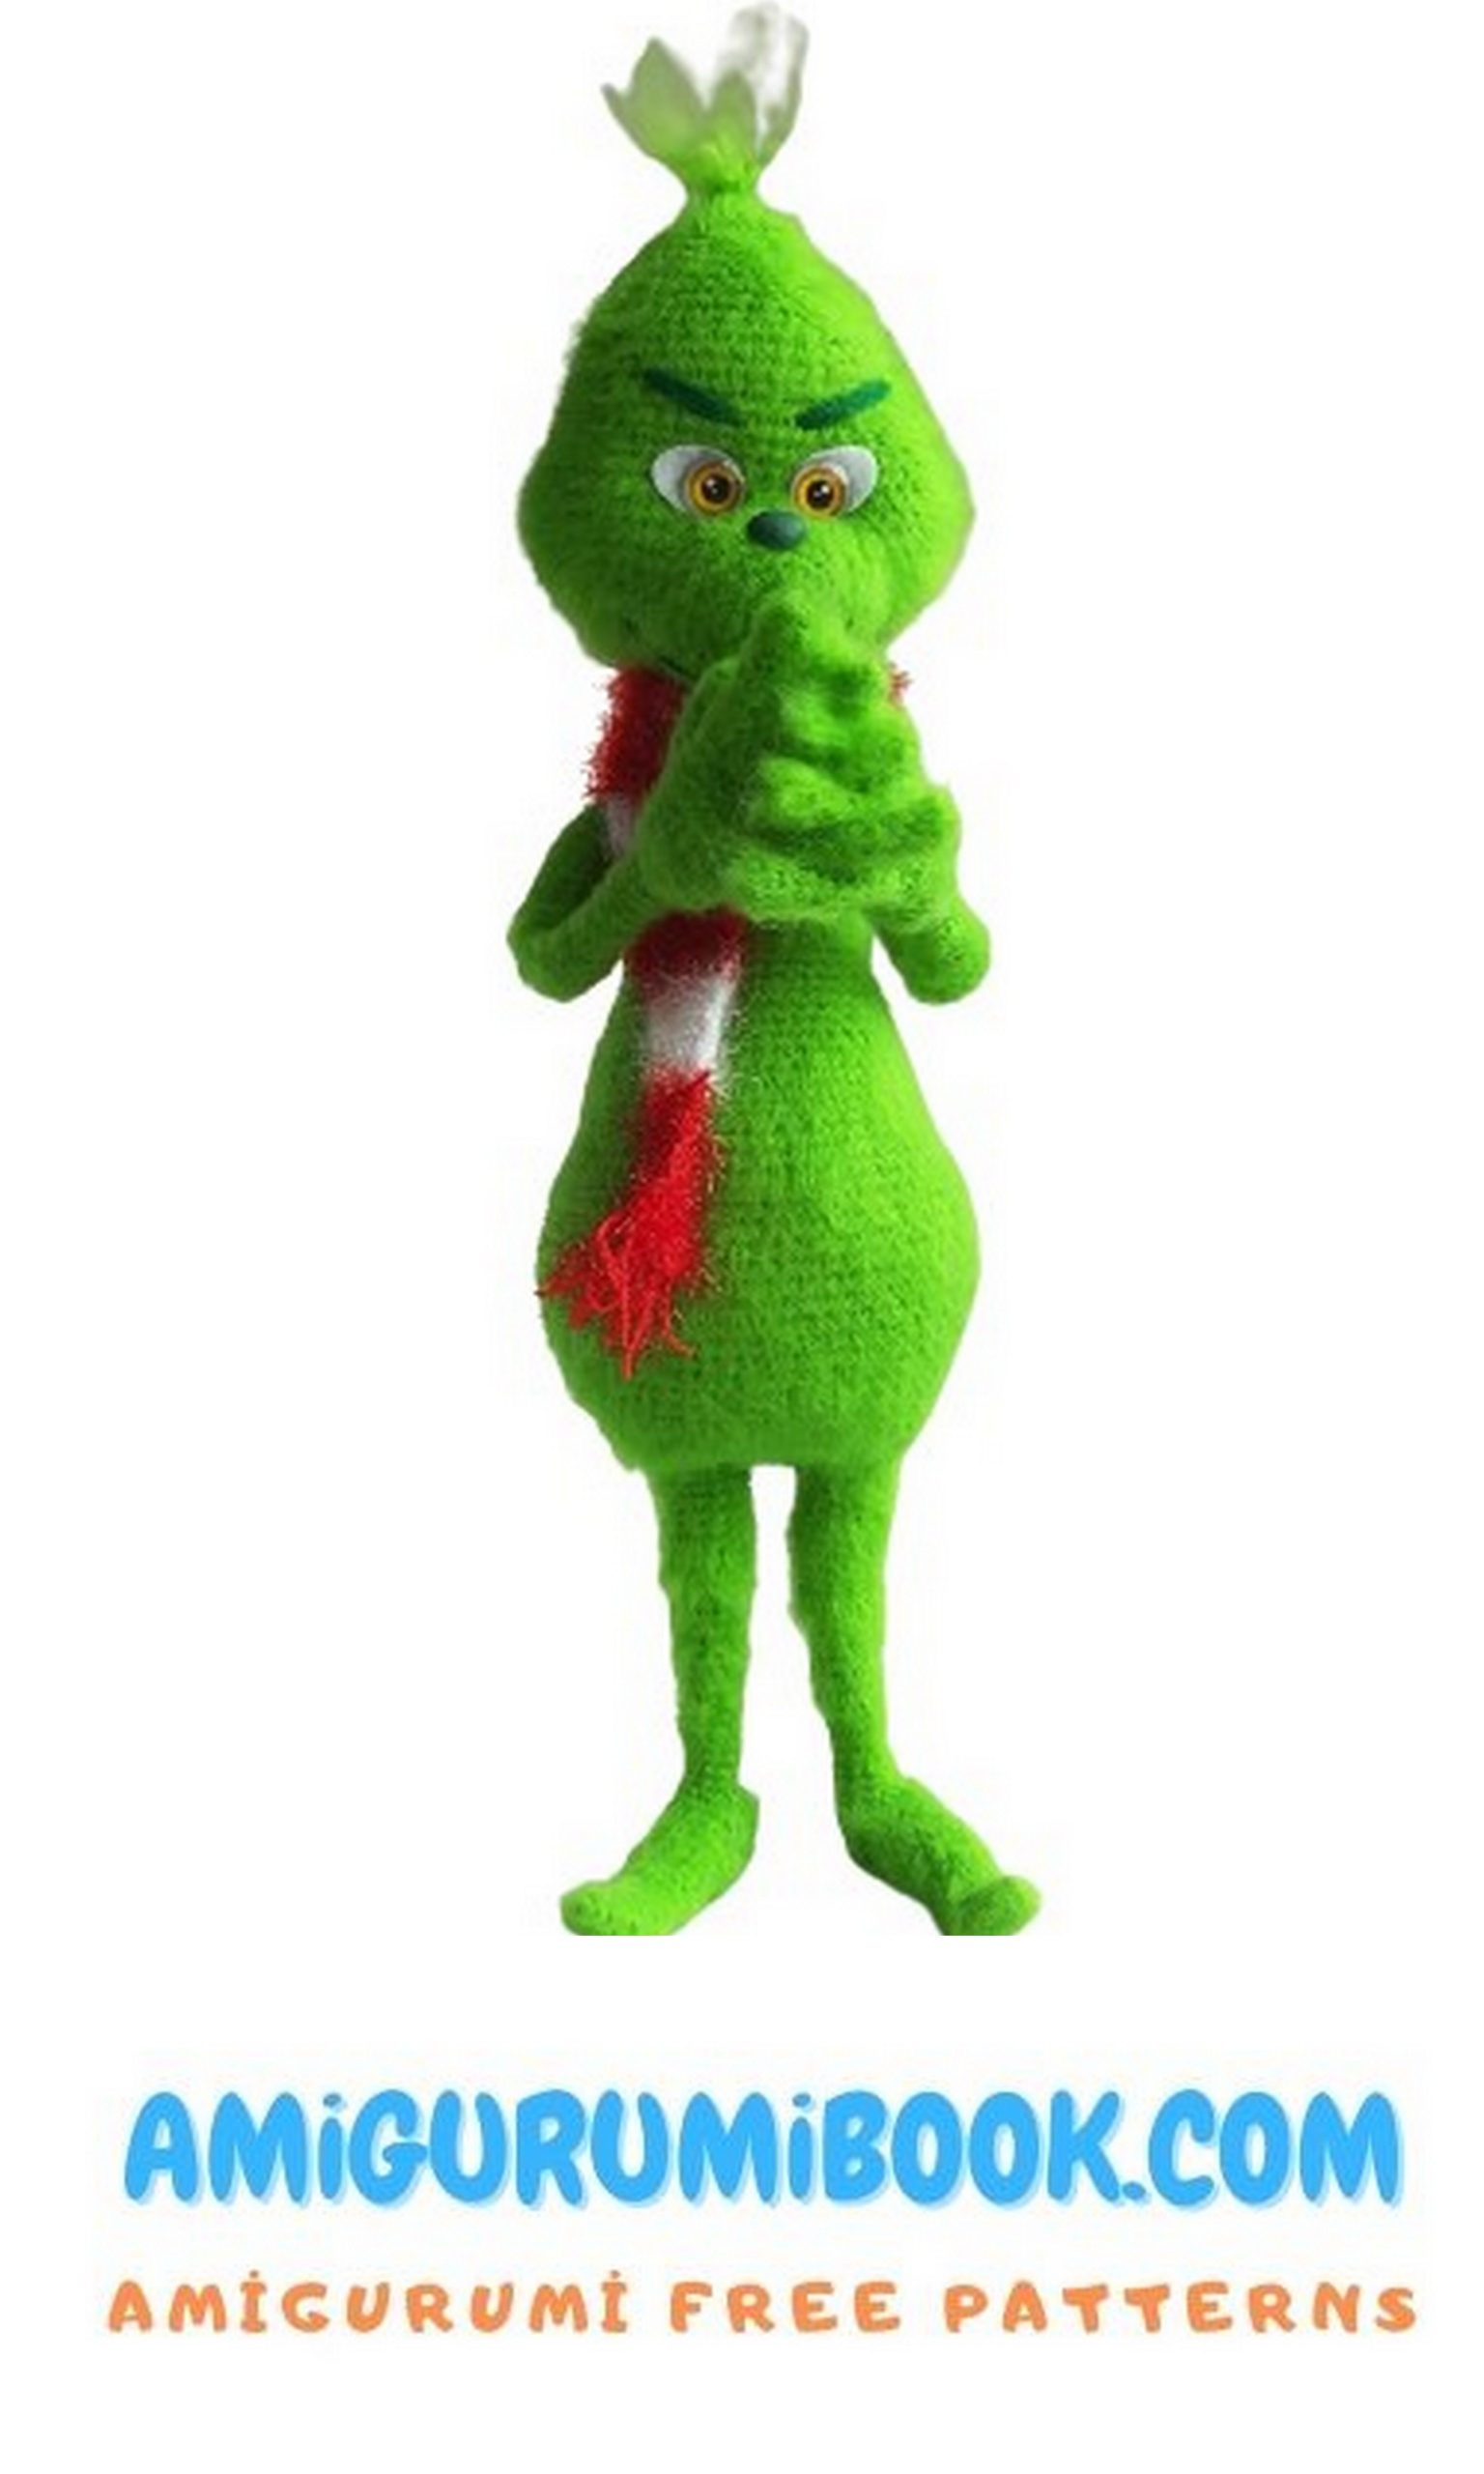
Your very own Christmas Grunt is ready.