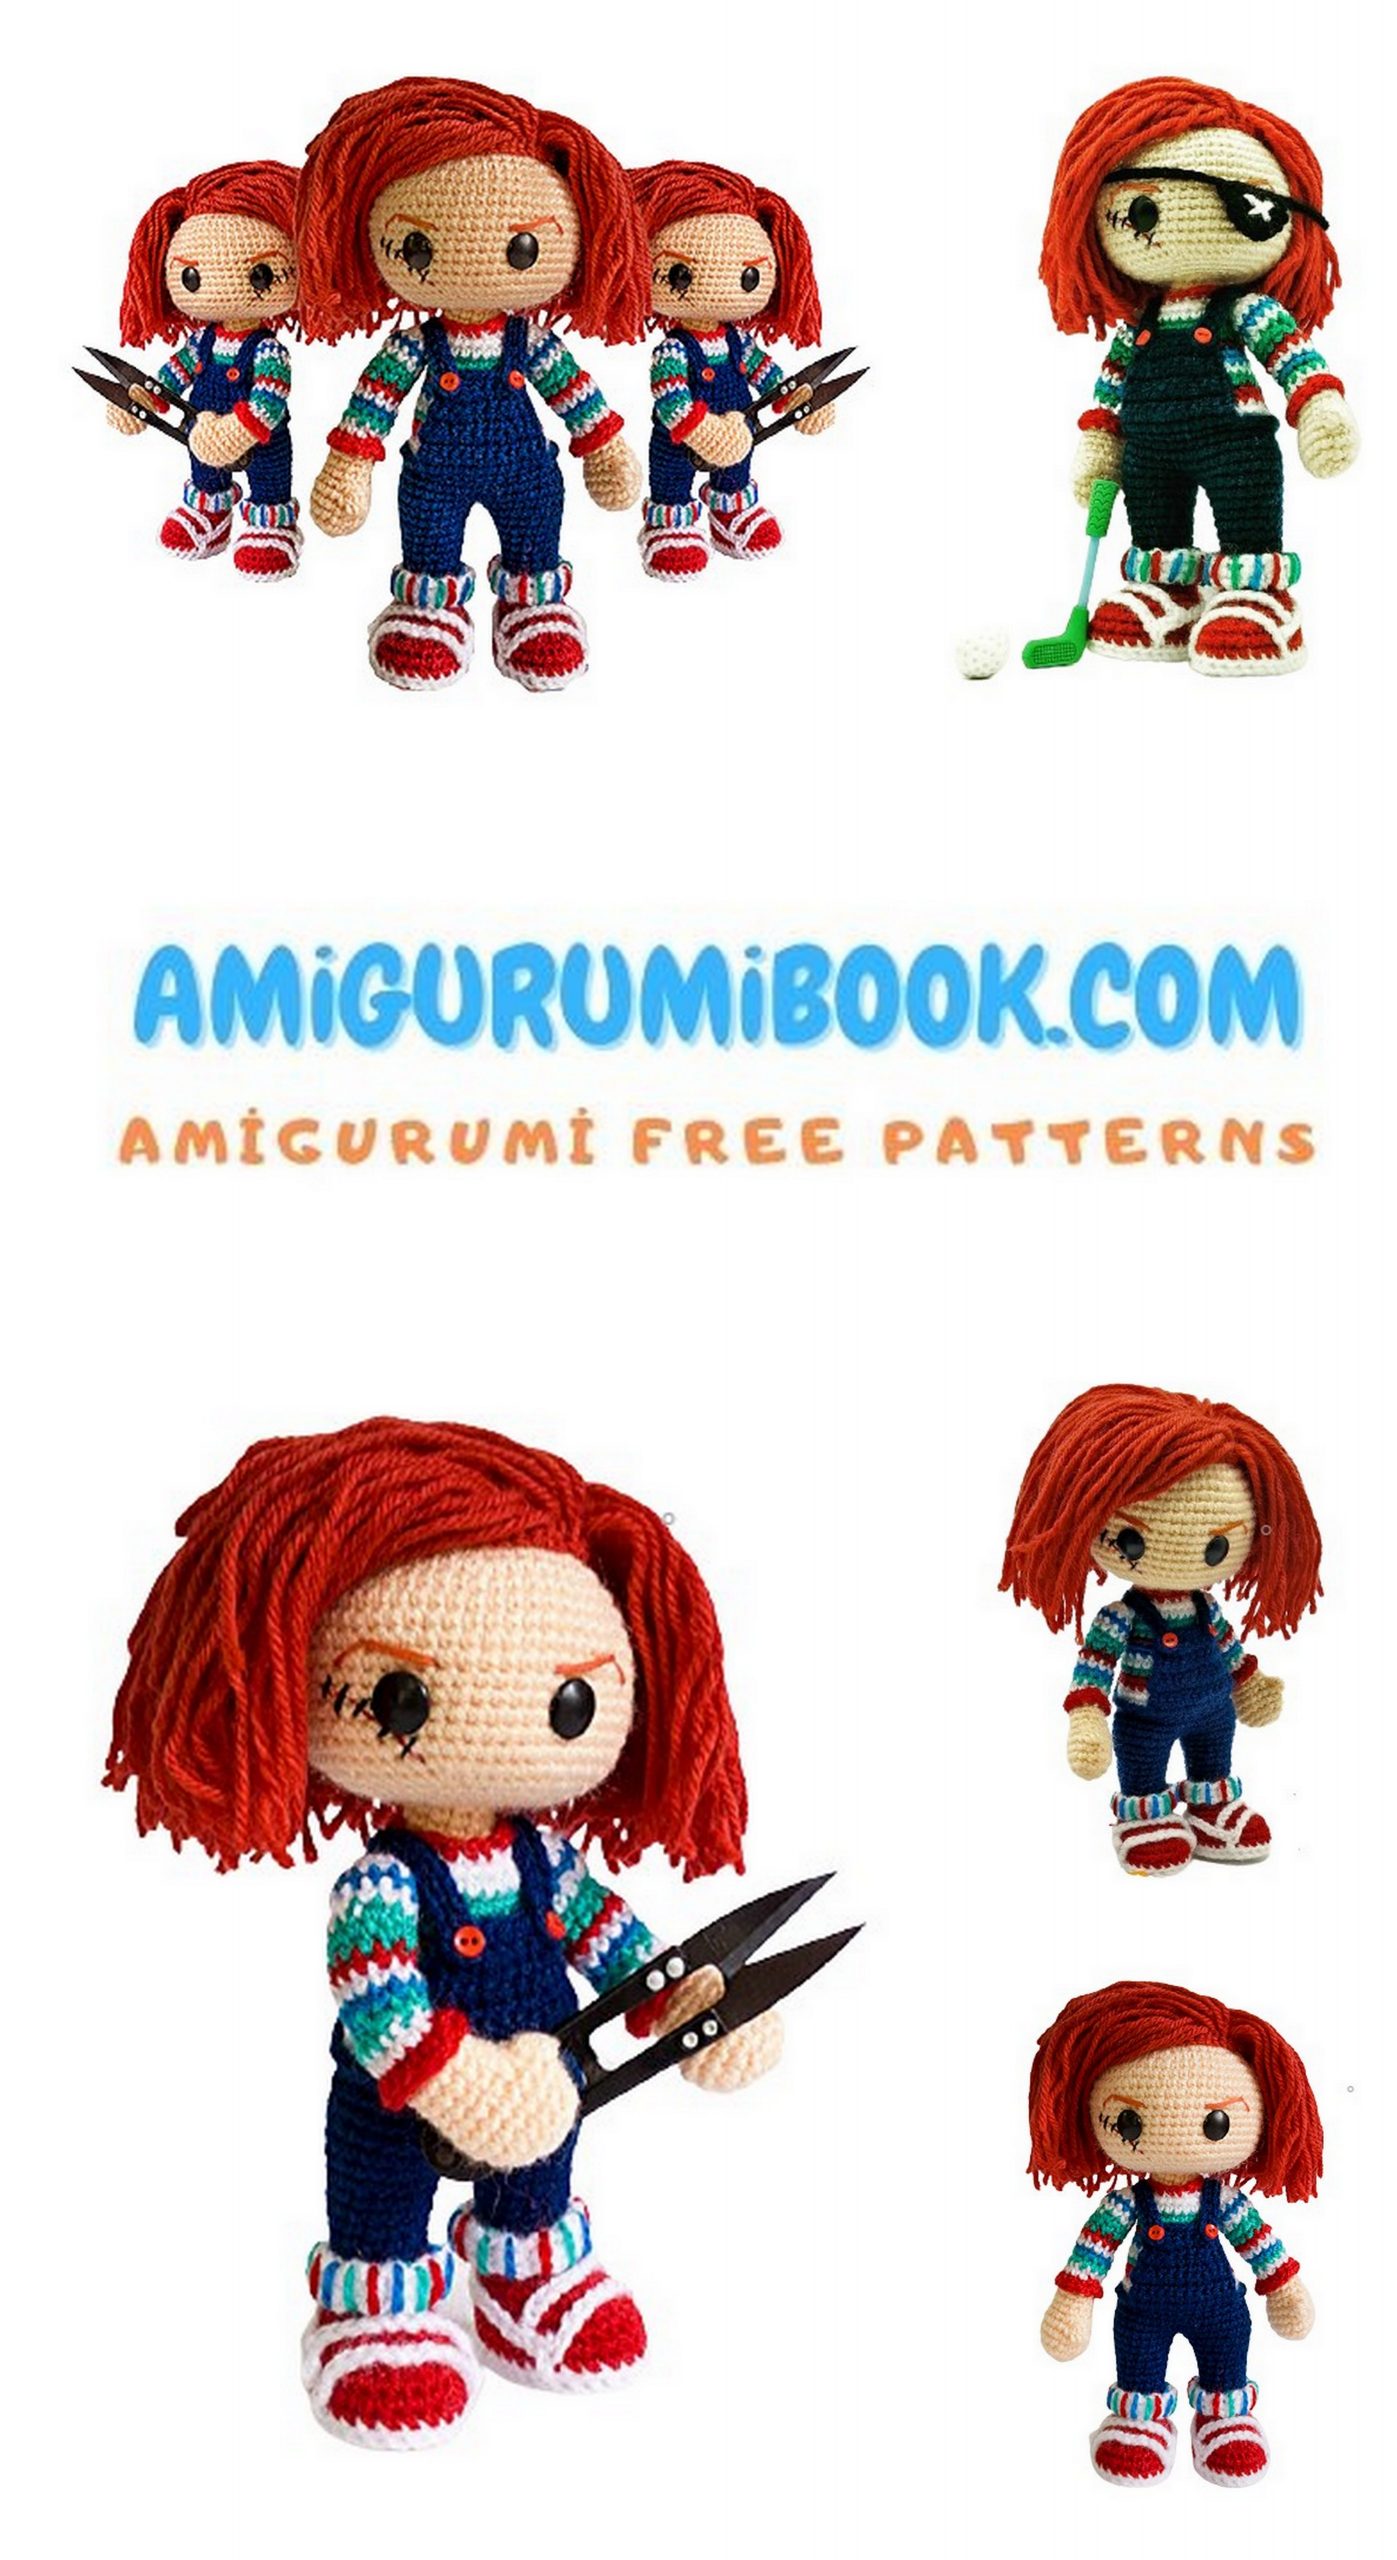
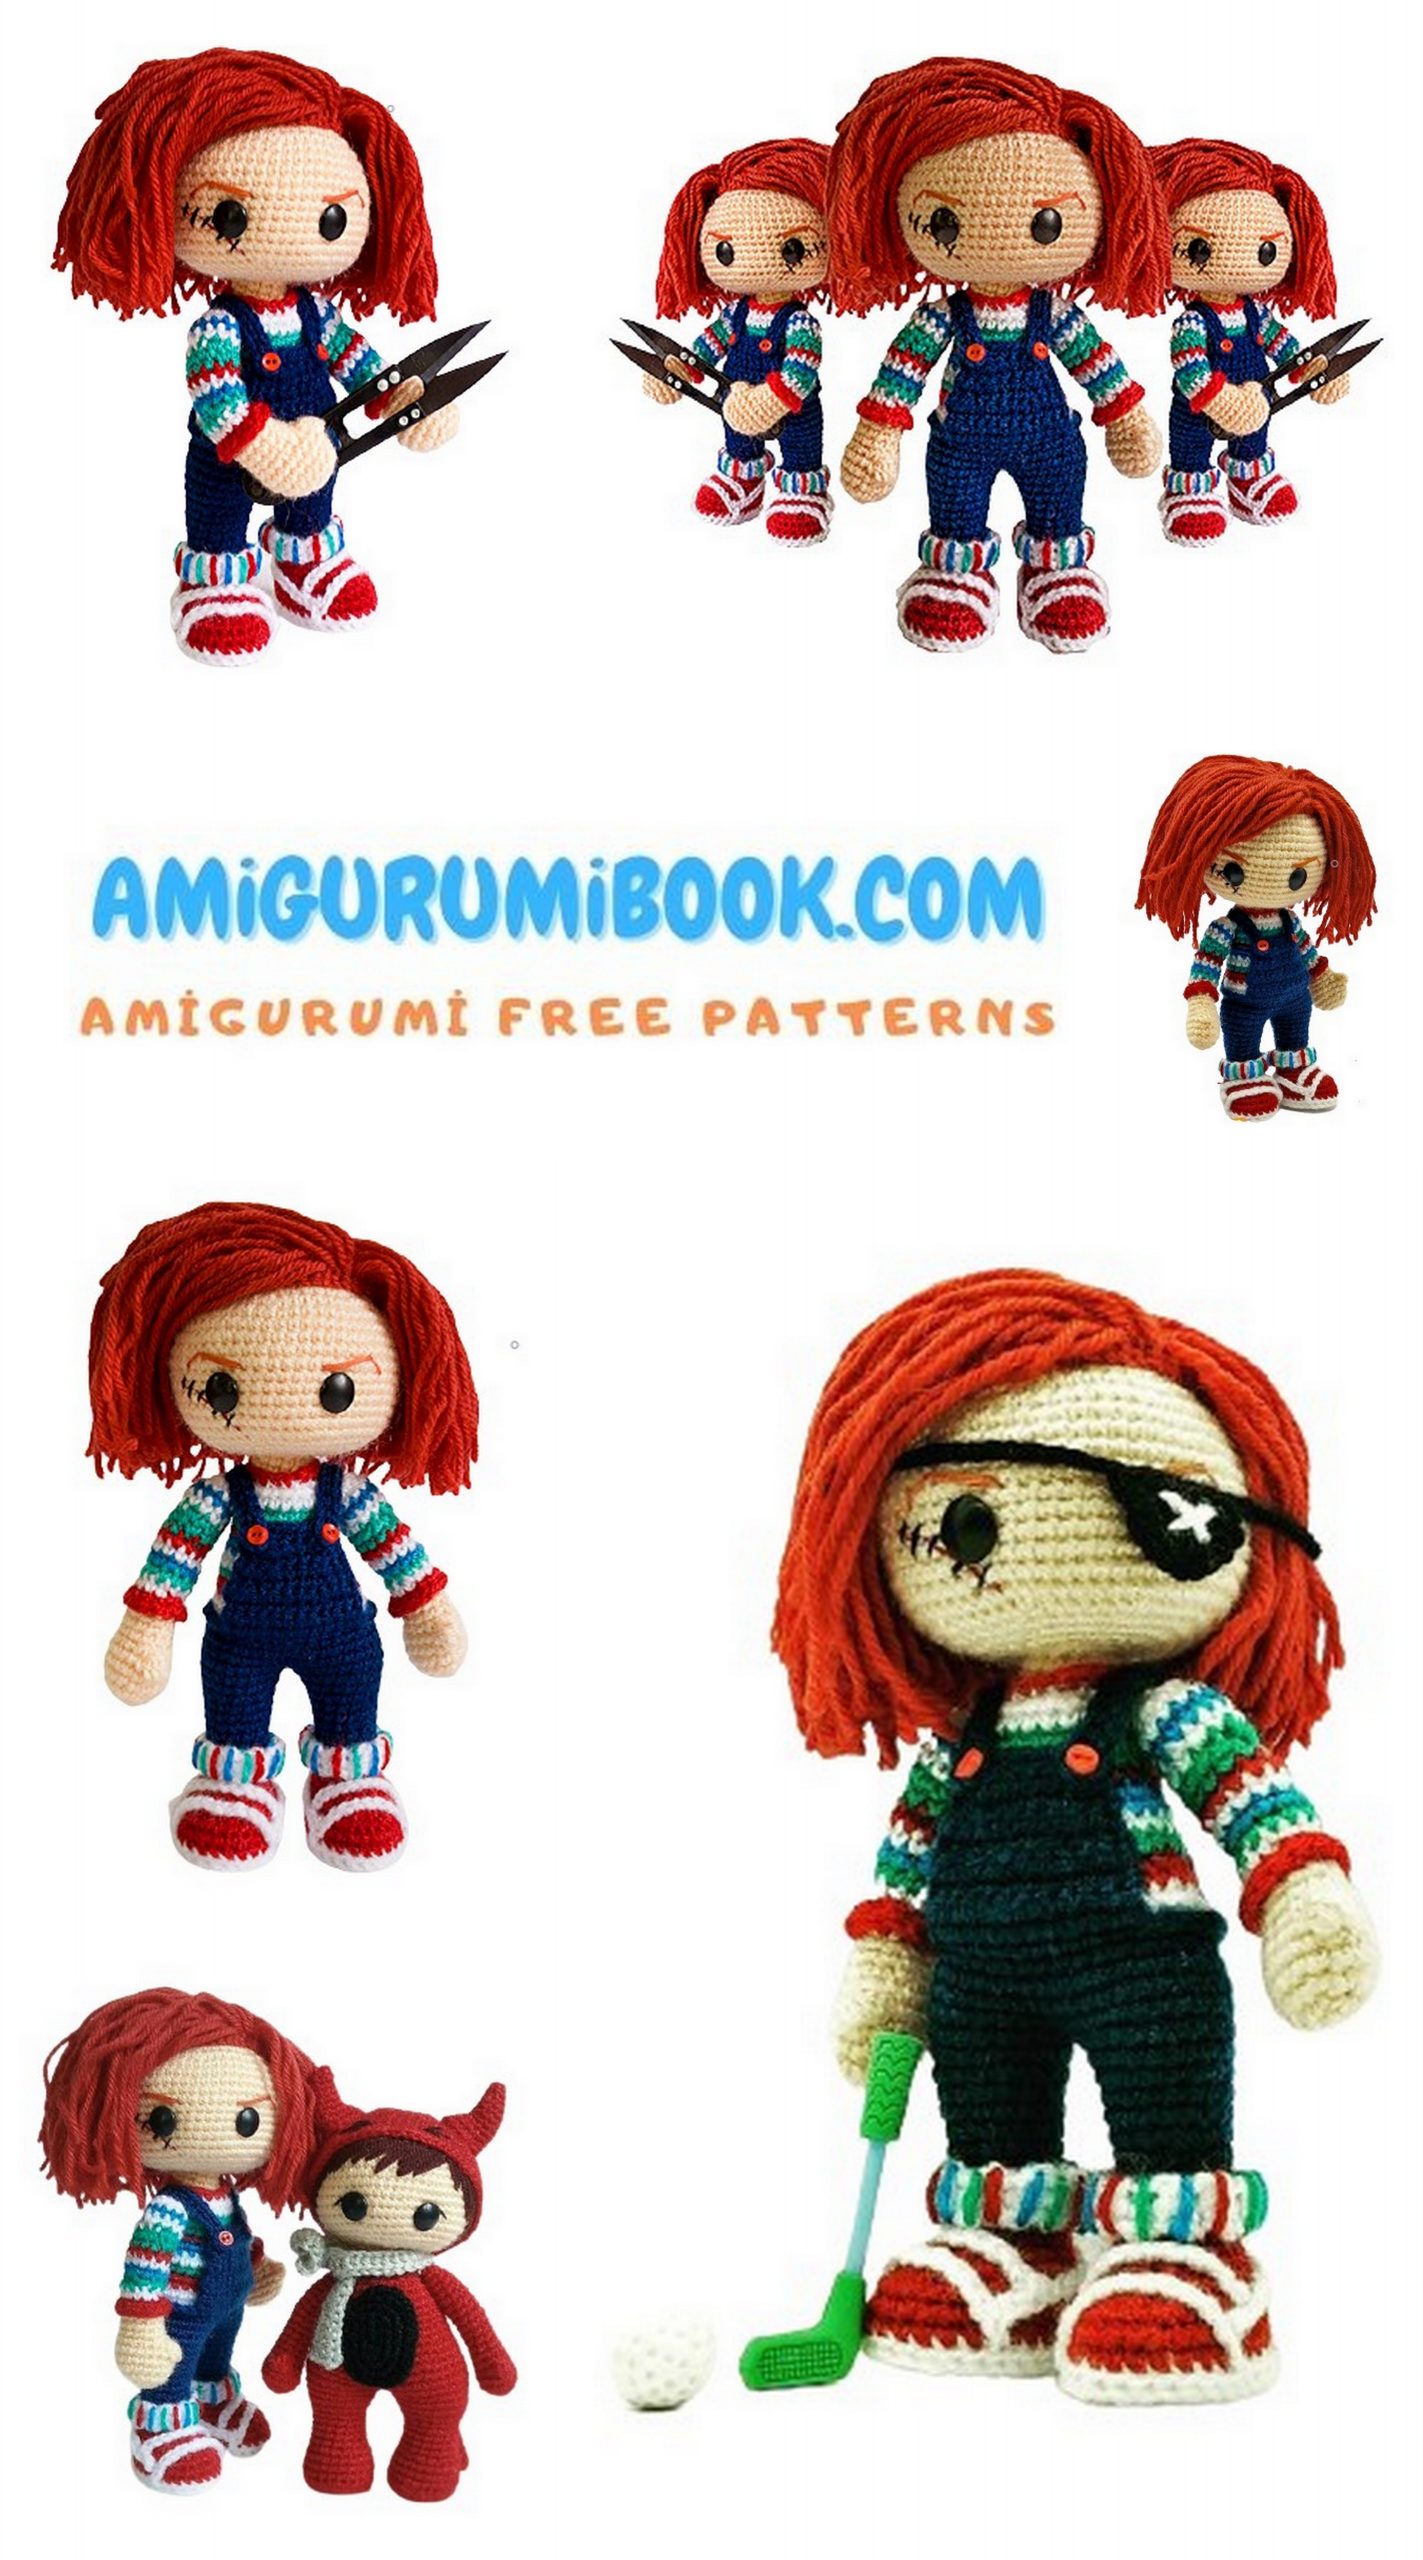
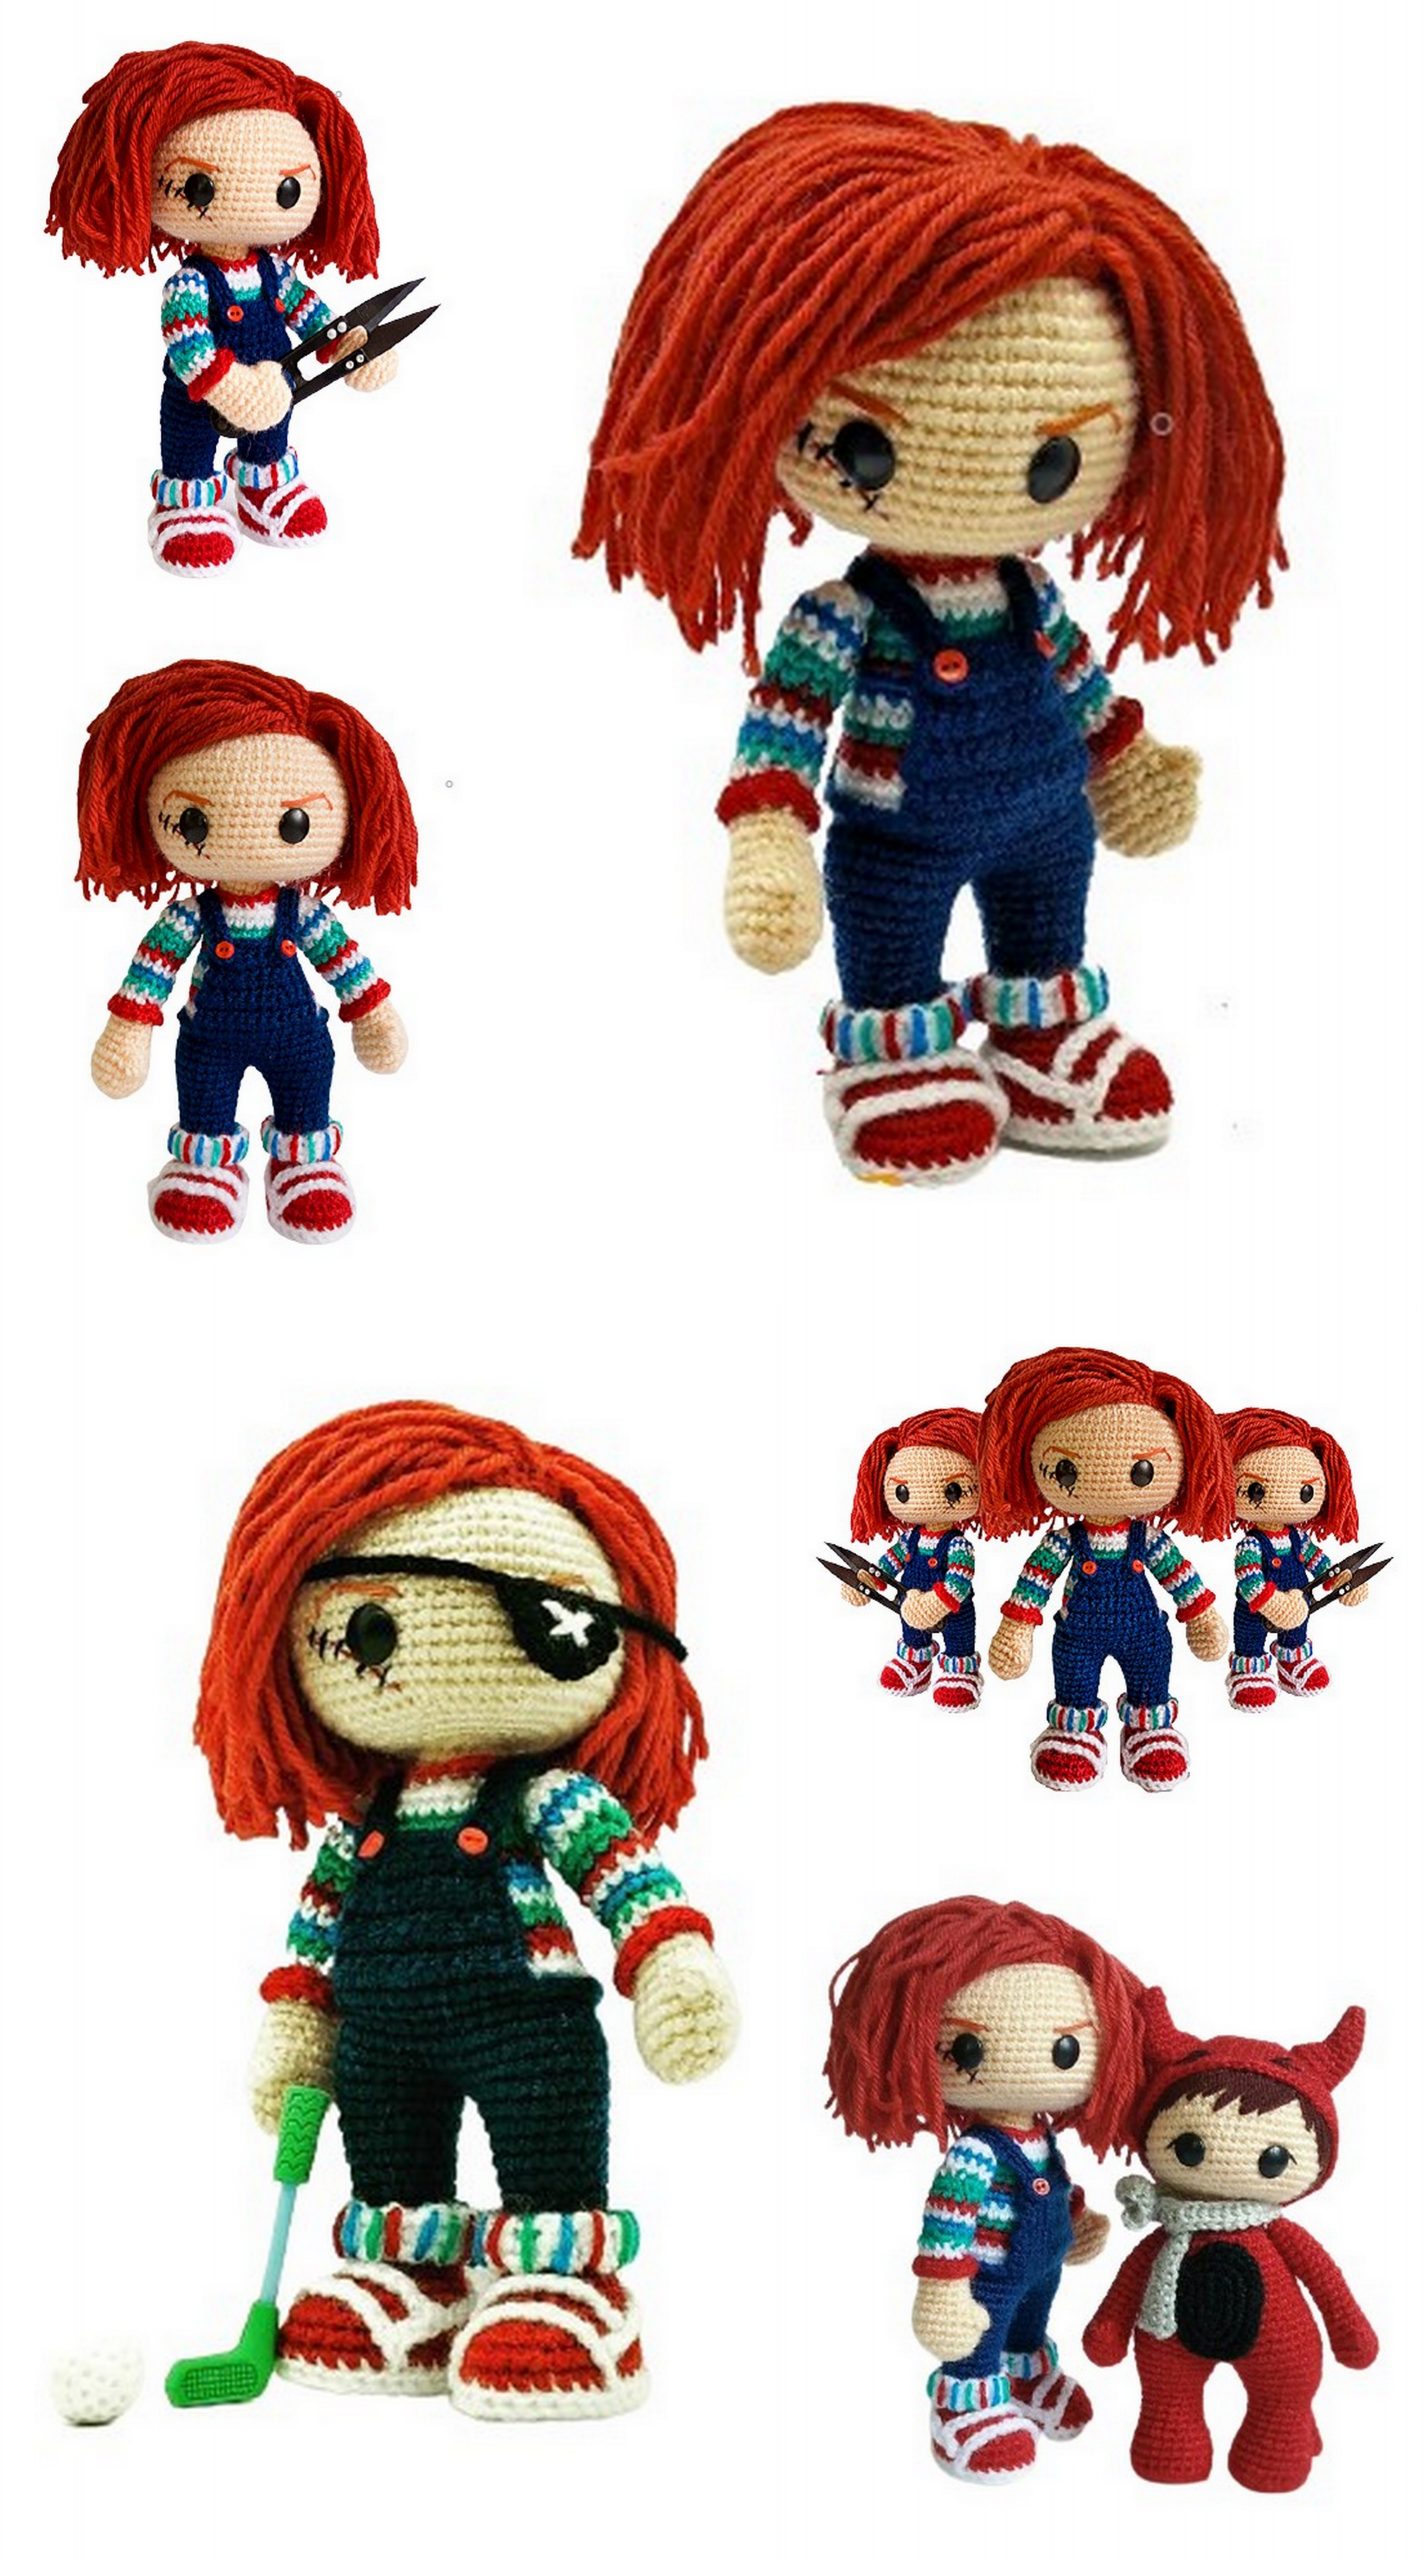
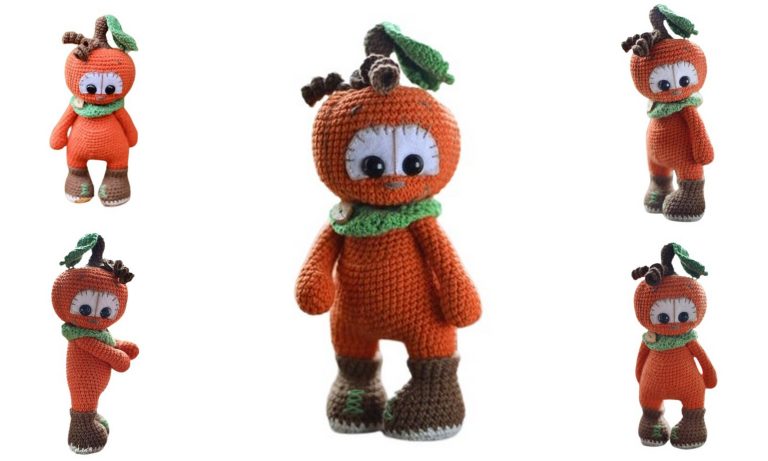
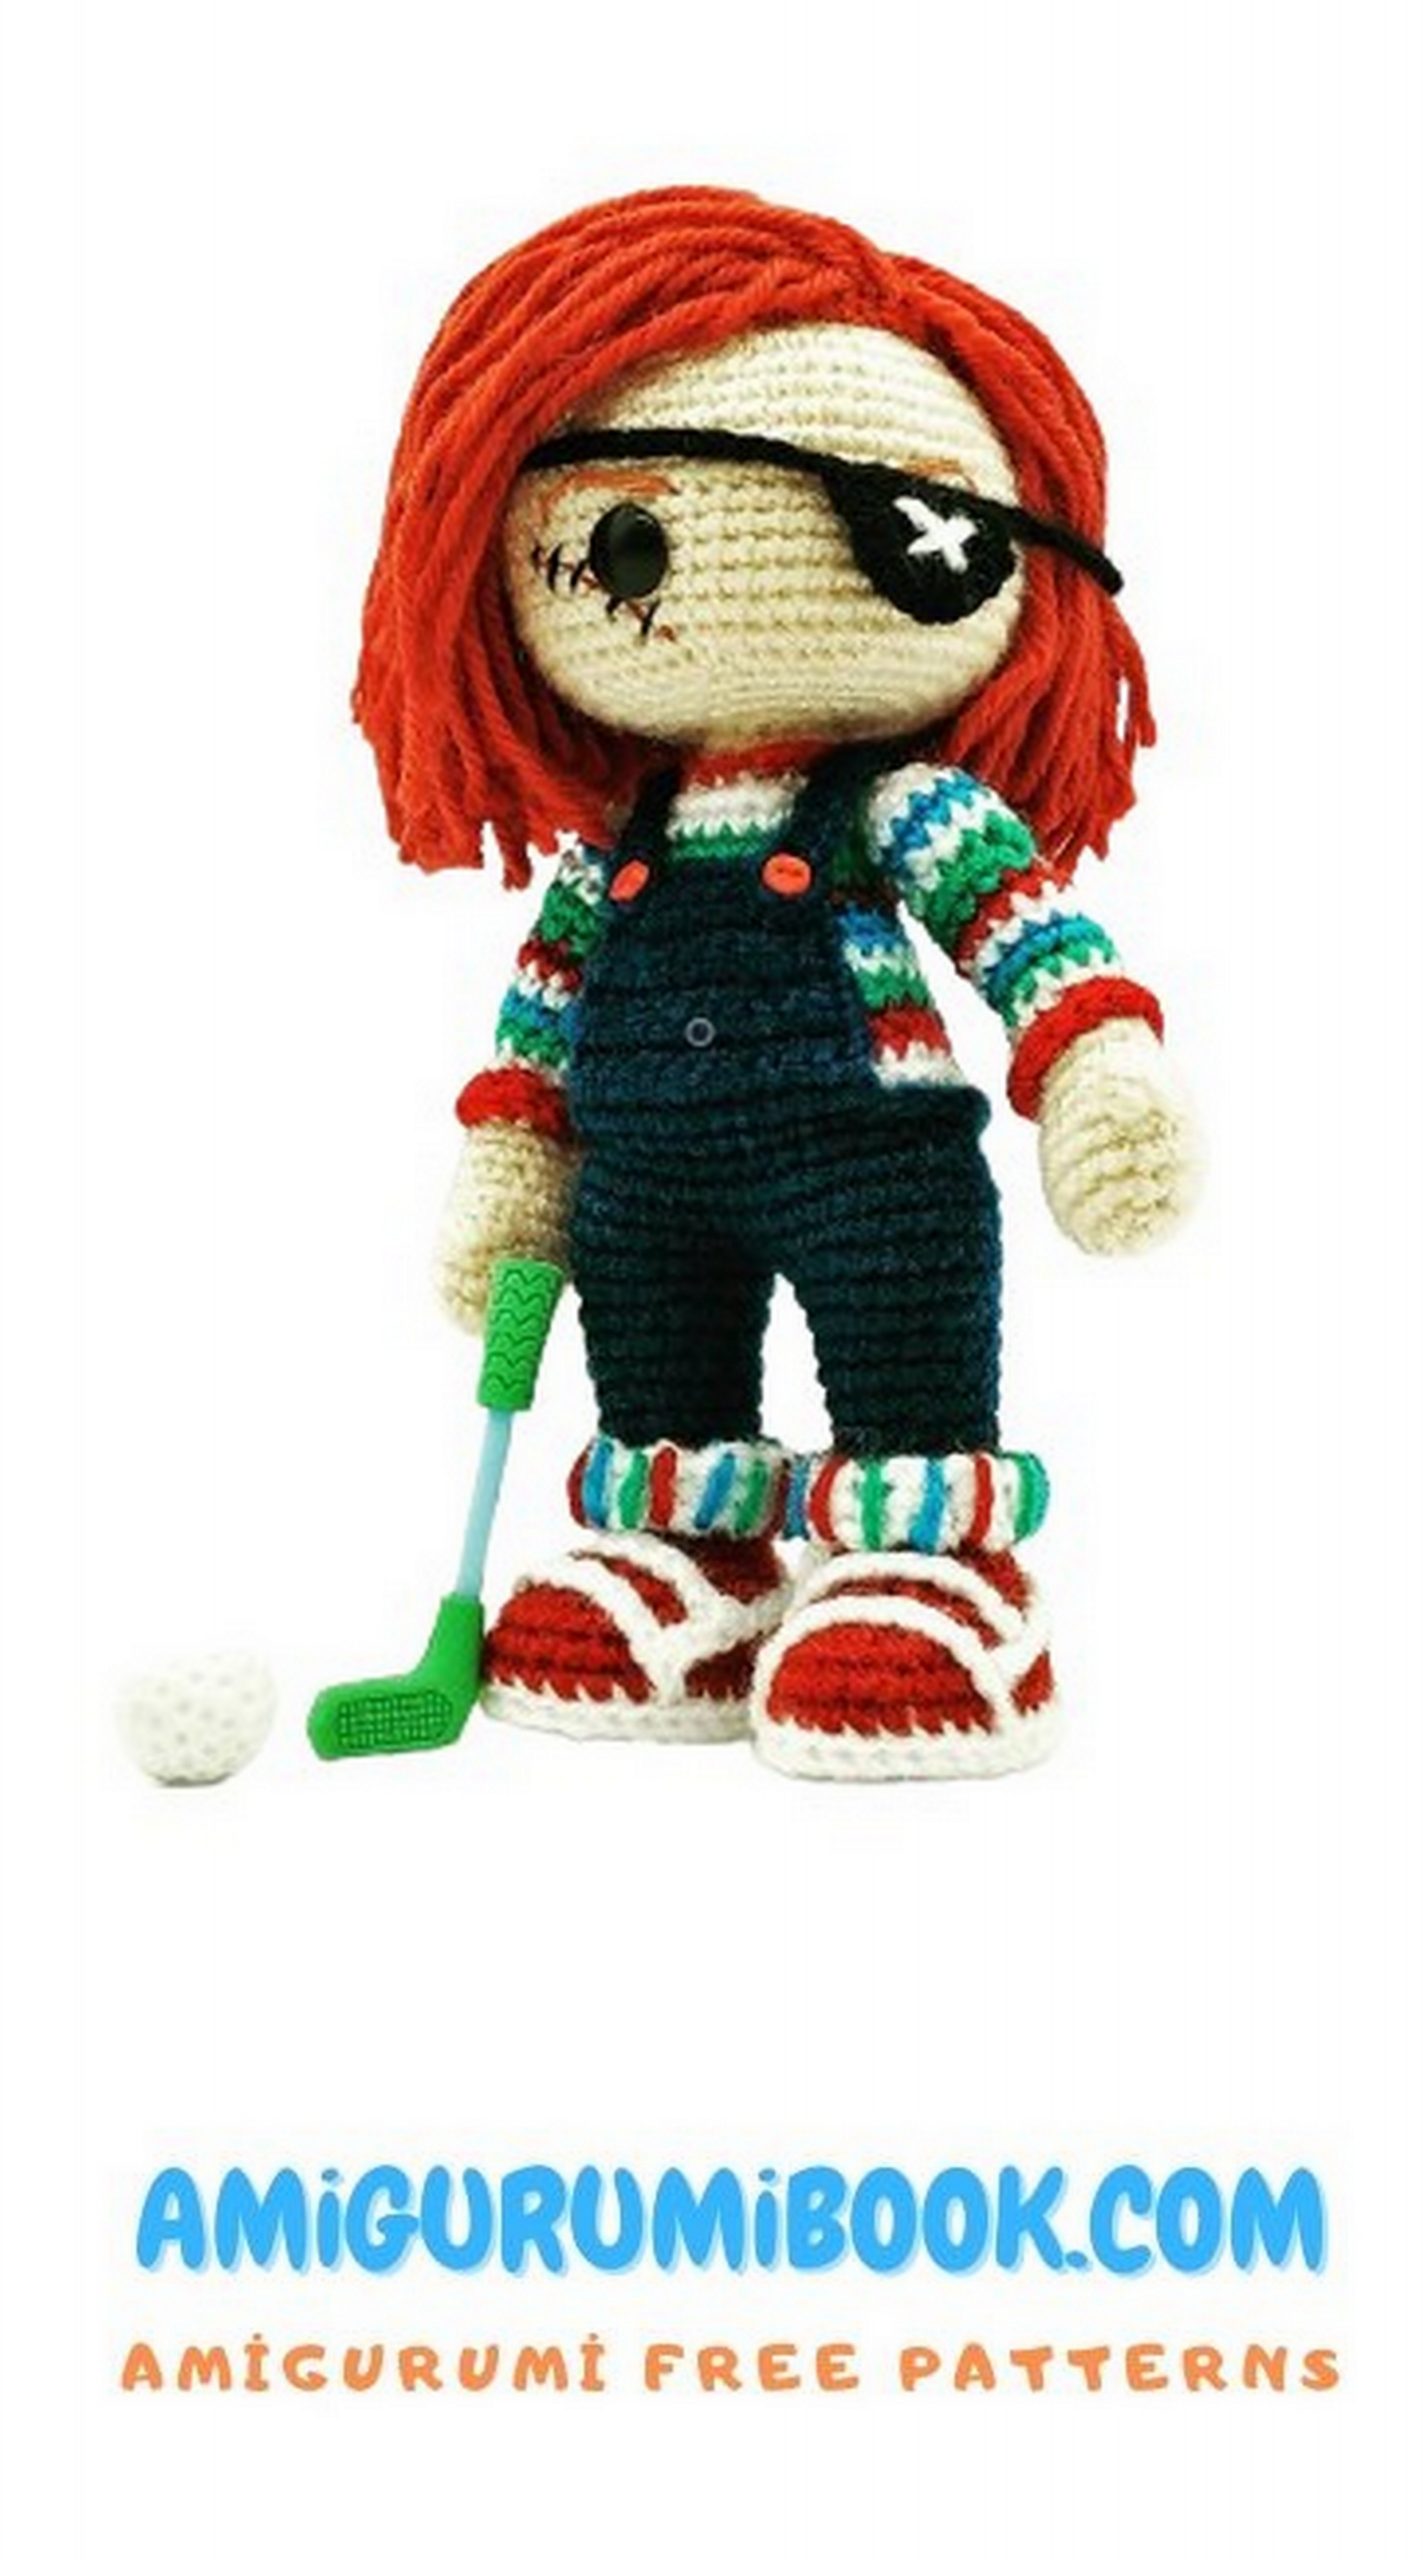
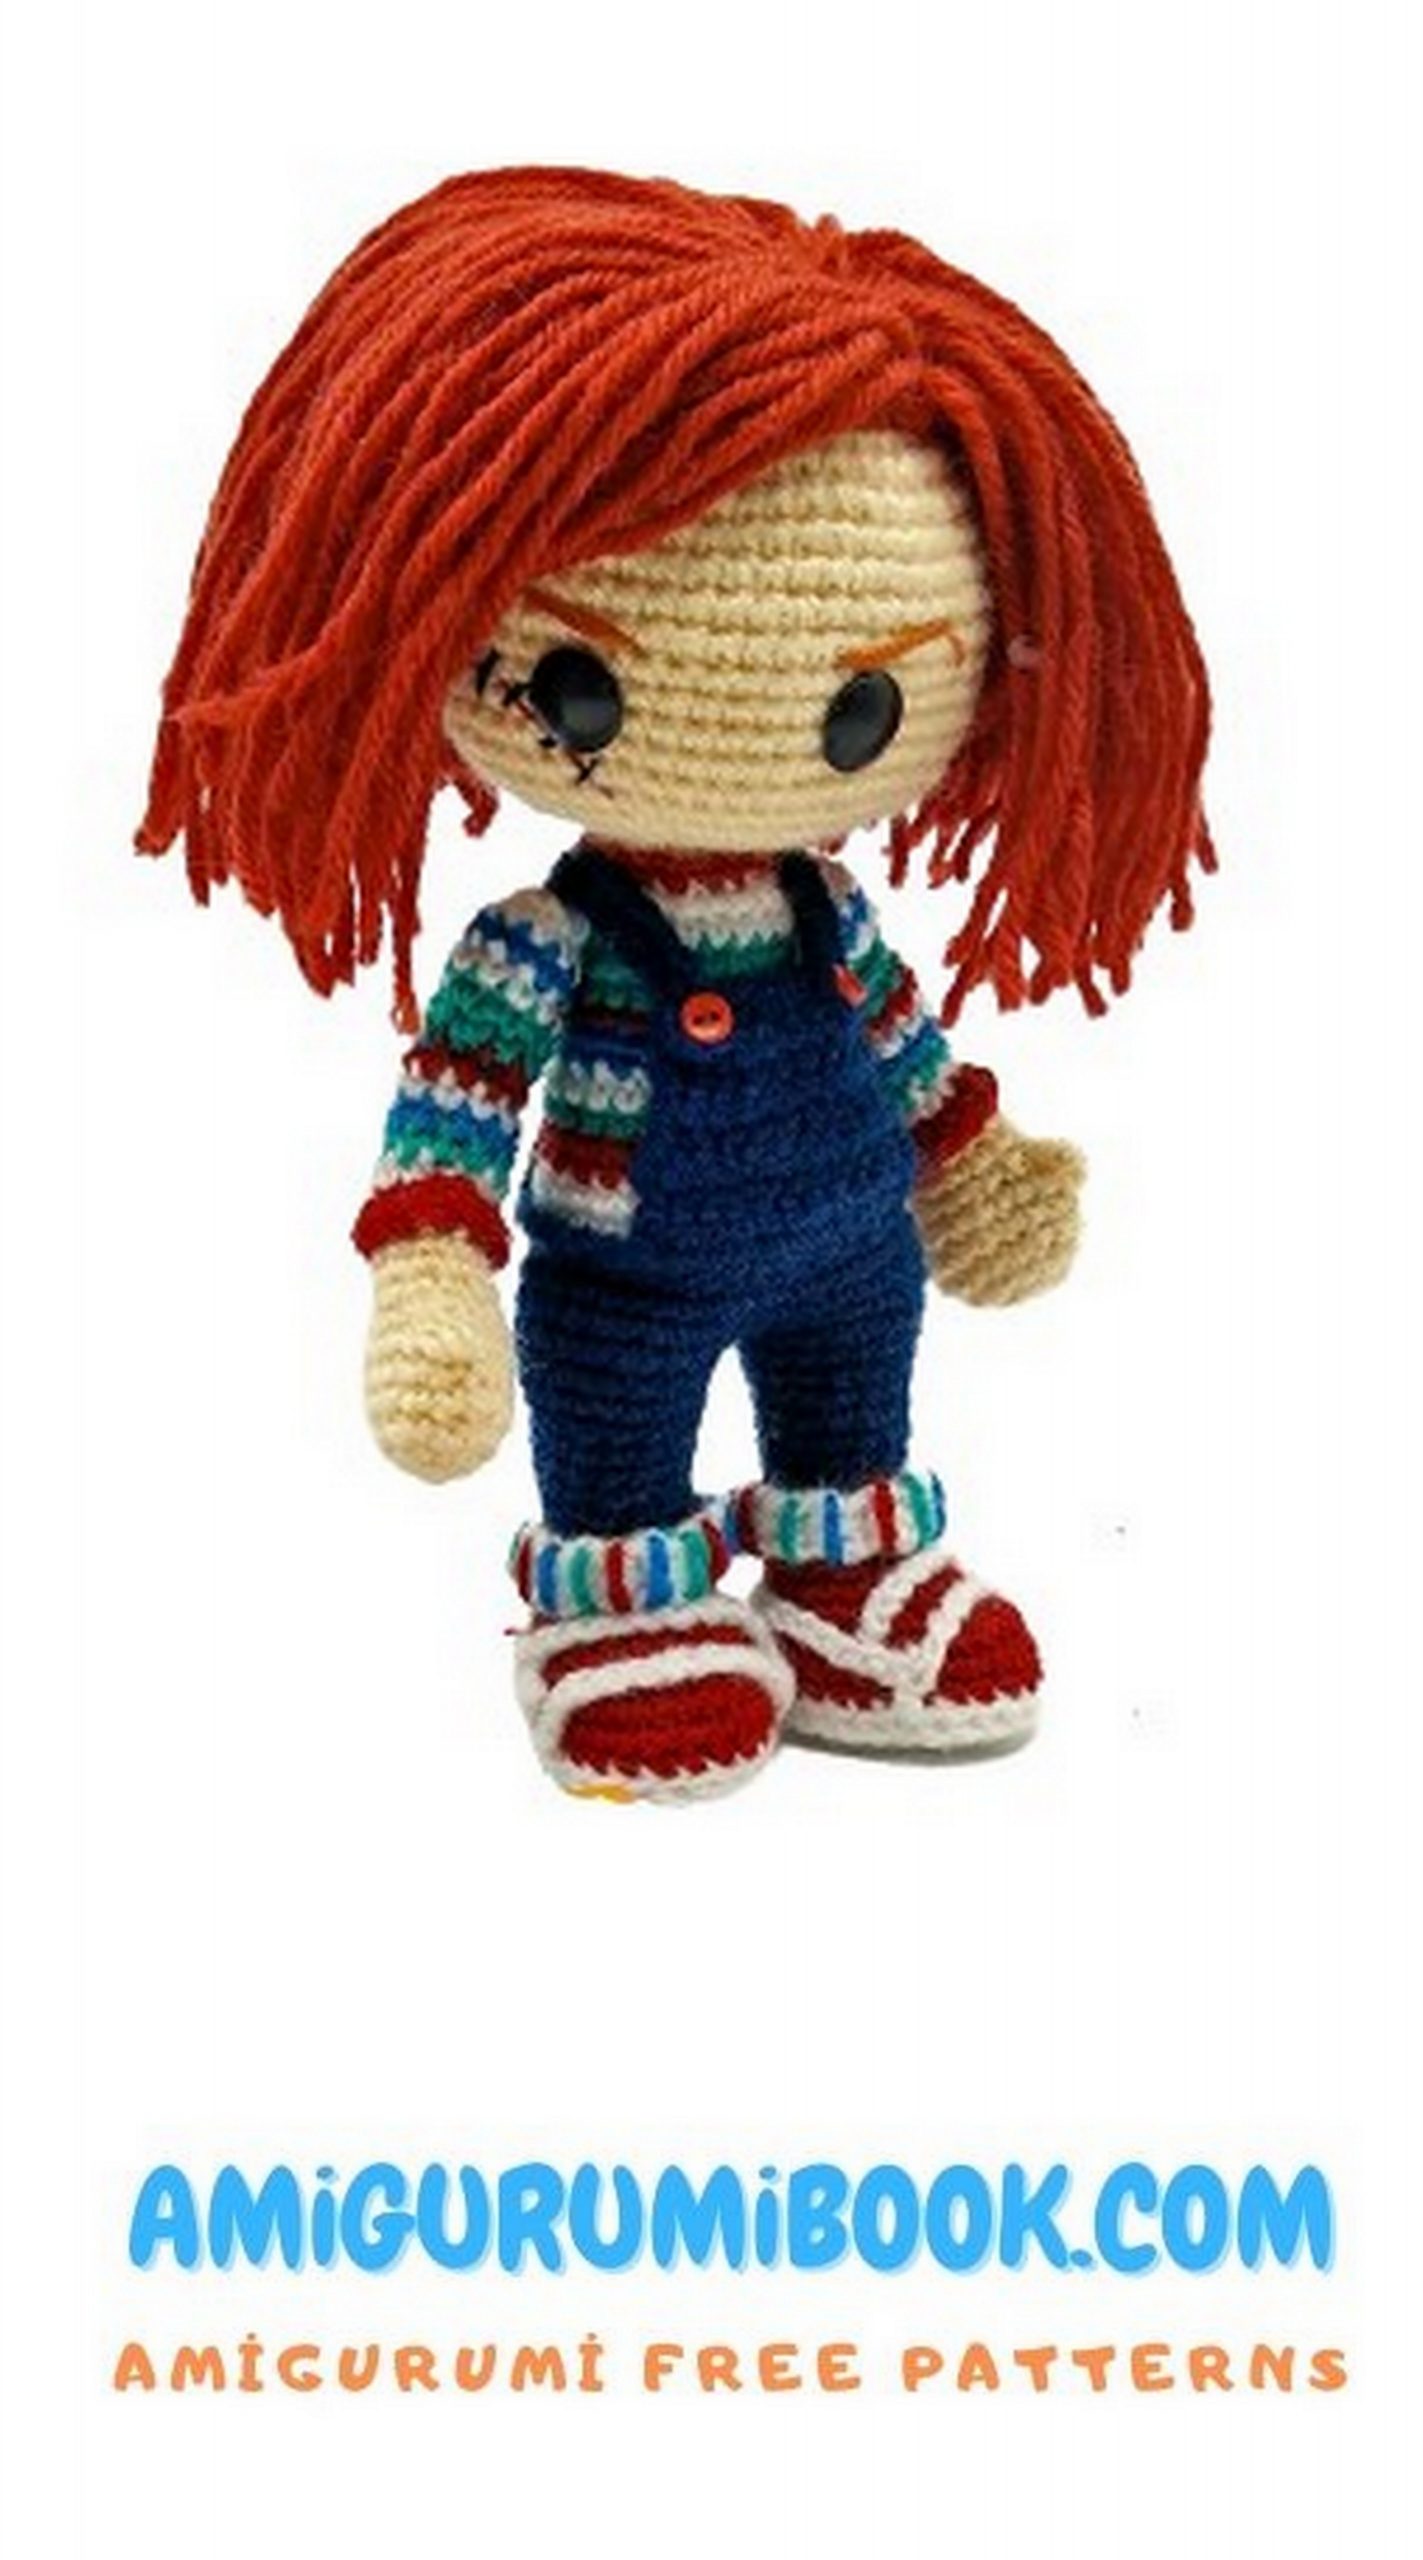
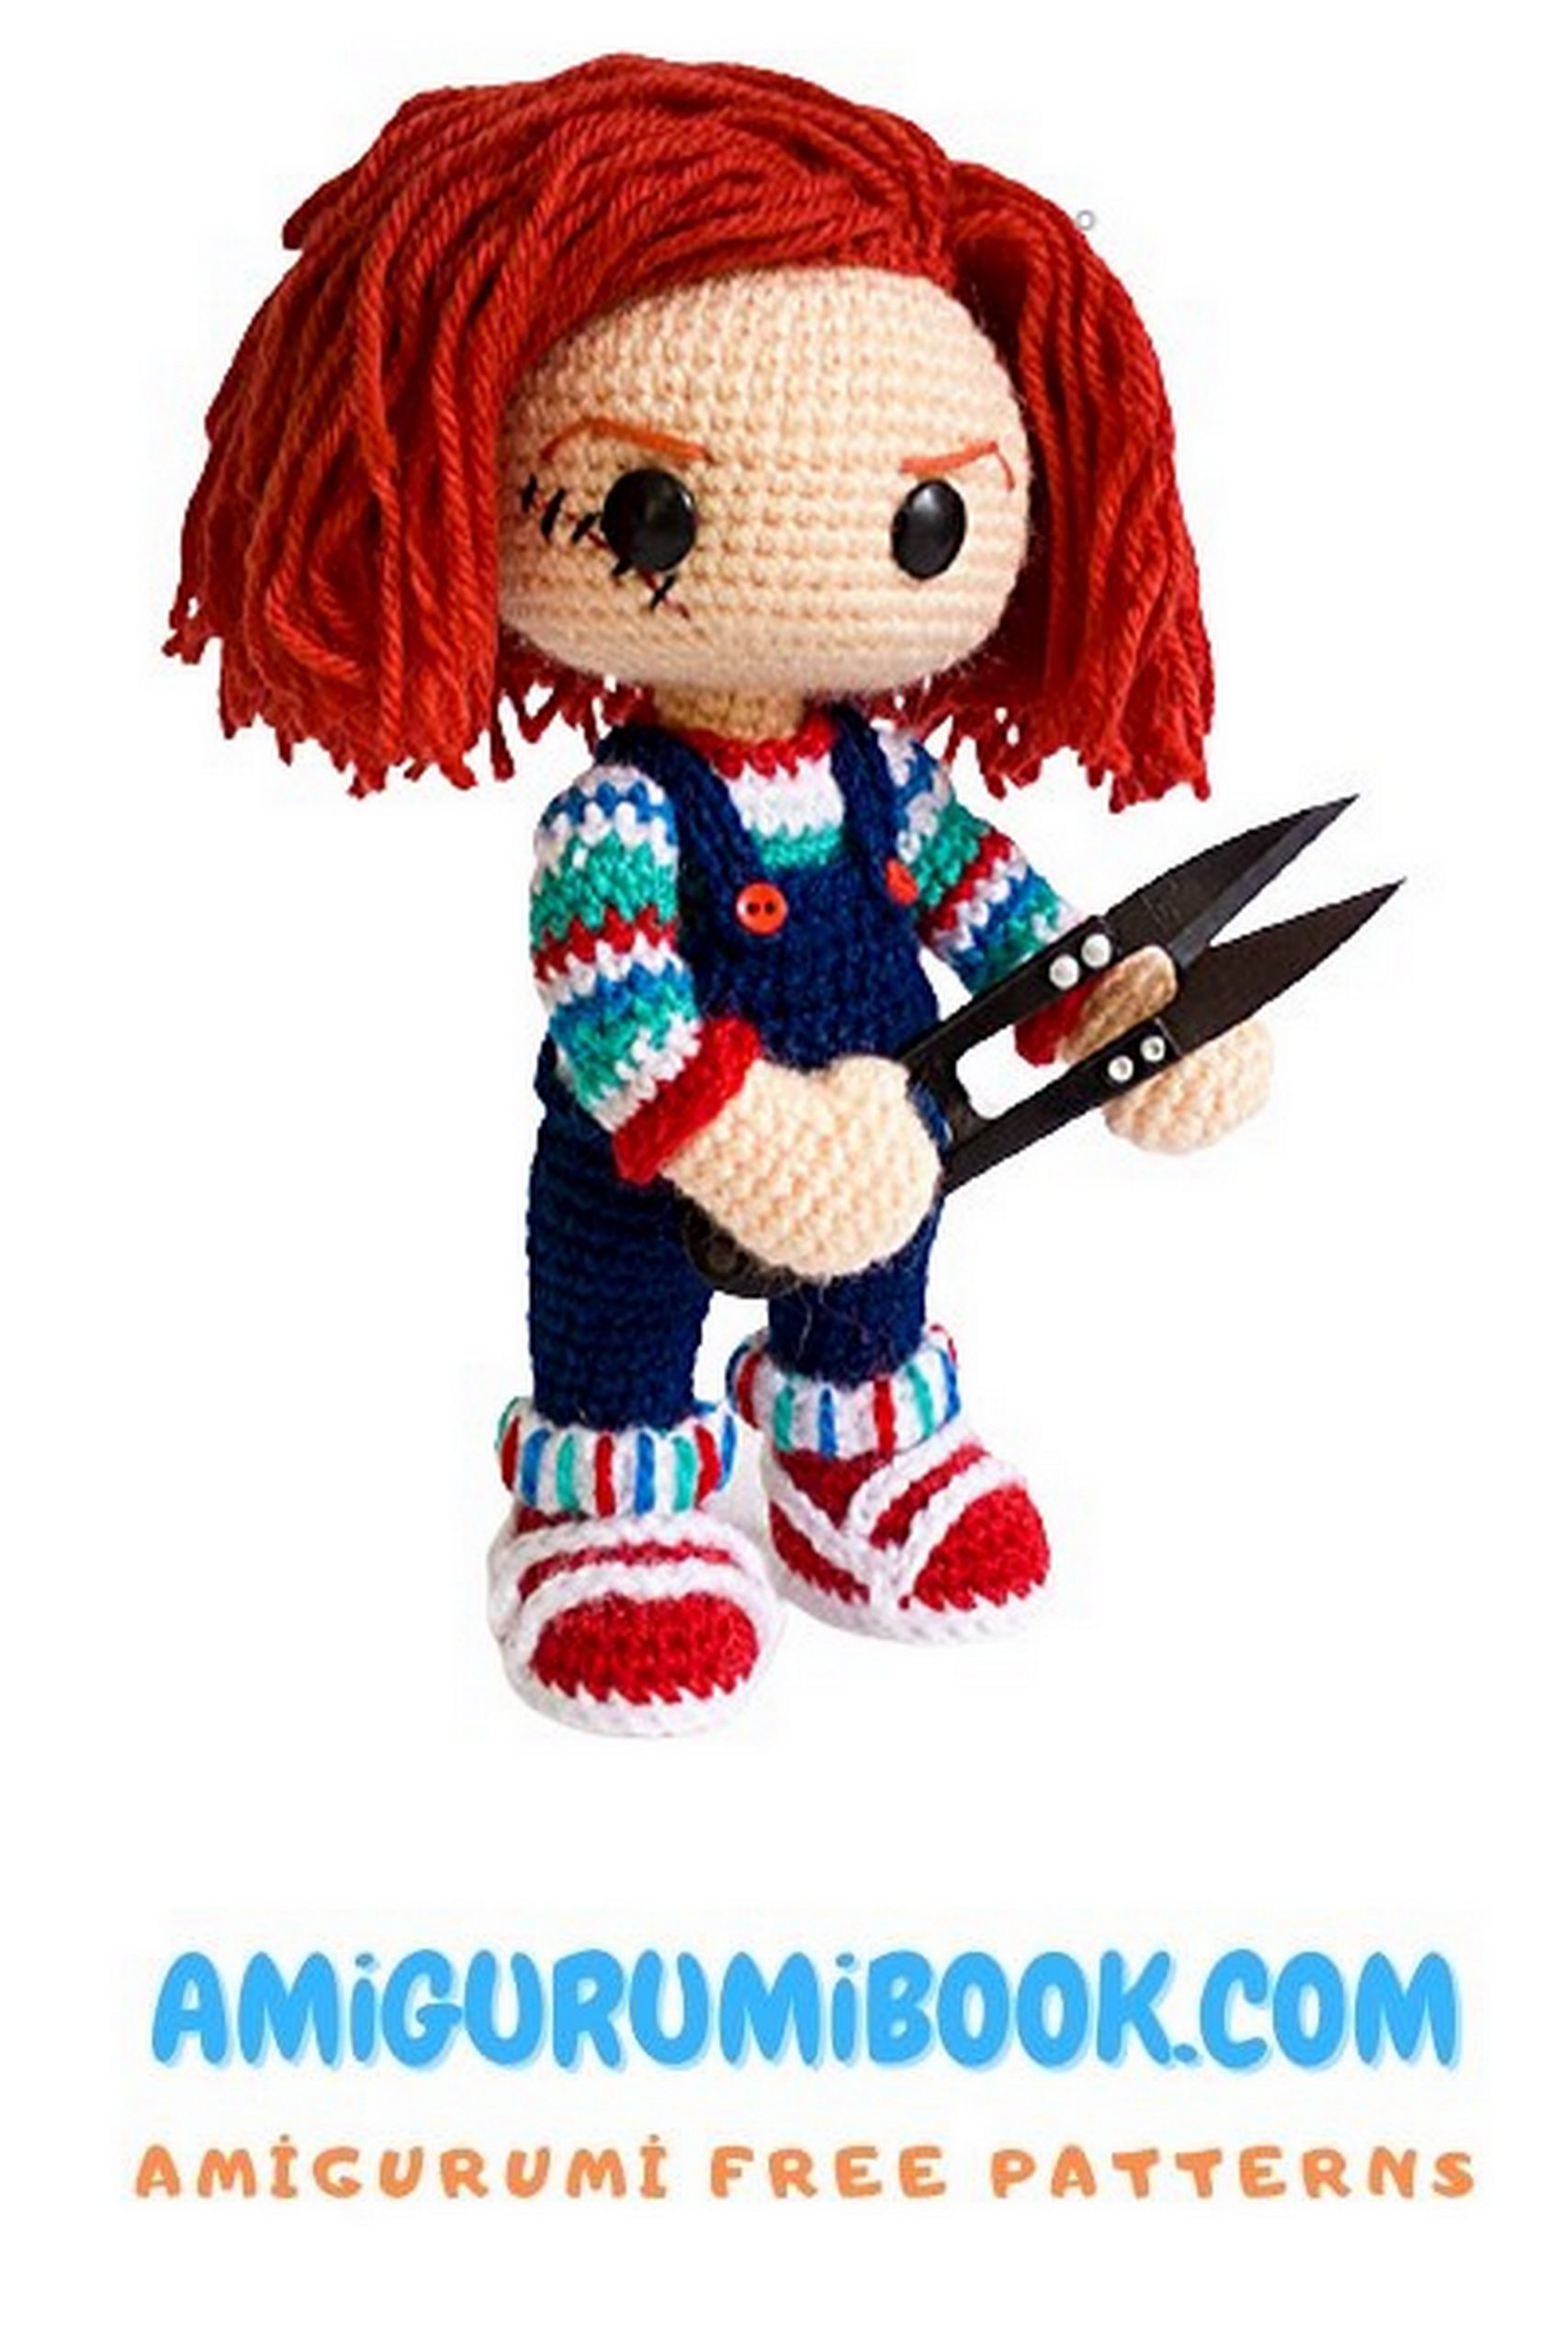
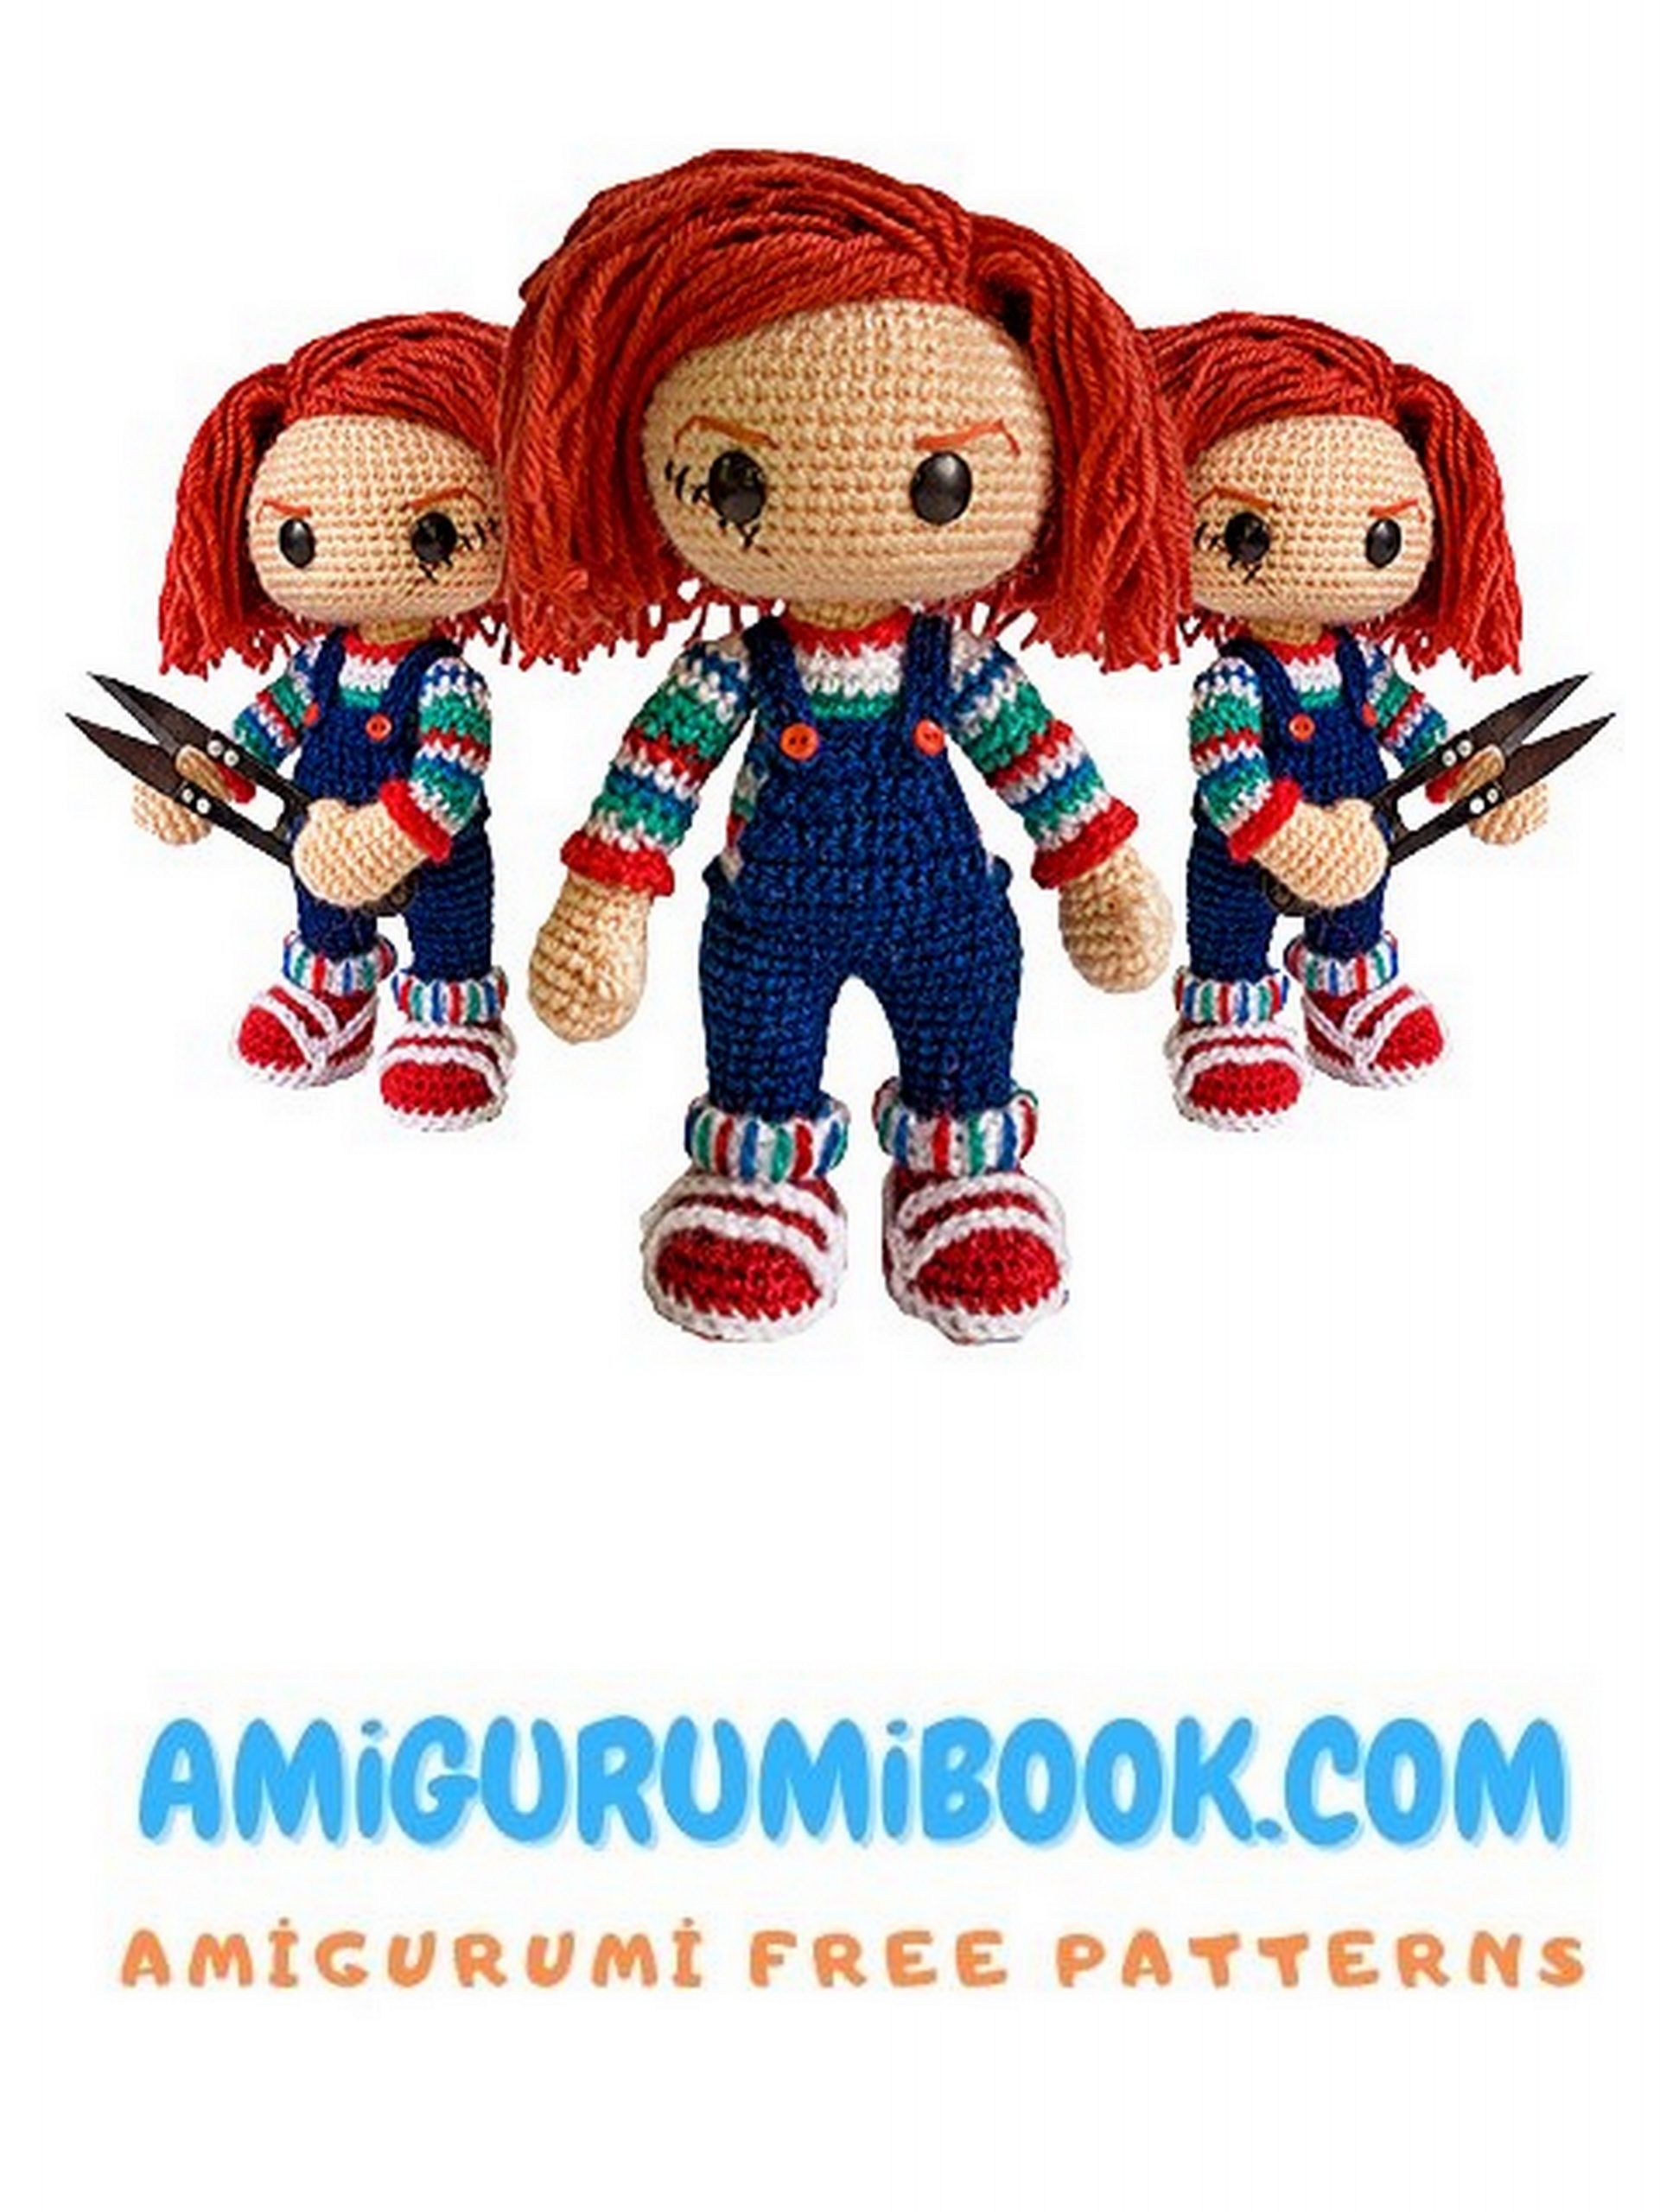
Chucky Amigurumi Free Pattern
I continue to share amigurumi free patterns. In this article, chucky amigurumi free pattern is waiting for you.
Materials
• Sock weight yarn in light peach, white,
red, dark blue, blue, green, copper red
• 2.5mm hook
• Fiberfill
• 12mm black sew on eyes
• A small piece of plastic sheet
• A pair of scissors
• A pair of 6mm red buttons
• Yarn needle
• Sewing needle
• Sewing Pearl headed pins
• Stitch markers
• Small lengths of red, black and copper red
sewing thread
Finished size: 8.5 inch
Skill level: Intermediate

Abbreviations
ch (chain)
magic ring
st (stitch)
sc (single crochet)
hdc (half double crochet)
BLO (back loop only)
FLO (front loop only)
bpsc (back post single crochet)
inc (increase)
dec (decrease)
sl st (slip stitch)
loop st (loop stitch)
4-dc bobble st
PATTERN
SHOE (make 2)
Round 1: With white yarn, ch 8. Starting from second
ch from the hook, sc 6, inc in the last chain. Continuing
on the opposite side of the foundation chain, sc 6. (14)
Round 2: inc in all 14 st. (28)
Round 3: sc around. (28)
Round 4: bpsc around. (24)
Make the Sole: On a small plastic sheet, lay the sole
flat, trace an outline around it and cut out the base.
Check if it fits within the boundary created by the back
post sc in Round 4. Trim further if required. Make 2
holes in the center, a few centimeters apart. Make a
second sole following the same instructions and keep
them aside.
Round 5: Join red and working in BLO, sc around. (28)
Insert sole: Place the plastic sole on the inside of the
sneaker, thread a yarn needle with white yarn, and
holding both pieces together, insert the needle from
inside to out through the hole and from outside to in
through the second hole. Knot the yarn ends together
to secure (Pic 01-03).
Round 6-7: sc around. (28)
Round 8: sc 10, dec 5, sc 8. (23)
Round 9: sc 8, dec 4, sc 7. (19)
Round 10: sc 7, dec 3, sc 6. (16)
Round 11: sc 5, dec 3, sc 5. (13)
Stuff shoe and secure the ‘live’ stitch with a stitch
marker. Before continuing on the legs, we will make
the sneaker stripes.
SNEAKER STRIPES
Stripe 1: With white, ch 14. Fasten off, leaving a tail.
Stripe 2: With white, ch 20. Fasten off, leaving a tail.
Stripe 3: With white, ch 20. Fasten off, leaving a tail.
Pin these stripes as shown in Pic 4-7. Thread tail in
needle and sew in place.
LEG (make 2)
Left
To make the leg, we will pick up from the last round
we worked on the sneaker.
Round 1-4: Join dark blue yarn and sc around. (13)
Round 5: (sc 3, inc) X 3, sc 1. (16)
Round 6-7: sc around. (16)
Round 8: (sc 3, inc) X 4. (20)
Round 9: sc around. (20)
Counting anti-clockwise, mark the second st from the
last worked stitch. This is where we will join the legs
later. Fasten off. Stuff.
Right
Make the right leg following instructions for Round
1-9 of the left leg. sl st in the next 7 st. Mark the last
worked st as the end of the round. Stuff leg but do not
fasten off. Next, we will join the legs.
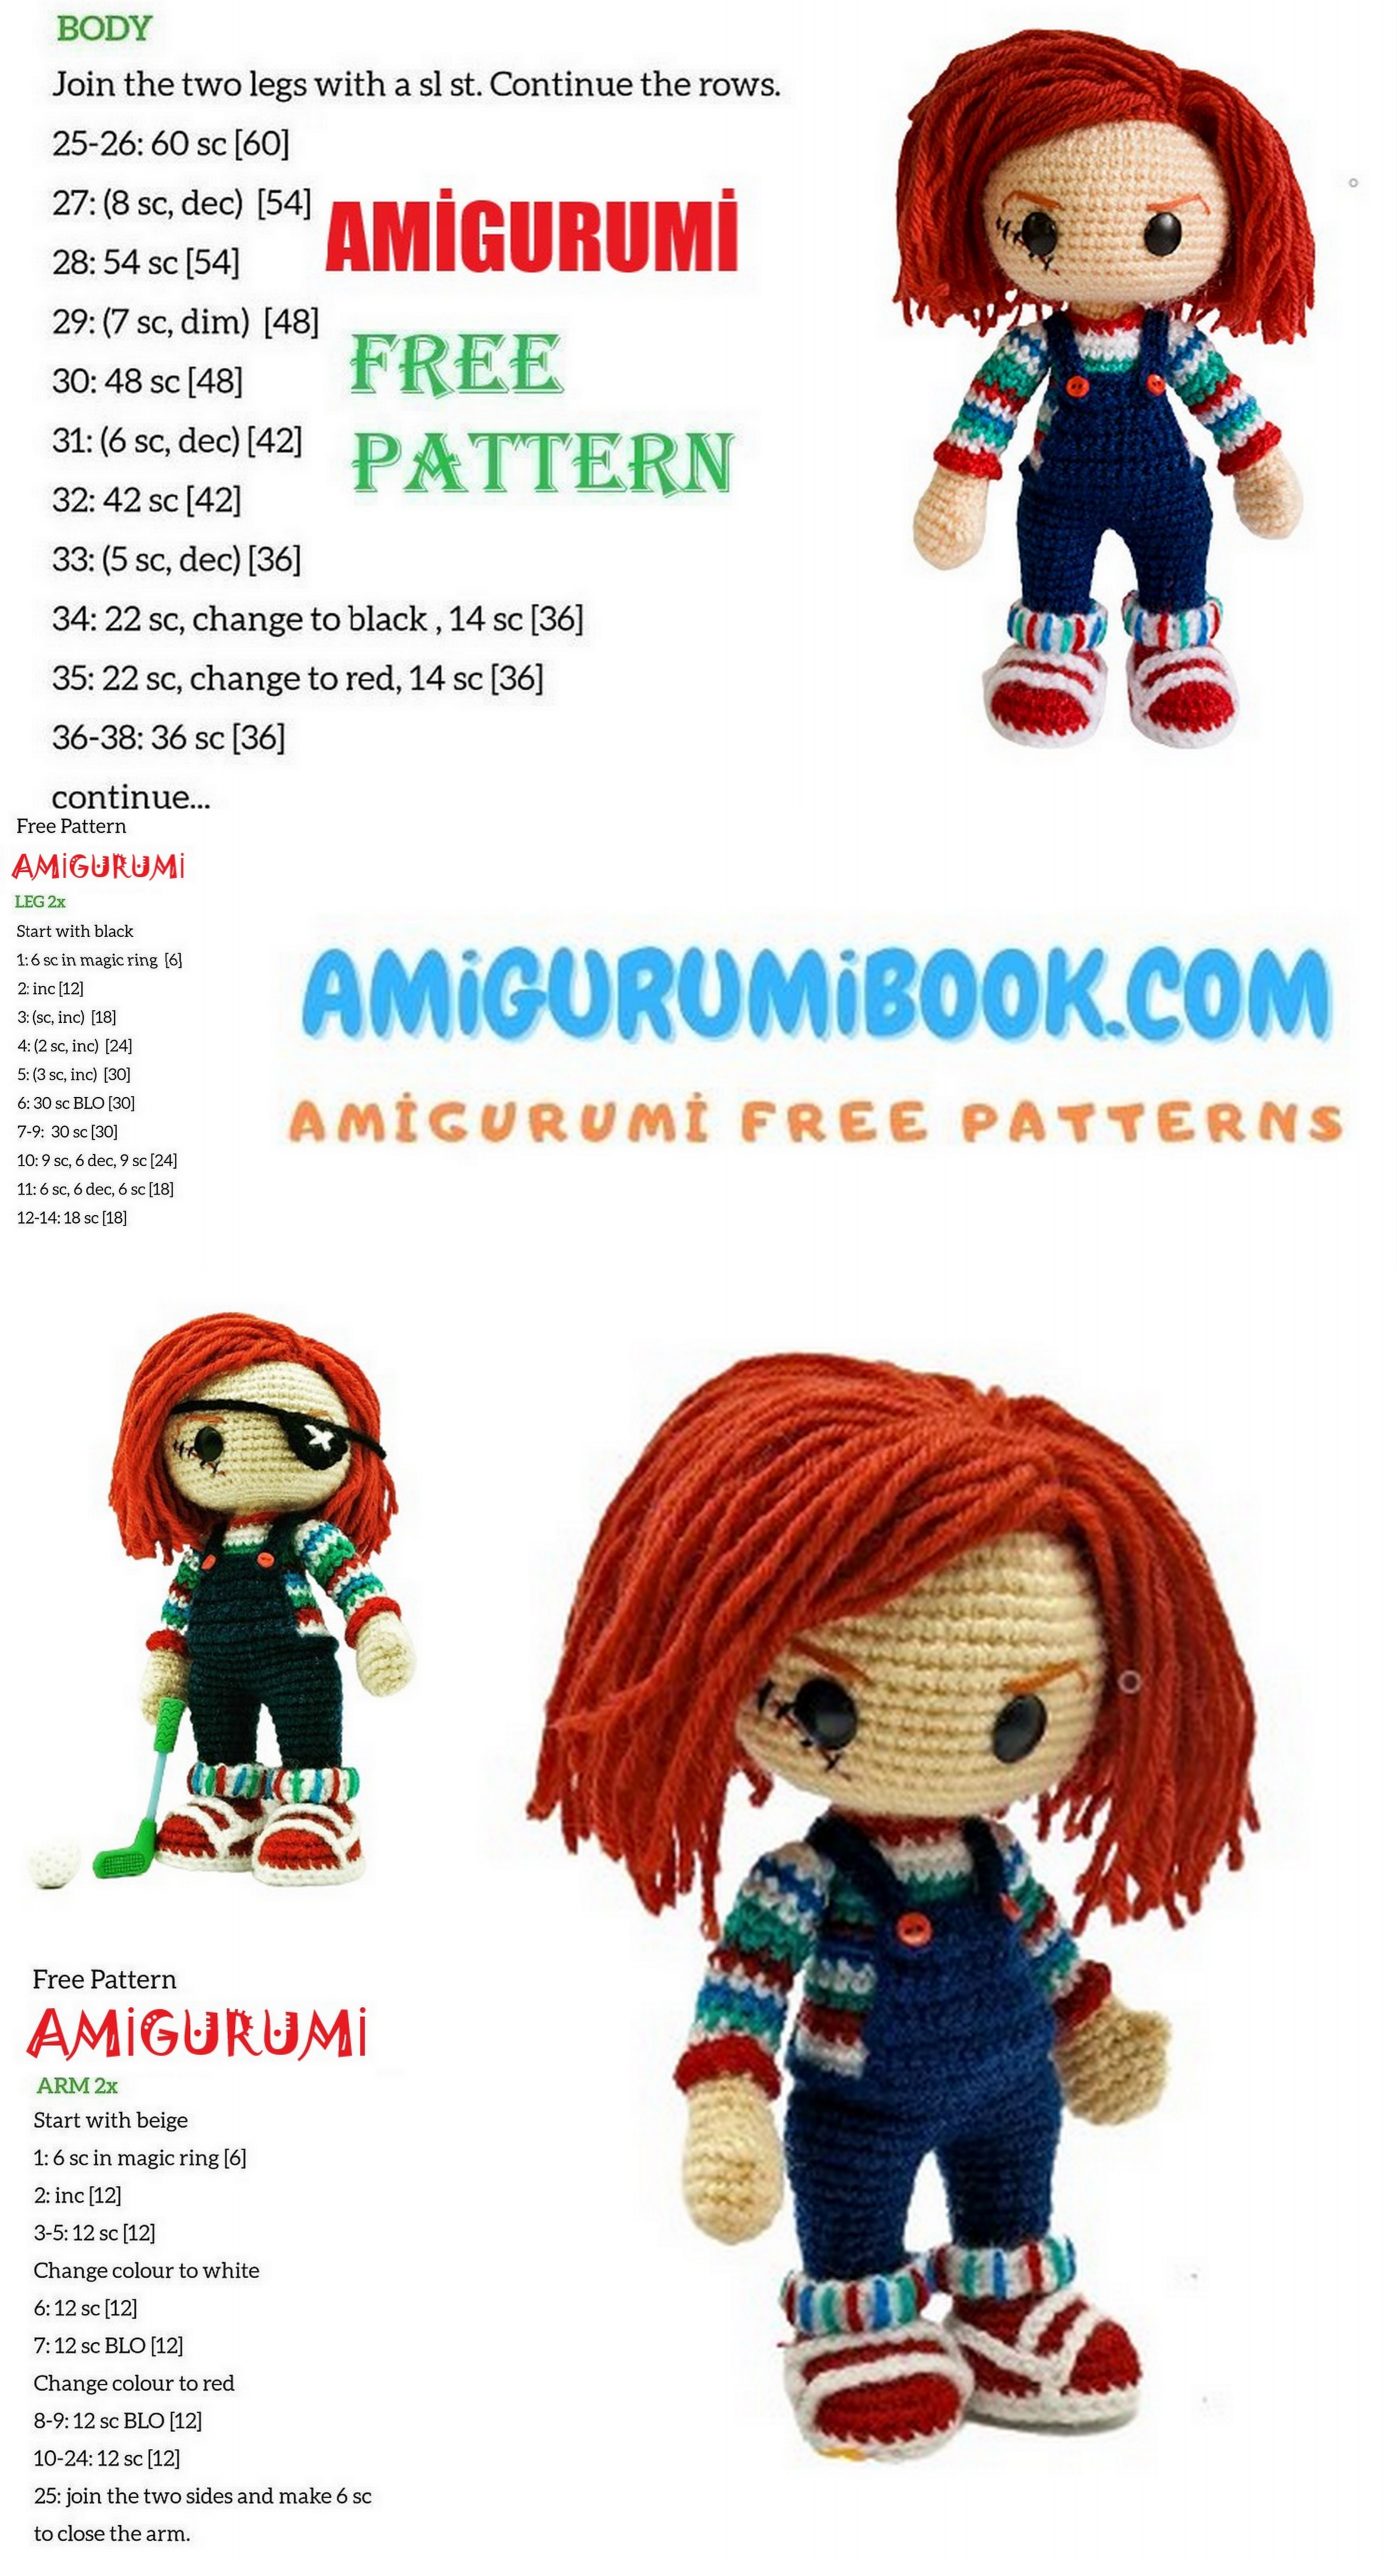
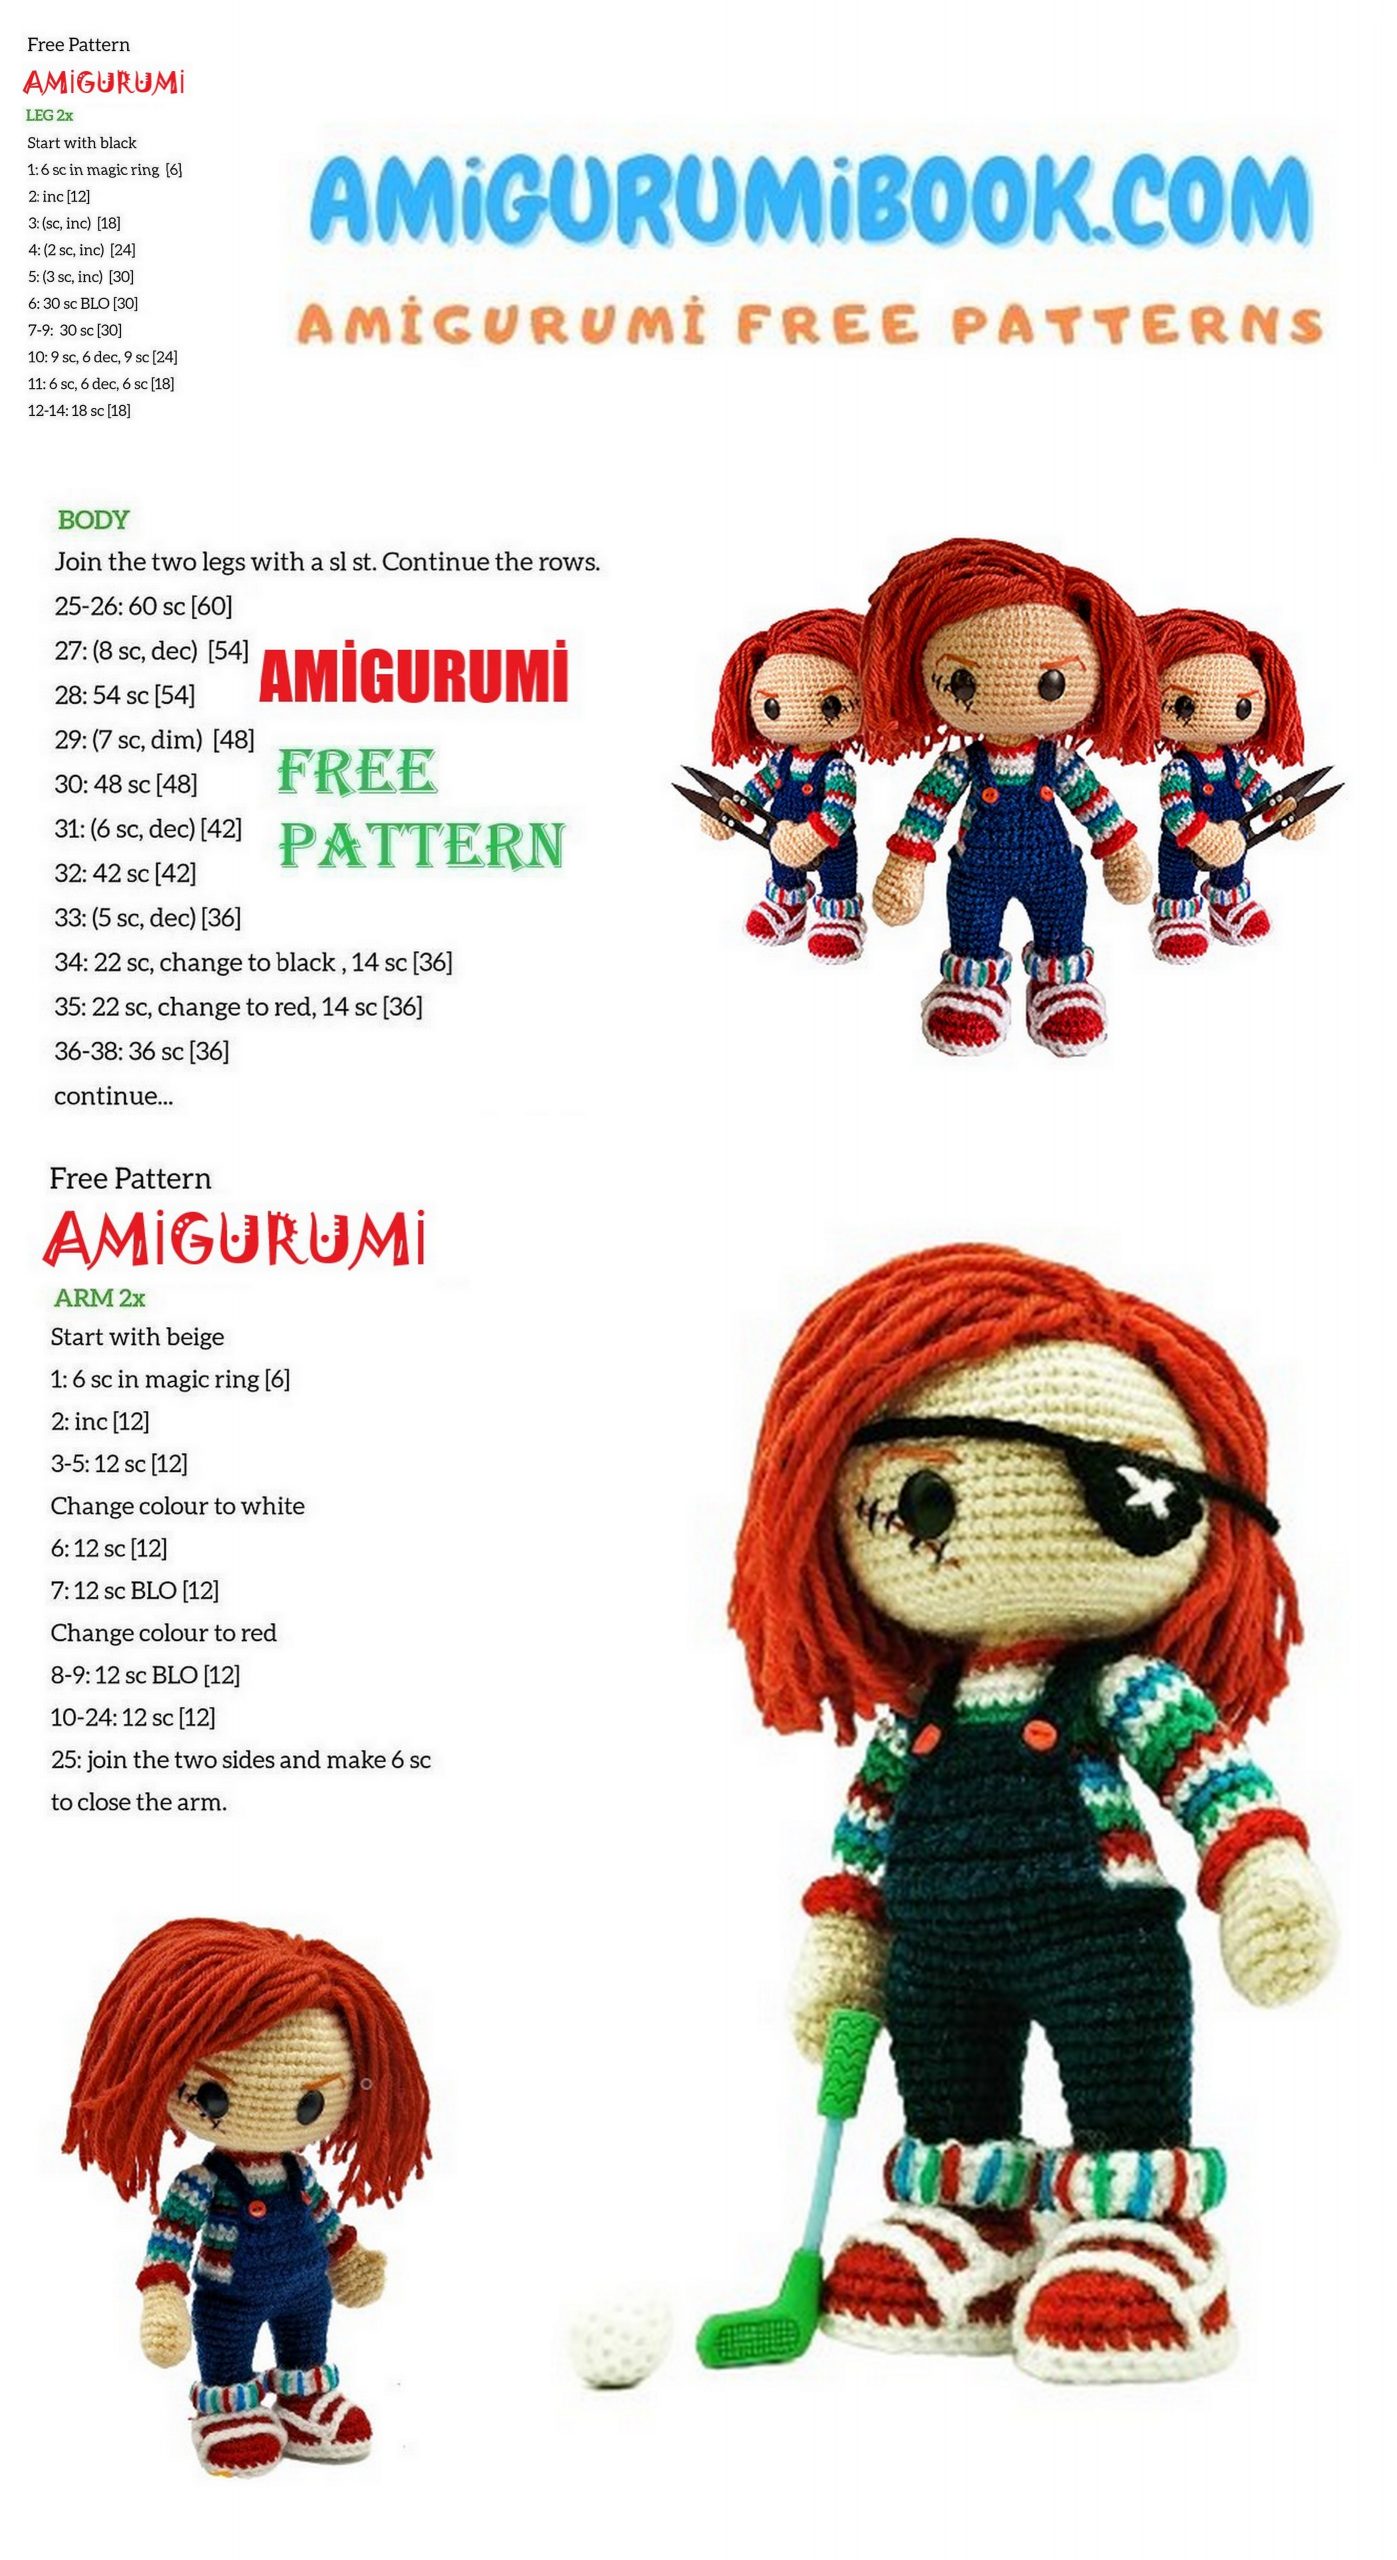
BODY
Hold both legs together, the leg with the ‘live’ stitch
on the right and the first leg on the left. Make sure the
toes are facing away from you.
Round 1: With the live stitch on your hook, ch 1 (Pic 08). Insert your hook in the marked stitch of the left leg, and make an sc (Pic 09). sc in the remaining 19 st on this leg. Next, sc 1 in the front loop (or the loop facing you) of the ch 1 you made earlier (Pic 10-11). sc in the remaining 20 st of the right leg. (42)
Round 2: sc 1 in the front loop of the ch 1 you made in the previous round. Sc in the remaining 42 st around both legs. (42)
Round 3-4: sc around. (42)
Round 5: (sc 5, dec) X 6. (36)
Round 6: Mark the back loop of the next st and sc in the front loop. FLO sc in the remaining 35 st. (36)
Fasten off this color and weave in the yarn end.
Mark the 6th, 15th, 25th and 32nd st on the waistband (Pic 12). This is where we will make the bib and
straps of the overalls.
Round 7: Join white yarn on the back loop you marked
at the beginning of Round 6 and sc around in all 36
back loops (Pic 13-14). (36)
Round 8: sc around. (36)
Round 9: Join red yarn and (sc 4, dec) X 6. (30)
Round 10: sc around. (30)
Round 11: Join green yarn and sc around. (30)
Round 12: With white, sc around. (30)
Round 13: Join blue yarn and (sc 3, dec) X 6. (24)
Round 14: sc around. (24) Fasten off this color.
Round 15: With red, sc around. (24)
Round 16-17: With green, sc around. (24) Fasten off
this color.
Round 18-19: With white, sc around. (24) Fasten off
this color.
Round 20: With red, sl st in the next st. Put a stitch
marker in the loop to prevent your work from unraveling.
Round 21: Join light peach yarn on the back loop of
the next round and dec X 12. (12) Stuff the body.
Round 22-29: sc around. (12)
It is very important to stuff the neck as firmly as possible at this point so it can support the weight of the head.
Round 30: dec X 6. (6)
Fasten off, leaving a long tail. Using your yarn needle,
weave the yarn tail through the front loop of each
remaining stitch and pull it tight, closing off the neck.
Weave in the yarn end.
Sweatshirt collar: Pick up the red colored loop you marked in Round 20 and (sc 2, dec) X 6, sl st in the next st. (18) Fasten off and weave in the yarn end.
Overall Cuffs
With white yarn, ch 3.
Row 1-17: sc 2, ch 1, turn. (2)
Row 18: sc 2. Fasten off, leaving a tail.
Sew vertical stripes along this rectangle with red, blue
and green yarn. Wrap cuff around the leg just above
the sneaker and sew ends together.
ARM (make 2)
Round 1: With light peach yarn, 6 sc in a magic ring. (6)
Round 2: inc in all 6 st. (12)
Round 3: (sc 1, inc) X 6. (18)
Round 4-5: sc around. (18)
Round 6: 4-dc bobble st1, sc 17. (18)
Round 7: (sc 1, dec) X 6. (12)
Round 8-10: sc around. (12)
Round 11: Join red yarn. sc around. (12)
Round 12: Join white yarn. BLO sc around. (12)
Round 13: Join green yarn. sc around. (12)
Round 14: Join blue yarn. sc around. (12)
Round 15: With white, sc around. (12)
Round 16: With red, sc around. (12)
Fasten off this color.
Round 17-18: With green, sc around. (12)
Fasten off this color.
1. 4-DC BOBBLE STITCH
YO, insert hook in the next st, pull yarn through, YO, pull
yarn through the first two st (2 st on hook); YO, insert
hook in the same st, pull yarn through, YO, pull yarn
through the first two st (3 st on hook); YO, insert hook in
the same st, pull yarn through, YO, pull yarn through the
first two st (4 st on hook); YO, insert hook in the same st,
pull yarn through, YO, pull yarn through the first two st (5
st on hook); YO, pull yarn through all five st.
Round 19: With white, sc around. (12)
Round 20: With blue, sc around. (12)
Fasten off this color.
Round 21: With white, sc around. (12)
Round 22: dec X 6. (6)
Fasten off, leaving a long tail. Using your yarn needle,
weave the yarn tail through the front loop of each
remaining stitch and pull it tight, closing off the gap.
Weave in the yarn end.
Sleeve cuff: Hold the arm upside down. Join red on
the front loop of Round 12. Ch 1 and hdc around. Join
with a sl st. Fasten off and weave in the yarn ends.
Sew arms on either side of the body.
BIB
Hold the body with its font facing you.
Row 1: Join dark blue yarn on the marked stitch on
the waistband on your right and sc in the same st. sc
in the next 10 st, ch 1, turn (the last sc of the row is
worked on the stitch marked on your left). (11)
Row 2-5: sc 11, ch 1, turn. (11)
Row 5: sc 1, dec, sc 5, dec, sc 1, ch 1, turn. (9)
Row 6-7: sc 9, ch 1, turn. (9)
Row 8: sc 1, dec, sc 3, dec, sc 1, ch 1, turn. (7)
Row 9: sc 7. (7)
Fasten off. Weave in the yarn ends.
Shoulder straps: Join dark blue yarn on the marked
stitch on your right at the back of the waistband. ch 28.
Starting from 5th ch from the hook, sc 24. sl st in the next
9 stitches on the waist. To make the second strap, ch 28.
Starting from 5th ch from the hook, sc 24. sl st in the next
marked st. Fasten off and weave in the yarn ends. Sew
red 6mm buttons on the bib and button the straps.
HEAD
Round 1: With light peach yarn, 8 sc in a magic ring. (8)
Round 2: inc in all 8 st. (16)
Round 3: (sc 1, inc) X 8. (24)
Round 4: (sc 2, inc) X 8. (32)
Round 5: (sc 3, inc) X 8. (40)
Round 6: (sc 4, inc) X 8. (48)
Round 7: (sc 5, inc) X 8. (56)
Round 8-17: sc around. (56)
Round 18: (sc 5, dec) X 8. (48)
Round 19: (sc 4, dec) X 8. (40)
Round 20: (sc 3, dec) X 8. (32)
Round 21: (sc 2, dec) X 8. (24)
Round 22: dec X 12. (12)
Fasten off, leaving a long tail. Stuff head, leaving space in the center for neck insertion.
EYES, SCAR & EYEBROWS
On the head, place a pearl headed pin on any one of
the stitches between Round 15 and 16. Place another
pin 8 stitches to its right. This is where we will sew the
eyes. But before we do that, we will embroider a scar.
With a red sewing thread, embroider a diagonal scar
that starts a little below the temple and runs all the
way down below the eye. With black thread, sew stitch
marks along the length of the scar (Pic 15). Next, sew
eyes in the areas marked with the pearl headed pins.
With copper red thread, embroider eyebrows as show in Pic 15.
WIG
To make the doll’s hair, we will work a 5 inch loop stitch
in each stitch every alternate row.
Round 1: With copper red yarn, 8 sc in a magic ring. (8)
Round 2: Making a 5 inch loop st in each stitch, inc in all 8 st. (16)
Round 3: (sc 1, inc) X 8. (24)
Round 4: Making a 5 inch loop st in each stitch, (sc 2,inc) X 4. (32)
Round 5: (sc 3, inc) X 8. (40)
Round 6: Making a 5 inch loop st in each stitch,(sc 4,inc) X 8, ch 1, turn. (48)
From here on, we will work in rows.
Row 1: sc in the next 24 st, ch 1, turn. (24)
Row 2: Making a 5 inch loop st in each stitch, sc 24, ch 1, turn. (24)
Row 3: sc 24, ch 1, turn. (24)
Row 4: Making a 5 inch loop st in each stitch, sc 24, ch 1, turn. (24)
Row 5-6: sc 24, ch 1, turn. (24)
Row 6: sc 24. (24)
Fasten off, leaving a long tail. Position wig on head using pearl headed pins (Pic 16-17) and sew in place. Cut
open the end of the loops and trim hair.
JOIN HEAD TO BODY
To join the head and make it movable, thread copper red
yarn and insert the needle from the center of the magic
ring on the wig and out from the neck opening. Count
down 6 rounds from the top of the neck. Now insert your
needle through the neck at this point, back through the
neck opening on the head, bringing it out from the magic
ring again (Pic 18). Slide the head down the two strands
of yarn until it sits perfectly on the neck. Knot the yarn
ends together a few times to secure. Clip off excess yarn
and push remaining yarn back into the head.
And you’re done!
Hang out with Chucky!
DONATE
If you loved this free pattern, would you please
consider making a small donation to an organization
that works for animal welfare in Nepal?
Animal Nepal is a not for profit organization
committed to improving the lives of animals in
Nepal. This small, yet fiercely committed organization
has been treating, neutering/spaying street dogs,
providing them shelter, and helping them find their
forever home. Animal Nepal is also known for their
relentless fight against animal abuse—a widespread
problem in Nepal—including those of working equines
and working elephants.
If you want to help Animal Nepal, please visit their
website and make a donation.
Click here to go to Animal Nepal donation page.
Thank you for caring.
USING: You can use this pattern and make
this little amigurumi for yourself, your friends
and your family. I’d be thrilled if you drop me a
line (along with your web link or a photograph
of the amigurumi you made using my pattern);
it’s always a pleasure to see what you guys do
with my pattern.