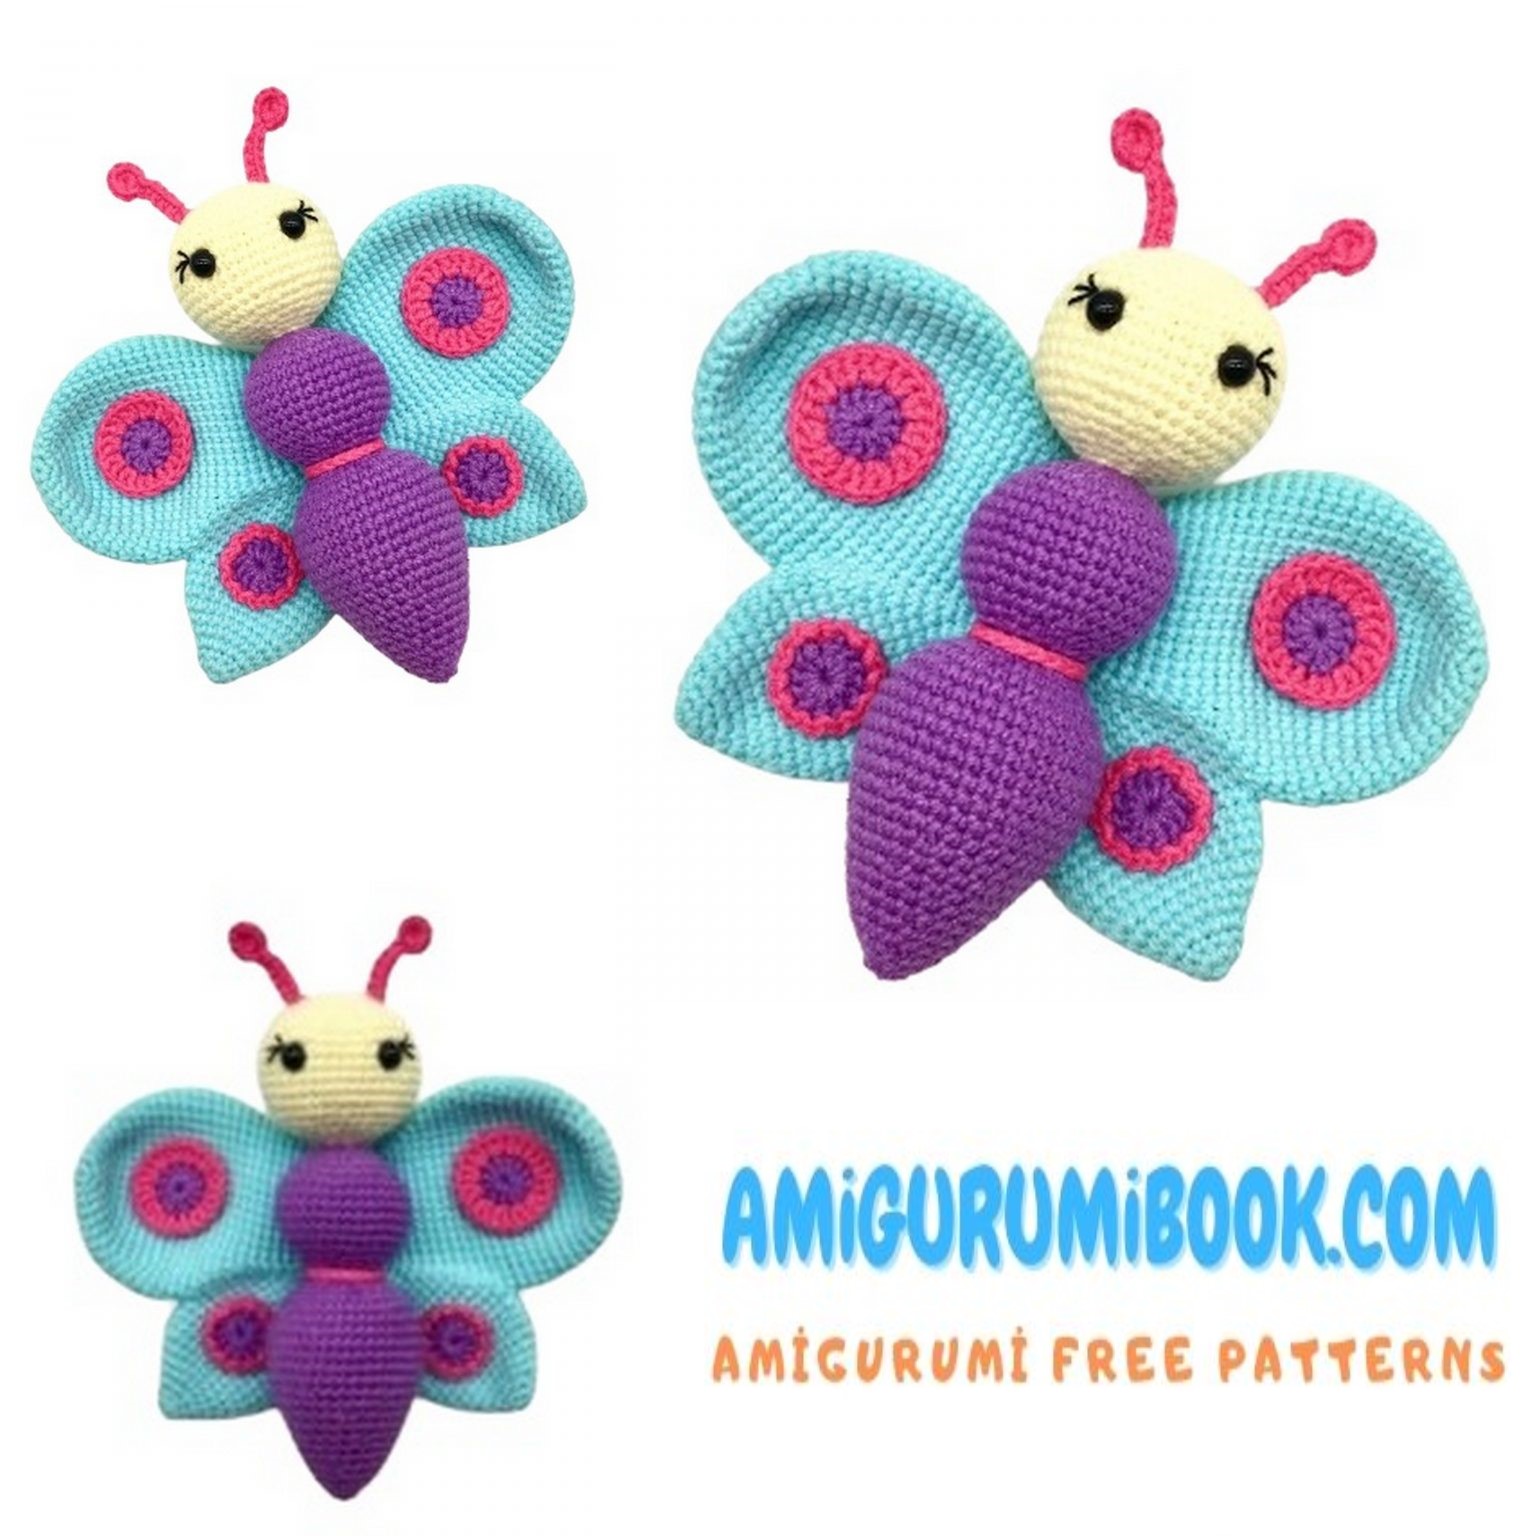
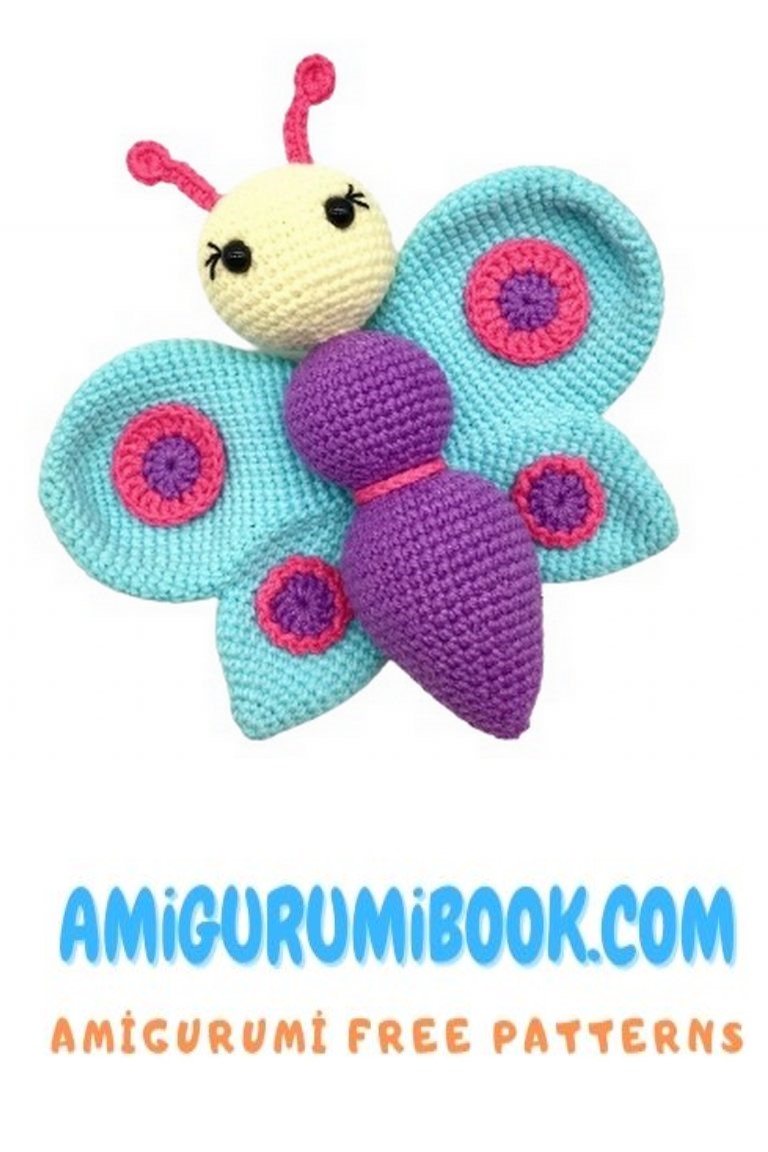
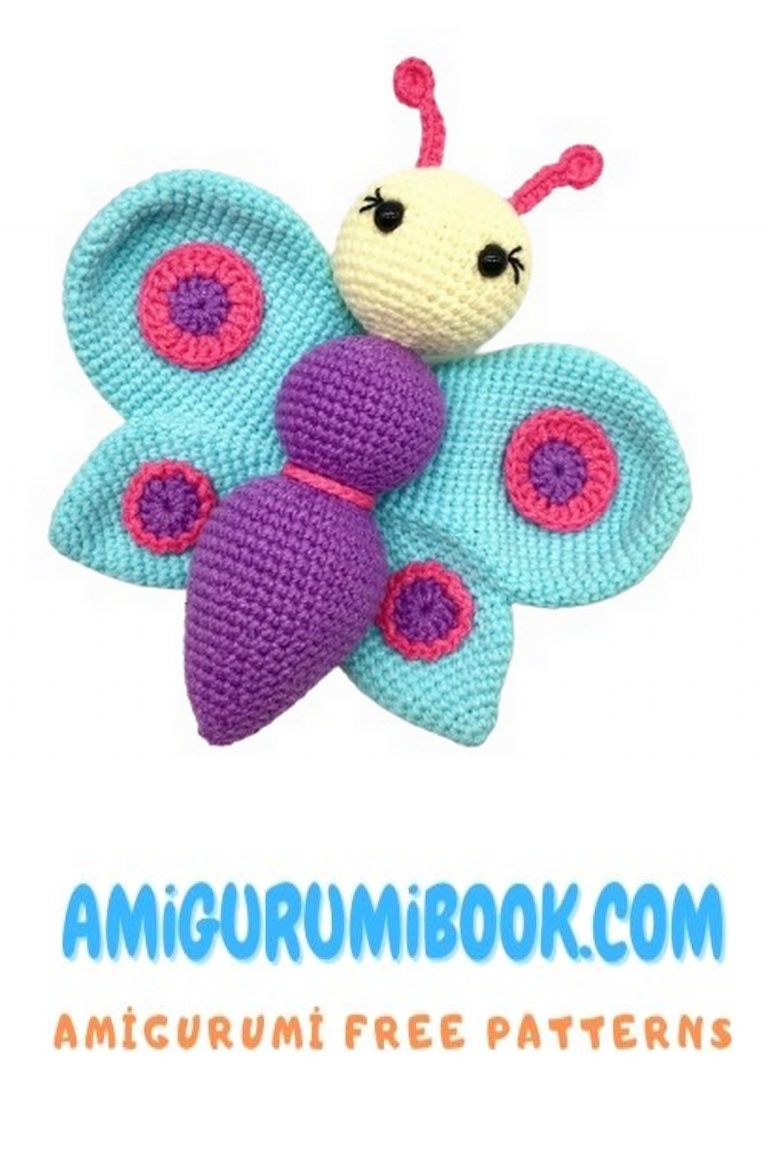
Cute Butterfly Amigurumi Free Pattern
Wonderful amigurumi animal patterns are with you on this site for free. You will love this cute amigurumi butterfly pattern.
– Notes
Skill level: basic to intermediate crochet skills and knowledge
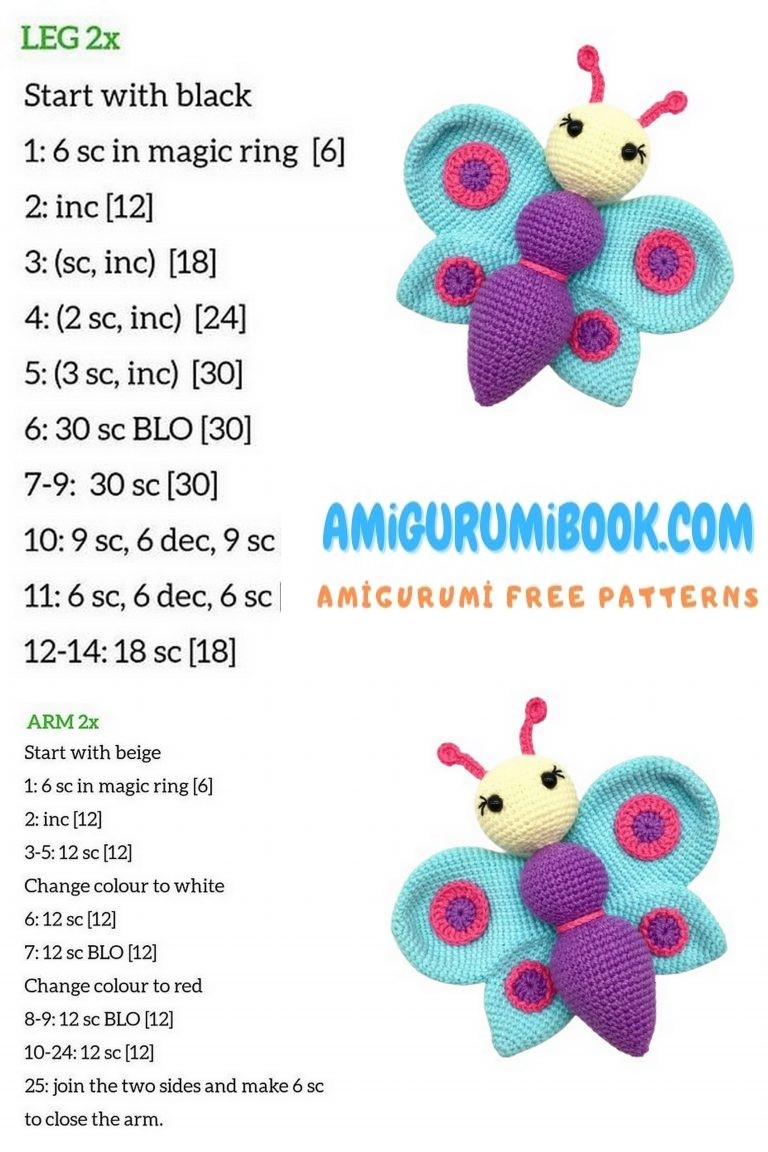
Finished size – width: 16.5cm / 6.5 inches
Finished size – height: 18cm / 7 inches
– Materials and Equipment
Yarn I used:
– Fine Sport #2 = 4 ply
– 55% cotton and 45% acrylic
– 1x ball of cream yarn – YarnArt Jeans – colour 86 – (50g/160m)
– 1x ball of purple yarn – YarnArt Jeans – colour 72 – (50g/160m)
– 1x ball of pink yarn – YarnArt Jeans – colour 42 – (50g/160m)
– 1x ball of blue yarn – YarnArt Jeans – colour 76 – (50g/160m)
Best Yarn for Making Amigurumi tutorial. You can find the substitutes towards the end of the article.
Or just simply use any 100% cotton that will work just as well. You can also use 100% acrylic if you prefer to work with this type of yarn.
Other materials used: polyester fibre fill, a long piece of black thread yarn for eye lash embroidery
Crochet hook: I used 2.5mm = B/1, if using different weight of yarn then refer to hook size recommendations on the yarn but go one size smaller. I highly recommend this ergonomic crochet hook set from Amazon as it comes in a stylish case and with other accessories such as stitch markers etc.
Other equipment used: scissors, or thin yarn to use instead, 8mm safety eyes
Choking hazard warning: the use of safety eyes or buttons poses a choking risk for children under the age of 3 therefore I recommend using embroidery instead.
– Abbreviations Used
This pattern is written using US crochet terminology
MR: magic ring
ST: stitch
SC: single crochet stitch
HDC: half double crochet stitch
DC: double crochet stitch
CH: chain stitch
SL: slip stitch
INC: increase = two single crochet stitches in the same stitch
L INC: large increase = three single crochet stitches in the same stitch
INV DEC: invisible decrease = insert the hook into the front loop of the first stitch (two loops on hook) and immediately insert it again into the front loop of the next stitch (three loops on the hook). Yarn over and draw through the first two loops on the hook (two loops on the hook). Yarn over and draw through the two loops on the hook to finish your invisible decrease
BLO: back loops only
FO: fasten off
(…..) x 6: repeat the pattern inside the brackets by the given number (in this example, repeat the pattern in the brackets 6 times)
{…}: number shown inside these brackets equals the number of total stitches at the end of each round
– Let’s Get Started!
How to Crochet the Head and Body
Crochet from the top of the head towards the end of the body.
R1: MR – 6 x SC into the ring {6}
R2: INC in each ST around {12}
R3: (SC in next ST, INC) x 6 {18}
R4: SC in next ST, INC, (SC in next 2 ST, INC) x 5, SC in next ST {24}
R5: (SC in next 3 ST, INC) x 6 {30}
R6: SC in next 2 ST, INC, (SC in next 4 ST, INC) x 5, SC in next 2 ST {36}
R7: (SC in next 5 ST, INC) x 6 {42}
R8-R14 (7 rounds): SC in each ST around {42} – leave your stitch marker in at the start of
R10 as you will need to refer to it when placing the eyes
R15: (SC in next 5 ST, INV DEC) x 6 {36}
R16: SC in next 2 ST, INV DEC, (SC in next 4 ST, INV DEC) x 5, SC in next 2 ST {30}
You can now place the eyes:
– stuff the head well first
– place eyes between rounds R10 and R11
– first eye – count 15 stitches from your marker at the start of R10 and place the eye between ST15 and ST16
– second eye – count 23 stitches from your marker at the start of R10 and place the eye between ST23 and ST24
– it helps to use pins with large heads to first mark the spots where the eyes will be placed
– you can make a decision whether you are happy with the placement and if it looks symmetrical before you insert the safety eyes; the safety eyes usually make a large hole in between the stitches so it is not recommended to change the placement of the eyes once they are in
– you can now insert the safety eyes and put the safety backs on
Continue to stuff gradually making sure you add enough stuffing where the head joins the body otherwise the head will be wobbly. It can be a bit fiddly to push the stuffing into the narrow opening but it does support the head well.
R17: (SC in next 3 ST, INV DEC) x 6 {24}
R18: SC in next ST, INV DEC, (SC in next 2 ST, INV DEC) x 5, SC in next ST {18}
R19: (SC in next ST, INV DEC) x 6 {12}
R20: INV DEC all around {6}
Change yarn to purple colour
R21: INC in each ST around {12}
R22: (SC in next ST, INC) x 6 {18}
R23: SC in next ST, INC, (SC in next 2 ST, INC) x 5, SC in next ST {24}
R24: (SC in next 3 ST, INC) x 6 {30}
R25: SC in next 2 ST, INC, (SC in next 4 ST, INC) x 5, SC in next 2 ST {36}
R26-R31 (6 rounds): SC in each ST around {36}
R32: SC in next 2 ST, INV DEC, (SC in next 4 ST, INV DEC) x 5, SC in next 2 ST {30}
R33: (SC in next 3 ST, INV DEC) x 6 {24}
R34: SC in next ST, INV DEC, (SC in next 2 ST, INV DEC) x 5, SC in next ST {18}
R35: (SC in next ST, INV DEC) x 6 {12}
R36: (SC in next ST, INC) x 6 {18}
R37: SC in next ST, INC, (SC in next 2 ST, INC) x 5, SC in next ST {24}
R38: (SC in next 3 ST, INC) x 6 {30}
R39: SC in next 2 ST, INC, (SC in next 4 ST, INC) x 5, SC in next 2 ST {36}
R40: (SC in next 5 ST, INC) x 6 {42}
R41-R46 (6 rounds): SC in each ST around {42}
R47: (SC in next 5 ST, INV DEC) x 6 {36}
R48: SC in each ST around {36}
R49: SC in next 2 ST, INV DEC, (SC in next 4 ST, INV DEC) x 5, SC in next 2 ST {30}
R50: SC in each ST around {30}
R51: (SC in next 3 ST, INV DEC) x 6 {24}
R52-R53 (2 rounds): SC in each ST around {24}
R54: SC in next ST, INV DEC, (SC in next 2 ST, INV DEC) x 5, SC in next ST {18}
R55: SC in each ST around {18}
R56: (SC in next ST, INV DEC) x 6 {12}
R57: SC in each ST around {12}
R58: SC in next ST, INV DEC, (SC in next 2 ST, INV DEC) x 2, SC in next ST {9} Stuff well, close the hole with a needle and weave the yarn end in.
How to Crochet the Wings
Crochet two separate wing parts and then join them together to finish the whole wing.

Smaller wing part:
R1: MR – 6 x SC into the ring {6}
R2: (SC in next ST, INC) x 3 {9}
R3: SC in each ST around {9}
R4: INC in each ST around {18}
R5: SC in each ST around {18}
R6: (SC in next 7 ST, 2x INC) x 2 {22}
R7: (SC in next 9 ST, 2x INC) x 2 {26}
R8: SC in each ST around {26}
R9: SC in next 10 ST, INC, SC in next 15 ST {27}
R10: SC in next 11 ST, INC, SC in next 13 ST, pull a short string through the next ST to use as a marker; you will refer to it when joining the wing parts; leave the last 2 STs undone {26}
FO and weave the yarn end in.
Bigger wing part:
R1: MR – 6 x SC into the ring {6}
R2: INC in each ST around {12}
R3: (SC in next ST, INC) x 6 {18}
R4: SC in next ST, INC, (SC in next 2 ST, INC) x 5, SC in next ST {24}
R5: (SC in next 3 ST, INC) x 6 {30}
R6: (SC in next 13 ST, 2x INC) x 2 {34}
R7: (SC in next 16 ST, INC) x 2 {36}
R8: (SC in next 17 ST, INC) x 2 {38}
R9: (SC in next 18 ST, INC) x 2 {40}
R10: (SC in next 19 ST, INC) x 2 {42}
R11: (SC in next 20 ST, INC) x 2 {44}
R12-R15 (4 rounds): SC in each ST around {44}, pull a short string through ST20 in R15 to use as a marker; you will refer to it when joining the wing parts
Do not FO or cut off the yarn as you will continue to crochet R16 to join the two wing parts together.
To join the wing parts together continue to crochet R16 of the bigger wing part:
R16: SC in next 19 ST of the bigger part, you will now join the bigger part to the smaller part – insert your hook into the stitch that you pulled the string through on the smaller part (Pic W1), SC in next 28 ST, you will now connect the smaller part back to the bigger part – insert your hook into the stitch you pulled the string through on the bigger part (Pic W4), SC in next 22 ST, INV DEC, SC in next ST {71}
R17: SC in next 18 ST, INV DEC, SC in next 27 ST, INV DEC, SC in next 22 ST {69}
R18: SC in next 17 ST, INV DEC, SC in next 12 ST, INV DEC, SC in next 14 ST, INV DEC, SC in next 17 ST, INV DEC, SC in next ST {65}
R19: SC in next 17 ST, INV DEC, SC in next 10 ST, INV DEC, SC in next 14 ST, INV DEC, SC in next 16 ST, INV DEC {61}
R20: SC in next 17 ST, INV DEC, SC in next 9 ST, INV DEC, SC in next 12 ST, INV DEC, SC in next 15 ST, INV DEC {57}
R21: SC in next 16 ST, INV DEC, SC in next 9 ST, INV DEC, SC in next 11 ST, INV DEC, SC in next 15 ST {54}
R22: INV DEC, SC in next 14 ST, INV DEC, SC in next 7 ST, INV DEC, SC in next 10 ST, INV DEC, SC in next 15 ST {50}
R23: INV DEC, SC in next 13 ST, INV DEC, SC in next 5 ST, 2x INV DEC, SC in next 7 ST, INV DEC, SC in next 15 ST {45}
R24: INV DEC, SC in next 12 ST, INV DEC, SC in next 3 ST, 2x INV DEC, SC in next 5 ST, INV DEC, SC in next 15 ST {40}
R25: INV DEC, SC in next 10 ST, INV DEC, SC in next 2 ST, 2x INV DEC, SC in next 3 ST, INV DEC, SC in next 13 ST, INV DEC {34}
R26: SC in next 13 ST, 2x INV DEC, SC in next 15 ST, INV DEC {31}
R27: INV DEC, SC in next 10 ST, 2x INV DEC, SC in next 13 ST, INV DEC {27}
R28: INV DEC, SC in next 8 ST, 2x INV DEC, SC in next 11 ST, INV DEC {23}
R29: INV DEC, SC in next 6 ST, 2x INV DEC, SC in next 9 ST, INV DEC {19}
SC the opening together to close the wing.
FO and leave a long tail for sewing.
How to Crochet the Wing Dots
Start by crocheting a circle using double crochet stitches; each circle will be connected with a slip stitch so you will not crochet in a spiral.
Large wing dots:
R1: MR – chain 2 ST, 11 x DC into MR, SL into 1 DC ST of R1 – usually you would slip stitch into the top ST of the chain but I think the joint looks neater this way {12 incl. the chain}
Change yarn to pink colour
R2: chain 2 ST, 1x DC into the same ST you slip stitched through at the end of R1, 2x DC in each of the remaining STs, SL into 1 DC ST of R2 {24 incl. the chain} FO and leave a long tail for sewing.
Small wing dots:
R1: MR – chain 2 ST, 11 x DC into the ring, SL into 1 DC ST of R1 {12 incl. the chain}
Change yarn to pink colour
R2: In this round you will crochet the decorative hem – chain 1 ST, SL into the same ST you slip stitched through at the end of R1, (chain 1 ST and SL into next ST) x repeat all around FO and leave a long tail for sewing.
How to Crochet the Antennae
R1: MR – 9 x SC into the ring {9}
R2: SL ST into 1 ST of R1, chain 7 STs, SC in 6 STs starting from 2 CH from the hook (go through back bump of each CH as well), SL ST into the ST at the base of the chain
FO and weave the yarn ends in; leaving one yarn end for sewing.
How to Crochet the Belt
R1: Chain 19 STs {19}
Wrap the chain around the waist, sew the ends together and weave yarn ends in.
You may need to adjust the number of STs in the chain depending on how well you stuffed the waist.
– Assembly:
Decorating the wings: Sew the large dots on the bigger part of the wings and the small dots on the smaller part.
Body and wings: Pin the wings to the back of the body first making sure that they look symmetrical from the front and back. You will need to sew them to the body as outlined in the photo below otherwise the wings will be too floppy.
Head and antennae: Pin the antennae to the head first making sure they look symmetrical from the front and then sew them to the head. I placed the antennae between R3 and R5.
Eye lash embroidery: You can embroider the eye lashes using a long piece of black thread yarn.