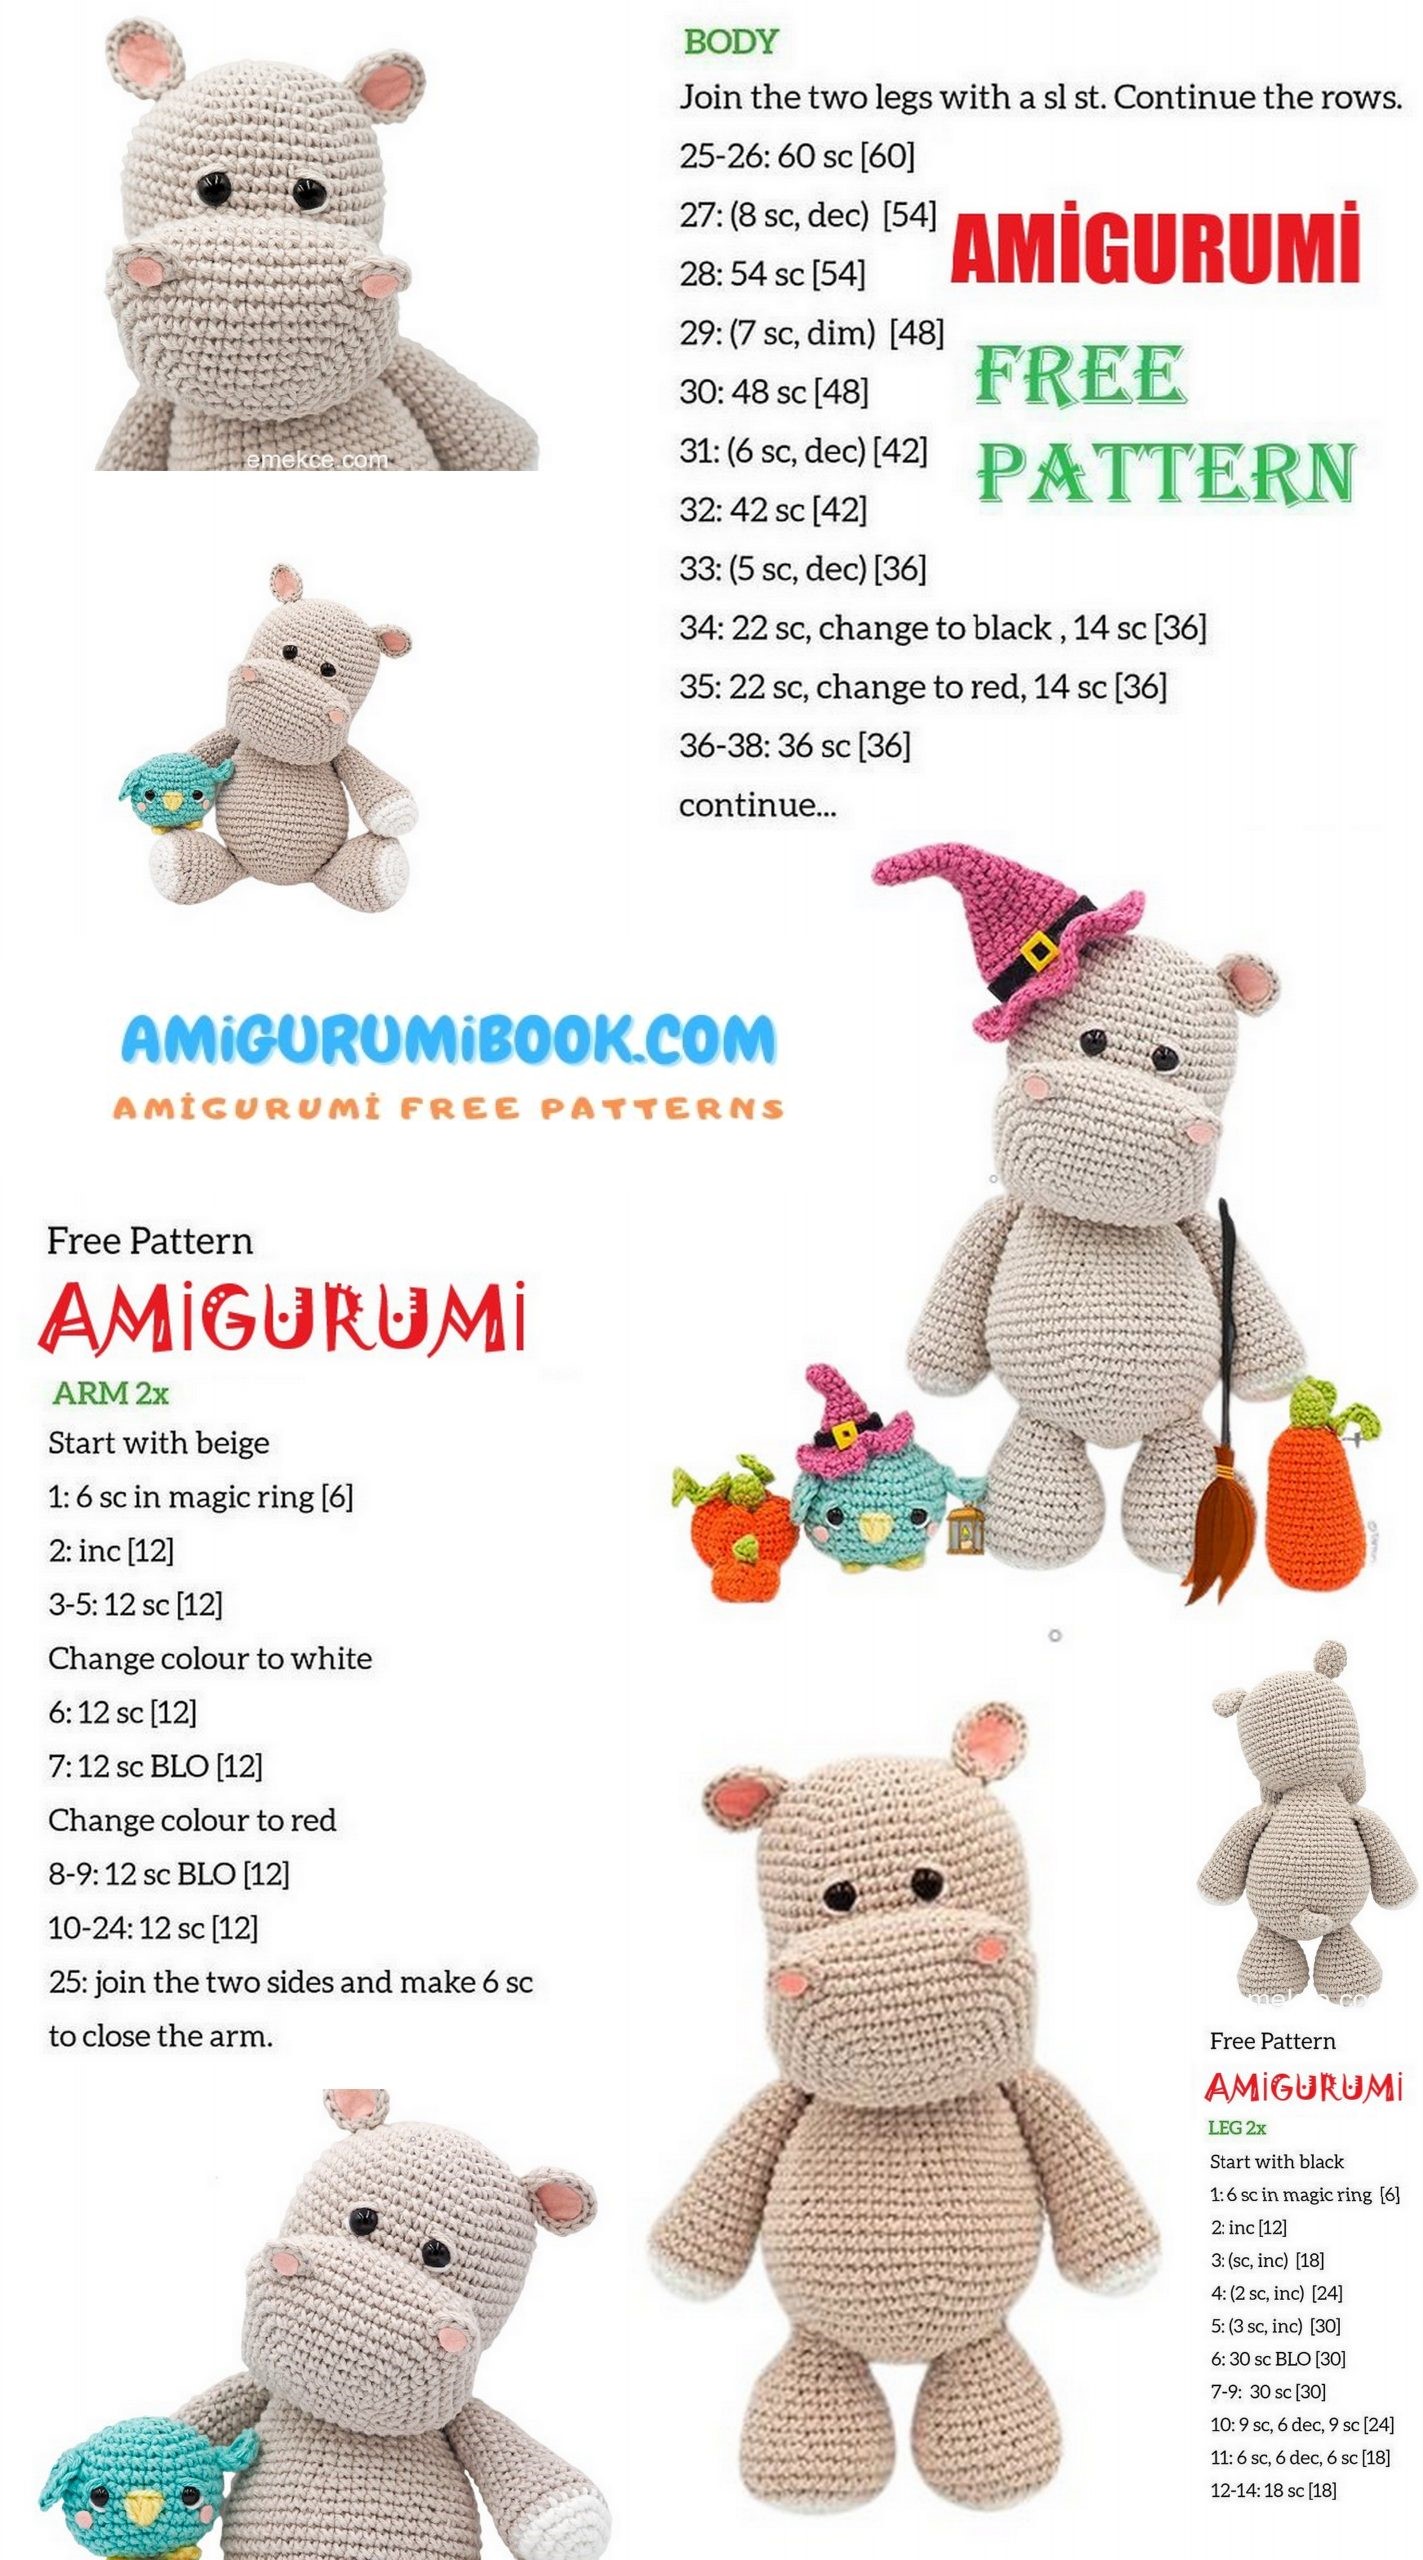
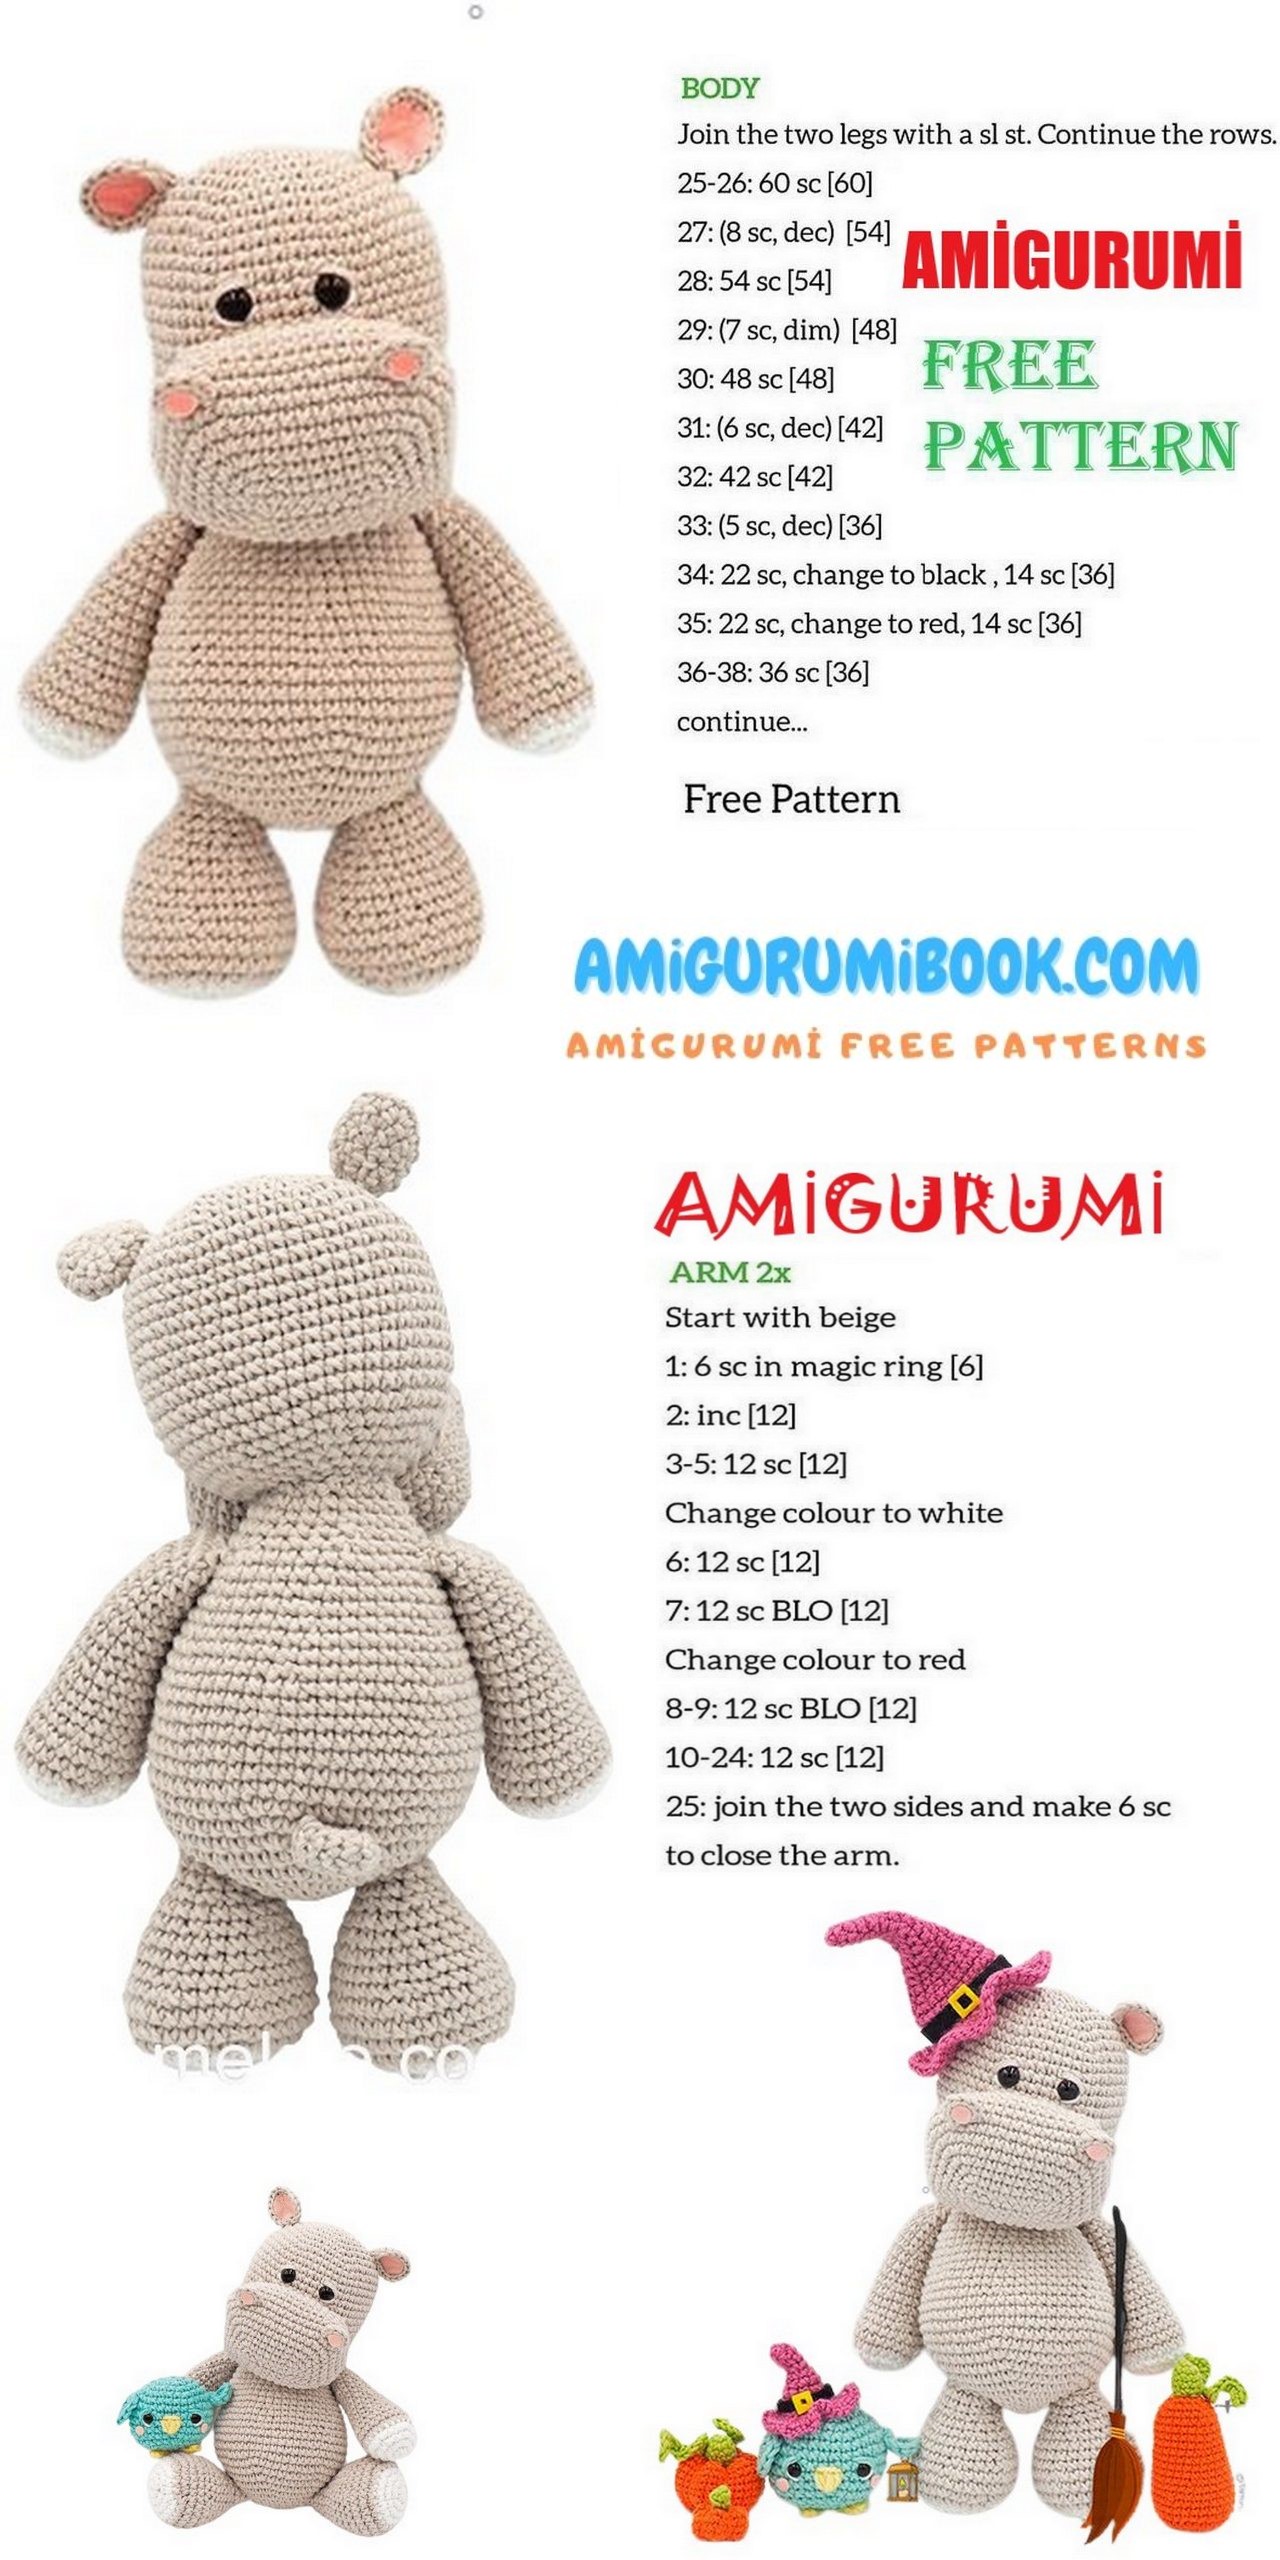
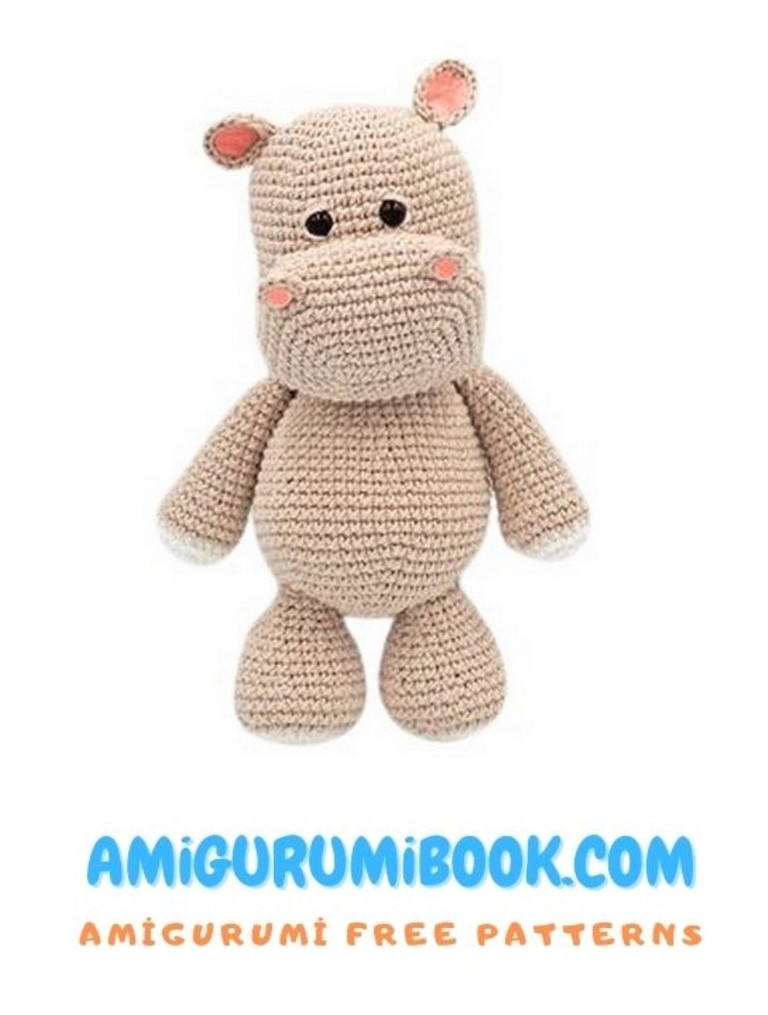
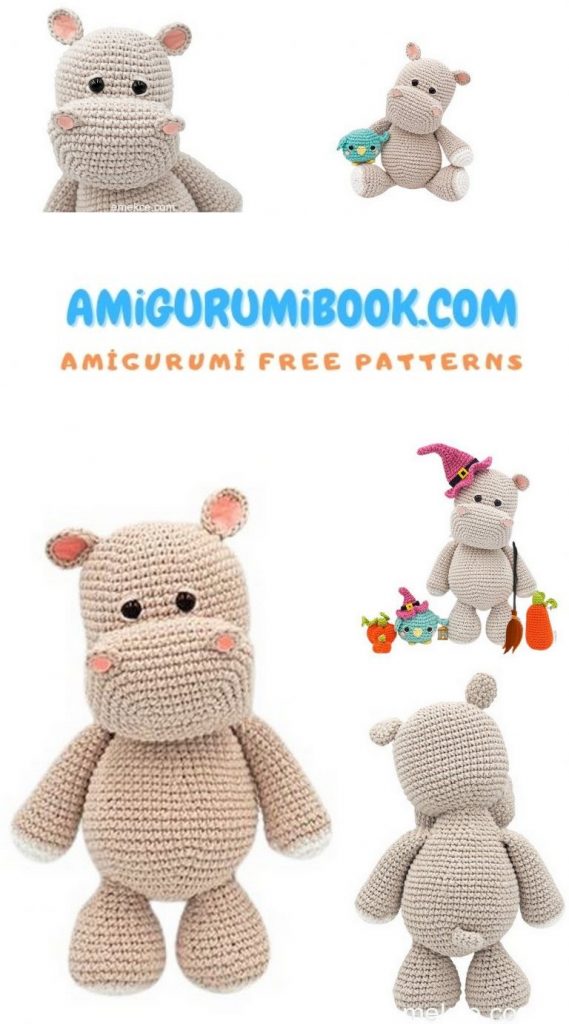
Cute Hippo Amigurumi Free Pattern
In this article, we shared the cute hippopotamus amigurumi for you. Amigurumi free patterns can be easily accessed from our site.
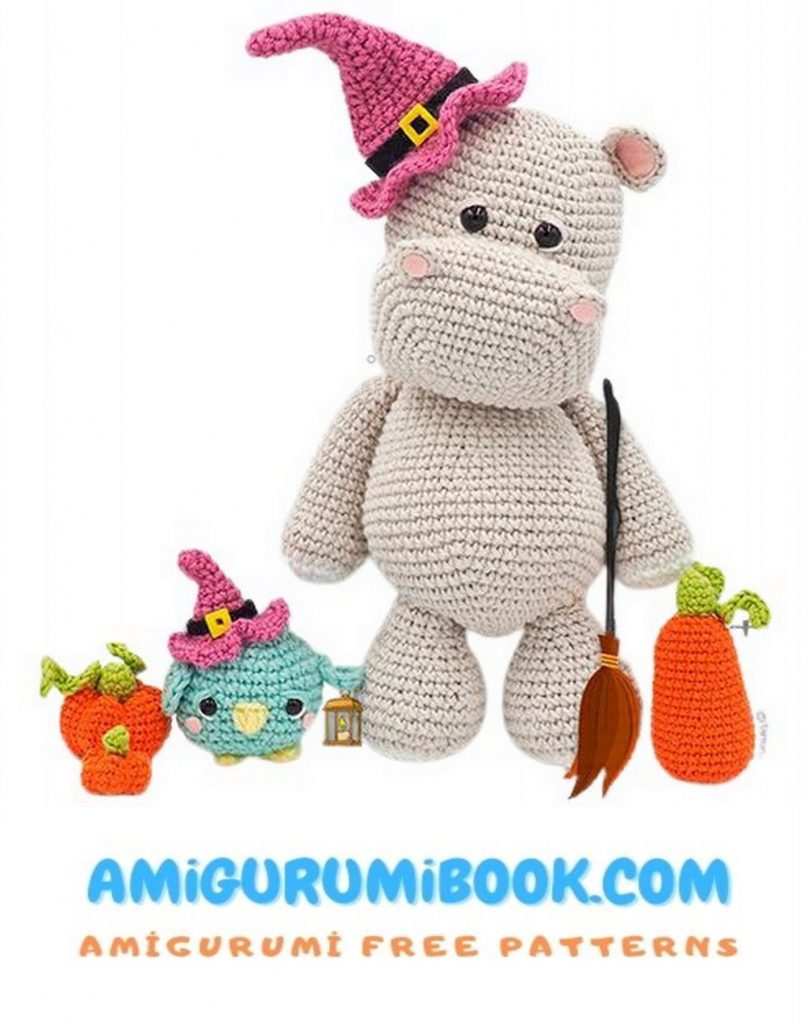
If you want your children to stay away from unhealthy plastic toys, you can learn for them one of the dozens of amigurumi recipes on our site. You can be the first to be informed of each new share by following us on our social media accounts.
Good luck with.

MATERIALS
2 ball of gray color rope
1 ball of white color rope
pink color felt
2.5 mm crochet hook
needle
2 pcs. Secure eye
Hippo Pattern
Head (Part 1)
1.Rnd: magic ring into 6 sc
2.Rnd: * 1 inc * x 6 (12)
3.Rnd: * 1 sc , 1 inc * x 6 (18)
4.Rnd: * 2 sc , 1 inc * x 6 (24)
5.Rnd: * 3 sc , 1 inc * x 6 (30)
6.Rnd: * 4 sc , 1 inc * x 6 (36)
7.Rnd: * 5 sc , 1 inc * x 6 (42)
8.Rnd: * 6 sc , 1 inc * x 6 (48)
9–20.Rnds: 48 sc (48)
21.Rnd: * 6 sc , 1 dec * x 6 (42)
22.Rnd: * 5 sc , 1 dec * x 6 (36)
23.Rnd: * 4 sc , 1 dec * x 6 (30)
24.Rnd: * 3 sc , 1 dec * x6 (24)
25.Rnd: * 2 sc , 1 dec * x 6 (18)
26.Rnd: * 1 sc , 1 dec * x 6 (12)
Insert the eyes with 5 chain spaces between them, counting 12 or 13 rows from the beginning of the head..
Head (Part 2):
7 chain + 1 chain turn chain (8)
1.Rnd: 6 sc, 3 sc on the same stitch (work on 7 chains without taking the turn chain into account) – sc on each stitch to the end of the row – 5 sc on the same stitch, 2 sc on the same stitch. (16)
2.Rnd: Continue by making a turn chain.1 inc , 5 sc , 1 inc , 1 sc , 1 inc , 5 sc , 1 inc , 1 sc (20)
3.Rnd: 1 inc , 7 sc , 1 inc , 1 sc , 1 inc , 7 sc , 1 inc , 1 sc (24)
4.Rnd: 1 sc , 1 inc , 1 inc , 6 sc , 1 inc , 1 inc , 2 sc , 1 inc , 1 inc , 6 sc , 1 inc , 1 inc , 1 sc (32)
5.Rnd: 2 sc , 1 inc , 1 inc , 9 sc , 1 inc , 1 inc , 3 sc , 1 inc , 1 inc , 9 sc , 1 inc , 1 inc , 1 sc (40)
6.Rnd: 3 sc , 1 inc , 1 inc , 12 sc , 1 inc , 1 inc , 4 sc , 1 inc , 1 inc , 12 sc , 1 inc , 1 inc , 1 sc (48)
7.Rnd: 4 sc , 1 inc , 1 inc , 15 sc , 1 inc , 1 inc , 5 sc , 1 inc , 1 inc , 15 sc , 1 inc , 1 inc , 1 sc (56)
8–9.Rnds: 56 sc (56)
10.Rnd: 4 sc , 1 dec , 1 dec , 15 sc , 1 dec , 1 dec , 5 sc , 1 dec , 1 dec , 15 sc , 1 dec , 1 dec , 1 sc (48)
11–12.Rnds: 48 sc (48)
Stitch it by filling it.

Nostril x 2:
Make round by working sc in the same order.
1.Rnd: magic ring into 8 sc (Do it like a normal ring, but don’t cover it.).
Finish by leaving the thread long.
Ears x2:
Make round by working sc in the same order
1.Rnd: magic ring into 6 sc
2.Rnd: 6 inc (12)
3.Rnd: (1 sc , 1 inc )* 6 (18)
Sew the ears to the head, leaving the thread long.
Body:
Make round by working sc in the same order.
1.Rnd: magic ring into 6 sc
2.Rnd: * 1 inc * x 6 (12)
3.Rnd: * 1 sc , 1 inc * x 6 (18)
4.Rnd: * 2 sc , 1 inc * x 6 (24)
5.Rnd: * 3 sc , 1 inc * x 6 (30)
6.Rnd: * 4 sc , 1 inc * x 6 (36)
7.Rnd: * 5 sc , 1 inc * x 6 (42)
8.Rnd: * 6 sc , 1 inc * x 6 (48)
9.Rnd: * 7 sc , 1 inc * x 6 (54)
10.Rnd: * 8 sc , 1 inc * x 6 (60)
11–14.Rnds: 60 sc (60)
15.Rnd: * 8 sc , 1 dec * x 6 (54)
16–17.Rnds: 54 sc (54)
18.Rnd: * 7 sc , 1 dec * x 6 (48)
19–20.Rnds: 48 sc (48)
21.Rnd: * 6 sc , 1 dec * x 6 (42)
22–23.Rnds: 42 sc (42)
24.Rnd: * 5 sc , 1 dec * x 6 (36)
25.Rnds: 36 sc (36)
26.Rnd: * 4 sc , 1 dec * x 6 (30)
27.Rnd: * 3 sc , 1 dec * x 6 (24)
28–30.Rnds: 24 sc (24)
Fill the body, sew it.
Arms x2:
Make round by working sc in the same order.
1.Rnd: Magic ring into 6 sc
2.Rnd: * 1 inc * x 6 (12)
3.Rnd: * 1 sc , 1 inc * x 6 (18)
4.Rnd: * 2 sc , 1 inc * x 6 (24)
5–7.Rnds: 24 sc (24)
8.Rnd: * 2 sc , 1 dec * x 6 (18)
9–11.Rnds: 18 sc (18)
12.Rnd: * 4 sc , 1 dec * x 3 (15)
13–15.Rnds: 15 sc (15)
16.Rnds: * 3 sc , 1 dec * x 3 (12)
17–21.Rnds: 12 sc (12)
Fill the arms and sew.
Legs x 2:
Make round by working sc in the same order.
1.Rnd: Magic ring into 6sc
2.Rnd: * 1 inc* x 6 (12)
3.Rnd: * 1 sc , 1 inc * x 6 (18)
4.Rnd: * 2 sc , 1 inc * x 6 (24)
5.Rnd: * 3 sc , 1 inc * x 6 (30)
6.Rnd: * 4 sc , 1 inc * x 6 (36)
7.Rnd: 36 sc (36)
8.Rnd: * 4 sc , 1 dec * x 6 (30)
9.Rnd: * 3 sc , 1 dec * x 6 (24)
10-11.Rnds: 24 sc (24)
12.Rnd: * 2 sc , 1 dec * x 6 (18)
13.Rnd: 18 sc (18)
14.Rnd: * 1 sc , 1 dec * x6 (12)
15–16.Rnds: 12 sc (12)
Fill the legs and sew.
Queue:
Make round by working sc in the same order.
1.Rnd: Magic ring into 3sc
2.Rnd: * 1 inc * x 3 (6)
3–5.Rnds: 6 sc (6)
Sew the tail by filling.
Descriptions
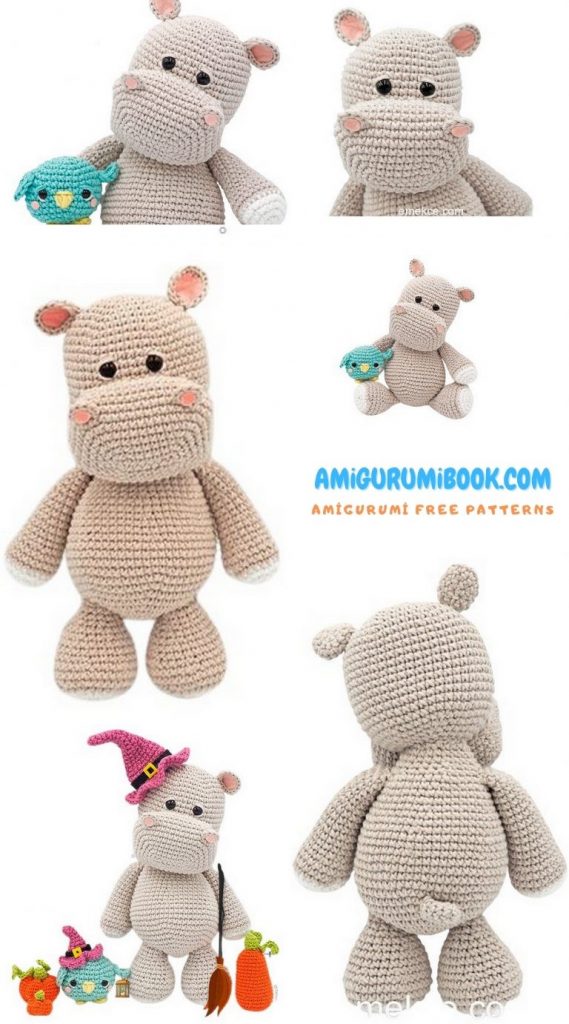
1.- Process the eyelids with a thread of the same color as the head. Turn the safety eye 2 turns. Then put a line under the safety eye with white thread.
- Assemble the parts of the head.
- Sew the nostrils to the appropriate places as shown in the picture.
- Suture the ears to the appropriate places as shown.
- Glue the felts into the ear and nose holes with glue or sew with thread.
6.- Stitch the legs as shown in the picture.
- Sew the arms appropriately as shown in the picture.
- Stitch the head as shown in the picture.
9.- Sew the tail to the body as shown in the picture.
Wishing Good-bye