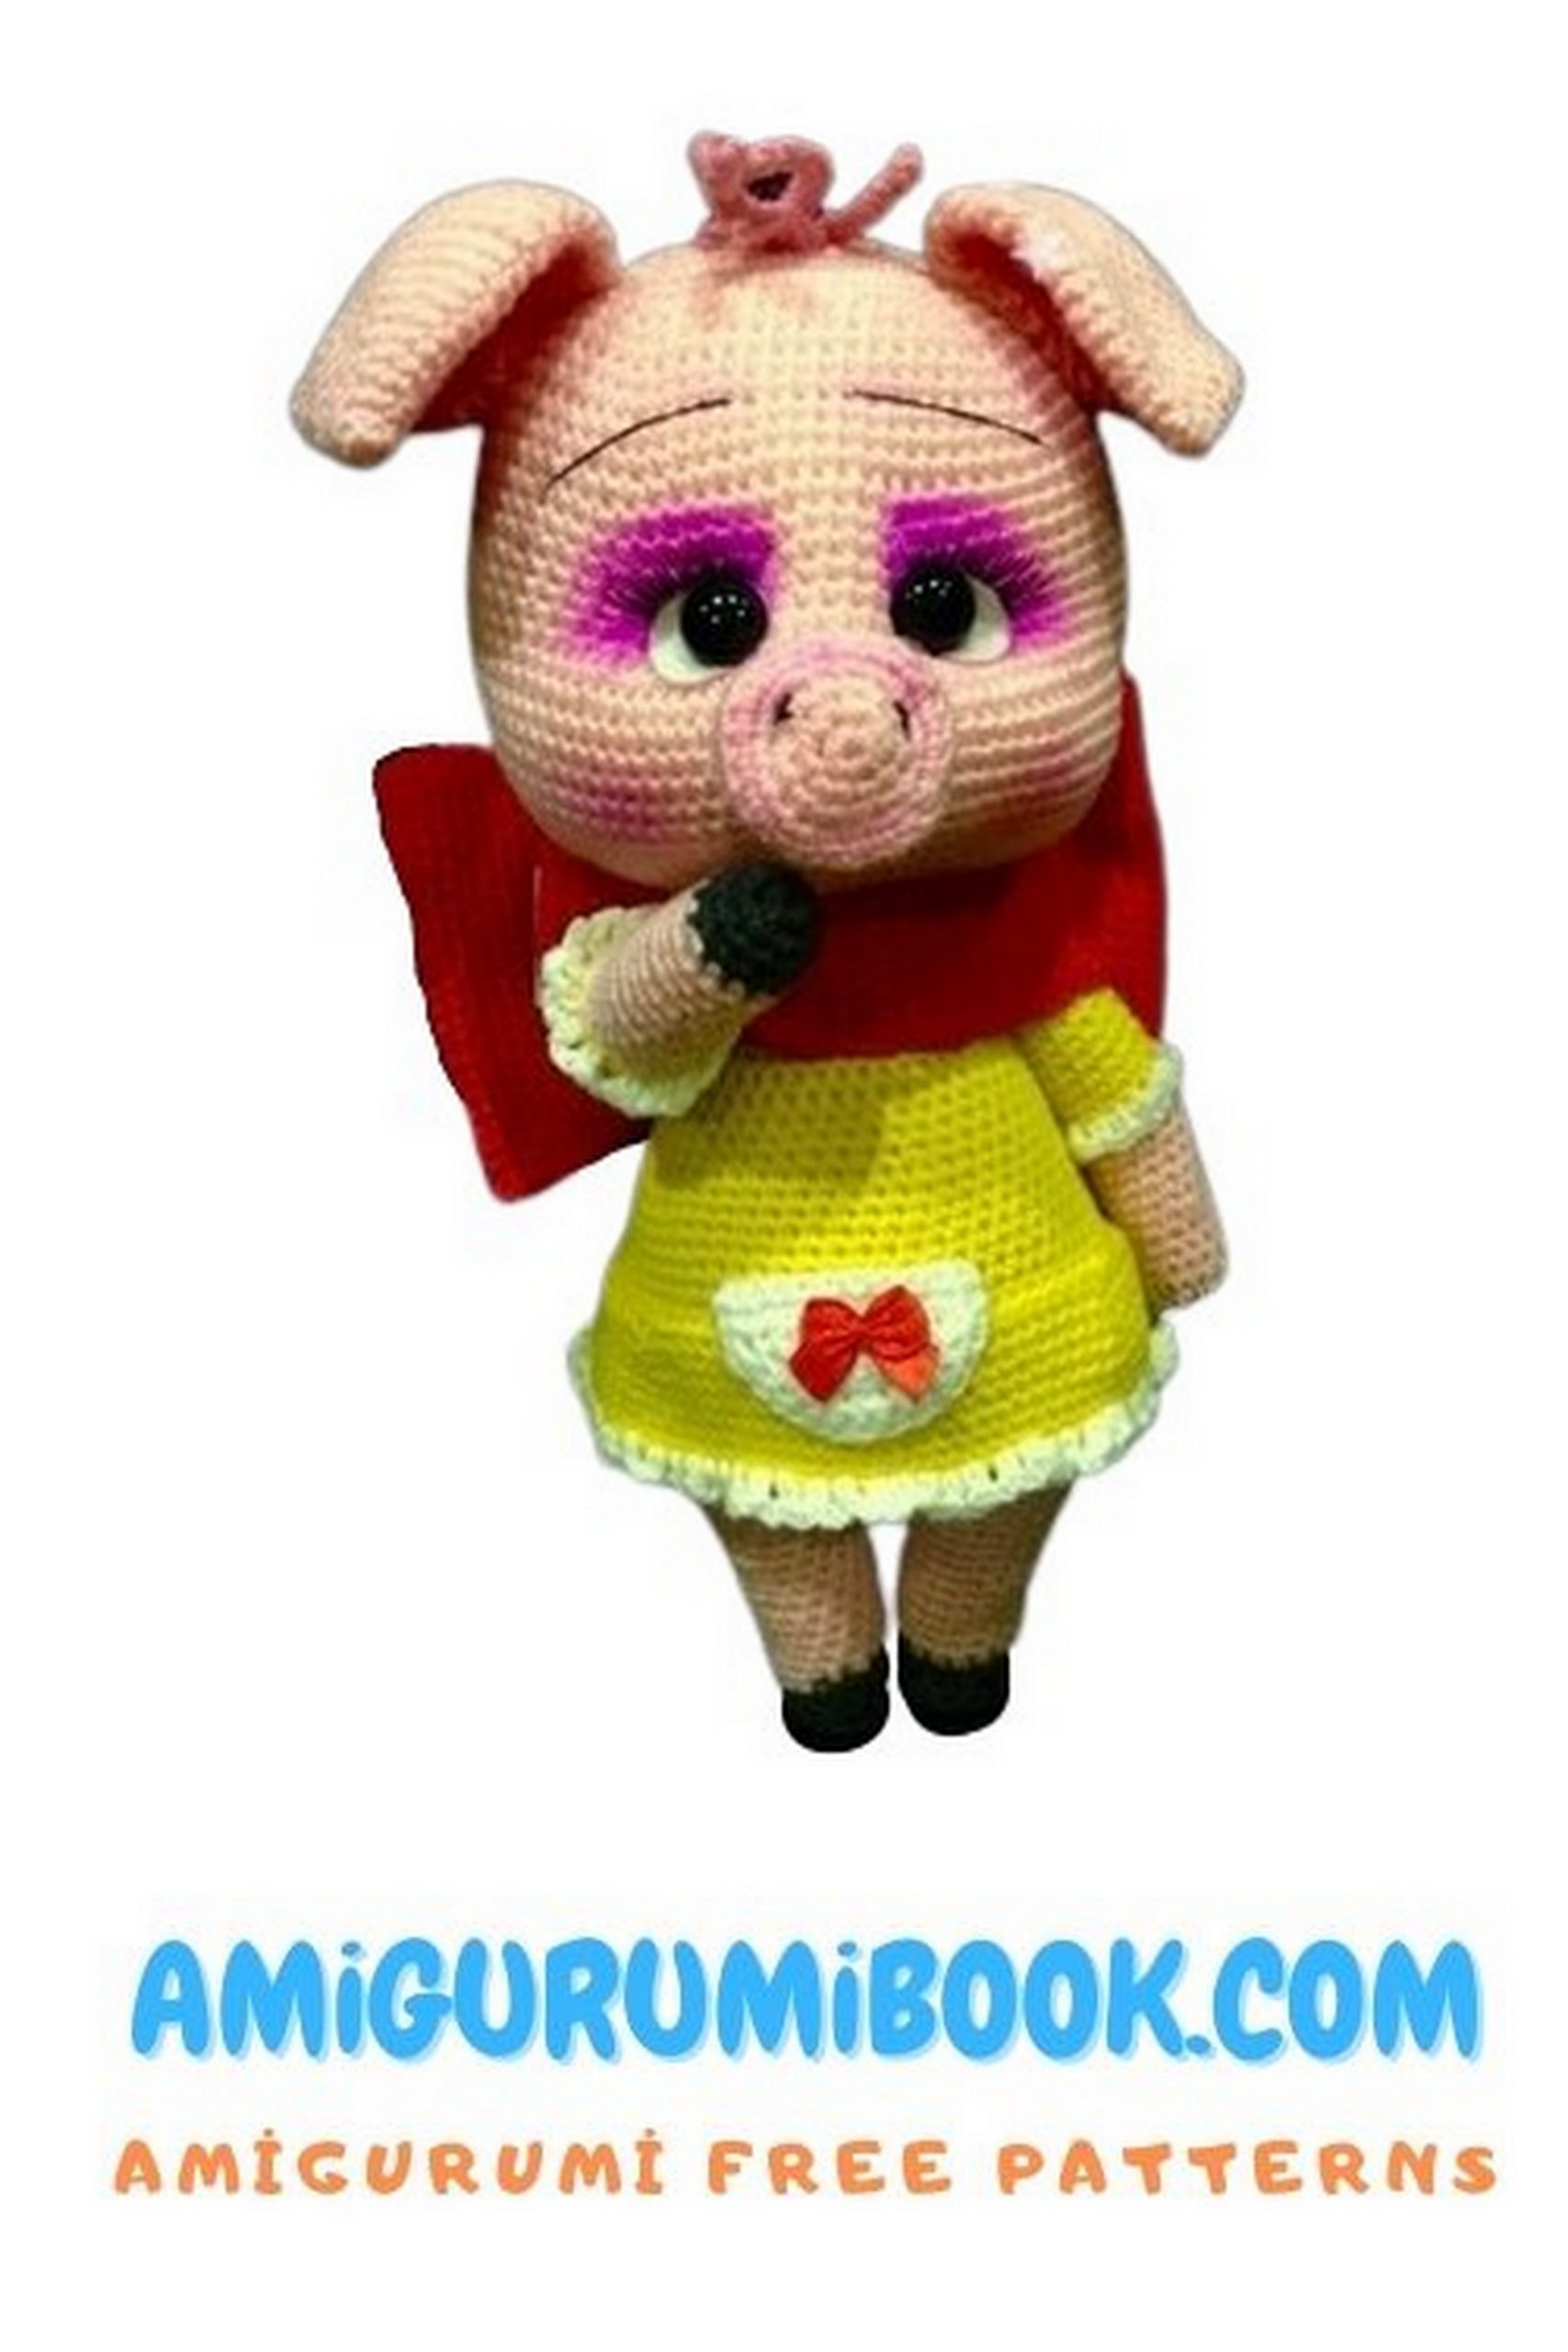
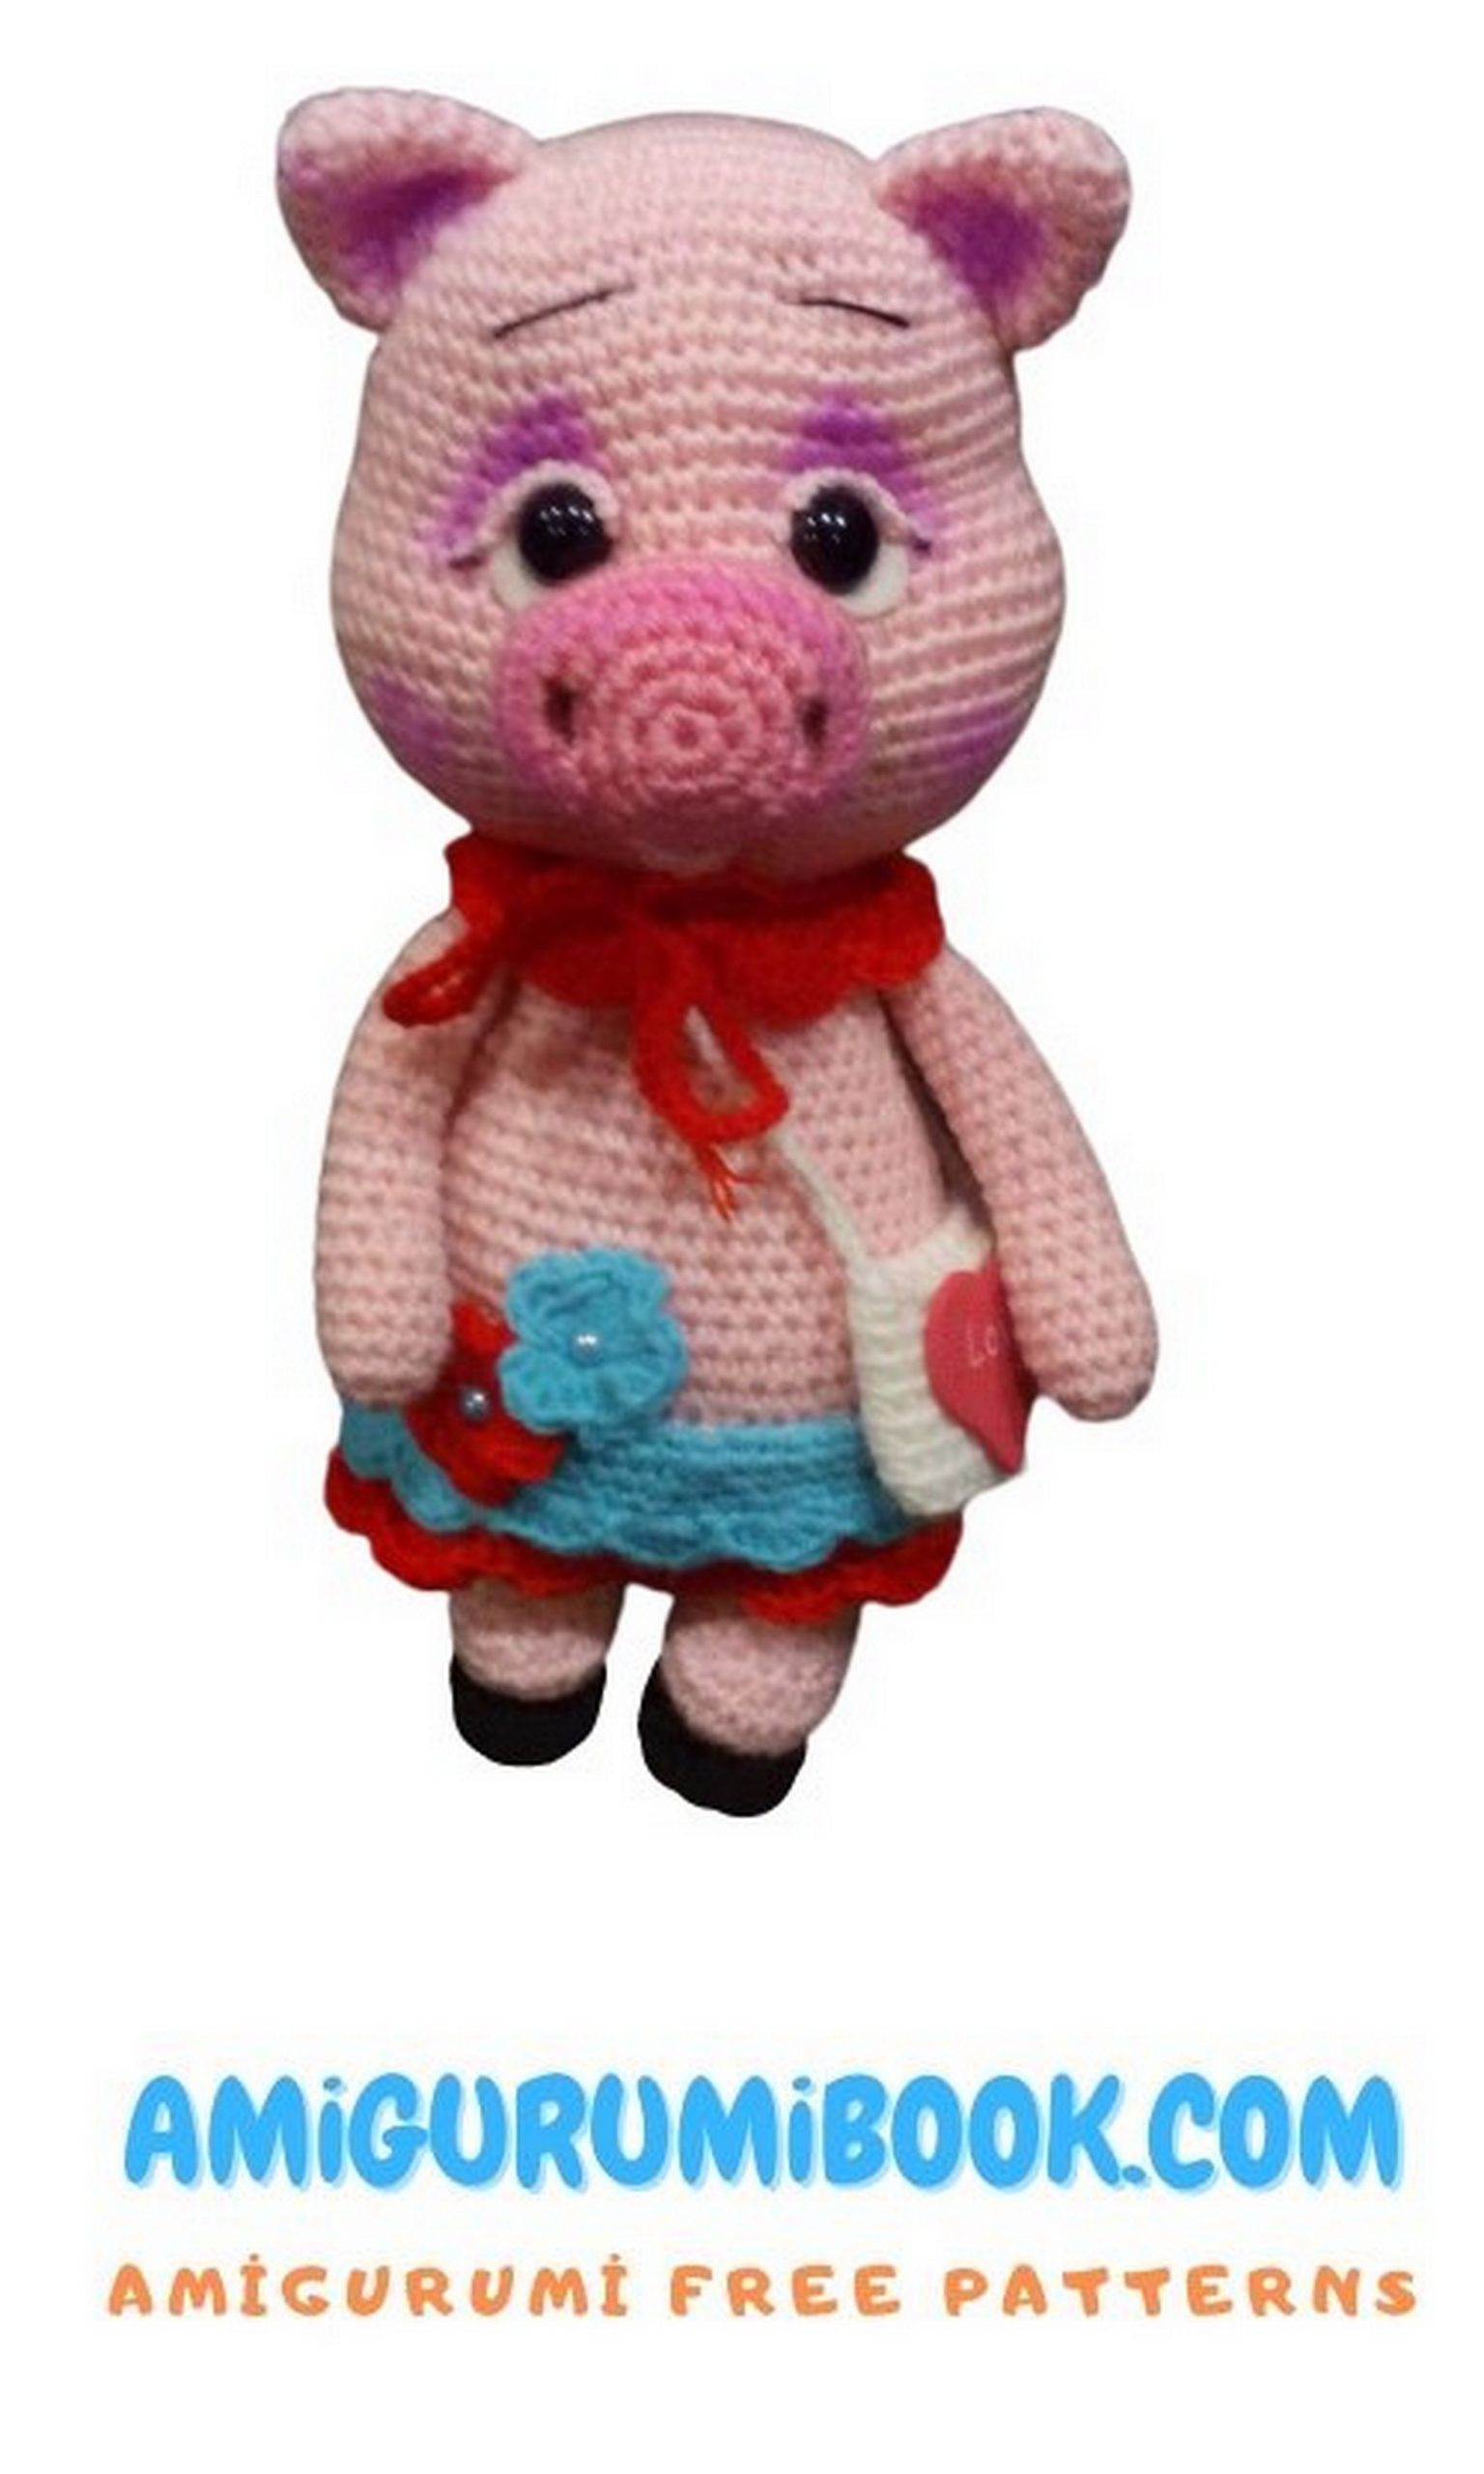
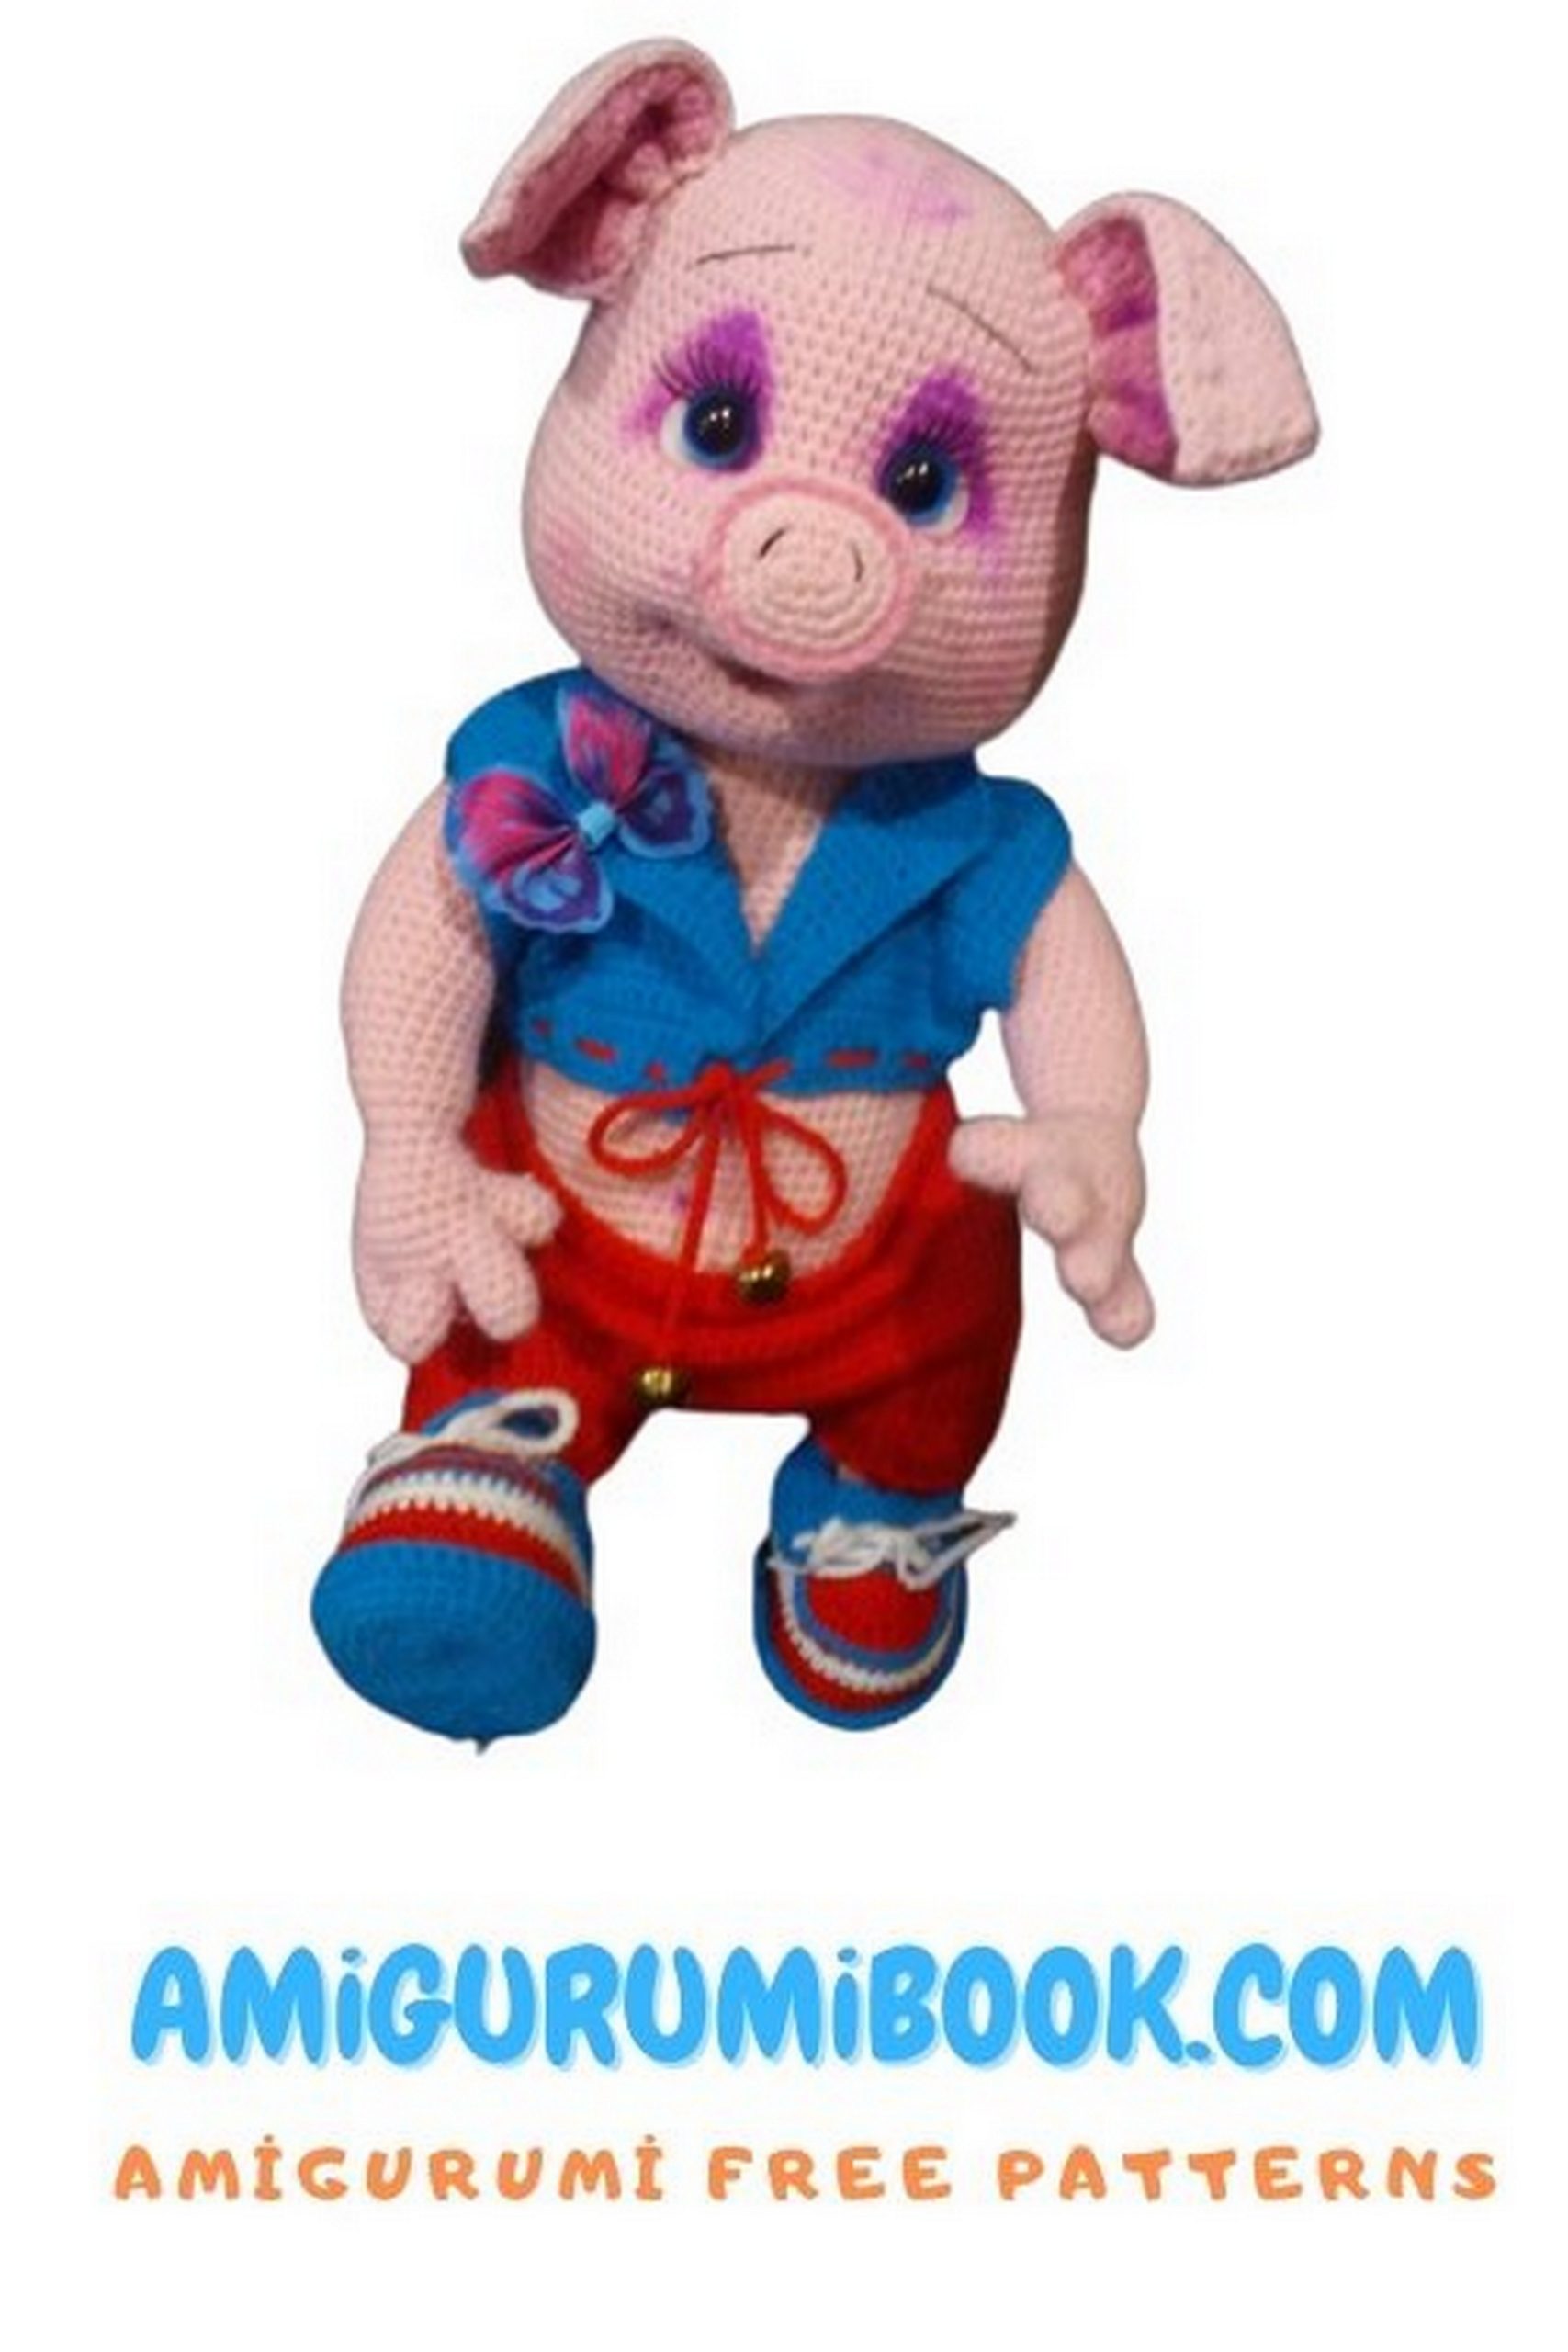
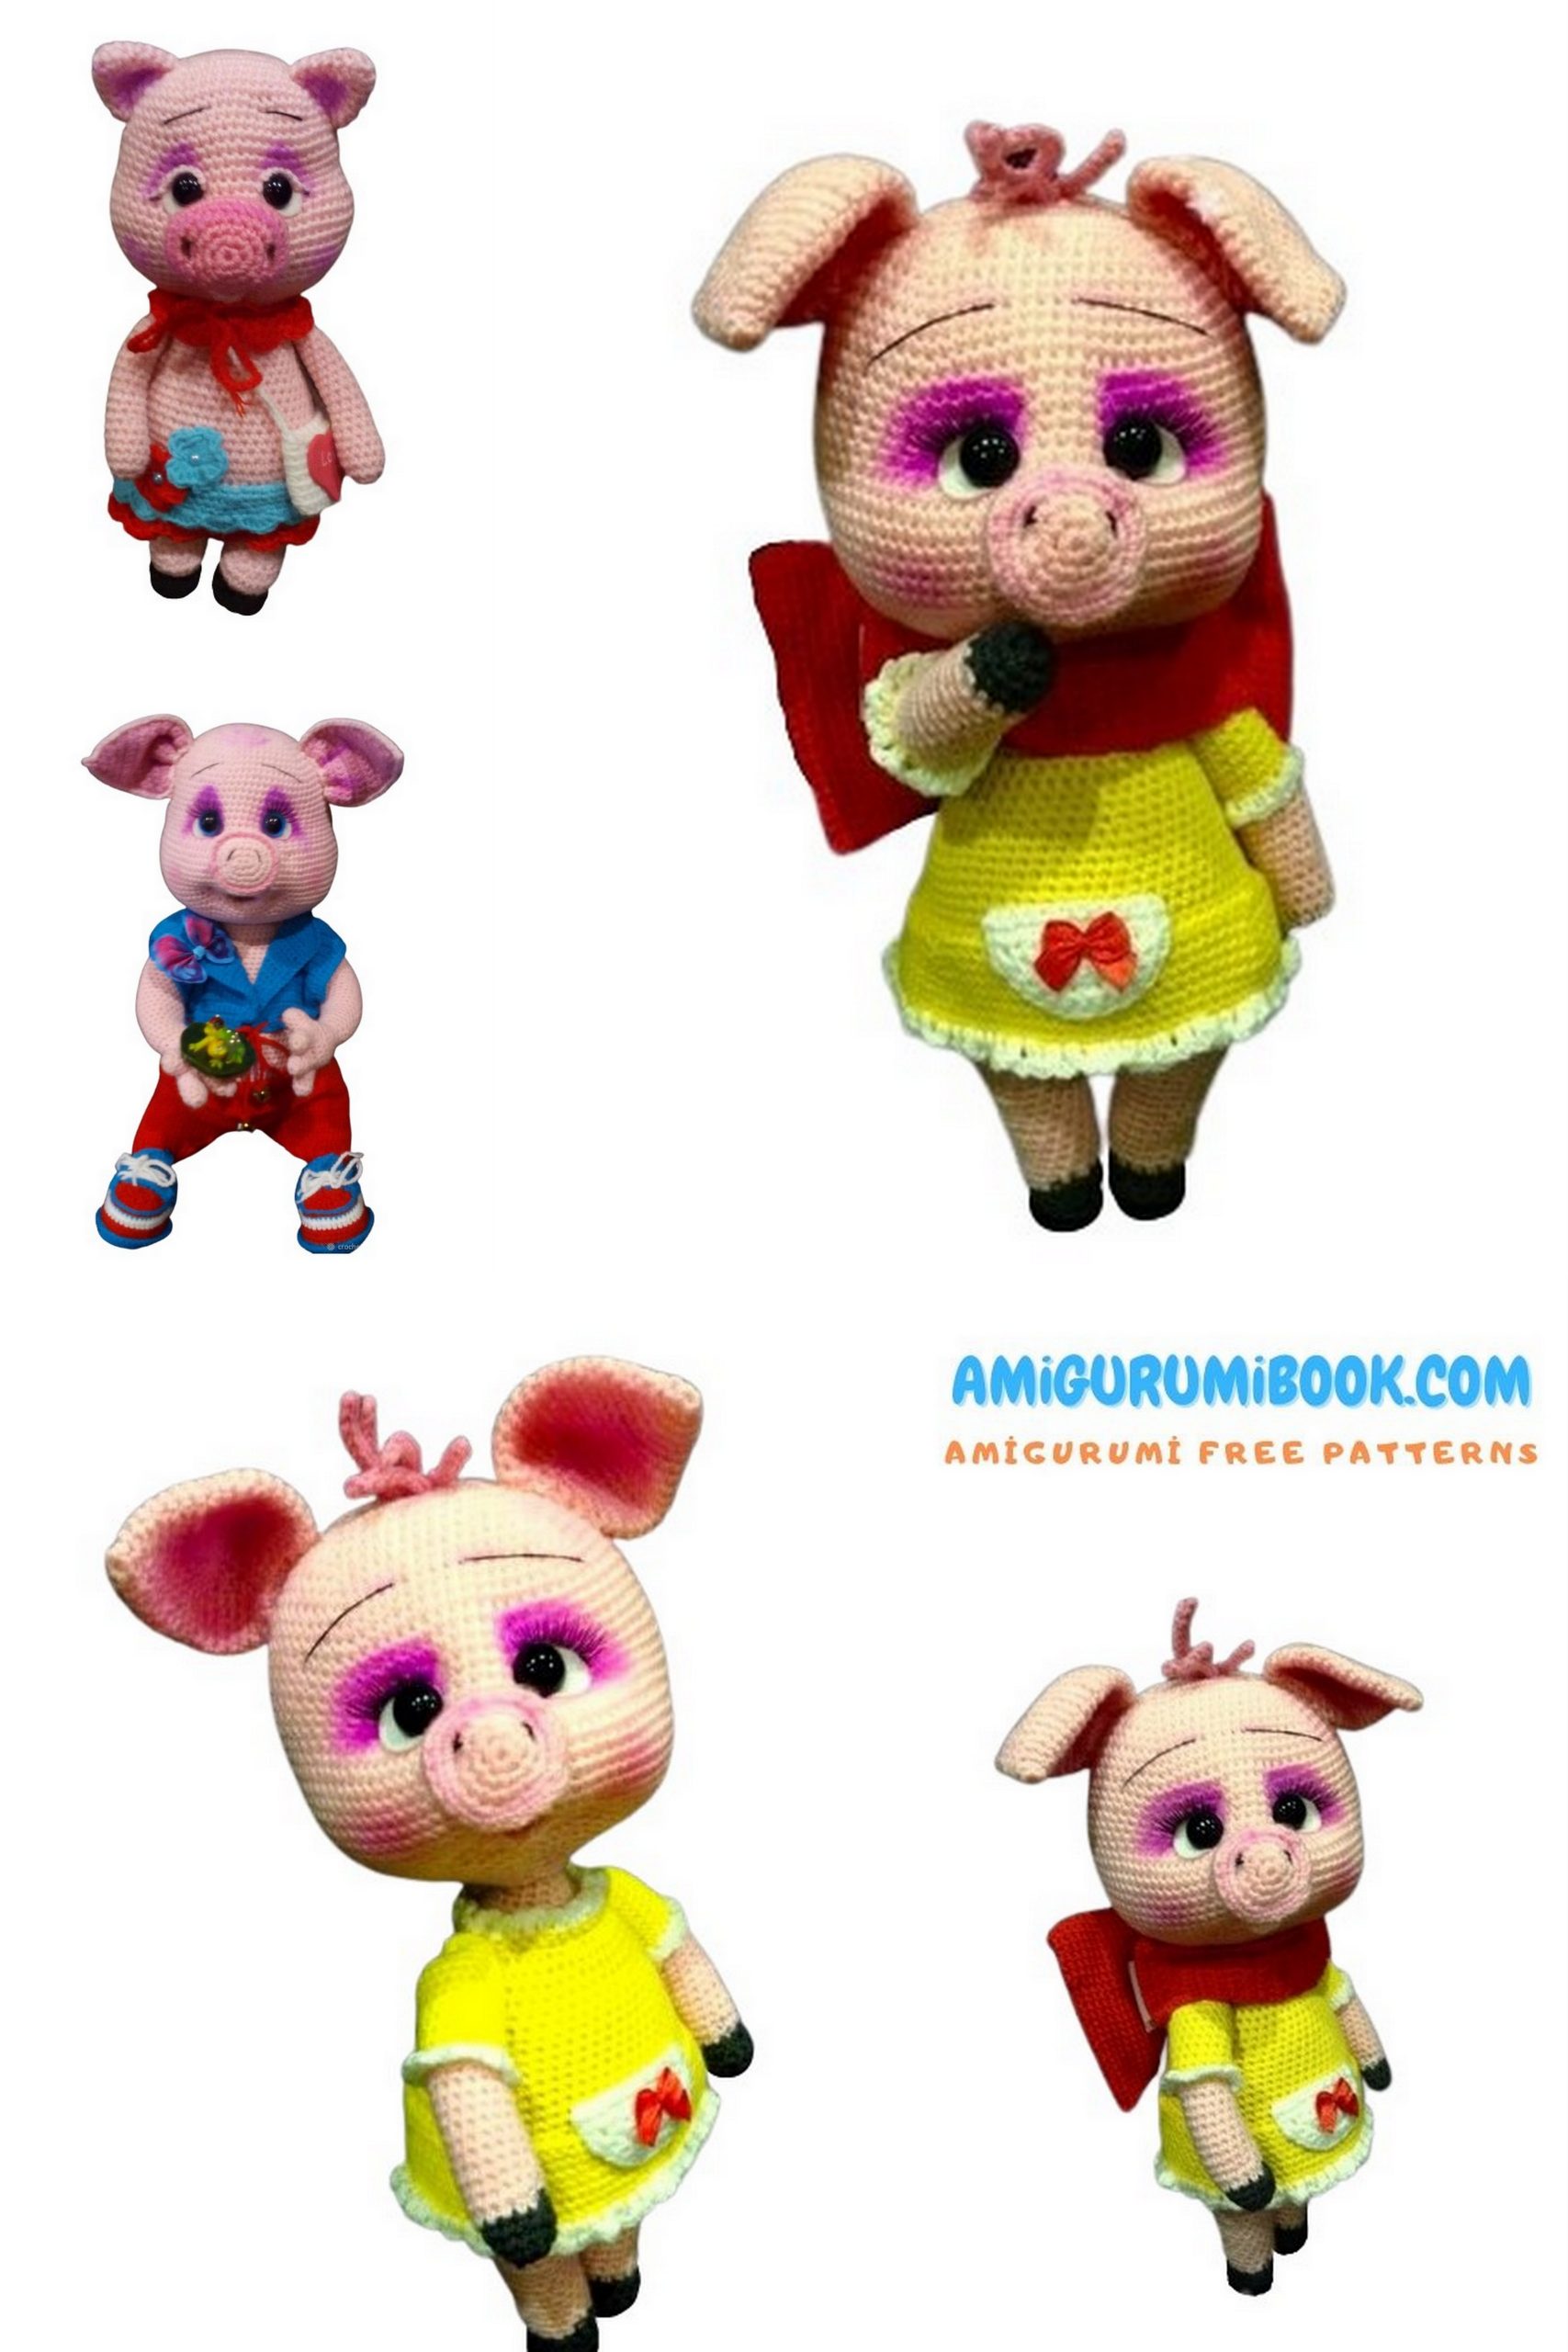
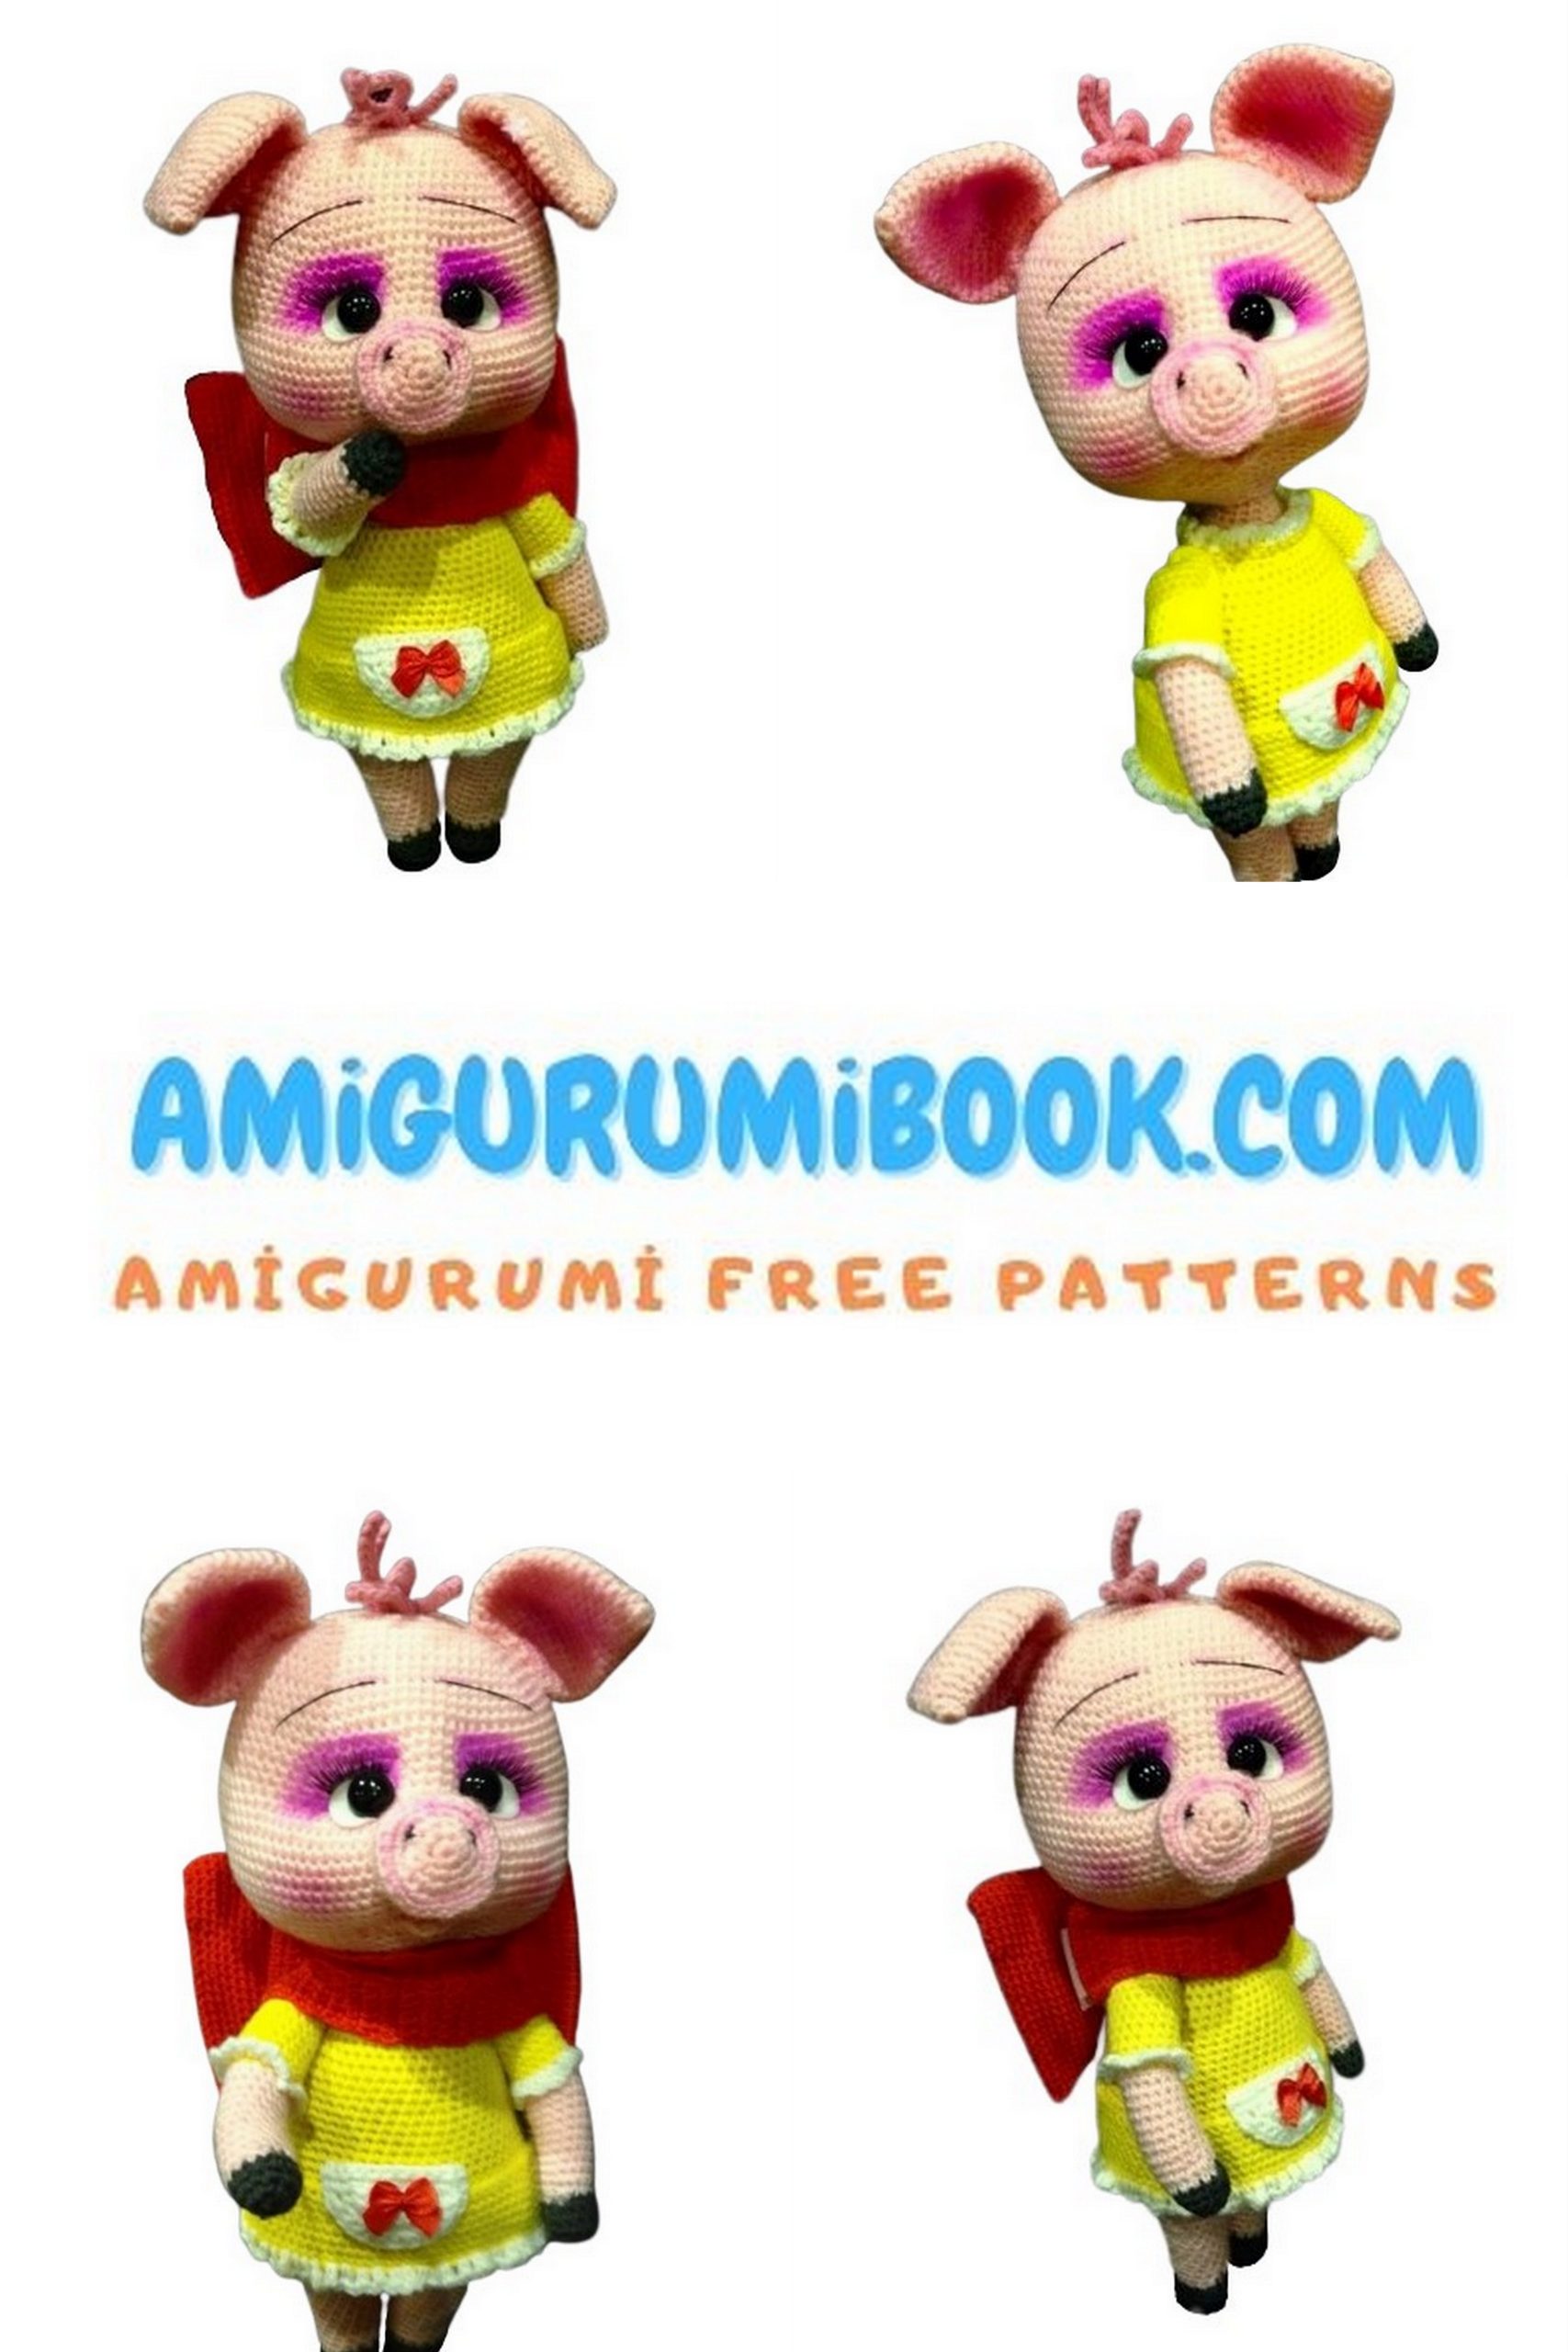
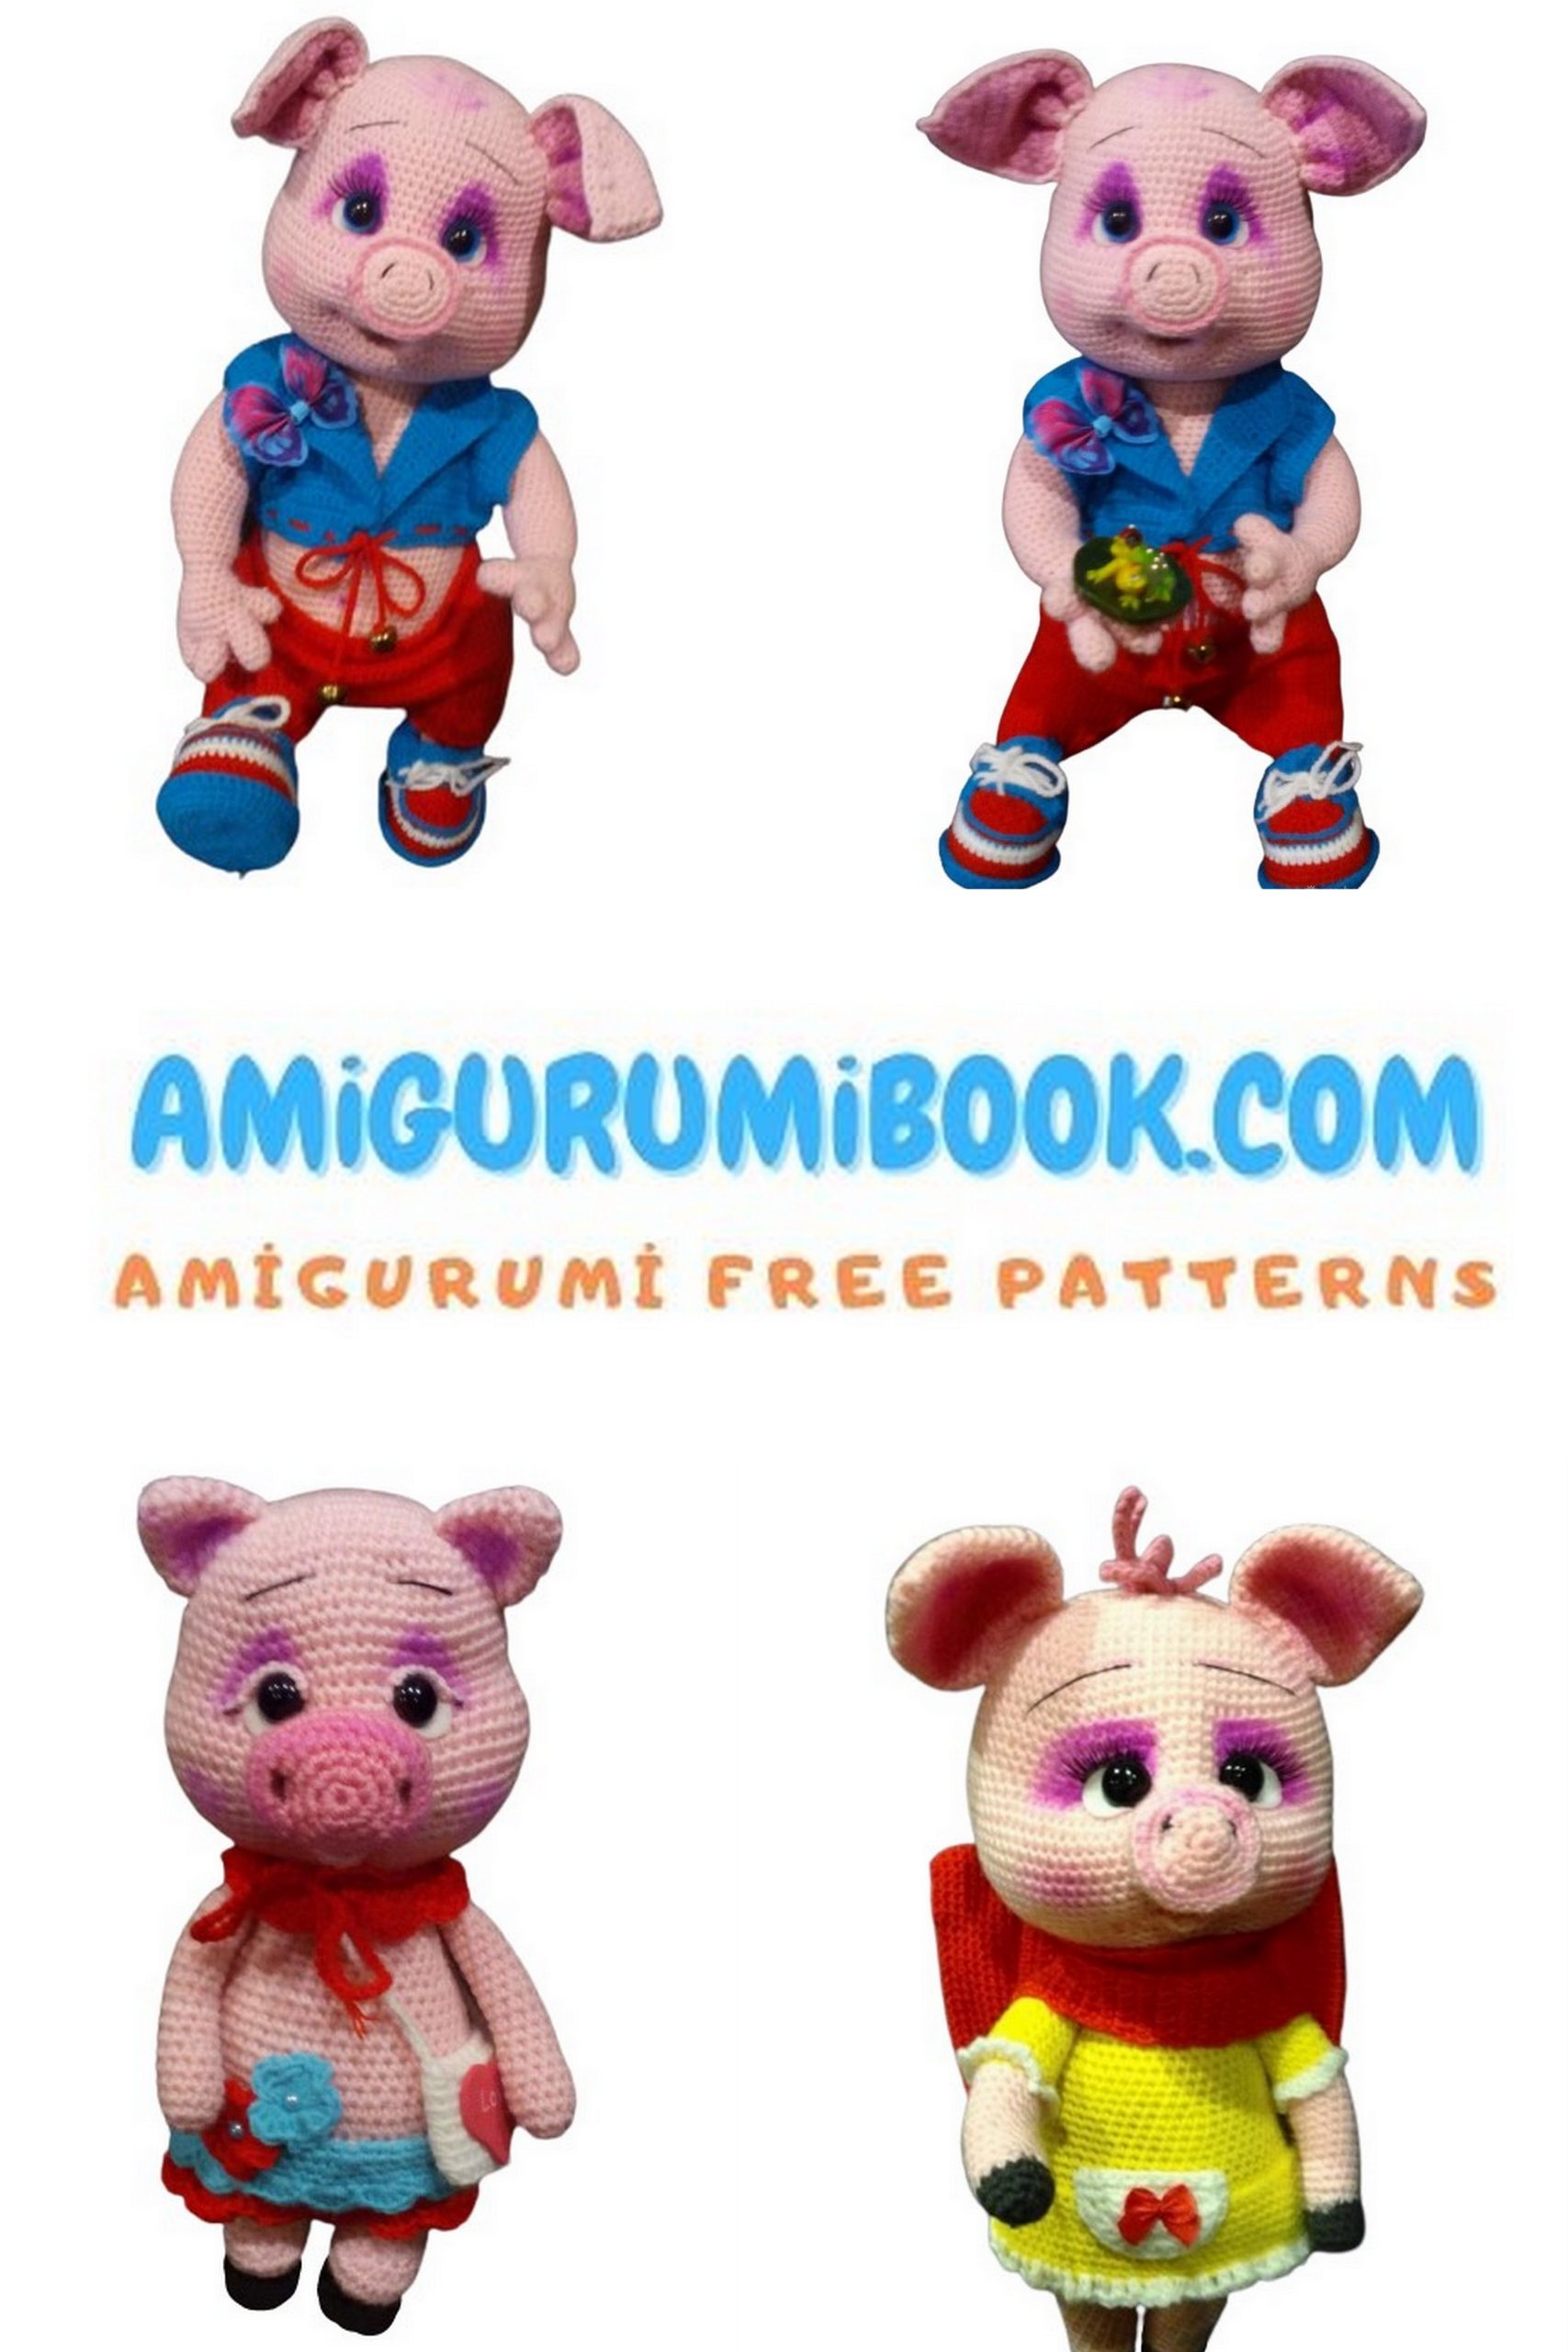
Cute Piggy Amigurumi Free Pattern
Wonderful amigurumi piggy patterns are with you for free on this site. You will love this cute amigurumi piggy pattern.
Necessary materials
1. Yarn – yellow, pink, red, black and white
50 gr – 200 m – pink
30 gr – red
20 gr – white and black
40 gr – yellow – I have a yarn Children’s novelty and children’s volume from Pechorki.
2. Hook – under your yarn – I have 1.25
3. Any filler for toys
4. Glue – I have the moment “Crystal”
5. Black half beads – I have a diameter of 16 mm
6. A piece of white felt for eye proteins
7. Eyelashes optional
8. Any wire – 30 -40 cm
9. A piece of Velcro
10. Black floss
11 Wooden skewer – for fastening the head or another piece of wire, etc.
12. Shadows, blush or pastel – for tinting faces
13. Any decorative elements – optional
Abbreviations
SC – single crochet
İNC- increase
Dec – decrease
DC- double crochet
HDC – half double crochet
1sc into 3sc – knit 3 sc in one loop
BLO- back loop over
FLO- front loop over
SL-ST – slip-stitch
CH- chain

Head
Pink
1.11 ch in the 2nd loop from the hook – 9 sc. 3 in 1. 10 sc – on the other side chains – 22
2.2 inc. 8 sc. 3 inc. 8 sc. 1 inc. – 28
3. (1 sc. Inc.) * 2. 8 sc. (1 sc. Inc.) * 3. 9 sc. inc.– 34
4. (2 sc. Inc.) * 2. 8 sc. (2 sc. Inc.) * 3. 10 sc. inc.- 40
5. (3 sc. Inc.) * 2. 8 sc. (3 sc. Inc.) * 3. 11 sc. inc. – 46
6. (4 sc. Inc) * 2. 8 sc. (4sc. Inc.) * 3. 12 sc. inc. – 52
7. (5 sc. Inc.) * 2. 8 sc. (5 sc. Inc.) * 3. 13 sc. inc. – 58
8. (6 sc. Inc.) * 2. 8 sc. (6 sc. Inc.) * 3. 14 sc. inc. – 64
9. (7 sc. Inc.) * 2. 8 sc. (7 sc. Inc.) * 3. 15 sc. inc. – 70
10. (8 sc. Inc.) * 2. 8 sc. (8 sc. Inc.) * 3. 16 sc. inc. – 76
11-18 rows – 76 sc each
19.10 sc. 9 sc. 6 inc. 6 sc. 6 inc. 9 sc. 30 sc.- 88
Before knitting 19 rows – fold the part in half, lay it face down yourself and to the left on the bend of the part, install an additional marker remove it to the end of knitting, thereby you mark in front of your muzzles, in order to subsequently correctly connect the part. When knitting
19 rows – the first 10 sc. must go from the main marker to additional marker, if necessary, align the knitting with using offset loops.
20-22 rows – 88 sc each.
23.8 sc. dec 48 sc. dec 28 sc. -86
24.6 sc. 2 dec 46 sc. 2 dec 26 sc. – 82
25–28 rows – 82 sc each
29. (9 sc. Dec) * 2. 8 sc. (9 sc. Dec) * 3. 17 sc. dec – 76
30. (8 sc. Dec) * 2. 8 sc. (8 sc. Dec) * 3. 16 sc. dec – 70
31. (7 sc. Dec) * 2. 8 sc. (7 sc. Dec) * 3. 15 sc. dec – 64
32. (6 sc. Dec) * 2. 8 sc. (6 sc. Dec) * 3. 14 sc. dec – 58
33. (5 sc. Dec) * 2. 8 sc. (5 sc. Dec) * 3. 13 sc. dec – 52
34. – 52 sc
35. (4 sc. Dec) * 2. 8 sc. (4 sc. Dec) * 3. 12 sc. dec – 46
36. (3 sc. Dec) * 2. 8 sc. (3 sc. Dec) * 3. 11 sc. dec – 40
37. (2 sc. Dec) * 2. 8 sc. (2 sc. Dec) * 3. 10 sc. dec – 34
38. (1 sc. Dec) * 2. 8 sc. (1 sc. Dec) * 3. 9 sc. dec – 28
39.- 28 sc
40.2 dec 8 sc. 3 dec8 sc. dec – 22
41.1 dec 6 sc. dec 6 sc. dec 2sc.- 16
42-43 rows – 16 sc each
Muzzle design and ducks
Tightly fill the resulting part .Leave the long end of the thread.
Mark the location of the hooks with pins. How shown in the picture below.
Points 1 and 2 are located in the 18th row from the beginning of knitting the head – between them 6 sc.
Points 3 and 4 are located above points 1 and 2, only 3 rows higher Points 5 and 6 are also in row 18 at a distance of 3 sc away from points 1 and 2 Points 7 and 8 are parallel to 6 sc between increments in row 19 knitting head and located in the 10th row from the end of knitting head, in between 3 sc Points 9 and 10 are located under points 1 and 2 in the 7th row from the end of the head knitting. slightly away from points 7 and 8 – between them 7-8 sc.
We take the thread left at the end of the part and enter it through neck hole to point 1, step back to the left 1 sc and withdraw back. At repeat, if necessary.
Now we bring out the needle at point 2 and repeat the same thing as with point 1.
Again, through the hole in the neck, insert the needle at point 1 and withdraw at point 7, step back 1 sc to the right point 2.
From point 2 we remove the needle at point 8, step back 1 sc to the right and display point 1. Repeat as necessary. again.
Now outside from point 1 we introduce the needle to point 7 and bring it inside to point 2 – tighten, now from point 2, too outside we bring to point 8 and tighten.
From point 8 we take to point 1, step 3 sc to the left – point 5 and bring at point 9, from point 9 outside the thread passes to point 7. From point 7 we take the needle to point 2, step 3 sc to the right – point 6 and we withdraw at point 10, from point 10 we move outside to point 8. We bring the thread inside – to the neck, fasten, cut.

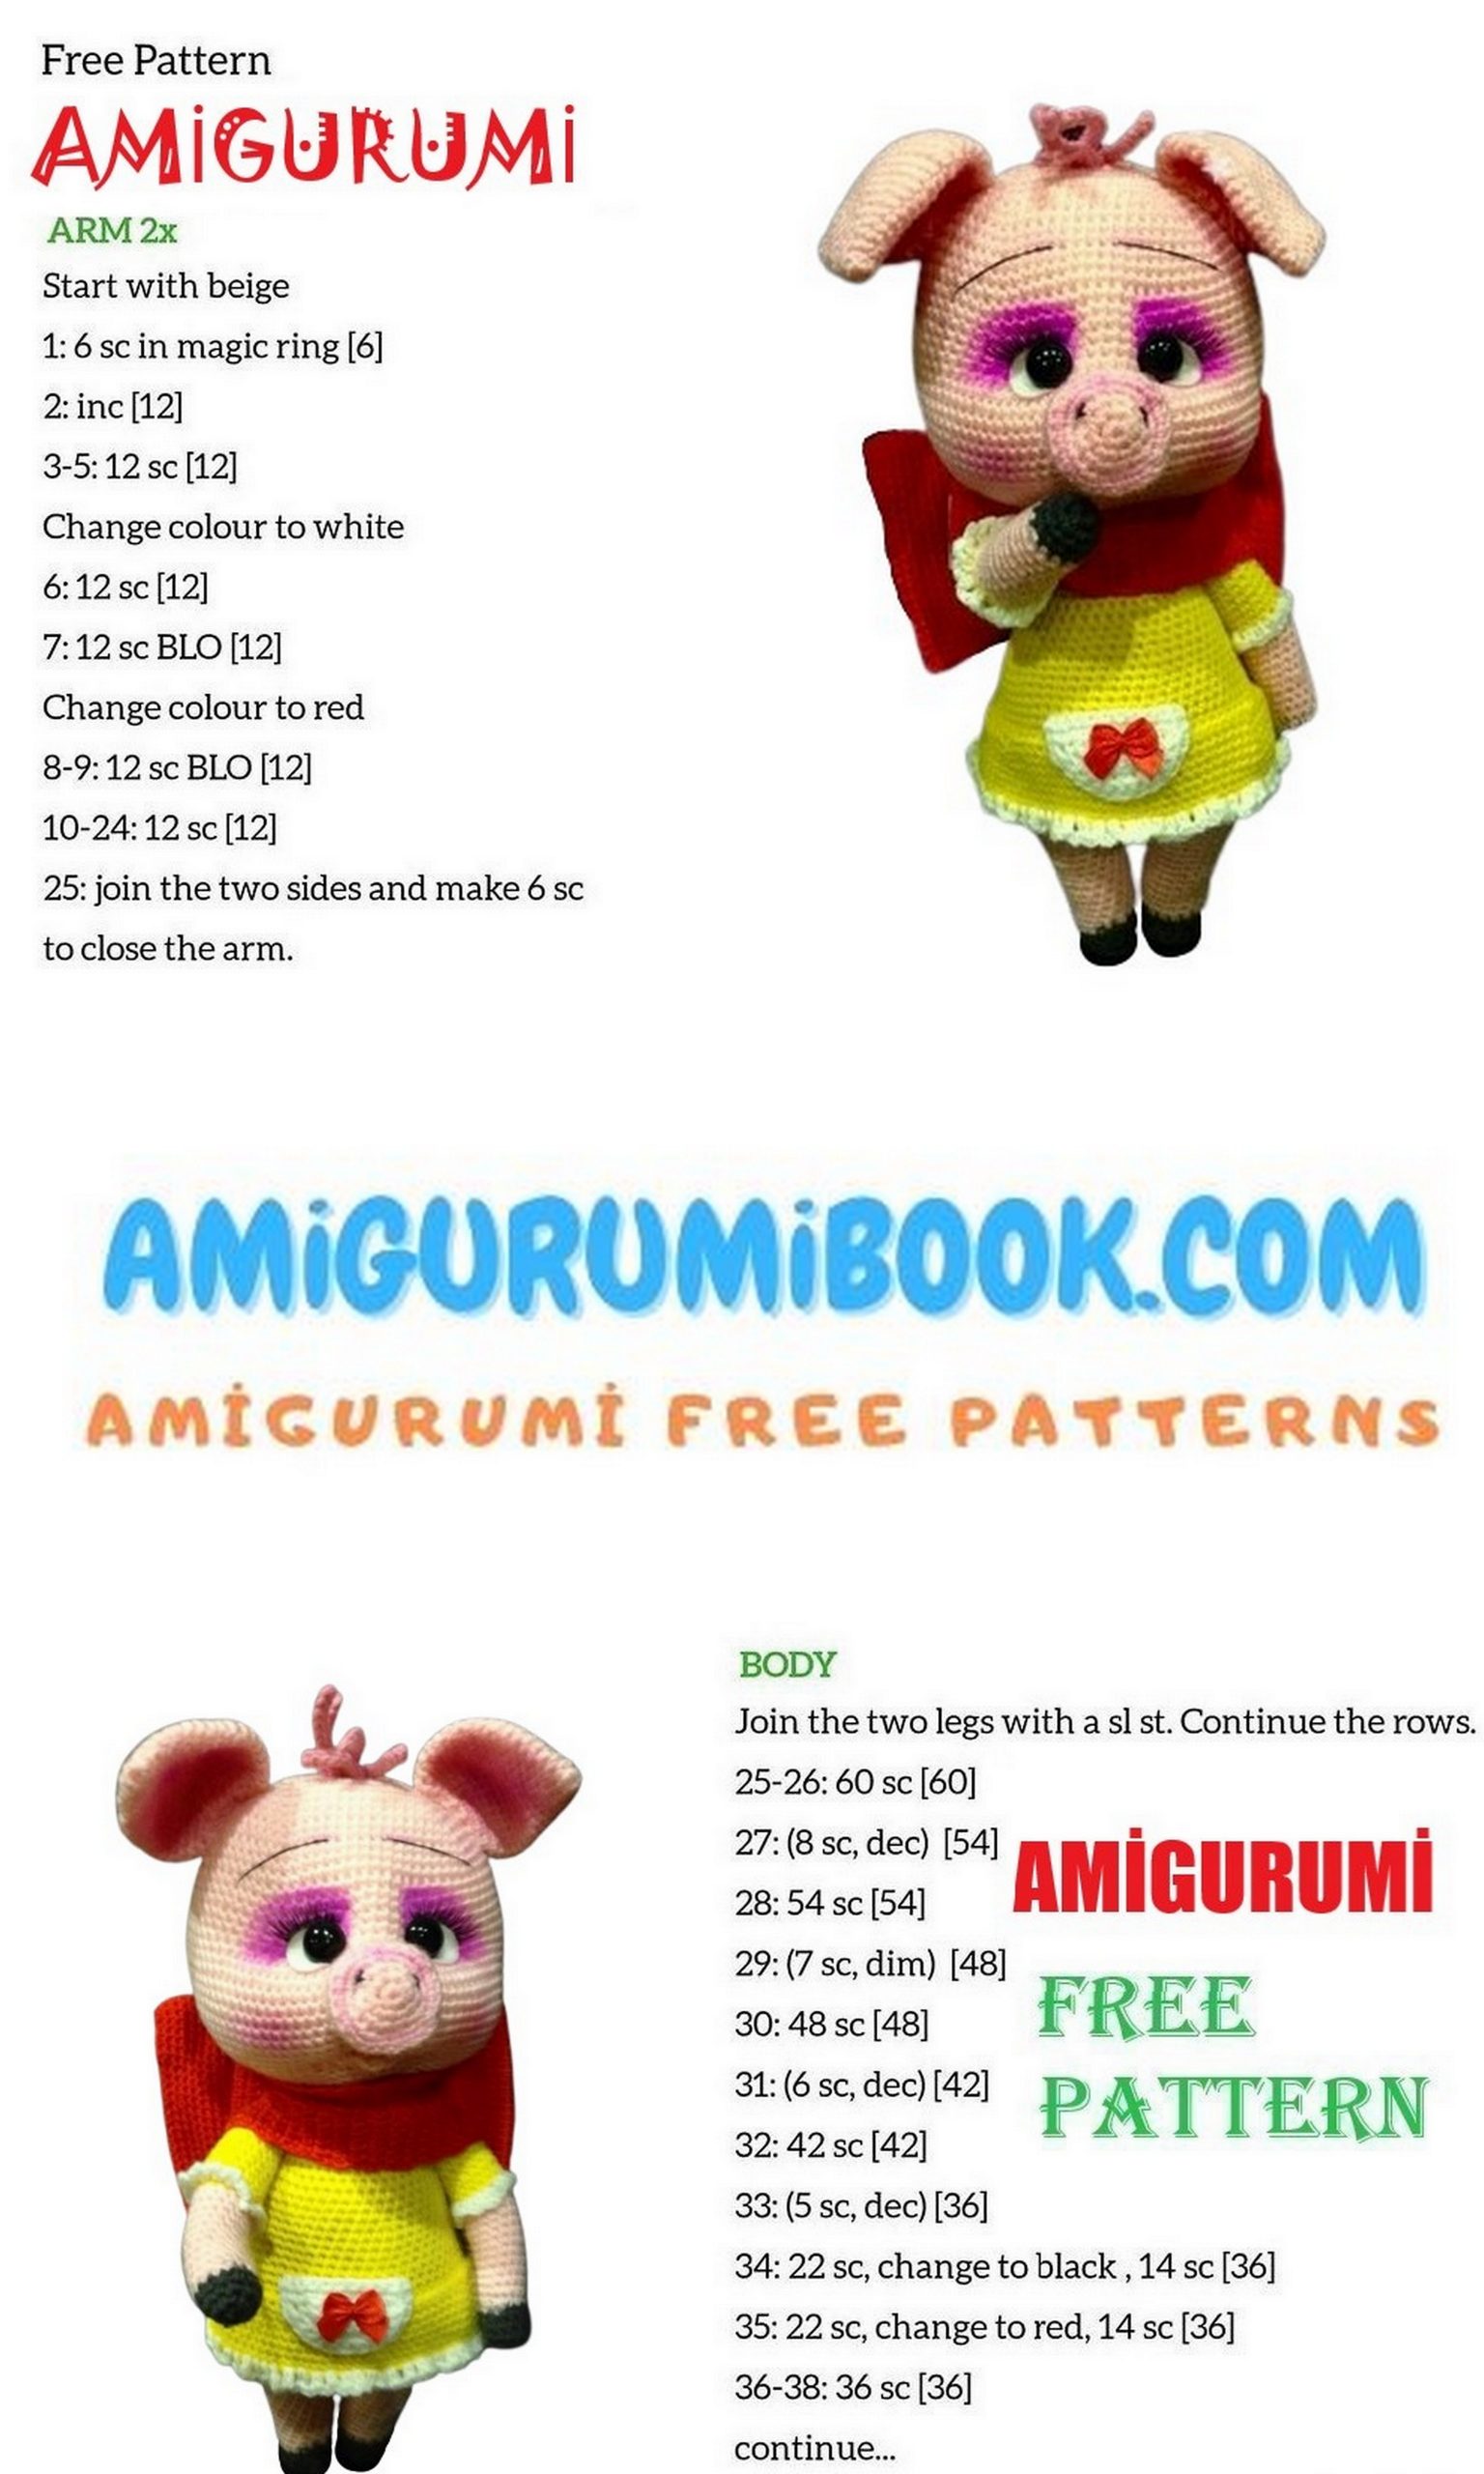
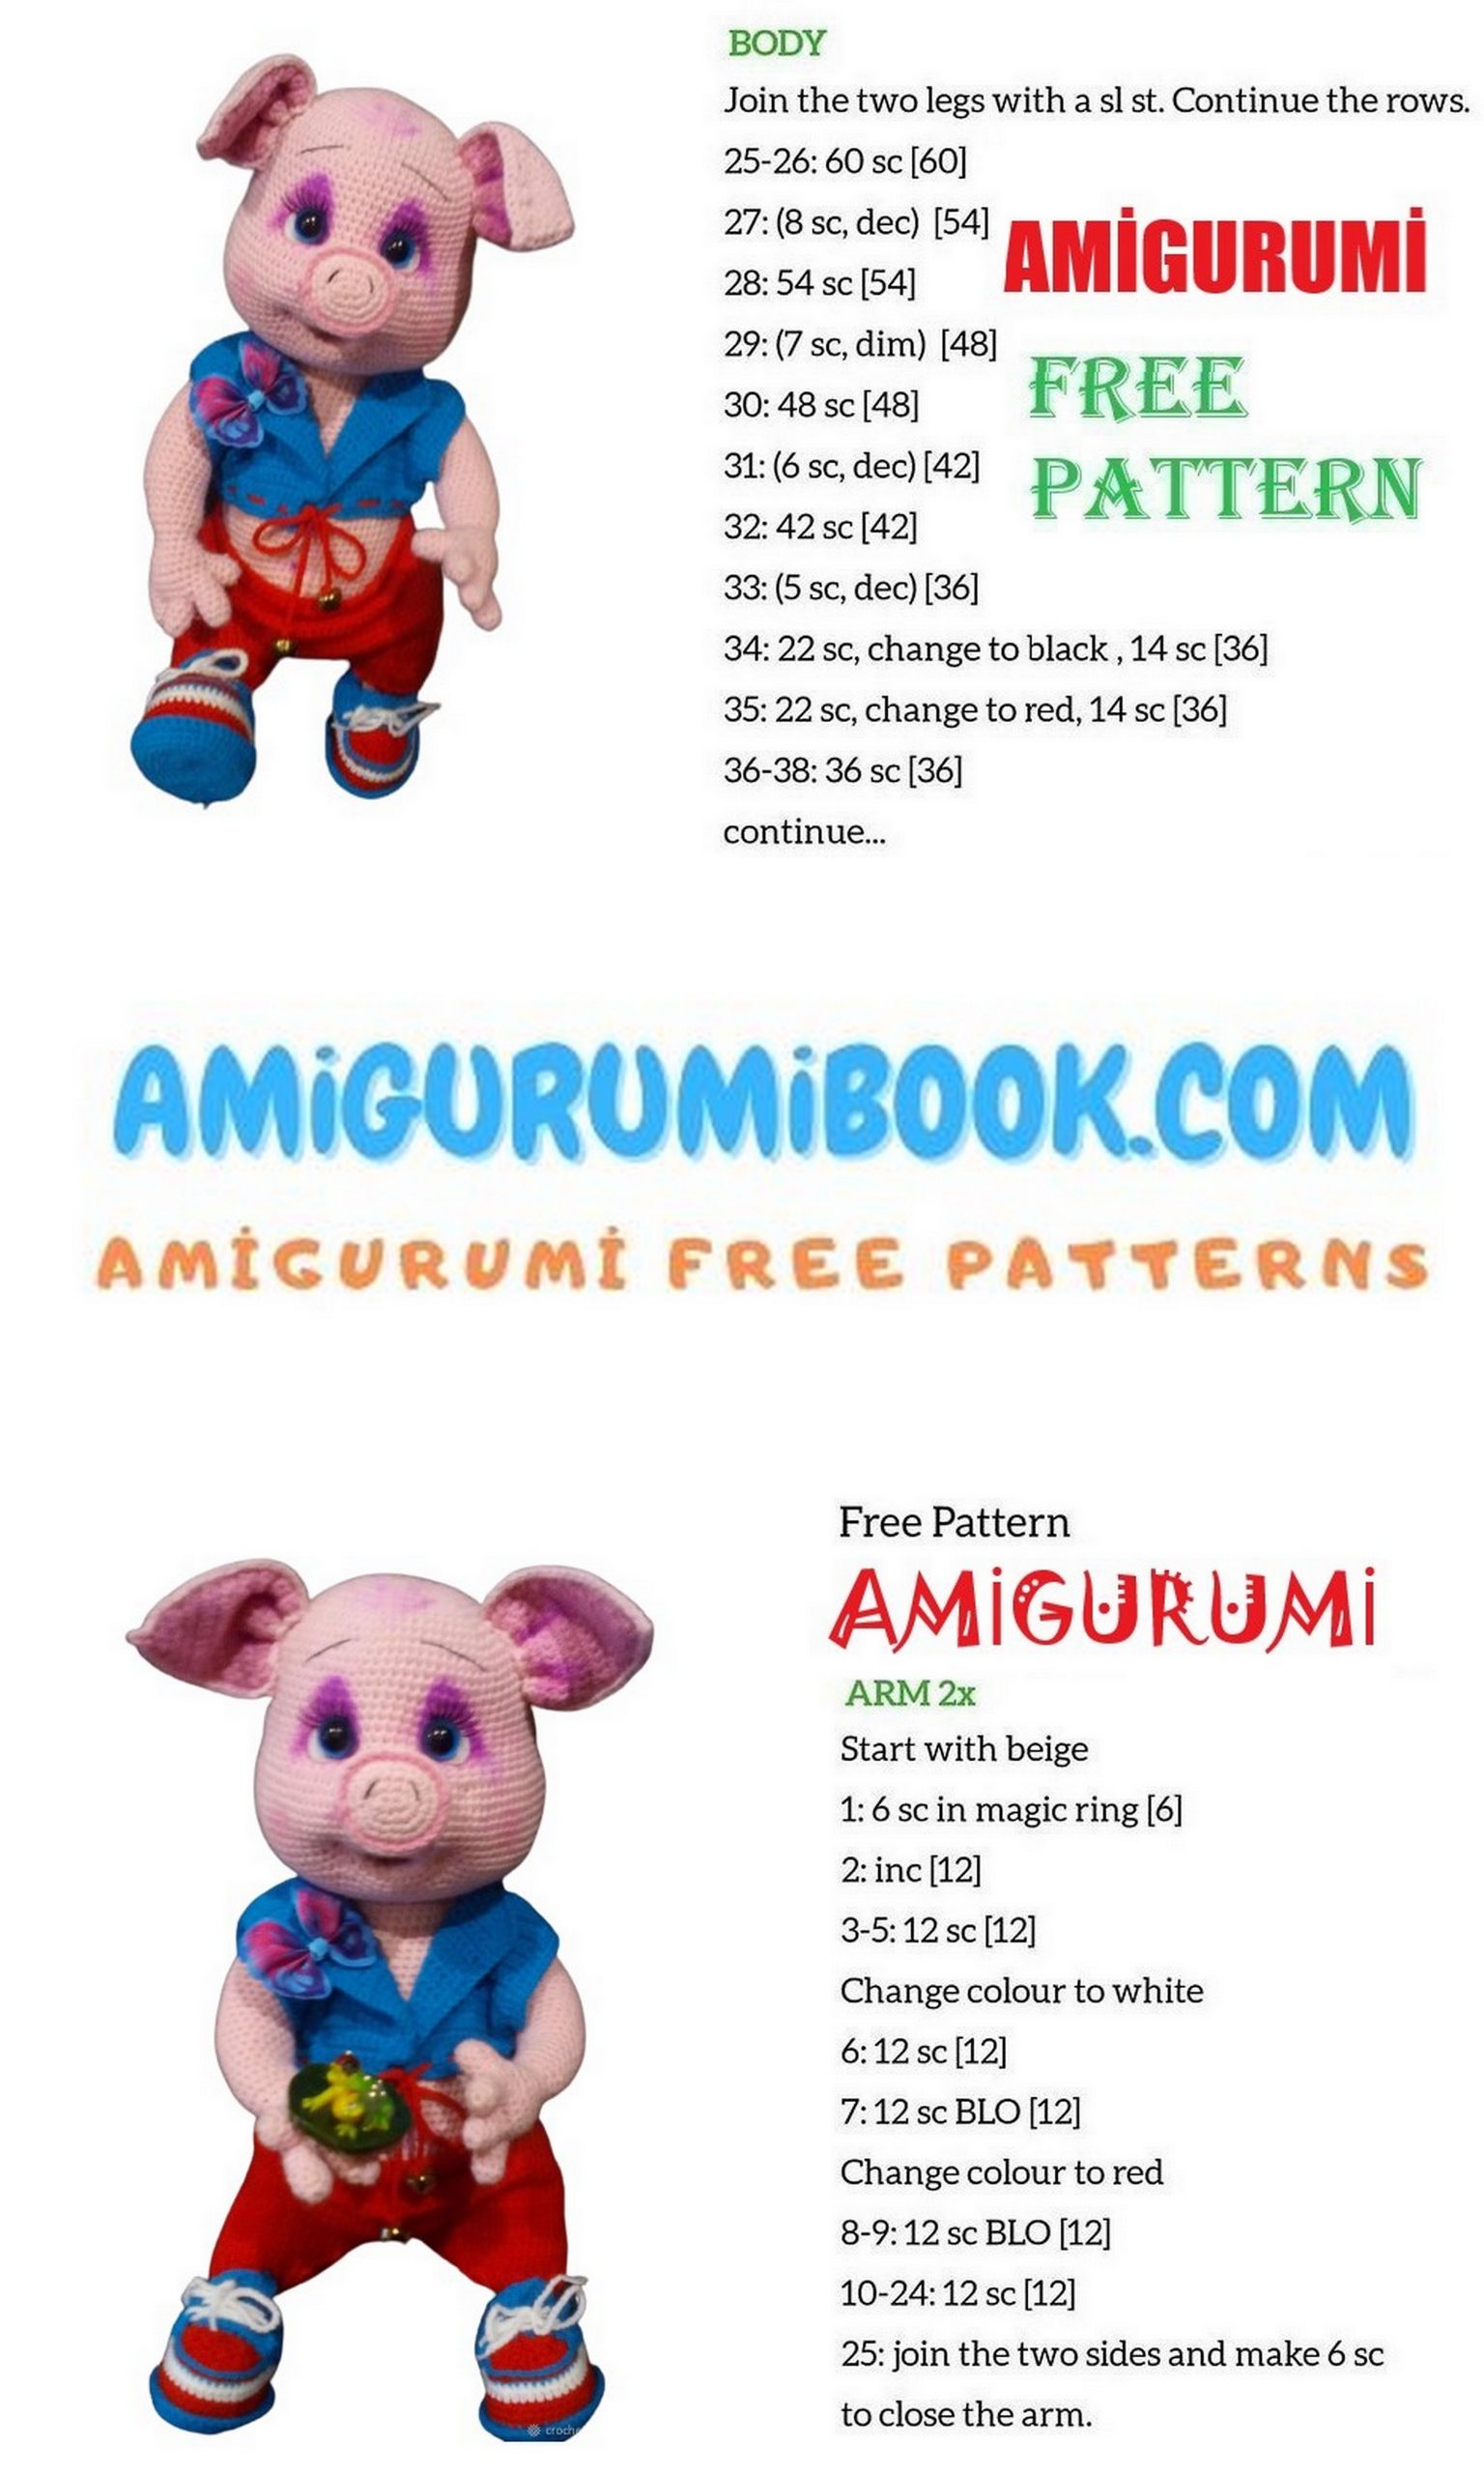
Legs + body
Black or dark brown yarn
1.6 sc. into magic ring
2.6 inc. – 12
3. (3 sc. Inc.) * 3-15
4. BLO – 15 sc
5-6 rows – 15 sc. Each, take a coin 1 ruble and insert it instead of the insole in hoof sole
7. change the color to pink – BLO – 15 sc
8-10 rows – 15 sc each
11.7 sc. inc. 7 sc. – 16
12.8 sc. inc. 7 sc.- 17
13.8 sc. inc. 8 sc – 18
14-15 rows – at 18 sc
16.9 sc. inc. 8 sc. – 19
17.9 sc. inc. 9 sc. -20
18. 20 sc
19.10 sc. inc. 9 sc. – 21
20 . 10 sc. inc. 10 sc. – 22
21. – 22 sc, similarly tie the second leg and type both well parts, on the second leg we do not cut the thread and knit 1 loop forward displacement, type 2 ch and attach the second leg (finding her right position) and put a marker.
23.11 sc. inc. 10 sc. 2 sc to ch 10 sc. inc. 11 sc. 2 sc by ch-50
24.11 sc. inc. 11 sc. 2 sc to ch 11 sc. inc. 11 sc. 2 sc by ch- 52
25.12 sc. inc. 11 sc. 2 sc. 11 sc. inc. 12 sc. 2 sc. – 54
26.12 sc. inc. 12 sc. 2 sc. 12 sc. inc. 12 sc. 2 sc. – 56
27. – 56 sc
28. (1 sc. Inc.) * 3. 14 sc. (1 sc. Inc.) * 3. 2 inc. (1 sc. Inc.) * 3. 14 sc. (1 sc. inc. ) * 3. 2inc. – 72
29-32 rows – 72 sc each
33.18 sc. dec 30 sc. dec 20 sc. – 70
34. change the thread to yellow -18 sc. dec 30 sc. dec 18 sc. – 68
35. for the rear half loops 17 sc. dec 29 sc. dec 18 sc. -66
36.17 sc. dec 28 sc. dec 17 sc. – 64
37. (14 sc. Dec) * 4-60
38.15 sc. dec 26 sc. dec 15 sc. – 58
39. – 58 sc
40.15 sc. dec 25 sc. dec 14 sc. – 56
41.14 sc. dec 24 sc. dec 14 sc. -54
42.14 sc. dec 23 sc. dec 13 sc.- 52
43. (11 sc. Dec) * 4- 48
44-49 rows – 48 sc each
50. (2 sc. Dec) * 12-36
51. BLO (1 sc. Dec) * 12-24
52. change the thread to body color (2 sc. Dec) * 6-18
53. (dec 6 sc.) * 2-16
54-56 rows – 16 sc. Each., Tightly fill the part, take a wooden skewer and insert it into the body, but not completely, leave 5-6 for further fastening the head to the body.
Now back to the remaining front half loops of the 35th row and knit hem of the dress.
1. (10 sc. Inc.) * 6- 72
2. (11 sc. Inc.) * 6-78
3.78 sc.
4. (12 sc. Inc.) * 6- 84
5-8 rows – 84 sc each
9.84 sl-st. attach the white thread and do any strapping of the edge, at me (3 ch sc.).
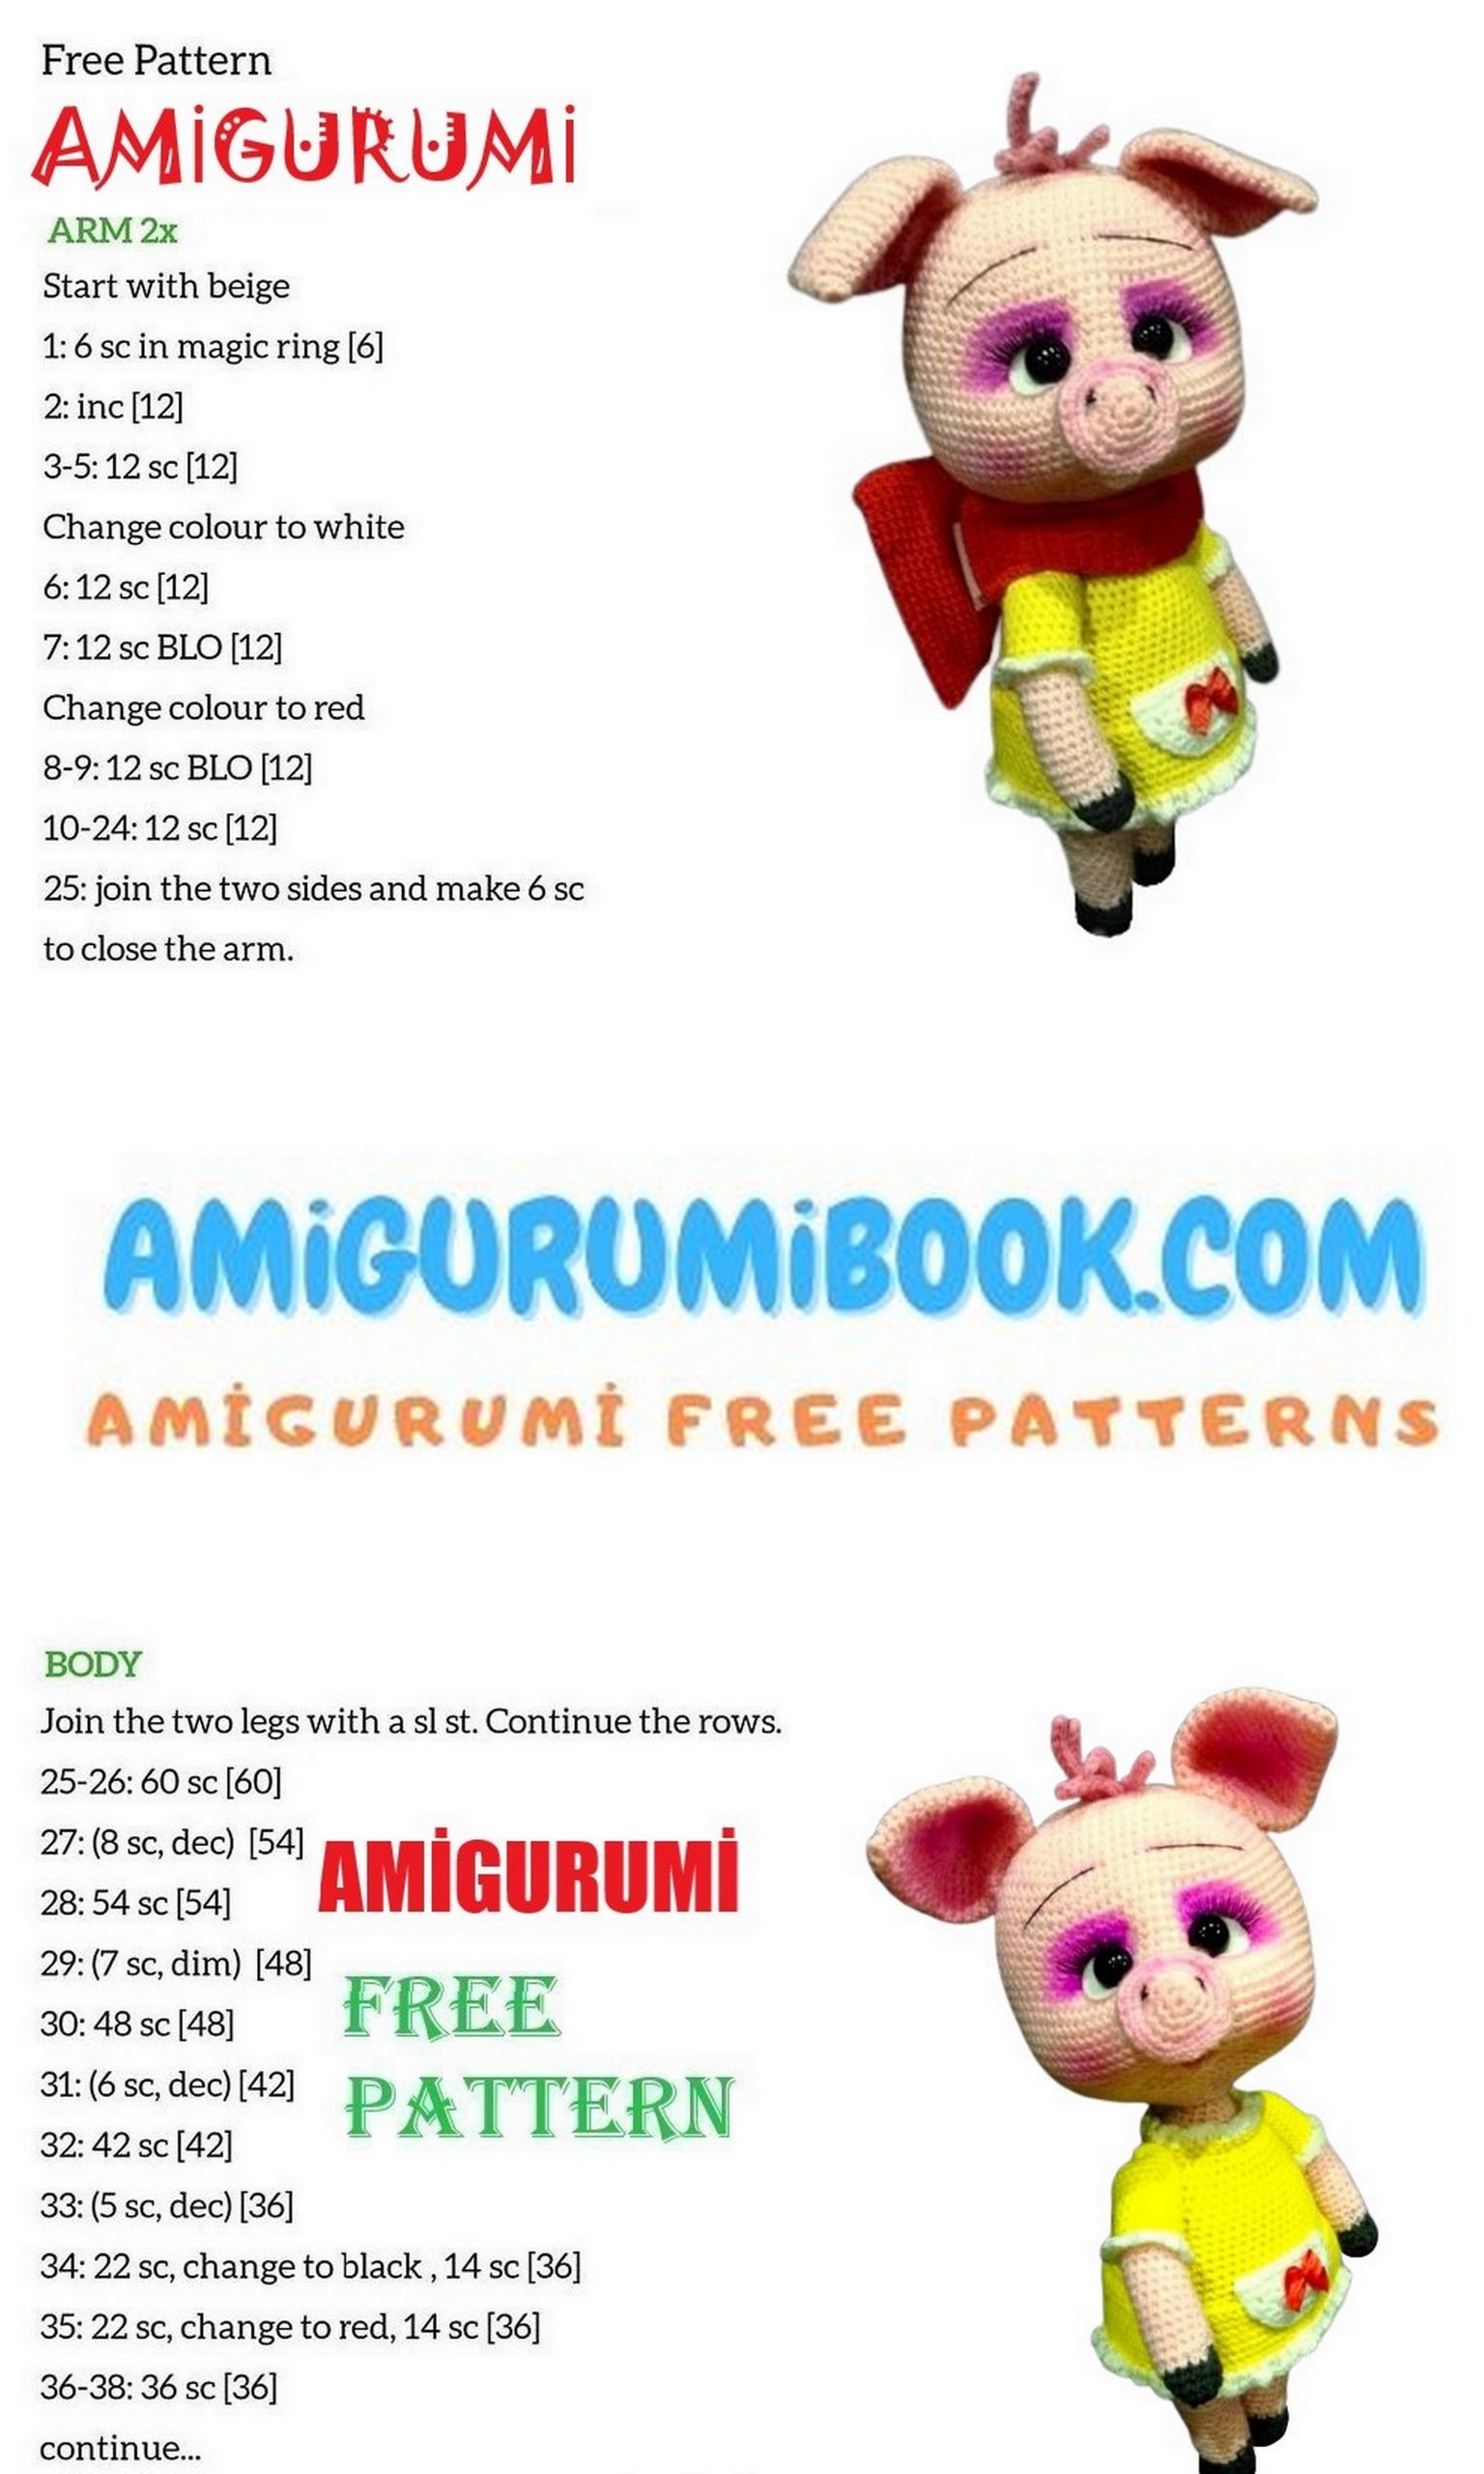
Pens
Start black
1.6 sc. into magic ring
2.6 inc. – 12
3.12 sc.
4.inc. 11 sc. – 13
5.change the thread to body color – 13 sc
6.5 sc. inc. 6 sc. inc. – fifteen
7-17 rows – 15 sc each
18 BLO yellow yarn – inc. 14 sc.- 16
19. per BLO- 16 sc
20. 16 sc
21. inc. 15 sc. – 17
22.17 sc
23. inc. 16 sc- 18
24-25 rows – 18 sc each
26. inc. 17 sc- 19
27. inc. 18 sc- 20
28. (2 sc. Dec) * 5-15
29. (1 sc. Dec) * 5-10
30. 5 dec stuff the part not very tightly, tie the second handle similarly
The ears
1.6 sc. into magic ring
2.6 sc.
3. 6 inc. – 12
4.12 sc
5. (1 sc. Inc.) * 6-18
6.18 sc
7. (2 sc. Inc.) * 6-24
8.24 sc
9.1sc into 3sc. 1sc into 3sc. 22 sc- 28
10.28 sc
11. (3 sc. Inc.) * 2-30
12. (4 sc. Inc.) * 6-36
13-17 rows – 36 sc each
18- (1 sc. Dec) * 12-24
19.24 sc
20. 12 dec- 12
21. 6 dec leave thread for sewing
Piglet
1.6 sc. into magic ring
2.6 inc. – 12
3. (1sc. Inc.) * 6-18
4. 1 sc. inc. (2 sc. Inc.) * 5. 1 sc -24
5. for the front loops – 24 sc
6.24 sc
7. 24 sc knit together with the remaining remaining stitches of 5 rows
8. (2 sc. Dec) * 6-18
9.18 sc
Tail
1. 12 ch in the 2nd loop from the hook 11 hdc. Ch turn
2. 3 hdc in each loop to the end of the row
Pocket on the dress
1.4 sc. into magic ring – do not close ch turn
2. inc. 2 sc. inc. ch pov.
3.2 sc. 2 inc. 2 sc. ch pov.
4. (1 sc. Inc.) * 4. ch pov.
5.2 sc. ch pov.
6. inc. 10 sc. inc. ch the item is not rotated, but knit at its base
11 sc. ch pov.
7.11 sc. sew to the dress, decorate if desired.
Bow
Red
1.26 ch with 2nd from the hook of the loop 24 sc. inc. on the other side of the chain 24 sc.- 50
2-15 rows – 50 sc each.
16. (8 sc. Dec) * 5-45
17. (7 sc. Dec) * 5-40
18. (6 sc. Inc.) * 5- 35
19. (5 sc. Inc.) * 5-30
20. (4 sc. Inc.) * 5-25
21. (3 sc. Inc.) * 5-20
22. (2 sc. Dec) * 5-15
23-26 rows – 15 sc each
27. (2 sc. Inc.) * 5-20
28. (3 sc. Inc.) * 5-25
29. (4 sc. Inc.) * 5-30
30. (5 sc. Inc.) * 5- 35
31. (6 sc. Inc.) * 5-40
32. (7sc. Inc.) * 5-45
33. (8 sc. Inc.) * 5-50
34-47 rows – 50 sc each. take the wire, bend it in the shape of a bow and insert into the part. Spread evenly a little filler, thereby covering the hard surfaces of the frame. Sew the remaining two edges of the part.
Bow bar
1.10 sc. into magic ring
2-15 rows – 10 sc each. stitch the edges of the part and sew to bow
Ribbons for bow 2 pcs.
1. 31 ch in the 2nd from the hook loop knit hdc to the end of the row
2. 3 DC in each loop of the previous row
Tie the second ribbon in the same way, just dial 43 ch
Tie
To dial 13 ch with the 2nd from the hook of the loop, knit in rotary rows DC or HDC the amount you need rows.
Sew ribbons to the bow, sew the eyeball on the one hand a little bending the part, and on the other hand fasten with Velcro then the bow can be removed and worn.
Lip
10 ch with 2nd from the hook of the loop 3 hdc. 3 dc. 3 hdc.
Assembly and continuation of design
We’ll tighten the muzzle in 2 more places.
We insert the needle into the neck hole and withdraw at point 1, then from point 1 at the top of the part we introduce it to point 3, and point 3 inside the part to point 4 and again along the top of the part to point 2 and output again in the neck area, tighten.
Now we sew the ears – we begin at the level of 3 rows from the beginning of knitting the head and finish in the 10th row. Let’s make a forelock – yarn of pink color, but darker shade – 3 pcs. so – 10 ch with 2nd from the hook of the hdc loop to the end of the row and 2 PC. so 13 ch – from the 2nd hdc to the end of the row and sew them between the ears in the middle heads. Toned area for the eyes, brown the cheeks, tint the ears and the patch.
Embroider nostrils and eyebrows with black floss. sew the lower lip, tint the area the resulting mouth.
Sew a patch in the middle between increments for the cheeks – one – two rows below points 1 and 2 and one row above points 7 and 8. Piglet just closes external ducks on the face. From white we cut out proteins for eyes and glue on him half beads and optionally cilia.
Position your eyes as you like and glue them. Now put your head on left skewer tip if required fill the neck area well and sew head to body. It remains to sew the pens – thread or button fastening on the level of 49-50 rows – the body.
Missed one moment, tie the sleeves and dress collar behind the front left loops, in the same way that you tied its bottom. Sew a ponytail – finding the middle of the ass. And left to dress