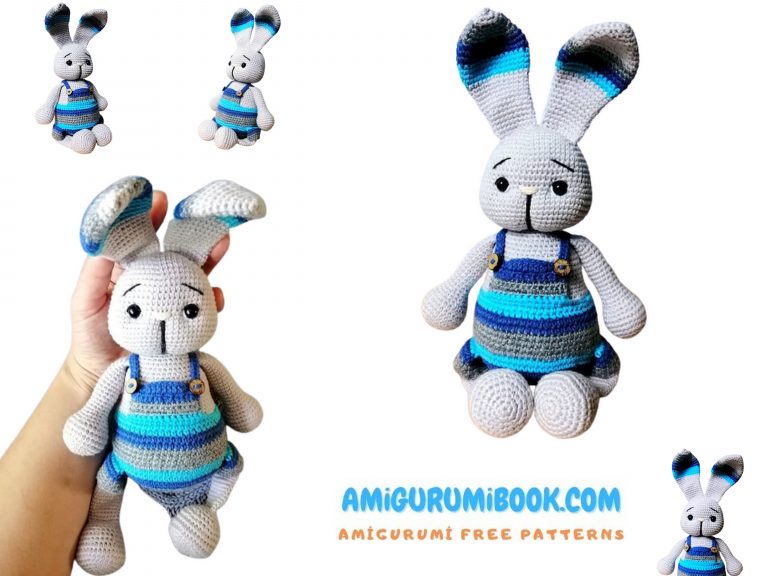
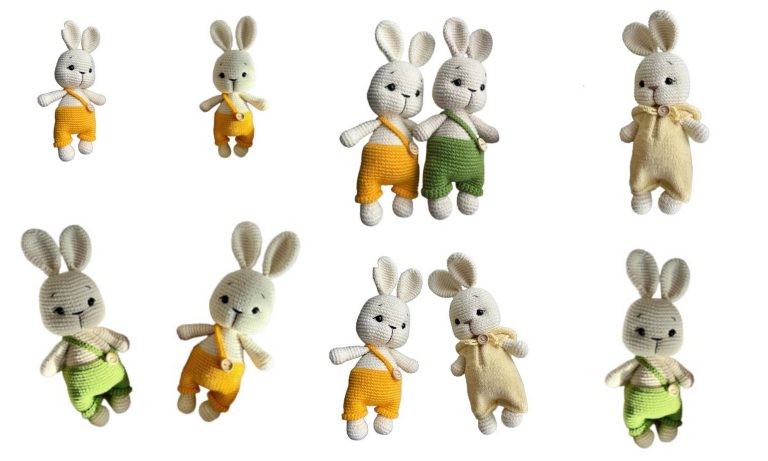
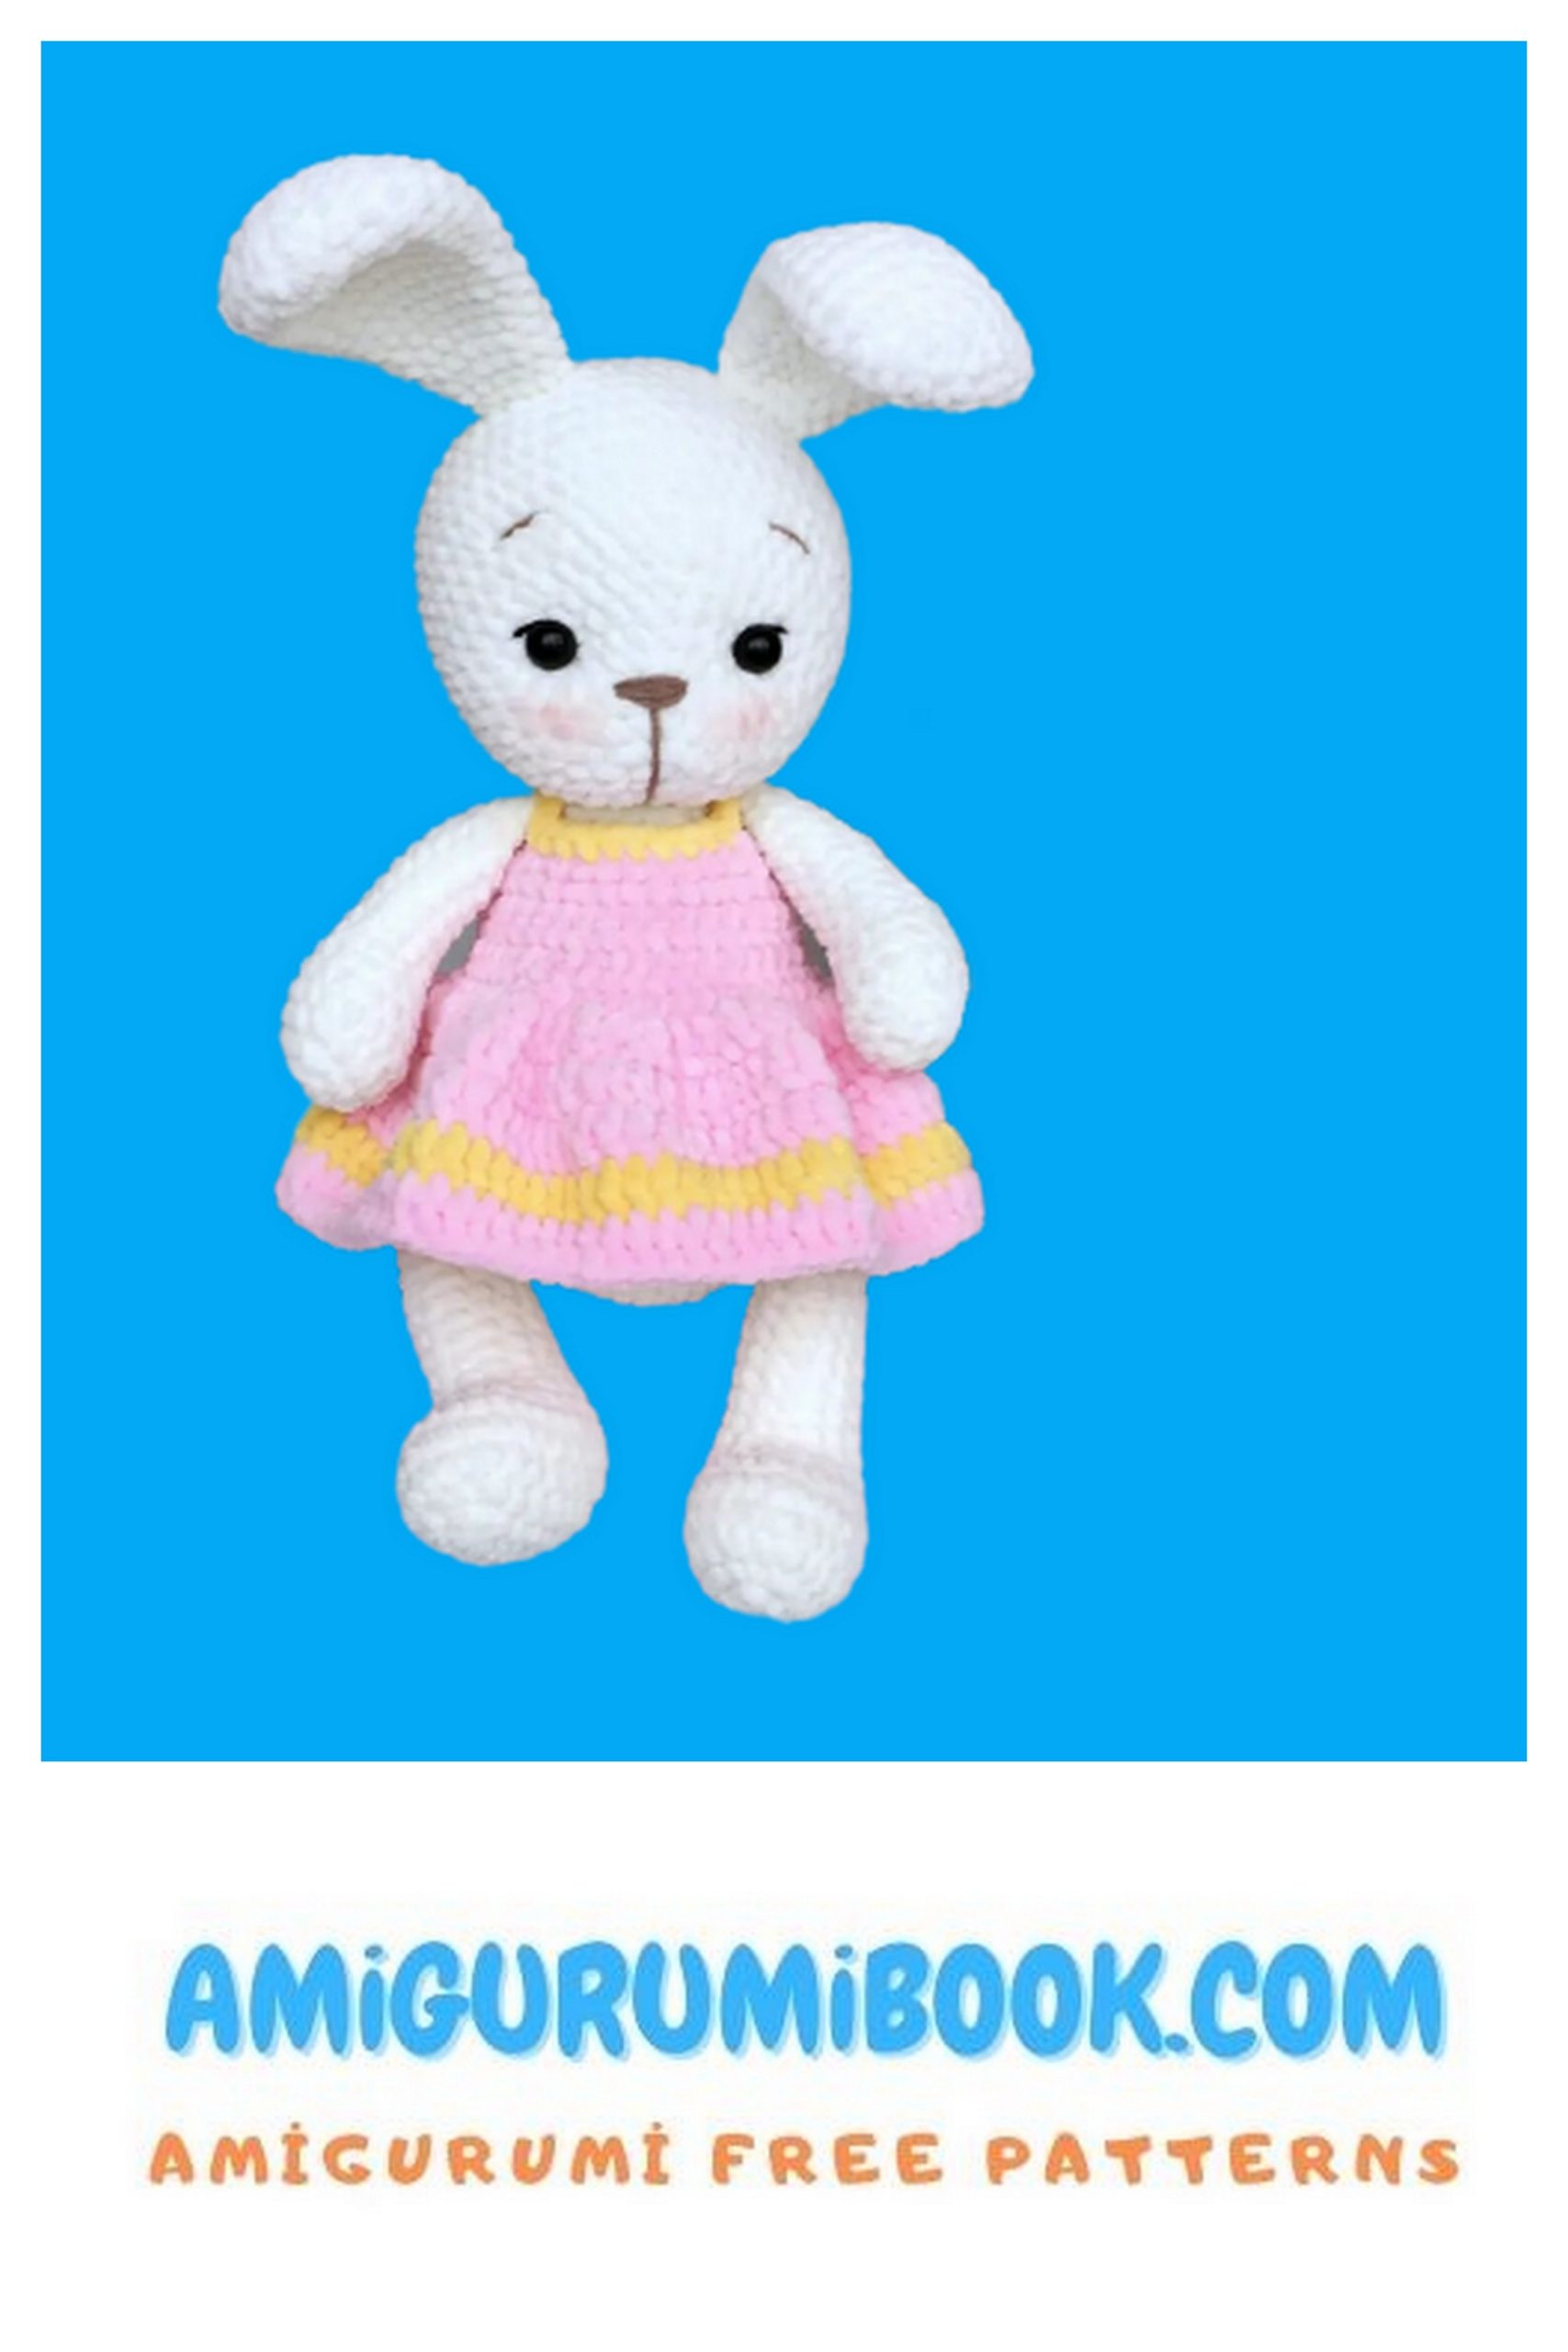
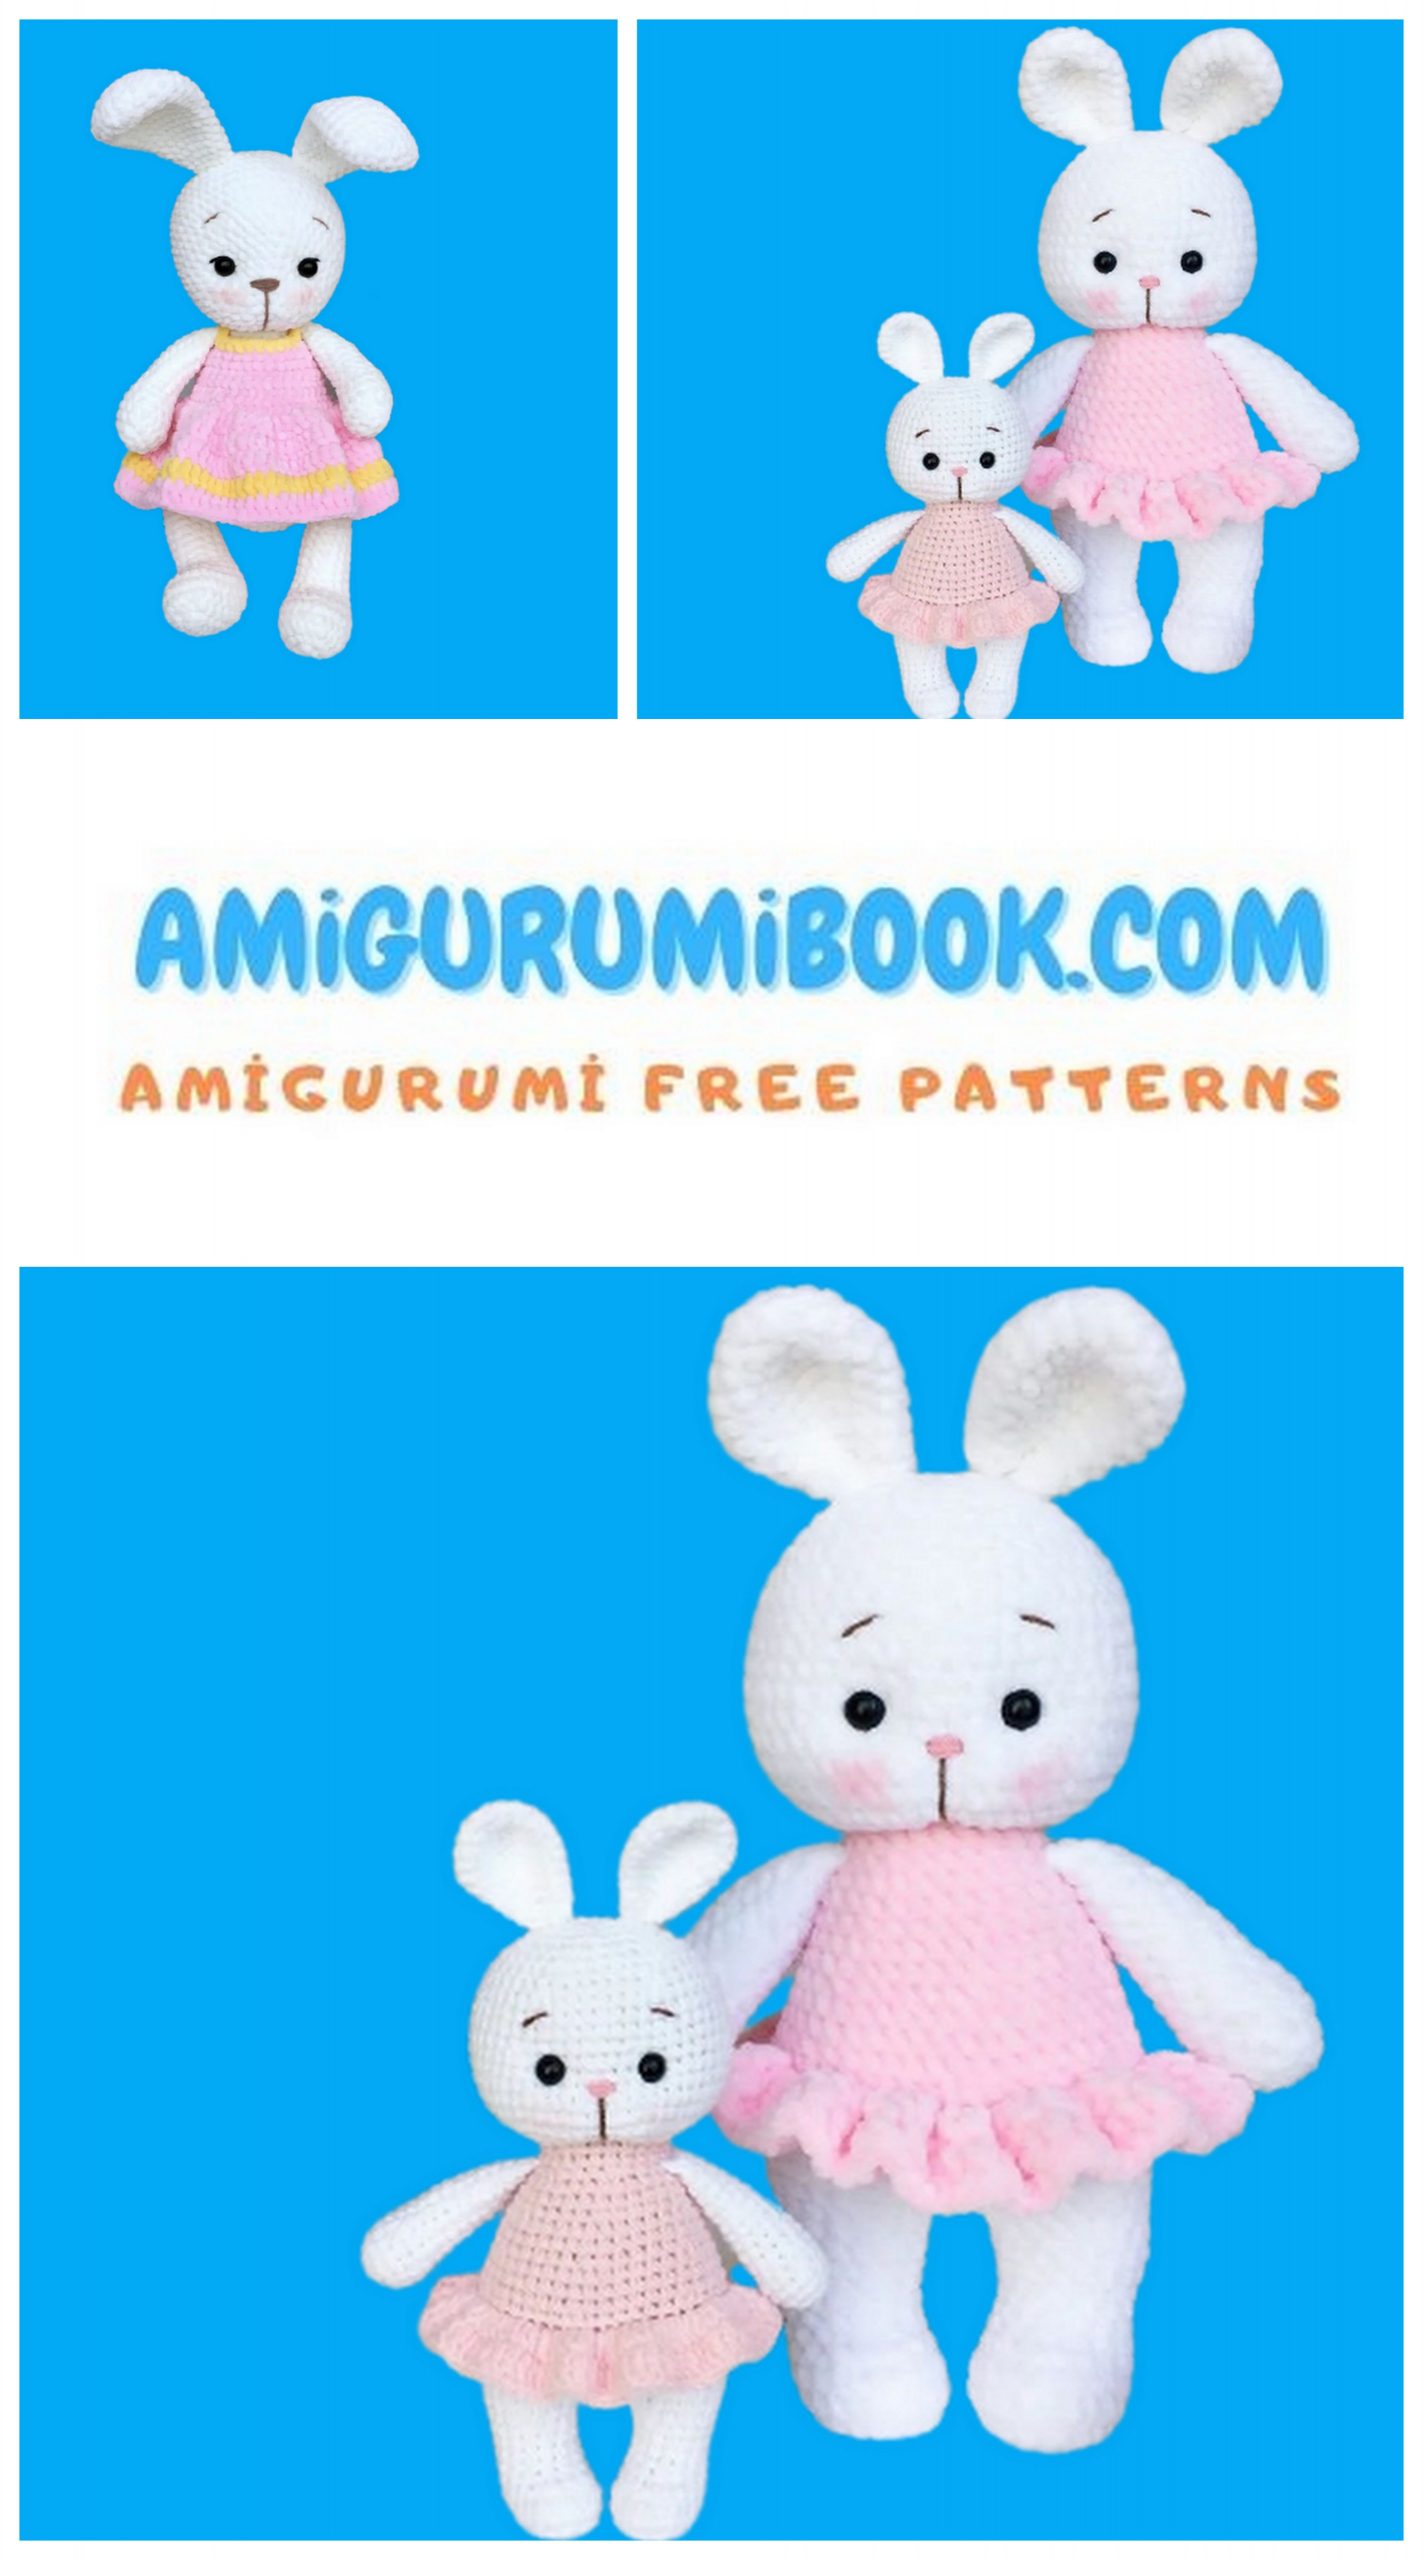
Cute Velvet Bunny Amigurumi Free Pattern
We continue to share Amigurumi free patterns on our website. In this article, cute velvet bunny amigurumi free pattern is waiting for you.
Materials and tools:
1. Sport yarn: – White (YarnArt Jeans 62) – Pink (YarnArt Jeans 74)
2. Brown thread to embroider eyebrows and muzzle
3. Pink thread to embroider the nose
4. White thread for head sculpting
5. Safety eyes 6 mm
6. Crochet hook 2 mm
7. Stuffing (Polyester fiber fill)
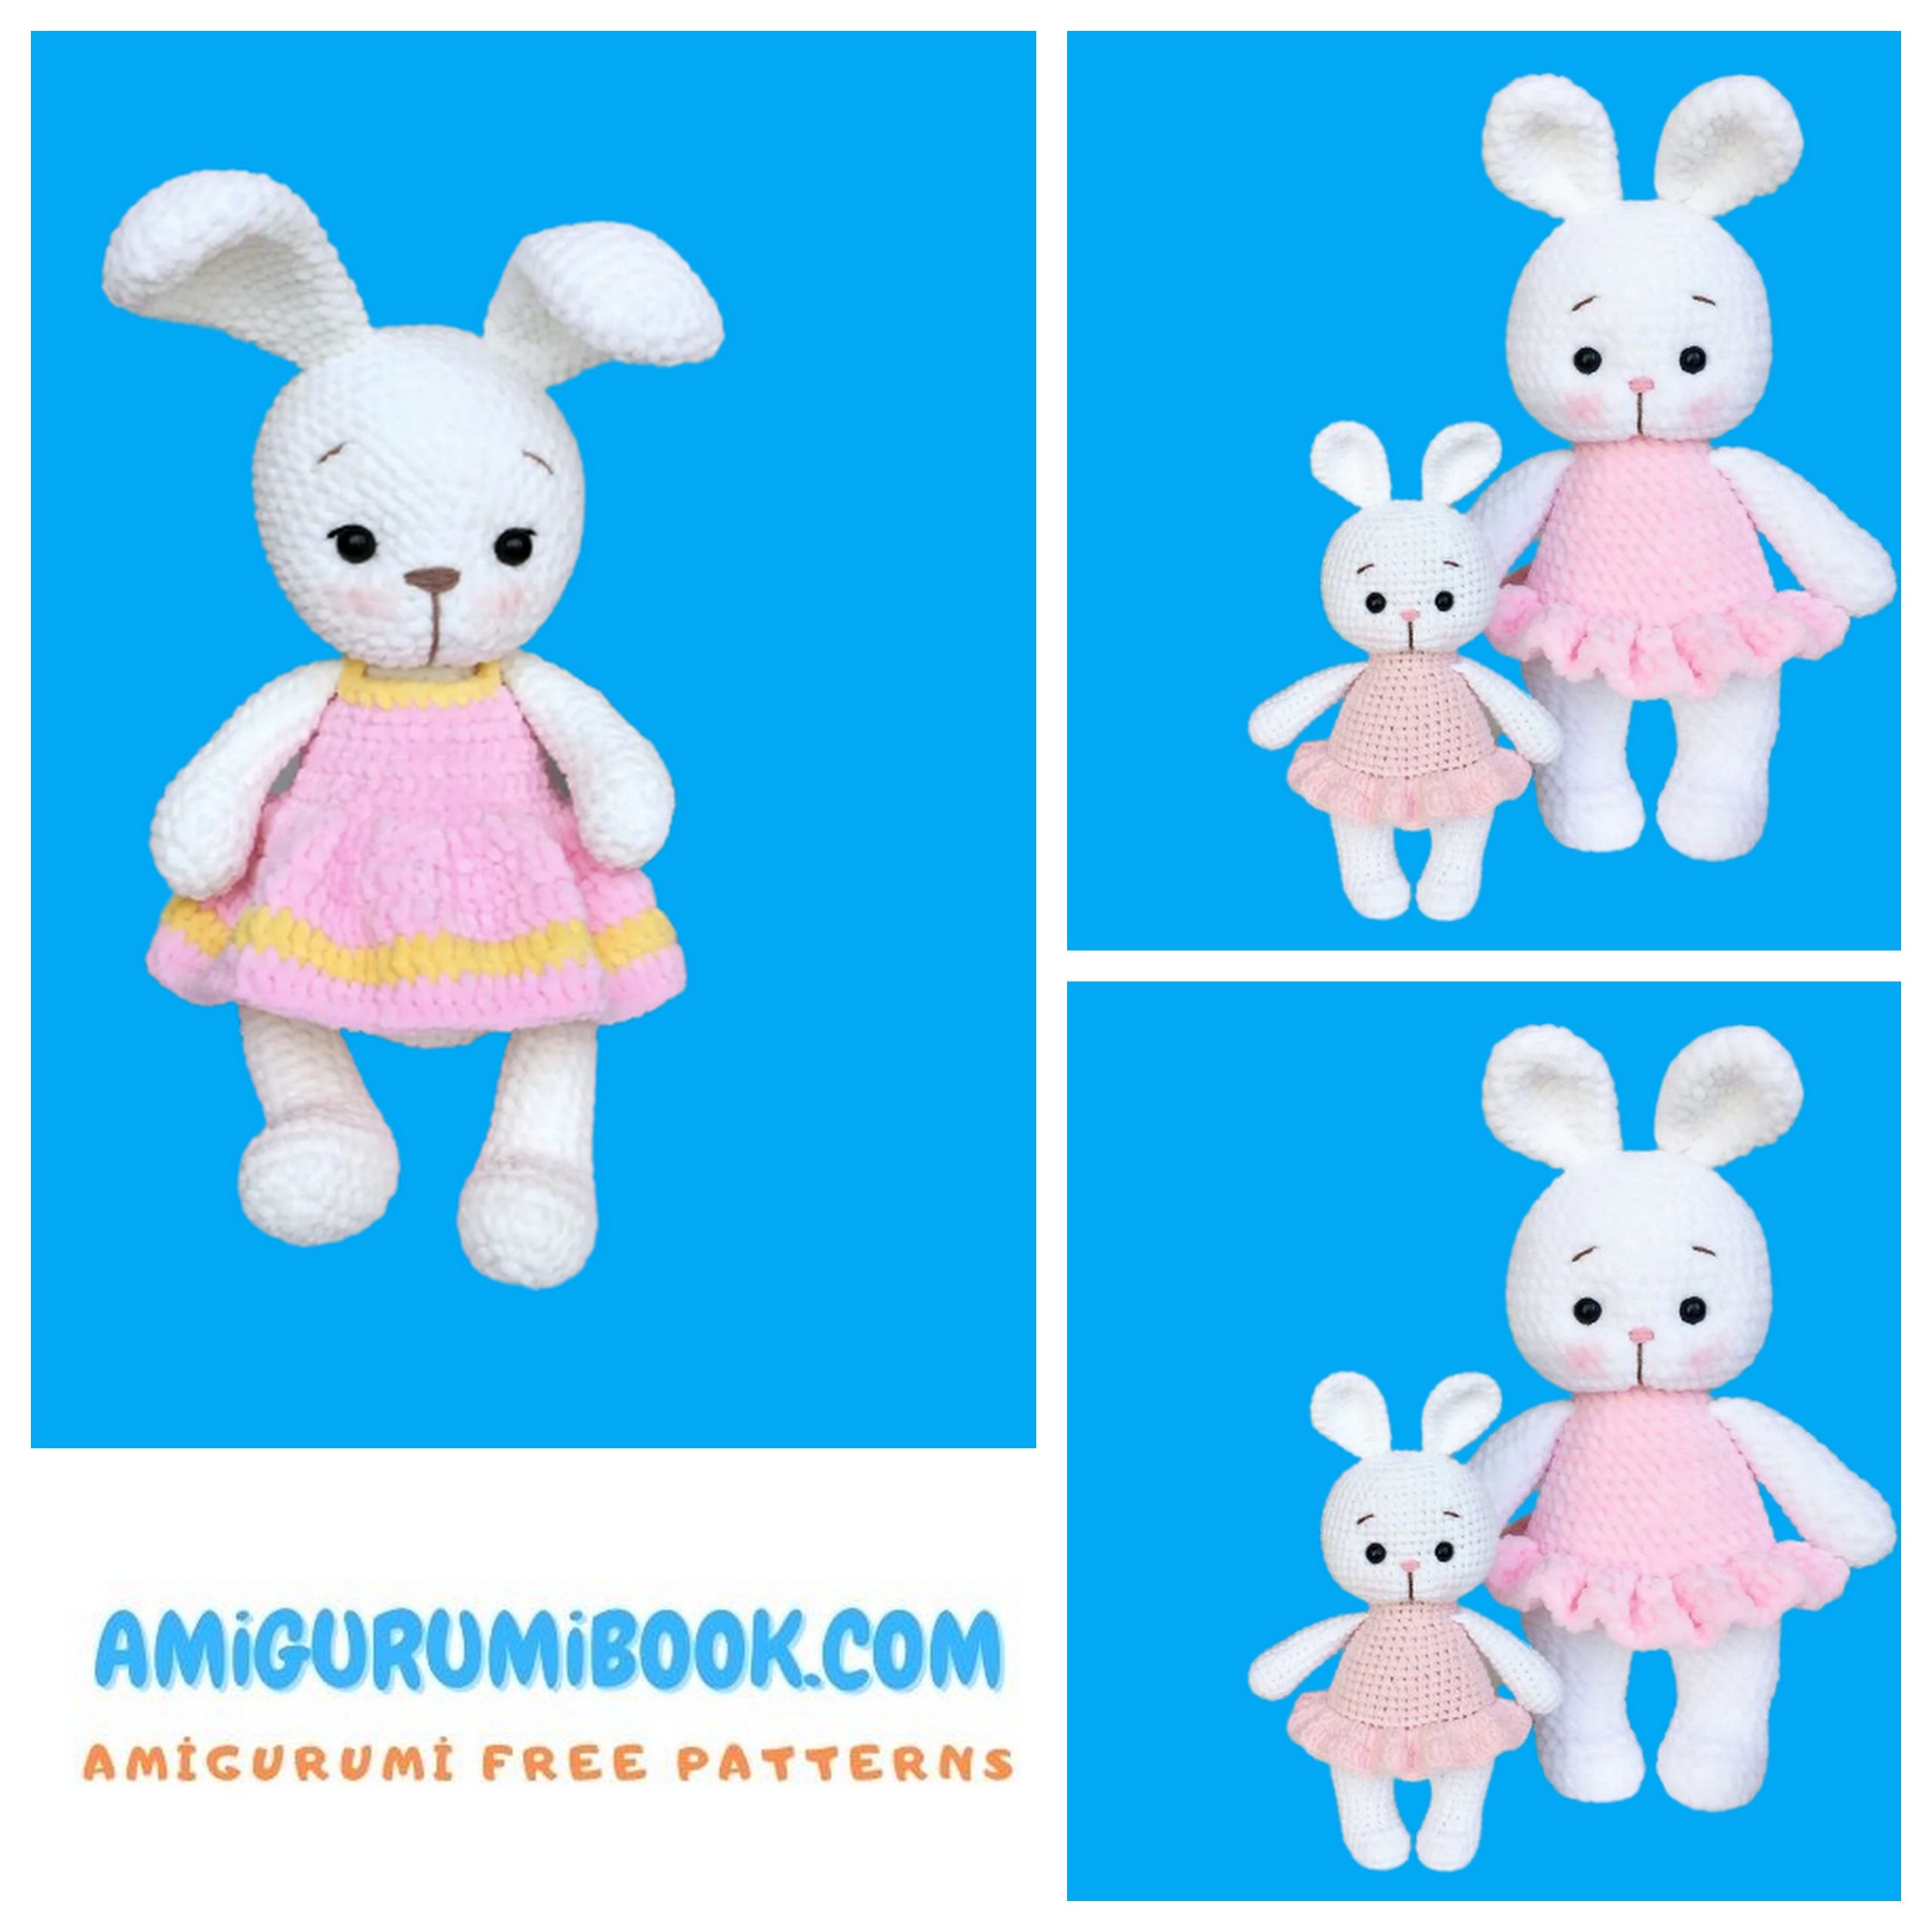
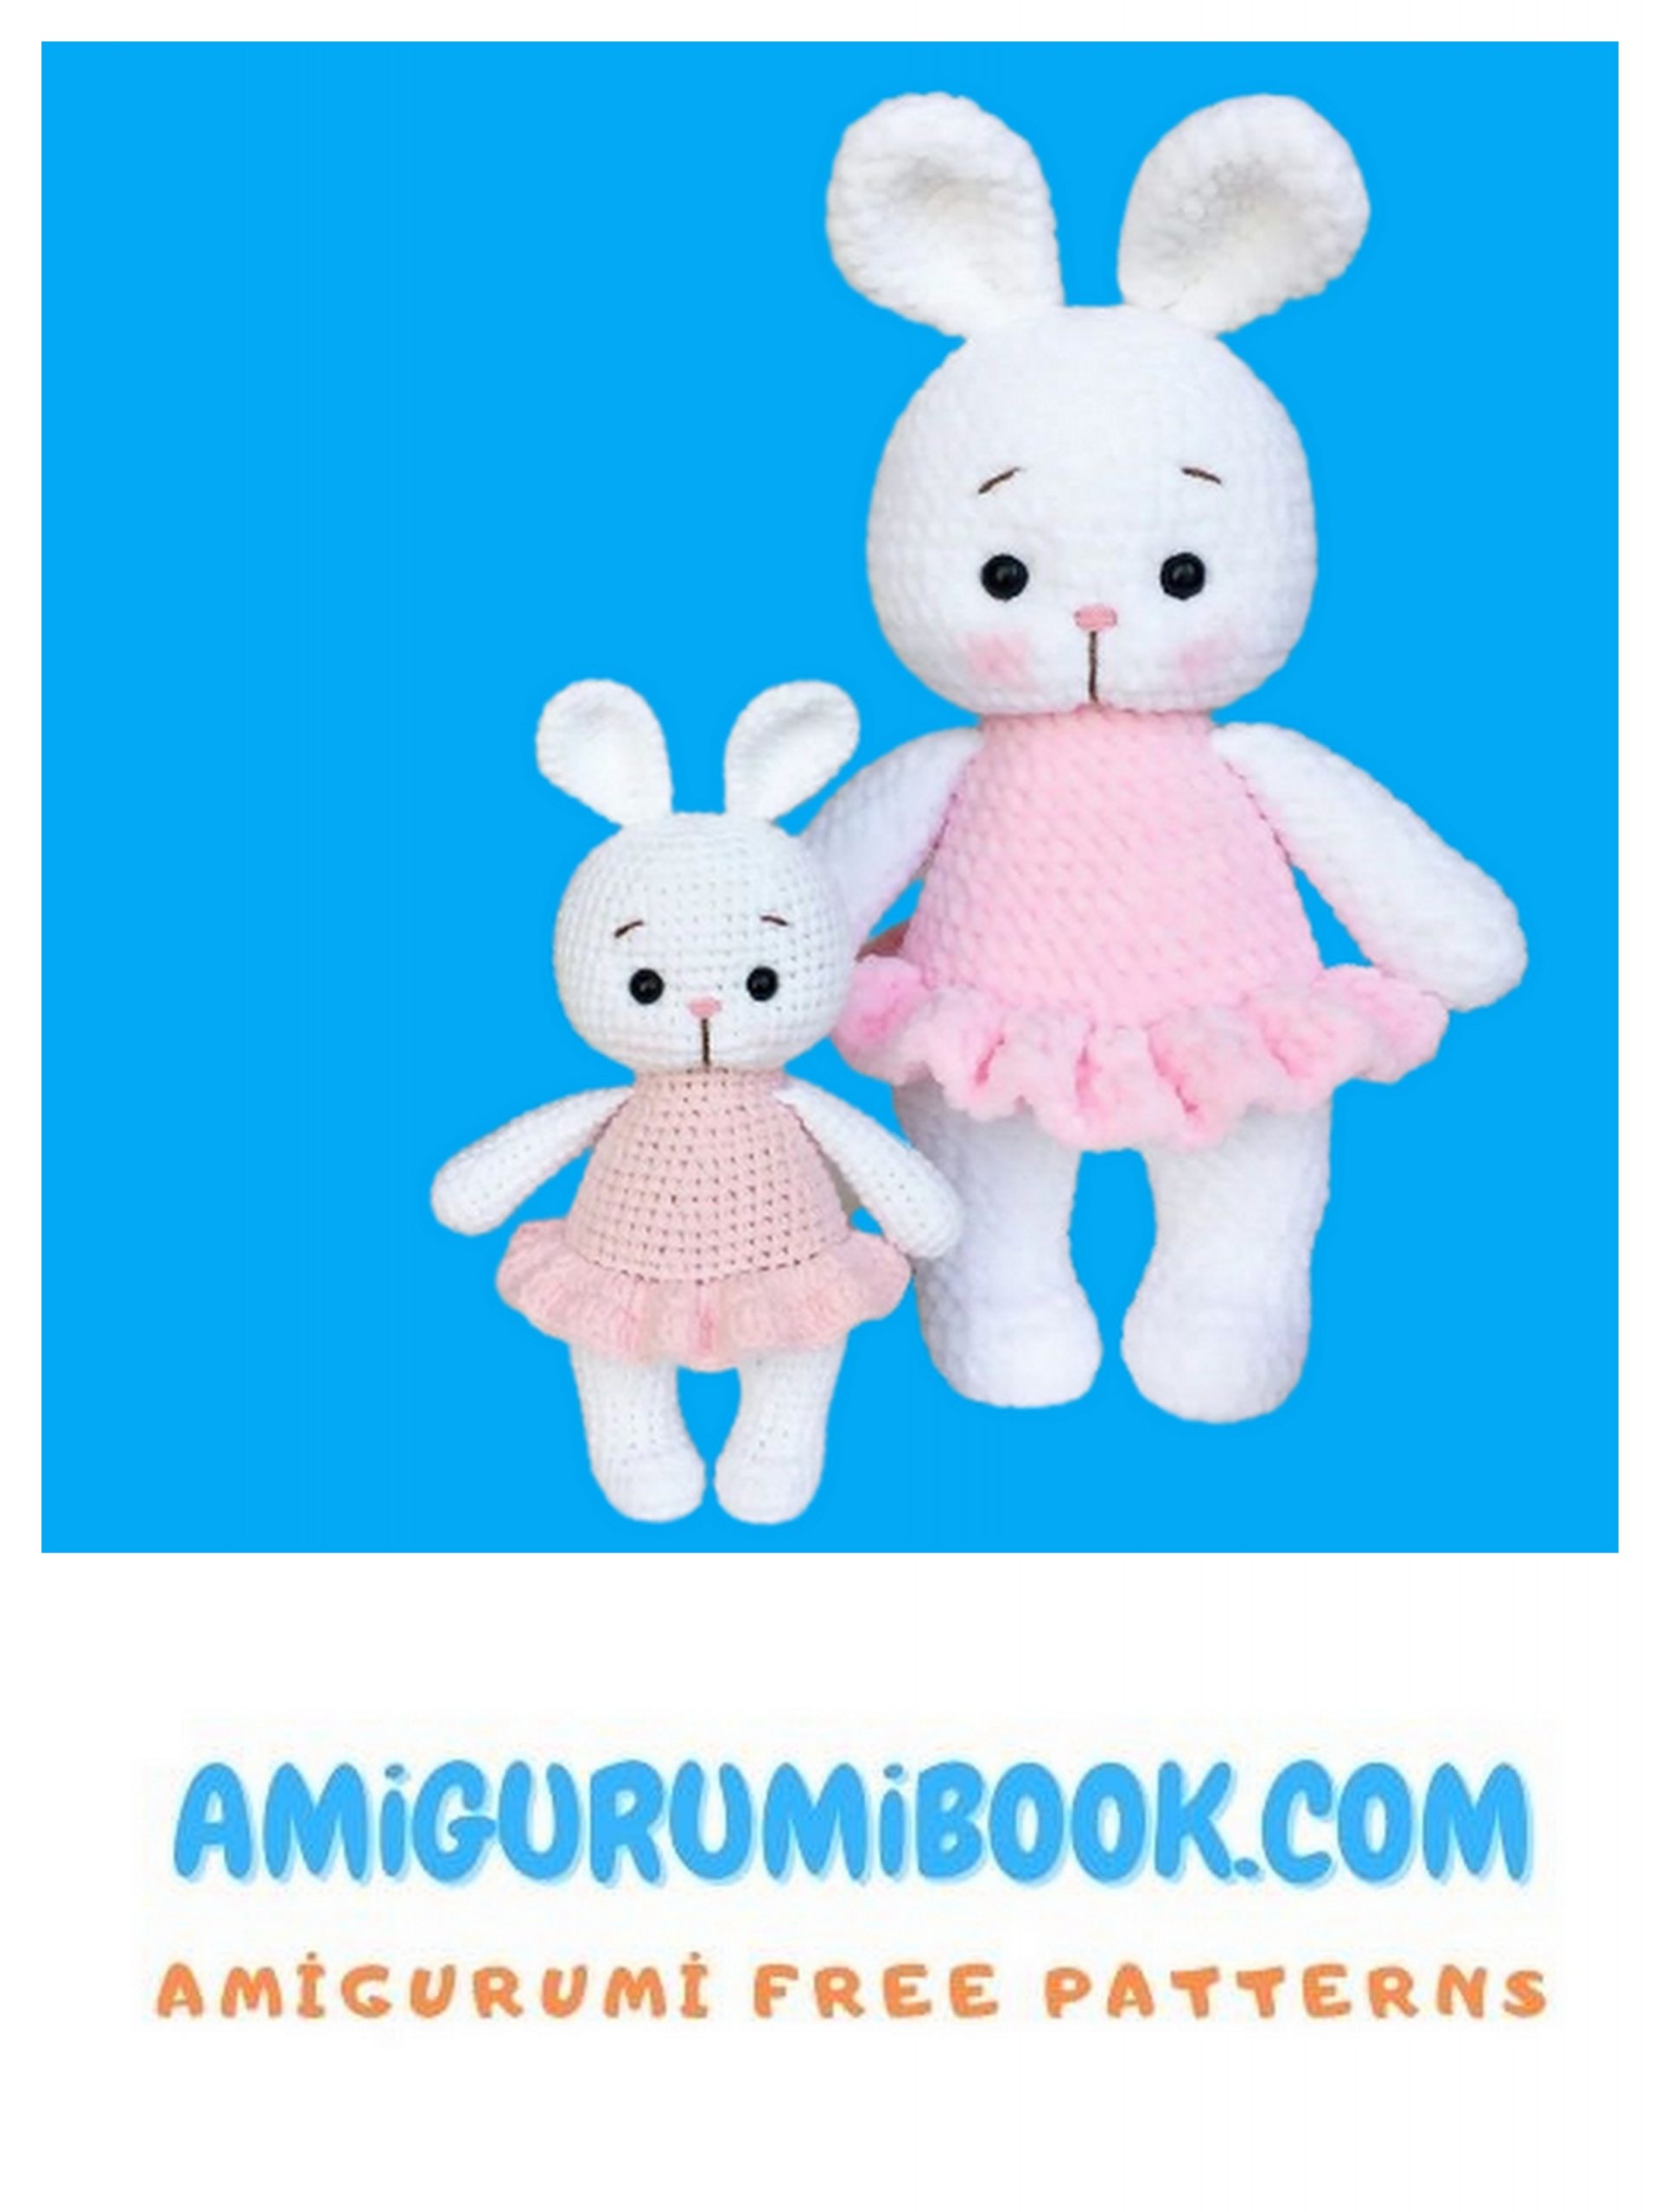
If you use these materials, the finished toy is around 16 cm (8″) tall (without the ears).
The difficulty level of the pattern is easy to medium. In this pattern is used US terminology.
Abbreviations:
Sc: single crochet
dec: decrease
inc: increase
ch: chain
dc: double crochet
hdc: half double crochet
Pattern:
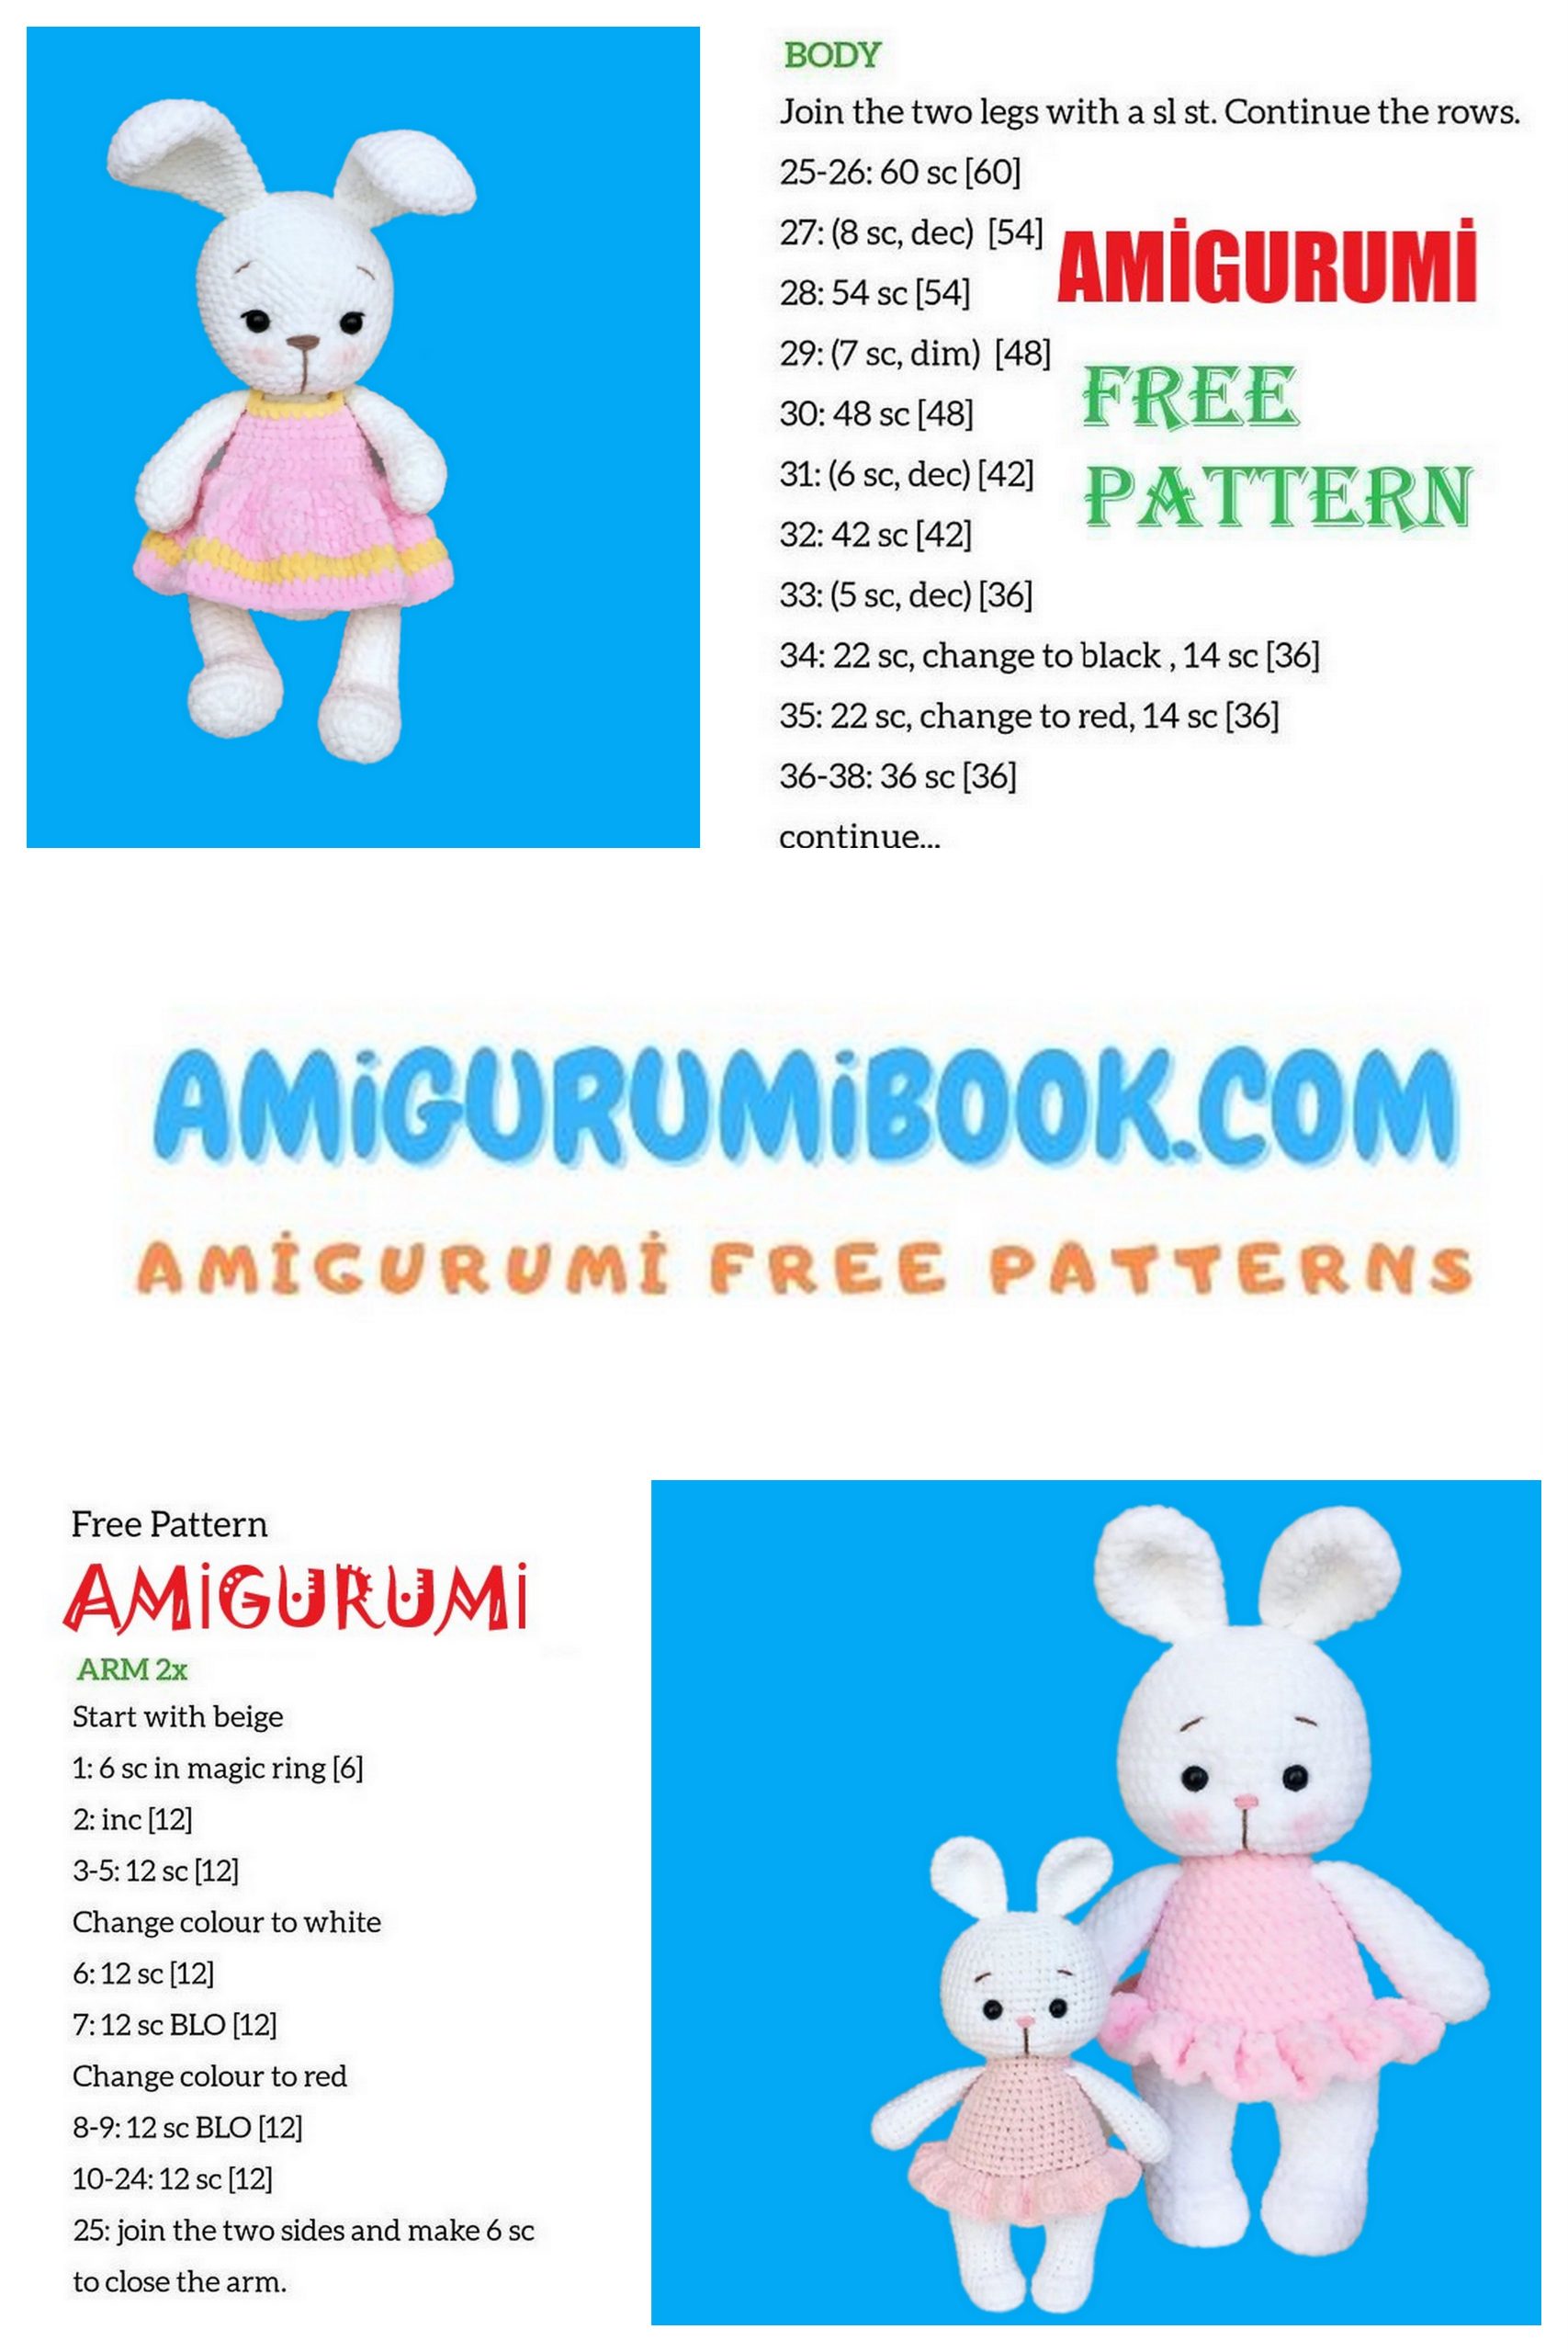
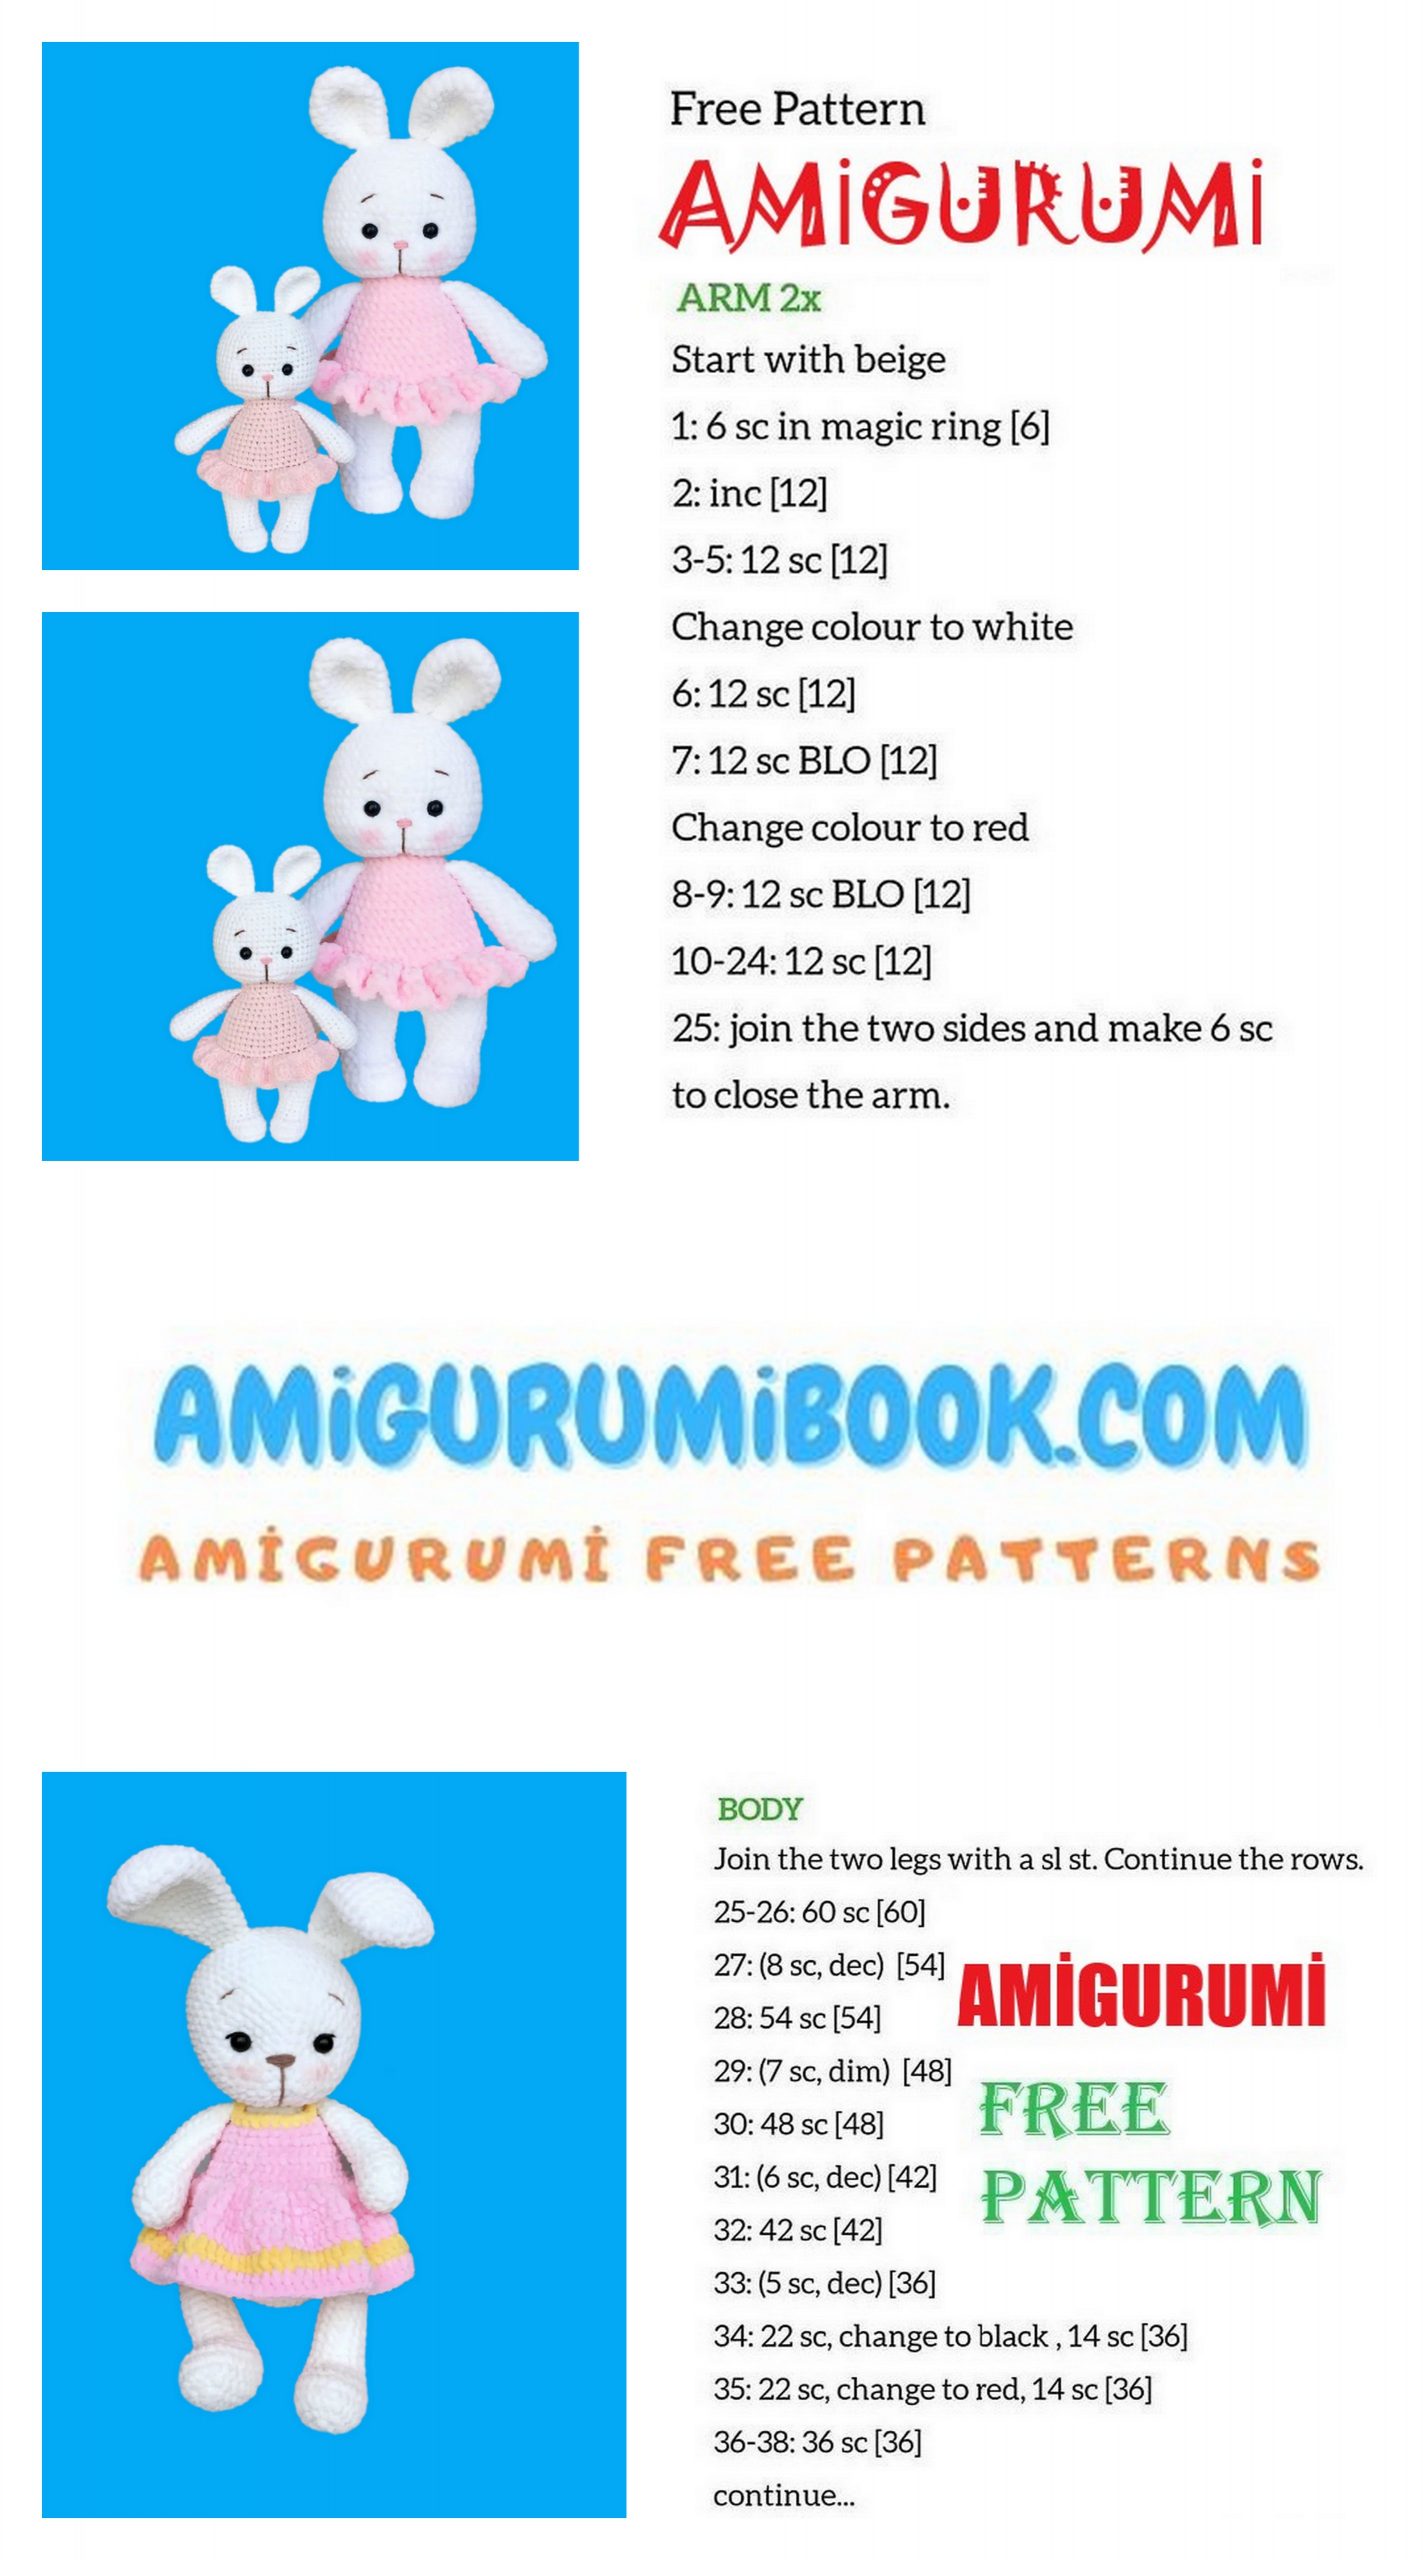
Arms:
Crochet with white yarn. Stuff only 2/3 of the arm.
1. 6 sc into a magic ring (6)
2. 6 inc (12)
3. (3 sc, inc)*3 (15)
4-5. 15 sc (2 rounds)
6. (3 sc, dec)*3 (12)
7-14. 12 sc (8 rounds)
15. (4 sc, dec)*2 (10)
16. 10 sc
Fold the arm in half and crochet 5 sc through both sides.
Fasten off and cut the yarn, leaving a tail for sewing.
Sew the arms two rounds under the beginning of the head.
Legs:
Crochet with white yarn. Stuff as you go.
1. 7 sc into a magic ring (7)
2. 7 inc (14)
3. (sc, inc)*7 (21)
4-5. 21 sc (2 rounds)
6. 7 sc, 4 dec, 6 sc (17)
7. 7 sc, 2 dec, 6 sc (15)
8-10. 15 sc (3 rounds)
11. (4 sc, inc)*3 (18)
12. 18 sc
13. For the left leg: crochet only 14 sc
Fasten off, cut the yarn.
13. For the right leg: 18 sc
Don’t cut the yarn, we will continue with the body:
Body:
1. Crochet 7 sc on the right leg; make 3 chain; 18 sc on the left leg; 3 sc on the chain; 18 sc on the right leg; 3 sc on the chain; put the marker here (42)
2. (6 sc, inc)*6 (48)
3-6. 48 sc (4 rounds).
Change the yarn to pink color:
7. 48 sc
8. back loops only: 48 sc
9. (6 sc, dec) *6 (42)
10-11. 42 sc (2 rounds)
12. (5 sc, dec)*6 (36).
13-14. 36 sc (2 rounds)
15. (4 sc, dec)*6 (30)
16-17. 30 sc (2 rounds)
18. (3 sc, dec)*6 (24).
19. 24 sc
20. (6 sc, dec)*3 (21)
Stuff the body firmly, especially in the neck.
Cut the pink yarn, we will continue with the head, but first we need to make the dress:
Skirt:
Attach the pink yarn to back of the body in the front loops of round 8. Crochet with the body turned upside down:
1. (2 dc in one stitch)*48 (96)
2. 96 dc
Fasten off, cut the yarn.
Hide the thread inside the body.
Head:
Change the yarn to white color.
Stuff as you go.
1. 21 sc
2. 21 inc (42)
3. (6 sc, inc) *6 (48)
4. (7 sc, inc) *6 (54)
5-9. 54 sc (5 rounds)
Insert the safety eyes between rounds 8 and 9 with 8 st between them.
10. (7 sc, dec)*6 (48)
11-13. 48 sc (3 rounds)
14. (6 sc, dec)*6 (42)
15. 42 sc
16. (5 sc, dec)*6 (36)
17. (4 sc, dec)*6 (30)
18. (3 sc, dec)*6 (24)
19. (2 sc, dec)*6 (18)
20. (sc, dec)*6 (12) 21. 6 dec (6)
Make sure that the head is stuffed firmly.
Close the opening and hide the yarn inside.
Head sculpting (look at the pictures):
Mark the points 1, 2, 3, 4 and 5 with pins, as it’s shown in the photo. Insert a long threaded needle through the head bottom and pull it out from the point 1. Then reinsert into the point 2 and pull out from the head bottom. Make the needle sculpting for the second eye in the same way (points 3 and 4). Pull the thread ends and tie a knot. Then insert the needle in point 5 and pull it out from the head bottom. Pull the thread so it makes a muzzle. Do that one more time and tie a knot. Hide the thread inside the head.
Using the brown thread embroider the muzzle and the eyebrows. Using the pink thread embroider the nose. Paint the cheeks with pink blush.
Ears:
Crochet with white yarn.
1. 6 sc into a magic ring (6)
2. 6 inc (12)
3. (sc, inc)*6 (18)
4. (2 sc, inc)*6 (24)
5-6. 24 sc (2 rounds)
7. (6 sc, inc)*3 (21)
8. (5 sc, inc)*3 (18)
9. (4 sc, inc)*3 (15)
10-12. 15 sc (3 rounds)
Fasten off and cut the yarn, leaving a tail for sewing.
Fold the ear in half and sew the ends together.
Sew the ears on the top of the head with 4 stitches between them.