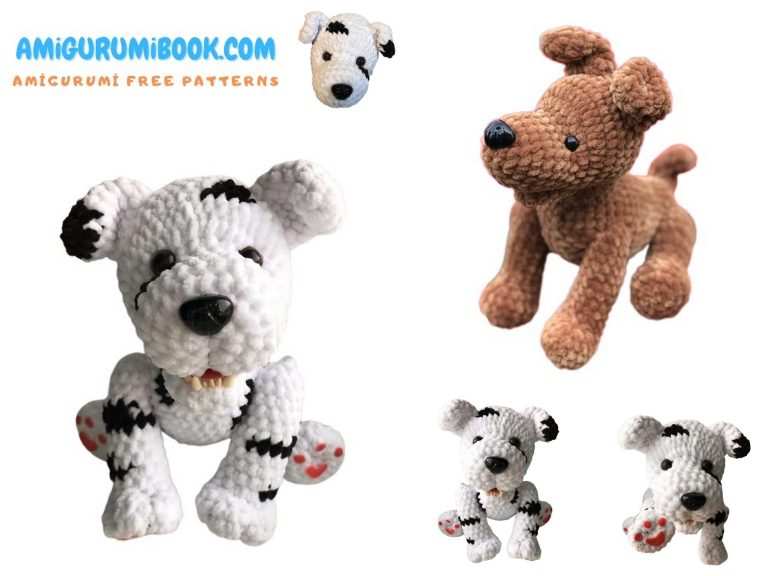
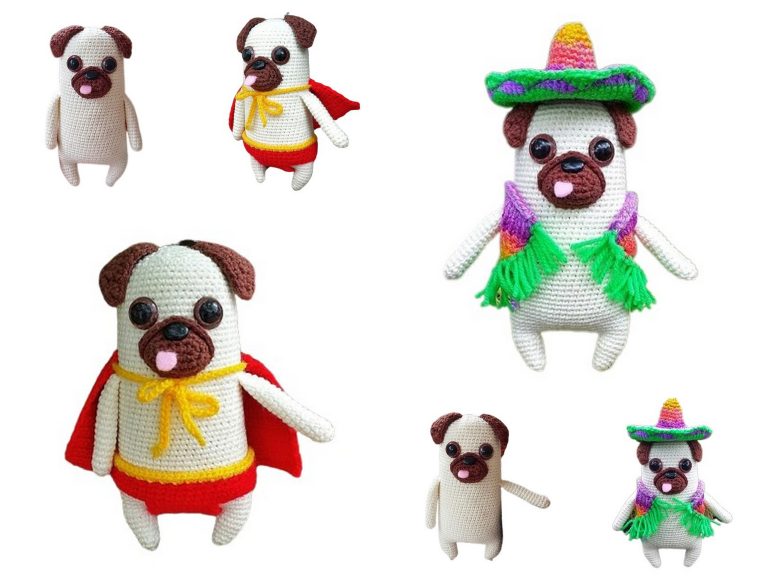
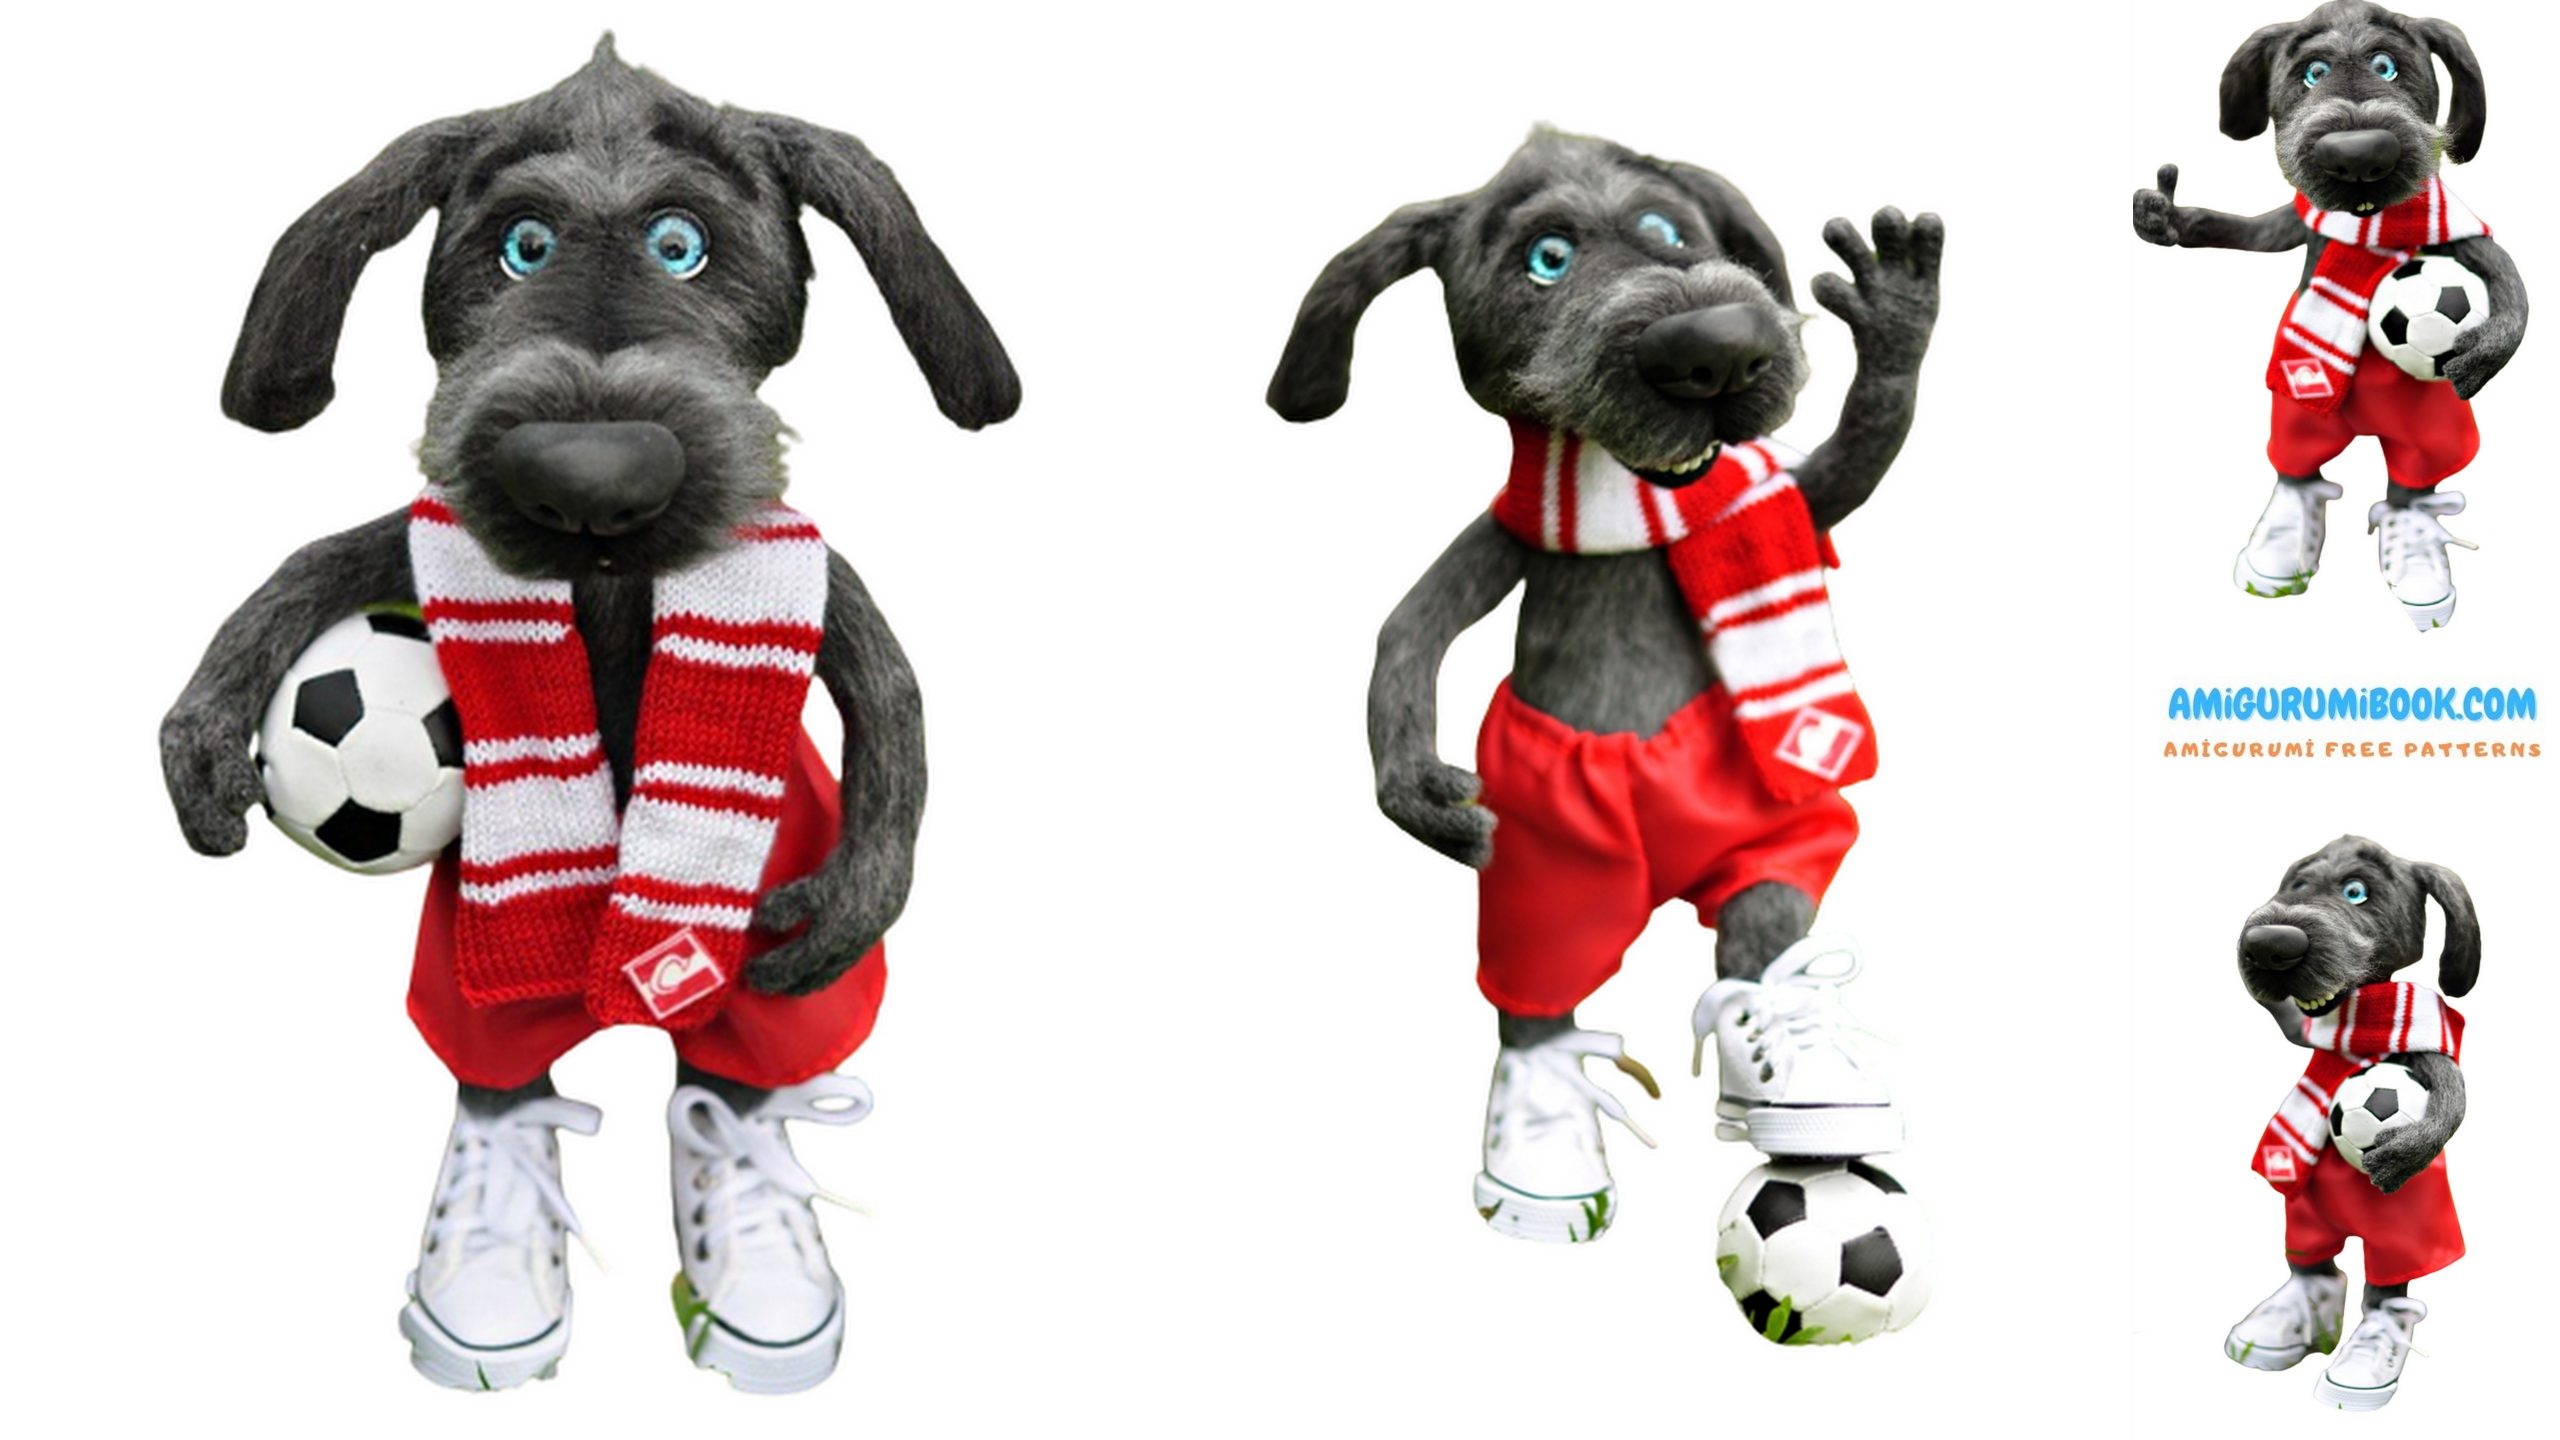
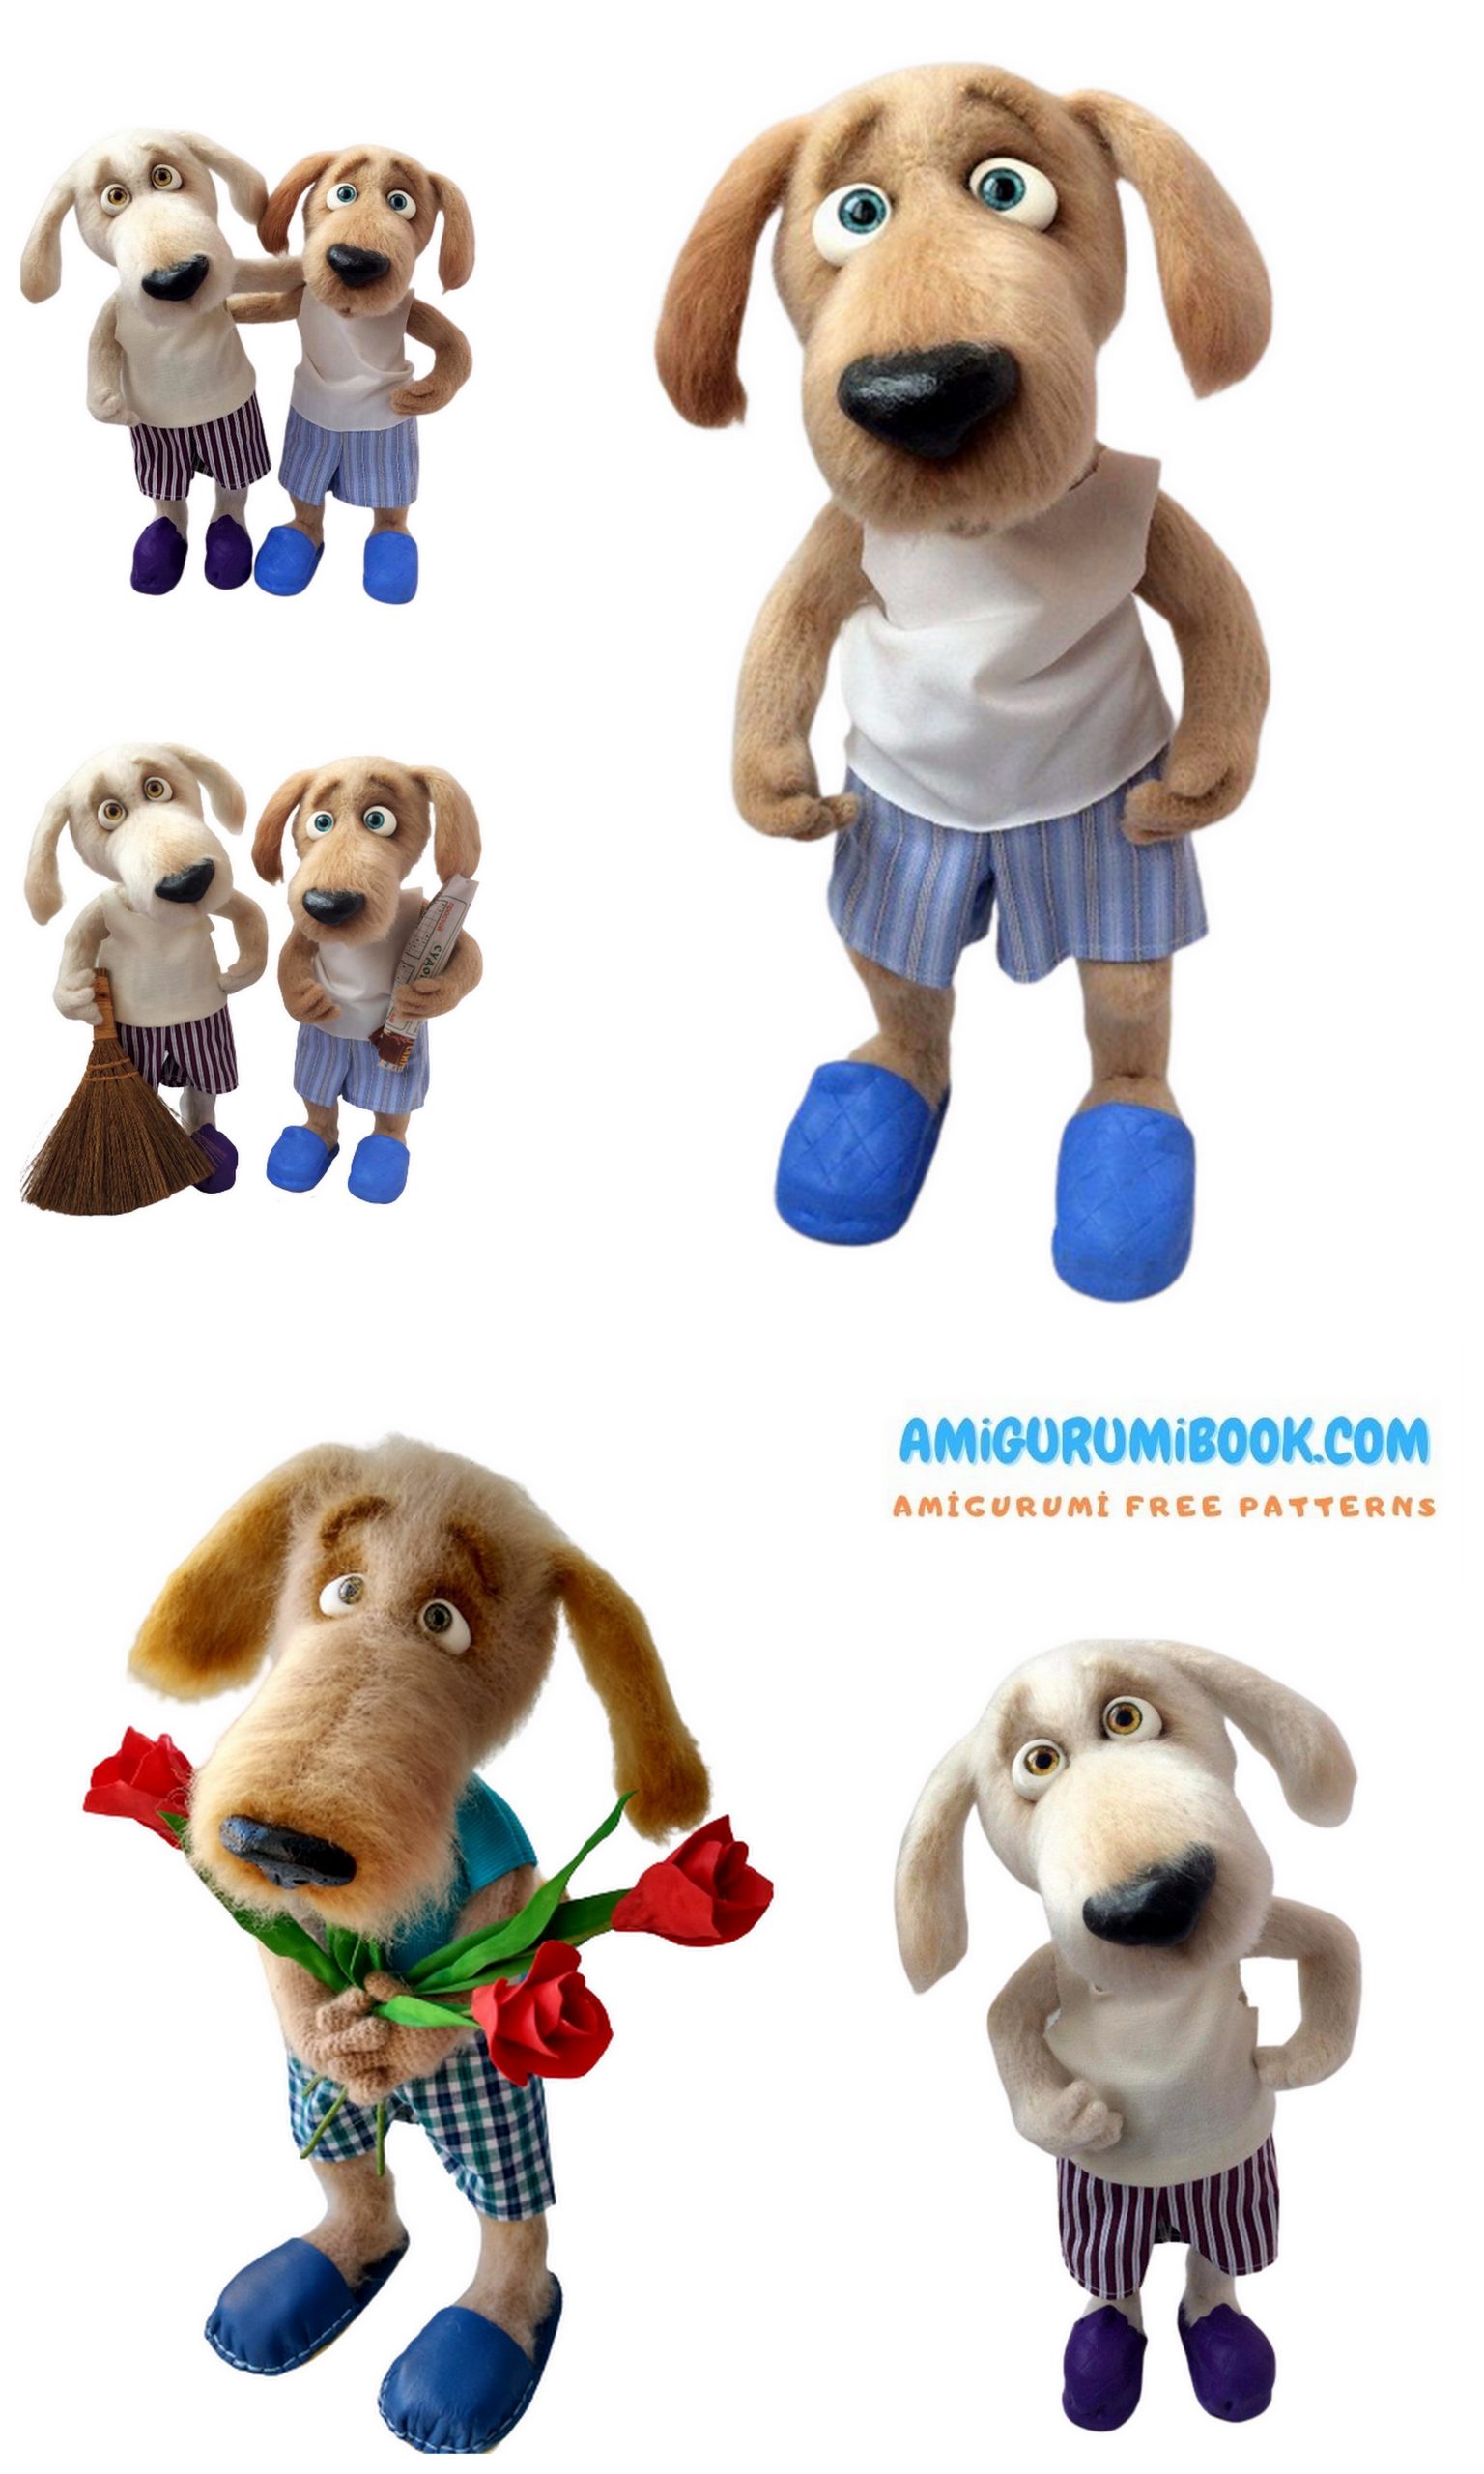
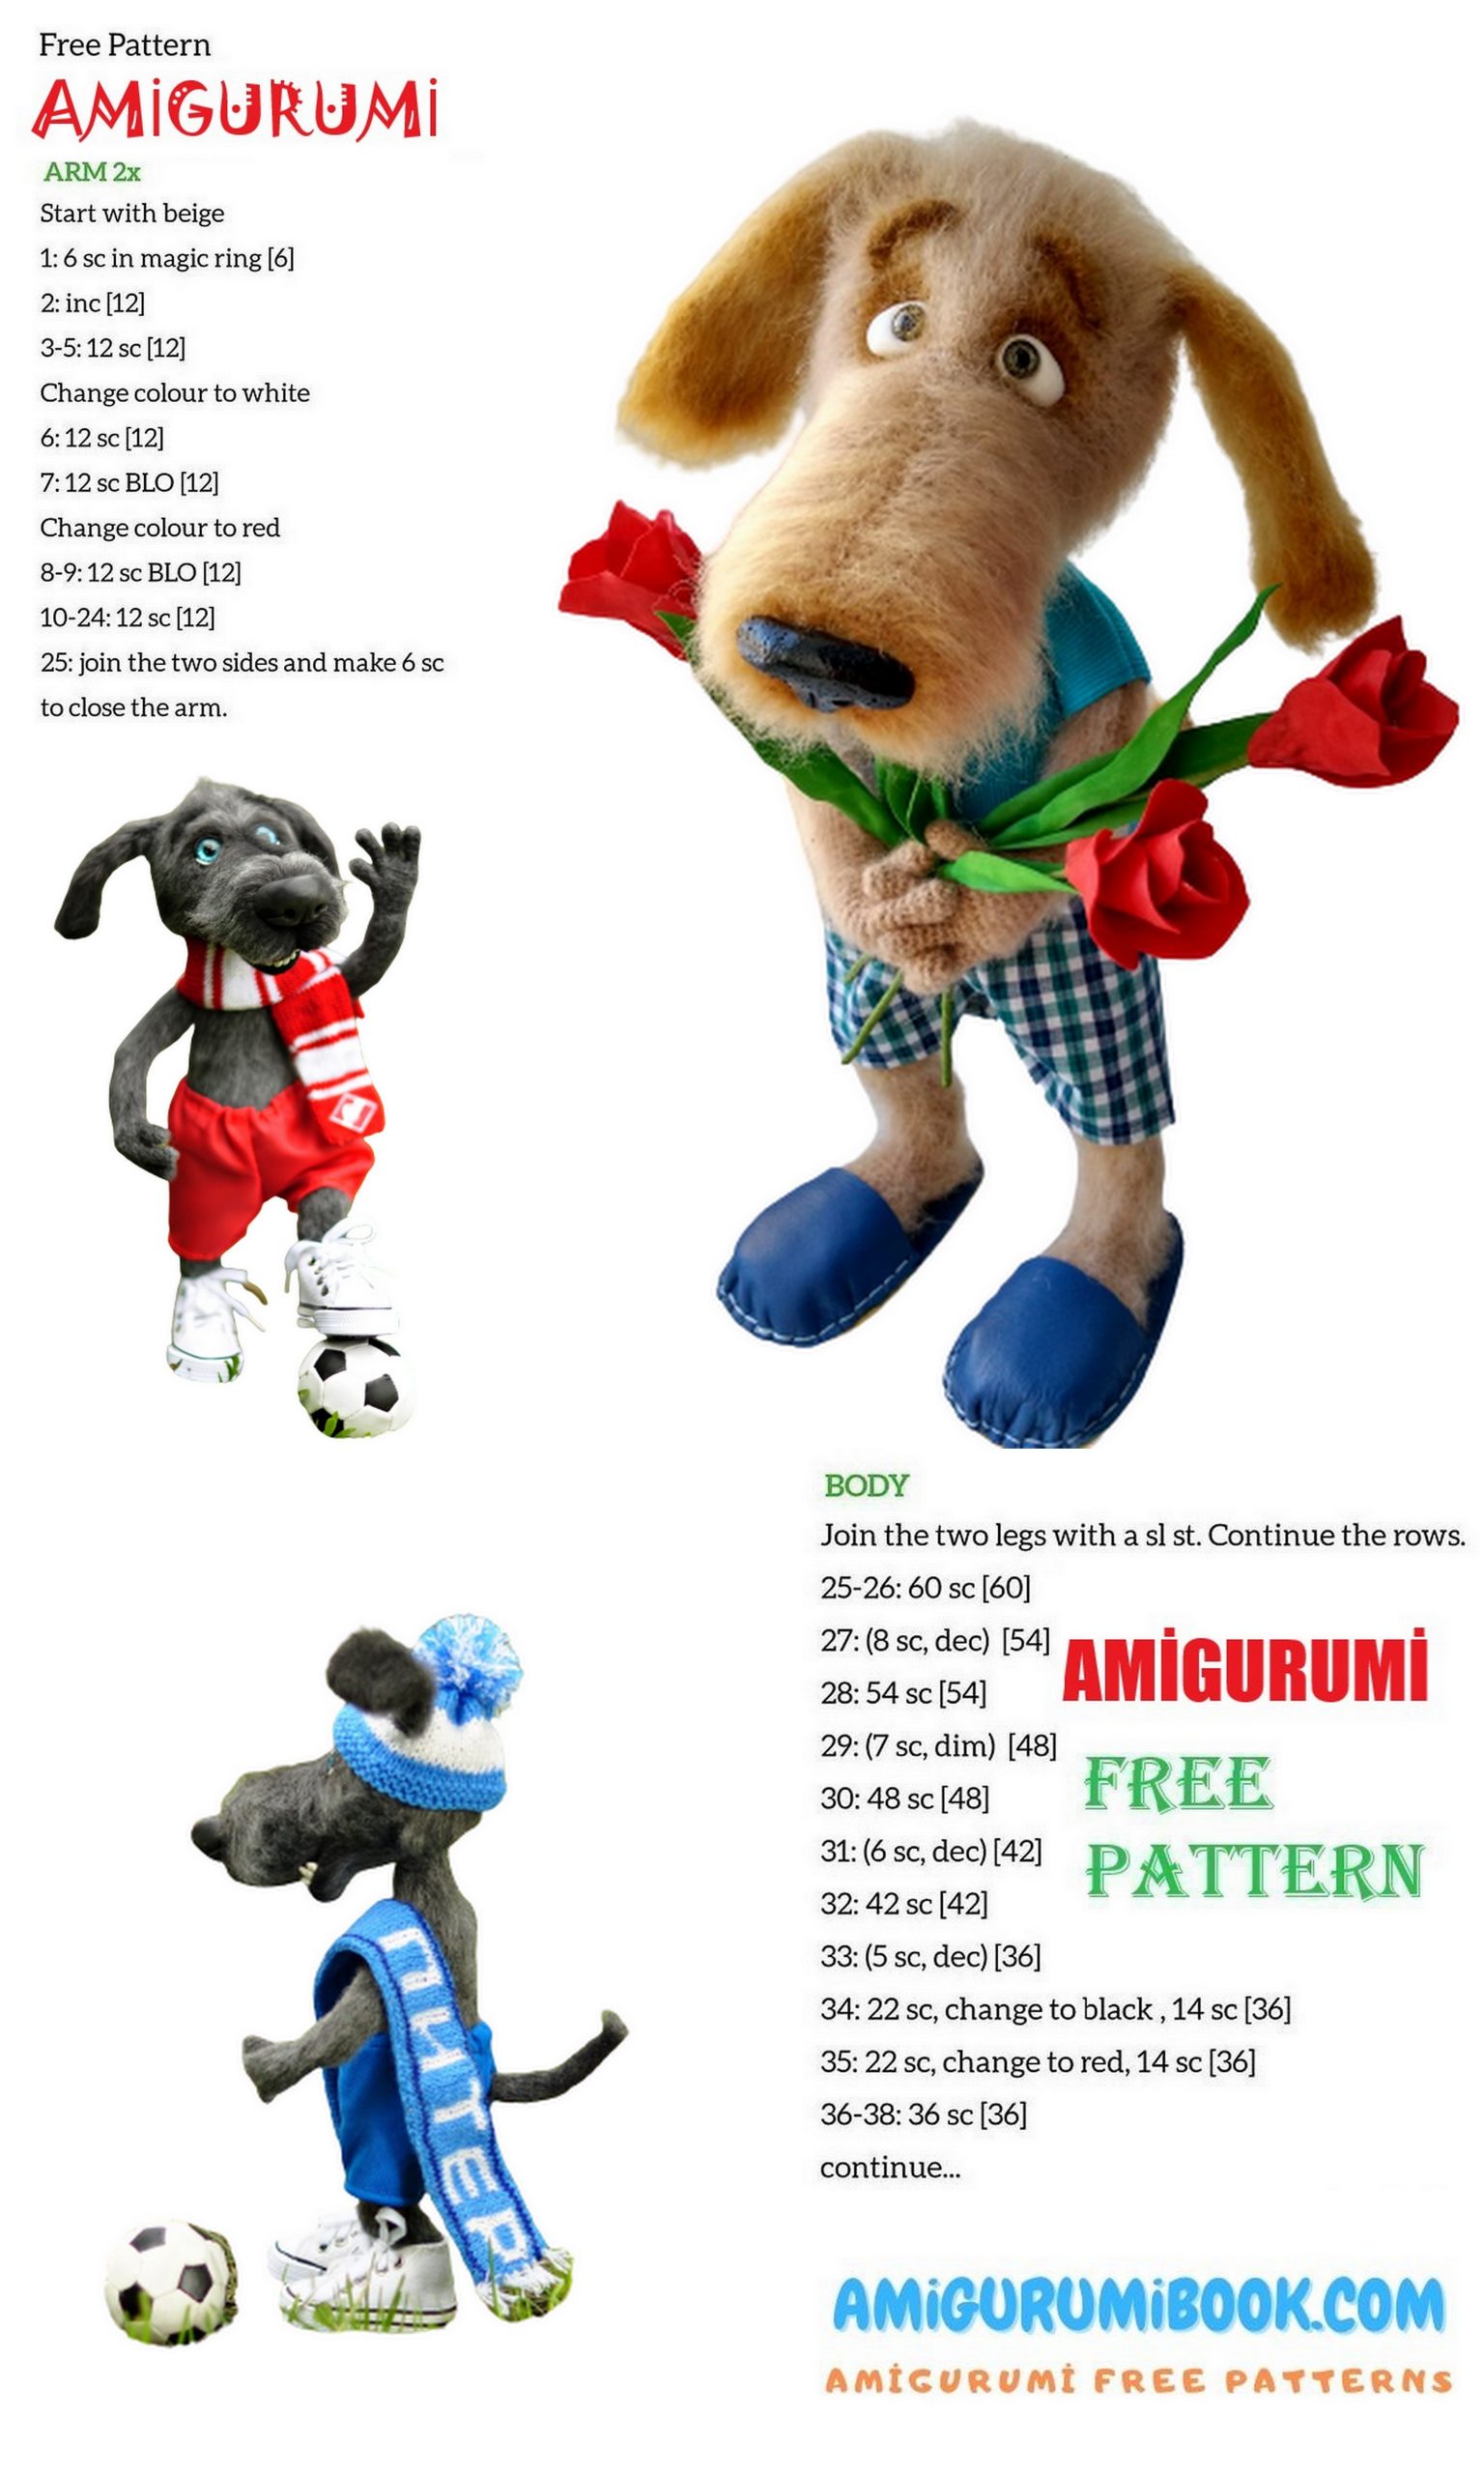
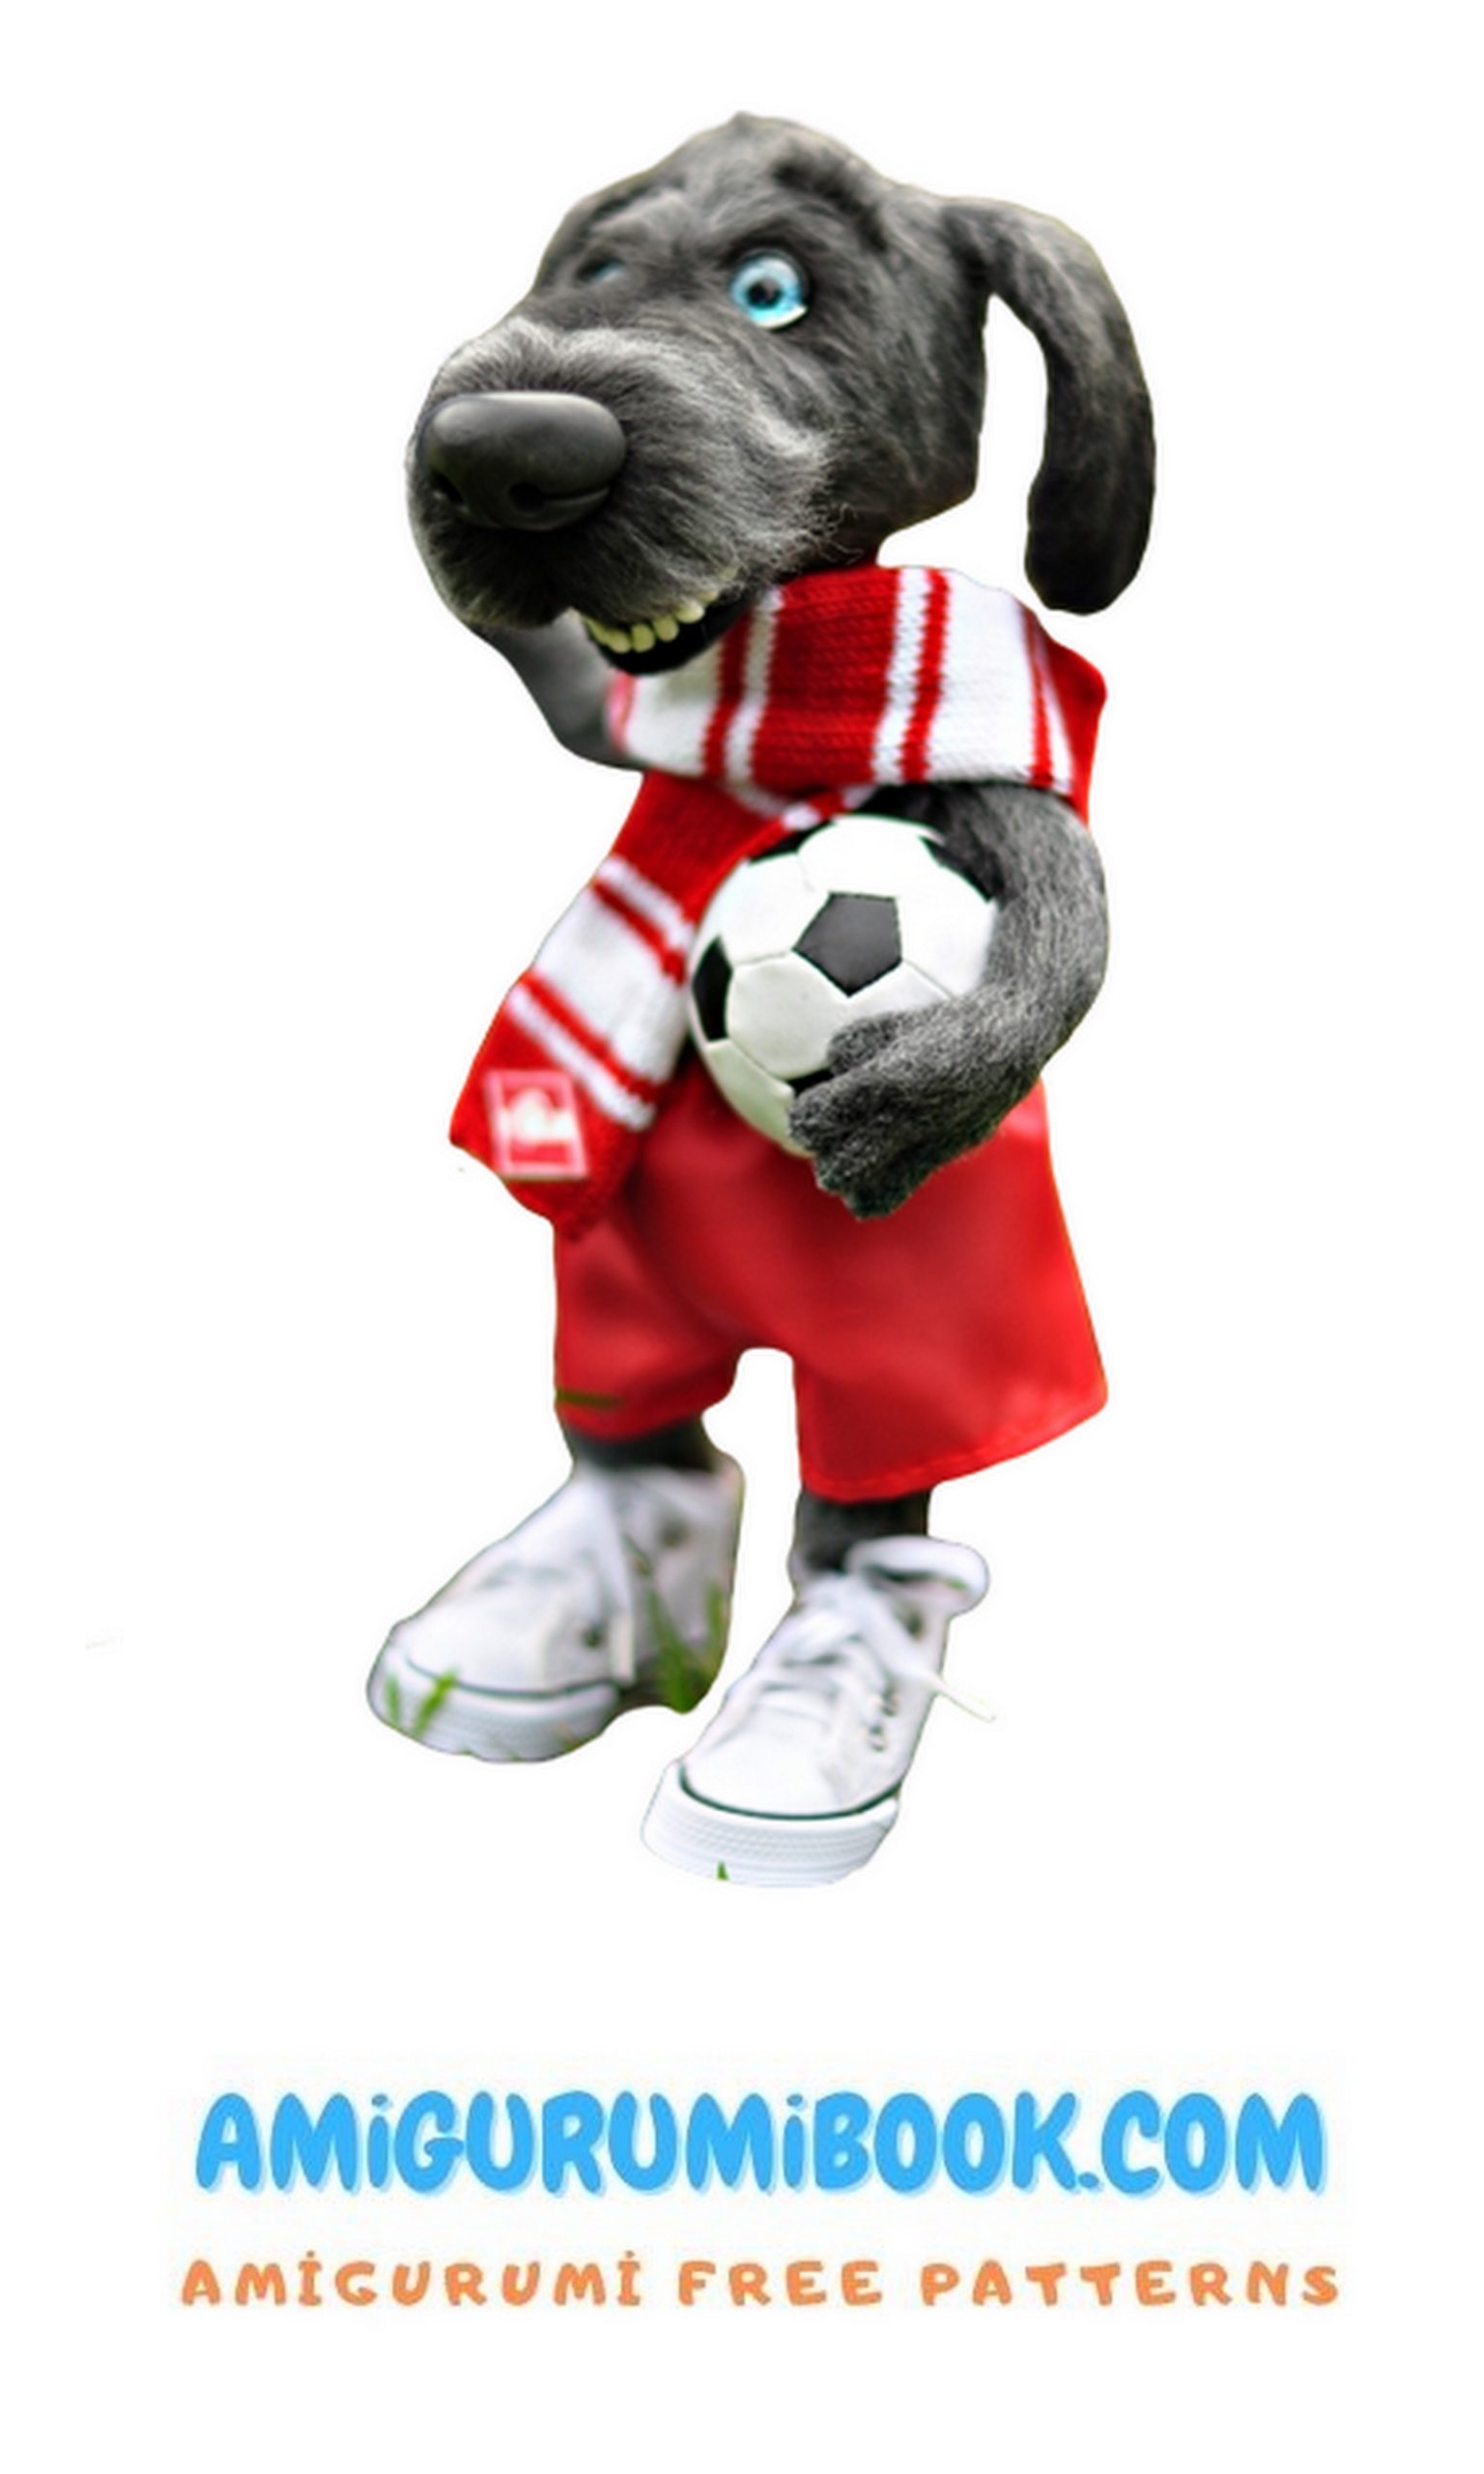
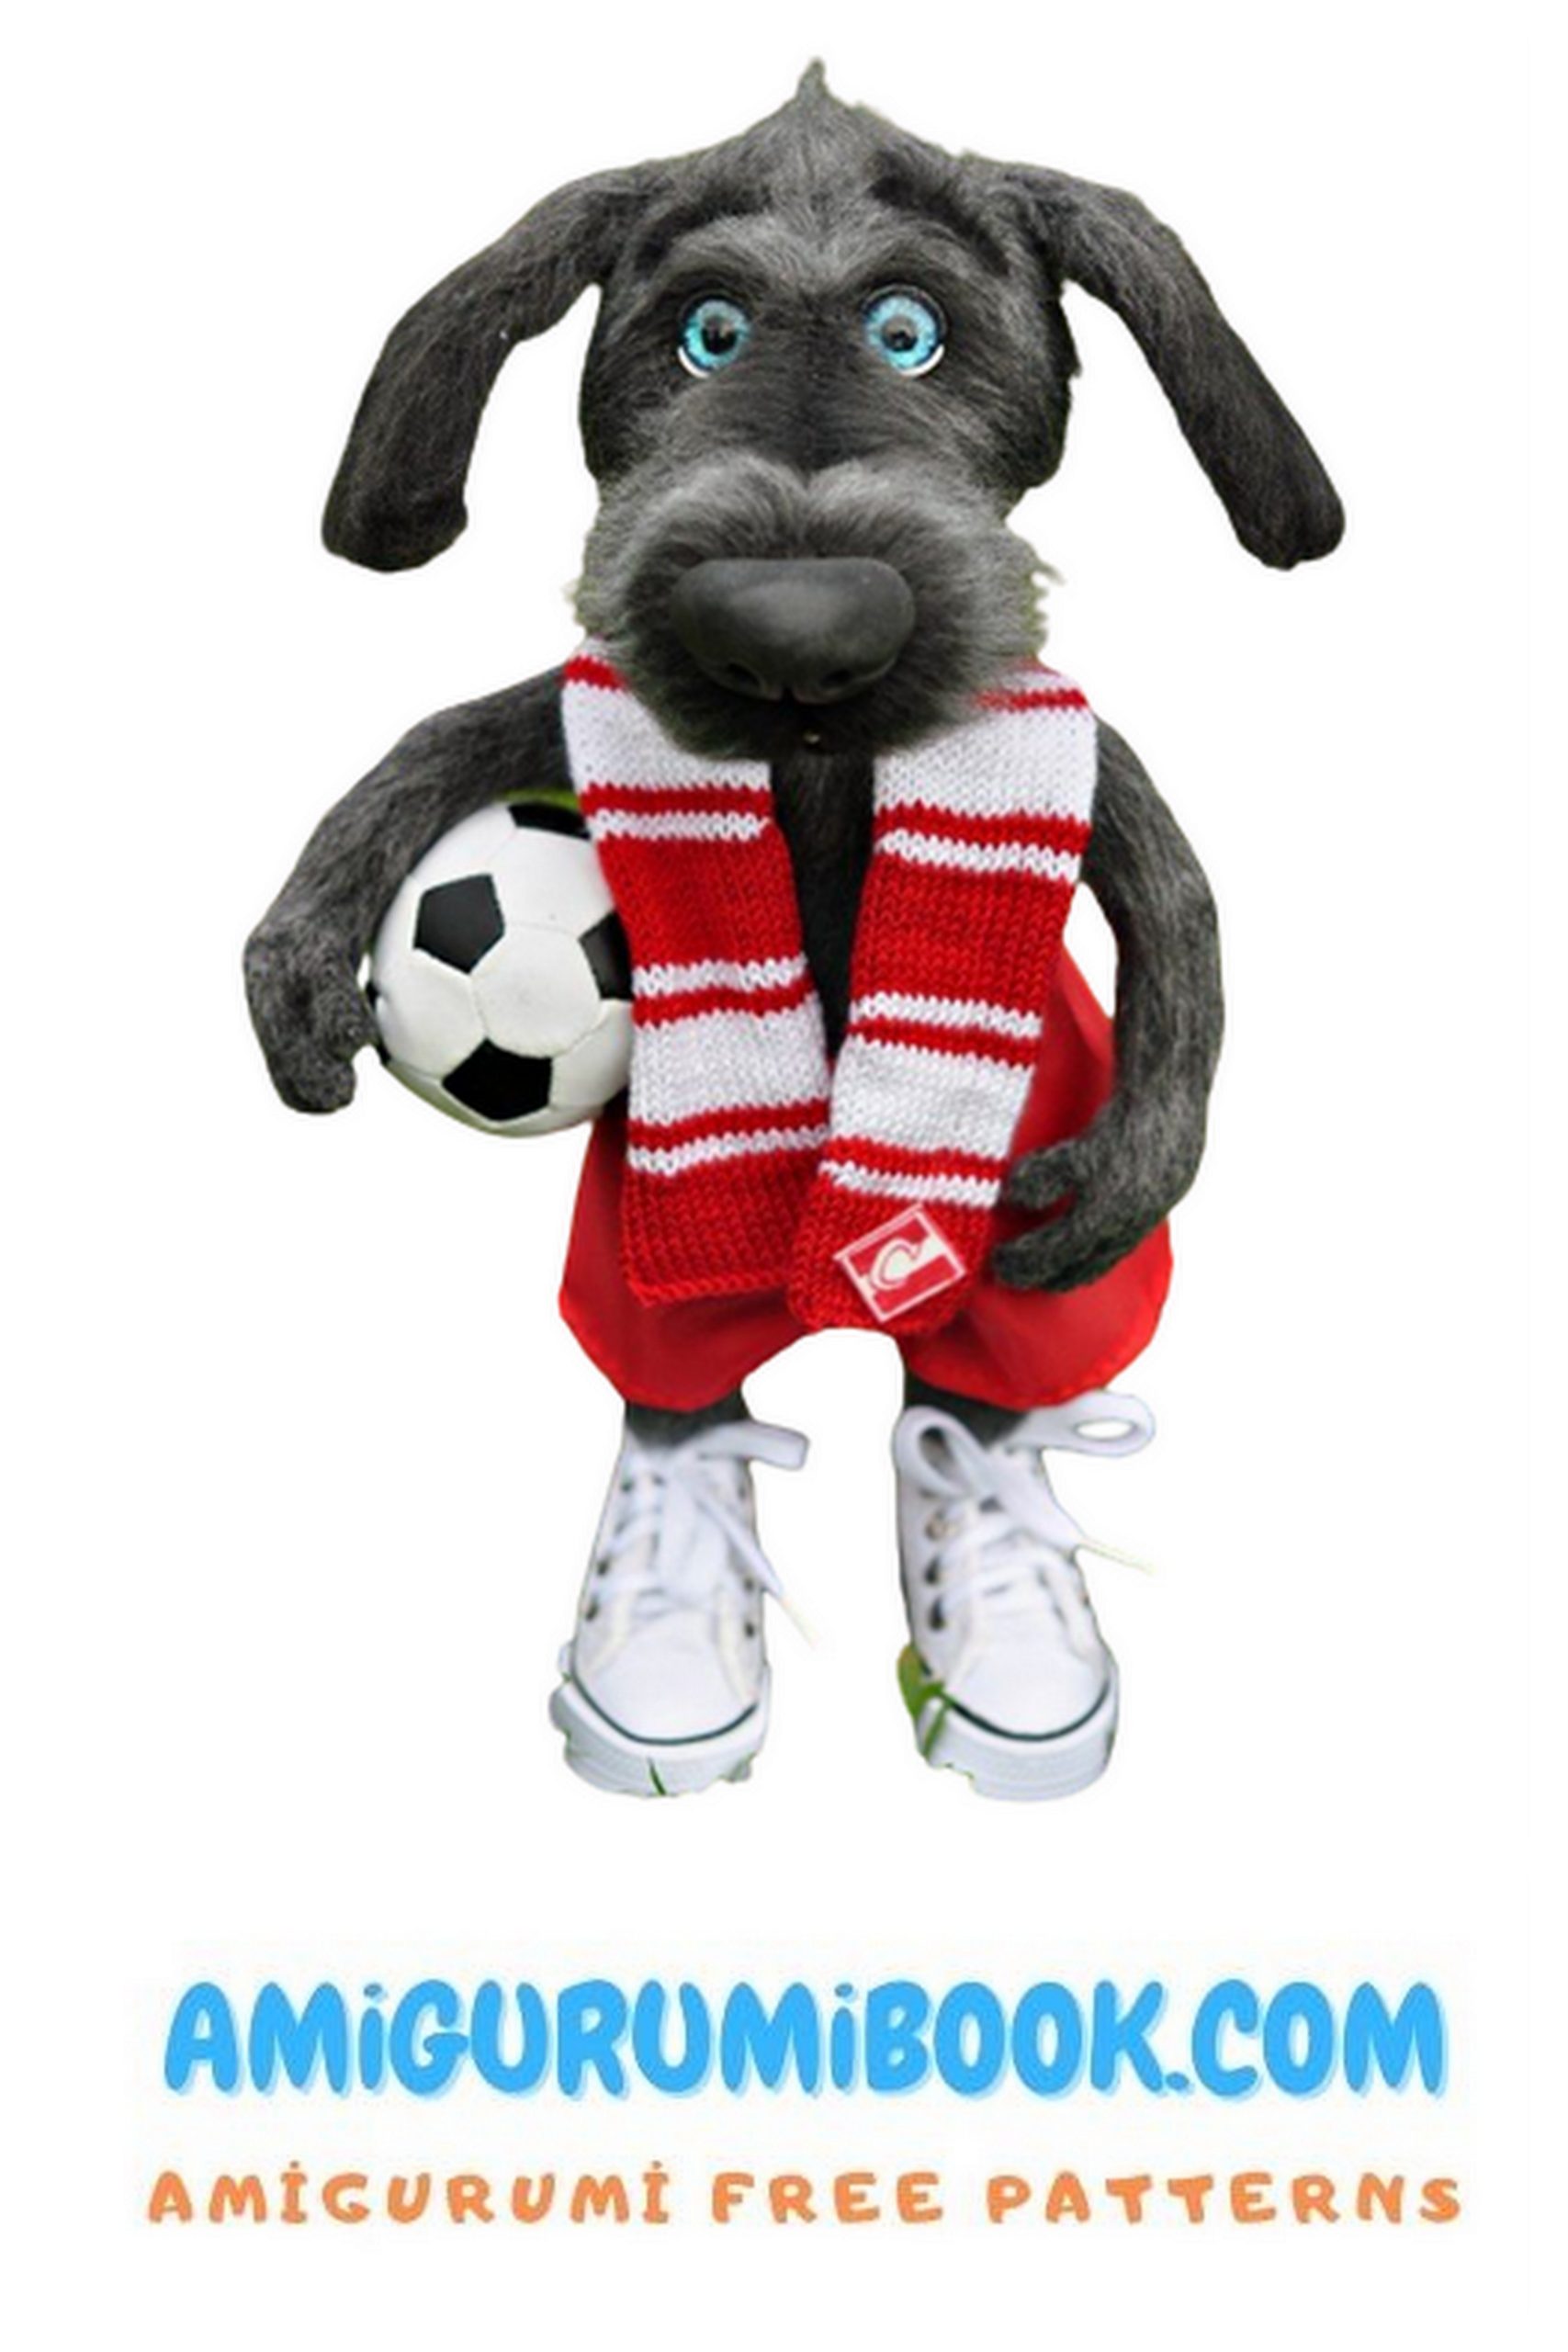
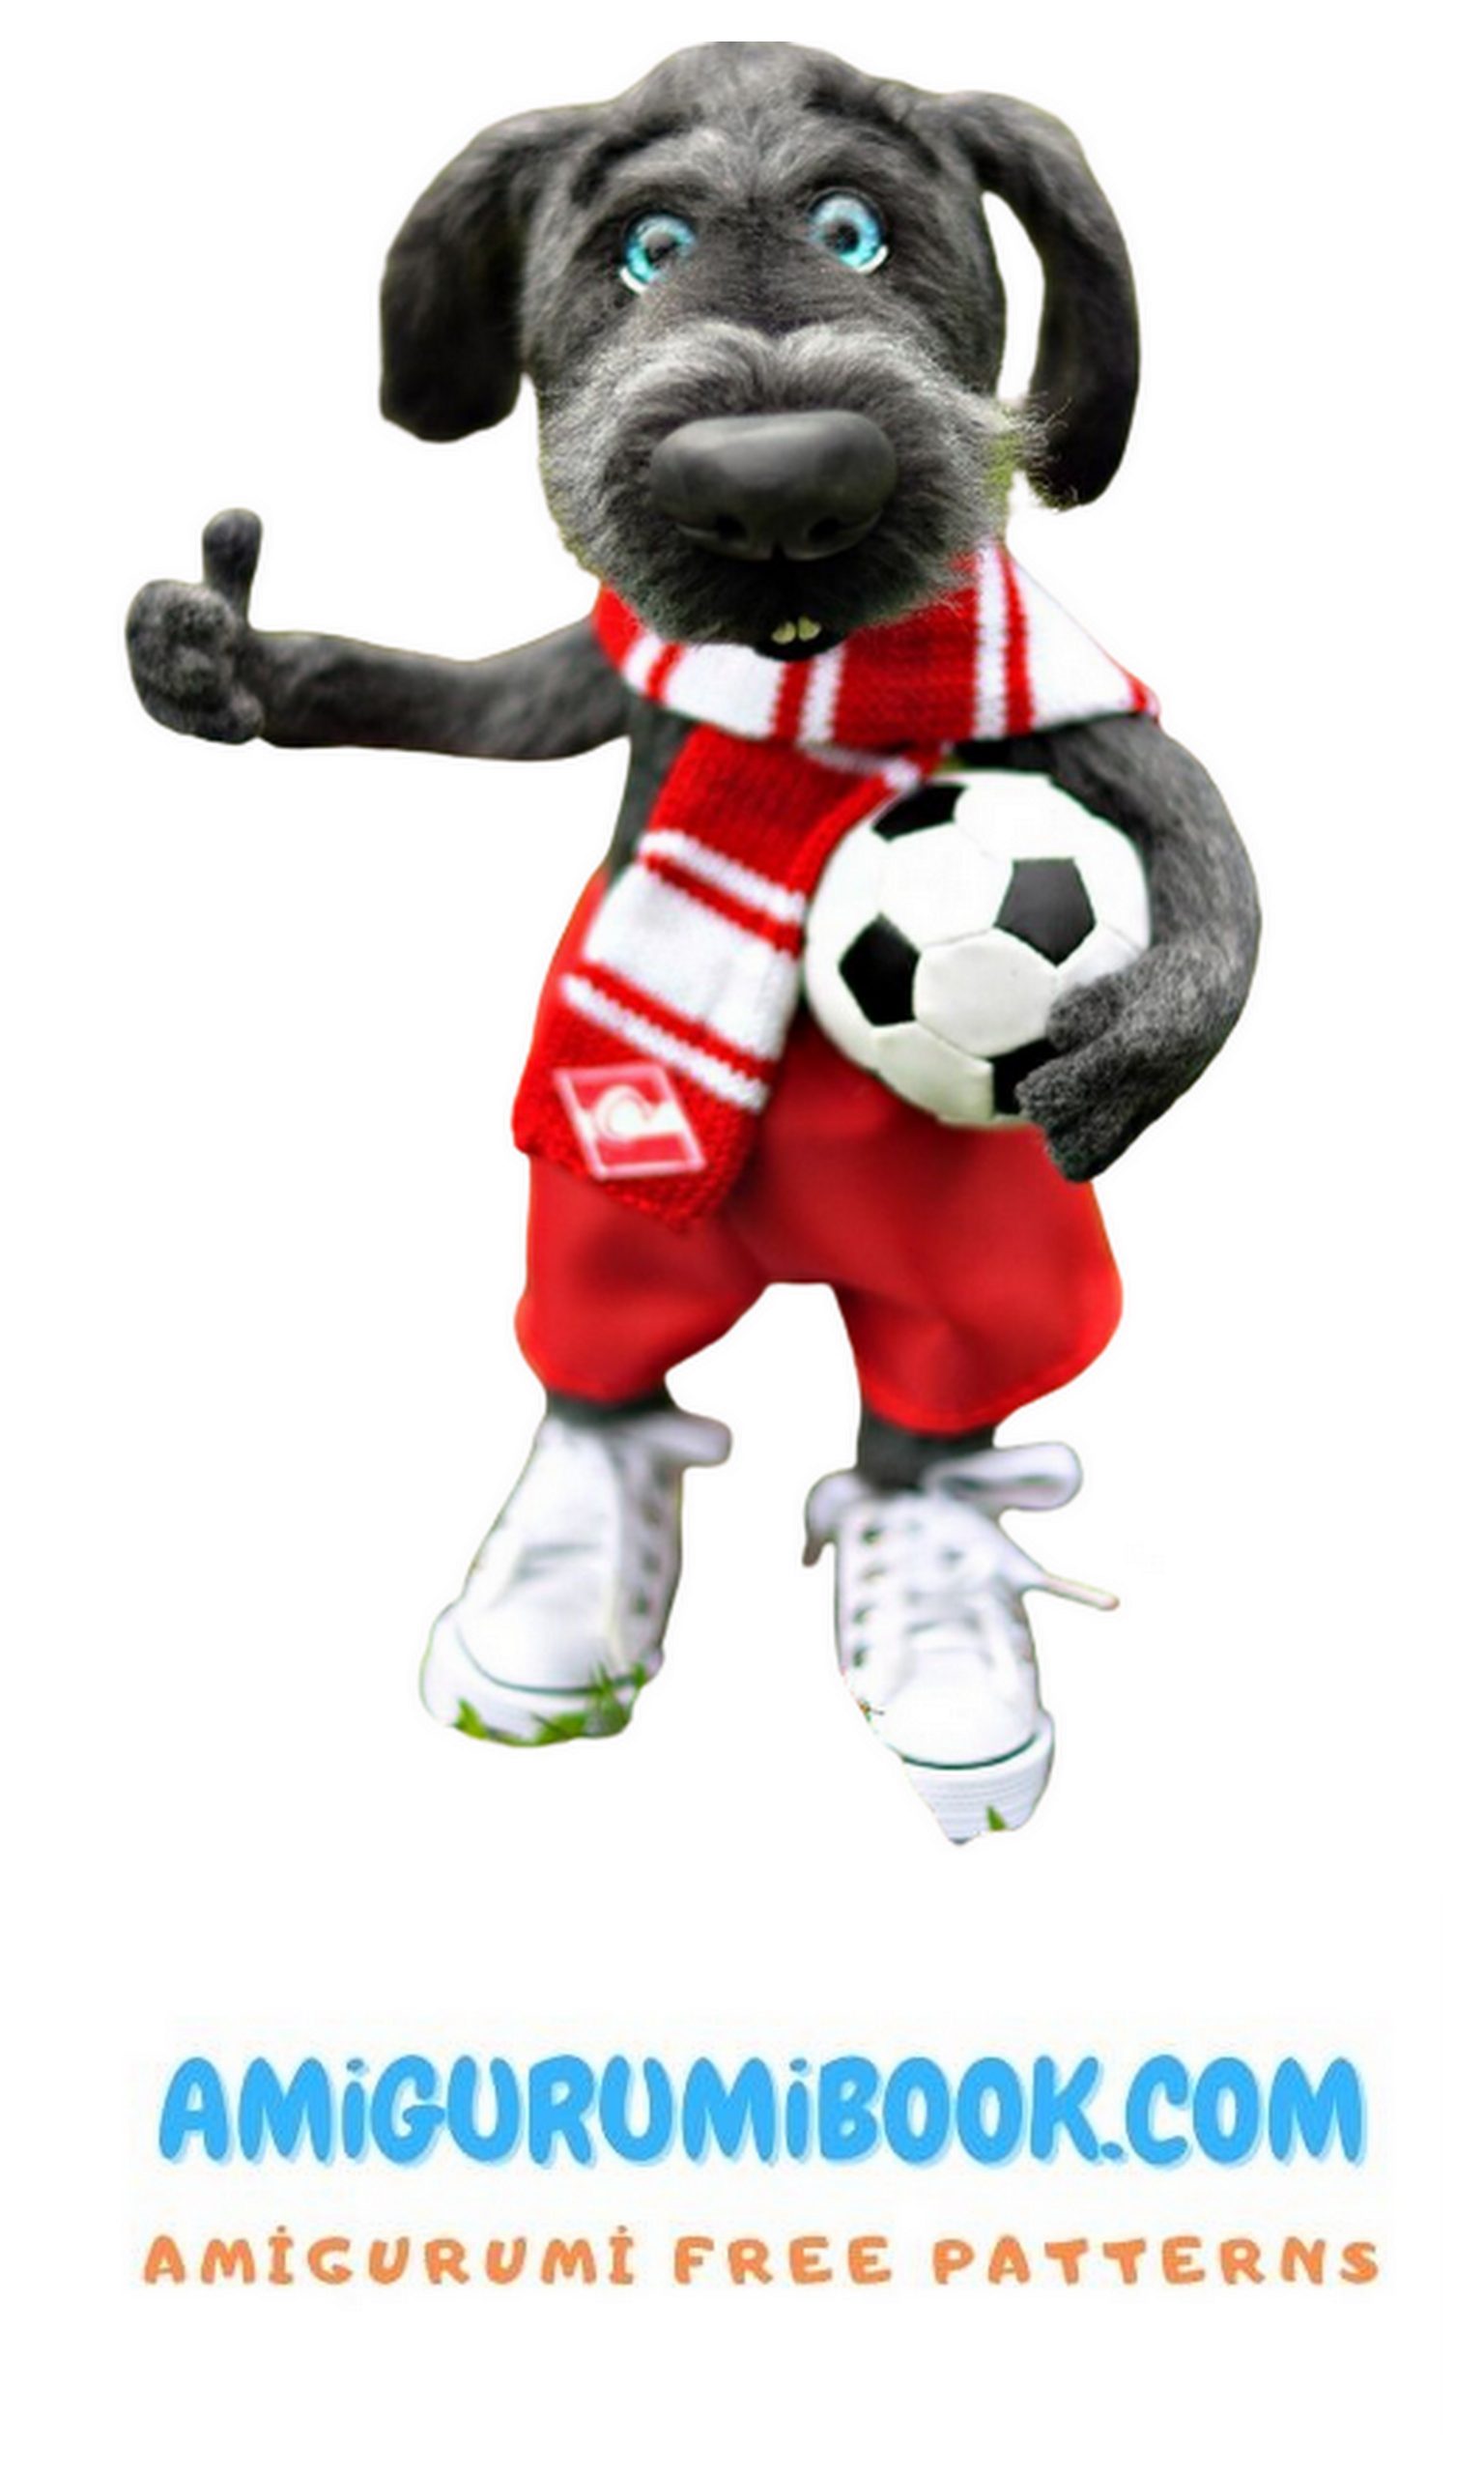
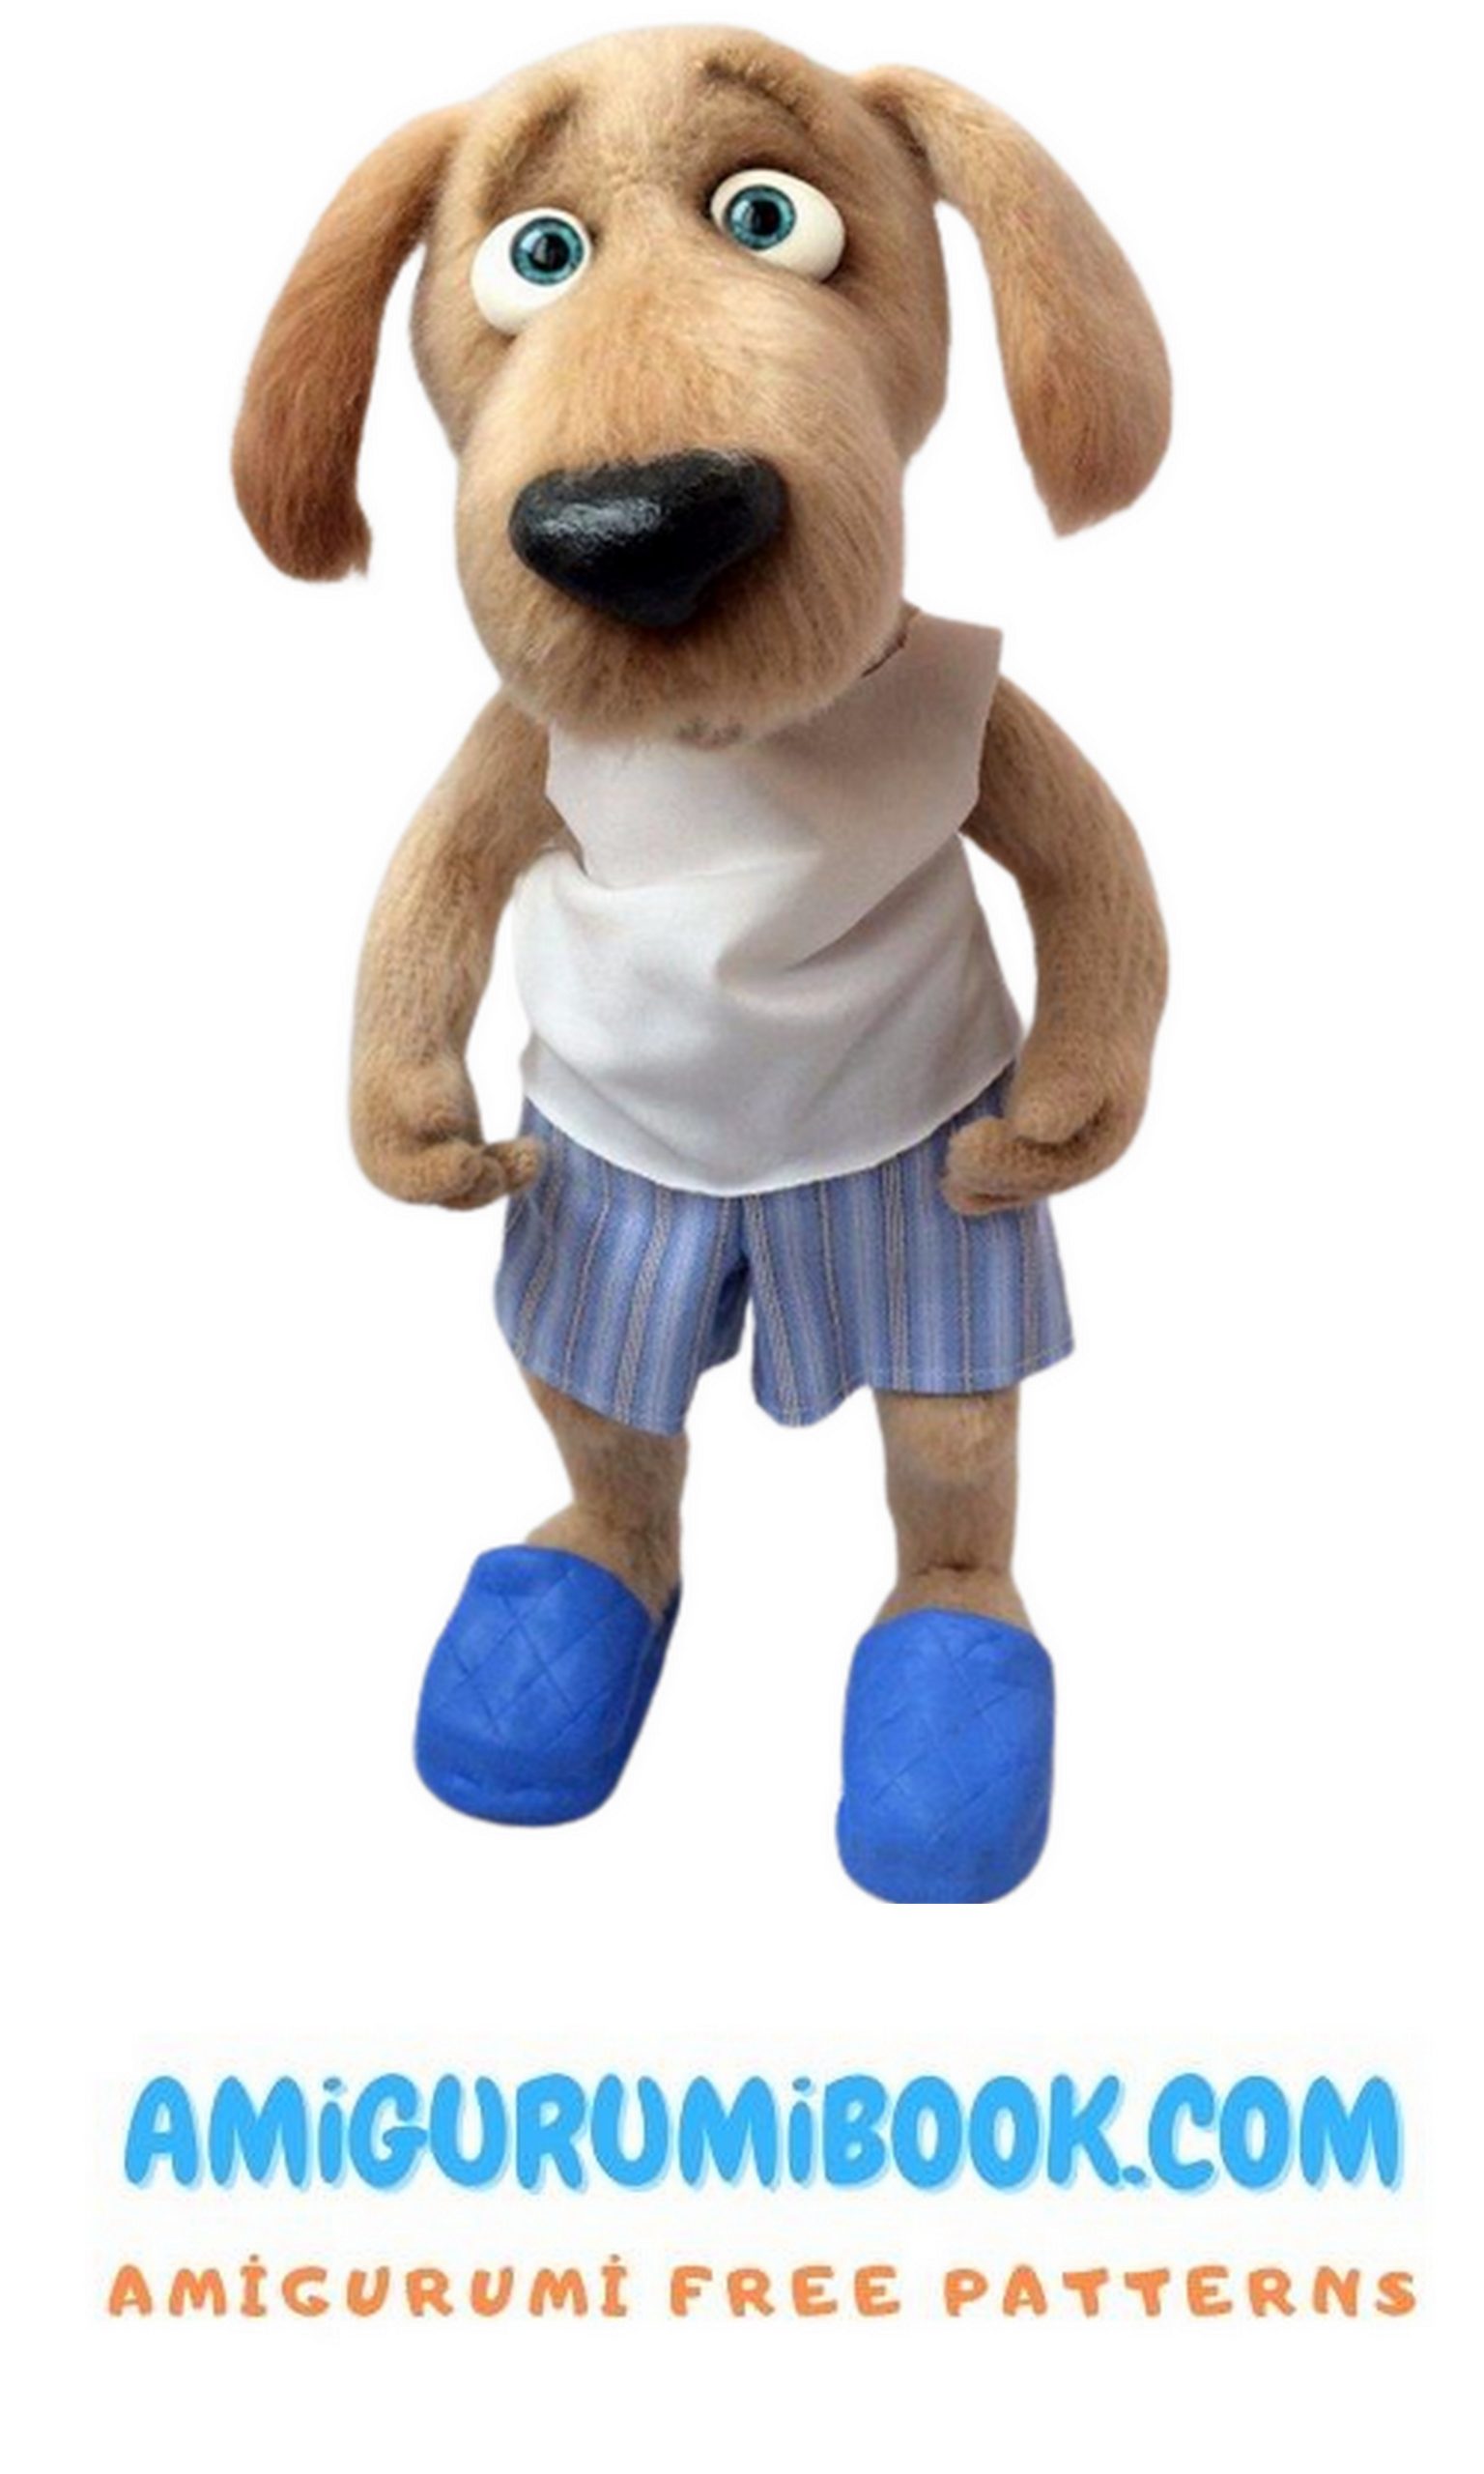
Dog Philip Amigurumi Free Pattern
I am sharing amigurumi free patterns. In this article, amigurumi dog philip free pattern is waiting for you.
ABBREVATİONS
SC – single crochet
Ch – chain
inc – increase (make 2 sc from one)
dec – decrease (2 sc to one)
dbl.inc – double increase (make 3 sc from one)
dbl.dec – double decrease (3 sc to one)
MATERIALS
Hook 1.5mm Clover (or other suitable size for the selected yarn)
Variants of yarn used in this master class:
Yarn Tender Mohair – 44g – 2 skeins (yarn length 175m / 25g; composition; 40% mohair, 60% acrylic.)
+ additional thread KID ROYAL – less skein (500m / 50g; 62% kid mohair, 38% polyamide)
Angora Real 40 Alize – Almost a skein (length 480m / 100g; composition: 40% wool, 60% acrylic)
+ additional thread KID ROYAL – less skein (500m / 50g; 62% kid mohair, 38% polyamide)
Holofiber filler
Finished eyes (diameter depends on the size of the toy)
Copper wire (200cm) І section 2.5 mm and 1.5 mm
Long tightening needle.
Strong thread (for tightening)
Rolled adhesive plaster
Toning alu o u means
Instant glue gel.
PATTERN

Ears (2 parts)
The marker runs along the side of the ear.
1st row: 6SC INTO MAGIC RING
2nd row: 6inc = 12
3 row: (1 sc, inc) * 6p = 18sc
4th row: (2sc, inc) * 6p = 24sc
5 row: hsc, (7sc, inc) * 3 = 27sc
6 row: hsc, (8sc, inc) * 3 = 30sc
7 row: hsc, (9sc, inc) * 3 = 33sc
8-12 rows: 33sc (5 rows)
13 row: dec, 31sc = 32sc
14 row: (dec, 14sc) * 2 = З0sc
15 row: 30sc
16 row: (dec, 13sc) * 2 = 28sc
17 row: 28sc
18th row: (dec, 12sc) * 2 = 26sc
Row 19: 26sc
20 row: (dec, 11sc) * 2 = 24sc
Rows 21-22: 24sc
23 row: (dec, 10sc) * 2 = 22sc
24-25 rows: 22sc
26 row: (dec, 9sc) * 2 = 20sc
27 row: 20sc
28 row: (dec, 8sc) * 2 = 18sc
Rows 29-30: 18sc
Insert the wire into the ears.
31 row: (dec, 7sc) * 2 = 16sc
32 row: 16sc
33 row: (dec, 6sc) * 2 = 14sc
Rows 34-37: 14sc (4 rows)
Cut the thread, fasten.
TAIL
Do not follow the marker.
1st row: 6SC INTO MAGIC RING
2-3 rows: 6sc
4th row: (2sc, inc) * 2p = 8sc
Rows 5-9: 8sc (5 rows)
10 row: (Зsc, inc) * 2p = 10sc
11-16 rows: 10sc (6 rows)
17th row: (4sc, inc) * 2p = 12sc
Rows 18-27: 12sc (10 rows)
Cut the thread, fasten. Do not fill.
UPPER FEET
Fingers 8pcs, 4 for each paw.
Thumb – 2 pcs.
1st row: 6SC INTO MAGIC RING
2nd row: (1sc, inc) * 3 = 9sc
3 row: 9sc
4th row: dec, 7sc = 8sc
5 row: dec, 6sc = 7sc
6 row: dec, 5sc = 6sc, Sl-st.
Cut the thread, fasten. Do not fill.


Fingers – 6 pieces
1) row: 6sc into magic ring
2) row: (1sc, 1inc) * 3 = 9sc
3) row: 9sc
4) row: dec, 7sc = 8sc
5) row: dec, 6sc = 7sc
6) row: dec, 5sc = 6sc
7) row: 6sc
Do not fill.
do not cut the thread on the last finger, connect the parts and continue knitting the paw.
RIGHT HAND
The marker runs along the side of the handle, when deflected, knit an offset loop.
Row 1: 3sc on 1st finger, 3sc on 2nd toe, 6sc on 3rd toe, 3sc
2nd finger, 3sc 1st finger = 18sc
2nd row: (2sc, inc) * 3, 9sc = 21sc
Rows 3-5: 21 sc (3 rows)
6 row: 18sc, 3sc on the finger and palm
together (fold the details of the palm and finger right sides to each other and knit 3sc fingers and palms together (insert the hook from the wrong side of the finger) = 21sc
7 row: 18sc, Зsc along the remaining loops of the finger = 21sc
8 row: 21sc
9th row: 1sc, (dec, 8sc) * 2p = 19sc
Prepare the frame: take three pieces of wire with a cross section of 1.5 mm LONG POB cm each
– for the first, third and thumb and one piece of wire with a cross section of 2.5 mm and a length of 20 cm
– for the second finger. Insert the wire into the fingers, connect together and wrap with adhesive plaster.
Add filler to the palm.
Then continue knitting around the frame. Stuff elastic as you knit.
10 row: dec, 6sc, dec, 9sc = 17sc
11th row: 1sc, dec, 5sc, dec, 7sc = 15sc
12-13 rows: 15sc
14th row: 7sc, inc, 7sc = 16sc
15 row: (inc, 7sc) * 2p = 18sc
16-20 rows: 18sc (5 rows)
21 row: (dec, 7sc) * 2p = 16sc
22 row: 16 sc
23 row: Зsc, 4inc, 9sc = 20sc Elbow
Rows 24-26: 20sc (3 rows)
27 row: Зsc, 4dec, 9sc = 16sc
28 row: 3sc, 2dec, 9sc = 14sc
29th row: (inc, 6sc) * 2p = 16sc
30 row: (7sc, inc) * 2p = 18sc
Row 31: 18sc
32 row: 2sc, (inc, 7sc) * 2p = 20sc
33-40 rows: 20sc (8 rows)
41 row: (dec, 8sc) * 2p = 18sc
Row 42: 18sc
43 row: dec, 4sc, dec, 10sc = 16sc
Put an additional marker in the 7th loop, and cut the thread, fasten.
LEFT HAND
The marker runs along the side of the handle, when deflected, knit an offset loop.
1 row: 3sc on the 1st finger, 3sc on the 2nd finger, 6sc on the 3rd finger, 3sc Toreals on the 2nd finger, Зsc on the 1st finger = 18sc
2nd row: 9sc, (inc, 2sc) * 3, = 21sc
3-5 rows: 21sc (3 rows)
6 row: Зsc on the finger and palm together (fold the details of the palm and finger
right sides to each other and knit Зsc fingers and palms together (insert the hook from the wrong side of the finger), 18sc = 21sc
7 row: Зsc along the remaining loops of the finger, 18sc = 21sc
8 row: 21sc
9th row: (8sc, dec) * 2p, 1sc = 19sc
Insert the wire into the fingers, connect together and wrap with adhesive plaster.
Add filler to the palm.
Then continue knitting around the frame.
Stuff elastic as you knit.
10 row: 9sc, dec, 6sc, dec = 17sc
11 row: 7sc, dec, 5sc, dec, 1sc = 15sc
12-13 rows: 15sc
14th row: 7sc, inc, 7sc = 16sc
15 row: (7sc, inc) * 2p = 18sc
16-20 rows: 18sc (5 rows)
21 row: (7sc, dec) * 2p = 16sc
22 row: 16 sc
23 row: 9sc, 4inc, 3sc = 20sc Elbow
Rows 24-26: 20sc (3 rows)
27 row: 9sc, 4dec, Зsc = 16sc
28 row: 9sc, 2dec, Зsc = 14sc
29th row: (6sc, inc) * 2p = 16sc
30 row: (inc, 7sc) * 2p = 18sc
Row 31: 18sc
32 row: (7sc, inc) * 2p, 2sc = 20sc
33-40 rows: 20sc (8 rows)
41 row: (dec, 8sc) * 2p = 180
Row 42: 18sc
43 row: dec, 4sc, dec, 10sc = 16sc
Place an additional marker in the 7th loop.
Cut the thread, fasten.
LOWER FEET
The marker passes from the side, in case of deviation – knit an offset loop.
1st row: 8SC INTO MAGIC RING
2nd row: 8inc = 16sc
3rd row: (1sc, inc) * 8p = 24sc
4th row: 24sc
5 row: (3sc, inc) * 6p = 30sc
6 row: (4sc, inc) * 6p = 36sc
7-11 rows: 36sc (5 rows)
In the 11th row, put additional markers in the 6th and 13th loops.
12th row: (10sc, dec) * Зp = 33sc
13 row: (dec, 9sc) * Зp = 30sc
Row 14: 30sc
15 row: (8sc, dec) * Зp = 27sc
16 row: 27sc
17th row: hsc, (dec, 7sc) * Зp = 24sc
Rows 18-19: 24sc
20 row: 12sc, dec, 2sc, 2dec, 2sc, dec = 20sc
Rows 21-25: 20sc (5 rows)
26 row: hsc, Зsc, 4ch, skip 4, 13sc = 20sc
27 row: Зsc, 4sc in air loops, 5sc, dec, 4sc, dec = 18sc
Row 28: 18sc Row 29: dec, 8sc, dec, 6sc = 16sc
30 row: (2sc, dec) * 4p = 12sc
Row 31: 12sc
Potebrell Toe fill loosely.
If you want the dog to stand confidently, prepare a wire frame. Take two pieces of wire with a cross section of 2.5 mm, 25 cm and 40-42 cm long.
The length of the wire may vary, depending on the yarn you choose and the size of your toy. Make a loop, secure with adhesive plaster, insert the frame into the foot.
Add filler to the stack. Continue knitting.
Row 31: 6dec, sl-st
Cut the thread, fasten, pull the remaining loops. Add the filling to the heel tightly.
Dial 20sc on the foot, start from the heel side. The marker runs strictly in the center at the back, when it is deflected, knit offset loops.
Then continue knitting around the frame. Stuff elastic as you knit.
Rows 1-2: 20sc
3rd row: 2sc, dec, 12sc, dec, 2sc = 18sc
4th row: 18sc
5 row: 2sc, inc, 12sc, inc, 2sc = 20sc
6 row: 20sc
7 row: 1sc, dec, 5sc, inc, 2sc, inc, 5sc, dec, 1sc = 20sc
8 row: 20sc
9 row: 1sc, dec, 5sc, inc, 2sc, inc, 5sc, dec, 1sc = 20sc
10 row: 20sc
11 row: dec, 6sc, inc, 2sc, inc, 6sc, dec = 20sc
12 row: 20sc
13 row: dec, 6sc, inc, 2sc, inc, 6sc, dec = 20sc
14th row: 1sc, dec, 14sc, dec, 1sc = 18sc
15 row: 1sc, dec, 4sc, inc, 2sc, inc, 4sc, dec, 1sc = 18sc
16 row: 6sc, inc, 4sc, inc, 6sc = 20sc
17th row: 8sc, 4inc, 8sc = 24sc knee
Rows 18-19: 24sc
20 row: 8sc, 4dec, 8sc = 20sc
21 row: 1sc, inc, (4sc, dec) * 2p, 4sc, inc, 1sc = 20sc
22 row: 1sc, inc, 5sc, dec, 2sc, dec, 5sc, inc, 1sc = 20sc
23 row: 20sc
24th row: (4sc, inc) * 4p = 24sc
Rows 25-26: 24sc
27 row: (5sc, inc) * 4p = 28sc
Rows 28-29: 28sc
30 row: (6sc, inc) * 4p = 32sc
Rows 31-34: 32sc (4 rows)
Cut the thread, fasten.
Put additional markers in the 34th row:
For the right leg in the 9th loop, for the left leg in the 30th loop.
TRUNK
The marker runs in the center of the back, when it is deflected, knit the offset loops.
1st row: 6SC INTO MAGIC RING
2nd row: 6inc = 12sc
3 row: (1 sc, inc) * 6p = 18sc
4th row: (2sc, inc) * 6p = 24sc
5th row: 2sc, dbl.inc, 4sc, dbl.inc, 8sc, dbl.inc, 4sc, dbl.inc, 2sc = 32sc
6 row: 4sc, 7sc
along the left leg and trunk together (fold the details of the trunk and legs right sides to each other and knit 7sc
legs and torso together, starting to tie from the 30th loop of the leg, marked with an additional marker (insert the hook from the wrong side of the leg), along the torso – 10sc
7sc along the right leg and torso together (fold the details of the torso and legs right sides to each other and knit 7sc legs and torso together, starting to tie from the 9th loop of the leg, marked with uluuk / additional marker (insert the hook from the wrong side of the leg), along torso – 4sc = 32sc
7 row: on the body – 4sc, 1sc in the loop of the previous row,
on the leg – 1sc Into the loop of the previous row, 25sc, 1sc Into the loop of the previous row,
along the body – 1sc in the loop of the previous row, 10sc, sc In the loop of the previous row.
on the leg – 1sc Into the loop of the previous row, 25sc, 1sc Into the loop of the previous row,
on the body – 1sc in the loop of the previous row, 4sc = 76sc Thus, in the 7th row, sc B was added due to tying
loops of the previous row of 8 loops.
8 row: (2sc, inc) * 2p, 26sc, inc, 10sc, inc, 26sc, (inc, 2sc) * 2p = 82sc
Form a horizontal bar from the wire of the leg frames to the width of the body, twist the wire together, wrap it with adhesive plaster. Then continue knitting around the frame.
9 row: 82sc
10 row: 7sc, inc, 66sc, inc, 7sc = 84sc
Rows 11-17: 84sc (7 rows)
18th row: 2sc, dec, 6sc, dec, 60sc, dec, 6sc, dec, 2sc = 80sc
19 row: 12sc, (dec, 16sc) * Zr, dec, 12sc = 76sc
20 row: 6sc, dec, 5sc, dec, 46sc, dec, 5sc, dec, 6sc = 72sc
21 row: 6sc, dec, 4sc, dec, 44sc, dec, 4sc, dec, 3sc, 3sc
along the ponytail and torso together (fold the details of the torso and tail uur with the front sides to each other and tie Зsc of the tail and trunk together (insert the hook from the wrong side of the tail) = 68sc
22 row: Зsc along the tail and trunk together, along the body at 62sc, Зsc along the remaining loops of the tail = 68sc
Move the main marker here.
23 row: 3sc along the remaining loops of the tail, along the body 65sc = 68sc
24 row: 6sc, dec, 52sc, dec, dec, sc = 66sc
25 row: 1sc, dec, 60sc, dec, 1sc = 64sc
Rows 26-28: 64sc (3 rows)
29th row: 5sc, dec, 12sc, dec, 22sc, dec, 12sc, dec, 5sc = 60sc
30 row: 60sc
31 row: 10sc, dec, 36sc, dec, 10sc = 58sc
32 row: 6sc, dec, 42sc, dec, 6sc = 56sc
33 row: 4sc, dec, 44sc, dec, 4sc = 54sc
34 row: 11sc, dec, 28sc, dec, 11sc = 52sc
35 row: 10sc, dec, 28sc, dec, 10sc = 50sc
Insert the wire into the tail. Twist the tail frame and the torso frame together. Secure with adhesive plaster. Add loose filler to the tail.
Fill the lower part of the body with filler elastic, but not stone.
Adjust the shape of the buttocks. Spread out the filler with a needle.
Continue knitting.
Rows 36-39: 50sc (4 rows)
40 row: 9sc, dec, 28sc, dec, 9sc = 48sc
Rows 41-42: 48sc
43 row: 12sc, dec, 20sc, dec, 12sc = 46sc
Buttocks tightening
It can also be done on a finished toy, but in an open body it is more convenient to evenly distribute the filler, emphasizing the knitted shapes.
Withdraw the needle from the body to the first row of tail tying (leave the tip of the thread about 20 cm inside the body to fix the tightening with a knot).
Then sew with a stitch in two rows, each time bring the needle into the body. First, in one direction from the beginning of tying the tail to the beginning of knitting of the body, while pulling up the working thread and pressing the 1st row with your fingers.
Then sew the stitches in the opposite direction, bringing the needle out in exactly the same places, only pulling the thread through the unstitched areas. Do not forget to tighten the working thread after each stitch!
The last stitch is in the first row of the tail tie.
Fix the tightening with a knot. Cut the thread, hide it in the body.
Rows 44-49: 46sc (6 rows)
Elastic, but not stone, fill the body with filler.
50 row: 8sc, 6sc on the left arm and trunk together (fold the details of the torso and arms right sides to each other and knit 6 sc KING of the arms and torso together, starting to tie from the 7th loop of the hand,
marked with an additional marker (insert the hook from the wrong side of the hand),
along the trunk – Зsc, dec, 8sc, dec, 3sc, 6sc along the right arm and torso together (fold the details of the torso and arms with the front sides to each other and tie 6sc of the arms and trunk together, starting to tie from the 15th loop of the arm, marked with an additional marker (insert the hook from the seamy side of the hand), along the body – 8sc = 44sc
51 row: on the body 6sc, dec,
on the remaining loops of the hand 10sc,
on the torso 16sc
on the remaining loops of the hand 10sc,
torso dec, 6sc = 50sc
Twist the wires of the main frame and arm frames together. Secure with adhesive plaster. Stuff the torso with filler as you knit.
52 row: 7sc, dec, Зsc, dec, 22sc, dec, Зsc, dec, 7sc = 46sc
Row 53: 46sc
54 row: 7sc, (dec, 2sc) * 2p, dec, 12sc, (dec, 2sc) * 2p, dec, 7sc = 40sc
55 row: 6sc, dec, 4sc, dec, 12sc, dec, 4sc, dec, 6sc = 36sc
56 row: 1sc, dec, (3sc, dec) * 2p, 10sc, dec, (3sc, dec) * 2p, 1sc = 30sc
57 row: 5sc, dec, 2sc, dec, 8sc, dec, 2sc, dec, 5sc = 26sc
Rows 58-59: 26sc
60 row: 5sc, dec, 12sc, dec, 5sc = 24sc
Rows 61-64: 24sc (4 rows)
65 row: 6sc, dec, 8sc, dec, 6sc = 22sc
66 row: 6sc, dec, 8sc, dec, 6sc = 22sc
67 row: 5sc, dec, 8sc, dec, 5sc = 20sc sl-st.
Cut the thread, fasten.
Leave the thread for sewing.
Add filler to the neck.
LOWER JAW
Do not follow the marker.
1st row: 6SC INTO MAGIC RING
2nd row: 6inc = 12sc
3 row: (1 sc, inc) * 6p = 18sc
4th row: 18sc
5 row: 1sc, (inc, 2sc) * 5p, inc, 1sc = 24sc
6 row: 24sc
7 row: 5sc, inc, 12sc, inc, 5sc = 26sc
8 row: 1sc, dec, 4sc, inc, 10sc, inc, 4sc, dec, 1sc = 26sc
9th row: 6sc, inc, 12sc, inc, 6sc = 28sc
10 row: 1sc, dec, 5sc, inc, 10sc, inc, 5sc, dec, 1sc = 28sc
11 row: 7sc, inc, 12sc, inc, 7sc = 30sc
12 row: 1sc, dec, 5sc, inc, 12sc, inc, 5sc, dec, 1sc = 30sc
13 row: 8sc, inc, 12sc, inc, 8sc = 32sc
14th row: 8sc, dbl.inc, 14sc, dbl.inc, 8sc = 36sc
15 row: 36sc
16 row: 1sc, dec, 7sc, inc, 14sc, inc, 7sc, dec, 1sc = 36sc
Place an additional marker in the 8th loop. Cut the thread, fasten.
HEAD
The marker runs in the center of the muzzle, when it is deflected, knit offset loops.
1st row: 6SC INTO MAGIC RING
2nd row: 6inc = 12sc
3rd row: (1sc, inc) * 6p = 18sc
4th row: (2sc, inc) * 6p = 24sc
5 row: (3sc, inc) * 6p = 30sc
6 row: 2sc, (inc, 4sc) * 5p, inc, 2sc = 36sc
7 row: 12sc, (inc, 1sc) * 2p, inc, 2sc, inc, (1 sc, inc) * 2p, 12sc = 42sc
8 row: 42sc
9th row: 10sc, (inc, 3sc) * 2p, inc, 4sc, inc, (Зsc, inc) * 2p, 10sc = 48sc
10 row: 48sc
11 row: 1sc, inc, (5sc, inc) * 2p, 20sc, (inc, 5sc) * 2p, inc, 1sc = 54sc
12-15 rows: 54sc (4 rows)
16 row: 1sc, inc, 16sc, dec, 14sc, dec, 16sc, inc, 1sc = 54sc
17 row: 54sc
18 row: 1sc, inc, 2sc, dec, 42sc, dec, 2sc, inc, 1sc = 54sc
19th row: 1sc, inc, 16sc, dec, 14sc, dec, 16sc, inc, 1sc = 54sc
Row 20: 54sc
21 row: 9sc, dec, 2sc, dec, 24sc, dec, 2sc, dec, 9sc = 50sc
Row 22: 50sc
23 row: (7sc, dec) * 2p, 14sc, (dec, 7sc) * 2p = 46sc
24 row: 1sc, inc, (5sc, dec) * 2p, 14sc, (dec, 5sc) * 2p, inc, 1sc = 44sc
Rows 25-26: 44sc
27 row: 1sc, inc, 40sc, inc, 1sc = 46sc
Row 28: 46sc
29 row: 15sc, 16sc on the head and lower jaw together (fold the parts of the head and jaw with their front sides to each other and, starting from the 8th loop marked with an additional marker, knit 16sc of the jaw and head together (insert the hook from the wrong side of the jaw), 15sc = 46sc.
30 row: on the head 1sc, inc, 13sc, 1sc in the loop of the previous row (in the corner), on the jaw 1sc In the loop of the previous row, 20sc, 1sc In the loop of the previous row, on the head 1sc in the loop of the previous row, 13sc, inc, 1sc = 56sc
Rows 31-32: 56sc
33 row: 10sc, (inc, 3sc) * Зр, 12sc, (3sc, inc) * Зp, 10sc = 62
34 row: 1sc, inc, 58sc, inc, 1sc = 64
35 row: 10sc, (inc, 4sc) * 3p, 14sc, (4sc, inc) * Зp, 10sc = 70sc.
36 row: 1sc, inc, 66sc, inc, 1sc = 72sc
Place eye markers in sts 7 and 66.
37 row: 1sc, inc, (10sc, inc) * 2p, 6sc, dec, 8sc, dec, 6sc, (inc, 10sc) * 2p, inc, 1sc = 76sc
38 row: 1sc, inc, (11sc, inc) * 2p, 24sc, (inc, 11sc) * 2p, inc, 1sc = 82sc
Rows 39-41: 82sc (3 rows)
42 row: 39sc, 4ch, 4sc skip. 39sc = 82sc
Rows 43-44: 82sc
45 row: 39sc, 2dec, 39sc = 80sc
46 row: 34sc, dec, 8sc, dec, 34sc = 78sc
47 row: 78sc
48 row: (11sc, dec) * 6p = 72sc
49 row: 9sc, 7sc along the ear and head together (fold the parts of the head and ear right sides to each other and tie 7sc of the ear and head together, starting to tie from the ear marker (insert the hook from the wrong side of the ear), 40sc, 7sc along the ear and head together (fold the parts of the head and ear right sides to each other and knit 7sc of the ear and head together, starting to tie from the ear marker (insert the hook from the wrong side of the ear), 9sc = 72sc
50 row: 5sc, dec, 2sc, 7sc along the remaining ear loops, 1sc, (dec, 10sc) * 3p, dec, 1sc, 7sc along the remaining ear loops, 2sc, dec: 5sc = 66sc
Twist the ends of the ear wires together. Secure the frame with adhesive tape.
51 row: 66sc
52 row: (9sc, dec) * 6p = 60sc
53 row: 4sc, (dec, 8sc) * 5p, dec, 4sc = 54sc
54 row: (7sc, dec) * 6p = 48sc
Rows 55-56: 48sc
57 row: Зsc, (dec, 6sc) * 5p, dec, 3sc = 42sc
Insert the wire into the jaw.
Insert the wire coming out of the necks into the hole of the 42nd row of the 2 head. Twist the ends of the jaw and neck wire, wrap with adhesive plaster and hide in the head. Sew the neck to the head.
Add filler to the head, paying special attention to the upper jaw and cheeks. We fill elastic, but not stone.
58 row: (5sc, dec) * 6p = 36sc
Row 59: 36sc
60 row: 2sc, (dec, 4sc) * 5p, dec, 2sc = 30sc
Row 61: 30sc
62 row: (3sc, dec) * 6p = 24sc
63 row: (2sc, dec) * 6p = 18sc
64 row: (1sc, dec) * 6p = 12sc
Cut the thread, leaving the tip about 20 cm long.
Do not close the hole yet, you need to make and fix the ties through it.
Add filler to the back of the head.
REGISTRATION
Eye markings:
Point 1, Point 2 -7 stitches from center (main marker) to the side. Distance between points: T1 and TZ, T2 and T4 1 loop.
From Point 1, insert the needle into Point 2, step back 1 loop, insert the needle into Point. From Point3 to insert the needle to Point4
Pull up. Repeat the tightening and fix.
Tightening order: 1-2-3-4 beats
From Point1, insert the needle into Point4-Point.
Bring the head into the not closed loops. Pull up. Repeat the tightening.
From not closed loops in the head, bring the needle to Point 1. Pull up.
Repeat the tightening and fix.
Tie-down order: 1-4-3-1
From Point4, insert the needle into Point2- Point3
Bring the head into the unclosed loops. Repeat the tightening. Pull up.
From not closed loops in the head, bring the needle out to Point – Point 4. Pull up. Repeat the tightening and fix.
Weight order: 4-2-3-4
Do not cut the thread.
ROTARY TIGHTENING
From Point 4, withdraw the needle to the corner of the mouth. Step 1 loop, back to eye. Tighten the tightening, but not strongly, repeat. Commit.
From Point 4, withdraw the needle to the other eye. Similarly, tighten the other corner of the mouth.
NOSE TIGHTENING
Withdraw the needle to the first (start of knitting (leave the tip of the thread about 10 cm, to fix the tightening with a knot). Then bring the needle out to the 15th row and pressing with your fingers make a tightening. Repeat the tightening. Fix the tightening with a knot. Cut the thread, hide.
TREATMENT OF FINGERS
Before flashing, make markings (with pins or draw with a pencil). It will be more convenient if all the markings are also repeated from the side of the sole. Do the same in the mirror image on the other leg.
Withdraw the needle where the pencil line ends (pin). Pull out the thread, while leaving a small protruding tail in the very place where the needle was inserted. Sew a small one-stitch bartack. Each finger will be sewn with four equal stitches. Sew the leg through, while each time pulling the thread and pressing it with your fingers. The last stitch should be done by pulling the thread from above between the fingers. Duplicate the stitch for strength. Now sew the stitches in the opposite direction, bringing the needle out in exactly the same places, only pulling the thread through the unstitched sections. … Don’t forget to tighten the thread!
Eyebrows
Mark the location of the eyebrows. Put up the pins. Fasten the thread. Make a stitch, wind 25-30 turns on the needle. Gently pull the turns onto the working thread. Tighten an eyebrow. Do not break the thread. Make the second eyebrow in the same way.
Toning
Tint the toy in any way you are used to. For tinting, you can use dry or oil pastels, oil paints. When tinting a toy with oil paint, it is necessary to prepare the paint in advance: squeeze a small amount of paint from the tube onto a napkin and cover it with a saucer so that it does not dry out. After 10-12 hours, when the excess oil is absorbed into the napkin, you can start toning.
Highlight the eyes and mouth with the darkest tint.
EYES
Cut off a piece of white plastic. Knead it in your hands, divide it into two equal parts. Form ball eyes.
Try on the blanks for the toy.
Gently press in the glass eye, then gently pull it out of the plastic part and peel off the plastic. Chop the plastic blanks on a thin wire.
Make teeth from white plastic, trying on the lower jaw.
tongue
Form a tongue from a piece of red plastic, giving it the desired shape. Insert a thin wire into the Tongue.
NOSE
Cut off a piece of black plastic, or form an oval to give it the shape of a nose.
Chop the workpiece on a thin wire.
Bake or cook blanks according to the instructions.
Polish the details with fine sandpaper. Cover with acrylic varnish.
If desired, you can tint the recess of the peephole under the pupil. Glue the pupil into the eye blanks.
Glue eyes, nose, teeth, tongue.