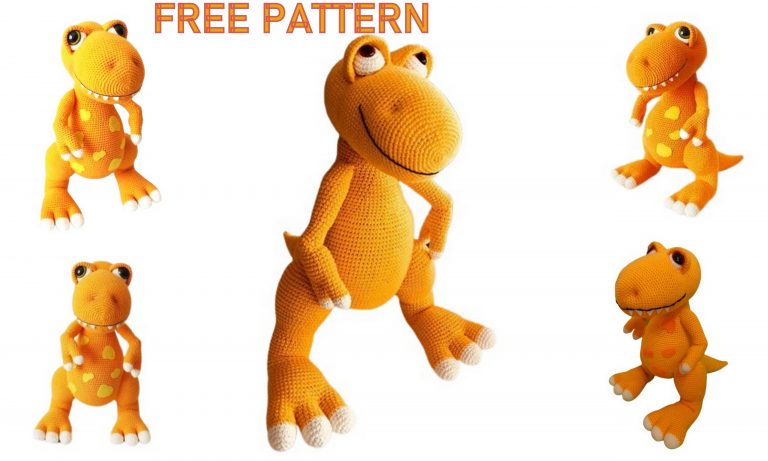
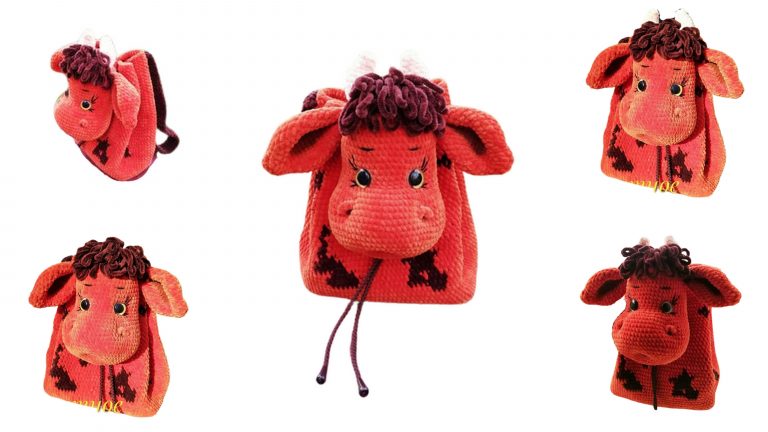
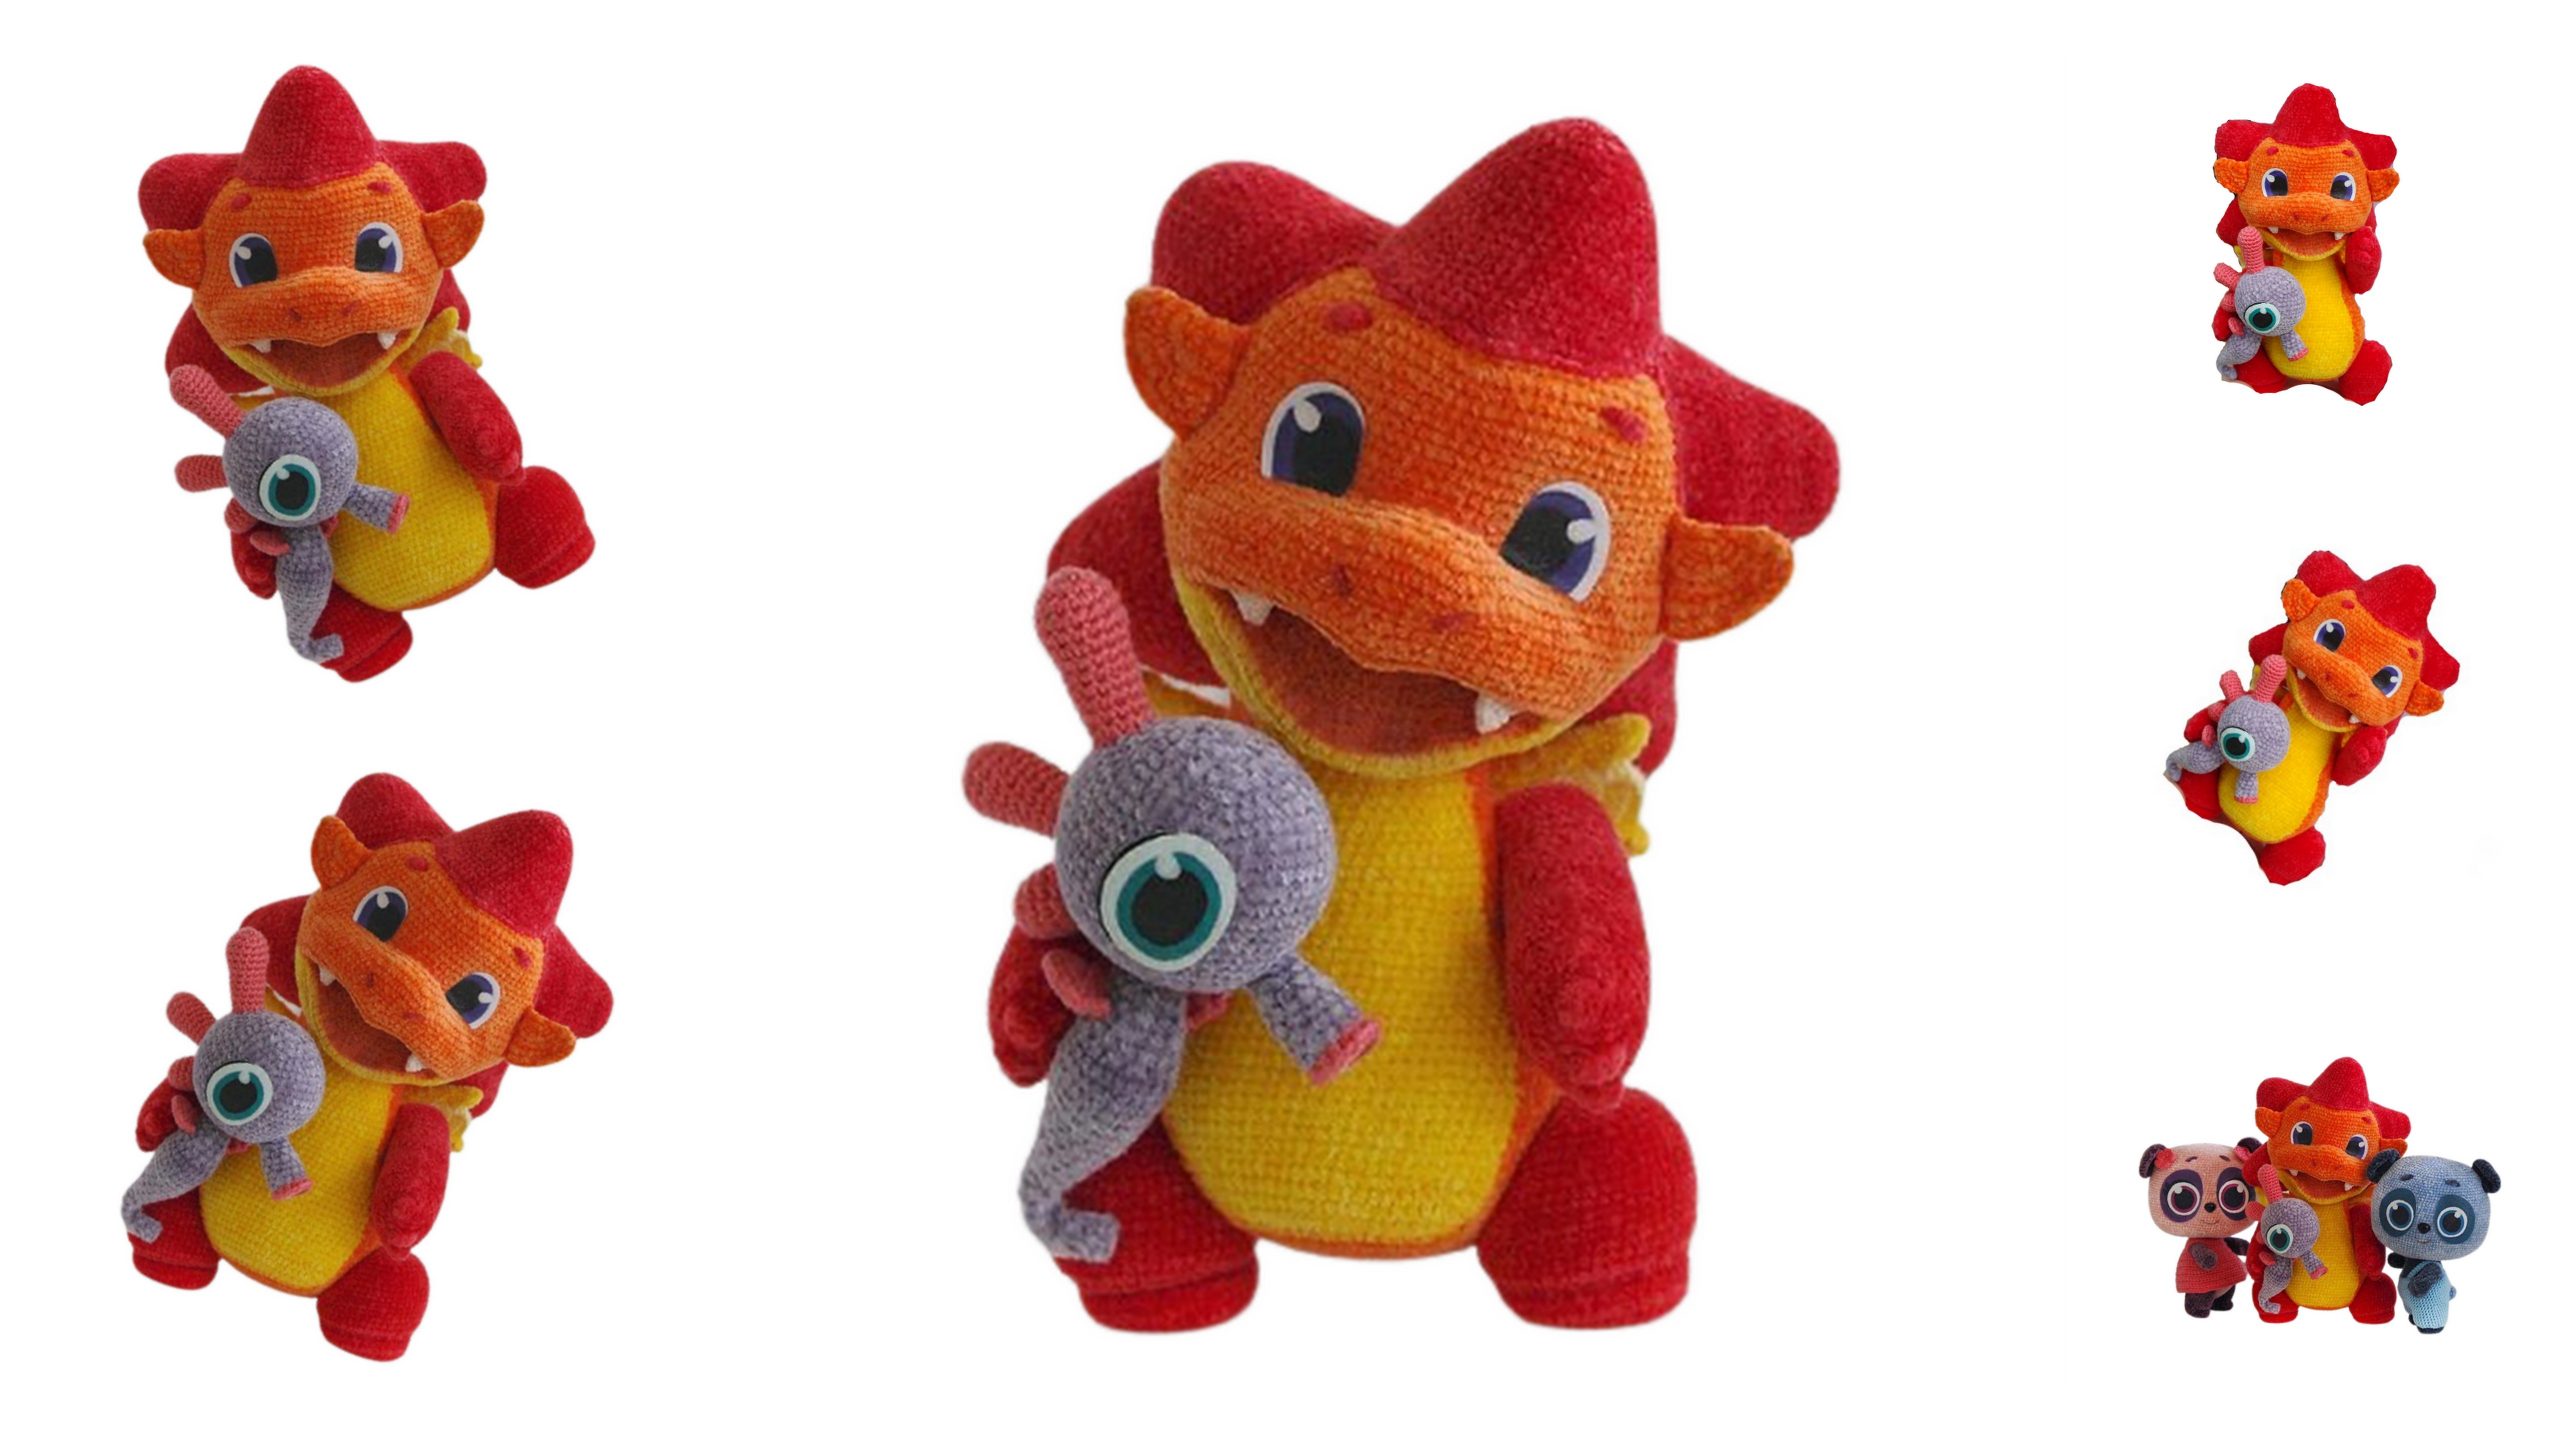
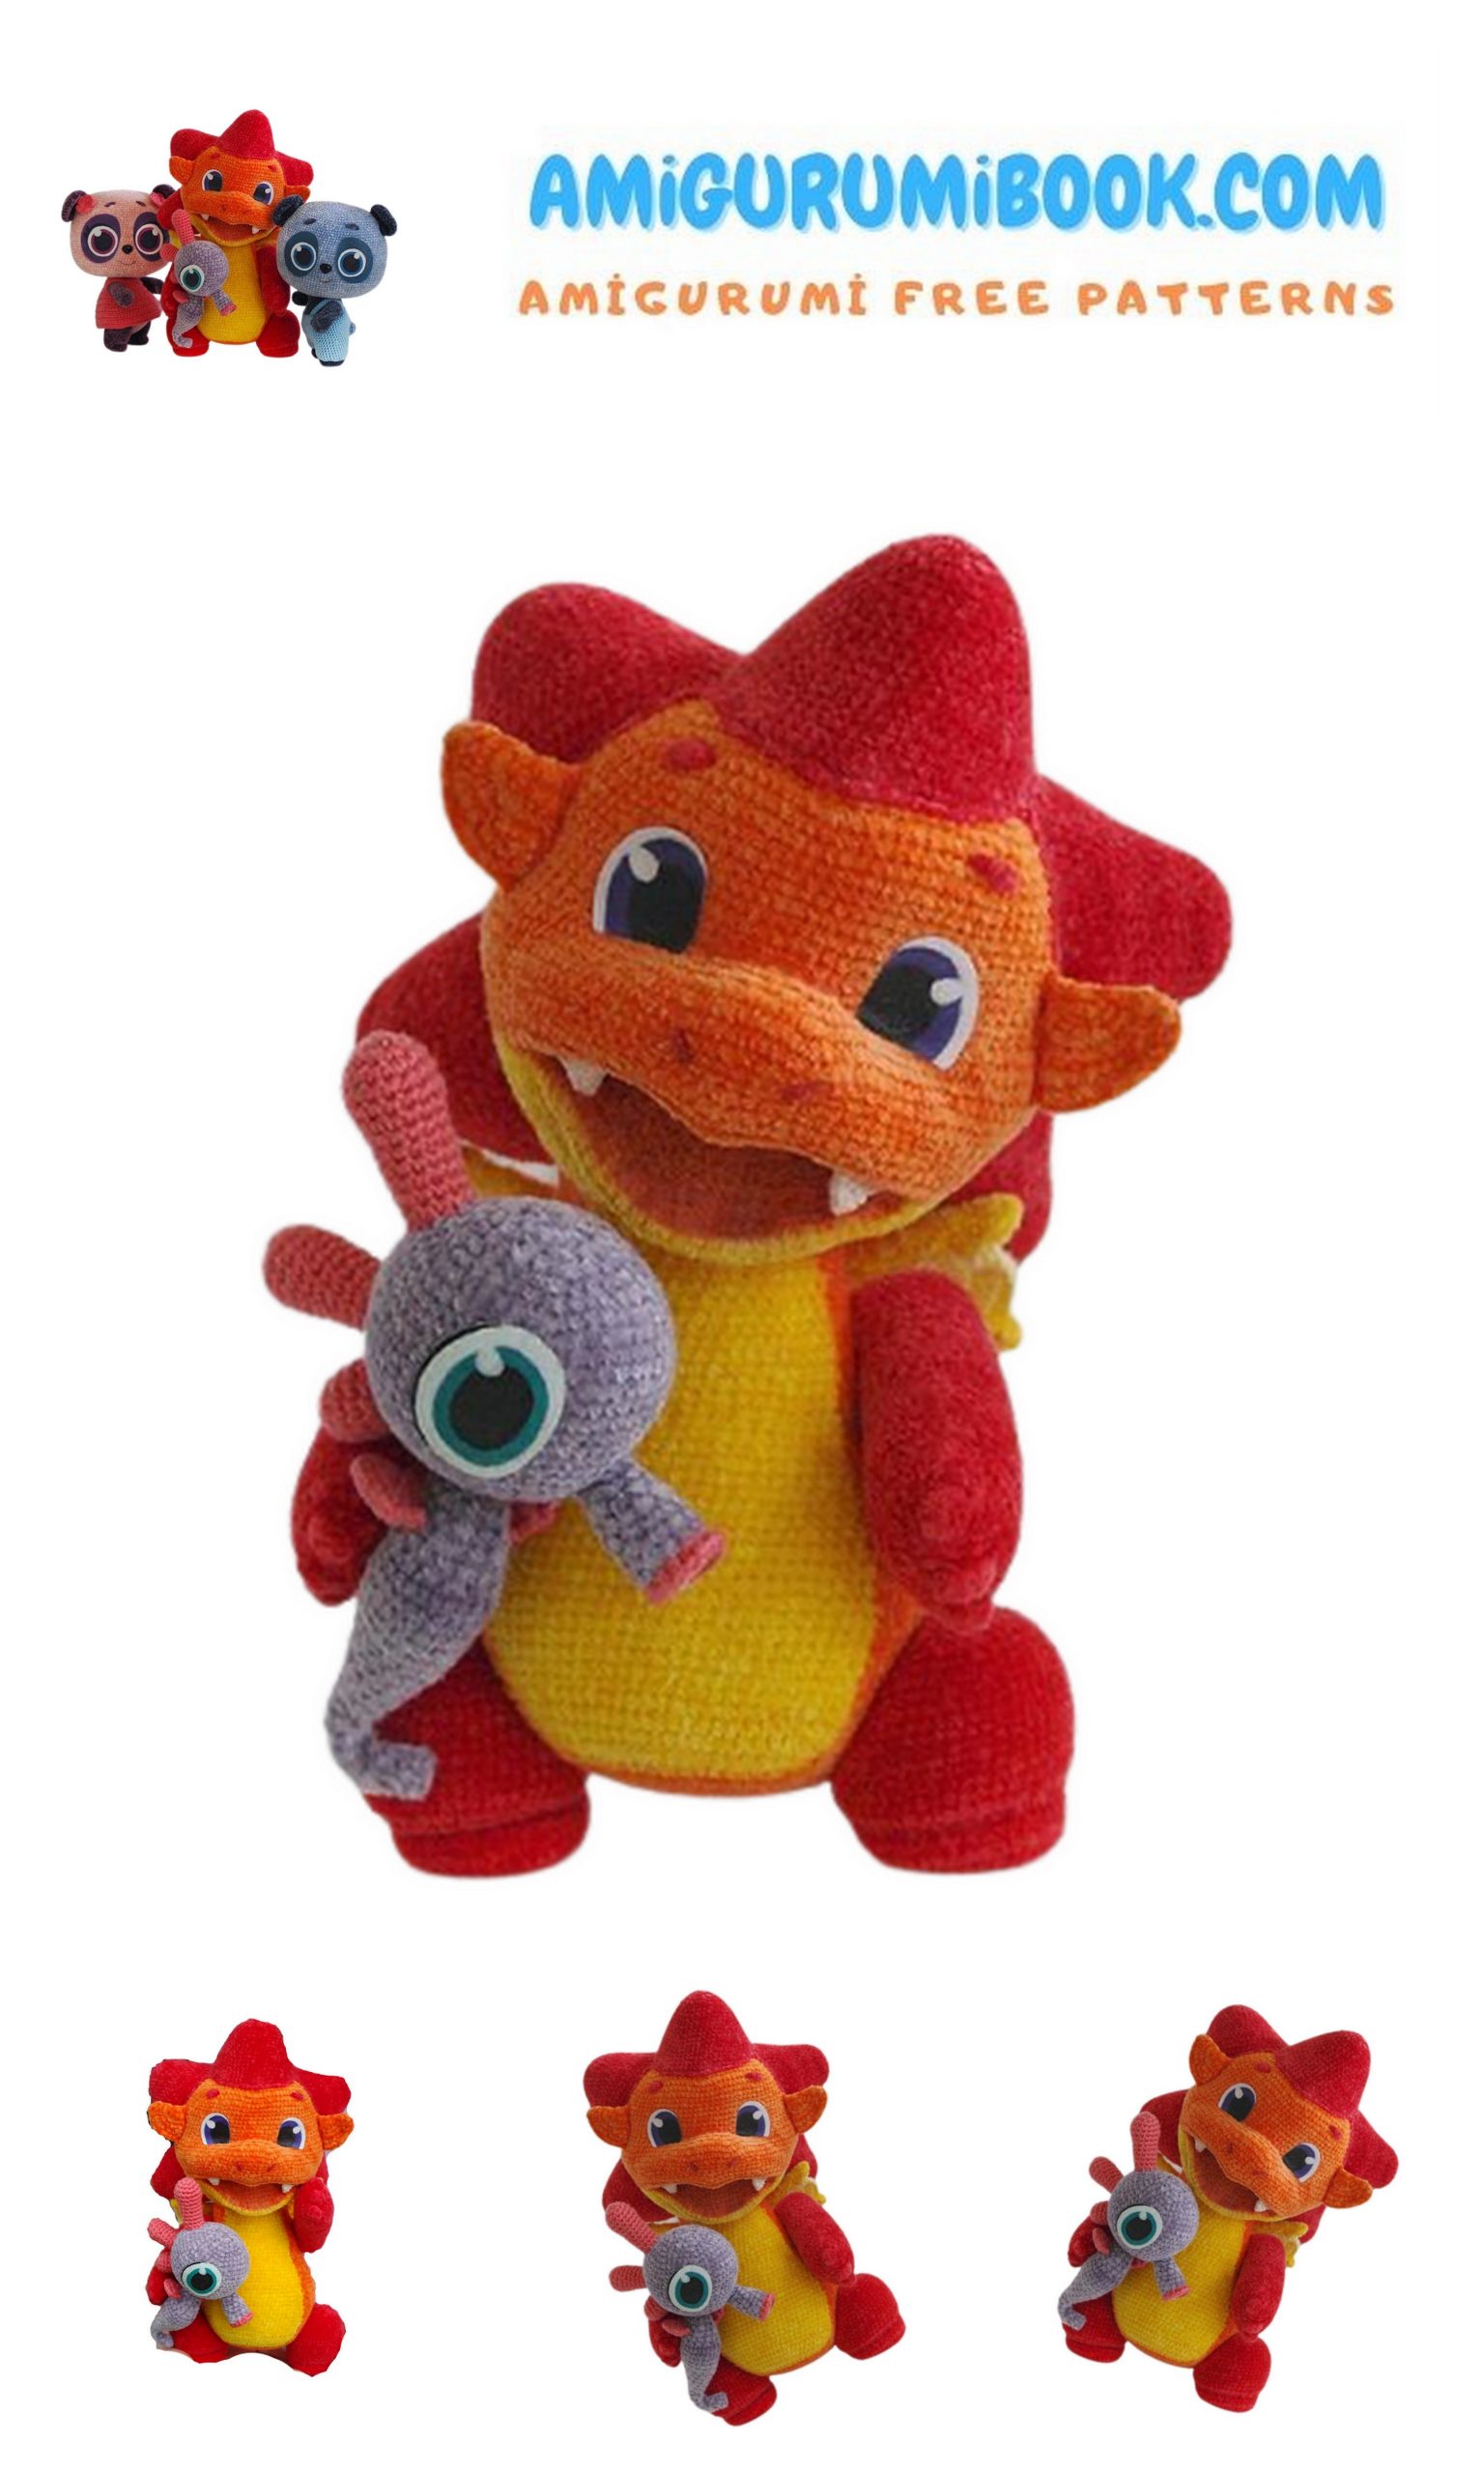
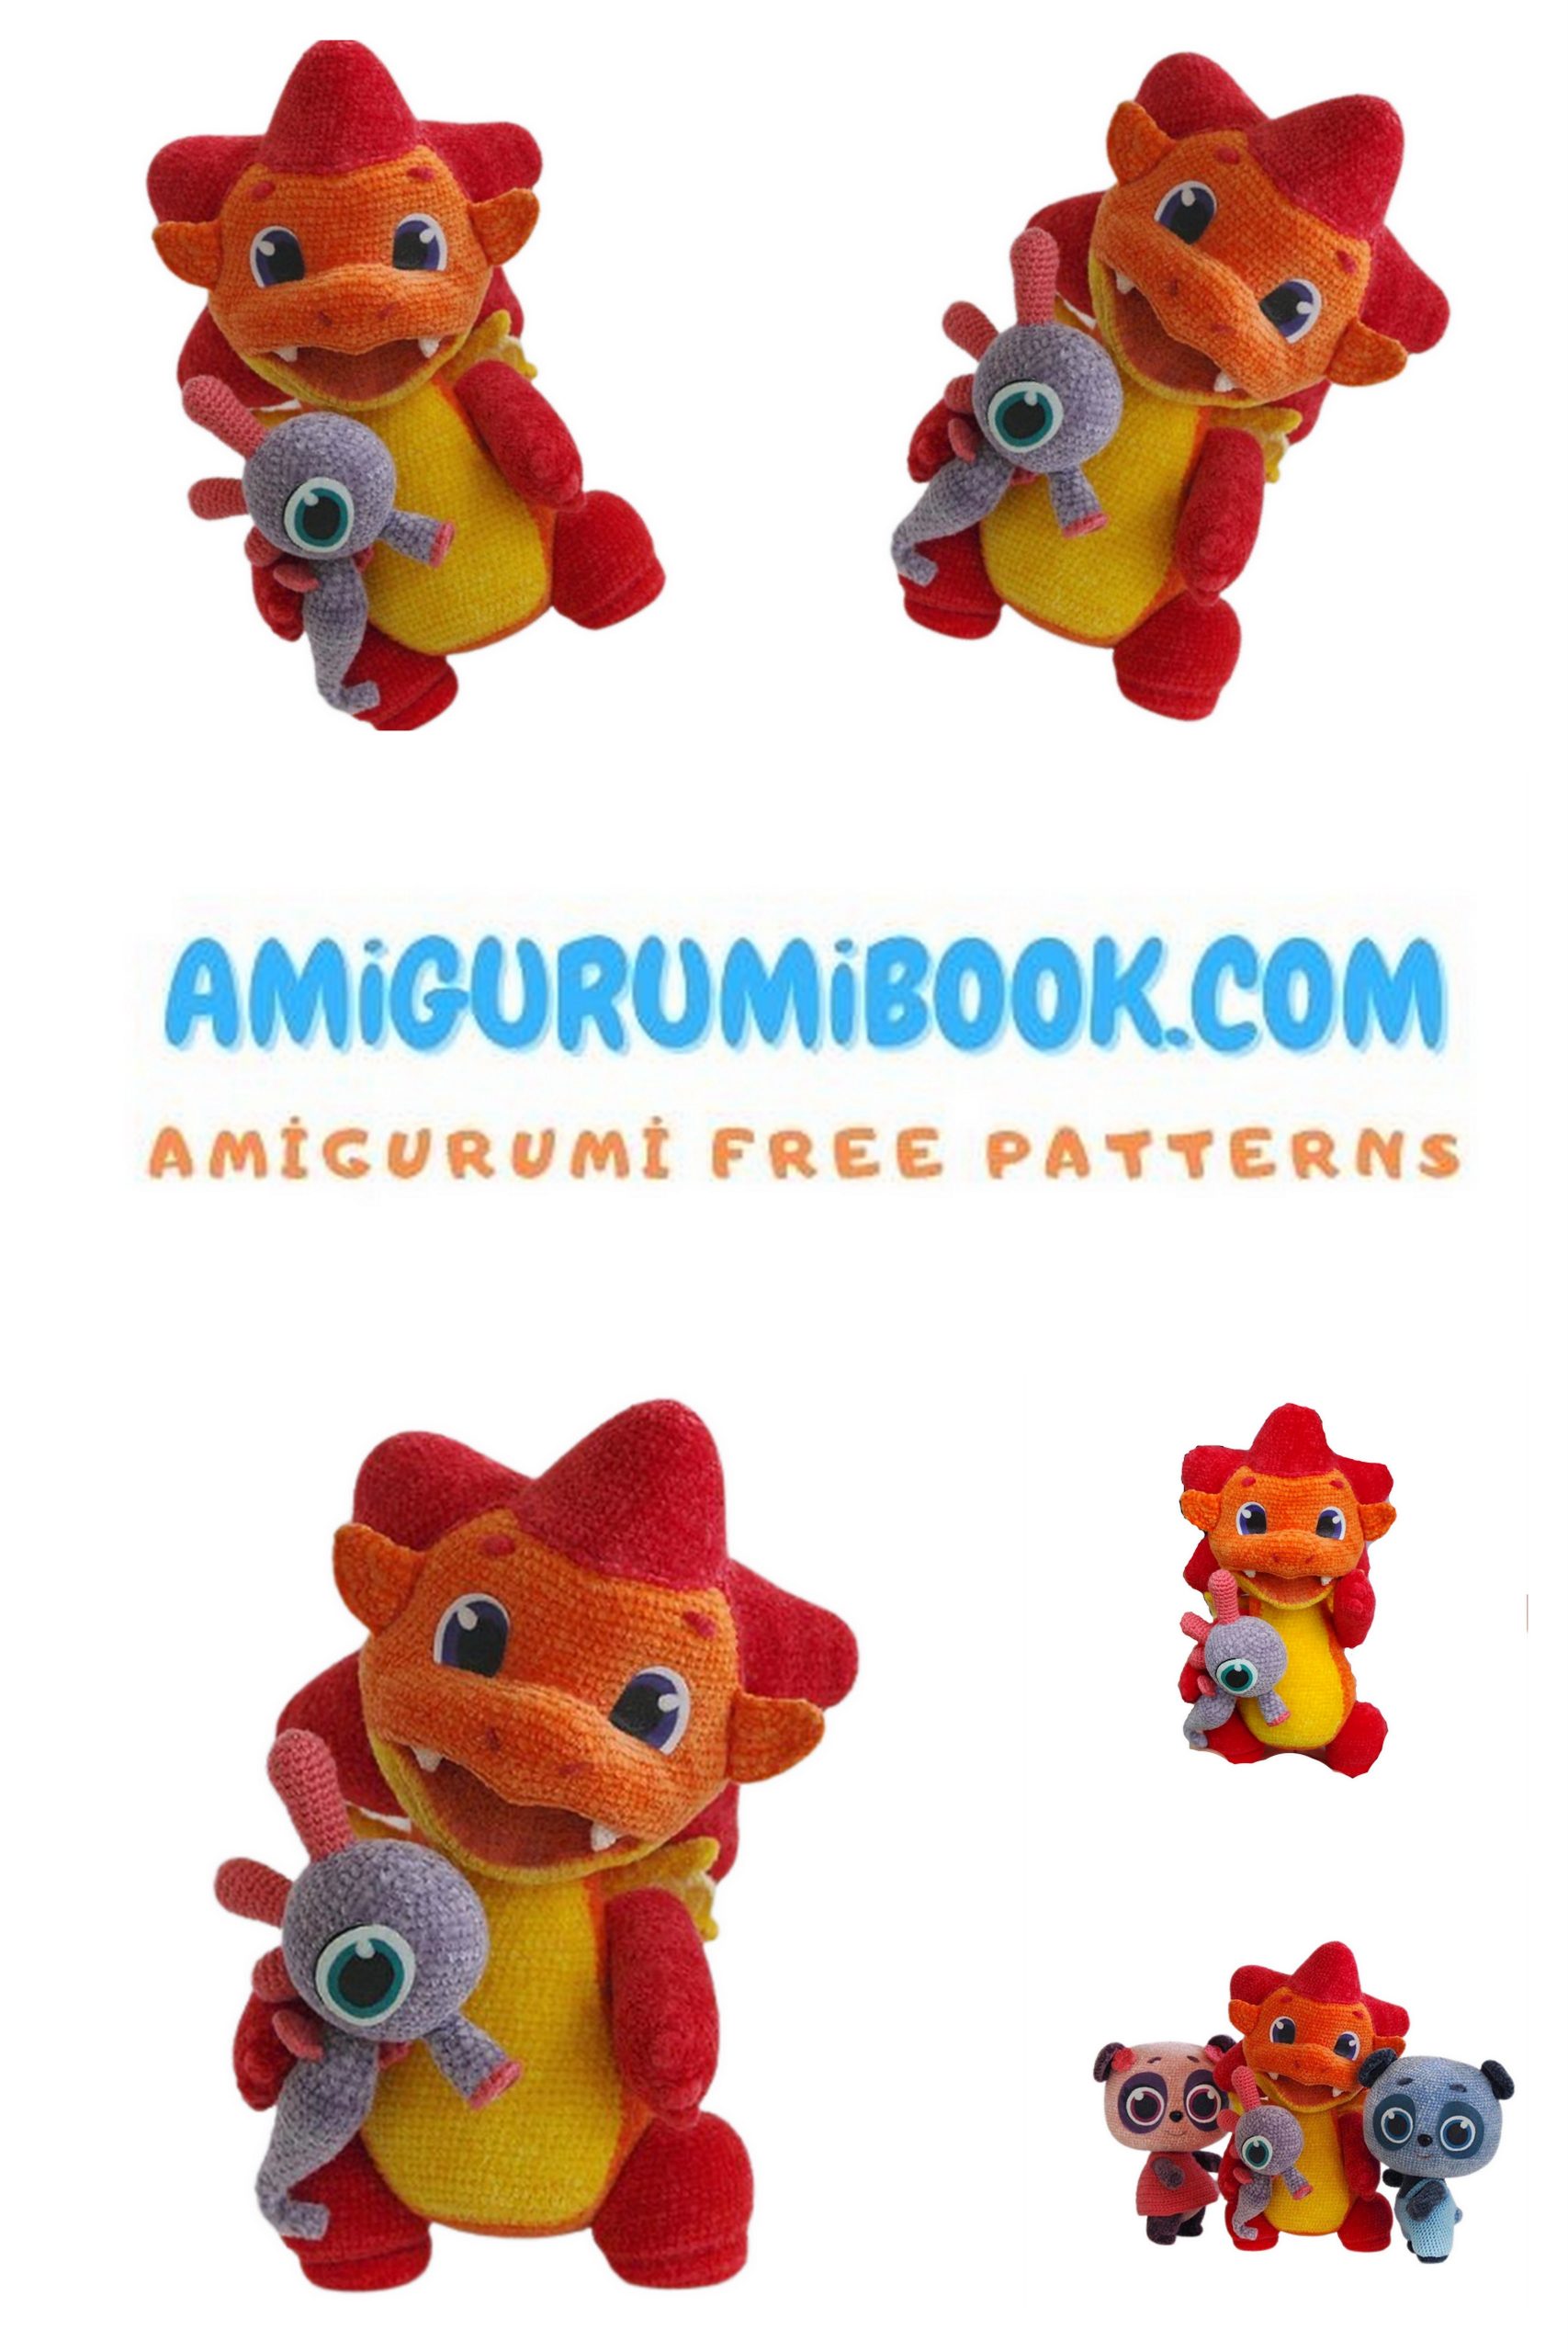
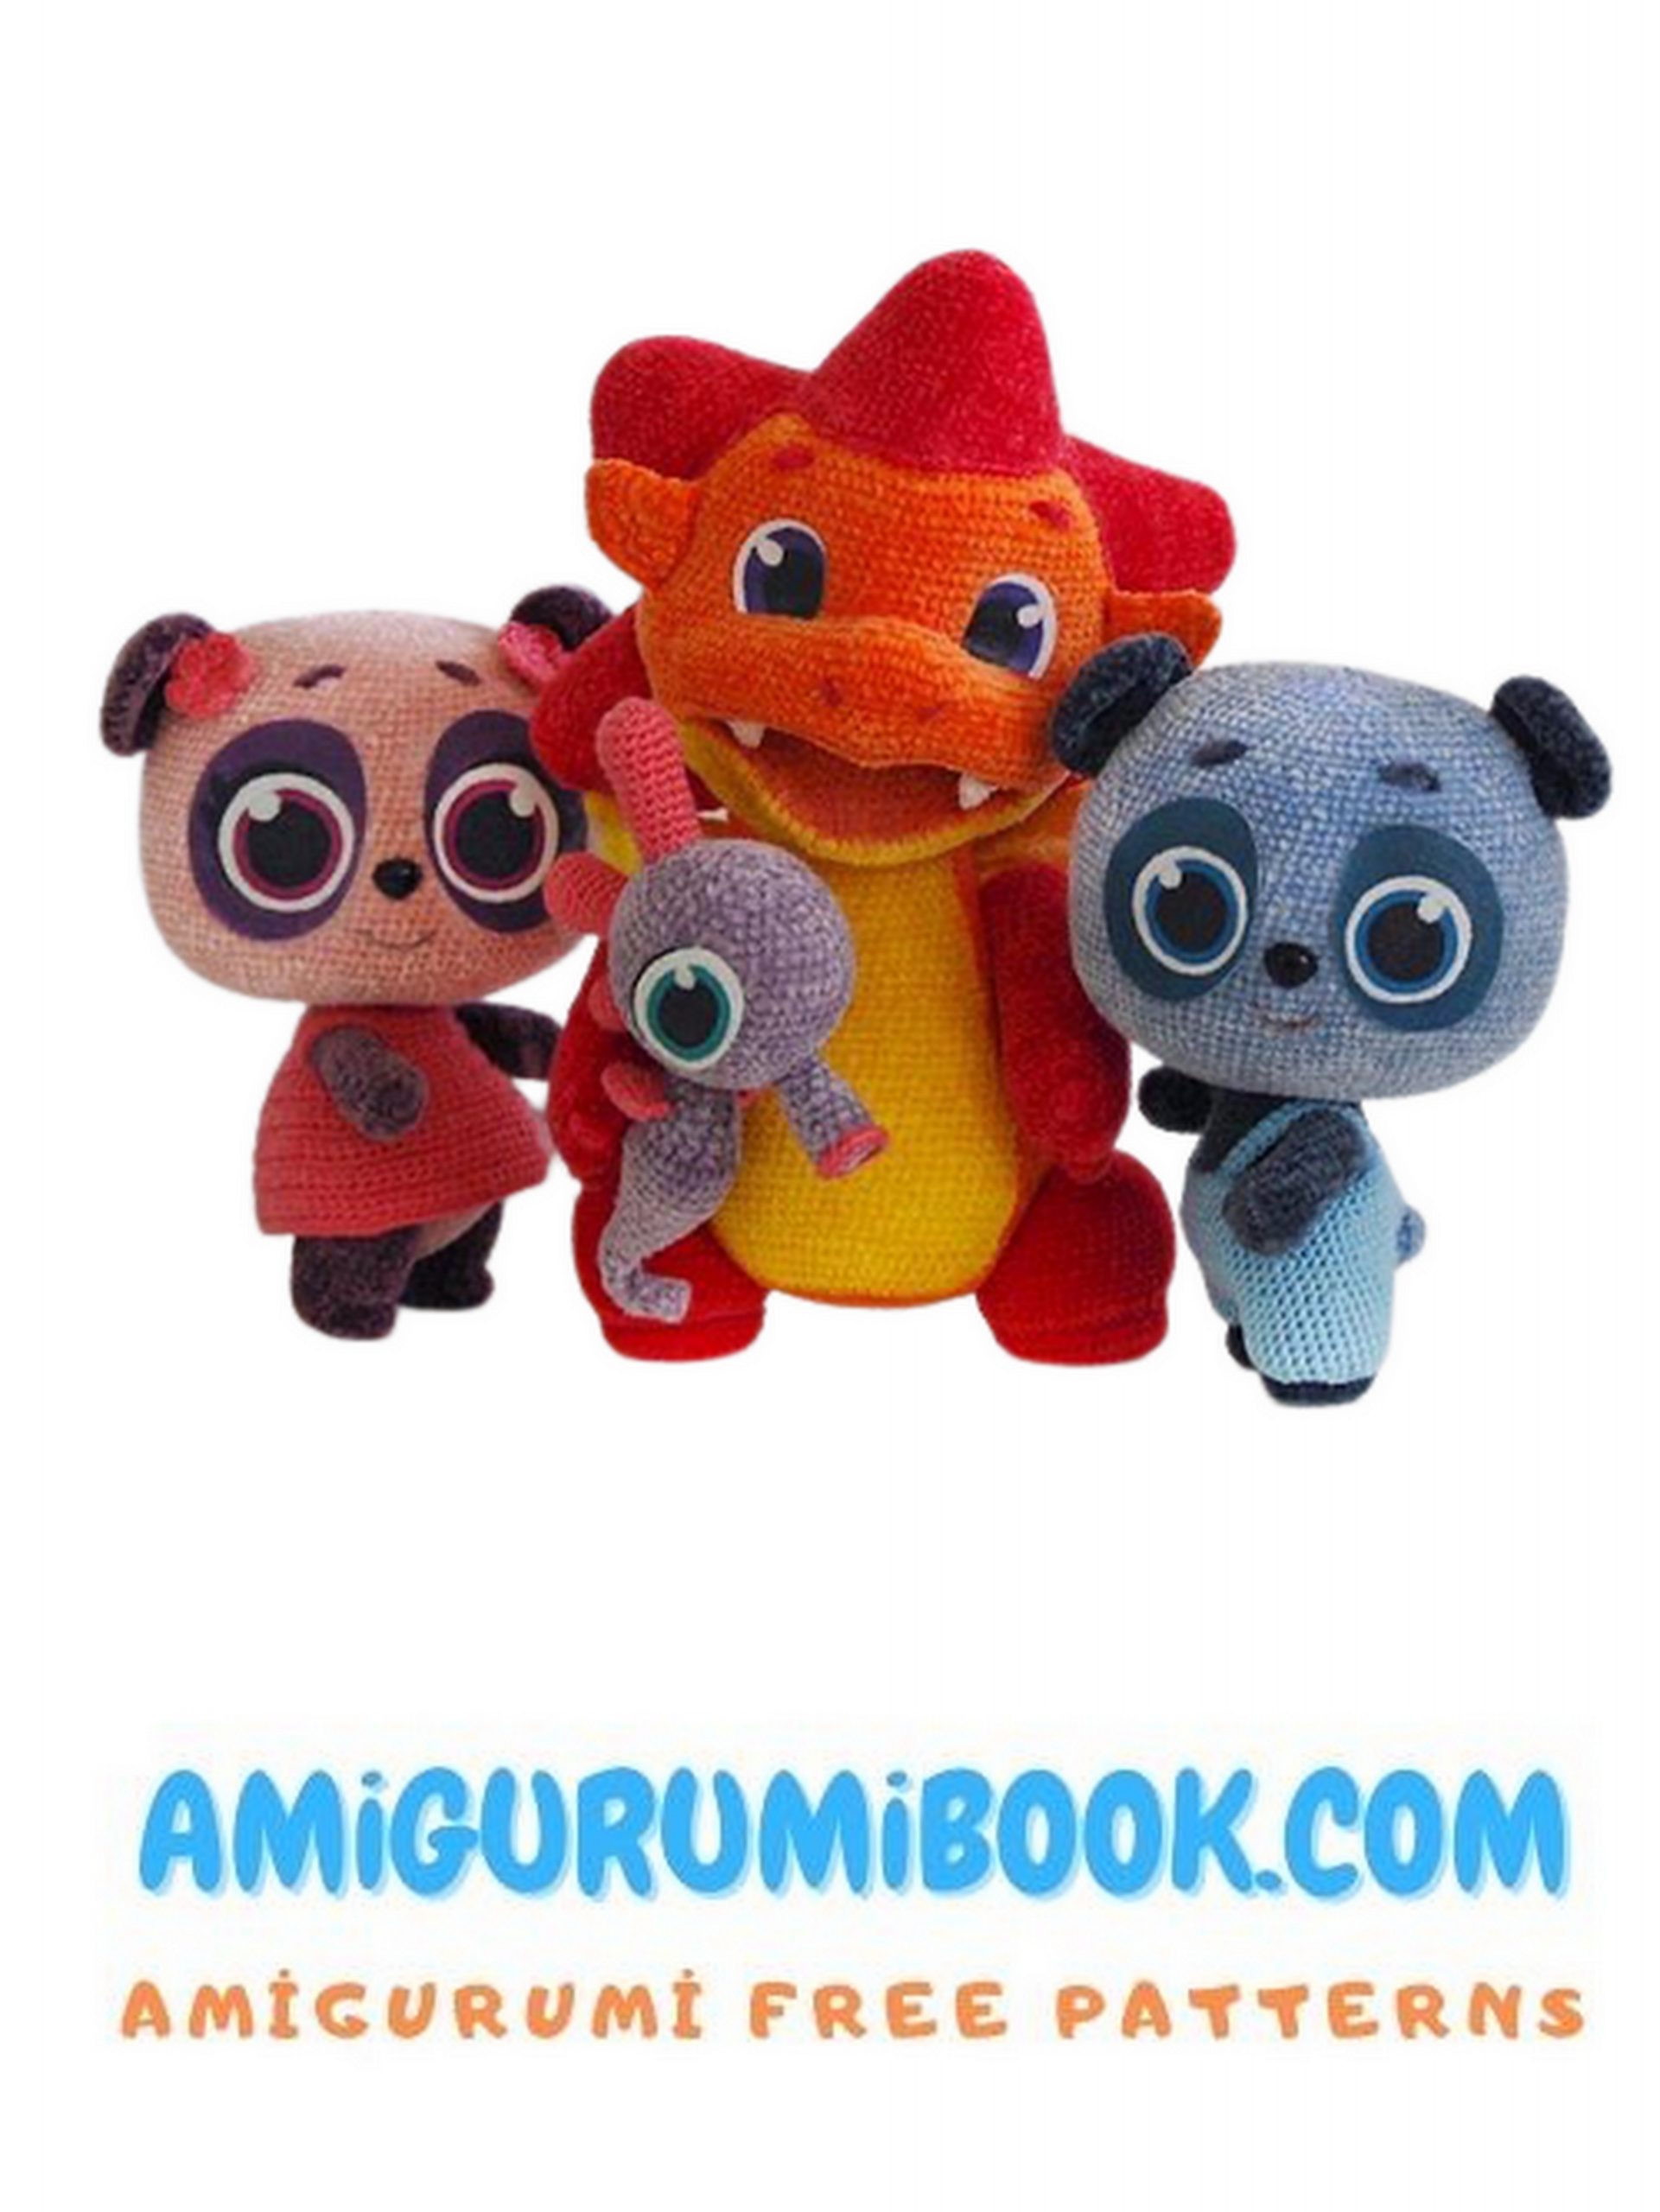
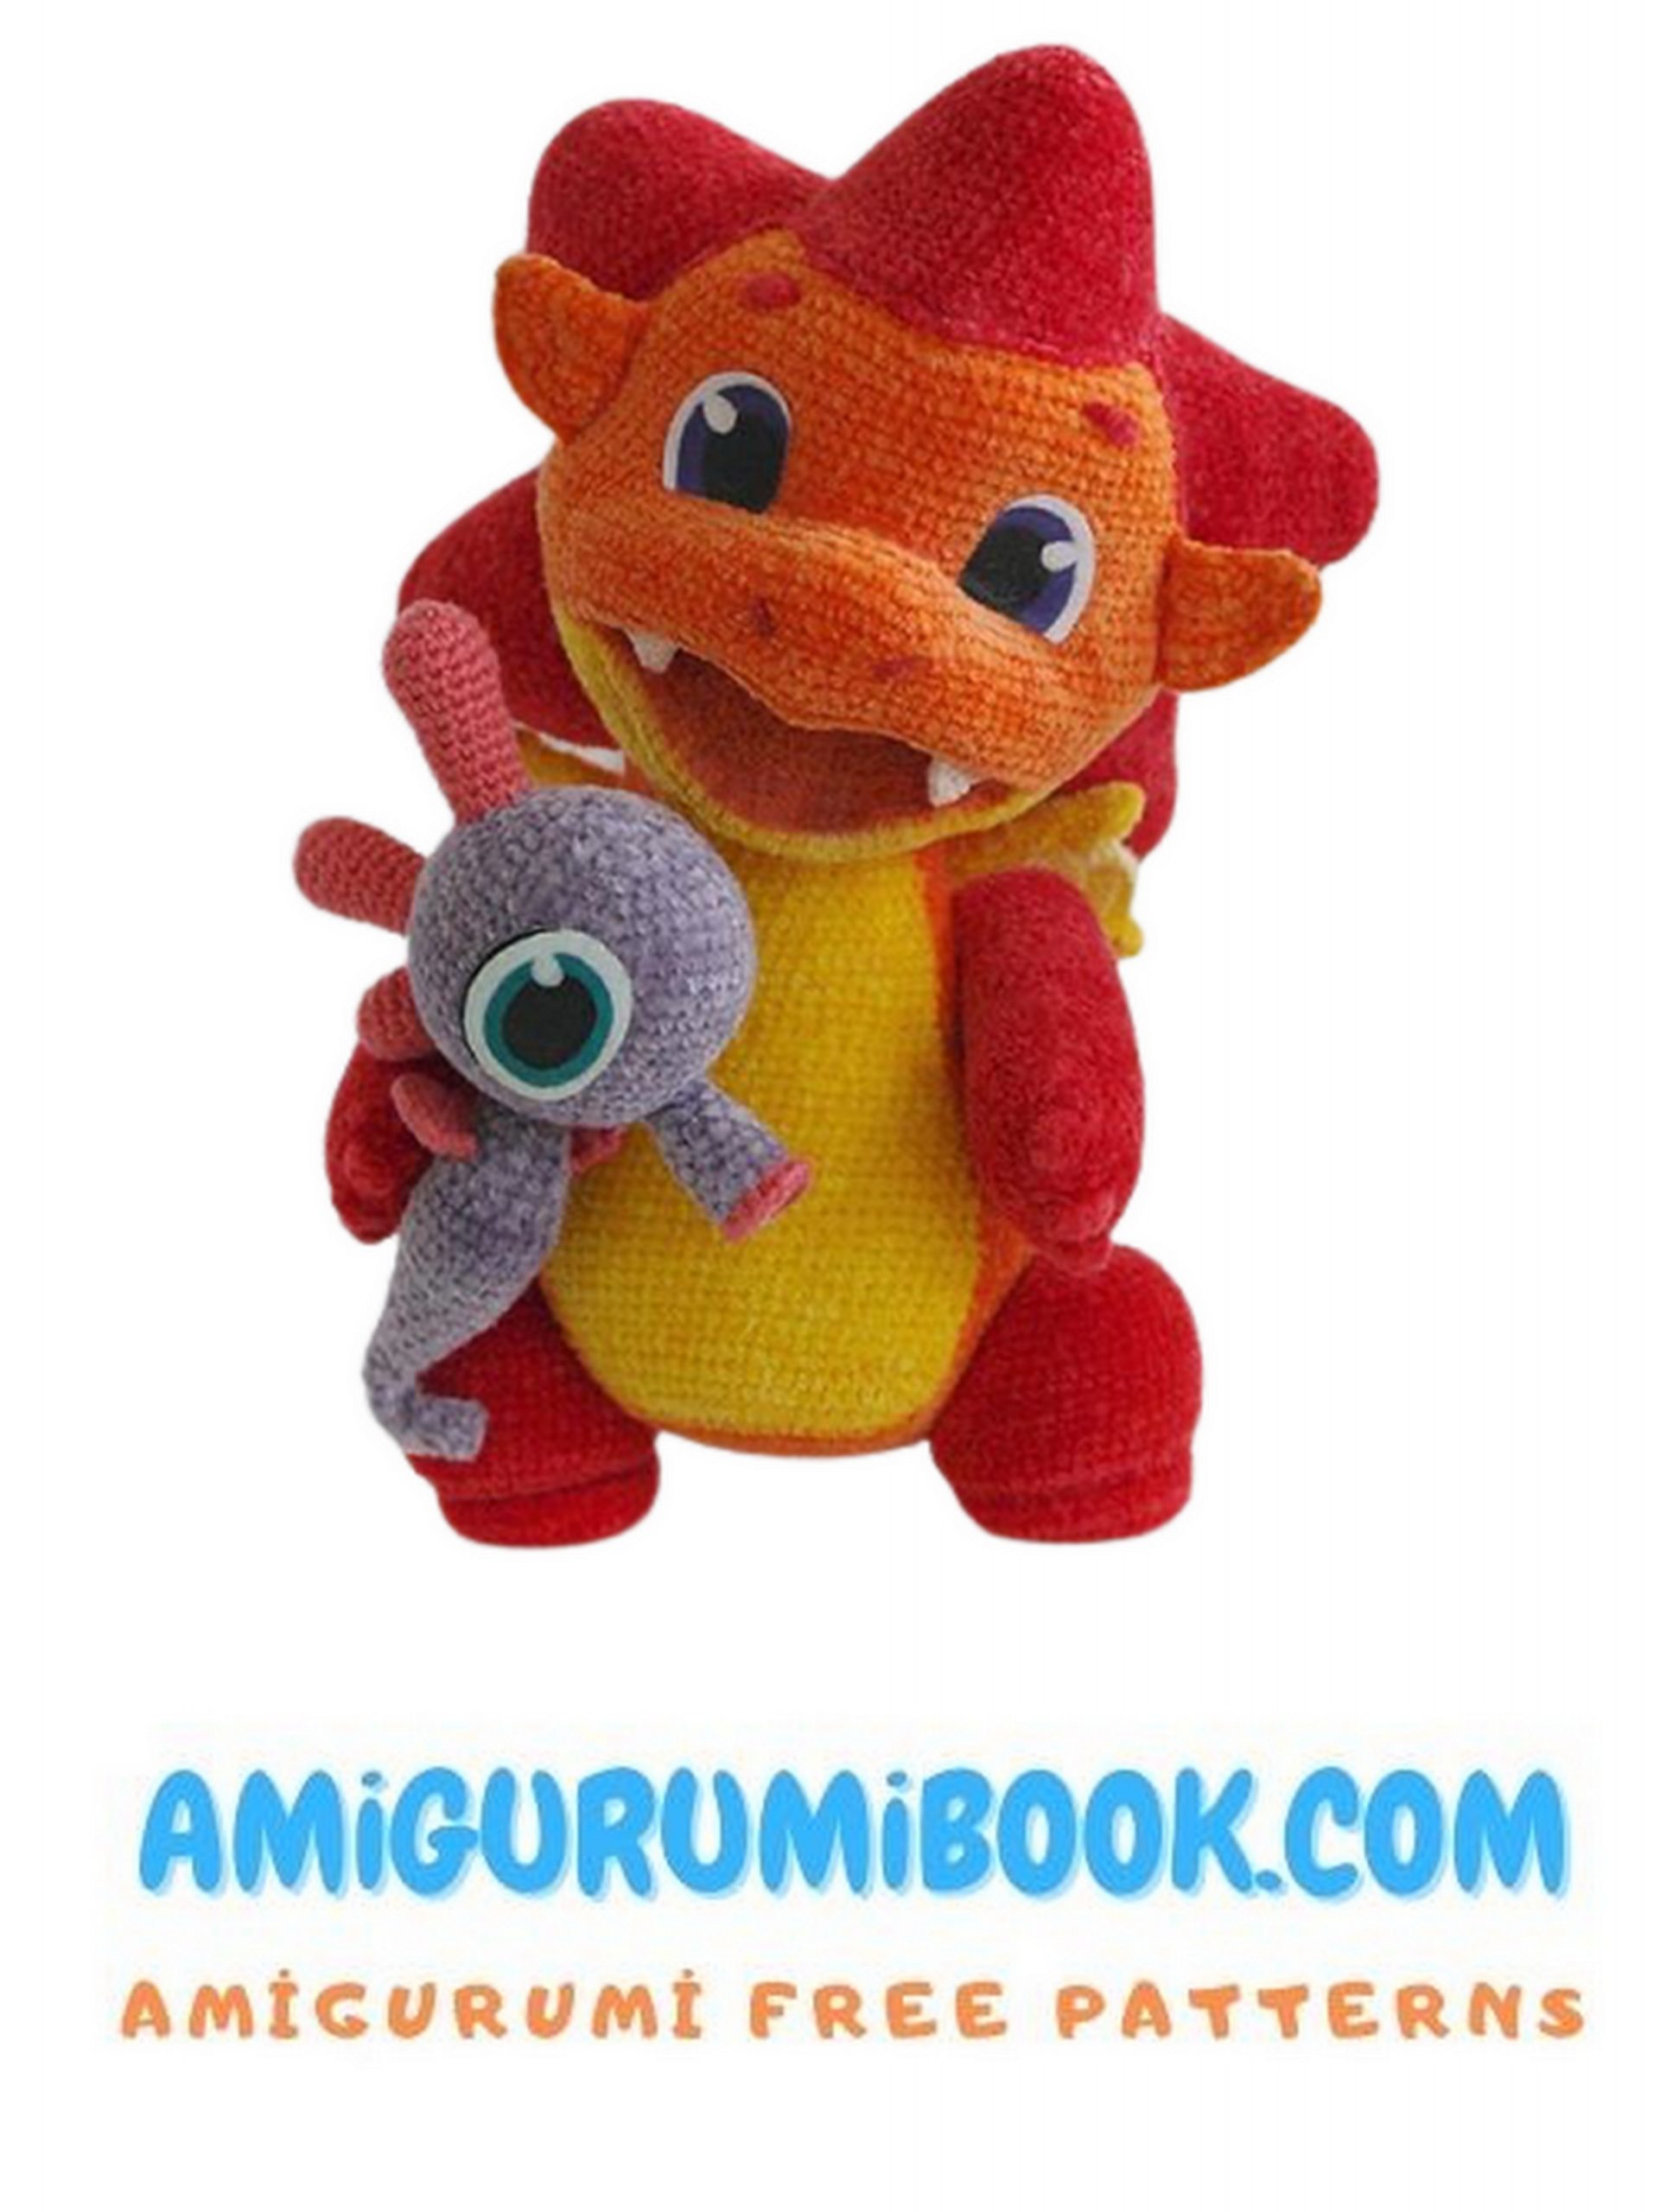
Dragon Tosha Amigurumi Free Pattern
I am sharing Amigurumi free patterns with you. Dragon tosha amigurumi free pattern is waiting for you in this article.
When knitting toys, I always use a smaller hook size than the yarn manufacturer says. So, for example, with the recommended size of 3.00 mm, I use 1.5 mm. This avoids large holes in the canvas, the toy is more accurate.
The toy is knitted in a spiral, so the connecting loops at the end of the row are not used. We use a marker to track the start of the row.
When using the specified yarn, Tosha turned out to be 26 cm. The size of your toy will depend on the yarn and hook you choose. Please remember, the thicker the yarn, the more you will need to knit. Tosha stands and sits on his own.
The difficulty of knitting is medium. The fastening of the arms and legs to the body is splint, which allows you to turn parts of the body in different directions. In the absence of Toshe cotter pins, a thread mount can be made.
Abbreviations:
sc – single crochet
ch-chain
inc – increase, knit in one loop twice
dec – decrease, knit two loops together
dc – double crochet.
sl-st – slip stitch
Materials:
✓Yarn of your choice. I used Boheme Velvet fine 190 m / 50 gr.
60 gr – red, 70 gr – orange, 35 gr – yellow.
✓Hook 1.50 mm.
You also need quite a bit of light yellow yarn of the same size as the main thread for the wings. And white for teeth.
✓ Cotter pins with discs of suitable dimensions.
I have: For handles 15 mm, for legs 20 mm.
Thick cardboard for insoles.
For the eyes, we need thin felt or cotton white fabric. Acrylic paints, primer and fixer. Kolinsky brush 2.
✓long needle for tightening and sewing details.
✓ filler, weighting agent in the belly.
✓ fabric paints or crayons, dry pastel pencils for tinting.
Pattern
Legs
( 2 parts, red color)
Cast on 7 ch from 2 sts from hook
1. 5 sc, 5 sc in 1, then knit on the other side of the chain 5 sc, 2 sc in 1 (17)
2. 5 sc, 5 inc, 5 sc, 1 inc (22) mark the new beginning of the series. The last loop goes to the 3rd row. We follow the marker ourselves. It runs straight along the back of the leg.
3. 1 inc, 5 sc, (1 inc, 1 sc)x5, 5 sc, 1 inc, 1 sc (30)
4. 1 sc, 1 inc, 5 sc, (2 sc, 1 inc)x5, 7 sc, 1 inc (37)
5. 2 sc, 1 inc, 5 sc, (3 sc, 1 inc)x5, 9 sc (43)
6-8. 43 sc
9.14 sc, 8 dec, 13 sc (35)
10. 14 sc, 8 inc, 13 sc (43)
11. for the left leg: 6 sc, (1 inc, 2 sc) x7, 16 sc (50)
For the right leg: 16 sc, (1 inc, 2 sc) x7, 6 sc (50)
In order for Tosha to stand on his own, you need to insert cardboard into the leg. To do this, we circle Tosha’s foot. Cut and paste into the leg.
12-18. 50 sc
19. 23 sc, 1 dec, 23 sc, 1 dec (48)
In the 20th row we put a marker for cotter pin fastening.
For the left leg:
20. (6 sc, 1 dec) x4, 5 sc, put a marker, 1 sc, 1 dec, 6 sc, 1 dec (42)
For the right leg:
6 sc, 1 dec, 2 sc, put a marker, 4 sc, dec, (6sc, 1 dec) x4 (42)
Legs
21.42 sc
22. (5 sc, 1 dec)x6 (36)
23. (4 sc, 1 dec)x6 (30)
Stuffing the leg
In order for the legs to hold and move well, the wooden washer and the leg should be about the same width. I have a 20mm wooden leg washer.
We put a metal washer on the cotter pin, then a wooden one.
We find the markers and install the cotter pin in the leg. The pin itself comes out from the outside as shown in the photo below.
After the mount is installed, we tie the leg
24. (3 sc, 1 dec)x6 (24)
25. (2 sc, 1 dec)x6 (18)
We stuff
26. (1 sc, 1 dec)x6 (12)
27. 6 dec
Pull off the remaining loops, fasten the thread, cut.
(2 parts, red color)
Cast on 10 ch from 2 sts from hook, work in 1 sc, 1ch, 5 dc with 1 st common top, 2 sc, 5 dc with 1 st common top, 2 sc, 5 dc with 1 st common top, 1 sc(9)
Then we tie the part in a circle, we cling the thread on each side to the half-loop.
2. 3 sc, 1 inc, 3 sc, 1 inc on one side,
3 sc in 1 st in side, 3 sc, 1 inc, 3 sc, 1 inc, work in 2nd side, ending with 3 sc in 1 st (26)
3. 6 sc, 1 inc, 5 sc, 1 inc, 6 sc, 1 inc, 5 sc, 1 inc (30)
4-8. 30 sc
9. 13 sc, 1 dec, 13 sc, 1 dec (28)
10.28 sc
11. 12 sc, 1 dec, 12 sc, 1 dec (26)
12-21.26 sc
22. 11 sc, 1 dec, 11 sc, 1 dec (24)
23. 10 sc, 1 dec, 10 sc, 1 dec (22)
24. 9 sc, 1 dec, 9 sc, 1 dec (20)
25. For the left hand: 5 sc, put a marker, 15 sc (20)
For the right hand: 15 sc, put a marker, 5 sc (20)
26.20 sc
27. 8 sc, 1 dec, 8 sc, 1 dec (18)
We fill the handle In order for the handles to hold and move well, the wooden washer and the handle should be about the same width. I have a 15mm wooden washer for the handle.
We put a metal washer on the cotter pin, then a wooden one.
We find the markers and install the cotter pin in the handle. The pin itself comes out.
28. (1 sc, 1 dec)x6 (12)
We stuff
29. 6 dec
Pull off the remaining loops, fasten the thread, cut.
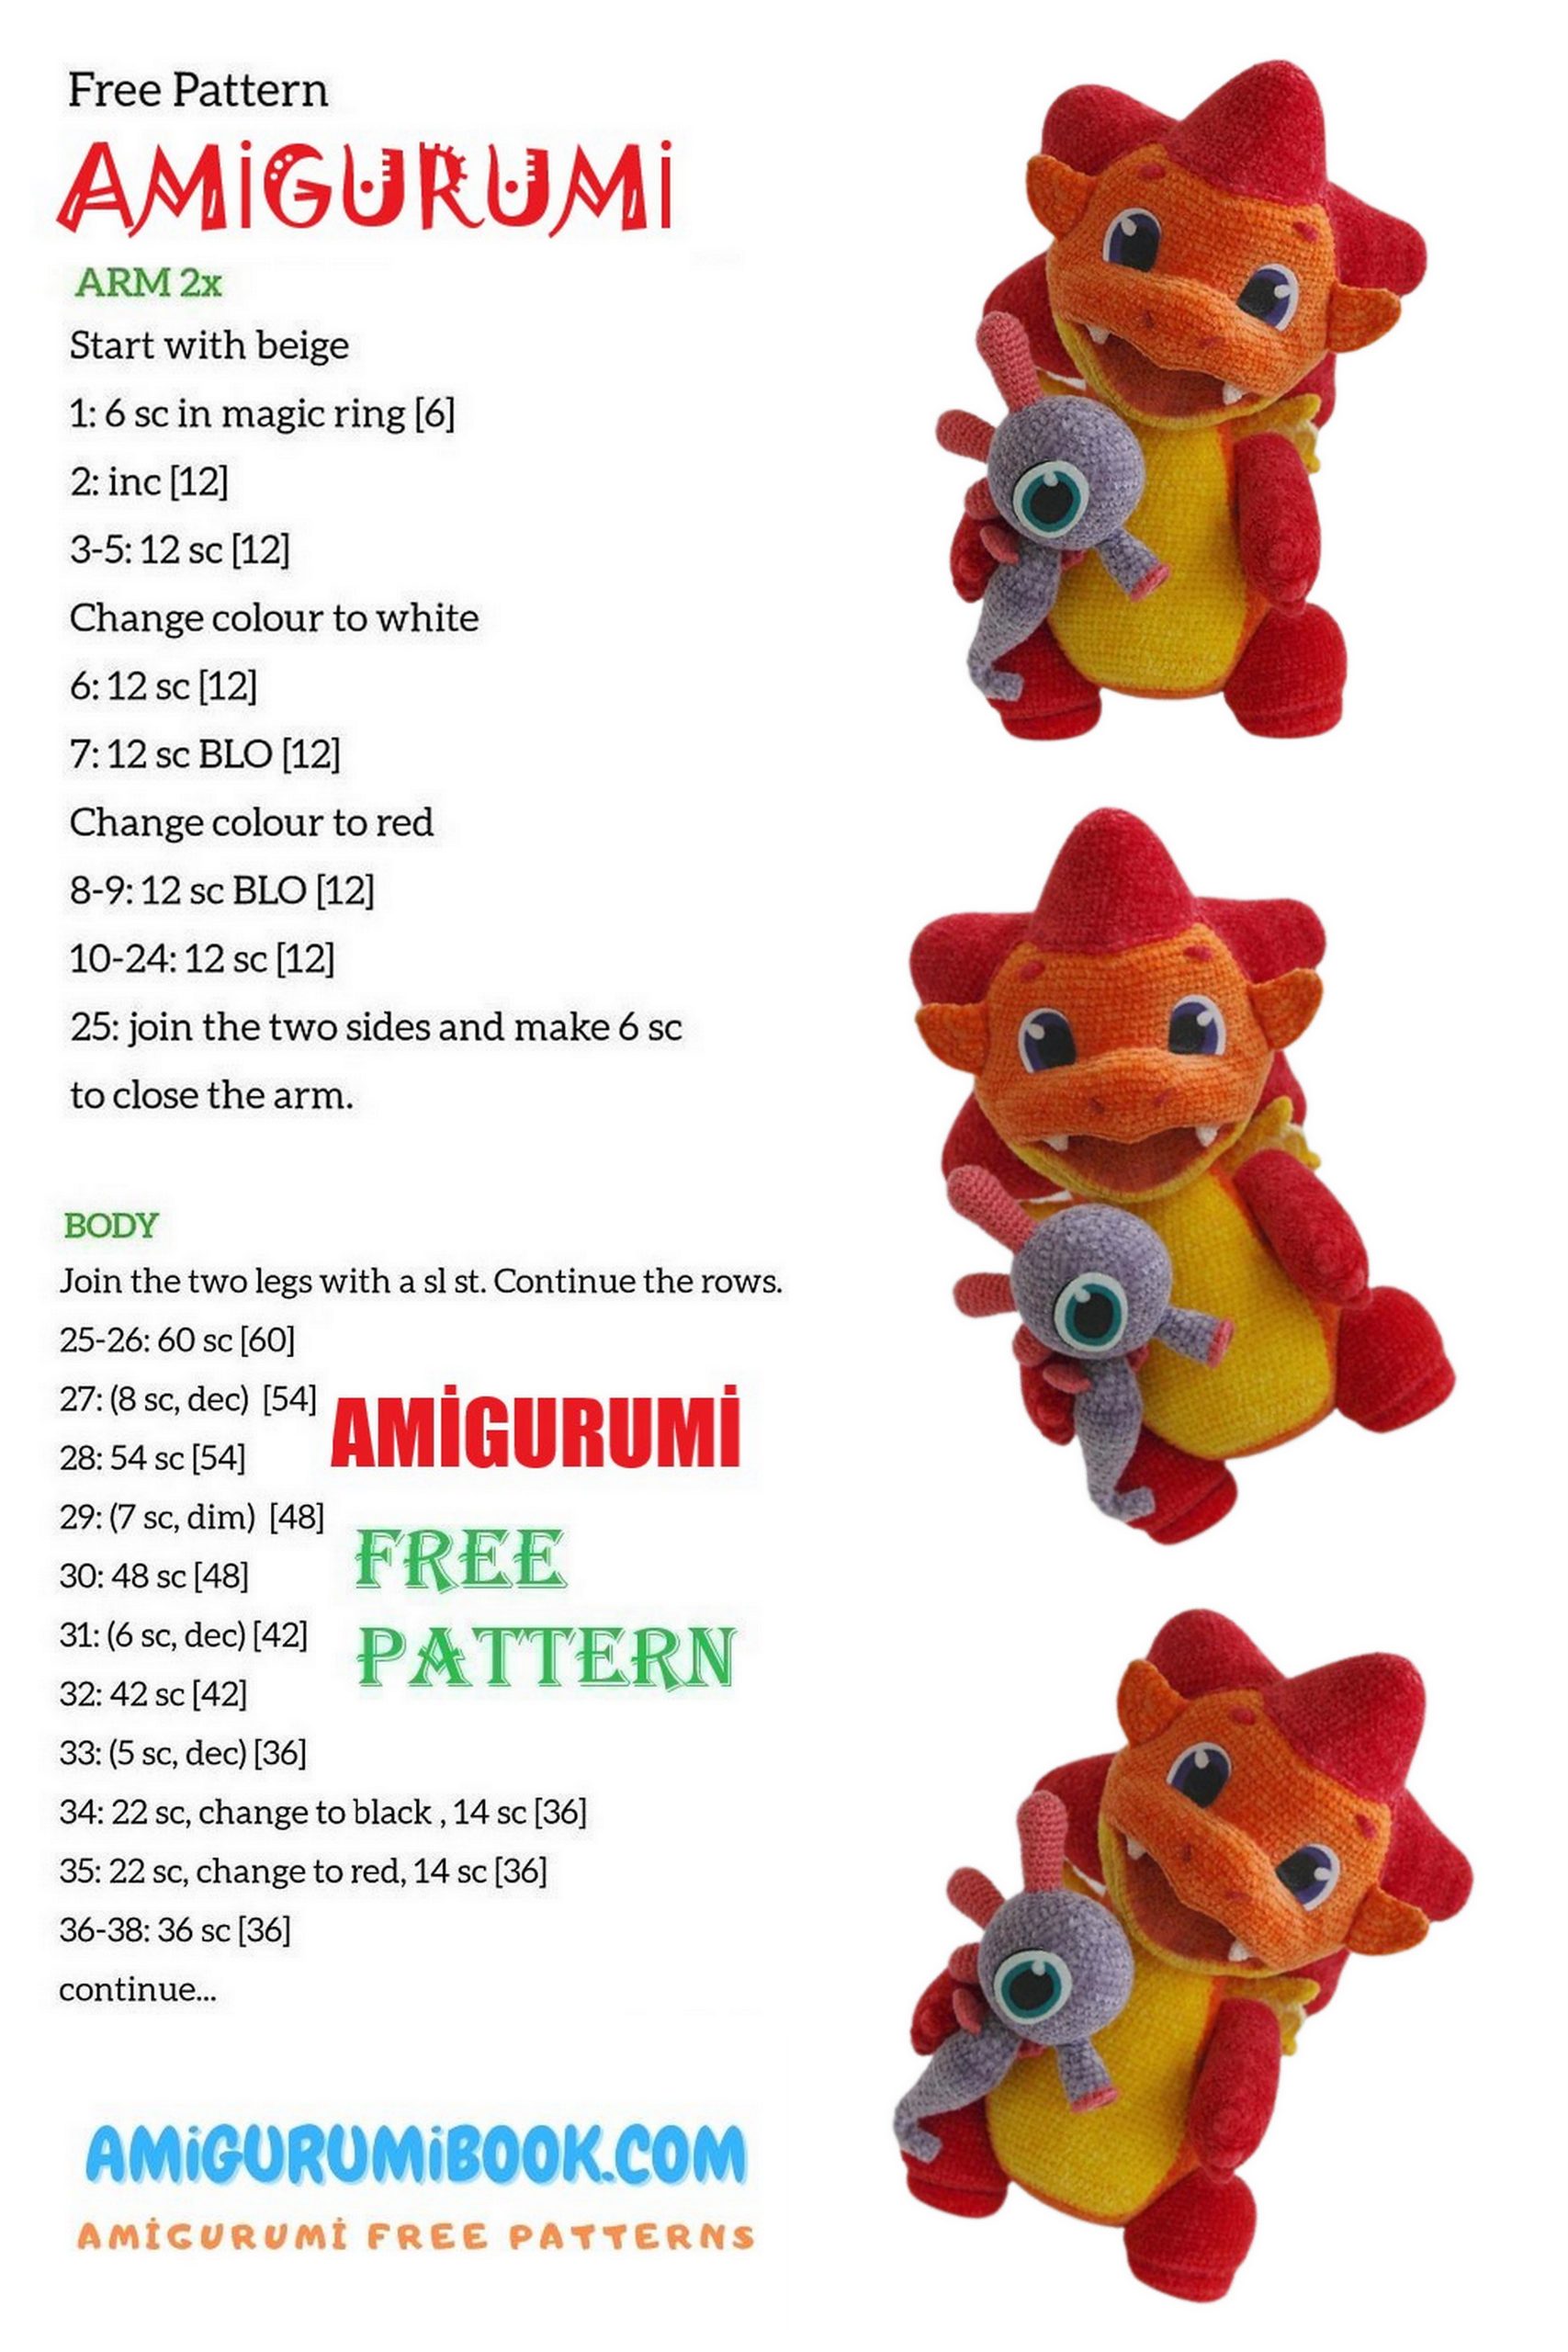
Pens
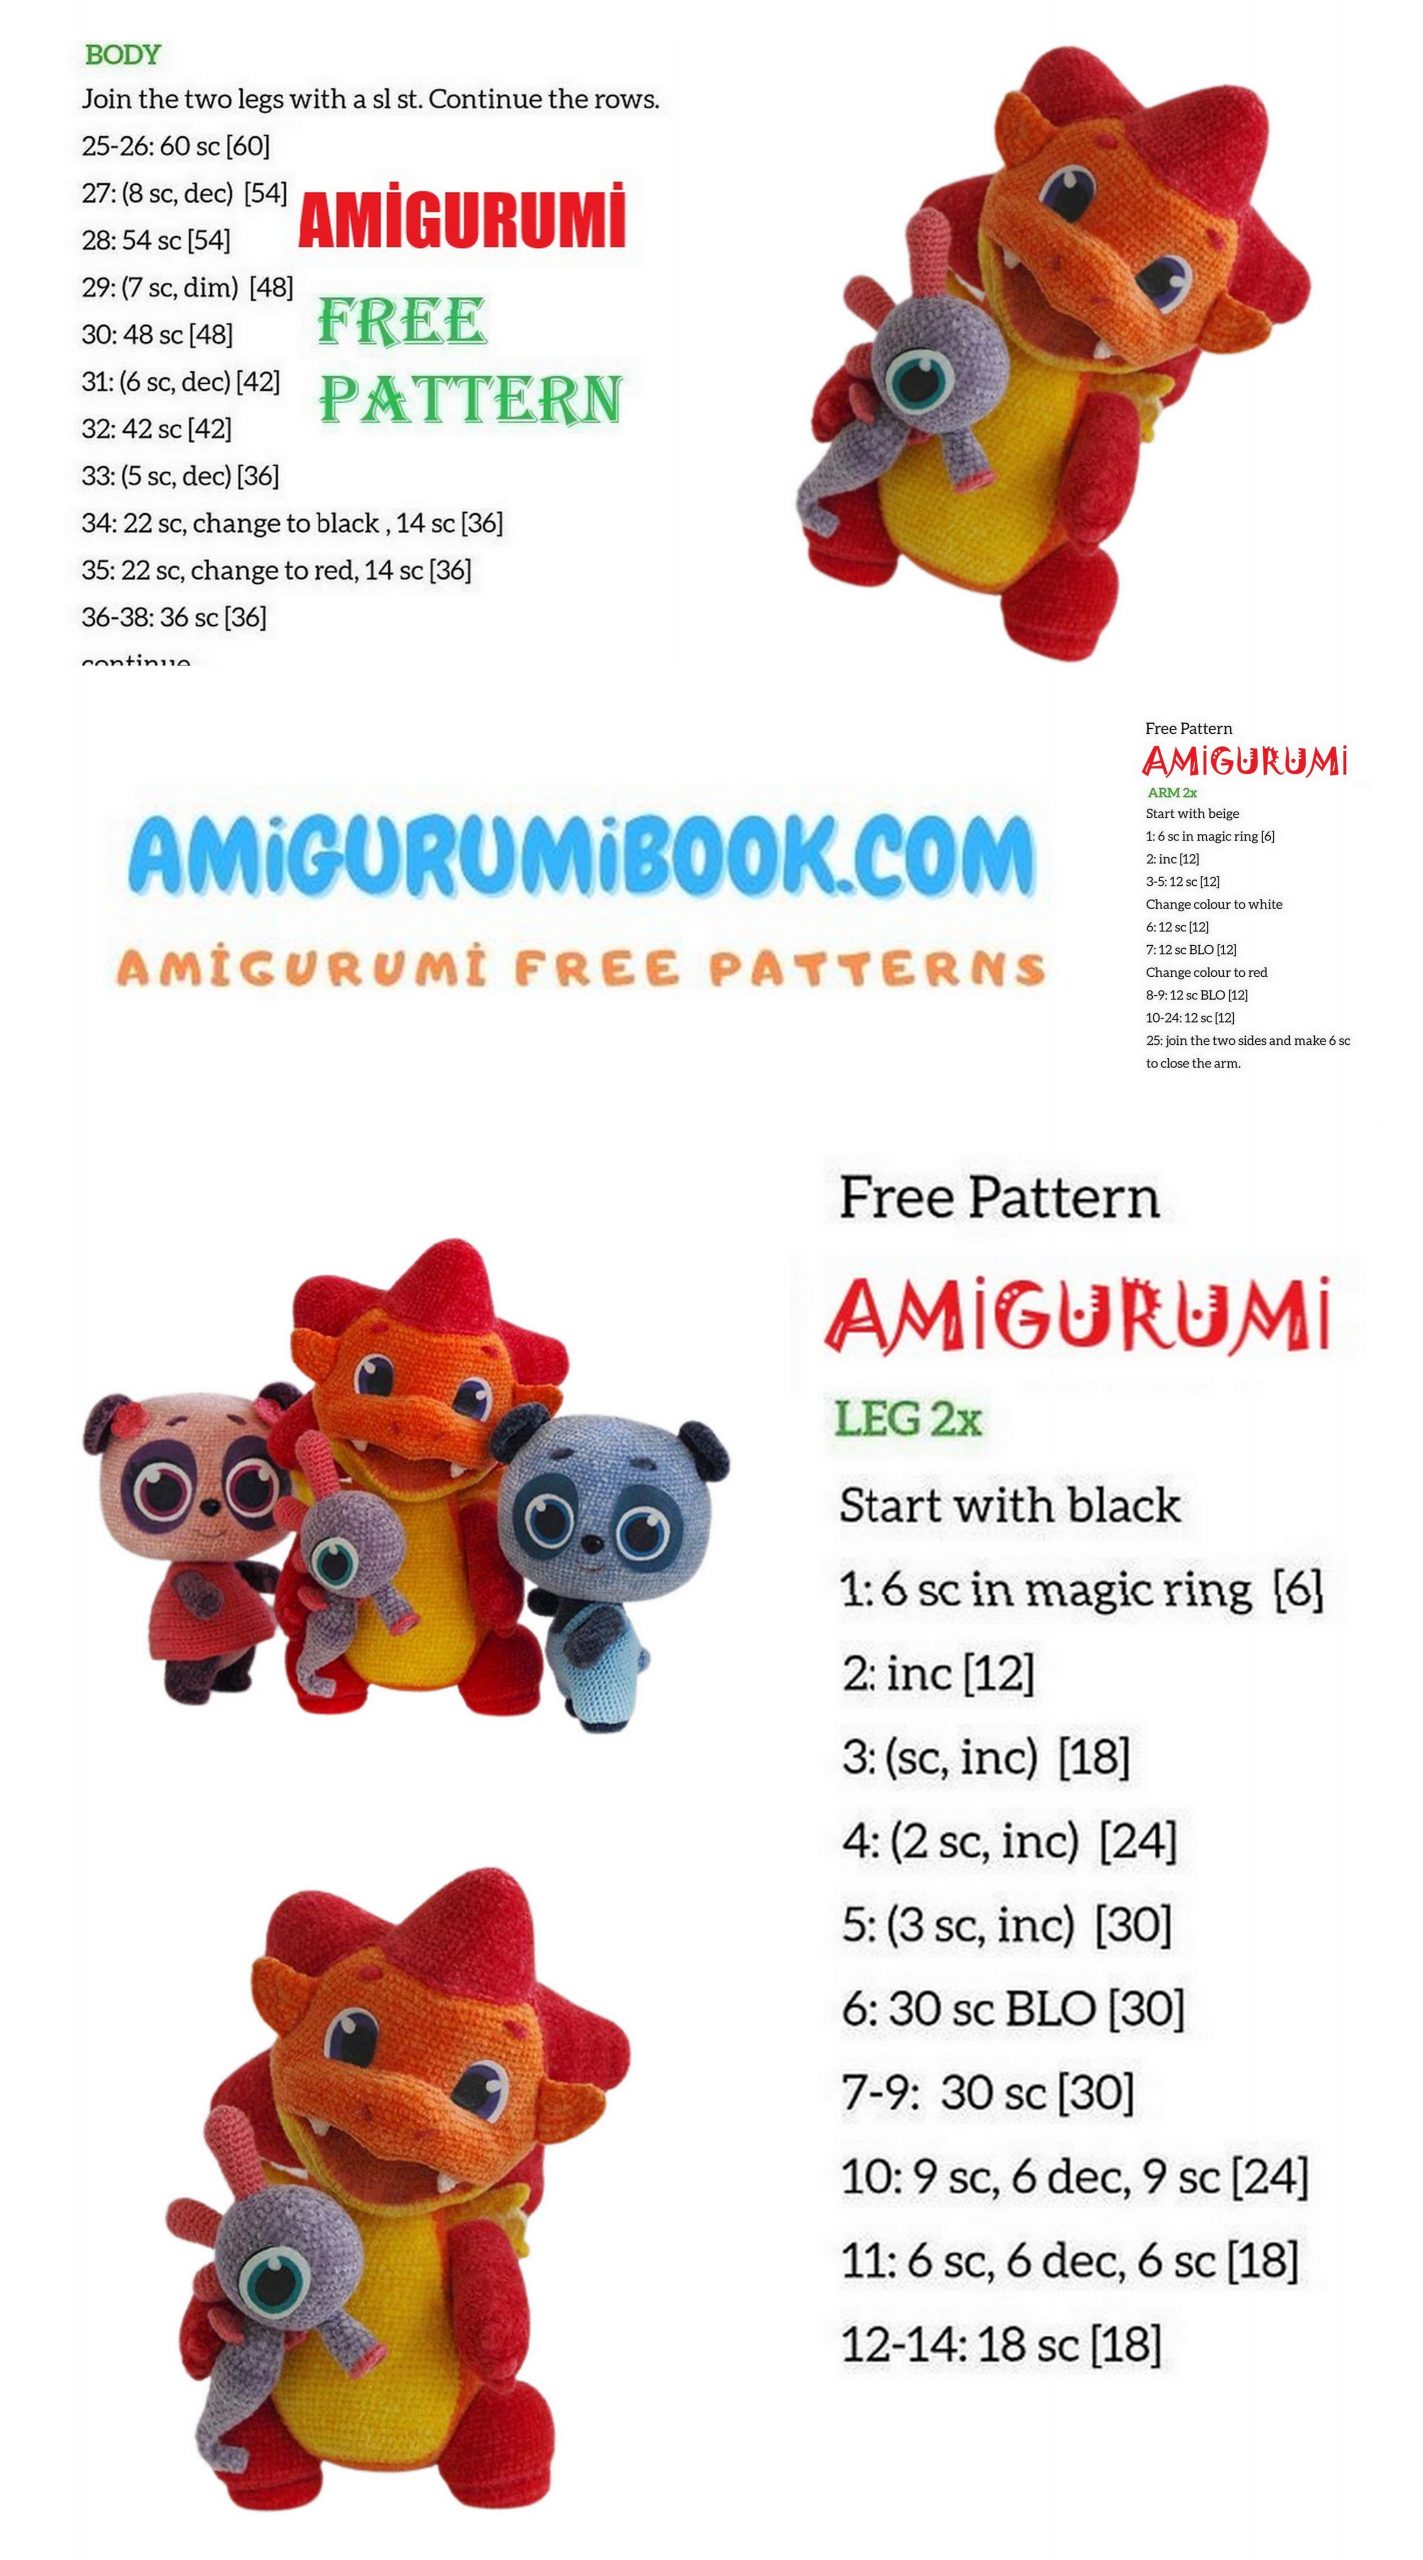
Body
(we start knitting in orange, for the belly we use yellow).
We follow the marker on our own, it passes in the center behind.
8 sc into magic ring
1.8 inc (16)
2. (1 sc, inc)x8 (24)
3. (2 sc, inc)x8 (32)
4. (3 sc, inc)x8 (40)
5. (4 sc, inc)x8 (48)
6. (5 sc, inc)x8 (56)
7. (6 sc, inc)x8 (64)
8. (8 sc, inc) x2, 5 sc, change the thread color to yellow: inc, 8 sc, inc, 8 sc, change the thread color to orange: 5 sc, (inc, 8 sc) x2 (70)
9.70 sc
10. 24 sc, 1 inc, change thread color to yellow: 5 sc, 2 inc, 6 sc, 2 inc, 5 sc, change thread color to orange: 24 sc, 1 inc (76)
11. 16 sc, put a marker for legs, 10 sc, change the thread color to yellow: 24 sc, change the thread color to orange: 10 sc, marker for legs 16 sc (76)
12. 25 sc, change thread color to yellow: 26 sc, change thread color to orange: 25 sc (76)
13. 24 sc, change to yellow: 28 sc, change to orange: 24 sc (76)
14-15.76 sc
16. 23 sc, 1 inc, change thread color to yellow: 27 sc, 1 inc, change thread color to orange: 24 sc (78)
17.78 sc
18. 24 sc, 1 inc, change thread color to yellow: 28 sc, 1 inc, change thread color to orange: 24 sc (80)
19-21.80 sc
22. 16 sc, 1 dec, 8 sc, change thread color to yellow: 1 sc, 1 dec, 27 sc, change thread color to orange: 7 sc, 1 dec, 15 sc (77)
Body
23-24.77 sc
25. 15 sc, 1 dec, 8 sc, change thread color to yellow: 1 dec, 27 sc, change thread color to orange: 7 sc, 1 dec, 14 sc (74)
26-27.74 sc
28. 24 sc, change thread color to yellow: 1 dec, 4 sc, 1 dec, 14 sc, 1 dec, 4 sc, change thread color to orange: 22 sc (71)
29. 24 sc, change thread color to yellow: 4 sc, 1 dec, 5 sc, 1 dec, 4 sc, 1 dec, 4 sc, 1 dec, change thread color to orange: 22 sc (67)
30. 24 sc, change thread color to yellow: 3 sc, 1 dec, 4 sc, 1 dec, 4 sc, 1 dec, 4 sc, change thread color to orange: 22 sc (64)
31. 22 sc, 1 dec, change thread color to yellow 18 sc, change thread color to orange: 1 dec, 20 sc (62)
32. 16 sc, 1 dec, 5 sc, change thread color to yellow 18 sc, change thread color to orange 4 sc, 1 dec, 15 sc (60)
33. 15 sc, 1 dec, 5 sc, change thread color to yellow 18 sc, change thread color to orange 4 sc, 1 dec, 14 sc (58)
34. 14 sc, 1 dec, 3 sc, 1 dec, change thread color to yellow 18 sc, change thread color to orange 3 sc, 1 dec, 12 sc, 1 dec (54)
35. 12 sc, 1 dec, 3 sc, 1 dec, change thread color to yellow 18 sc, change thread color to orange 3 sc, 1 dec, 10 sc, 1 dec (50)
36. 11 sc, 1 dec, 4 sc, change thread color to yellow 18 sc, change thread color to orange 4 sc, 9 sc, 1 dec (48)
37-39.48 sc
40. 11 sc put pen marker 5 sc, change thread color to yellow 18 sc, change thread color to orange 5 sc, put pen marker 9 sc
41-46.48 sc
Leave the thread for stitching.
Tail
(knit in orange)
1. 6 sc into magic ring
2.6sc
3. 3 inc, 3 sc (9)
4. (1 sc, 1 inc) x 3, 3 sc (12)
5. (2 sc, 1 inc) x 3, 3 sc (15)
6.15 sc
7. (3 sc, 1 inc) x 3, 3 sc (18)
8. (2 sc, 1 inc) x 6 (24)
9. 3 sc, (inc, 1 sc)x9, 3 sc (33)
10-12.33 sc
13. (10 sc, inc) x 3, (36)
14. (5 sc, inc) x 6 (42)
15. 6 sc, ( 2 sc, inc)x10, 6 sc (52)
16-18. 52 sc
19. 15 sc, turn the work and knit 30 sc in the opposite direction, turn the work, knit back 30 sc and another 37 further in a circle to the end of the row.
20. 6 sc, (3 sc, inc)x10, 6 sc (62)
21. 18 sc, turn the work and knit 36 sc in the opposite direction, turn the work, knit back 36 sc and another 44 further in a circle to the end of the row.
22.62 sc
23. 6 sc, (4 sc, inc)x10, 6 sc (72)
24.72 sc
25. 18 sc, turn the work and knit 36 sc in the opposite direction, turn the work, knit back 36 sc and another 54 further in a circle to the end of the row.
26.72 sc
27. (8 sc, inc)x8 (80)
28-29.80 sc
Leave the thread to sew the tail with the body
Body
Sew the tail to the body. In order to sew the tail neatly and evenly, we fill the body with filler. We attach the tail as shown in the photo. We focus on the markers for the legs. The tail is located approximately 4-5 loops from the marker on each side. Gently sew, gradually stuffing it.
The tail is sewn, now we remove the filler from the body and fasten the cotter pins for the legs.
We fasten the legs: we find a marker for the legs. We stretch the cotter pin through the body, inside we put on a wooden washer, then a metal one, bend the cotter pin and tighten it well with pliers. We do the same with the second leg.
Wooden washer for the legs is also 20 mm.
After the legs are fixed, we stuff the body. To make Tosha more stable in the tummy, I added a bag with decorative pebbles.
Next, attach the handles.
We find a marker for hands.
We stretch the cotter pin through the body, put on a wooden washer, then a metal one, bend the cotter pin and tighten it well with pliers. We do the same with the second hand.
Wooden washer for handles also 15 mm.
(yellow)
We begin to knit wings with triangles in rotary rows.
We knit 2 triangles.
Cast on 21 ch, from 2 sts from hook:
1. 20 sc, expand the work
2. 1 dec, 3 sc, 1 dec, 6 sc, 1 dec, 3 sc, 1 dec ( 16),
deploy work
3. 1 dec, 2 sc, 1 dec, 6 sc, 1 dec , 2 sc (13), expand work
4. 13 sc, expand the work
5. (2 sc, 1 dec)x3, 1 sc (10)
6. 1 dec, 2 sc, 1 dec, 2 sc, 1 dec (7)
7. 1 sc, 1 dec, 1 sc, 1 dec, 1 sc (4)
8. dec, 1 sc, dec (3)
9. 3 sc knit together, leave the thread for stitching.
FRAME FOR WINGS
Cast on a chain of 33 ch, from 2 loops from the hook
1-3. 32 sc, each time we unfold the work.
We take a wire of the same length as the resulting part, wrap it neatly with a plaster.
We fold the part in half in length, put the wire inside, sew or knit the two sides together with connecting loops. We carefully bend our frame in half.
FOR THE MIDDLE:
Cast on a chain of 16 ch, from 2 loops from the hook
1-3. 15 sc, each time we turn the work. The wire is not required.
We sew, try on and sew to the body at the level of fastening the hands.
Wings
Head
MOUTH PIECE can be knitted in orange, then tinted or dark red can be used.
Dial 7 ch, from the second loop from the hook we knit
1. 5 sc, 3 sc in 1, then knit on the other side of the chain 5 sc, 3 sc in 1 (16)
2. 5 sc, 3 inc, 5 sc, 3 inc (22)
3. 5 sc, (1 sc, 1 inc)x3, 5 sc, (1 sc, 1 inc)x3 (28)
4. 5 sc, (2 sc, 1 inc)x3, 5 sc, (2 sc, 1 inc)x3 (34)
5. 5 sc, (3 sc, 1 inc)x3, 5 sc, (3 sc, 1 inc)x3 (40)
6. 5 sc, (4 sc, 1 inc)x3, 5 sc, (4 sc, 1 inc)x3 (46)
7.46 sc
8. 5 sc, (5 sc, 1 inc)x3, 5 sc, (5sc, 1 inc)x3 (52)
9. 5 sc, (6 sc, 1 inc)x3, 5 sc, (6 sc, 1 inc)x3 (58)
10. 5 sc, (7 sc, 1 inc)x3, 5 sc, (7 sc, 1 inc)x3 (64)
11. 5 sc, (8 sc, 1 inc)x3, 5 sc, (8 sc, 1 inc)x3 (70)
12. 15 sc, (9 sc, 1 inc)x2, 15 sc, (9 sc, 1 inc)x2 (74)
13.74 sc
We follow the marker on our own, it passes in the center behind.
6 sc into magic ring
1.6 inc (12)
2. (1 sc, inc)x6p (18)
3. (2 sc, inc)x6p (24)
4. (3 sc, inc)x6p (30)
5. (4 sc, inc)x6p (36)
6. (5 sc, inc)x6p (42)
7. (6 sc, inc)x6p (48)
8. (7 sc, inc)x6p (54)
9. (8 sc, inc)x6p (60)
10. (9 sc, inc)x6p (66)
11. (10 sc, inc)x6p (72)
12. (11 sc, inc)x6p (78)
13. (12 sc, inc)x6p (84)
14-24.84 sc (11 rows)
Head
25. 30 sc, put on eye marker 1, 8 sc, put on eye marker 2 (3sc in 1)x8 (Nose), put on eye marker 3, 8 sc, put on eye marker 4, 30 sc (100)
26. 17 sc, (inc, 1 sc) x8, 34 sc, (1 sc, inc) x 8, 17 sc (116)
27-29.116 sc
30. 46 sc, (1 dec, 1 sc) x8, 46 sc (108)
31. 17 sc, (1 dec, 1 sc) x8, 26 sc, (1sc, 1 dec) x8, 17 sc (92)
32. (4 sc, 1 dec) x6, 20 sc, (4 sc, 1 dec) x6 (80)
33. ( 8 sc, 1 dec) x3, 10 sc, 3 sc in 1, 9 sc, ( 8 sc, 1 dec) x3 (76)
34. 38 sc, inc, 37 sc ( 77)
35. 38 sc, inc, 38 sc ( 78)
36. 21 sc, attach the piece for the mouth and knit at the same time 18 sc, 1inc, 18 sc, then knit only on the head 20 sc (79)
37. 17 sc, change the thread color to yellow: 4 sc,
37 sc knit on the remaining loops on the parts for the mouth, 4 sc on the head, change the color of the thread to orange, 16 sc (78)
38. 17 sc, change the thread color to yellow 45 sc, change the thread color to orange 16 sc (78)
39. 17 sc, change thread color to yellow 5 sc, (3 sc, 1 dec)x7, 5 sc, change thread color to orange 16 sc (71)
40. (3 sc, dec) x3, 2 sc, change thread color to yellow, 2 sc, 1 dec, 1 sc, (2 sc, 1 dec) x 7, 2 sc, 1 dec, 1 sc, change thread color on orange, 1 sc (1 dec, 3 sc) x3 (56)
Head
41. 14 sc, change to yellow 29 sc, change to orange 13 sc (56)
42. (2 sc, dec) x3, 2 sc, change thread color to yellow 1 sc, 1 dec, 1 sc, (1 sc, 1 dec) x 7, 1 sc, 1 dec, 1 sc, change thread color to orange 1 sc, (1 dec, 2 sc) x3 (41)
43. 11 sc, change yarn color to yellow 20 sc, unfold work, knit back 20 sc, turn work, knit another 20 sc, change yarn color to orange 10 sc (41)
44. 11 sc, change thread color to yellow 1 dec, 16 sc, 1 dec, change thread color to orange 10 sc (39)
Stuff the top of the head tightly, highlight the nose. Leave the mouth unfilled.
EYE LOADS: (refer to the markers in the 25th row). The distance between the eyes is 8 loops.
We insert the needle from the left side of the palate and bring it out to the 2nd marker, retreat 8 loops, insert the needle at the 1st marker and bring it down.
We tighten the threads well, fasten and hide. We do the same on the other side. We insert the needle from the right side of the mouth and bring it out to the 3rd marker, retreat 8 loops, insert the needle at the 4th marker and bring it down. We tighten the threads well, fasten and hide.
Head
Sew the corners of the mouth on both sides, so that the orange part remains inside the mouth. The mouth should pull up due to this.
Next, we make Toshi’s nose snub-nosed. To do this, we insert the needle into the middle of the palate, bring it out in the 25th row in the middle of the spout, retreat one row up, insert the needle and return back to the middle of the palate.
Lightly tighten the threads and fasten them. The nose should look slightly up. Crochet the filler to the center of the spout. Slightly press the cheeks on the sides.
SCALLOPS
(We do not stuff, we leave a thread for sewing on each part, we knit in red)
3 details
12 sc into magic ring
1. (2 sc, 1 inc)x4 (16)
2. (3 sc, 1 inc)x4 (20)
3. (4 sc, 1 inc)x4 (24)
4.24 sc
5. (5 sc, 1 inc)x4 (28)
6. (6 sc, 1 inc)x4 (32)
7. (7 sc, 1 inc)x4 (36)
8.36 sc
9. (8 sc, 1 inc)x4 (40)
10. (9 sc, 1 inc)x4 (44)
Head
11. (10 sc, 1 inc)x4 (48)
12. (11 sc, 1 inc)x4 (52)
13.52 sc
14. (12 sc, 1 inc)x4 (56)
15. (13 sc, 1 inc)x4 (60)
16. (14 sc, 1 inc)x4 (64)
2 parts
12 sc into magic ring
1. (2 sc, 1 inc)x4 (16)
2. (3 sc, 1 inc)x4 (20)
3. (4 sc, 1 inc)x4 (24)
4.24 sc
5. (5 sc, 1 inc)x4 (28)
6. (6 sc, 1 inc)x4 (32)
7. (7 sc, 1 inc)x4 (36)
8.36 sc
9. (8 sc, 1 inc)x4 (40)
10. (9 sc, 1 inc)x4 (44)
11. (10 sc, 1 inc)x4 (48)
12. (11 sc, 1 inc)x4 (52)
13.52 sc
14. (12 sc, 1 inc)x4 (56)
15. (13 sc, 1 inc)x4 (60)
Then knit 16 sc, turn the work, knit 6 rows with turning rows.
PENTAGON
5sc into magic ring
1.5 inc (10)
2. (1 sc, inc)x5(15)
3. (2 sc, inc)x5 (20)
4. (3 sc, inc)x5 (25)
5. (4 sc, inc)x5 (30)
6. (5 sc, inc)x5 (35)
7. (6 sc, inc)x5 (40)
8. (7 sc, inc)x5 (45)
9. (8 sc, inc)x5 (50)
When stitching, do not forget to try on Tosha’s combs. We attach all the details to the pentagon, sew in a circle as shown in the photo.
For each detail on the pentagon, 10 loops. After sewing the scallops to the pentagon, we sew the sides of the scallops together.
Head
We try on, when trying on we stuff and fix with needles. So it will be easier to sew Toshin’s “hairstyle” evenly. Sew carefully. I sewed with red thread. After the scallops were sewn, I walked along the edges with connecting posts without a crochet. The connecting posts covered the sewing irregularities.
EARS ARE KNITTED IN A SEMI-CIRCLE
Dial 8 sc, do not close the ring. Turn work, work back 8 inc, turn work, work back (1 sc, 1 inc) x 8. Turn work, work back 24 sc, turn work, work (2 sc, 1 inc) x 8 Fold the semicircle in half and sew with connecting posts. Sew at eye level.
GO TO THE EYES Everything here is up to you. I tried on a lot of different eyes, glass, safe, glittery, knitted … in the end I decided to draw. For drawing, I used white dense, but thin felt. Acrylic paints, primer (primer) and fixer, brush columns h2.
We start with a primer, apply to the surface and wait for complete drying. Then we draw the contours of the eyes. You can draw several options at once so that there is a choice.
Head
We are waiting for complete drying. We choose the options you like, cut it out, apply a fixative. To make the edges of the eye even, you can round them with a nail file.
Trying on. After trying on, I cut the eyes from below with scissors, so they seemed to me more attractive. We embroider eyebrows.
I stitched the bottom of the mouth with stitches, and then toned. For tinting, I used red paint on fabric.
KNIT TEETH
We use a white thin thread.
6 sc into magic ring
1. (1 sc, 1 inc) x 3 (9)
2. (2 sc, 1 inc) x3 (12)
Put together and sew.
We embroider nostrils. I glue my eyes. For the eyes, it is better to take transparent glue.
Sew the head to the body. When sewing, it is better to use two colors of thread. We sew the yellow part from the front with a yellow thread, the remaining back part is orange.
You can also tint the belly in orange, thereby removing the unevenness of the color transition. You can tint with pastel crayons, pencils or fabric paint, it all depends on the yarn you choose.
Dragon Tosha is ready!