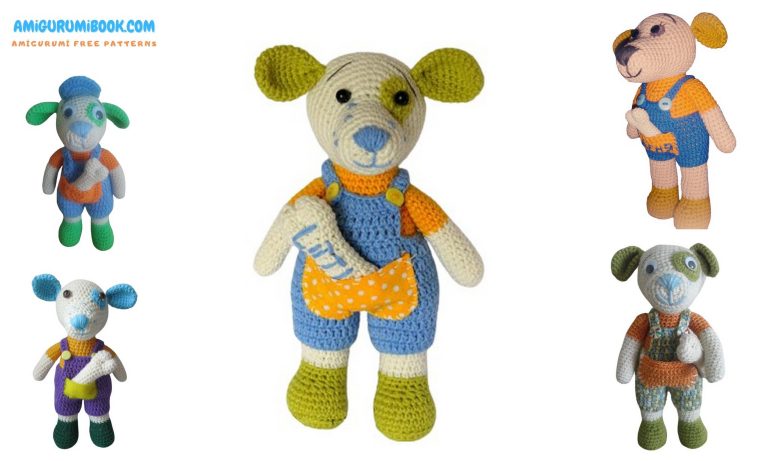
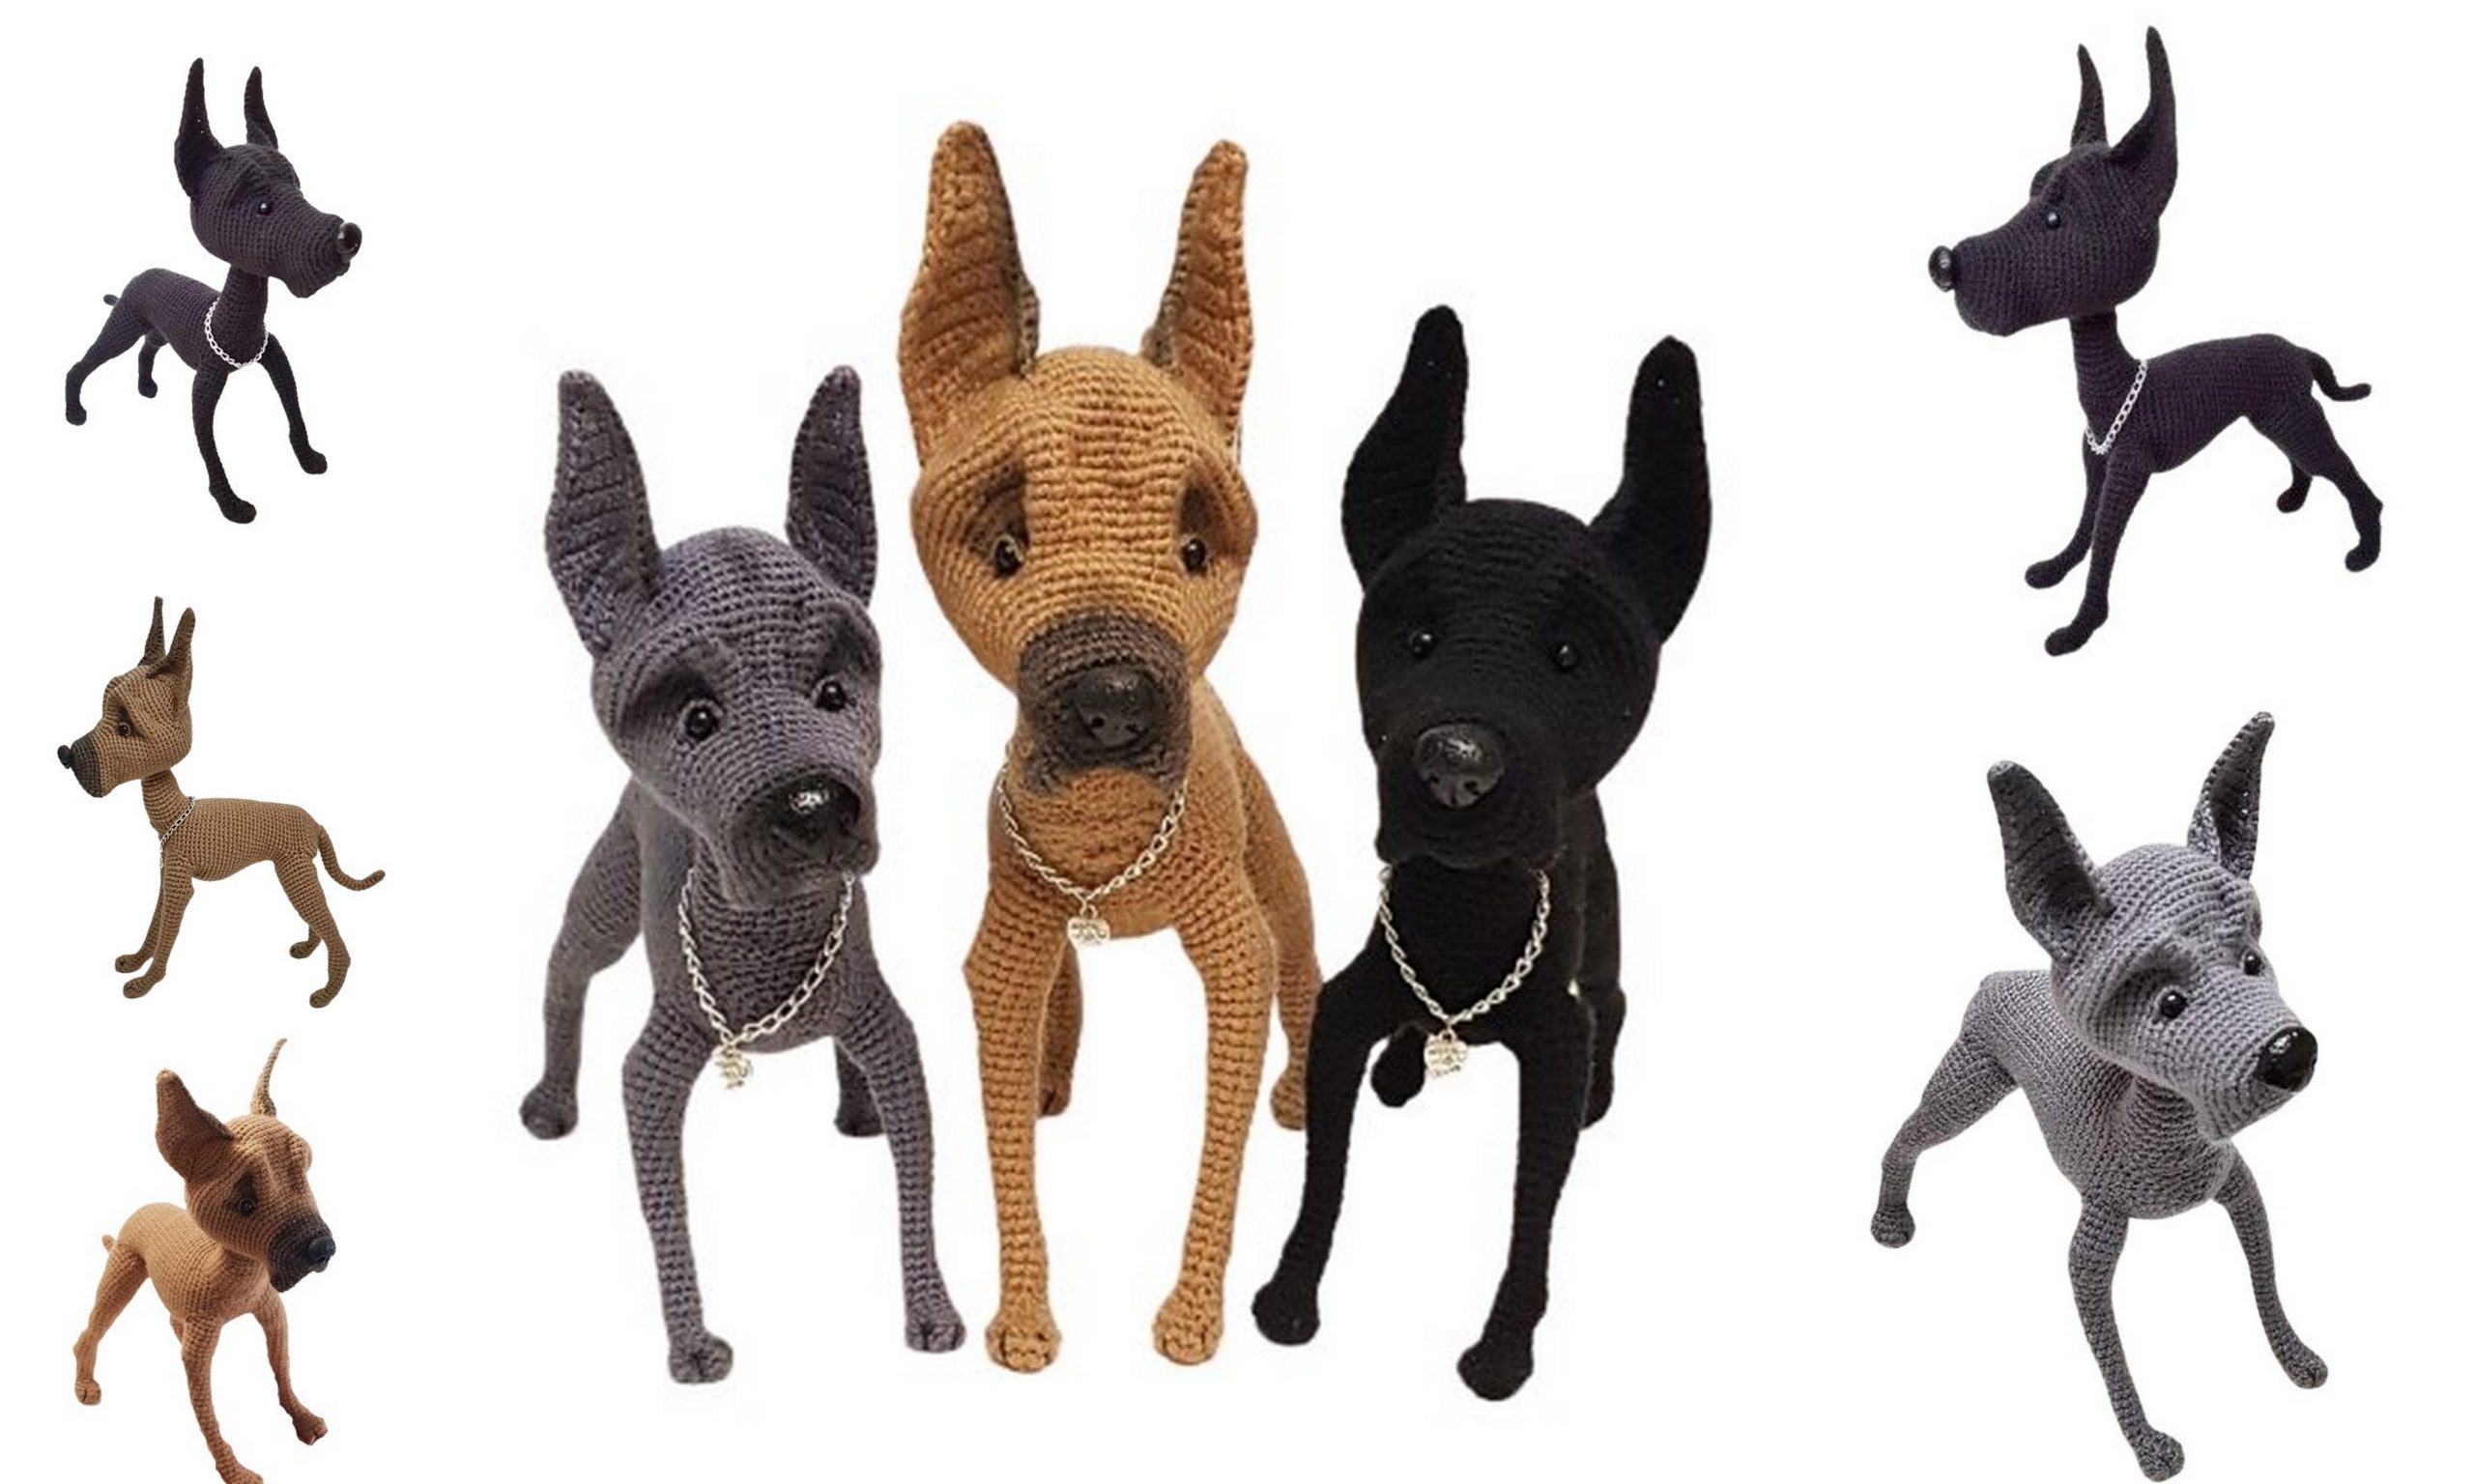
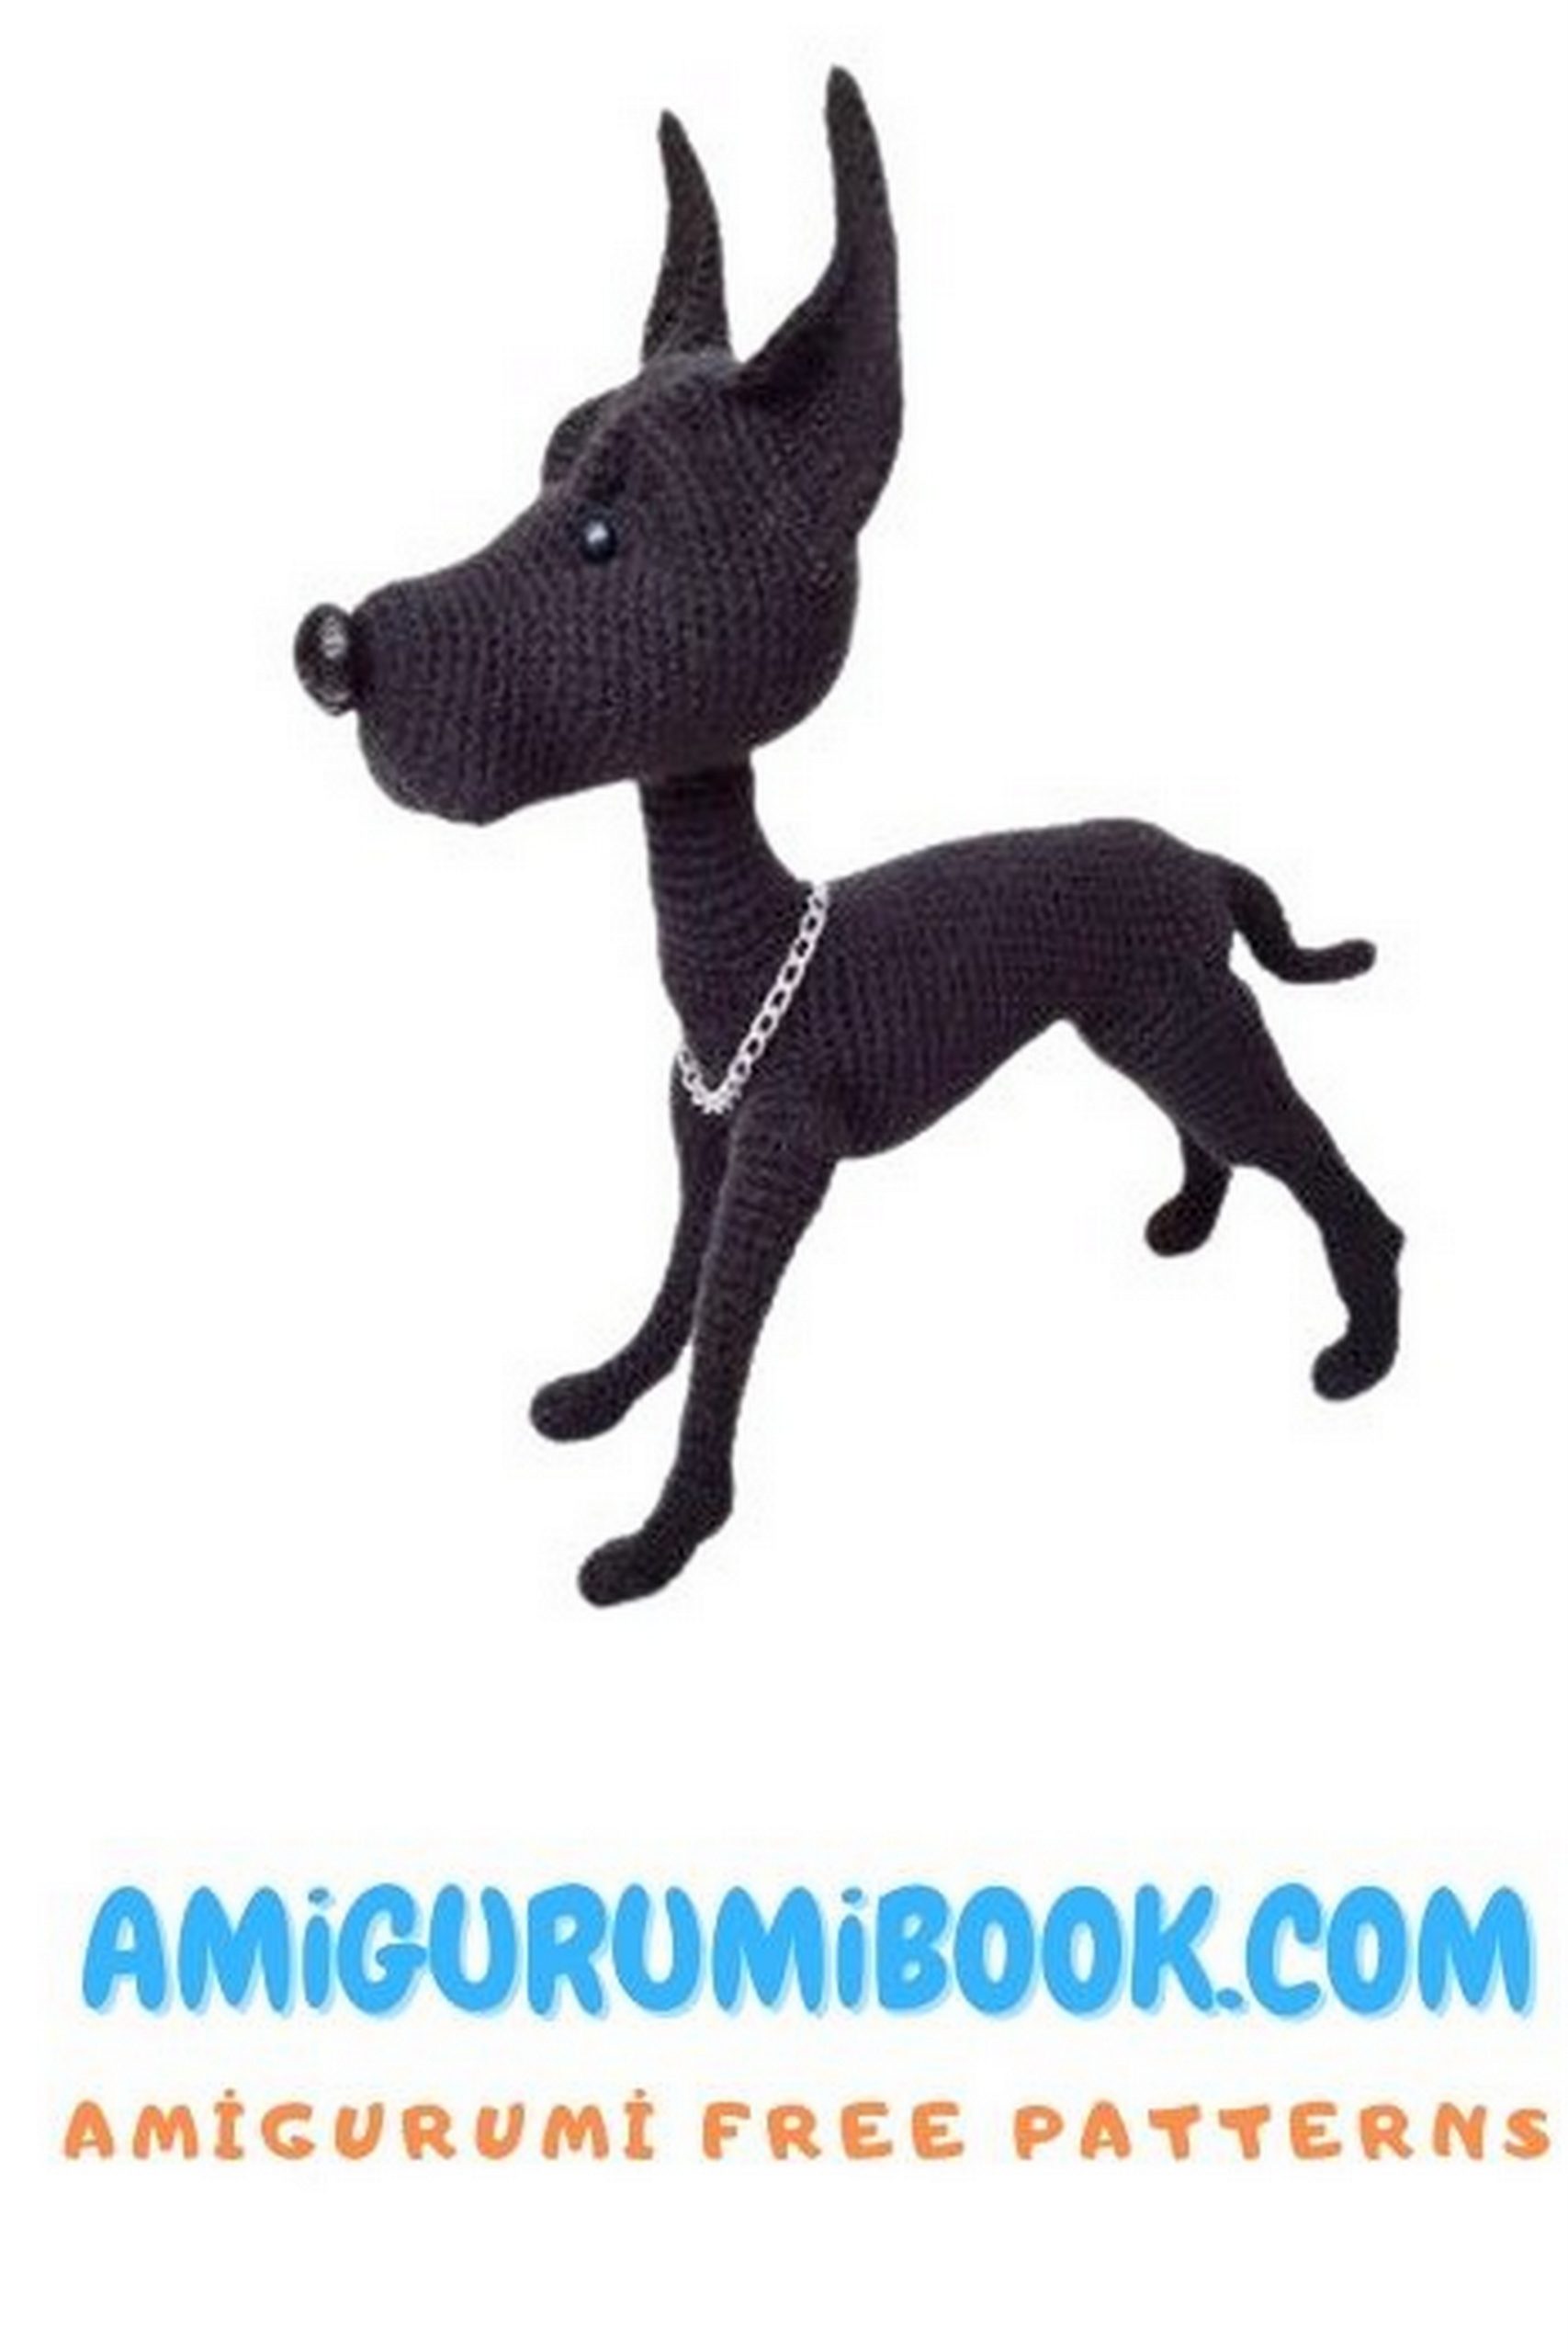
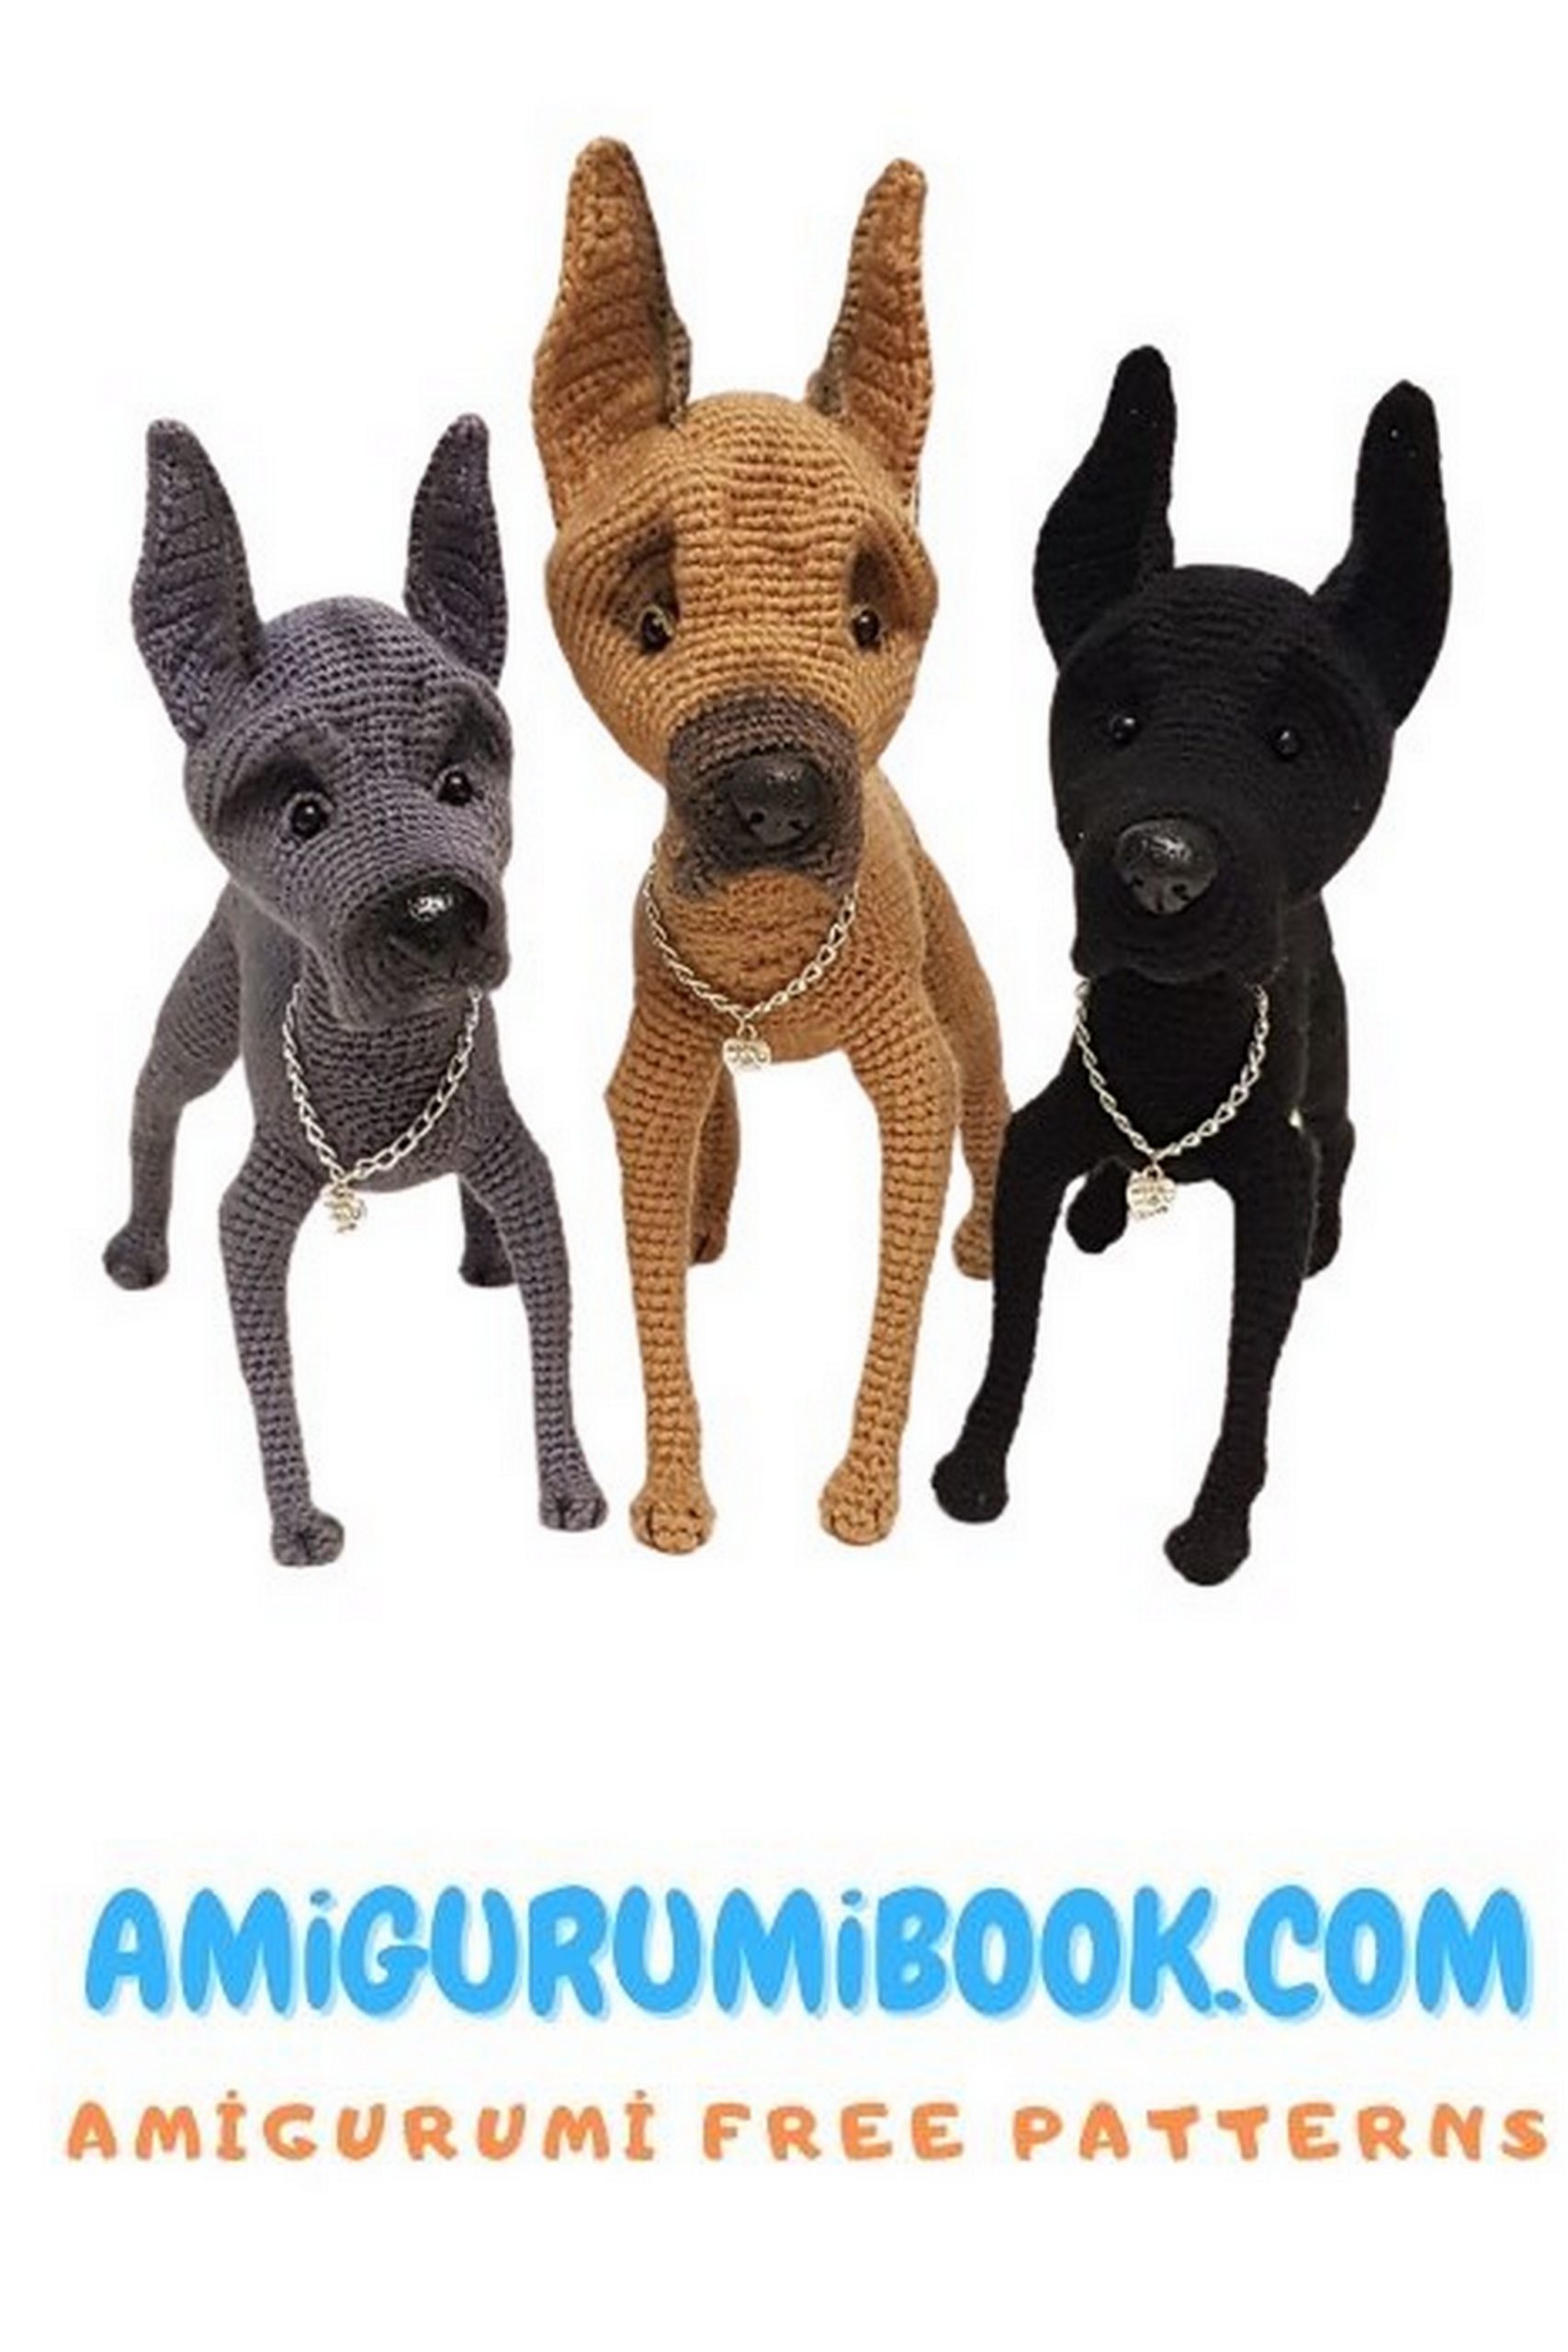
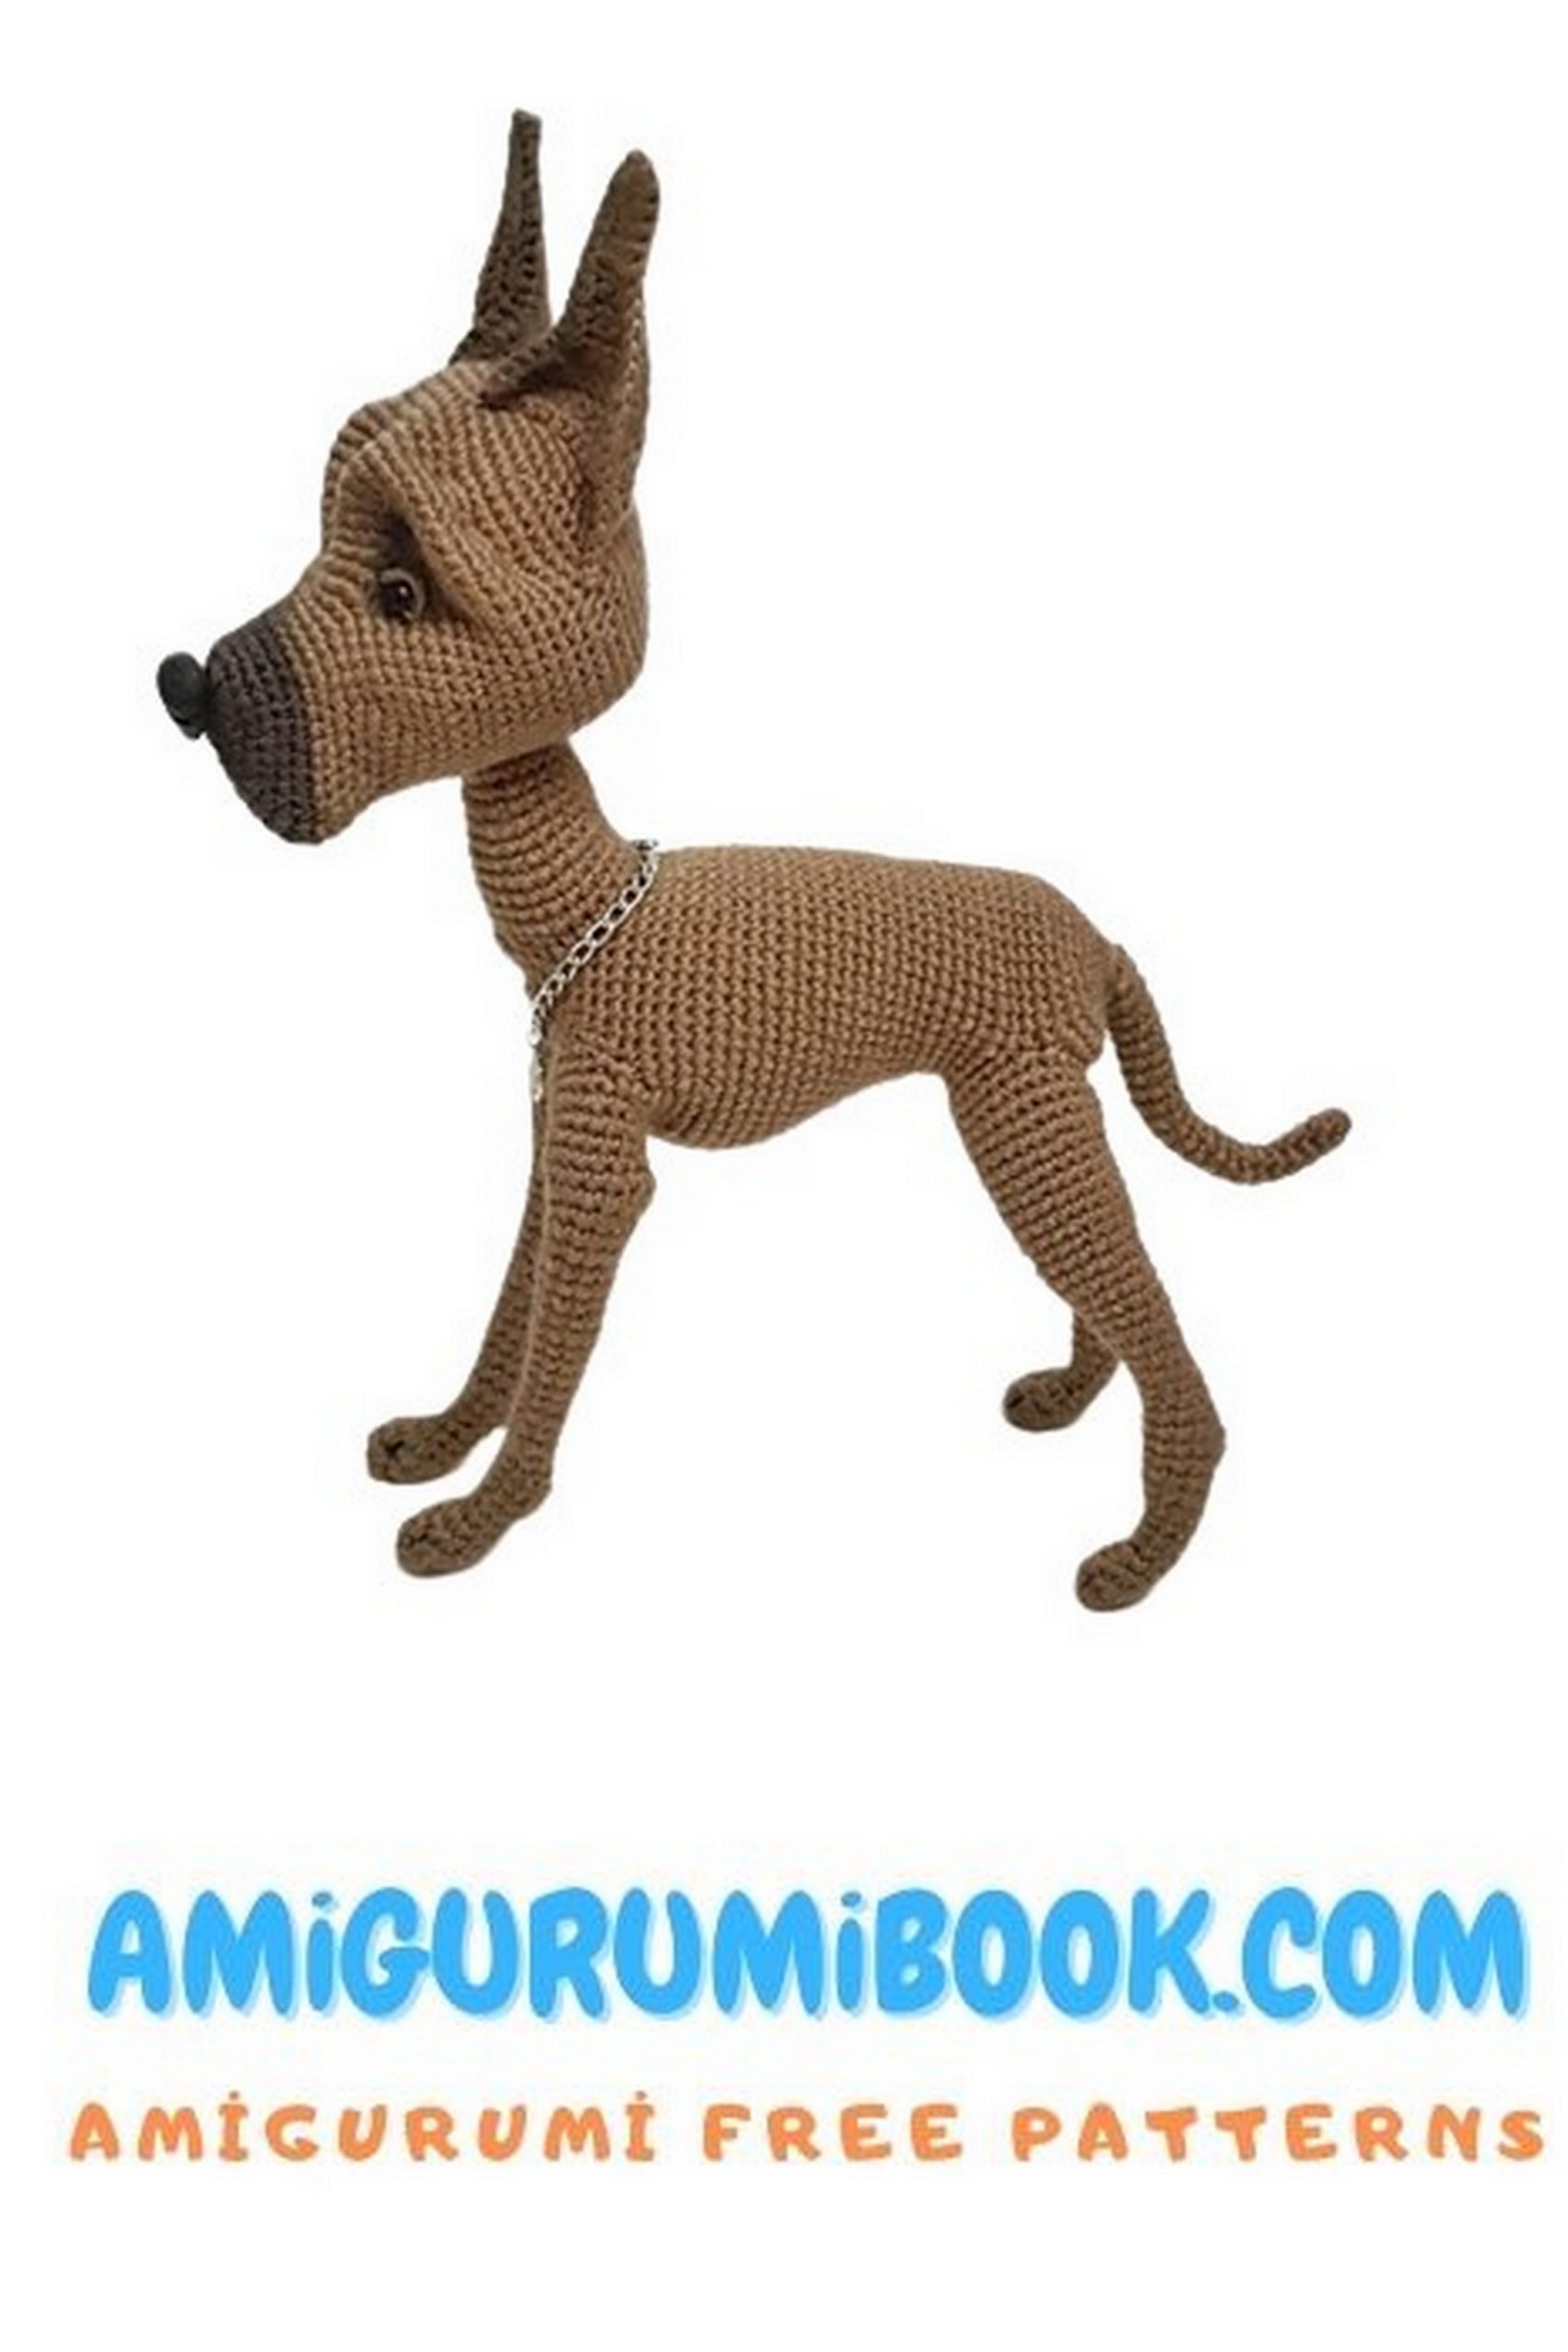
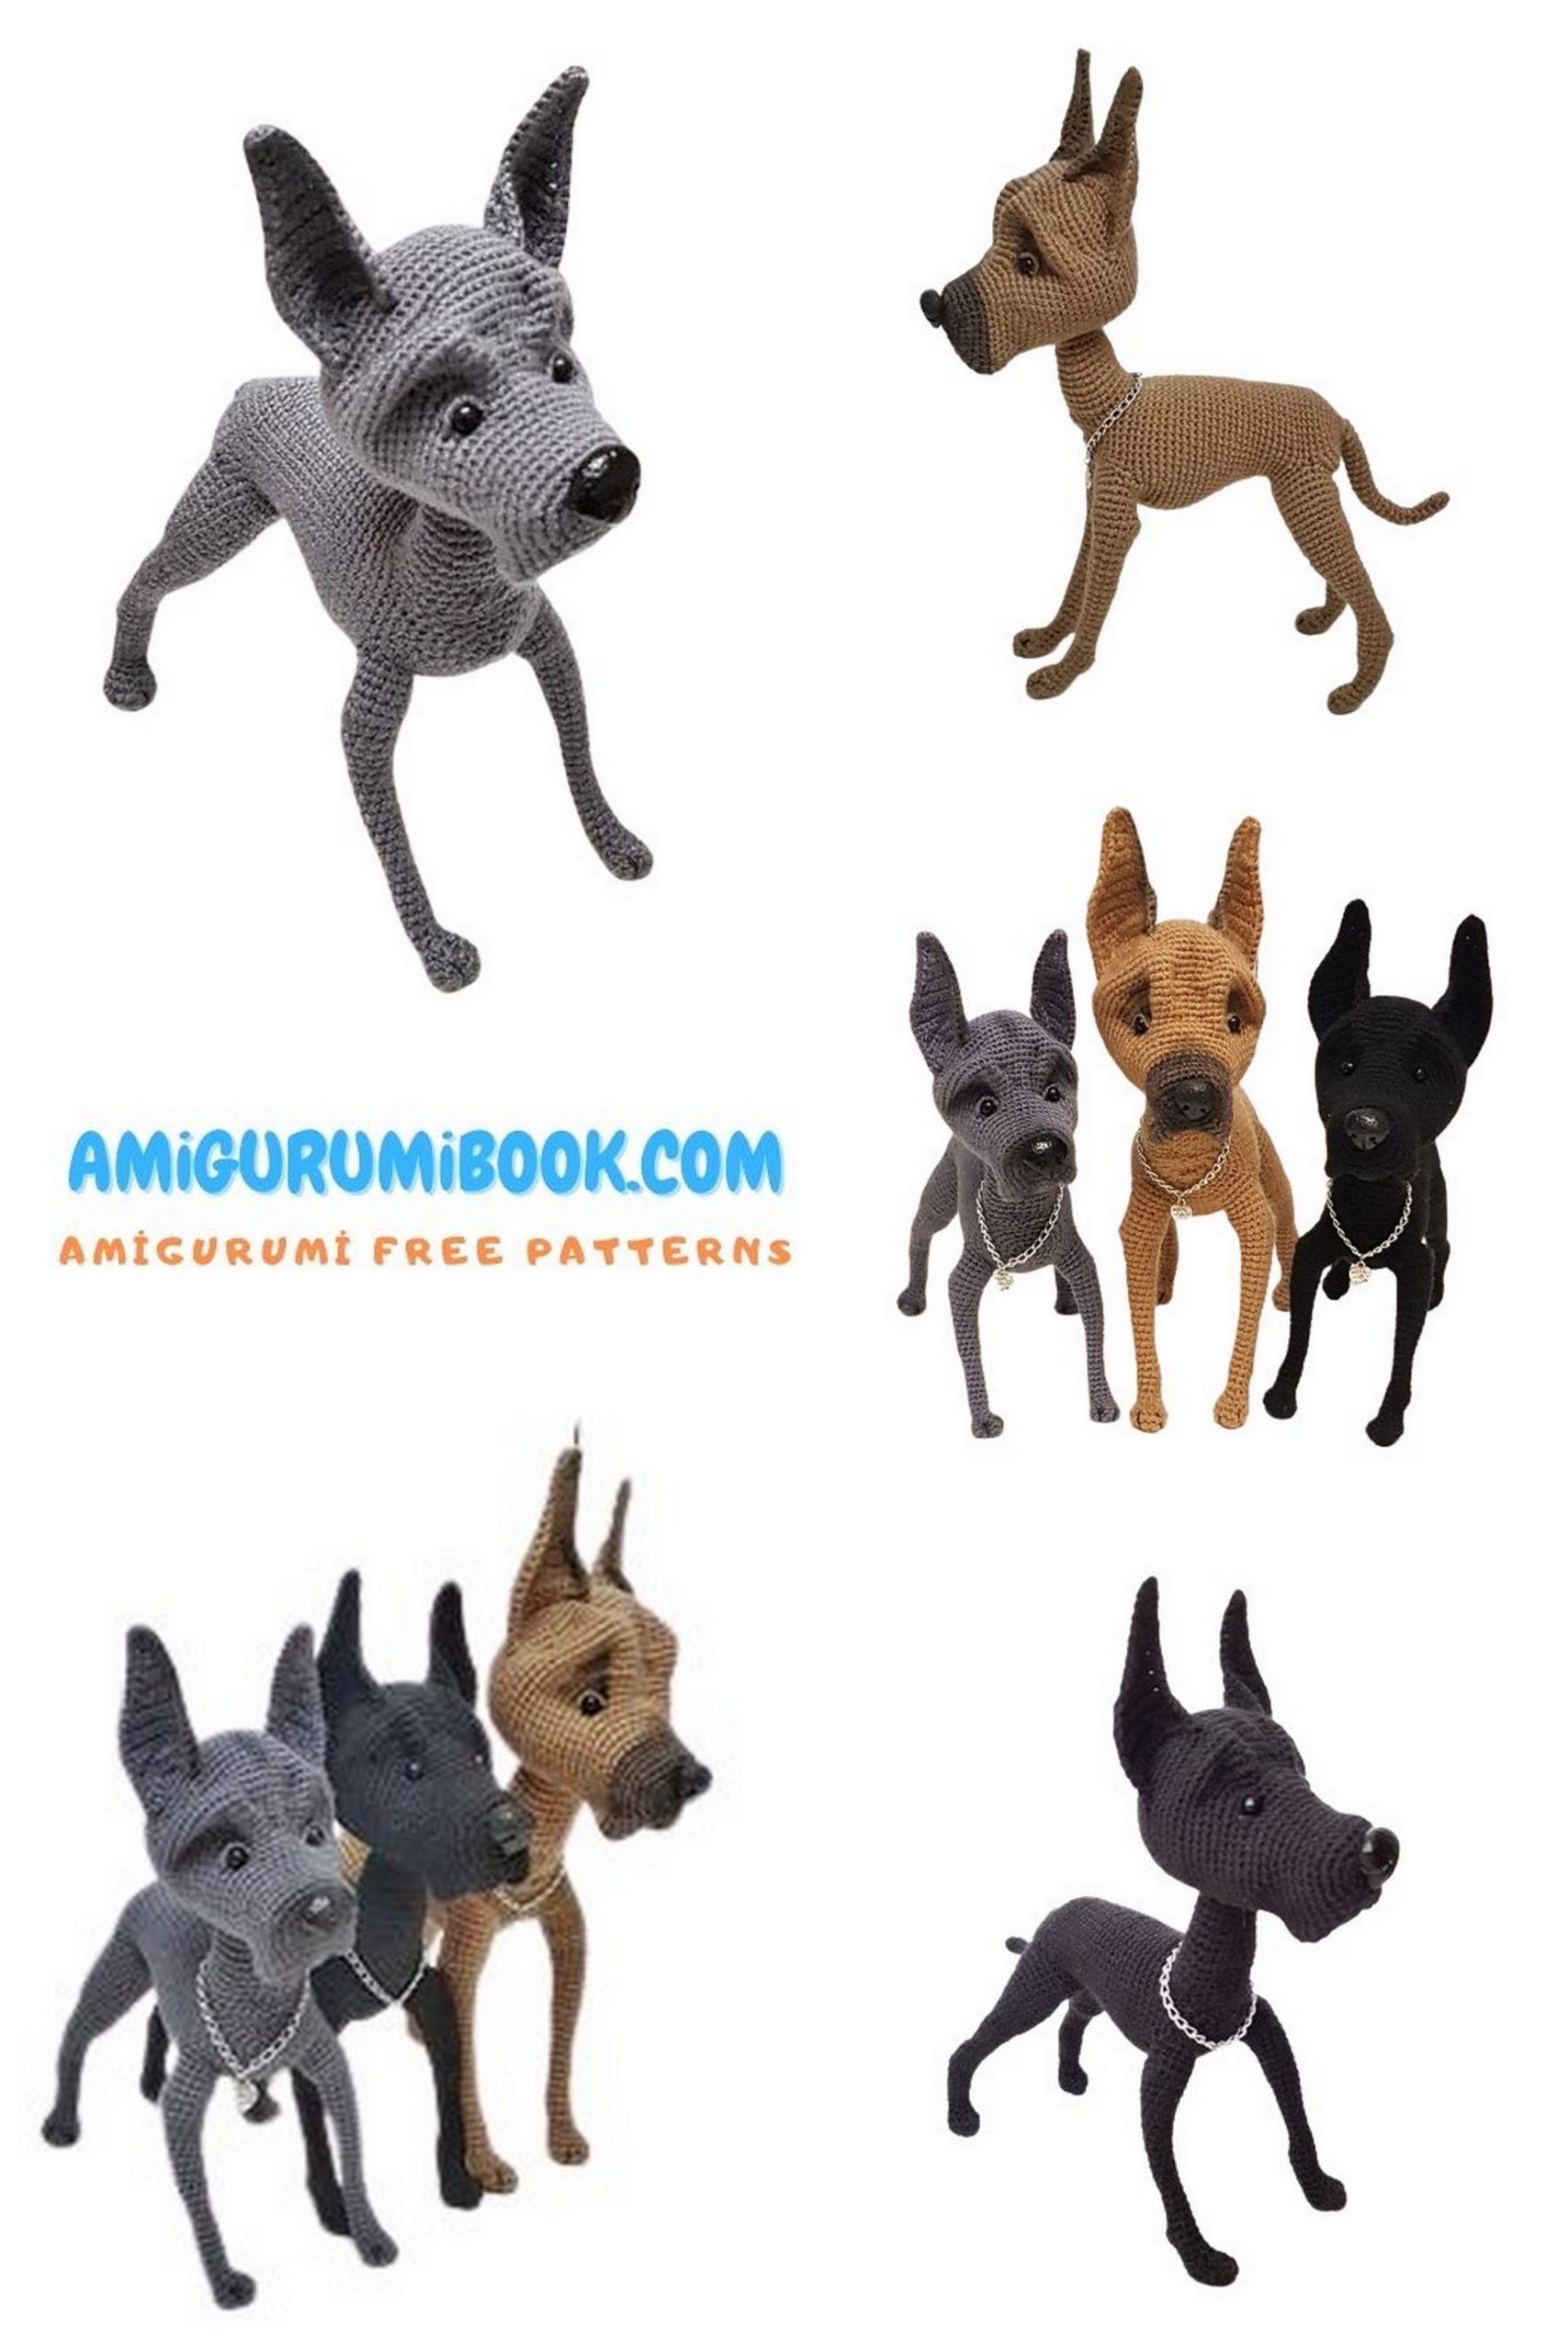
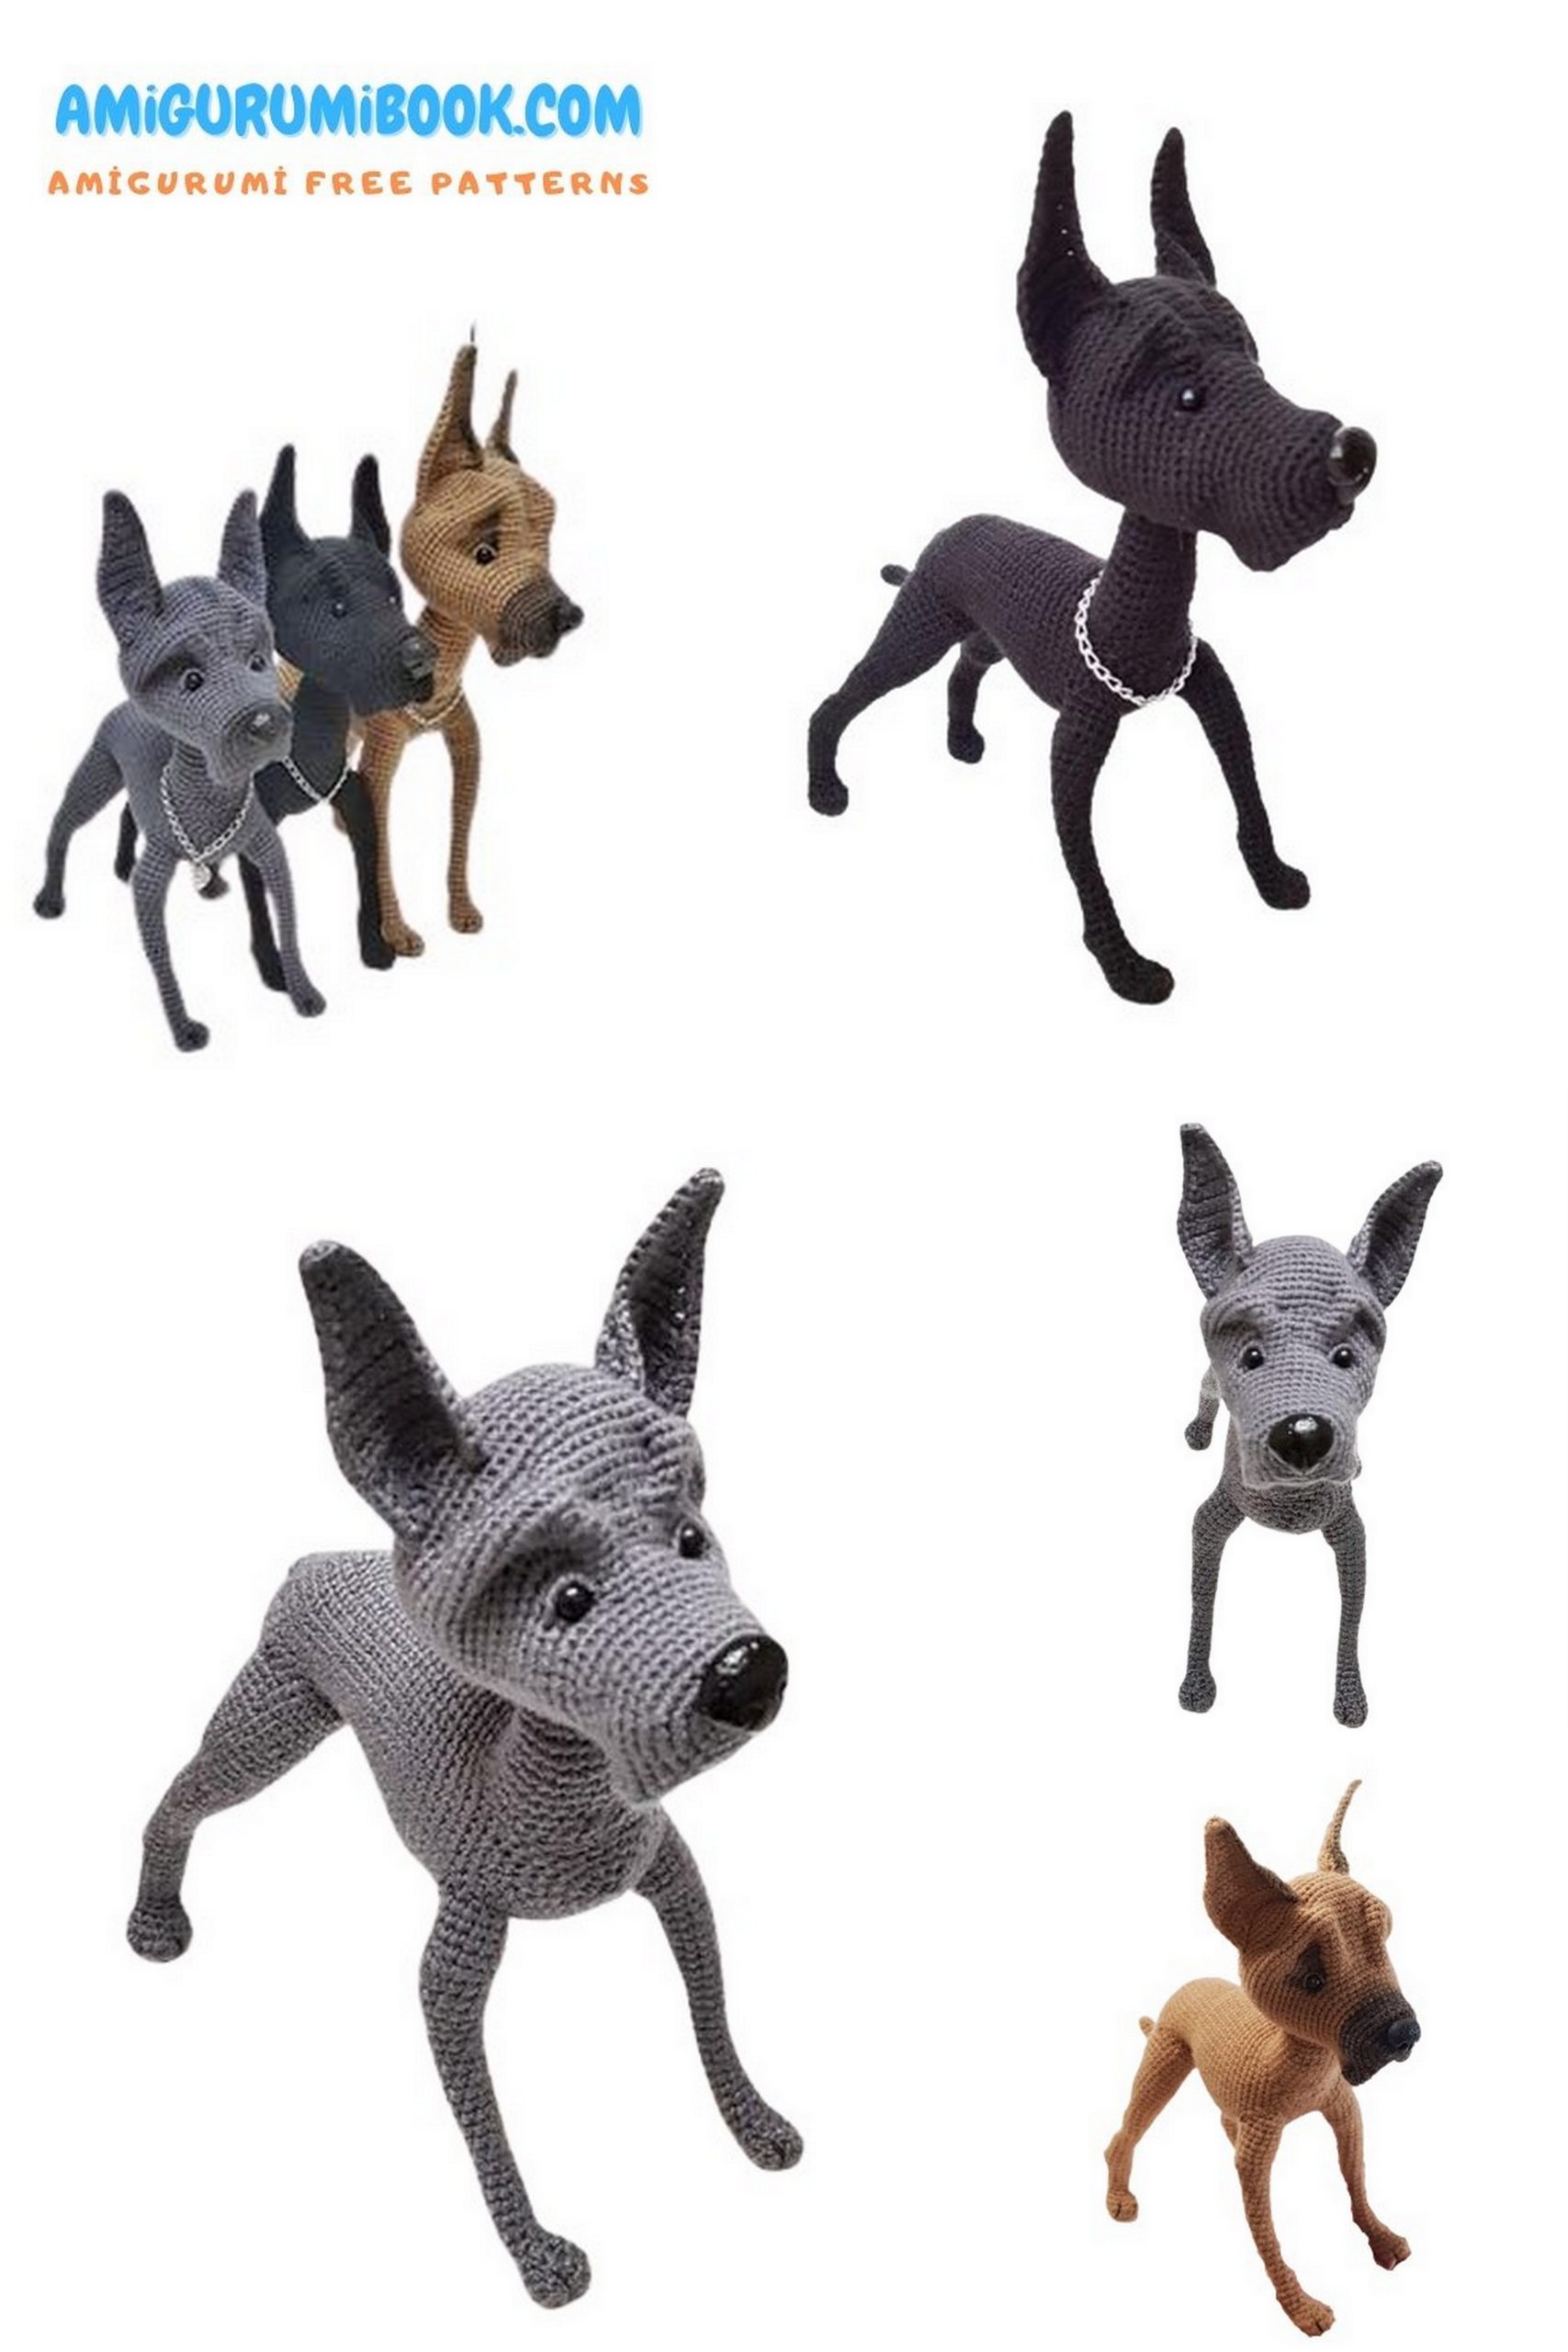
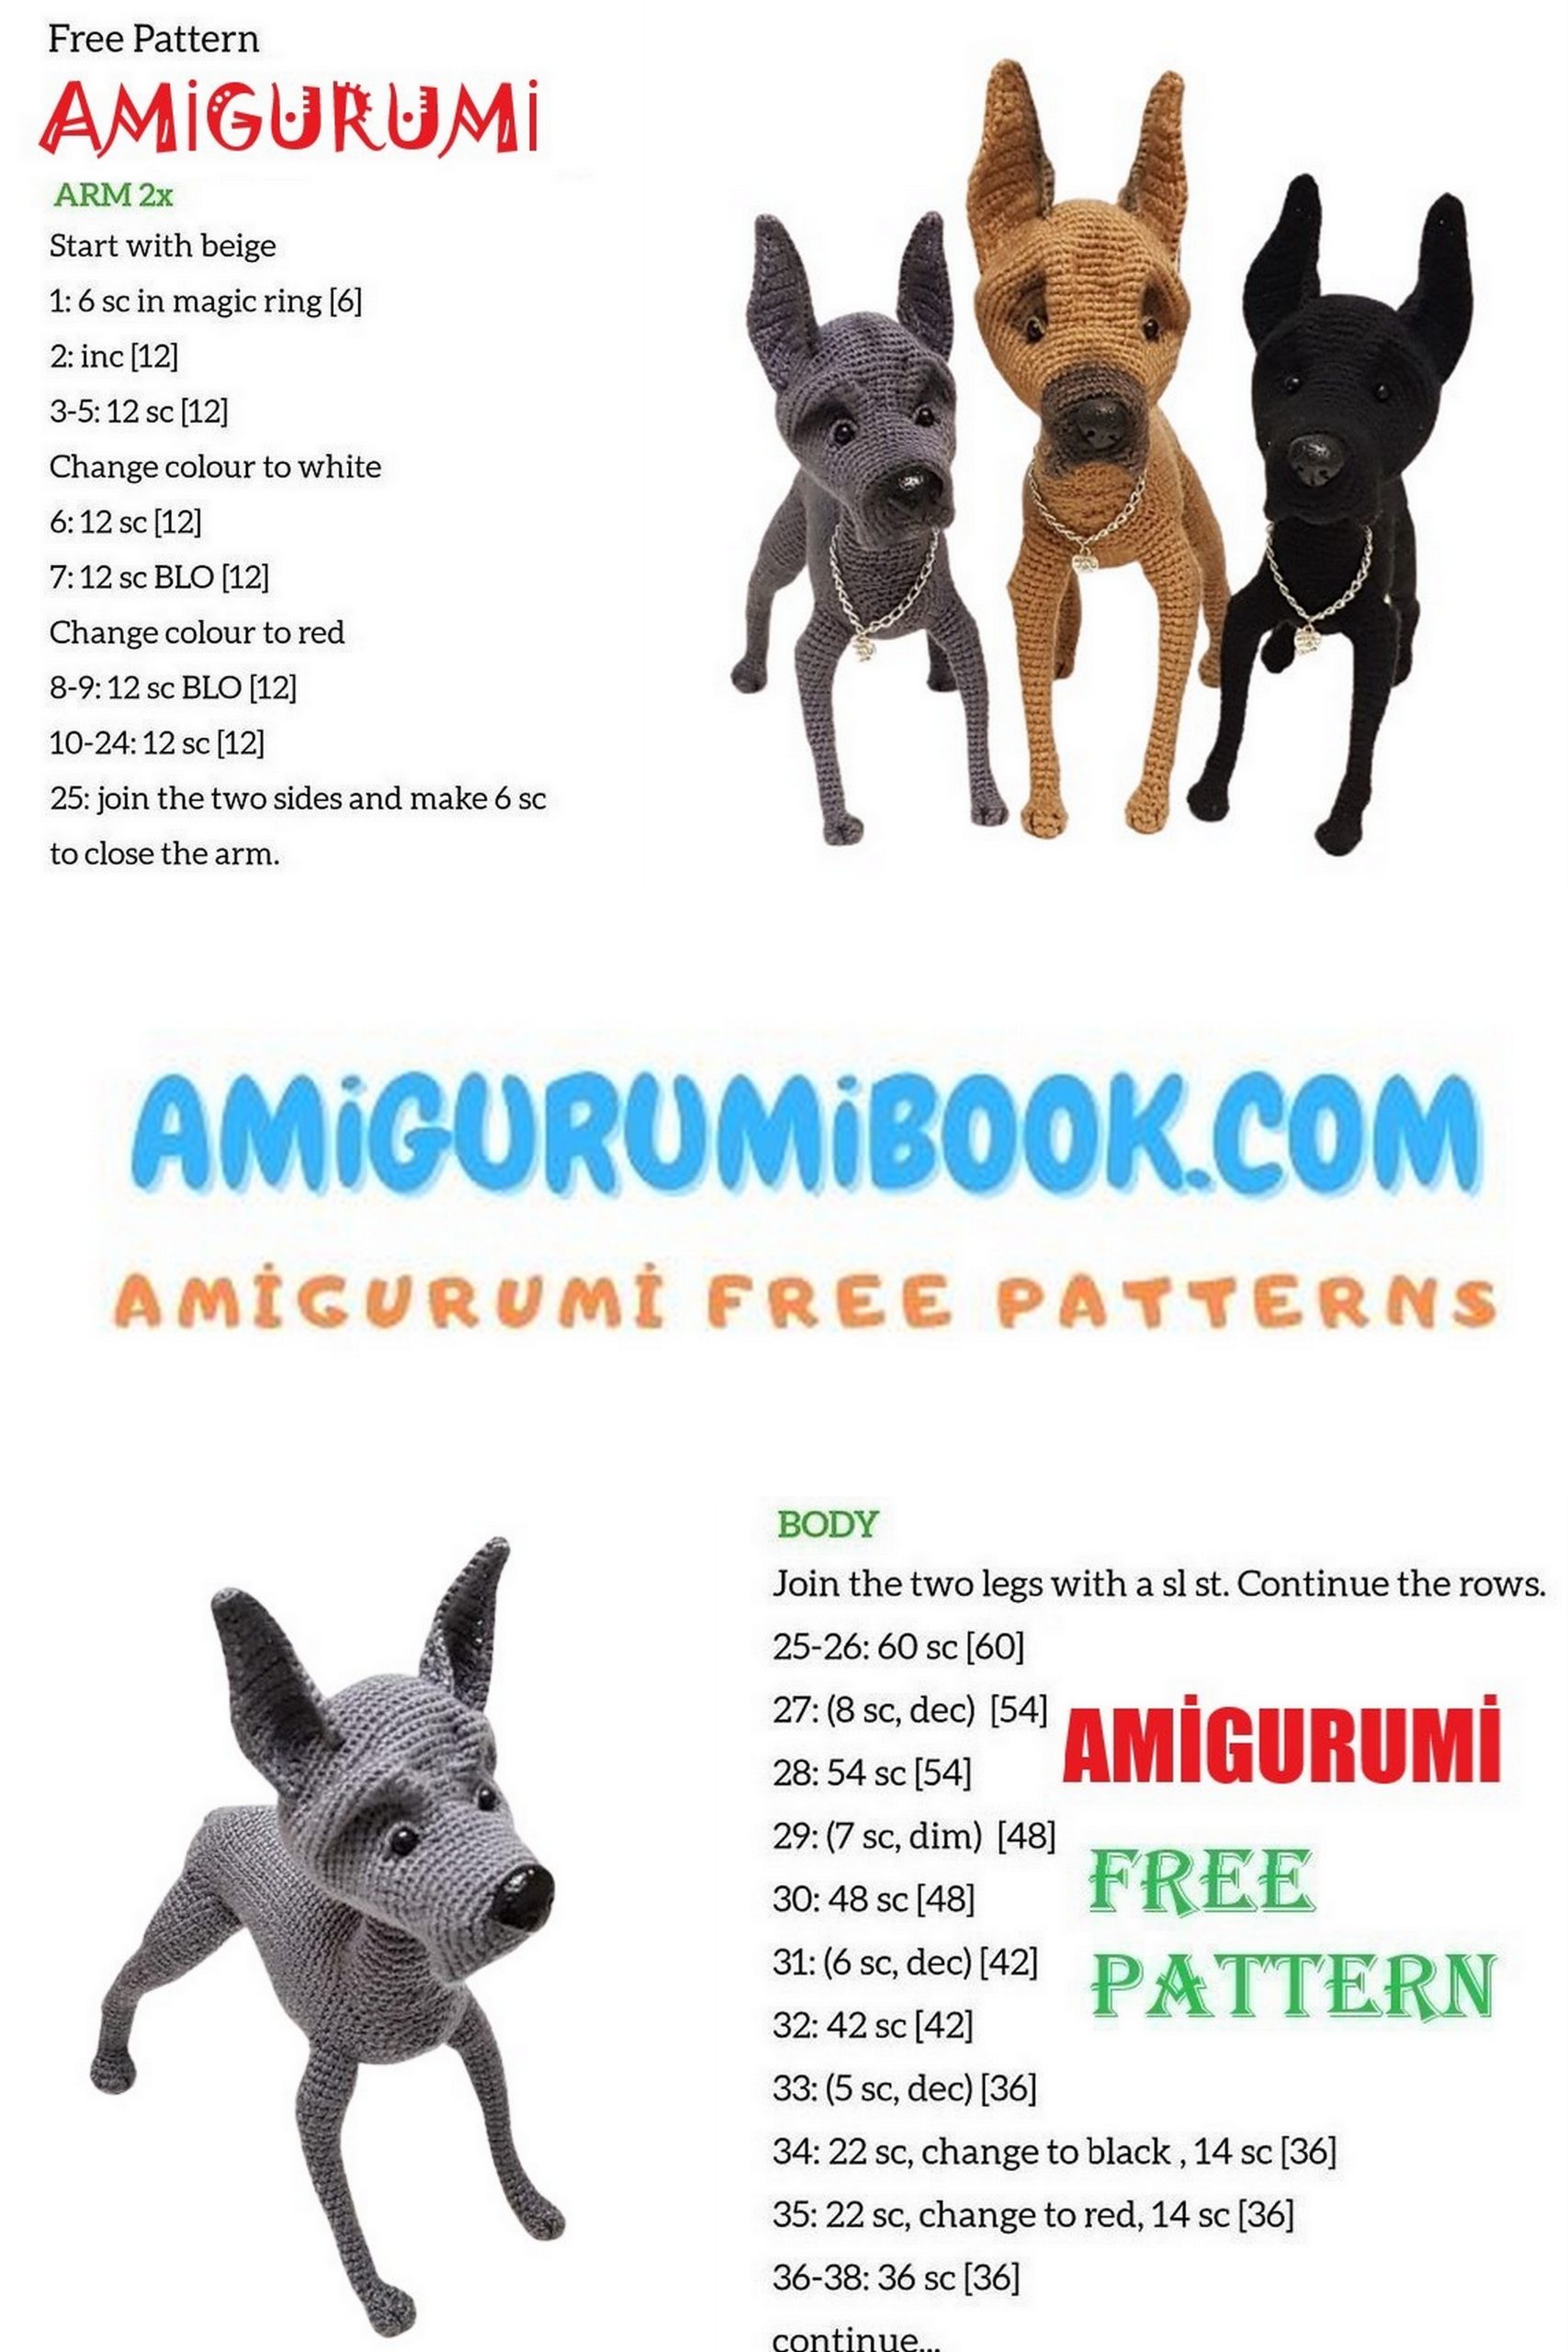
Great Dog Amigurumi Free Pattern
Beautiful amigurumi animal patterns are available on this site for free. In this article, I shared with you the amigurumi dog pattern.
Materials and tools:
1. The main yarn is 100% acrylic. Thread length 400m. Skein weight 100 g
2. Baking polymer clay of black colors for the nose and a glossy varnish for a clay.
3. Beads diameter of 0.5 mm 2 pieces.
4. A copper wire 1,5 mm in diameter (approx. 1,5 m);
5. A wire for beading (approx. 0,5 m);
6. The hook № 1,0 Clover, or any other hook suitable in size to the chosen yarn.
7. Stuffing.
8. An adhesive plaster on a fabric base 1 cm wide.
9. A long needle with a big eye for tightenings.
10. A strong thread for tightenings.
Abbreviations
ch = chain
inc = increase (2sc in 1 stitch)
3sc inc = 3 sc in indicated stich (3sc in 1 stitch)
dec = decrease (crochet 2 sc together)
sc3tog = sc next 3 stitches together (crochet 3 sc together)
sc = single crochet
hdc = half double crochet
dc = double crochet
sl st = slip stitch
This crochet pattern does not contain crocheting lessons, it suits for the people who can crocheting.
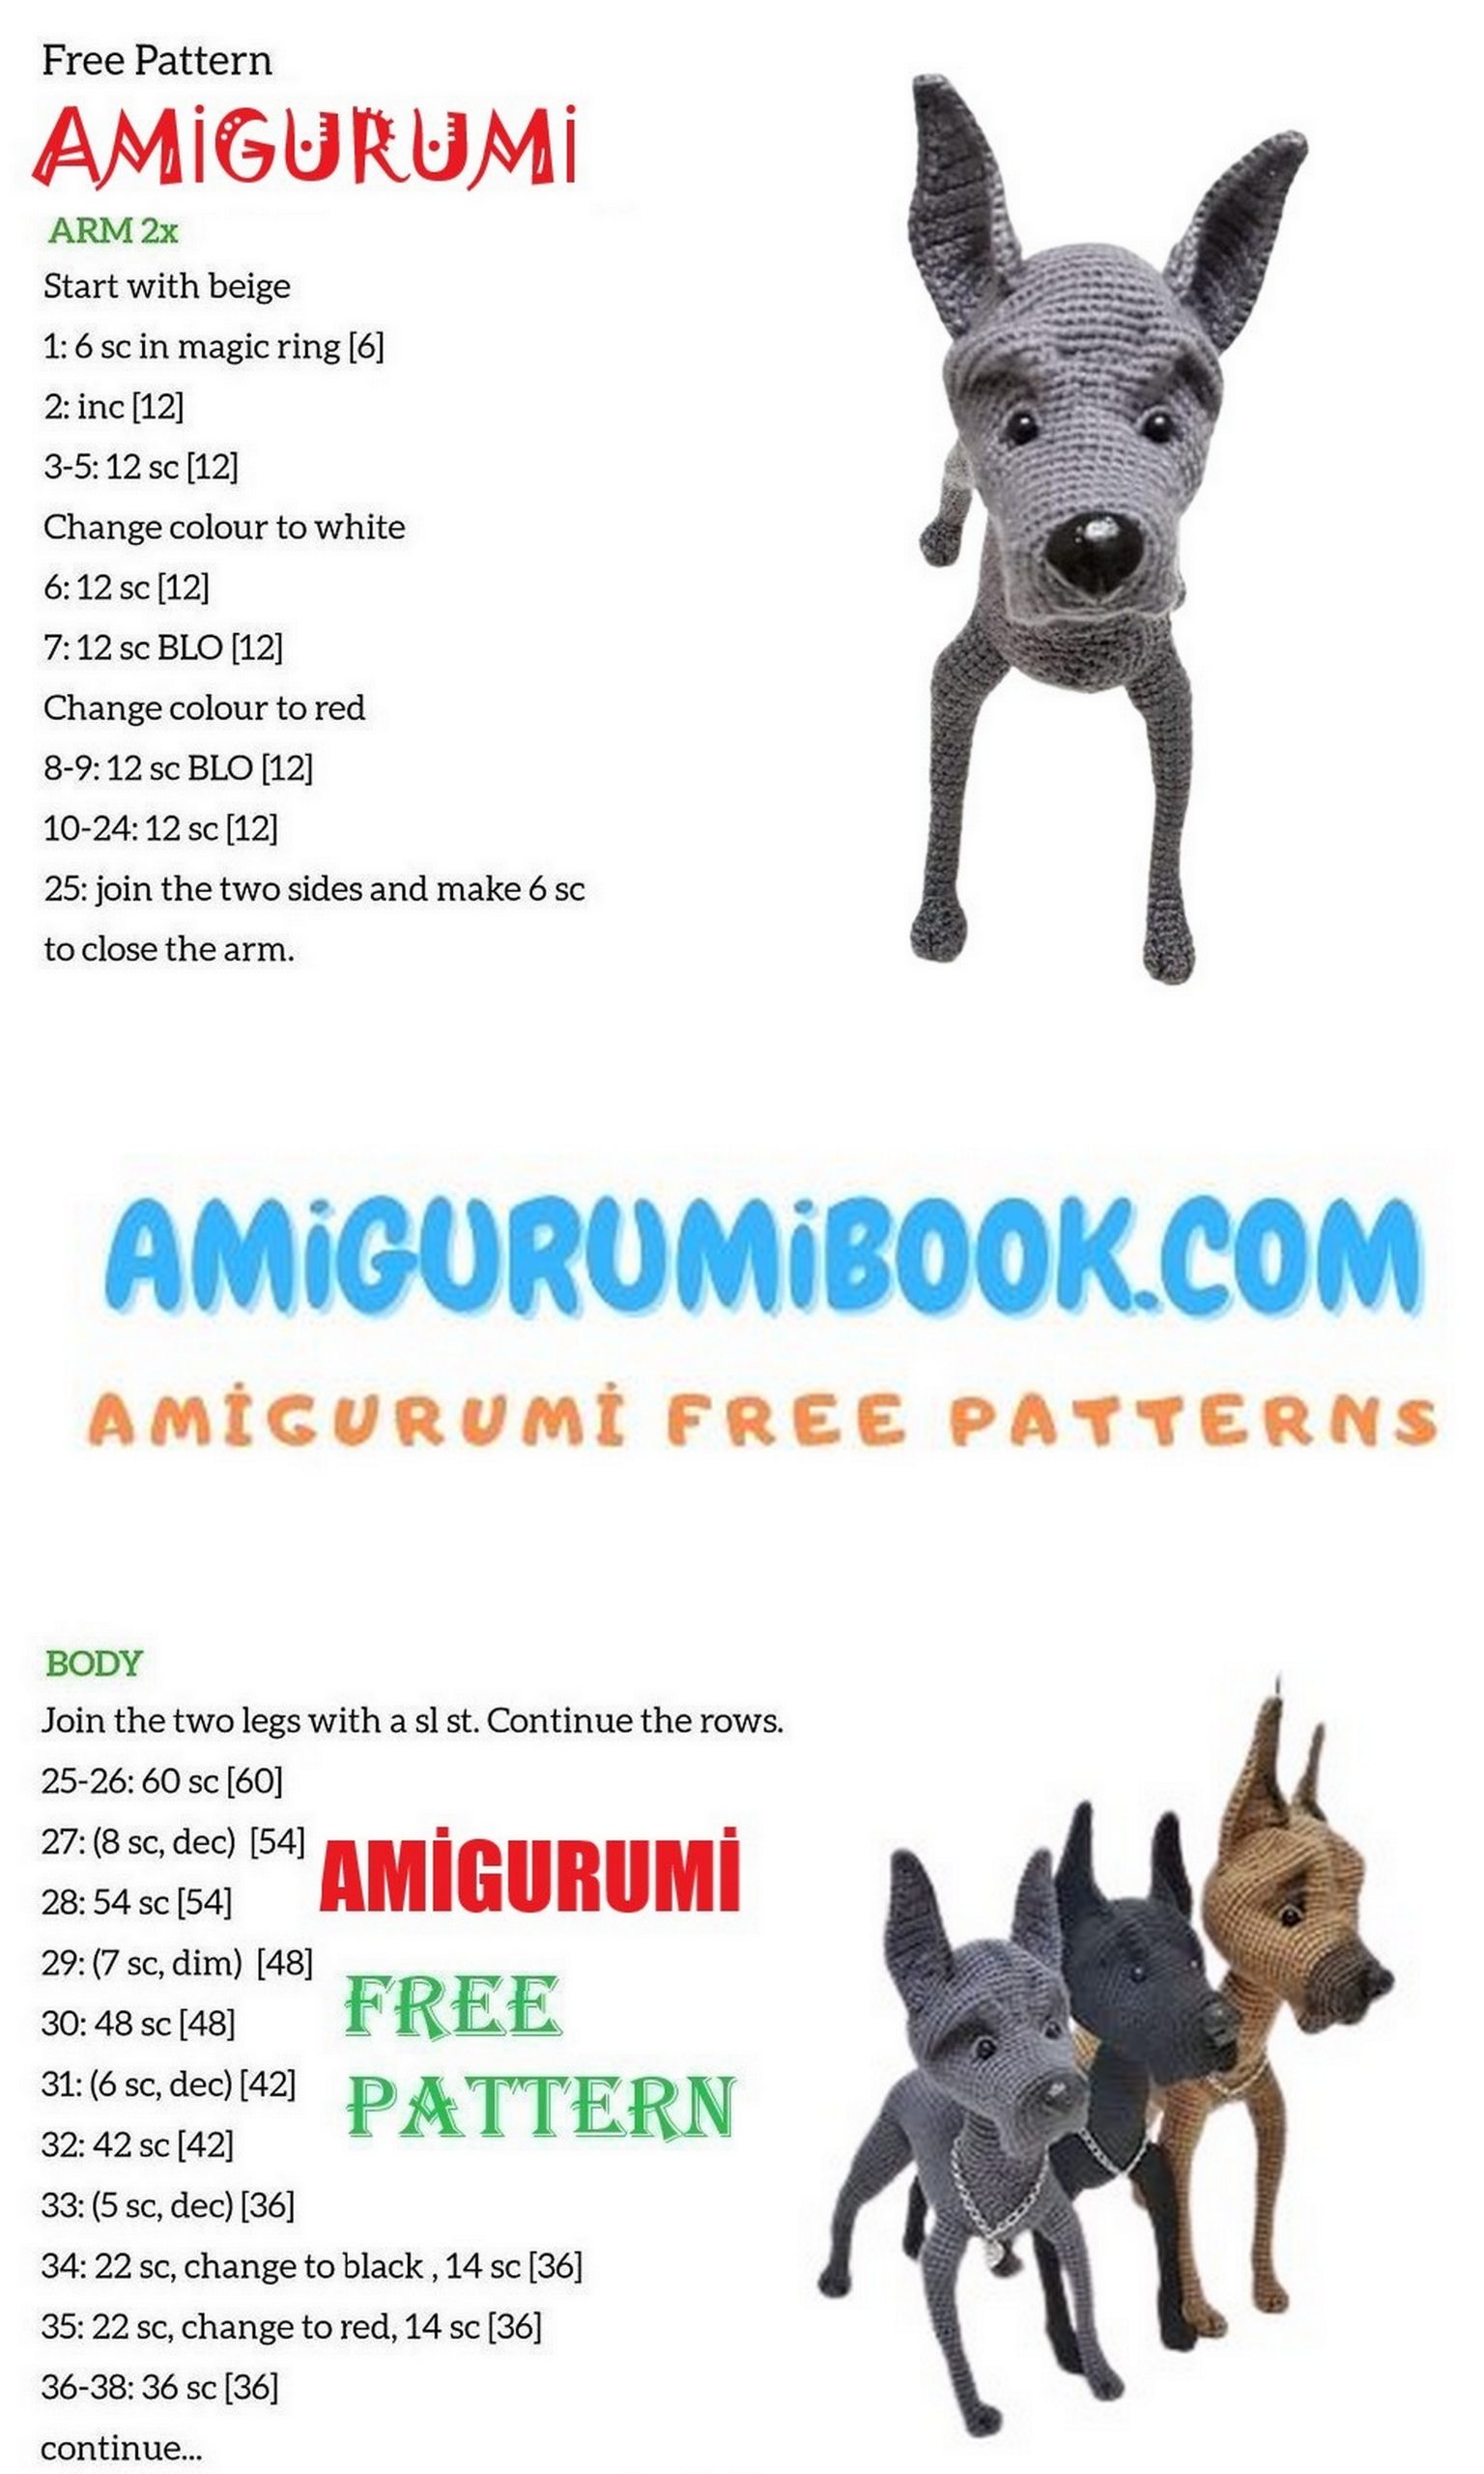
Front legs (2 pcs)
The legs are crocheted similarly, without any difference for left and right. You can not align the marker.
1 rnd: 6sc in the magic ring = 6st
2 rnd: 6inc = 12st
3 rnd: (3sc, 1inc) х 3 = 15st
4 rnd: 15sc = 15st
5 rnd: 4dec, 7sc= 11st
6 rnd: 2dec, 7sc= 9st
7 rnd: 1dec, 7sc= 8st
Cut a piece of wire approx. 20 cm long. Make a loop at one end and wind it with an adhesive plaster. Insert a wire in the leg and stuff it a little. Further continue crocheting around a wire.
Further we will crochet a joint.
8 rnd: 5sc, 3sc inc, 2sc = 10st
9 rnd: 10sc = 10 st
10 rnd: 5sc, sc3tog, 2sc = 8st
Stuff a joint rather tight
11-15 rnd: 8sc = 8st (5rows)
16 rnd: 6sc, 1inc, 1sc = 9st
17-18 rnd: 9sc = 9st (2rows)
19 rnd: 7sc, 1inc, 1sc = 10st
20-21 rnd: 10sc = 10st (2rows)
22 rnd: 8sc, 1inc, 1sc = 11st
23-24 rnd: 11sc = 11st (2rows)
25 rnd: 9sc, 1inc, 1sc = 12st
26-27 rnd: 12sc = 12st (2rows)
28 rnd: 10sc, 3sc inc, 1sc = 14st
29 rnd: 1sc, (1sc, 1inc) х 3, 7sc = 18st
30 rnd: 13sc, sc3tog, 1sc = 15st
31-32 rnd: 15sc = 15st (2rows)
33 rnd: (4sc, 1inc) х 3 = 18st, fasten off and cut the yarn.
Stuff the upper part of the leg just a little to underline its shape
Mark the 9th stitch from the marker, we begin crocheting in this leg in the body from this stitch
Hindlegs (2 pcs)
The legs are crocheted similarly, without any difference for left and right. You can not align the marker.
1 rnd: 6sc in the magic ring = 6st
2 rnd: 6inc = 12st
3 rnd: (3sc, 1inc) х 3 = 15st
4 rnd: 15sc = 15st
5 rnd: 4dec,7sc = 11st
6 rnd: 2dec,7sc = 9st
7-8 rnd: 9sc = 9st (2rows)
9 rnd: 1sc, 1inc, 7sc = 10st
10 rnd: 2sc, 1inc, 7sc = 11st
11 rnd: 11sc = 11st
Cut a piece of wire approx. 40 cm long. Make a loop at one end and wind it with an adhesive plaster. Insert a wire in the leg and stuff it. Further continue crocheting around a wire.
Further we will crochet a joint.
12 rnd: 8sc, 3sc inc, 2sc = 13st
13 rnd: 13sc = 13st
14 rnd: 8sc, sc3tog, 2sc = 11st
Stuff a joint rather tight
15-16 rnd: 11sc = 11st (2rows)
17-19 rnd: 3sc, 1inc, 4sc, 1dec, 1sc = 11st (3rows)
20 rnd: 11sc =11st
21 rnd: 4sc, 1inc, 6sc = 12st
22 rnd: 4sc, 1inc, 1sc, 1inc, 5sc = 14st
23 rnd: 14sc = 14st
24 rnd: 4sc, 1inc, 1sc, 1inc, 4sc, 1dec, 1sc = 15st
25 rnd: 1dec, 6sc, 1inc, 6sc = 15st
26 rnd: 6sc, 1inc, 8sc = 16st
27 rnd: 16sc = 16st
28 rnd: 1inc, 15sc = 17st
29 rnd: 1sc, 1inc, 15sc = 18st
30 rnd: 2sc, 1inc, (4sc, 1inc)x3 = 22st
31-34 rnd: 22sc = 22st (4rows)
35 rnd: (2sc, 1inc)x3, 13sc = 25st
36-39 rnd: 25sc = 25st (4rows), fasten off and cut the yarn
Mark the 15th stitch from the marker for right paw and mark the 11th stitch from the marker for the left paw, we begin crocheting in this leg in the body from this stitch
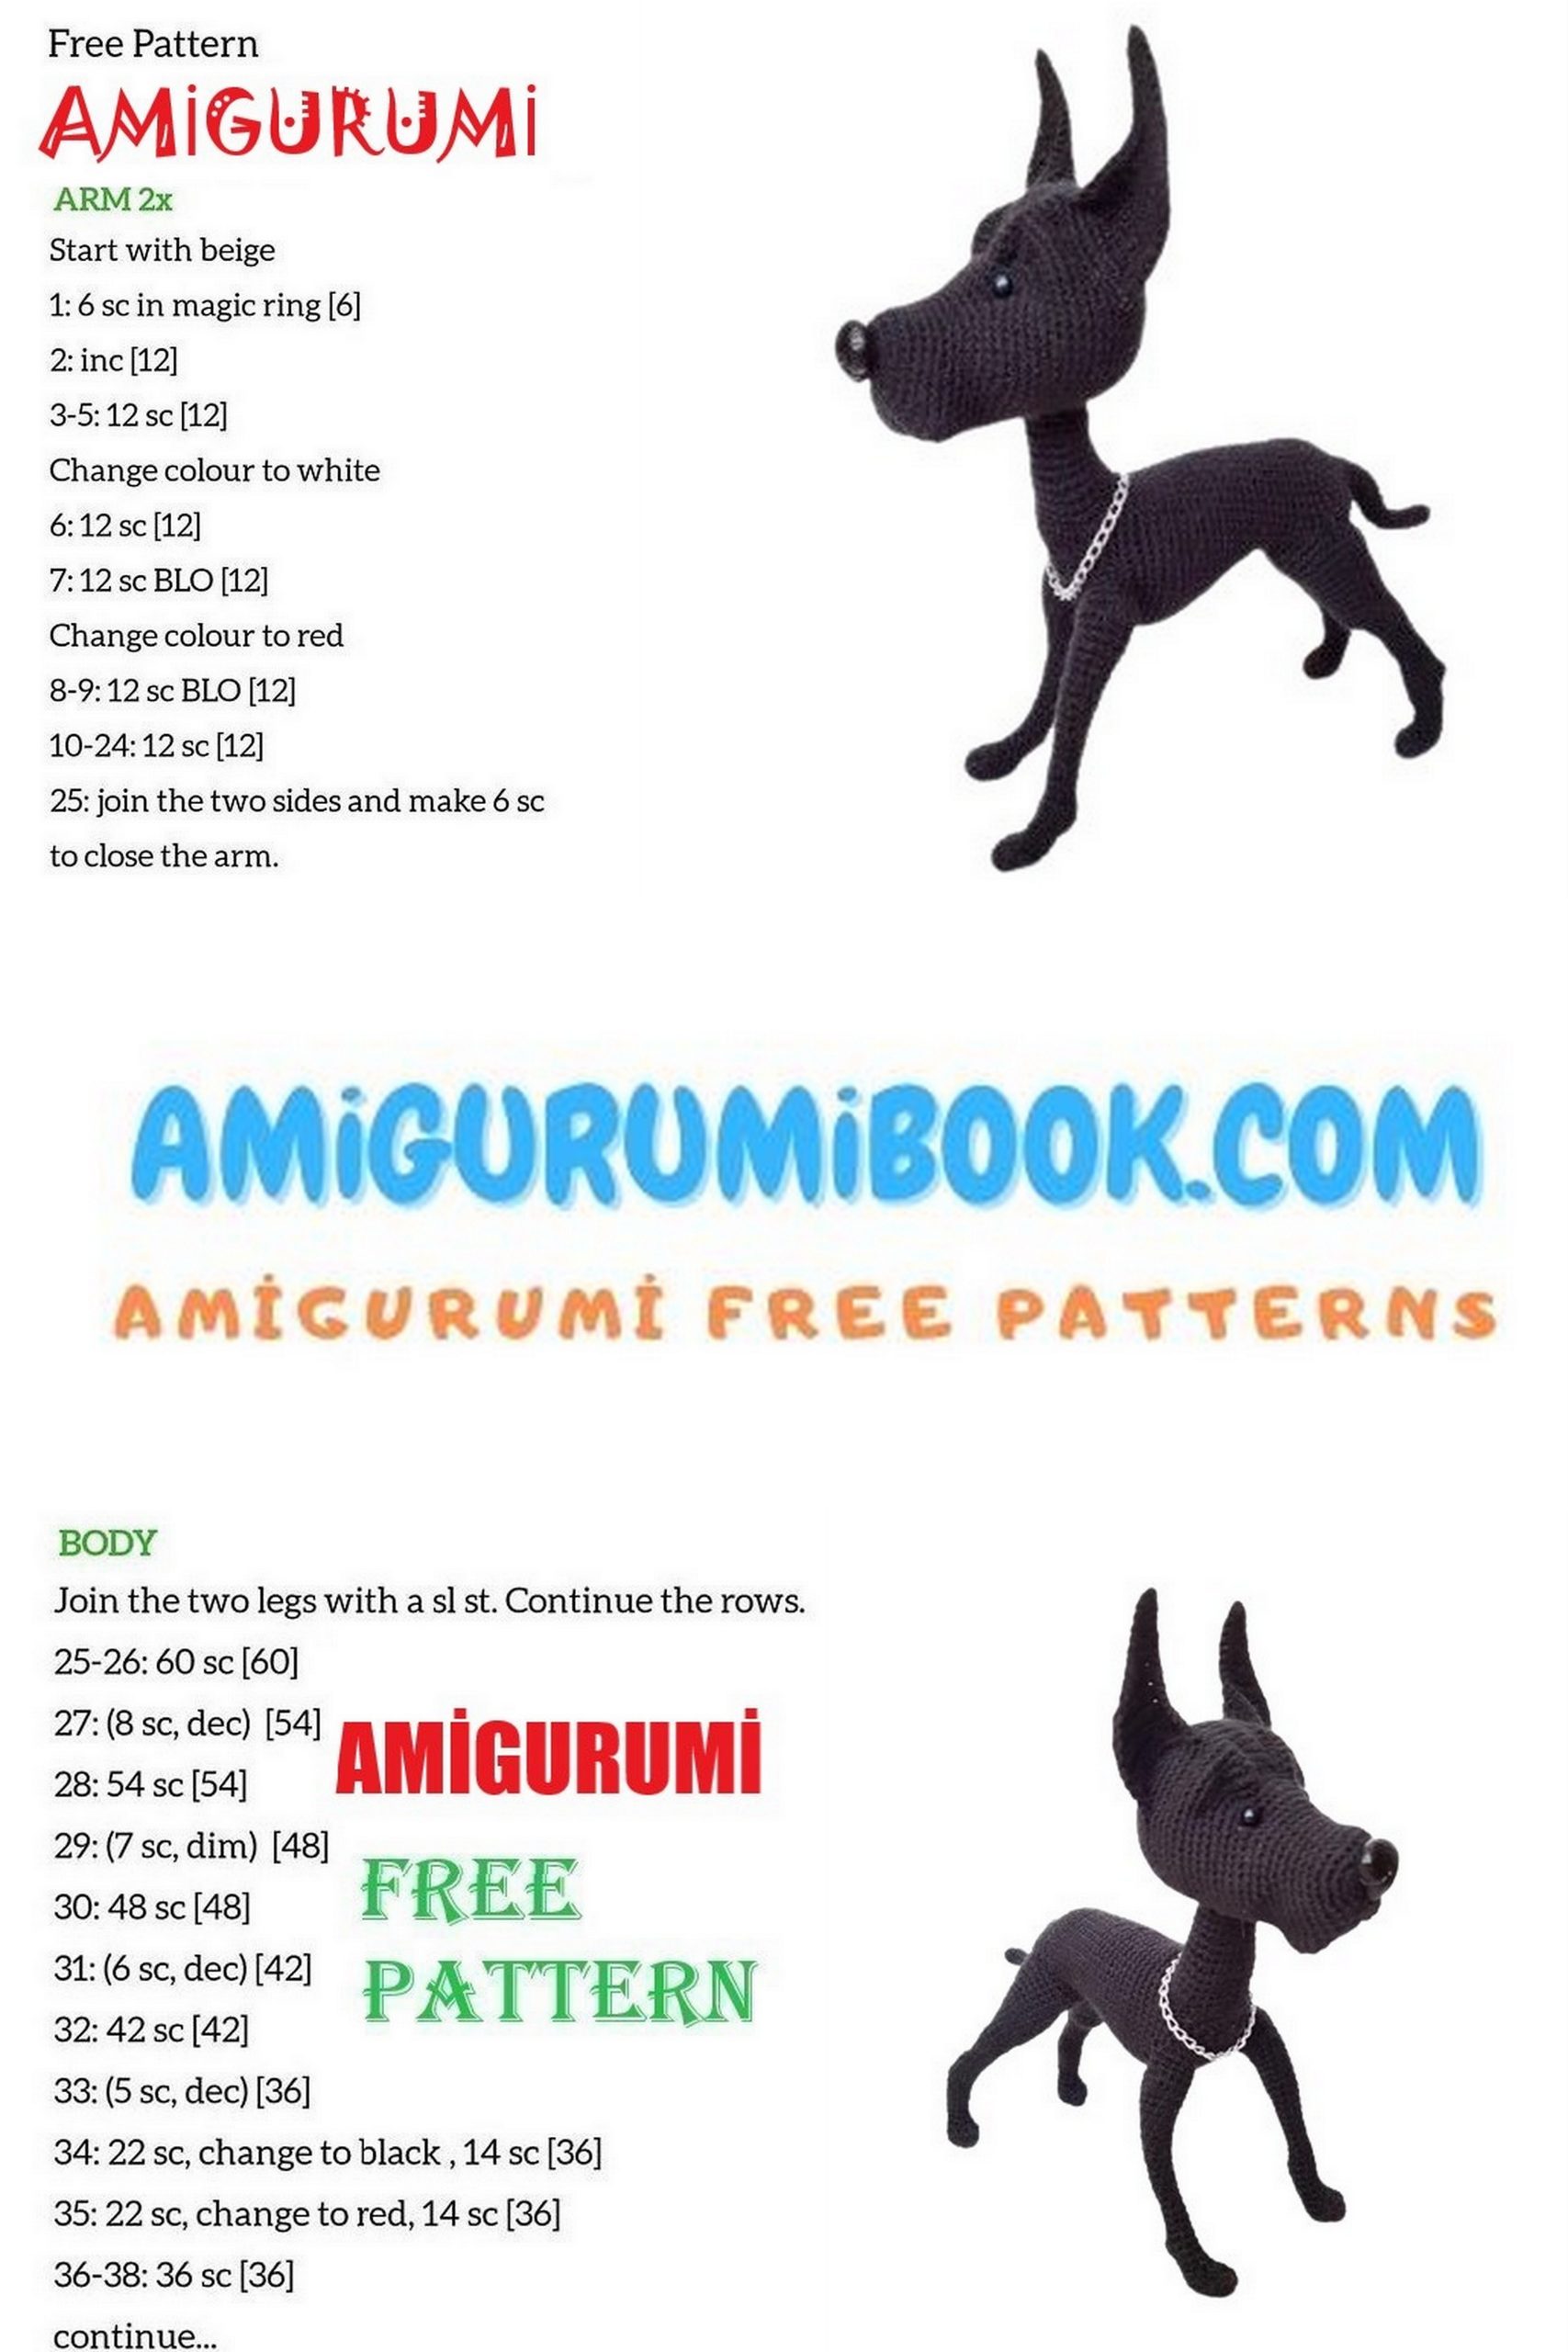
Body.
Begin crocheting from the tail.
The marker goes along the middle of the belly.
1 rnd: 6sc in the magic ring = 6st
2 – 6 rnd: 6sc = 6st (5rows)
7 rnd: 5sc, 1inc = 7st
8 – 12 rnd: 7sc = 7st (5rows)
13 rnd: 6sc, 1inc = 8st
14 – 18 rnd: 8sc = 8st (5rows)
19 rnd: 7sc, 1inc = 9st
20 – 24 rnd: 9sc = 9st (5rows)
Take a piece of wire 30 cm long, wind one end with an adhesive plaster, insert it in the tail.
25 rnd: 9inc = 18st
26 rnd: (2sc, 1inc) х 6 = 24st
27 rnd: (3sc, 1inc) х 6 = 30st
28 rnd: (4sc, 1inc) х 6 = 36st
29 rnd: (5sc, 1inc) х 6 = 42st
30 rnd: (6sc, 1inc) х 6 = 48st
In the next row crochet in the hindlegs, to do this put the details by the right side to each other and beginning from marked stitch from the marker crochet the details grasping two edges (simultaneously grasping the stitches of the body and the stitches of the leg).
31 rnd: 1sc, 11sc for the both edges, grasping the stitches of the body and the stitches of the right hindleg, 24sc, 11sc for the both edges, grasping the stitches of the body and the stitches of the left hindleg, 1sc = 48st
Twist the wires of the tail and the legs together and wind with an adhesive plaster.
32 rnd: 1sc – along the body, 13sc – along the outer side of the leg, 1dec (1 sc of the leg and 1 sc of the back), 22sc – along the back, 1dec (1 sc of the back and 1 sc of the leg), 13sc – along the outer side of the leg, 1 dec = 52st
Further it is necessary to align the marker, if necessary crochet shift stitches.
33 rnd: 1dec, 11sc, 1dec, 20sc, 1dec, 11sc, 1dec = 46st
34 rnd: 1dec, 1sc, 1dec, 36sc, 1dec, 1sc, 1dec = 42st
35 rnd: 1dec, 1sc, 1dec, 32sc, 1dec, 1sc, 1dec = 38st
36 – 38 rnd: 38sc = 38st (3rows)
Stuff the upper part of the leg. Further stuff the body rather tight in the course of crocheting.
39 rnd: 1inc, 1sc, 1inc, 32sc, 1inc, 1sc, 1inc= 42st
40 – 41 rnd: 42sc = 42st (2rows)
42 rnd: 1inc, 1sc, 1inc, 36sc, 1inc, 1sc, 1inc= 46st
43 – 44 rnd: 46sc = 46st (2rows)
45 rnd: (1sc, 1inc) х 3, 34sc, (1inc, 1sc) х 3 = 52st
46 – 47 rnd: 52sc = 52st (2rows)
48 rnd: (1sc, 1inc) х 3, 40sc, (1inc, 1sc) х 3 = 58st
49 – 54 rnd: 58sc = 58st (6rows)
55 rnd: (1sc, 1dec) х 3, 40sc, (1dec, 1sc) х 3 = 52st
56 rnd: 52sc = 52st
In the next row crochet in the front legs, to do this put the details by the right side to each other and beginning from the 9th stitch from the marker crochet the details grasping two edges (simultaneously grasping the stitches of the body and the stitches of the leg).
57 rnd: 3sc, 7sc for the both edges, grasping the stitches of the body and the stitches of the right front leg, 32sc, 7sc for the both edges, grasping the stitches of the body and the stitches of the left front leg, 3sc = 52st
58 rnd: 3sc – along the body, 10sc – along the outer side of the leg, 1dec (1 sc of the leg and 1 sc of the back), 28sc – along the back, 1dec (1 sc of the back and 1 sc of the leg), 10sc – along the outer side of the leg, 3 dec = 56st
Twist wires of the front legs with wire of the body together and wind with an adhesive plaster.
59 rnd: 12sc, 1dec, 28sc, 1dec, 12sc = 54st
60 rnd: (2sc, 1dec) x 3, 1dec, 26sc, 1dec, (1dec, 2sc) x 3 = 46st
61 rnd: (2sc, 1dec) x 2, 1dec, 6sc, 10 ch, skip 14 sc, 6sc, 1dec, (1dec, 2sc) x 2= 36st
Take out a wire in the received opening.
62 rnd: (2sc, 1dec) x 3, 1sc, 10sc along the chain, 1sc, (1dec, 2sc) x 3 = 30st
63 rnd: (2sc, 1dec) х 7, 2sc= 23st
64 rnd: (1sc, 1dec) х 7, 2sc = 16st
46 rnd: 8dec = 8st
Tighten the opening. Fasten off and cut the yarn
Neck.
Crochet 28 sc round a wire beginning from the middle of the breast. The marker goes along the middle of the neck at the front part.
1 rnd: 5sc along the chain, inc, 14sc, inc, 5sc along the chain = 28st
2 – 5 rnd: 28sc = 28st (4rows)
6 rnd: 4sc, 1dec, 16sc, 1dec, 4sc = 26st
7– 8 rnd: 26sc = 26st (2rows)
9 rnd: 4sc, 1dec, 14sc, 1dec, 4sc = 24st
10-11 rnd: 24sc = 24st (2rows)
Fasten off and cut the yarn. Stuff the neck.
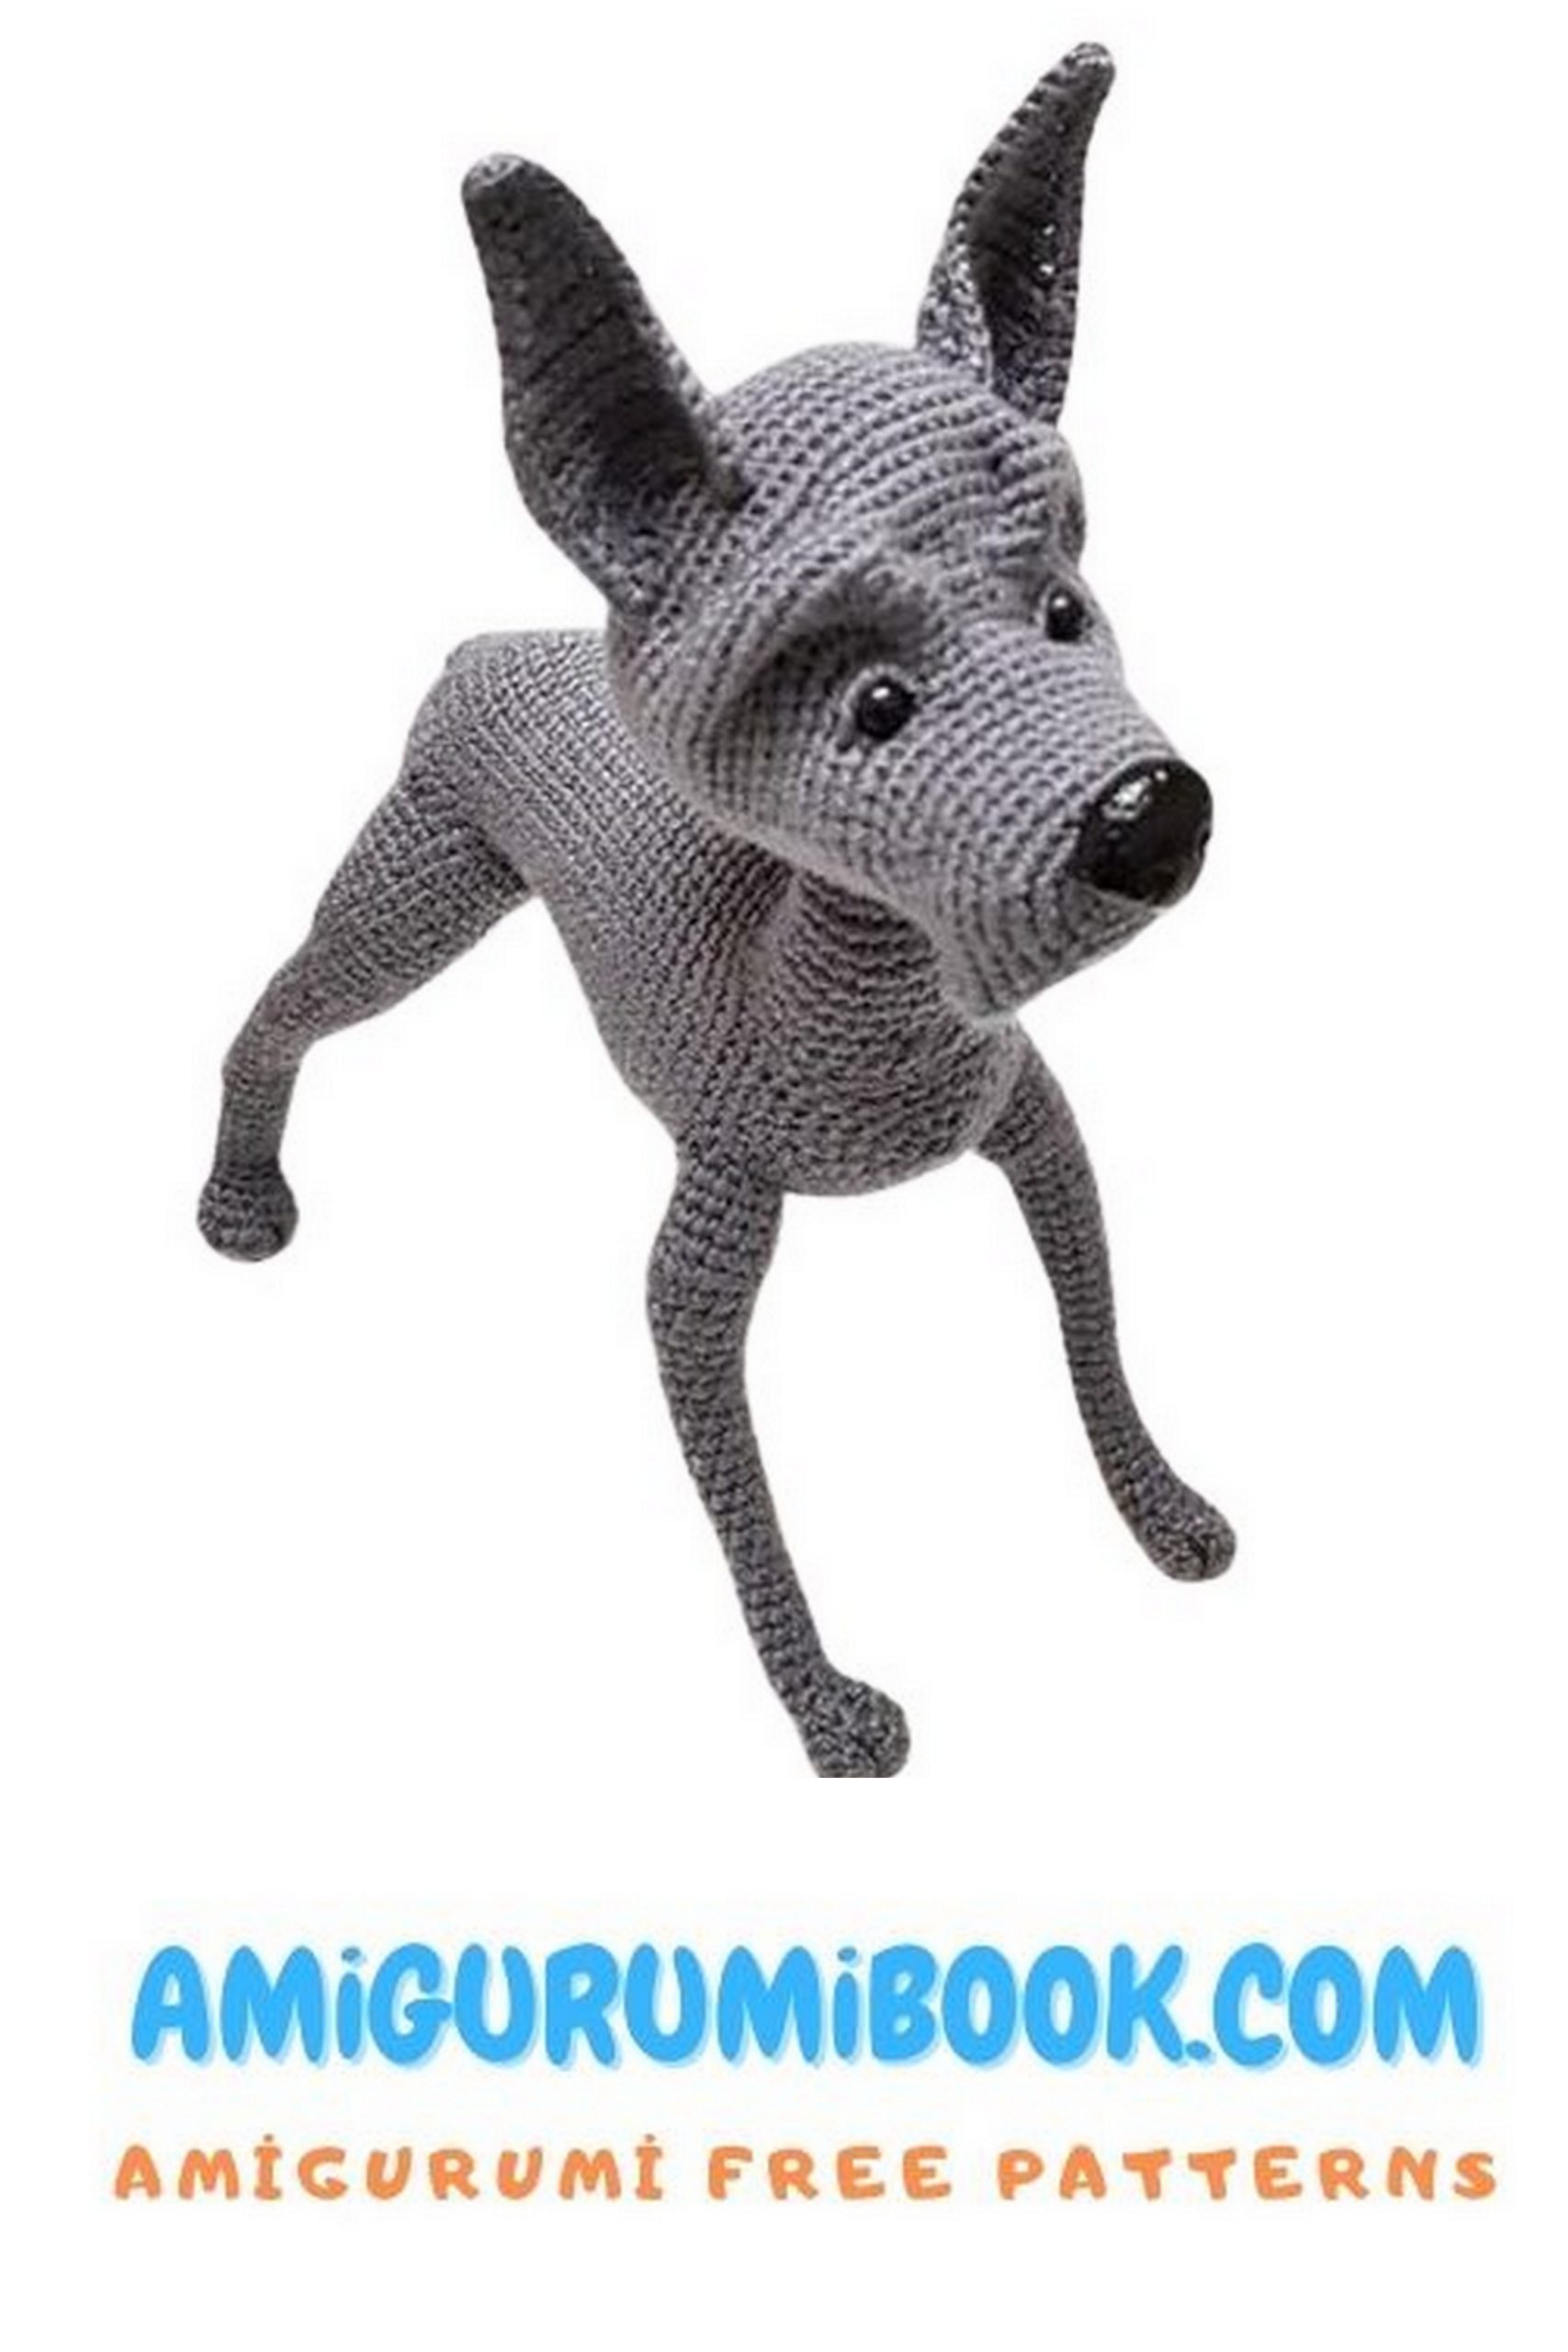
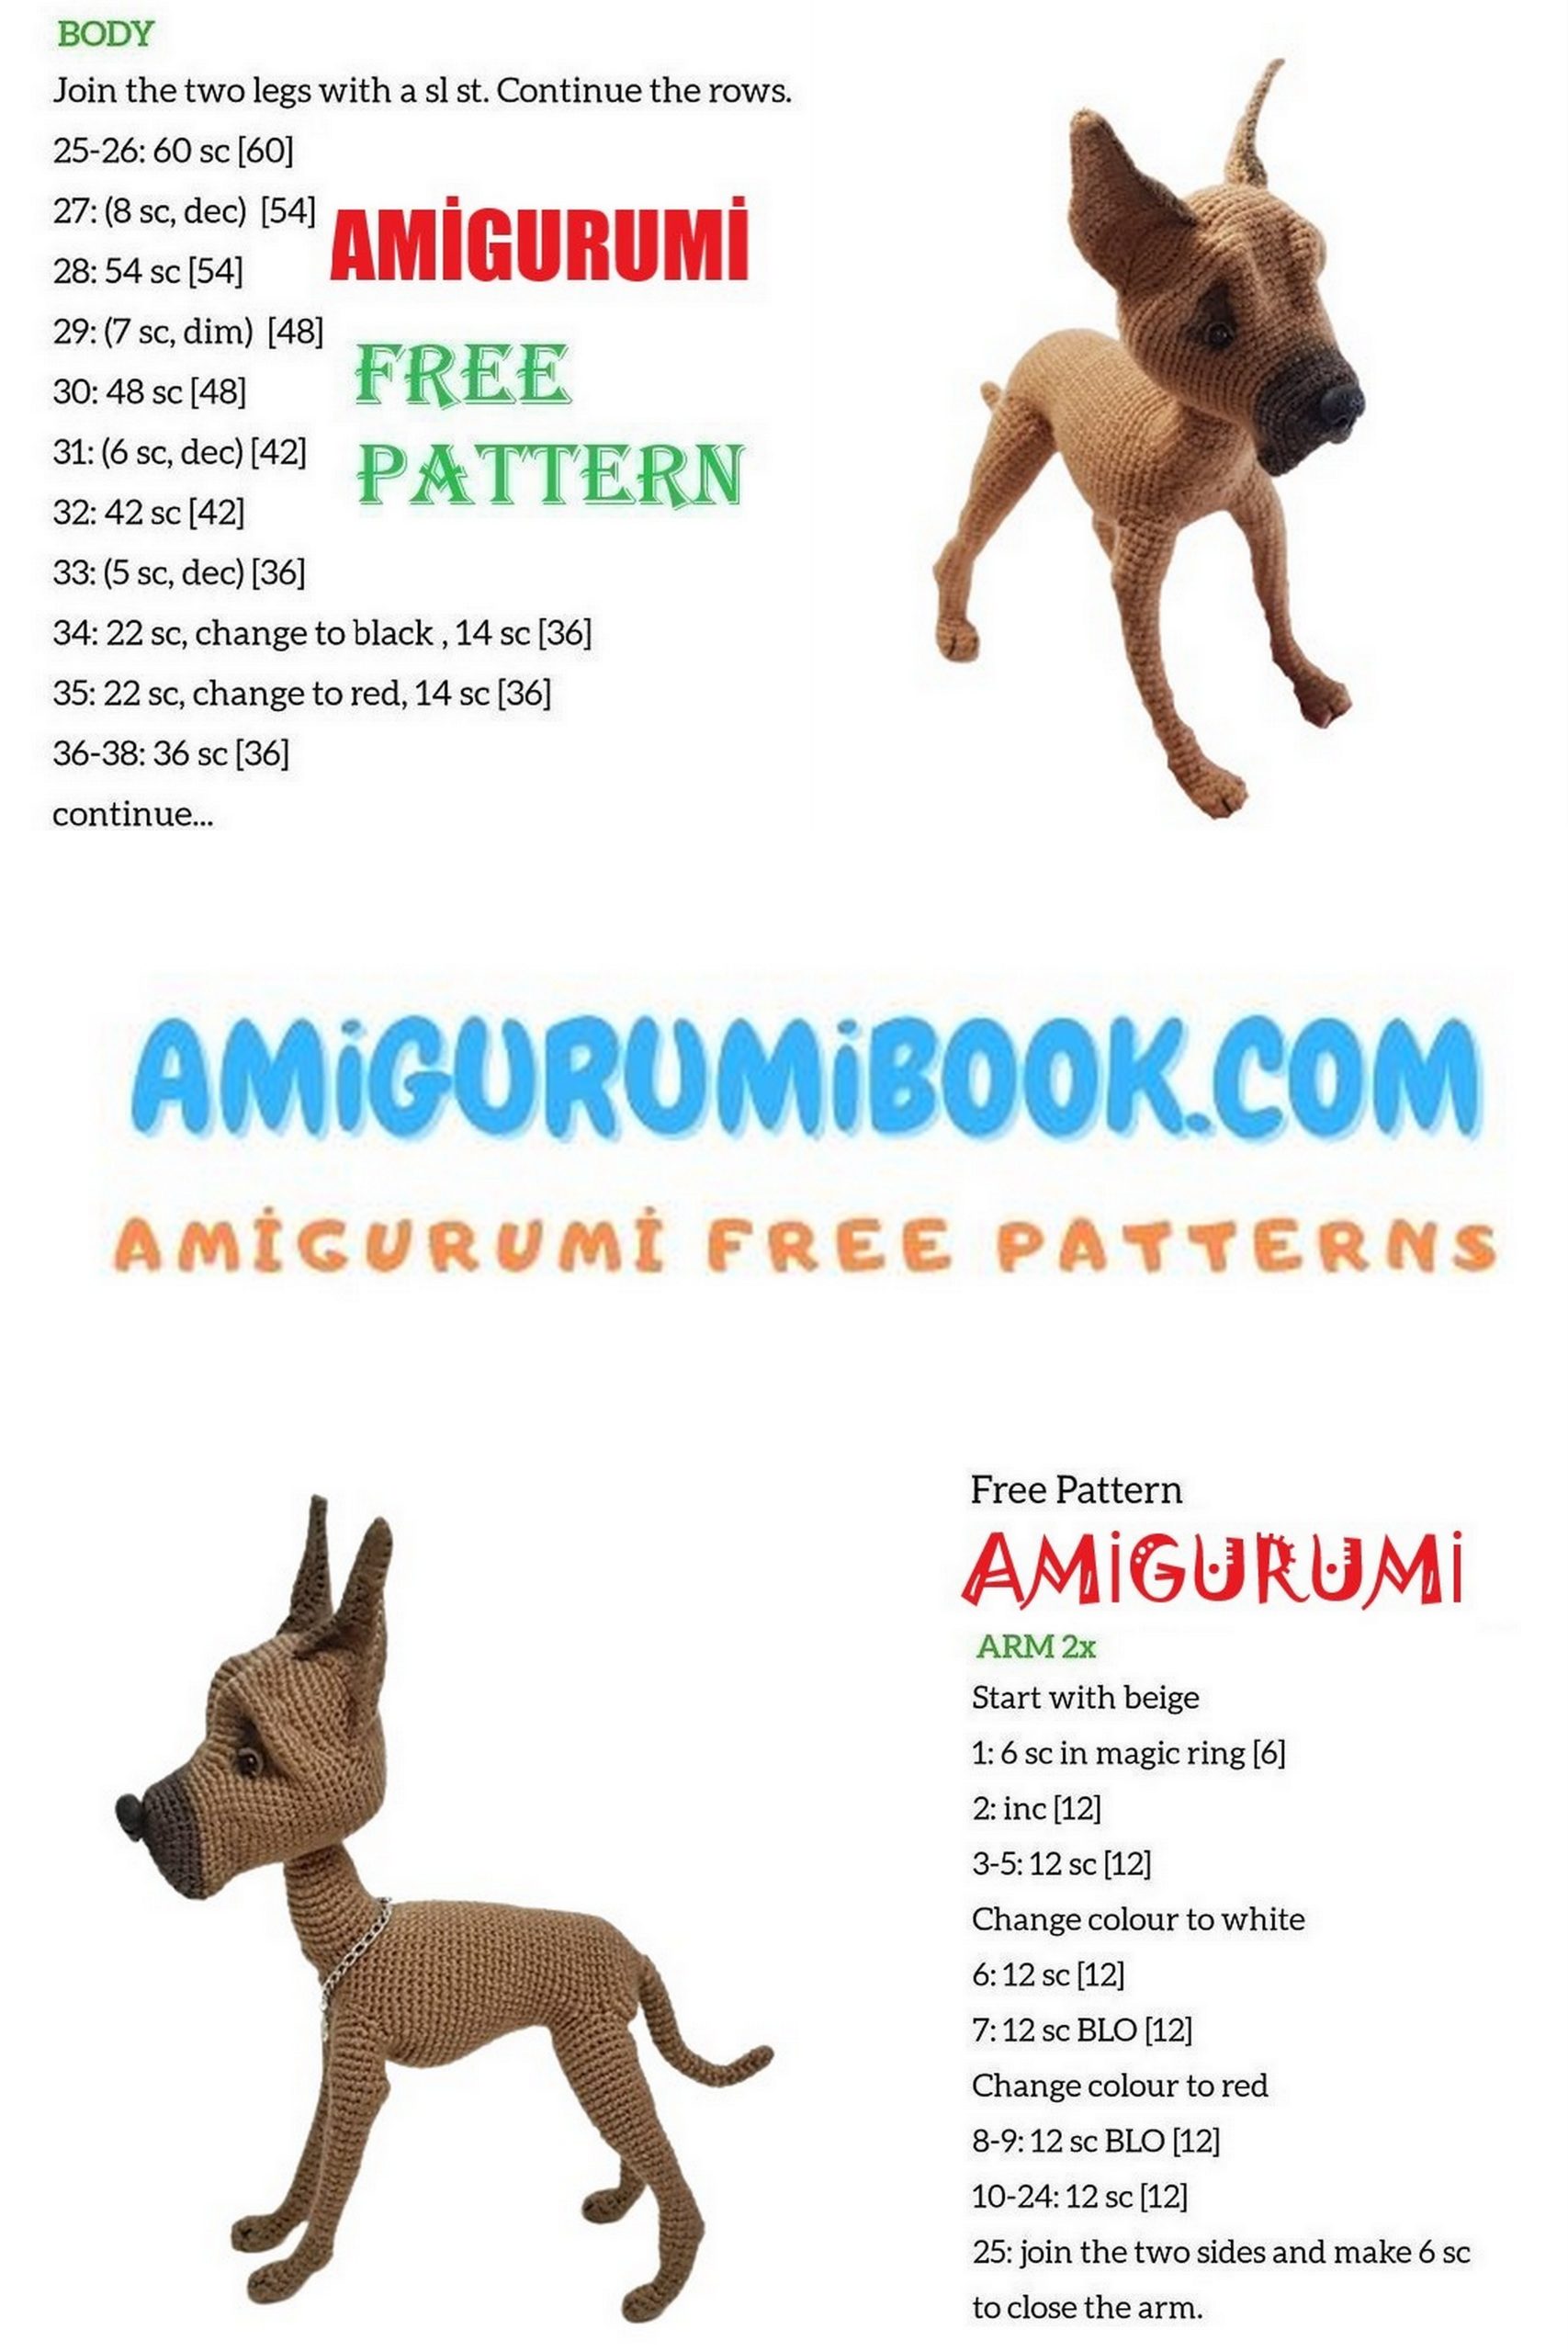
Head
The marker goes along the middle of the lower part of the head, follow the marker, if necessary, align the marker. Stuff the head rather tight in the course of crocheting, try not to stuff the «cheeks» (the dangling parts of the muzzle).
1 rnd. 5 ch. Begin crocheting from the 2nd loop, 3sc, in the last loop 3sc, 3sc along the other side,3sc in the last loop = 12st
2 rnd. 3sc, inc,1sc, inc, 3sc, inc, 1sc, inc = 16st
In the next row move the marker
3 rnd. 1sc, 3sc in one, inc, put the marker between the stitches,3sc in one, (1sc, inc)х2, 6sc, (inc , 1sc)х2, 3 in one, 1sc, inc = 28st
4 rnd: 2 sc, 3sc inc, (2sc, 1inc) х 2, 8sc, (1inc, 2sc) х 2, 3sc inc, 4sc = 36st
5 rnd: 1inc, 2 sc, 3sc inc, 26sc, 3sc inc, 5sc = 41st
6 rnd: 5 sc, 3sc inc, 28sc, 3sc inc, 6sc = 45st
7 rnd: 6 sc, 3sc inc, 30sc, 3sc inc, 7sc = 49st
8 rnd: 7 sc, 3sc inc, 20sc, 1inc, 9sc, dec, 1sc, dec, 6sc = 50st
9 rnd: 6sc, 1dec, 1sc, 1dec, 8sc, 1inc, 12sc, 1inc, 7sc, 1dec, 1sc, 1dec, 5sc = 48st
10 rnd: 5sc, 1dec, 1sc, 1dec, 7sc, 1inc, 14sc, 1inc, 6sc, 1dec, 1sc, 1dec, 4sc = 46st
11 rnd: 4sc, 1dec, 1sc, 1dec, 5sc, 1inc, 18sc, 1inc, 4sc, 1dec, 1sc, 1dec, 3sc = 44st
12 rnd: 3sc, 1dec, 1sc, 1dec, 4sc, (1inc, 3sc) x 2, 1inc, 4sc, (1inc, 3sc) x 2, 1inc, 5sc, 1dec, 3sc = 47st
13 rnd: 3sc, 1dec, 5sc, 1inc, 6sc, 1inc, 12sc, 1inc, 6sc, 1inc, 4sc, 1dec, 3sc = 49st
14 rnd: 3 sc, 1dec, 4sc, 1inc, 7sc, 2inc, 11sc, 2inc, 17sc = 53st
15 rnd: 53sc = 53st
16 rnd: 17sc, 3inc, 13sc, 3inc, 17sc = 59st
17 rnd: 59sc= 59st
18 rnd: 19sc, 6inc, 1sc, 1inc, 5sc, 1inc, 1sc, 6inc, 19sc = 73st
19 rnd: 29sc, (1dec, 1sc) x 2, 1inc, 1sc, 1inc, (1sc, 1dec) x 2, 29sc = 71st
20 rnd: 71sc = 71st
21- 22 rnd: 69sc, 4 ch, skip 4 stitches, 67sc, 2sc along the chain (2rows)
23 rnd: 2sc along the chain, 69sc = 71st, we will insert a wire in the received opening
24 – 29 rnd: 71sc = 71st (6rows)
30 rnd: (1dec, 10sc) х 2, 1dec, 21sc, (1dec, 10sc) x 2 = 66st
31 rnd: (9sc, 1dec) х 6 = 60st
32 rnd: 4sc, 1dec, (8sc, 1dec) х 5, 4sc = 54st
33 rnd: (7sc, 1dec) х 6 = 48st
34 rnd: 3sc, 1dec, (6sc, dec) х 5, 3sc = 42st
35 rnd: (5sc, 1dec) х 6 = 36st
36 rnd: 2sc, 1dec, (4sc, dec) х 5, 2sc = 30st
37 rnd: (3sc, dec) х 6 = 24st
38 rnd: (2sc, dec) х 6 = 18st
39 rnd: (1sc, dec) х 6 = 12st
40 rnd: 6dec = 6st
Tighten the left stitches.
Ear (mixed) 2 pcs.
2ch,
1 rnd: 1sc, ch, turn
2 rnd: inc, ch, turn
3 rnd: 2sc, ch, turn
4 rnd: inc, 1sc, ch, turn
5 rnd: 2sc, inc, ch, turn
6 rnd: inc, 3sc, ch, turn
7 rnd: 4sc, inc, ch, turn
8 rnd: inc, 5sc, ch, turn
9 rnd: 6sc, inc, ch, turn
10 rnd: inc, 7sc, ch, turn
11 rnd: inc, 8sc, ch, turn
12 rnd: 9sc, inc, ch, turn
13 rnd: inc, 6sc, 4hdc, ch, turn
14 rnd: 4hdc, 8sc, ch, turn
15 rnd: 8sc, 4hdc, ch, turn
16 rnd: 4hdc, 8sc, ch, turn
Crochet along the whole edge of the ear inserting a wire between the rows.
ch, 15sc, 2ch, 1sc in the top of the ear, along the other side of the ear 18sc
Execution
It is necessary to tighten the toes on the legs
Making the nose
For the nose I use a polymer clay Sonnet (you can use any you like) of black colors.
For the nose
Cut a piece of black polymer clay, make a ball 1.5 cm in diameter.
You should give to a ball a shape of the nose. Make a small groove in the middle with a riding-crop not reaching the top approx. for a half.
Make two cavities for the nostrils with a dots. And from the nostrils make the grooves with a riding-crop till the bottom of the nose. You can make the top of the nose textured with a dots.
It is necessary to bake in an oven with a temperature 130 degrees for 30 minutes. After the nose completely dries it is necessary to cover it with a glossy varnish for a polymer clay. I use a varnish Sonnet for polymer clay.
Tightening of the muzzle
Form the eye sockets.
To do this mark two points, approx. in the 12 row, the space between these points 10-12 stitches.
Insert a needle from the bottom of the head, in the place where we left an opening, take it out in the first eye socket, grasping 2 sc, take out a needle back in the bottom of the head, tighten a thread, fasten off. Tighten the second eye socket similarly.
Tightening of the superciliary archs (brows).
Tightening of the superciliary archs (brows) goes along the red lines, you can use the pins for the convenience and keeping the symmetry.
Put the pins, orient yourself to the photo. Light blue pins are in the middle of the head, place one more row to the both sides of the light blue pins, between the pins are approx. 8 sc,
Make the tightening, forming a superciliary arch, making it similar to ^.
Begin from the red pins, moving upward, tighten the crocheted cloth, forming a fold. Reaching the purple pins tighten the cloth moving to the bridge of the nose.
The way of a thread is painted with a green color.
Follow the symmetry of tightenings, they should be identical.
Further sew the eyes in the eye sockets, glue the nose and try on the ears.
The ears are placed like a semicircle for 2-3 rows upper than the superciliary archs, the bottom of the ear is also placed for 2-3 rows upper of the superciliary arch.
After the muzzle is decorated, it is necessary to sew the head to the body, inserting a wire from the neck in the opening in the head. To make the eyes more expressive you can glue the eyelids, cutting a piece of thread according to the size of the eye, accurately smear a thread with a glue and apply it to the eye. Our German mastiff is ready.