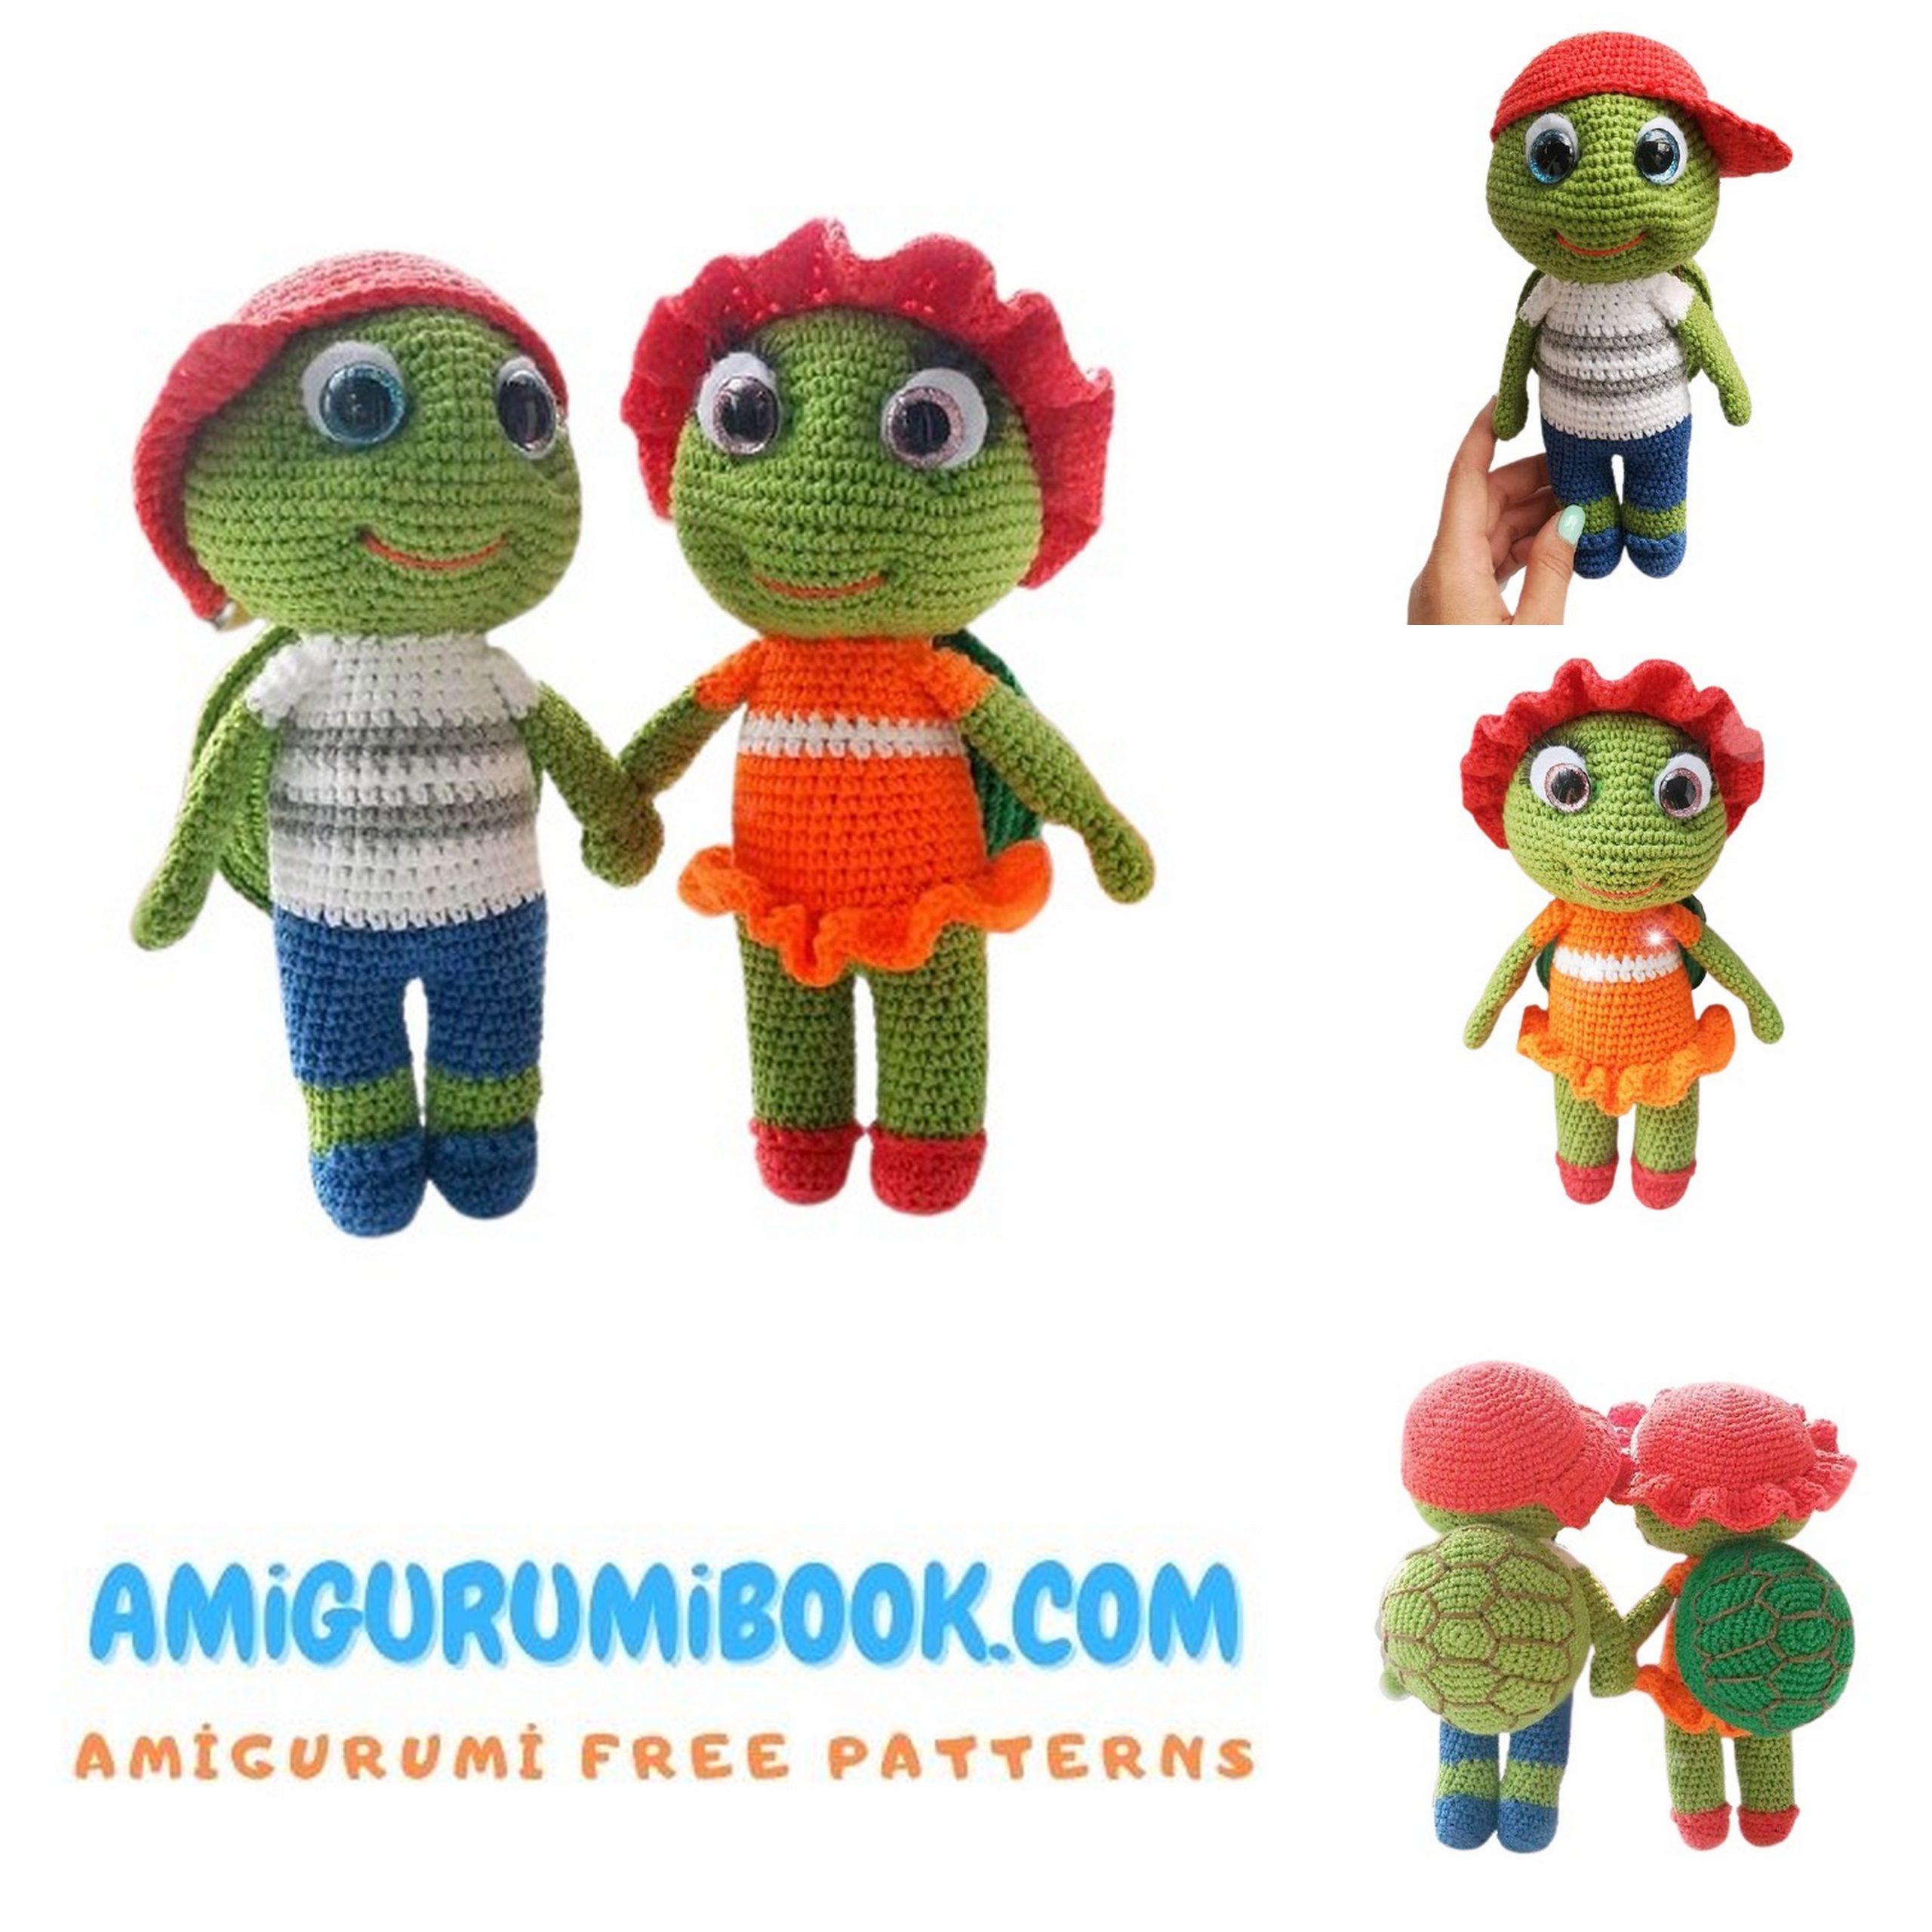
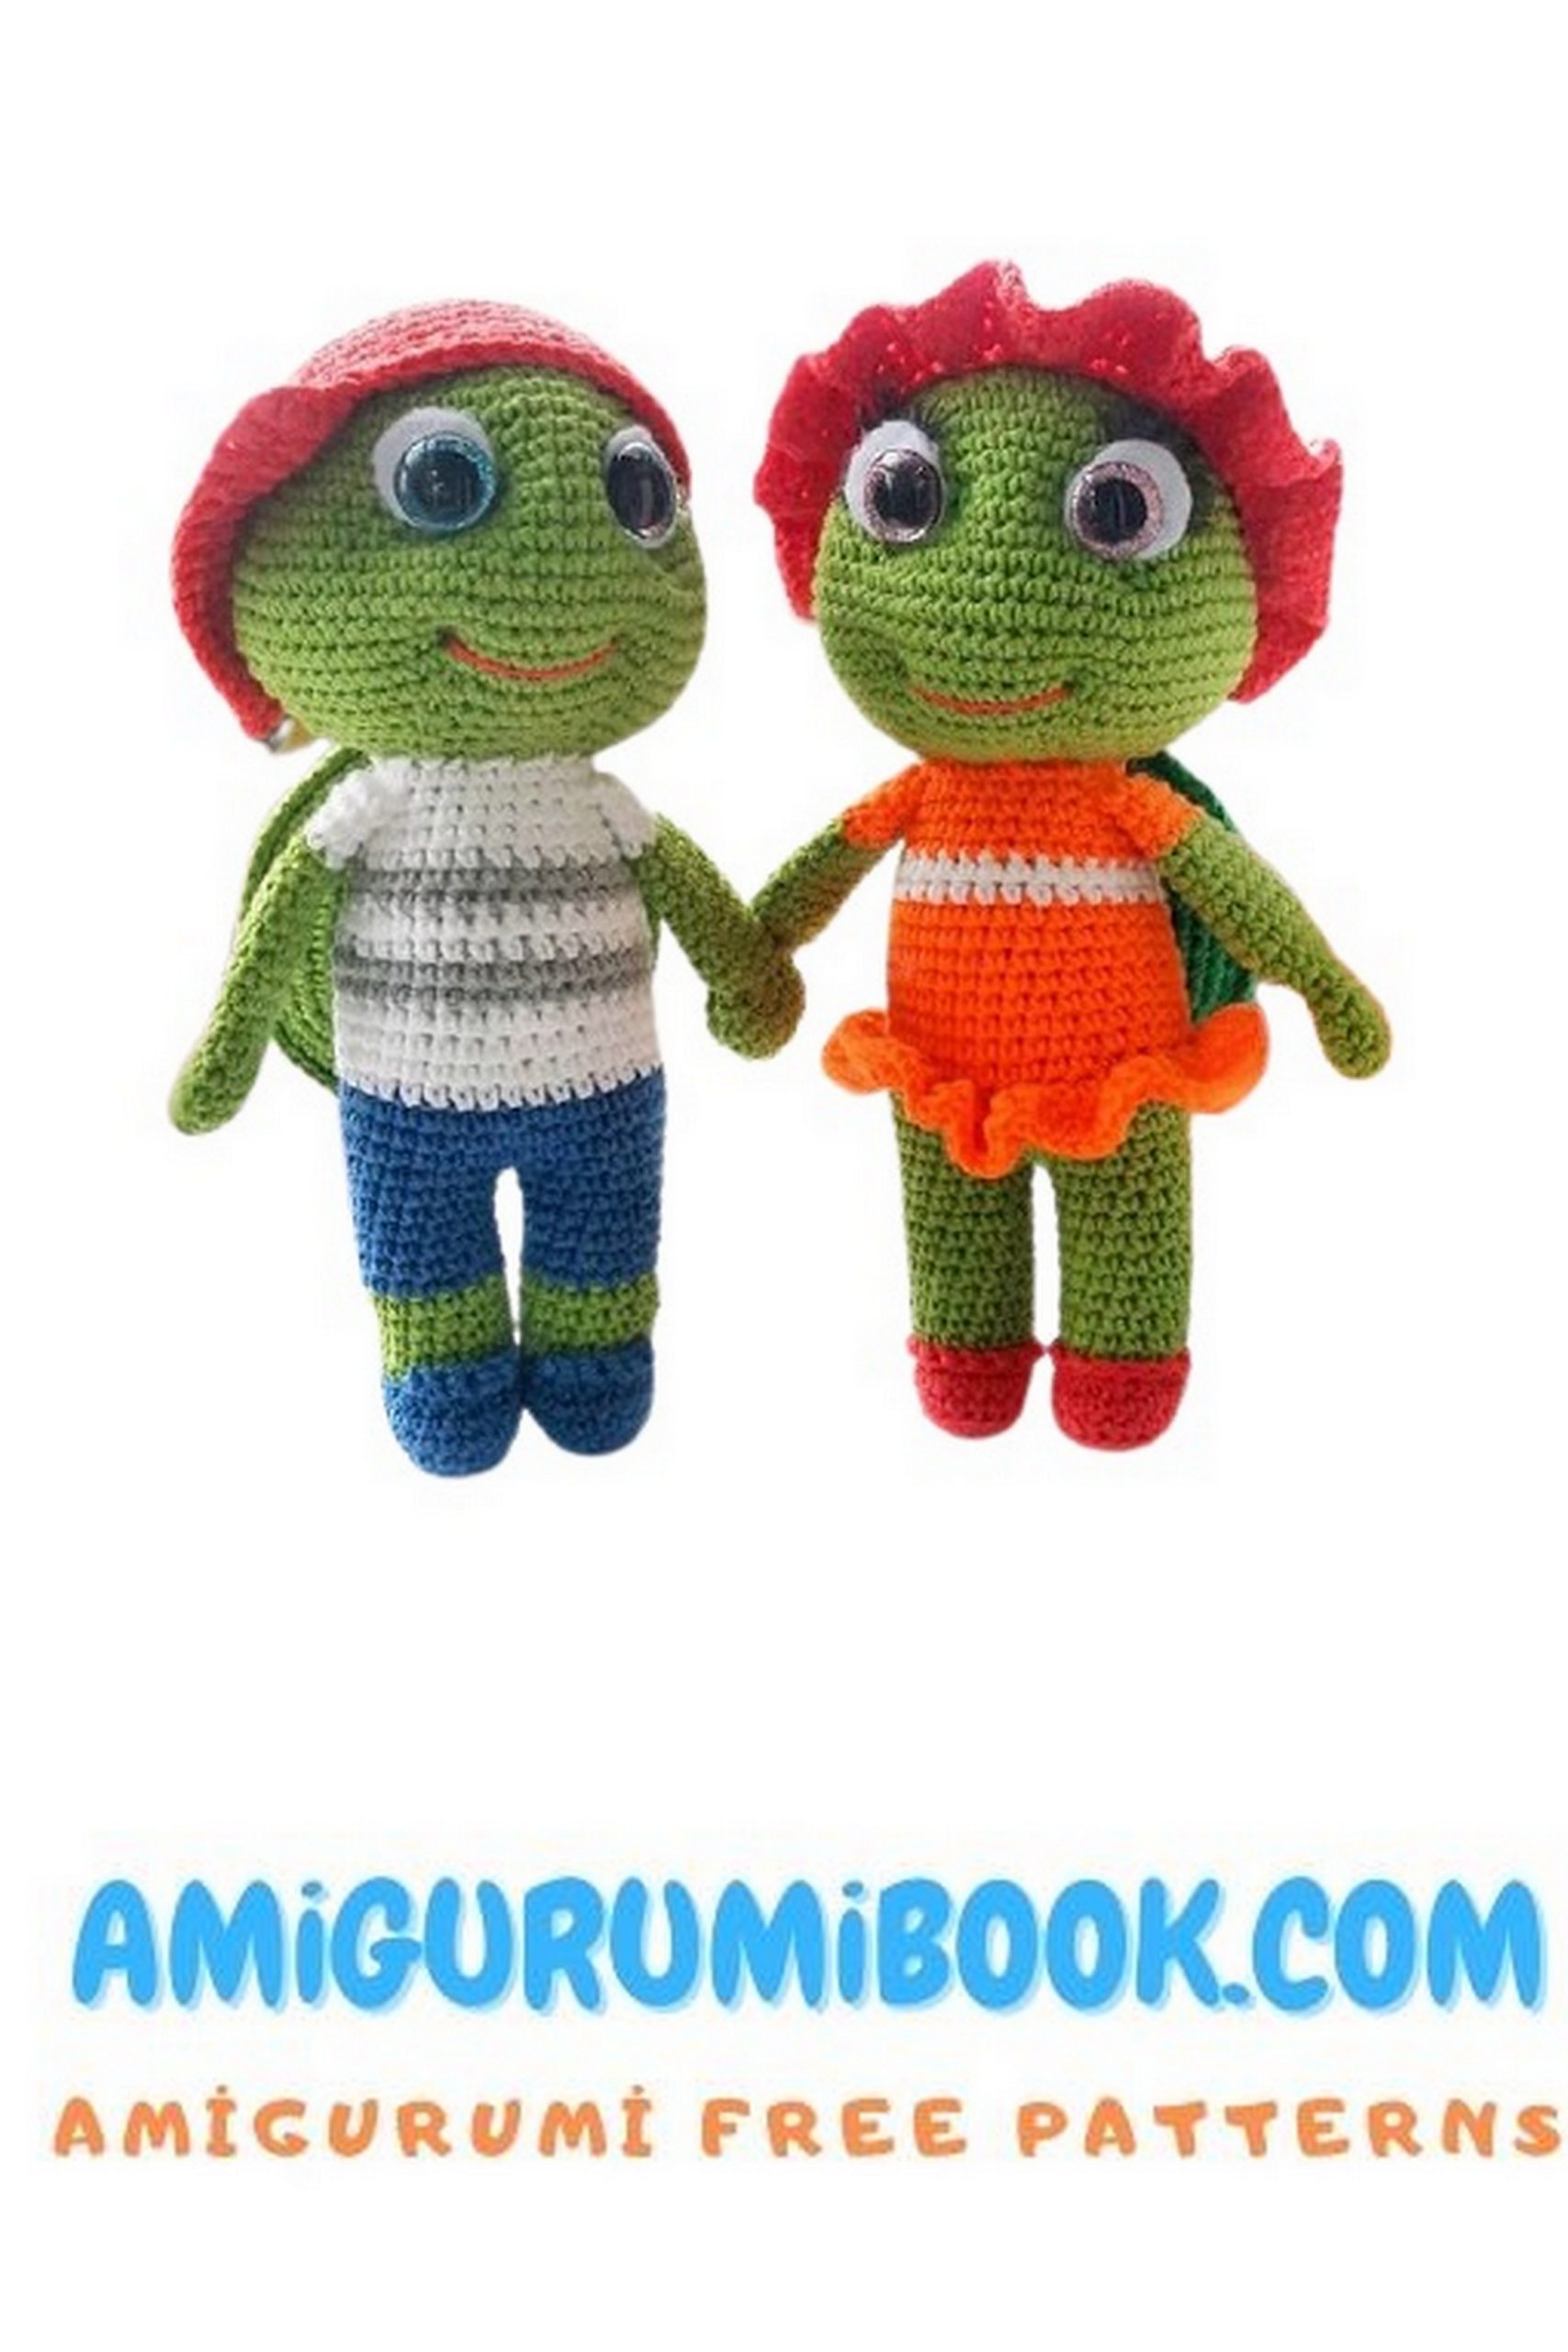
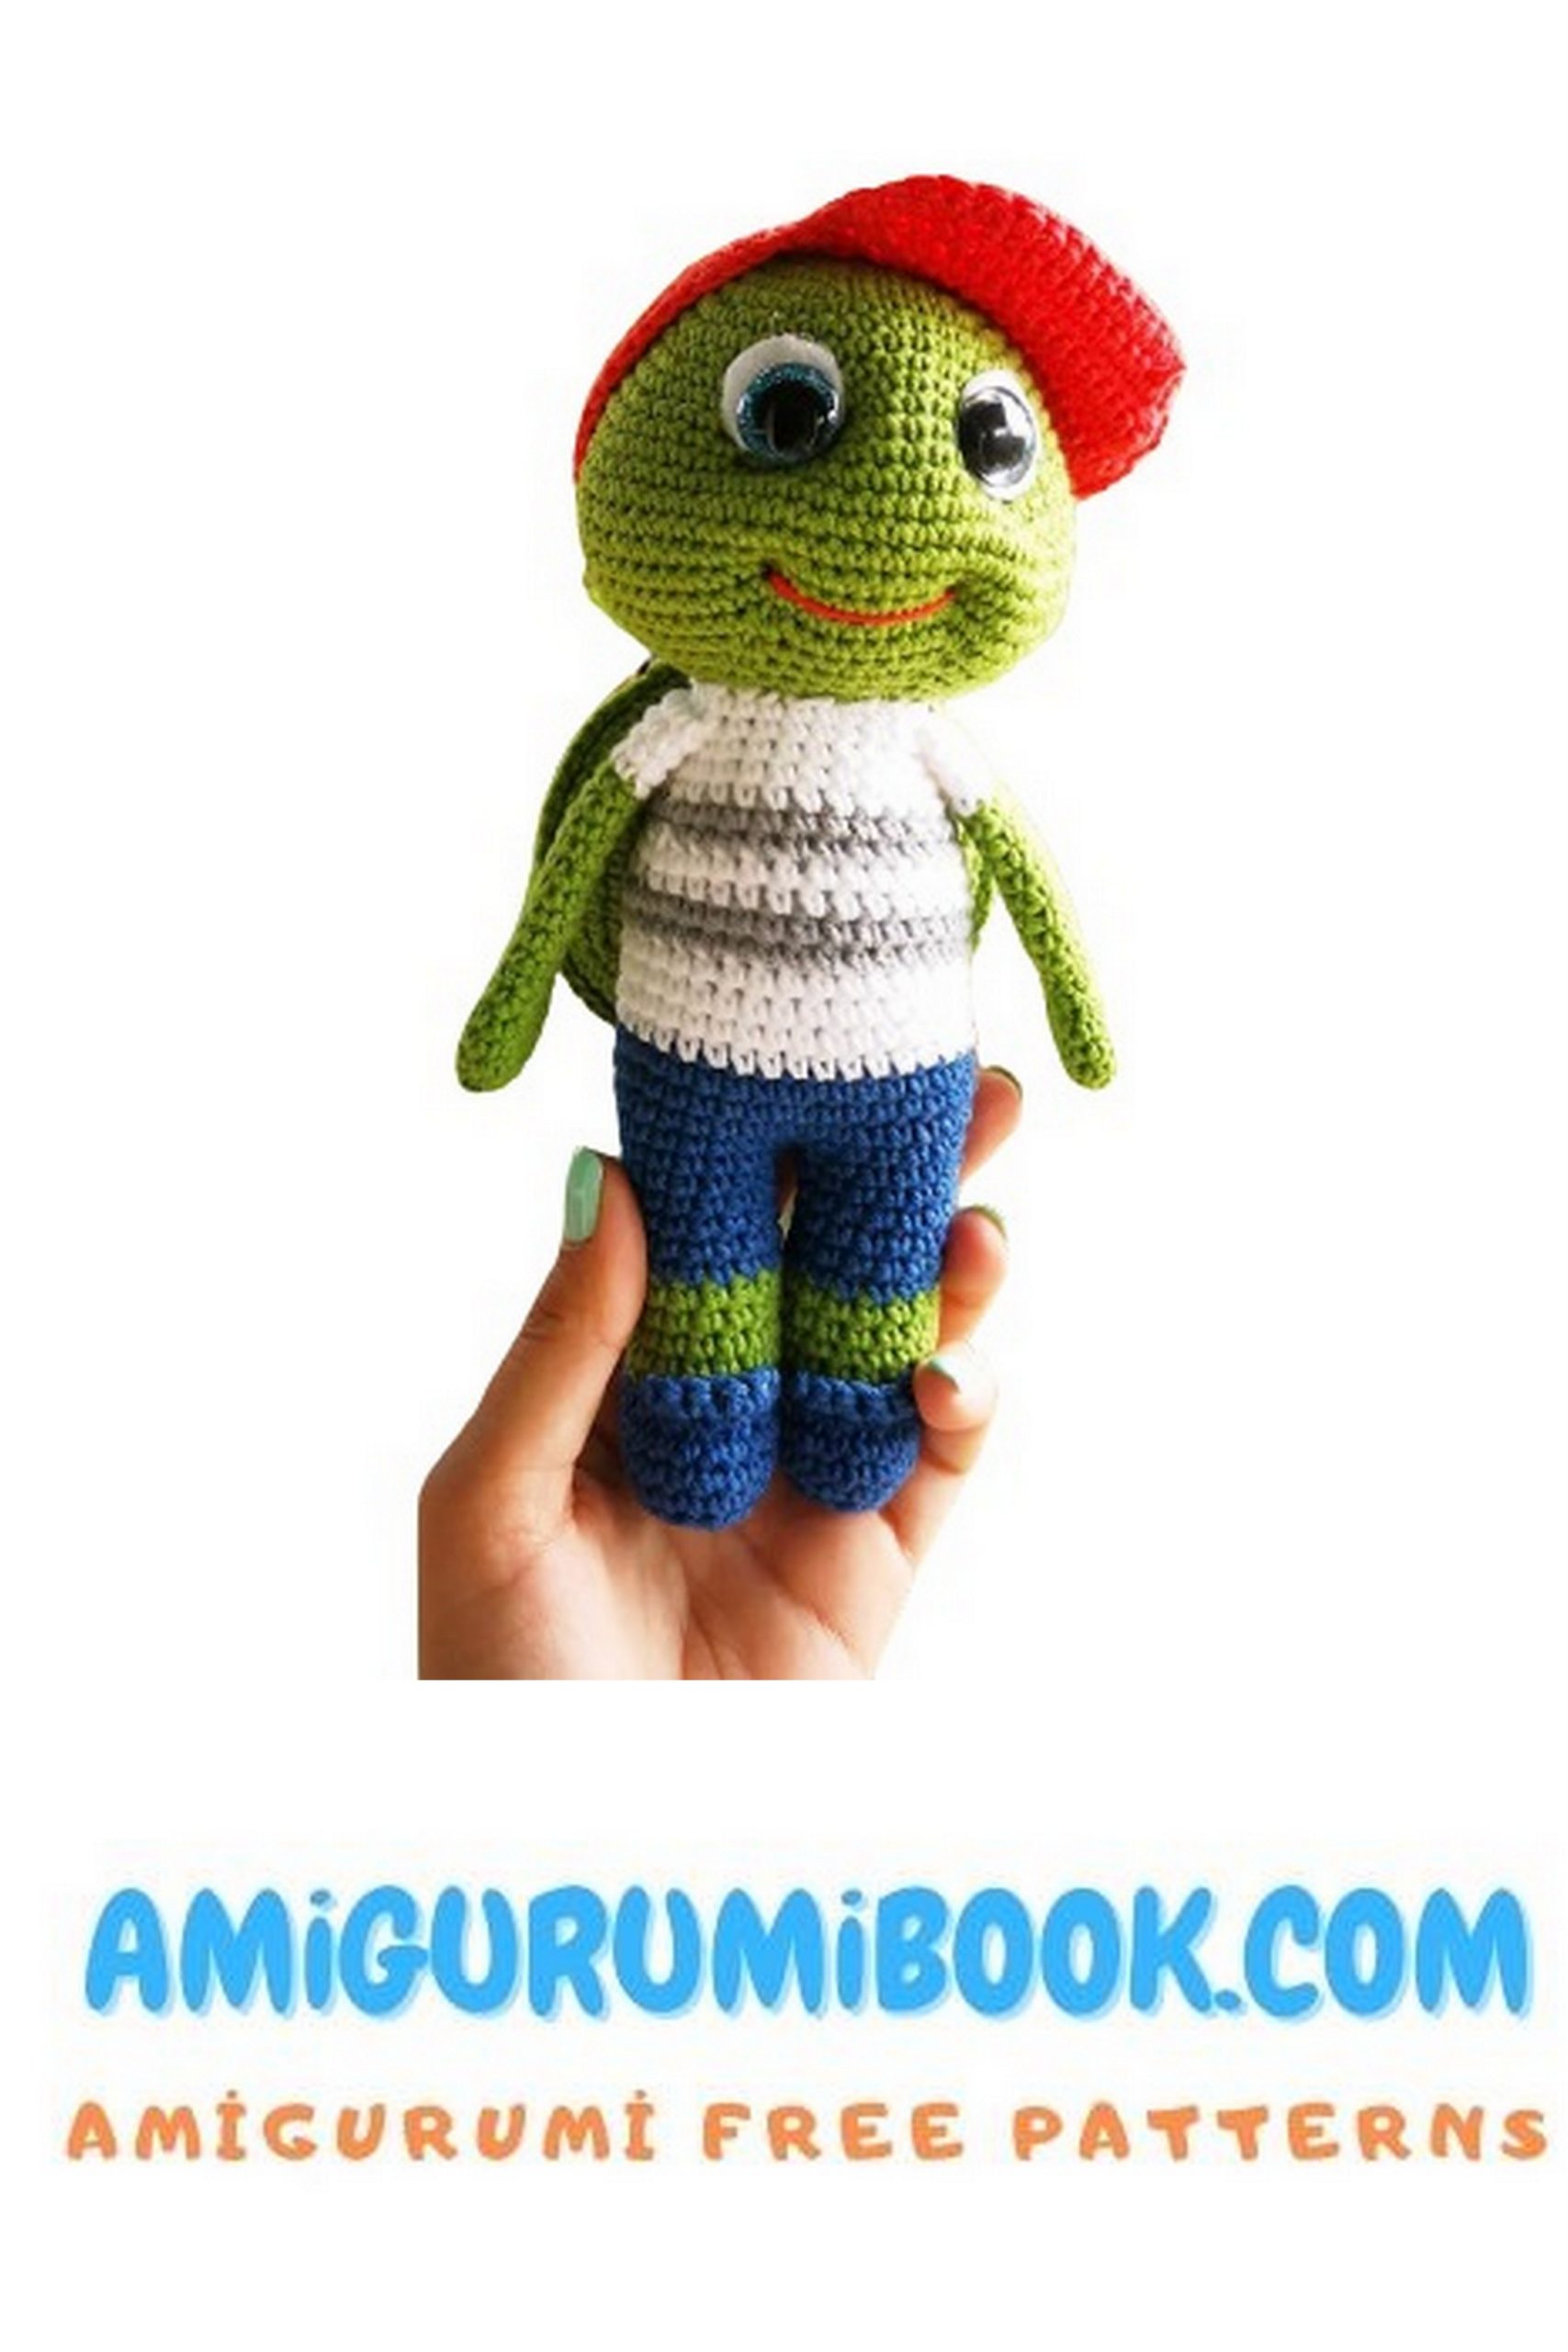
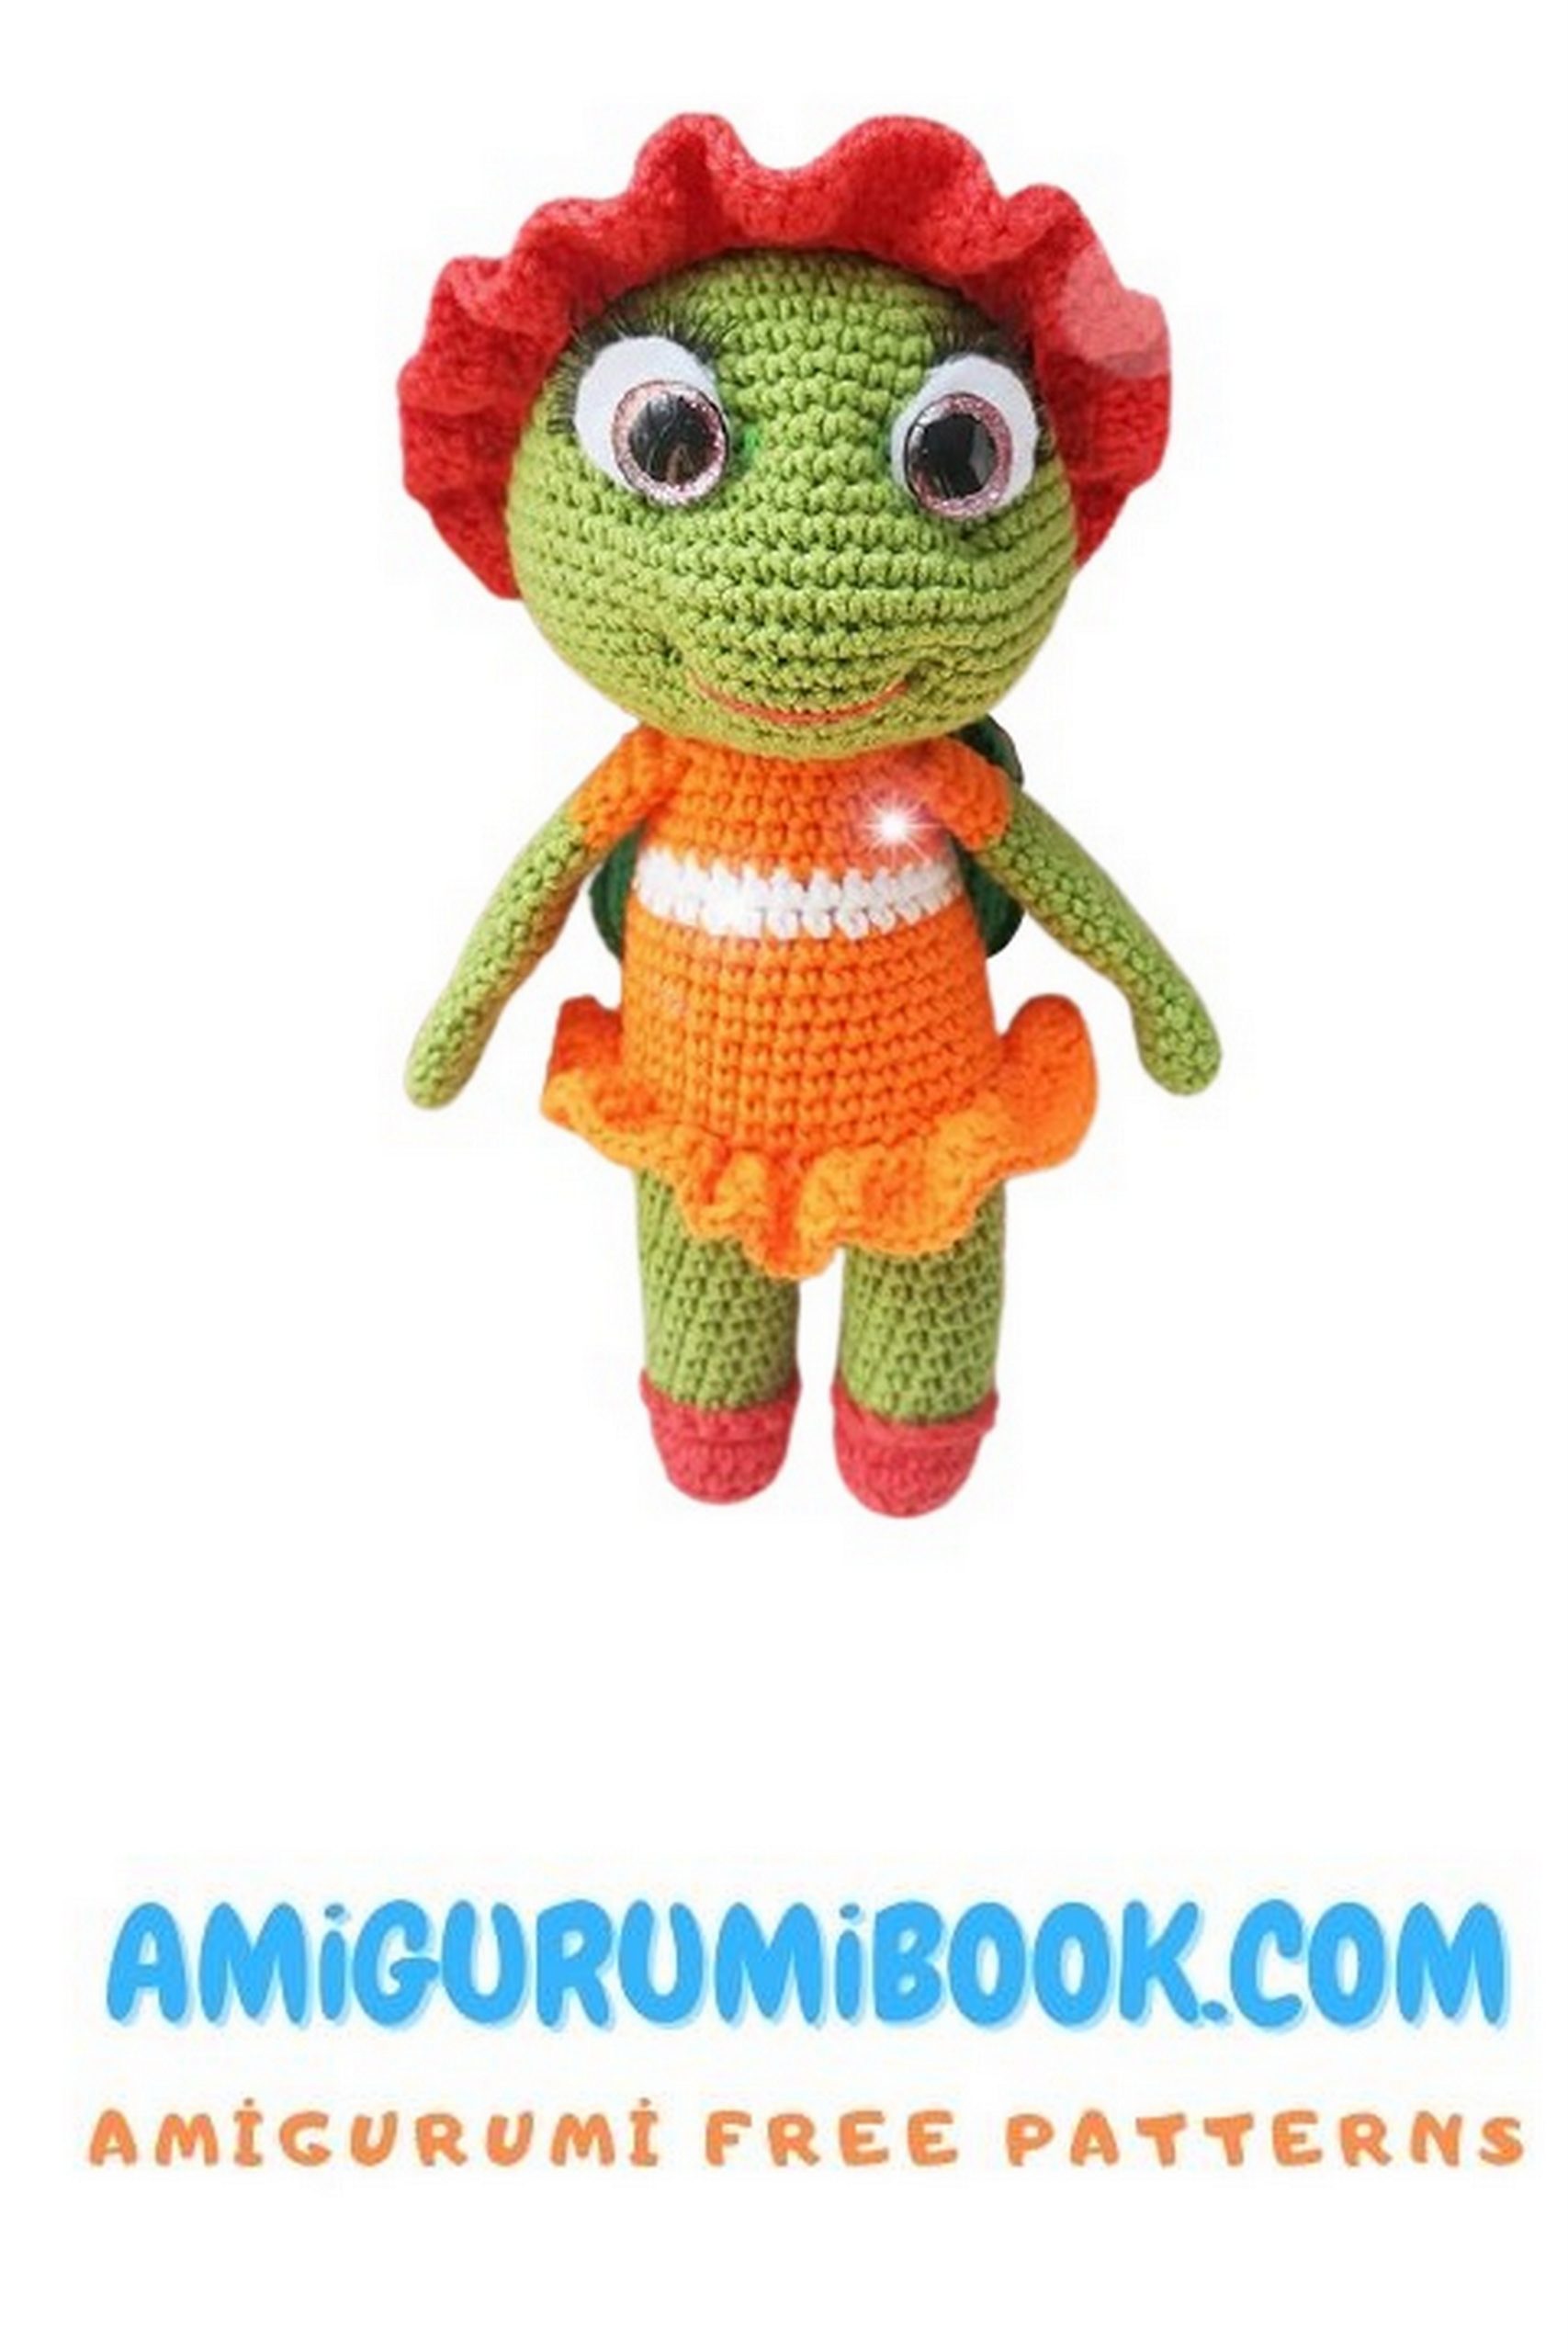
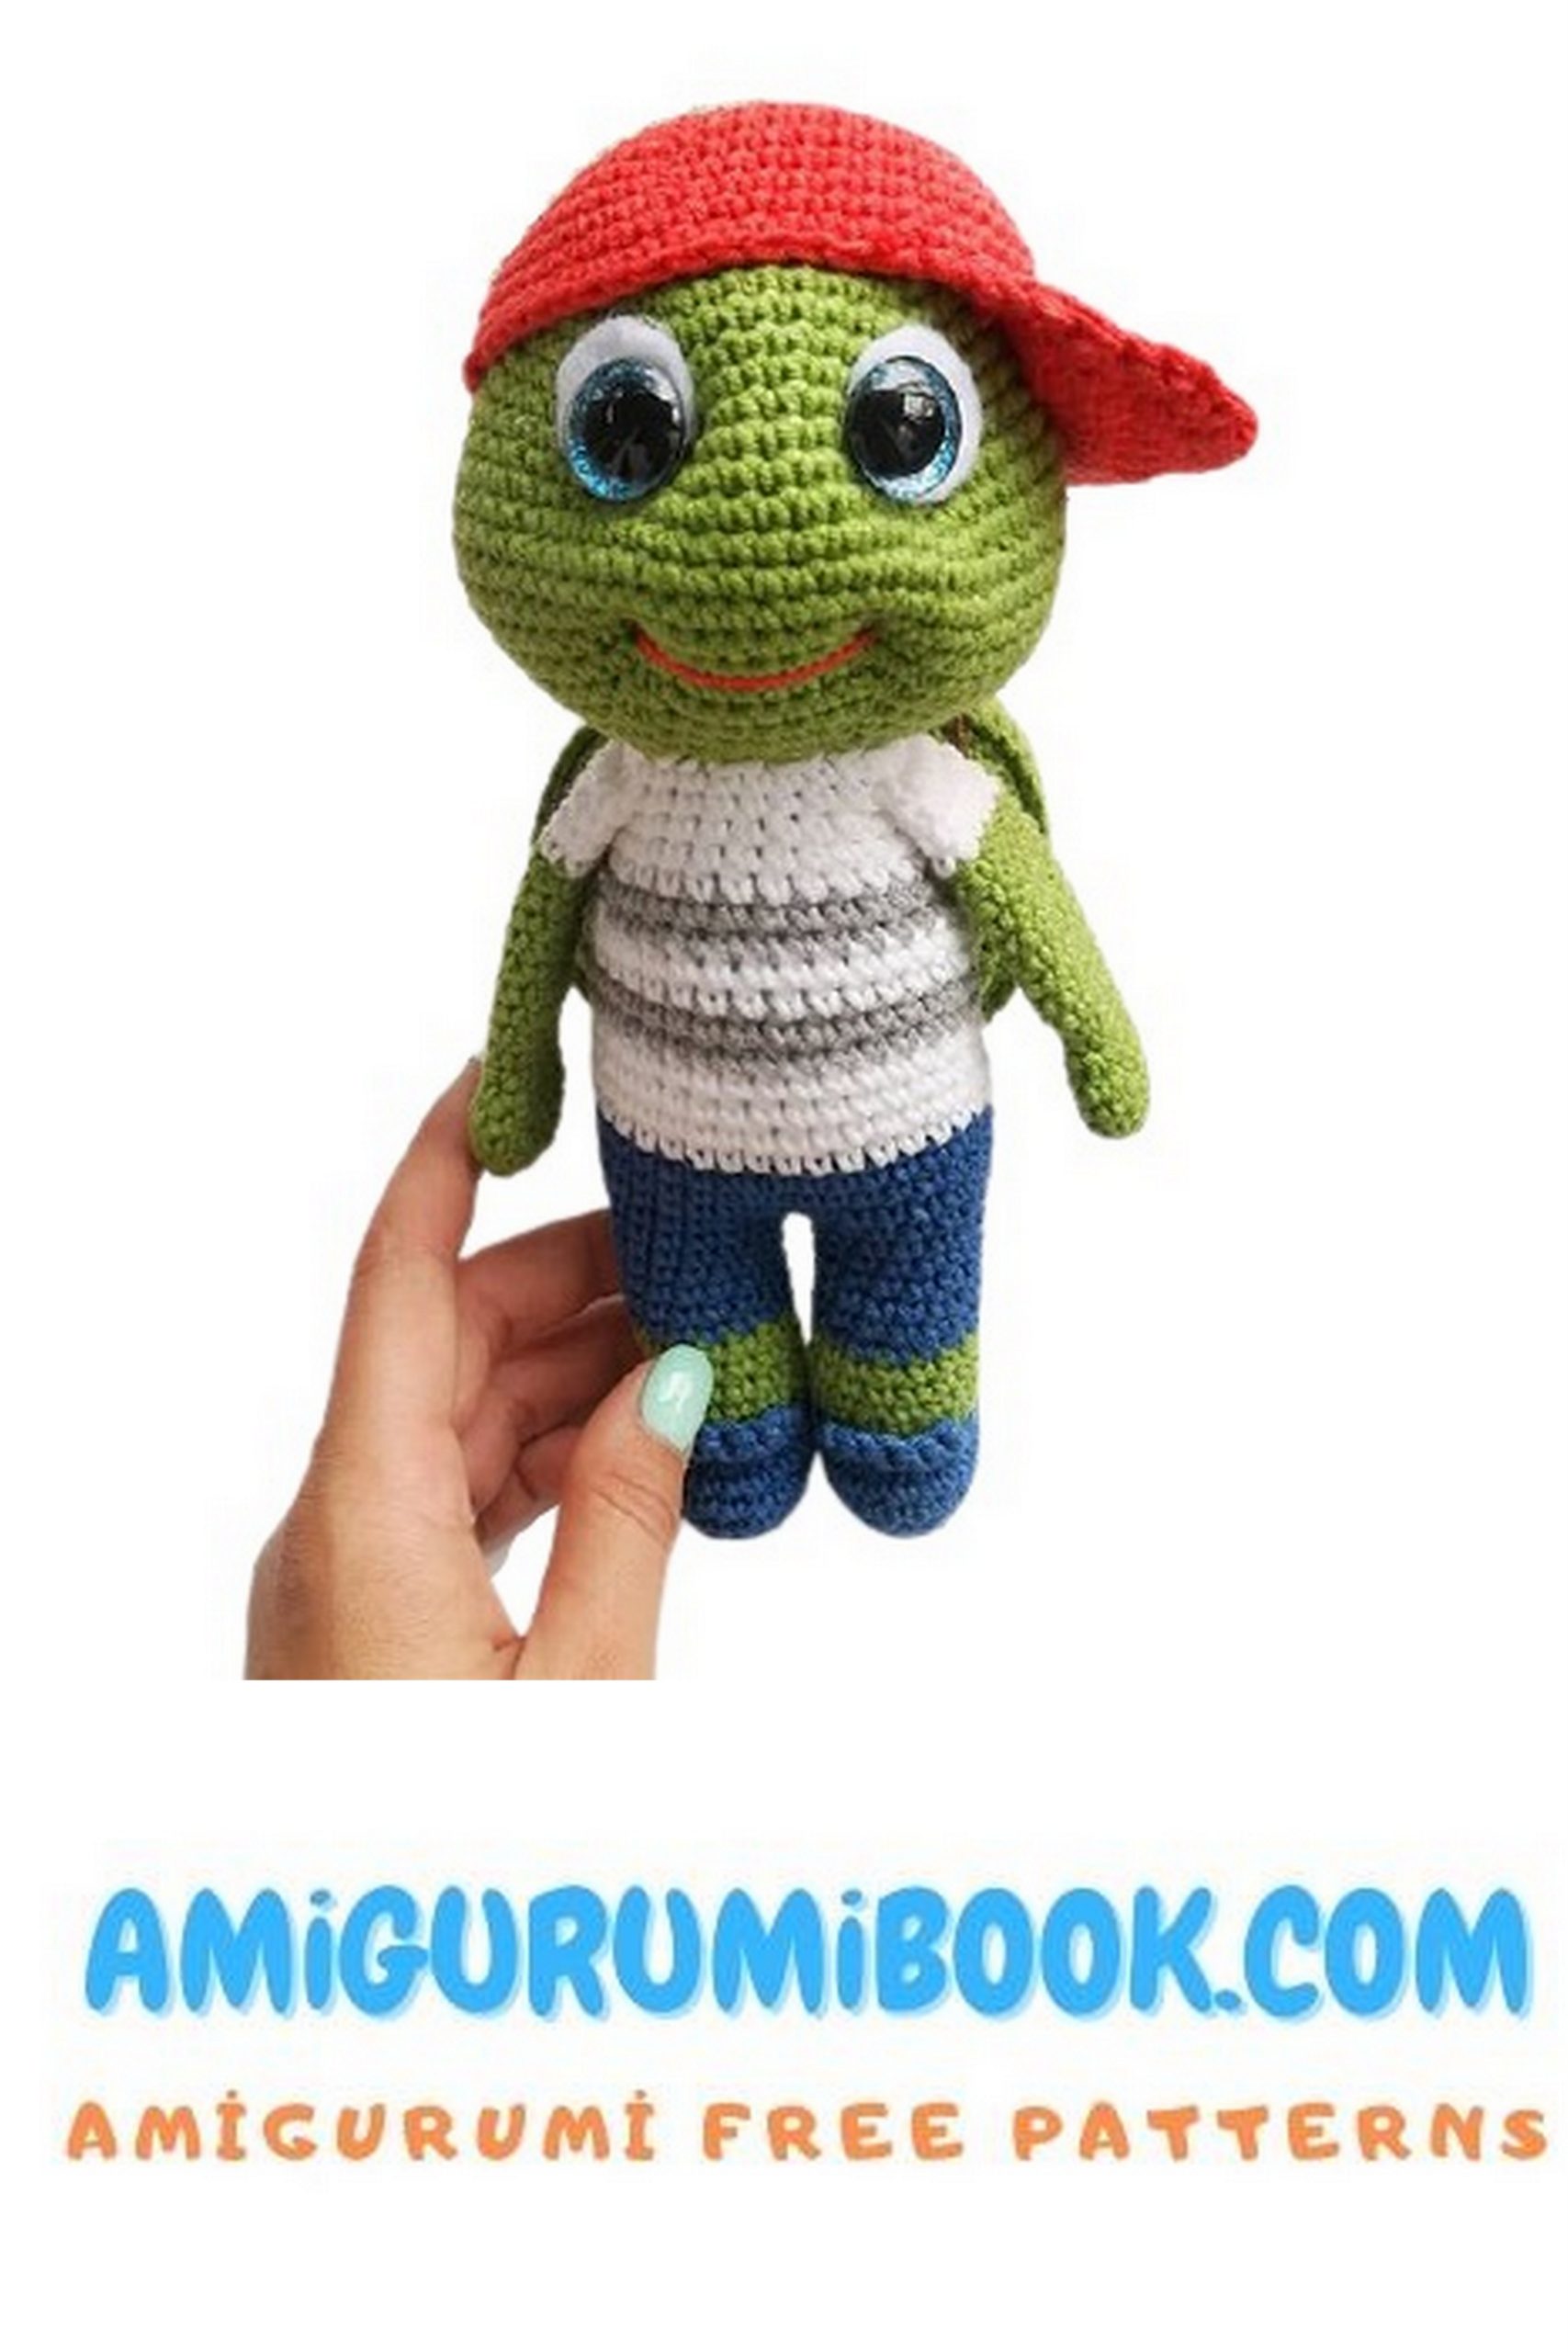
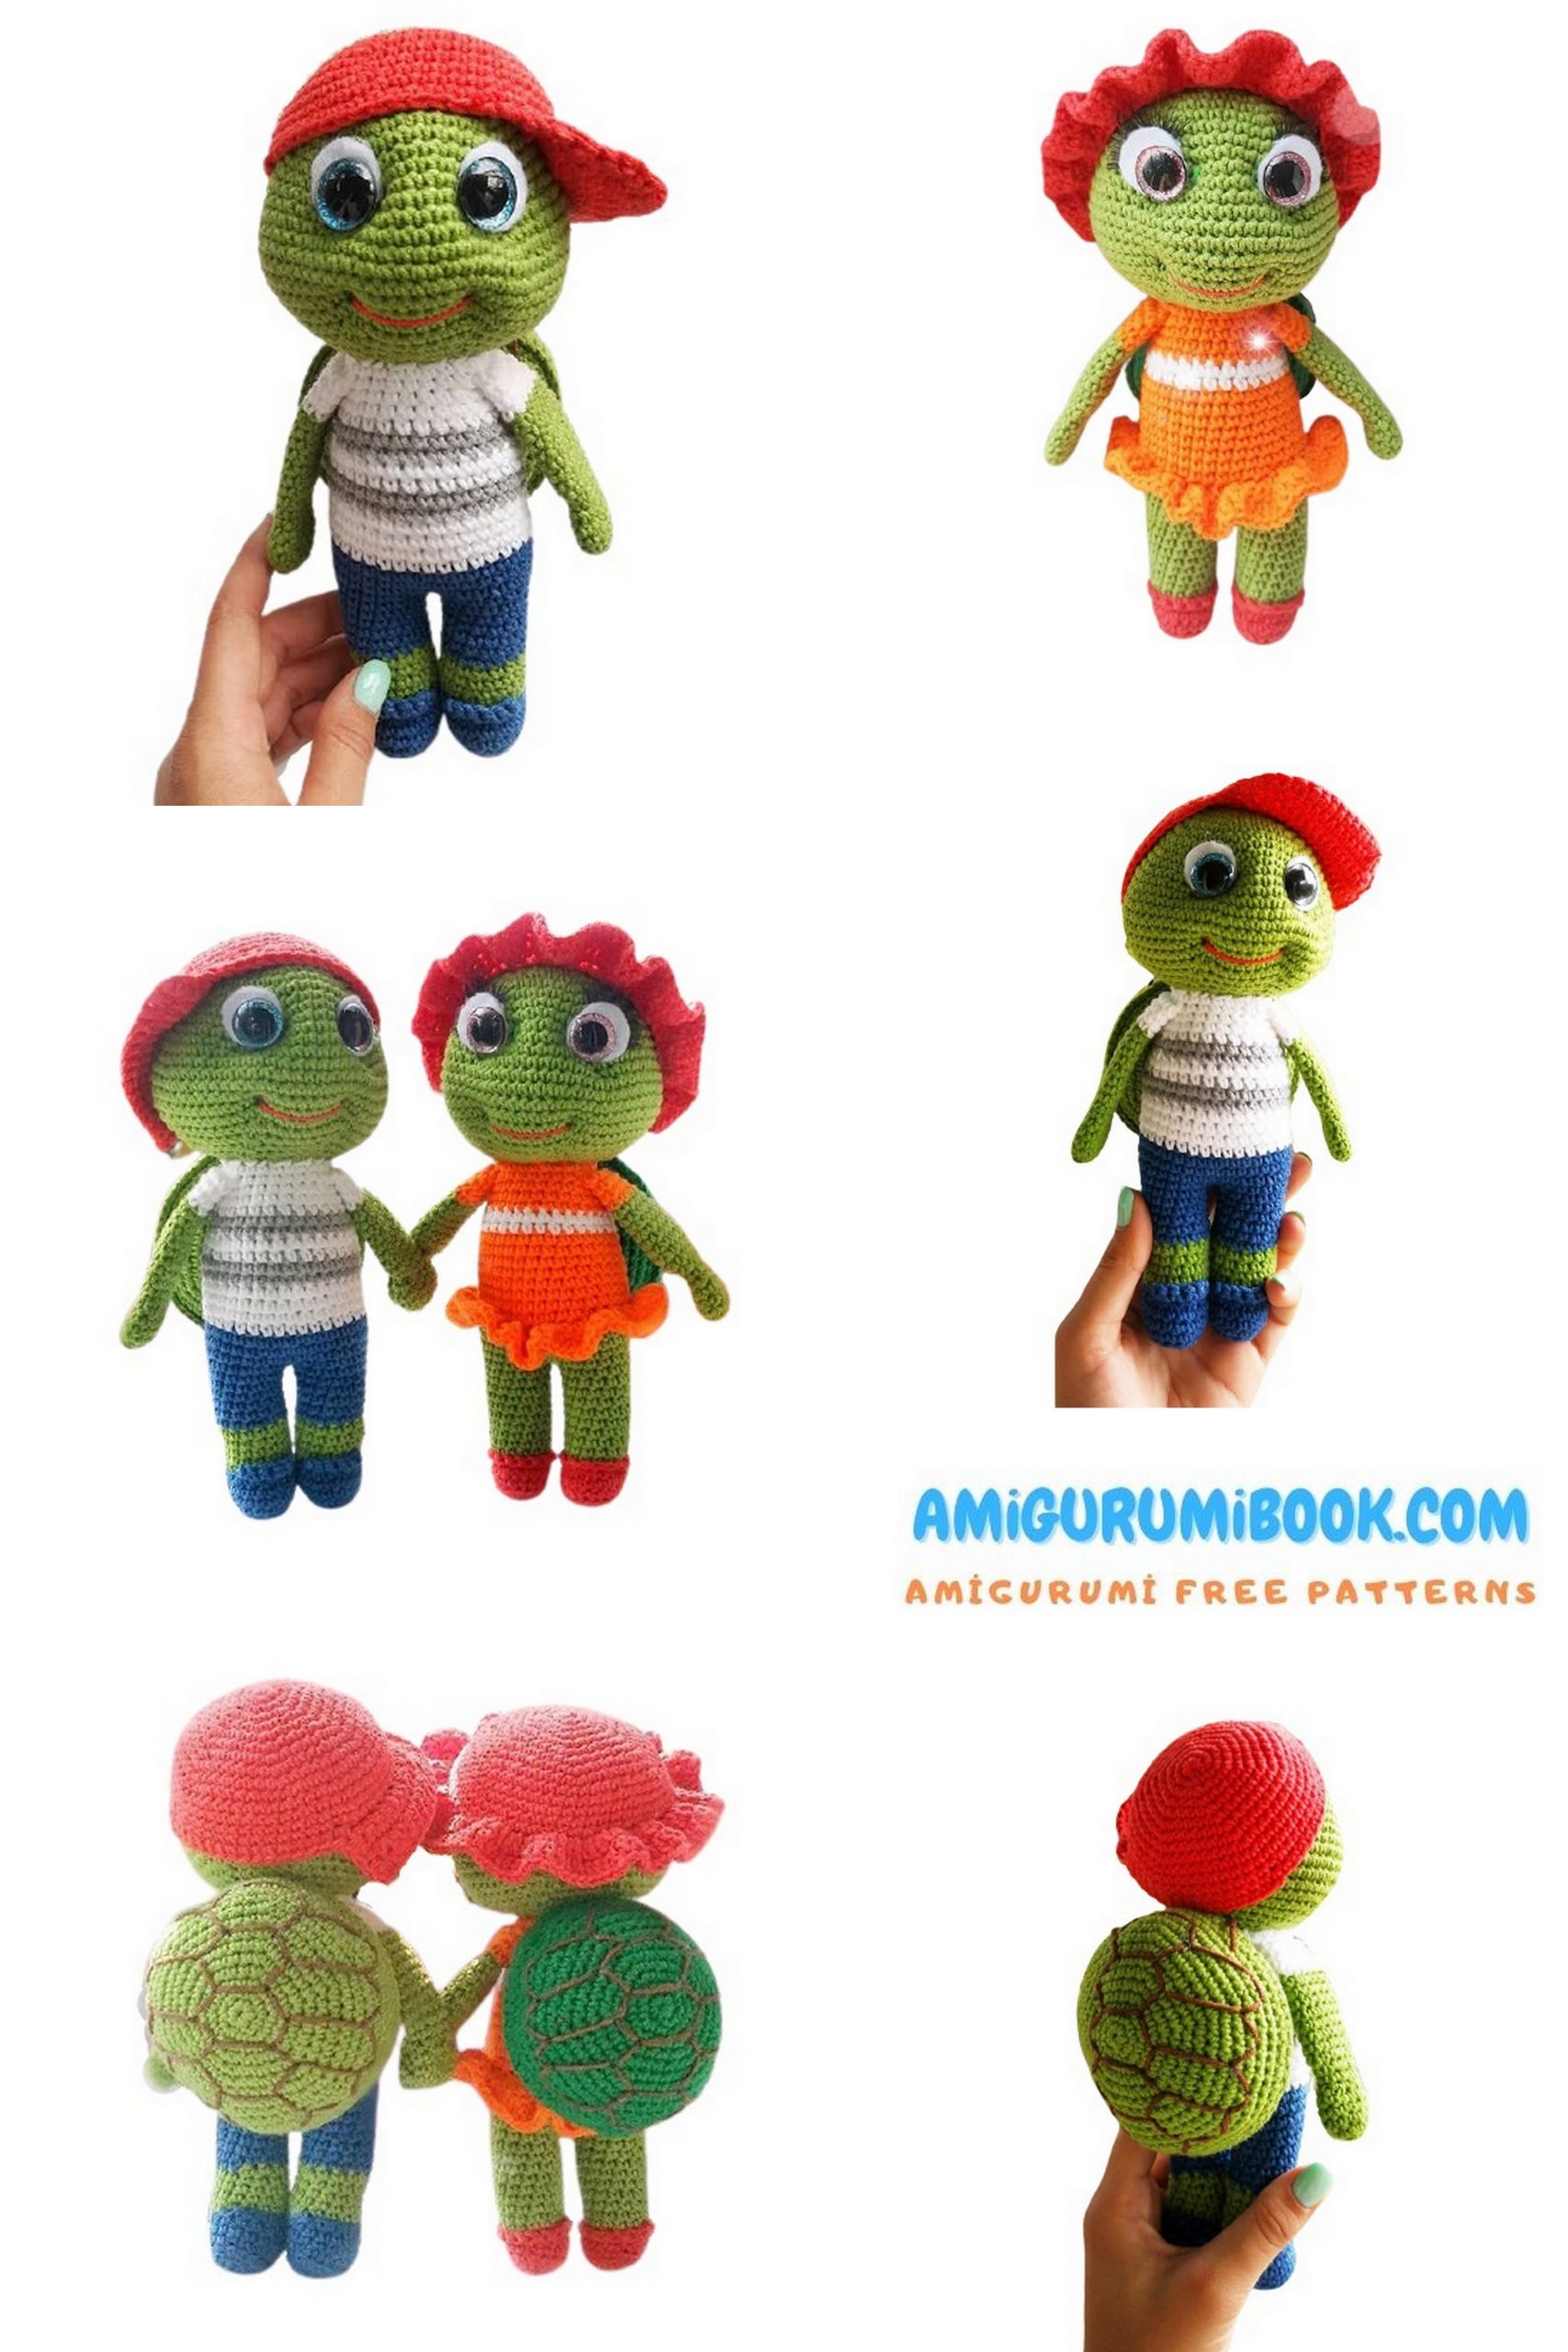
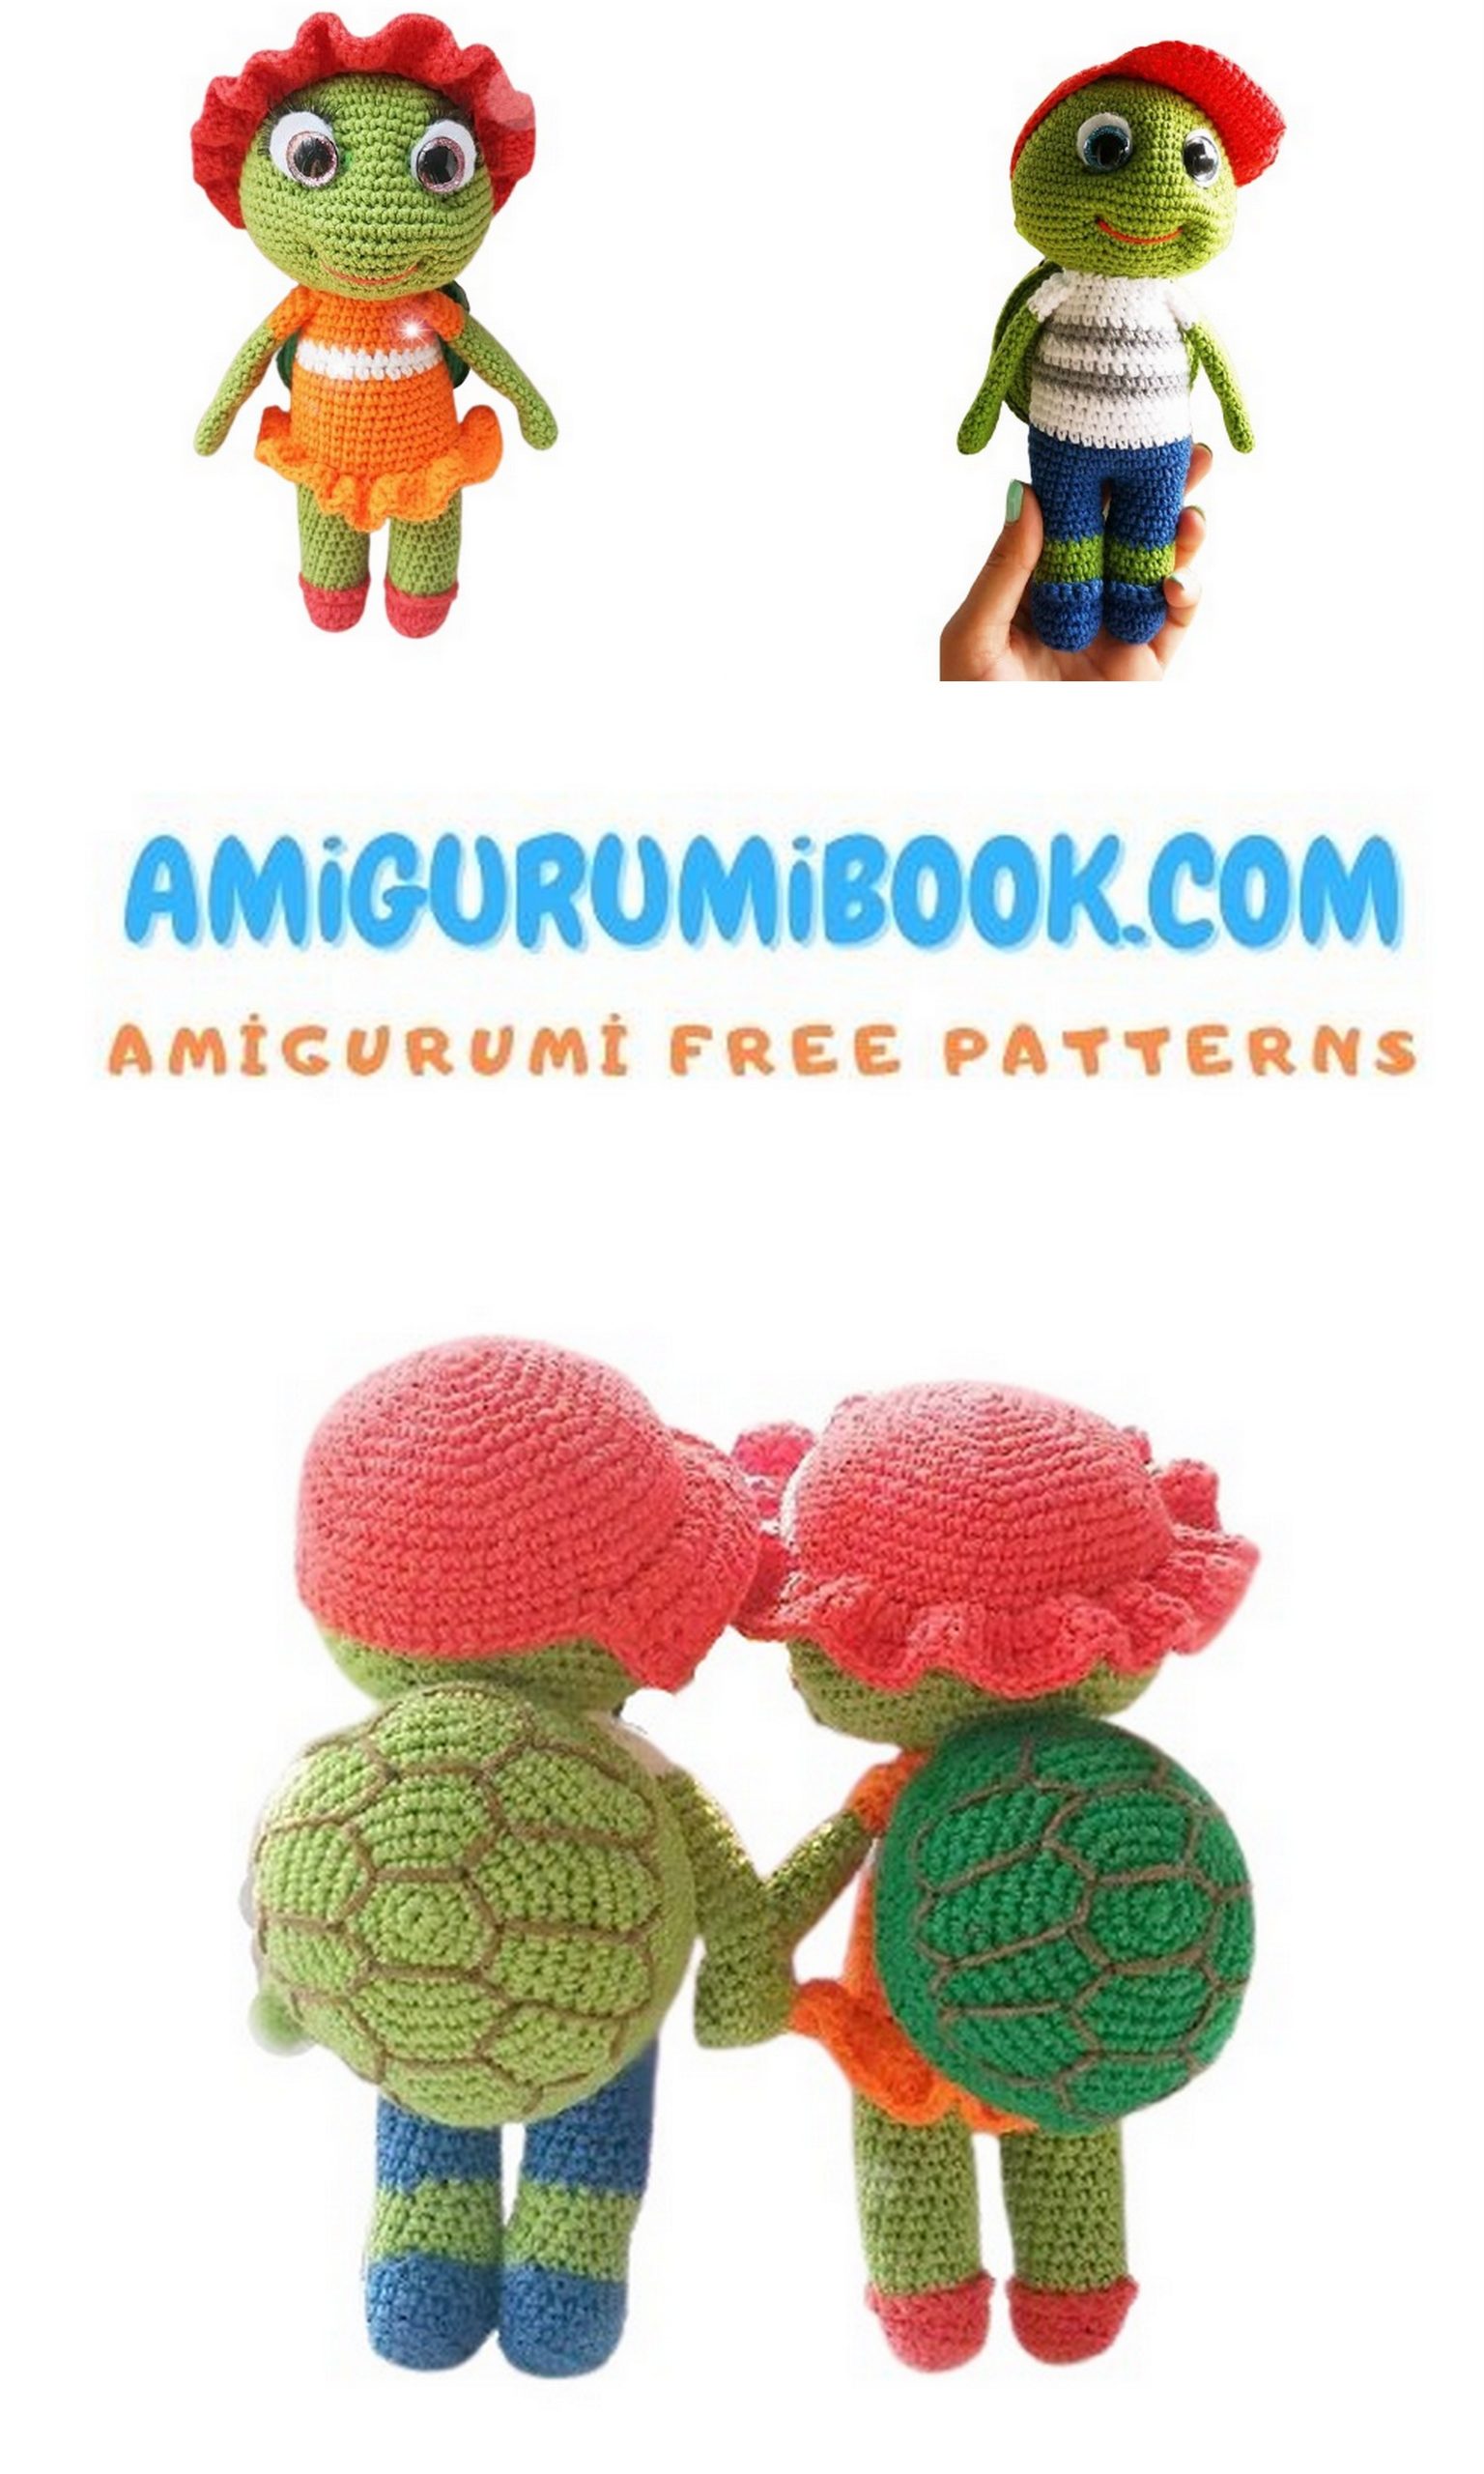
Happy Turtles Amigurumi Free Pattern
I continue to share free amigurumi animal patterns for you. You will also love these cute amigurumi turtle patterns.
Abbrevations:
sc – single crochet
dc – double crochet
inc – increase
dec – decrease
ch – chain
sl-st – slip stitch
(.) – point
Devices and materials
1. Any smooth yarn (semi-cotton, cotton, acrylic. My whole toy is knitted from yarnart jeans) green about 30 grams (per toy).
2. The same yarn in other colors, for a boy 4 colors, for a girl 3 colors. Approximately 10 – 15 gr.
3. Hook 2.5
4. Filler
5. Eyes on a secure attachment 16 mm
6. White felt
7. Cilia
8. Strong thread for tightening
9. Thread for mouth embroidery (I also used yarnart jeans)
10. Thread for embroidery of rhombuses on a brown shell
11. Stitching needle
12. Long needle for tightening
13. Needles with beads at the ends
14. Scissors
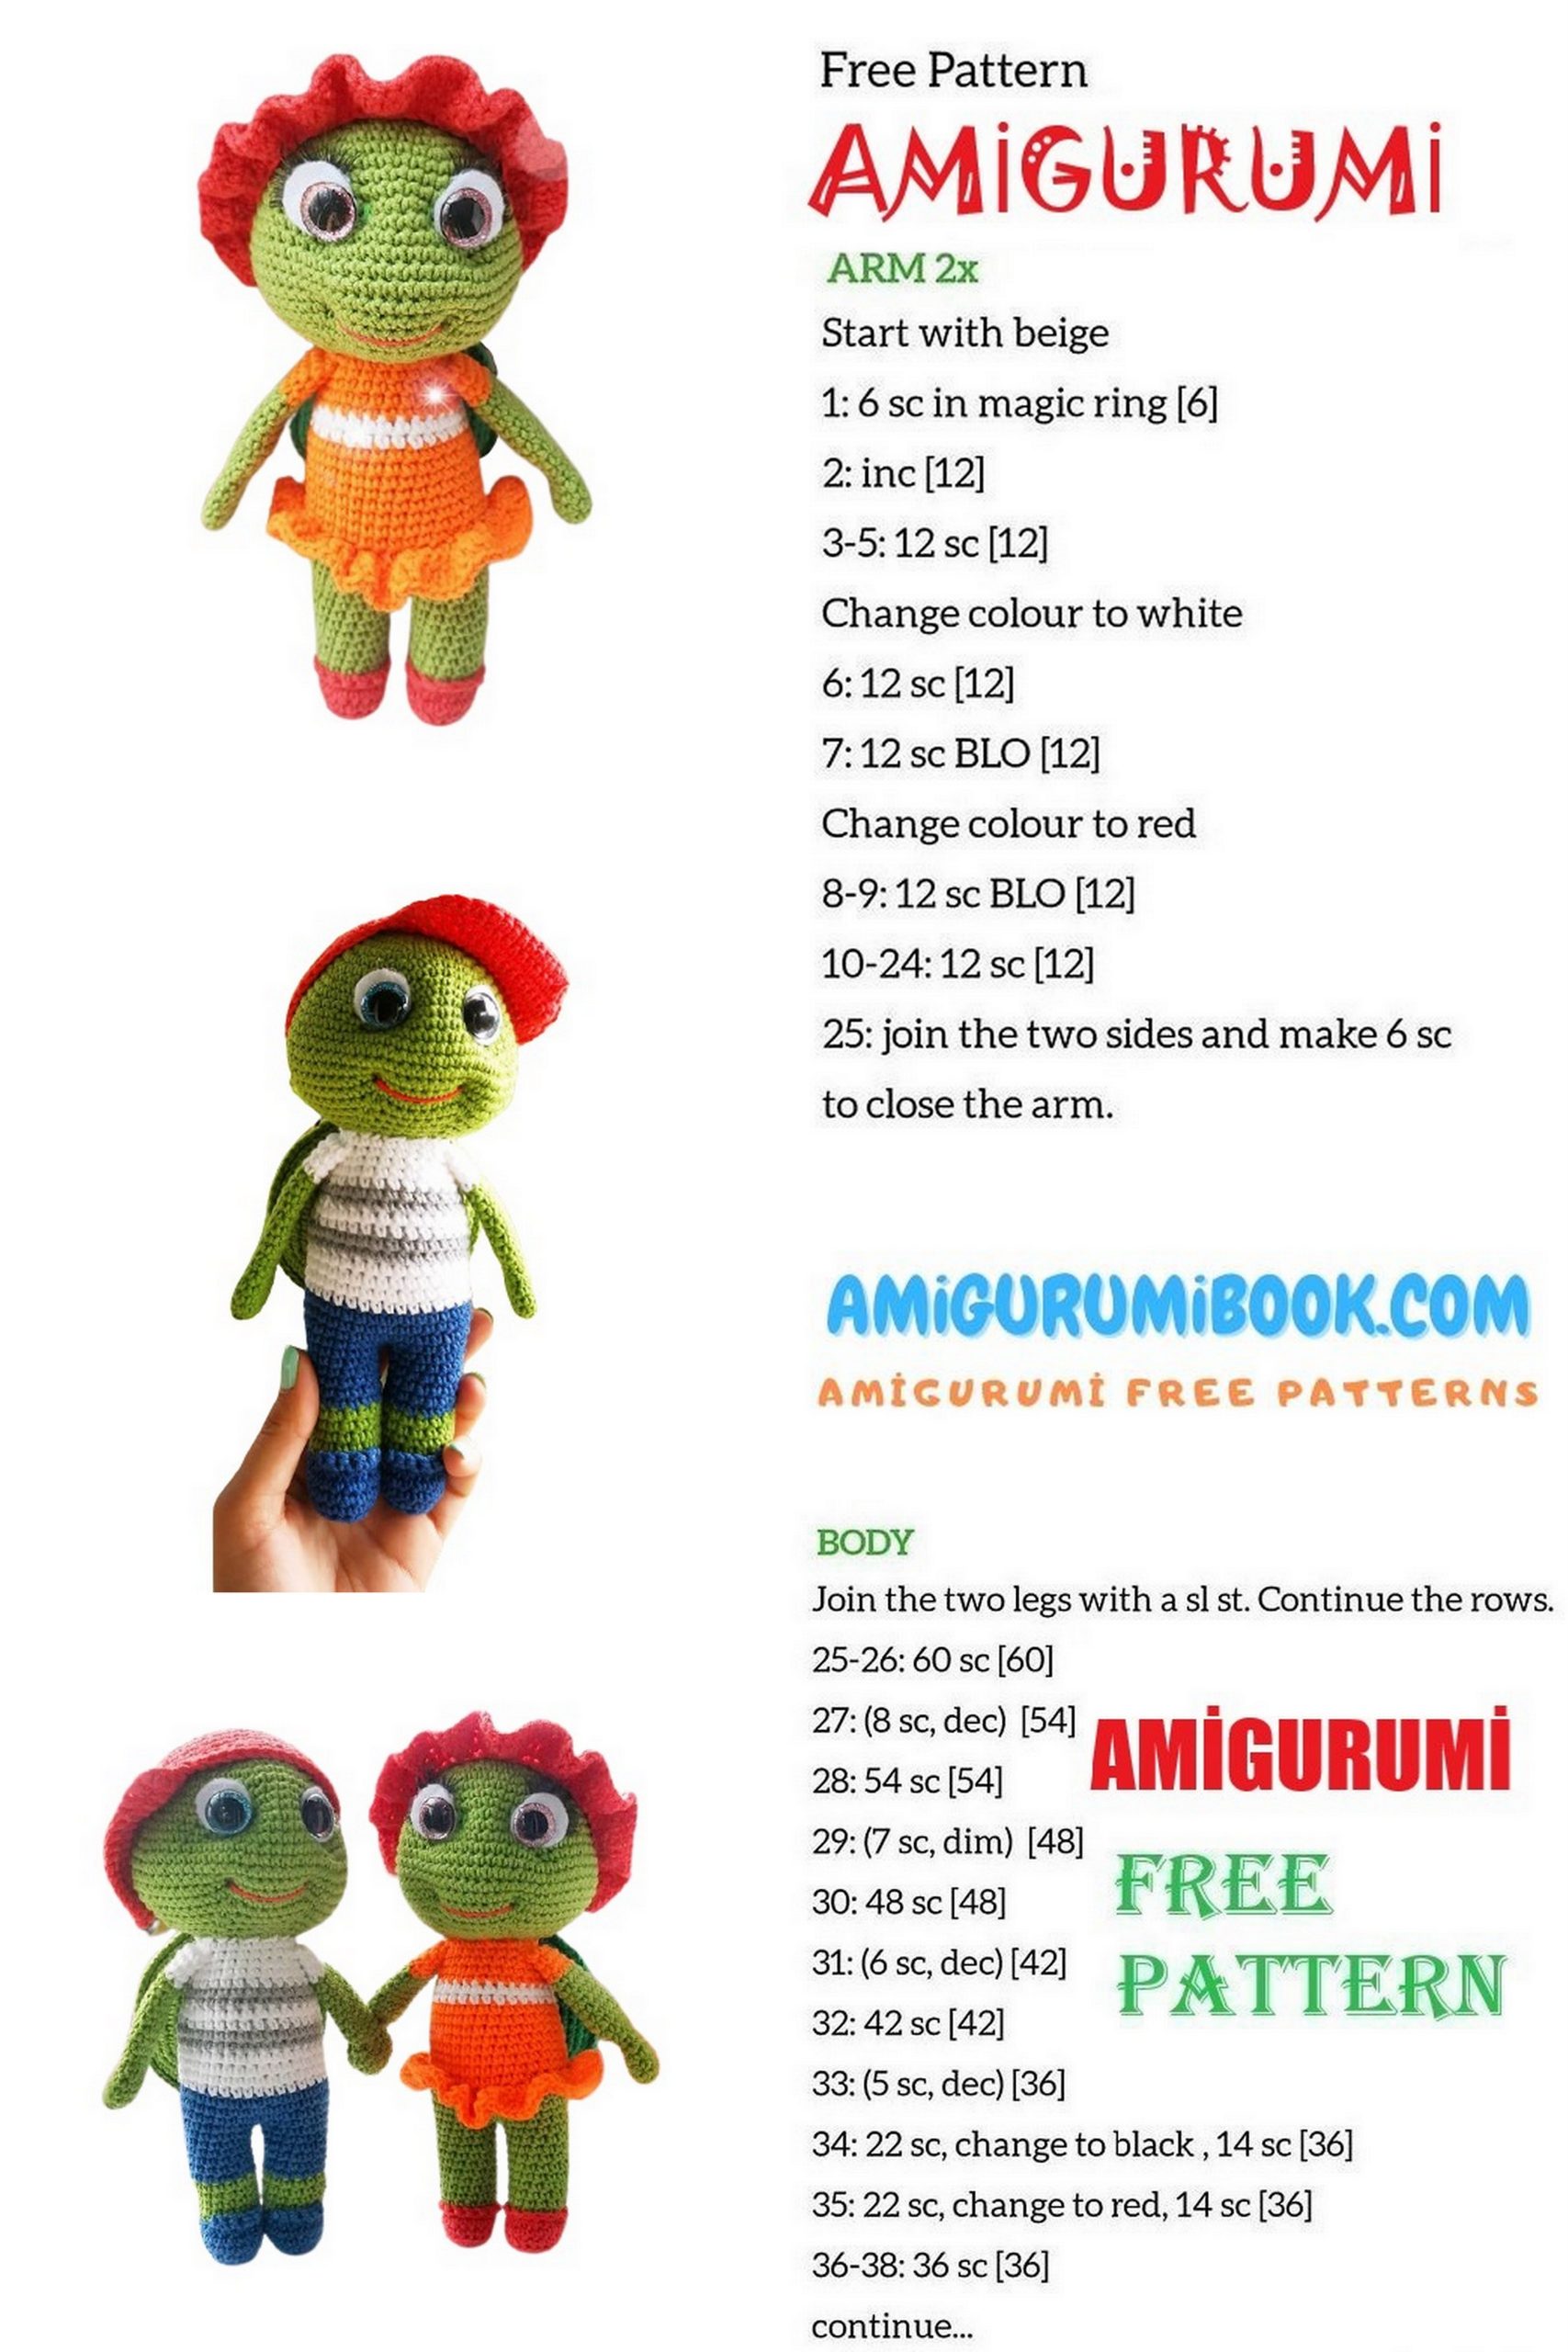
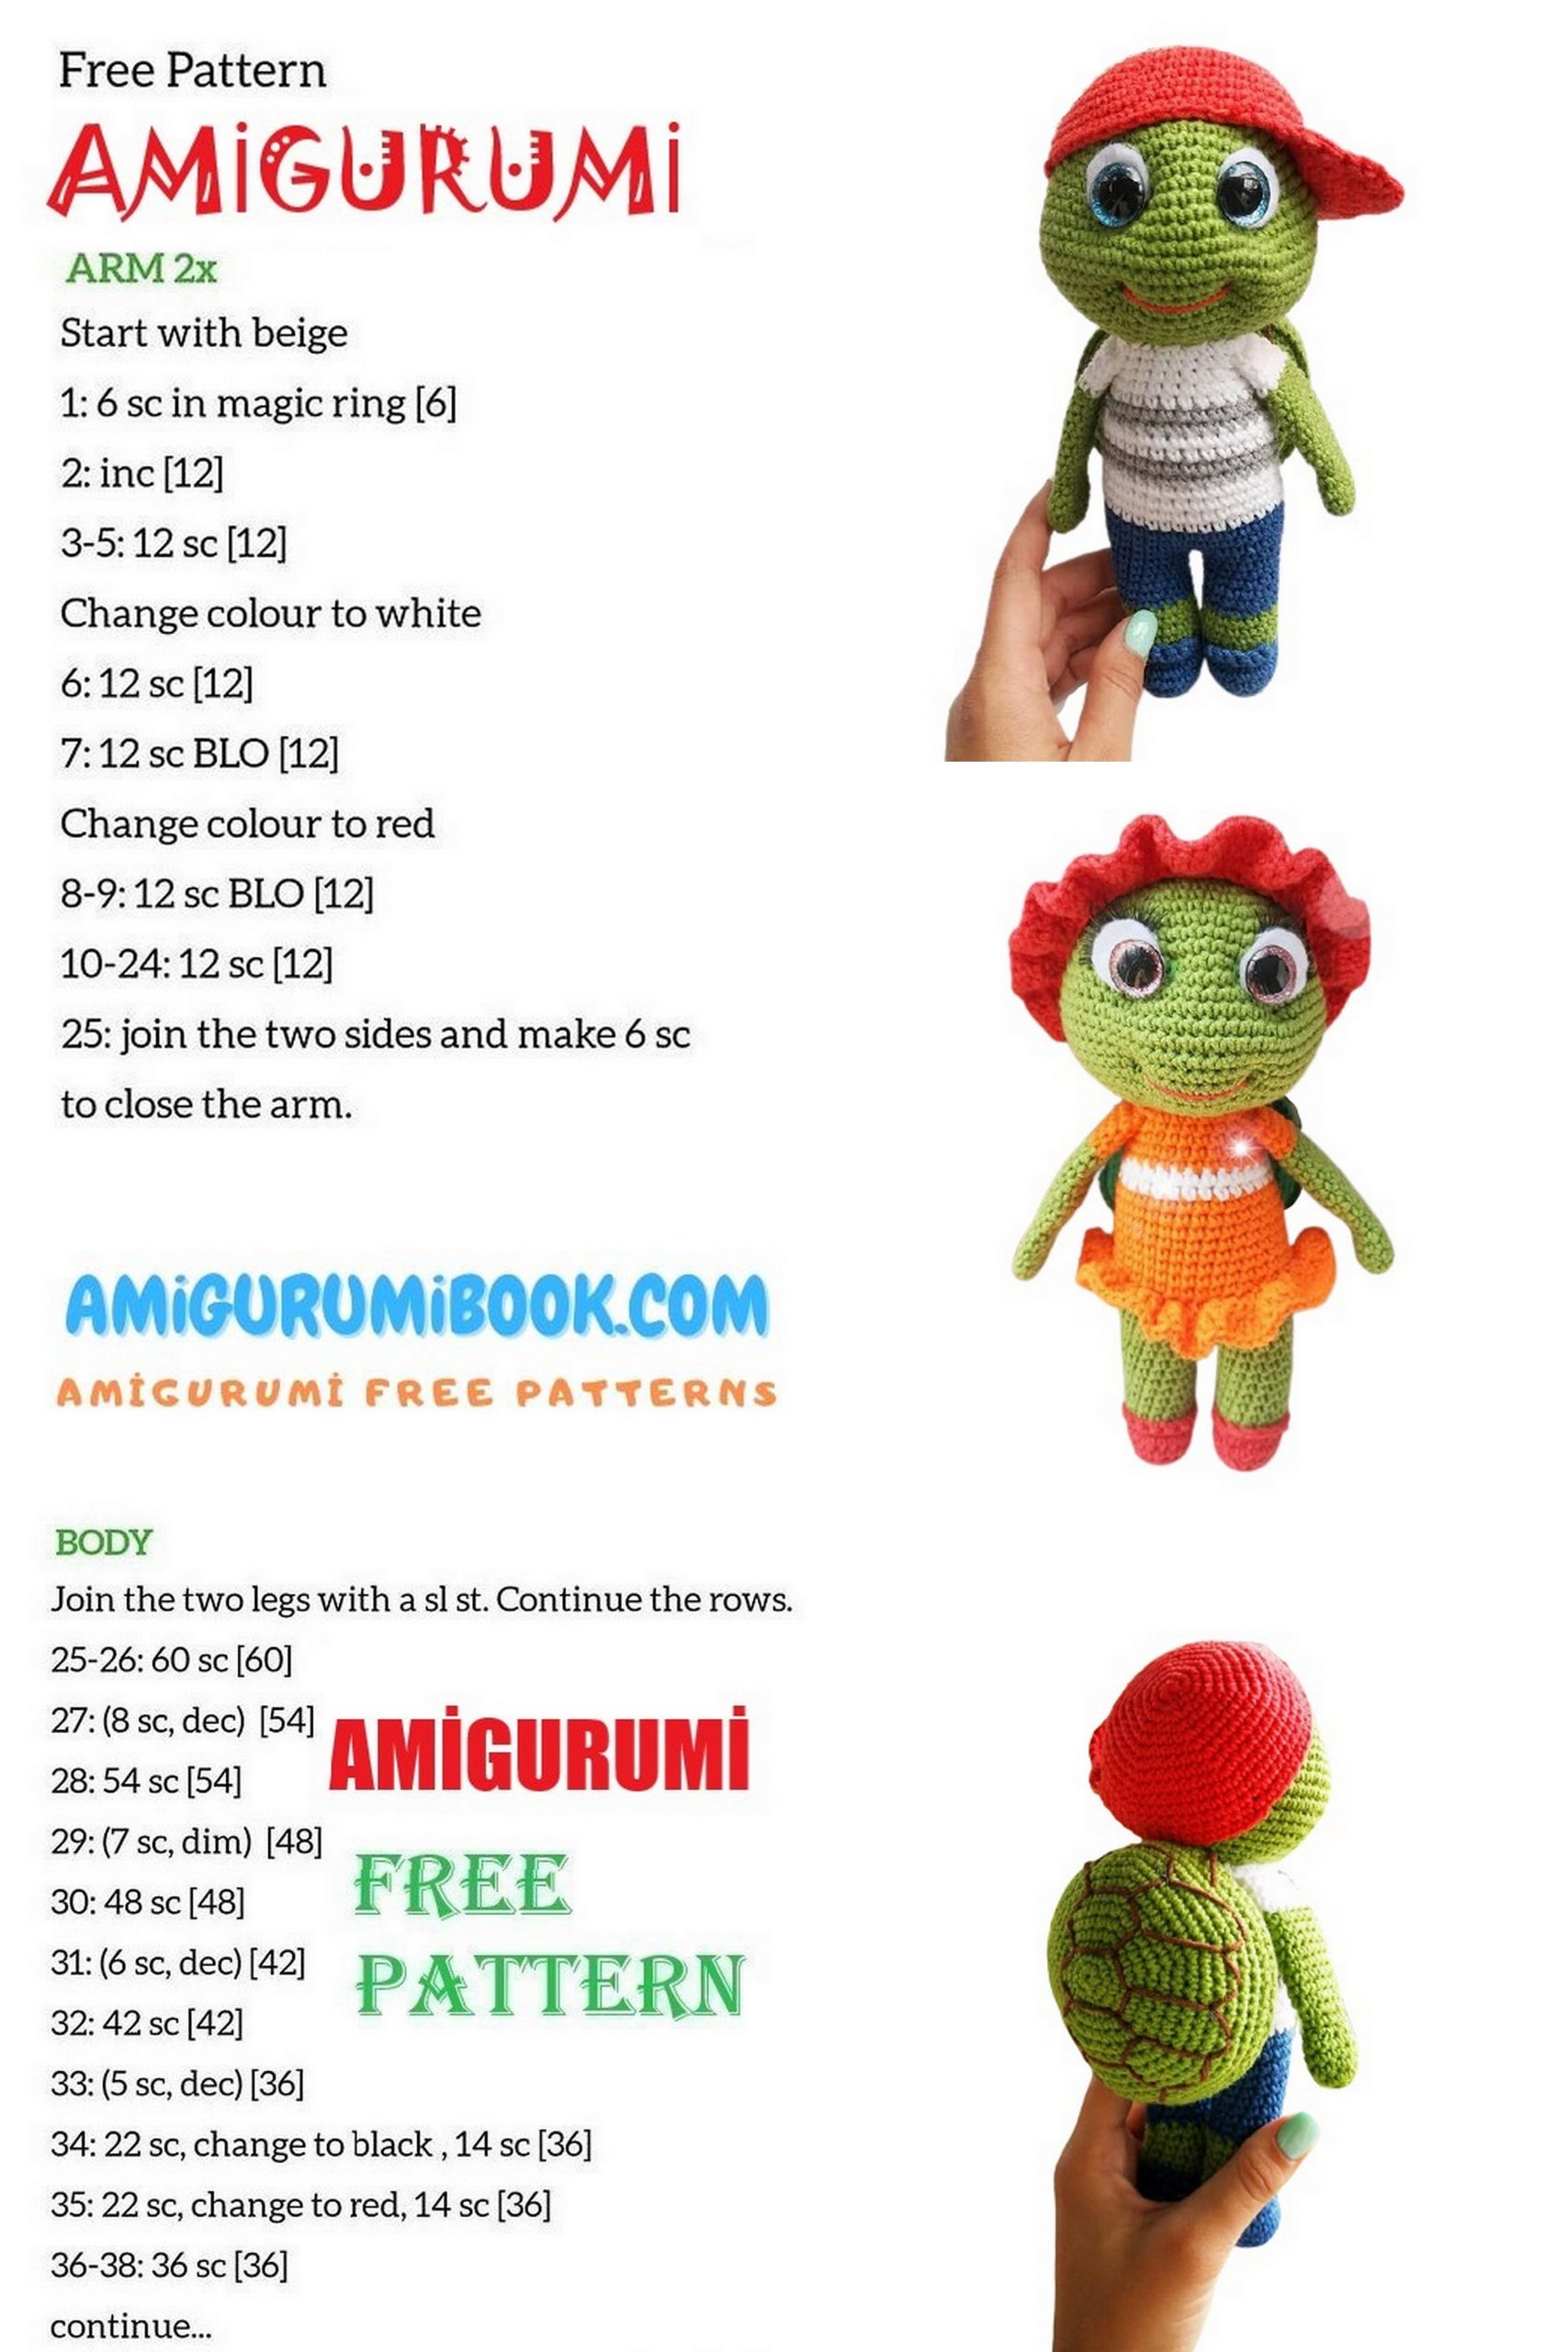
Hands
1.6 sc into magic ring
2.6 inc (12)
3 – 5.12 sc (3 rows)
6. (sc, dec) * 4 (8)
7.8 sc
8. (sc, inc) * 4 (12)
9 – 16.12 sc (8 rows)
Change the color to the color of the blouse or dress.
17 – 20.12 sc (4 rows)
We do not stuff the pens.
Legs – body
We begin to knit shoes.
1. Cast on 6 ch, from the second loop from the hook, knit 4 sc, 3 sc into the last loop. On the other side 3 sc, inc (12)
2.inc, 3 sc, 3 inc, 3 sc, 2 inc (18)
3.18 sc for the back wall
4. – 5. 18 sc
6.6 sc, 3 dec, 6 sc (15)
Change the color to the main one (green), continue to knit the leg.
7.15 sc for the back wall
8. – 11.15 sc (4 rows)
We change the color to the color of the pants, if we knit a boy, if we knit a girl, we continue to knit with the main color.
12 – 16.15 sc
Cut the thread on the first leg and fasten it; you do not need to leave the end waiting for sewing. We knit the second leg, we do not cut the thread.
Fill the legs.
On the second leg, the row must be finished in the center from the side. We do sl-st and 1 ch.
We connect the legs, we begin to knit on the first leg. The row should start from the back.
17.15 sc for first leg, 1 sc for ch, 15 sc for second leg, 1 sc for ch (32)
18. We knit a row in a circle, on the sides we do 1 inc. (34)
19. We knit a row in a circle, on the sides we make 1 inc. (36)
20 – 21.36 sc
If we knit a boy, we change the thread to the color of the blouse, if we change the girl to the color of the dress.
22.36 sc
23.36 sc. If we knit a boy, then we knit sc for both half-loops as usual, if we knit a girl we knit this row for the back half-loops.
24. We knit a row in a circle, on the sides we do 1 dec (34)
25.34 sc
If we knit a boy, we change the color to an additional one, it will be a strip on the blouse, we continue to knit the girl with the main color of the dress.
26 – 27.34 sc
Change the color on the boy’s blouse to the main one.
28. We knit a row in a circle, on the sides we do 1 dec (32)
29.32 sc
We stuff the body in the knitting process.
Again, we change the color to an additional color, we make a strip on both the blouse and the dress.
30. We knit a row in a circle, on the sides we do 1 dec (30)
31.30 sc
Change the color to the main blouse and dress.
32. We knit a row in a circle, on the sides we do 1 dec (28)
33.28 sc
34. We knit a row in a circle, on the sides we do 1 dec (26)
35. In this row we will tie hands. I will give a description of how it came out for me, depending on the density of the knitting, you may come out a little differently.
The handles should be exactly centered on the sides. 6 sc, 6 sc with 1 arm (fold the arm in half and knit on both sides), 7 sc, 6 sc with the second arm, 1 sc (26)
36.26 sc, sl-st
Cut the thread, leave the end for sewing on the head.
We make out the eyes
Before we start knitting the head, we need to shape the eyes. Cut out white circles from felt, 4 – 5 mm larger in size than the size of the eyes. My eyes are 16 mm, the size of the felt circles is about 20 mm.
We insert the eyes into the felt and glue the eyelashes with super glue.
After you have prepared the eyes, you can start knitting the head.
Head
1.6 sc into magic ring
2.6 inc (12)
3. (sc, inc) * 6 (18)
4. (2 sc, inc) * 6 (24)
5. (3 sc, inc) * 6 (30)
6. (4 sc, inc) * 6 (36)
7. (5 sc, inc) * 6 (42)
8. – 9. 42 sc
10. (6 sc, inc) * 6 (48)
11.48 sc
12. (7 sc, inc) * 6 (54)
13.54 sc
14. (8 sc, inc) * 6 (60)
15.60 sc
16. (9 sc, inc) * 6 (66)
17 -19. 66 sc (3 rows)
20. (9 sc, dec) * 6 (60)
At this point, you can insert the eyes. Paste between 11 and 12 row 9 sc between them.
21. (8 sc, dec) * 6 (54)
22. (7 sc, dec) * 6 (48)
23. (6 sc, dec) * 6 (42)
We stuff the head in the knitting process. It is necessary to create the correct shape. The head is narrower at the top and widens towards the bottom.
24. (5 sc, dec) * 6 (36)
25. (4 sc, dec) * 6 (30)
26. (3 sc, dec) * 6 (24)
27. (2 sc, dec) * 6 (18)
28. (sc, dec) * 6 (12)
29.6 dec in a row (6)
Cut the thread, pull off the hole, hide the end of the thread.
Carapace
1 piece
1.6 sc into magic ring
2.6 inc (12)
3. (sc, inc) * 6 (18)
4. (2 sc, inc) * 6 (24)
5. (3 sc, inc) * 6 (30)
6. (4 sc, inc) * 6 (36)
7. (5 sc, inc) * 6 (42)
8. (6 sc, inc) * 6 (48)
9. (7 sc, inc) * 6 (54)
10. (8 sc, inc) * 6 (60)
11. (9 sc, inc) * 6 (66)
12. – 14.66 sc (3 rows), sl-st
2 detail
1.6 sc into magic ring
2.6 inc (12)
3. (sc, inc) * 6 (18)
4. (2 sc, inc) * 6 (24)
5. (3 sc, inc) * 6 (30)
6. (4 sc, inc) * 6 (36)
7. (5 sc, inc) * 6 (42)
8. (6 sc, inc) * 6 (48)
9. (7 sc, inc) * 6 (54)
10. (8 sc, inc) * 6 (60)
11. (9 sc, inc) * 6 (66), sl-st
We knit together 2 parts of the shell, fill in the process.

Skirt dresses
We attach the thread to the free half-loops, where we began to knit the dress.
1. We knit in a circle the increments in all loops dc, sl-st
2.dc, inc we knit the whole row, sl-st.
Cut the thread, hide the tip.
Face tightening
Mark with needles the places of the ties in the same way as shown in the photo. The mouth points are located above and below the 19th row, obliquely at a distance of 1 sc.
1. Insert the needle to the side of the head and output to 1 (.), Insert into 2 (.) And output to 4 (.). From 4 (.) We deduce in 3 (.), Then again in the original (.) On the side of the head.
We tighten the thread, fix the eyes. And we do the same thing again, they are the second time at the same points. We tighten the thread as we need it (do not overtighten it too much). We tie the ends of the thread together and hide it inside the head.
We made the first tightening.
Let’s move on to the second.
We insert tglu from the bottom of the head and output to (.) 5, from (.) 5 we output to (.) 6. From 6 (.) We output to (.) 7, from 7 to 8 (.). From 8 (.) We deduce to the original (.) At the bottom of the head. We tighten, and we go through the second circle at all these points.
We tighten, tie and hide the ends of the thread inside the head.
The second tightening is ready.
Third tightening.
We also insert the thread from the bottom of the head, and output it to 9 (.), From 9 to 10 (.). from 10 (.) we deduce to 11 (.), from 11 to 12 (.). From 12 we bring it to the original (.) At the bottom of the head, pull it up and make the second circle.
The third tightening is ready.
After we finished making the tightening, we need to glue the felt on the eyes to the head, because now it does not stick out beautifully with us. We embroider the mouth in the recess that appears from the dips. I inserted the needle into the lower points of the mouth weights.
Assembly:
Sew the head to the body
Sewing the shell in a circle to the back
Shoes design:
Boy: on 5 central loops we knit the tongue of the boots, we hook the hook for the free half-loops.
1.5 sc, 1 ch, turn knitting
2.5 sc.
Cut the thread, pull it out, hide the tip.
Girl:
Knit free half loops, sc in a circle. Cut off the thread, hide the tip.
Cap
1.6 sc into magic ring
2.6 inc (12)
3. (sc, inc) * 6 (18)
4. (2 sc, inc) * 6 (24)
5. (3 sc, inc) * 6 (30)
6. (4 sc, inc) * 6 (36)
7. (5 sc, inc) * 6 (42)
8. (6 sc, inc) * 6 (48)
9. (7 sc, inc) * 6 (54)
10. – 14. 54 sc
We do not cut the thread, we will knit a visor. We take out the second end of the thread from the middle of the ball. We knit a visor with a double thread. Leave the hook the same.
1. knit by the front half-loops 15 sc, ch, turn knitting.
2 – 3. We knit in the same way, but we only hook the hook on both sides of the loop, 15 sc in rotary rows.
The end of the thread remained at the corner of the visor, we do not cut the thread, but we tie the cap.
We tie the side edge of the visor, then we tie the entire cap in a circle, and the other side of the visor.
Fasten the thread, cut, hide the tip.

Hat
1.6 sc into magic ring
2.6 inc (12)
3. (sc, inc) * 6 (18)
4. (2 sc, inc) * 6 (24)
5. (3 sc, inc) * 6 (30)
6. (4 sc, inc) * 6 (36)
7. (5 sc, inc) * 6 (42)
8. (6 sc, inc) * 6 (48)
9. (7 sc, inc) * 6 (54)
10. – 14. 54 sc
15. Next, knit the brim of the hat for the front half loop, knit in a circle dc, make increments in each loop, sl-st, 2 ch.
16. (dc, inc dc) * in a circle to the end of the row, sl-st. Fasten the thread, hide the tip.
On the shell we embroider rhombuses in brown
Our turtles are ready!
Thank you for knitting with me!