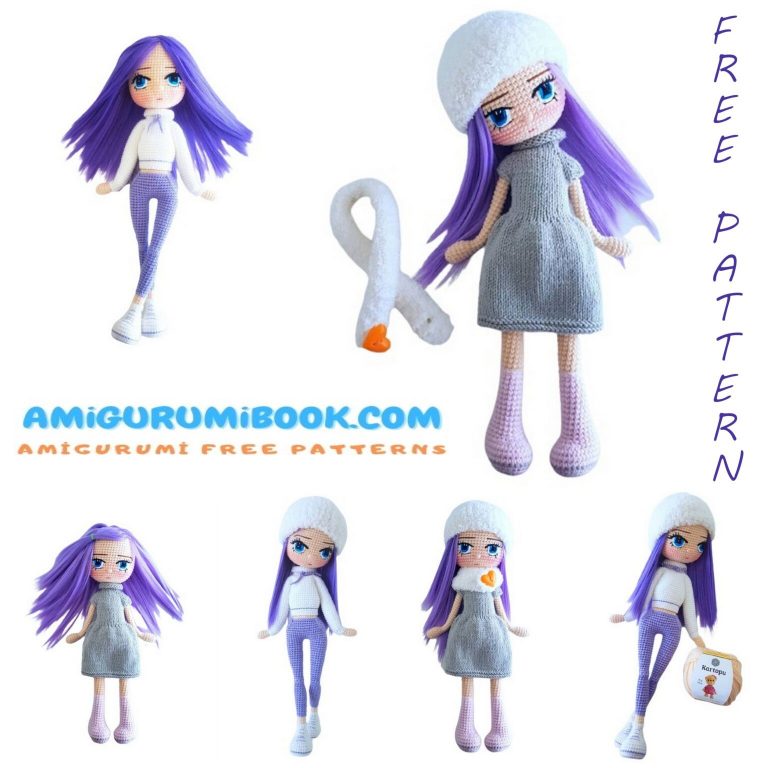
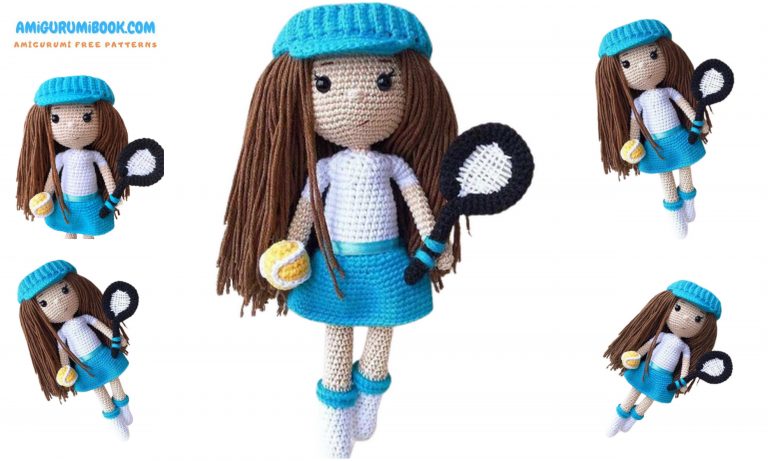
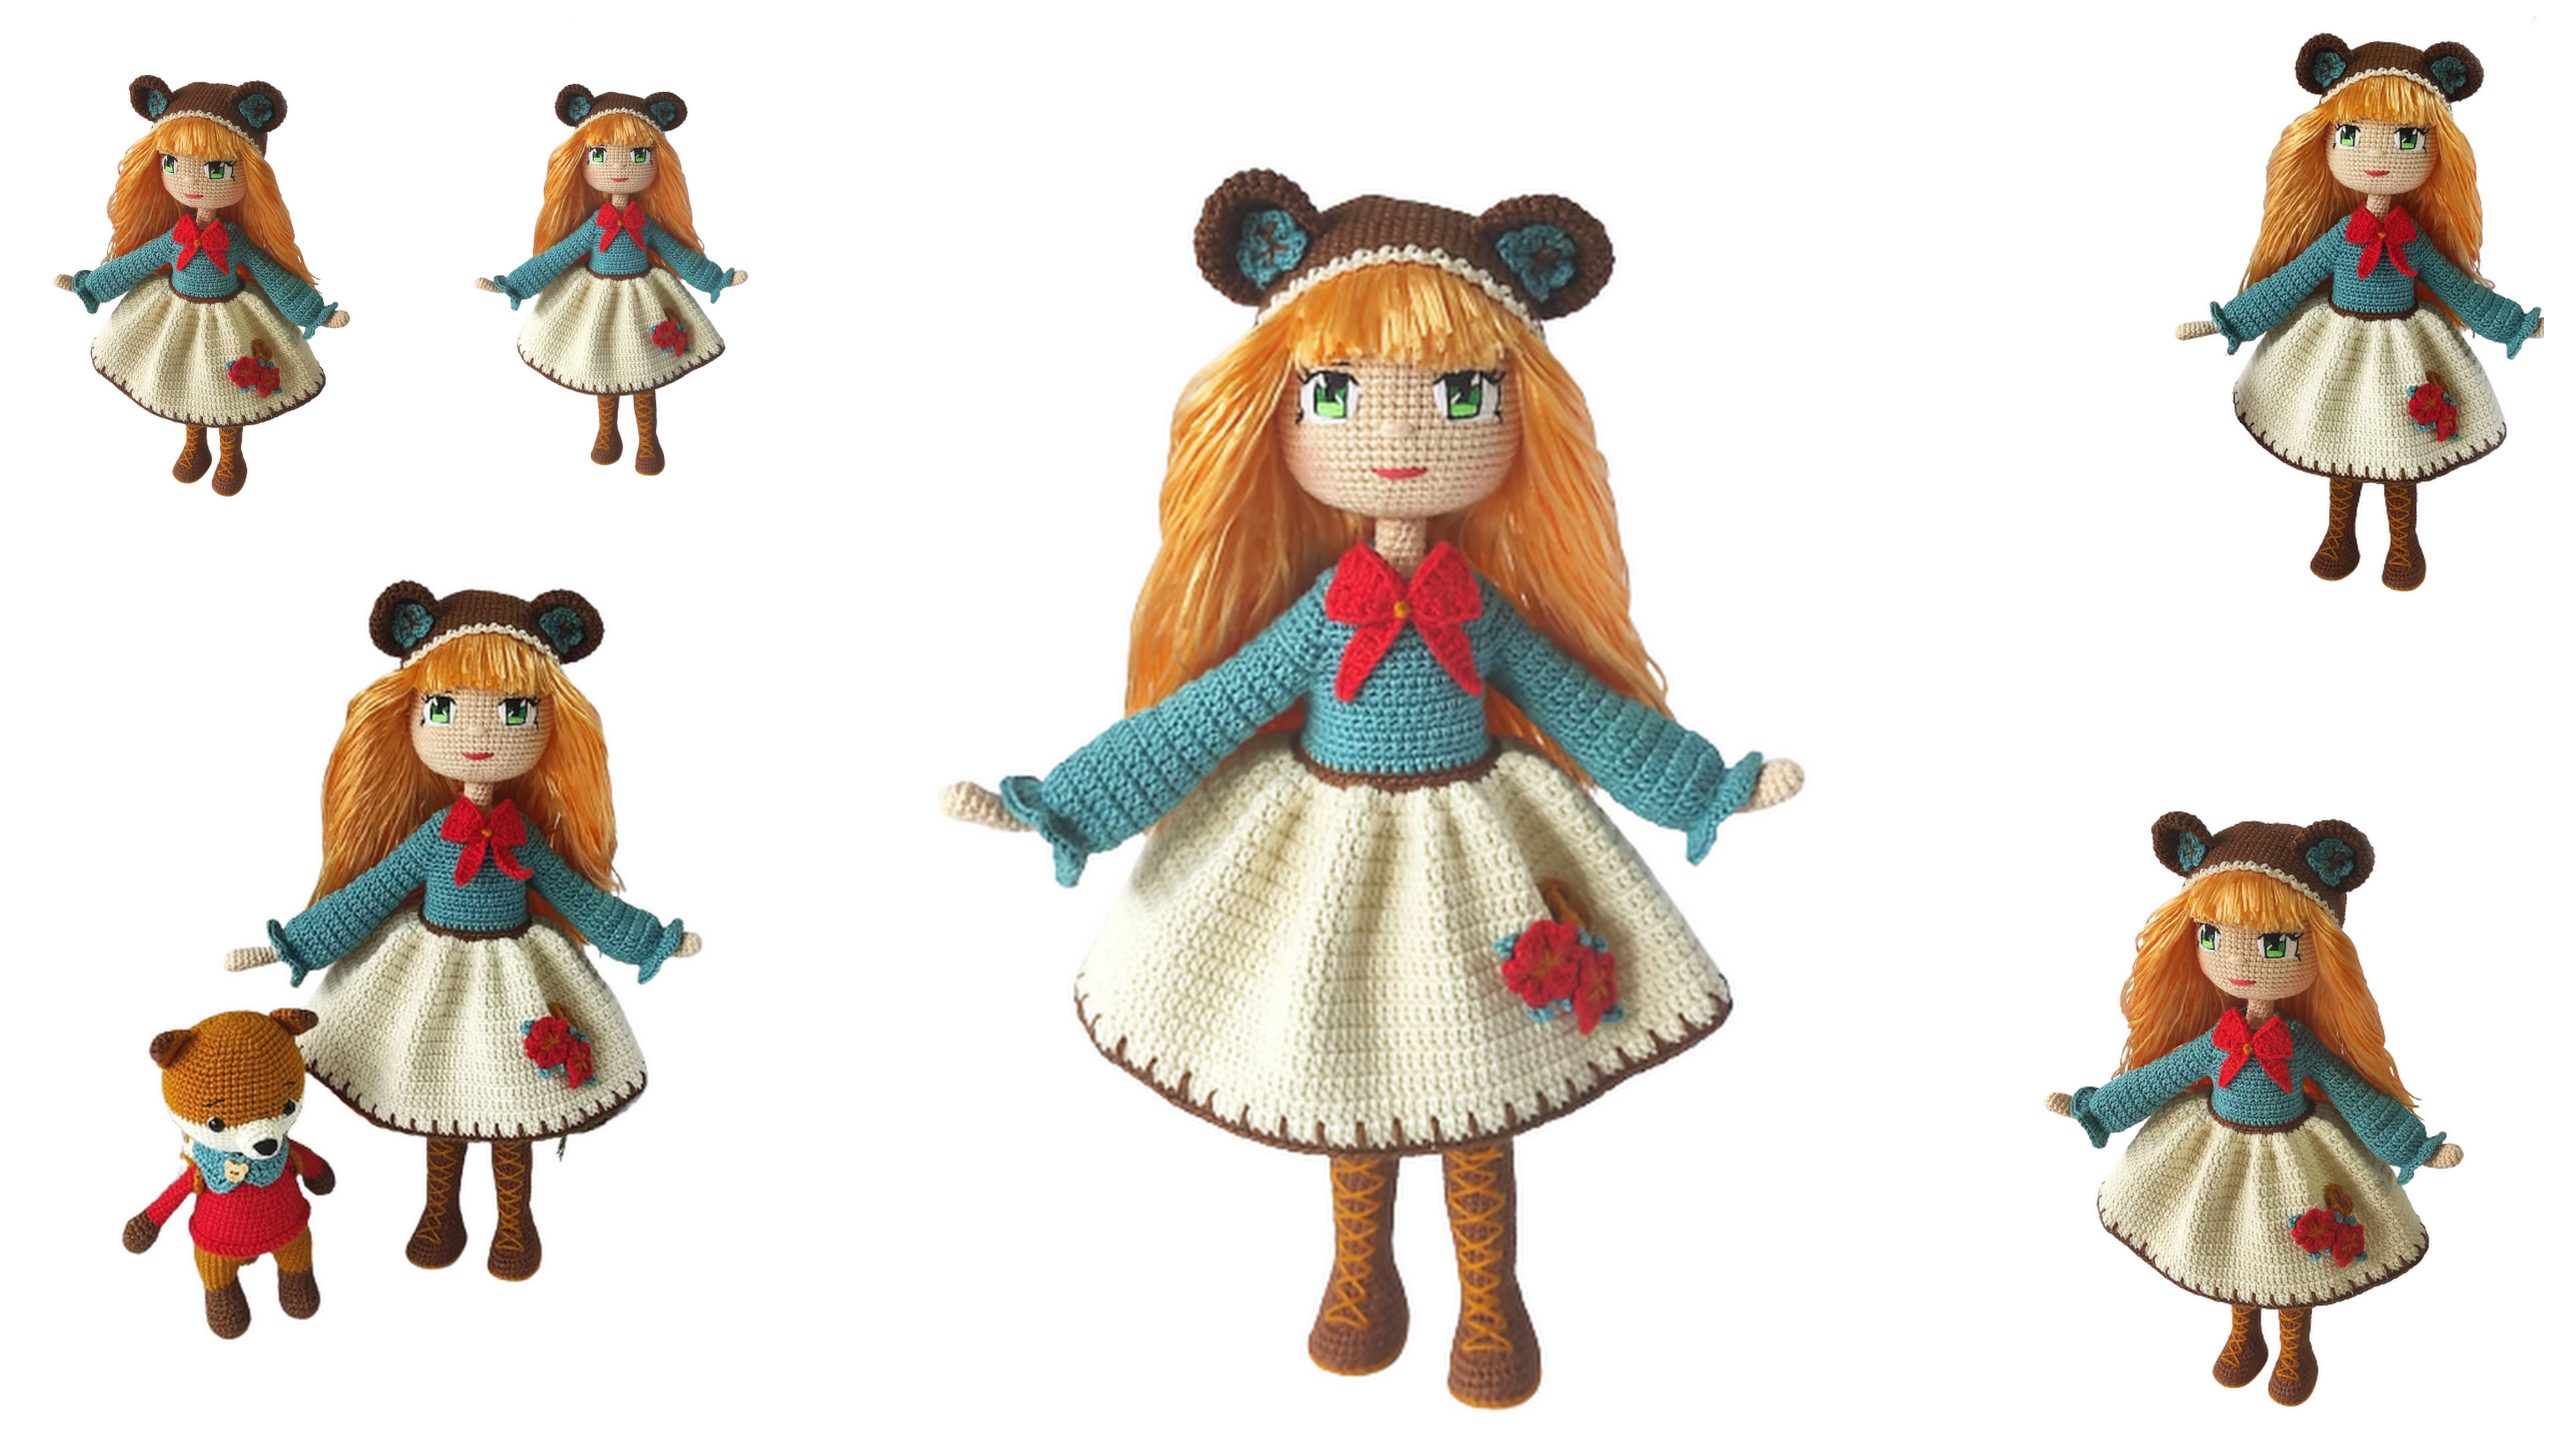
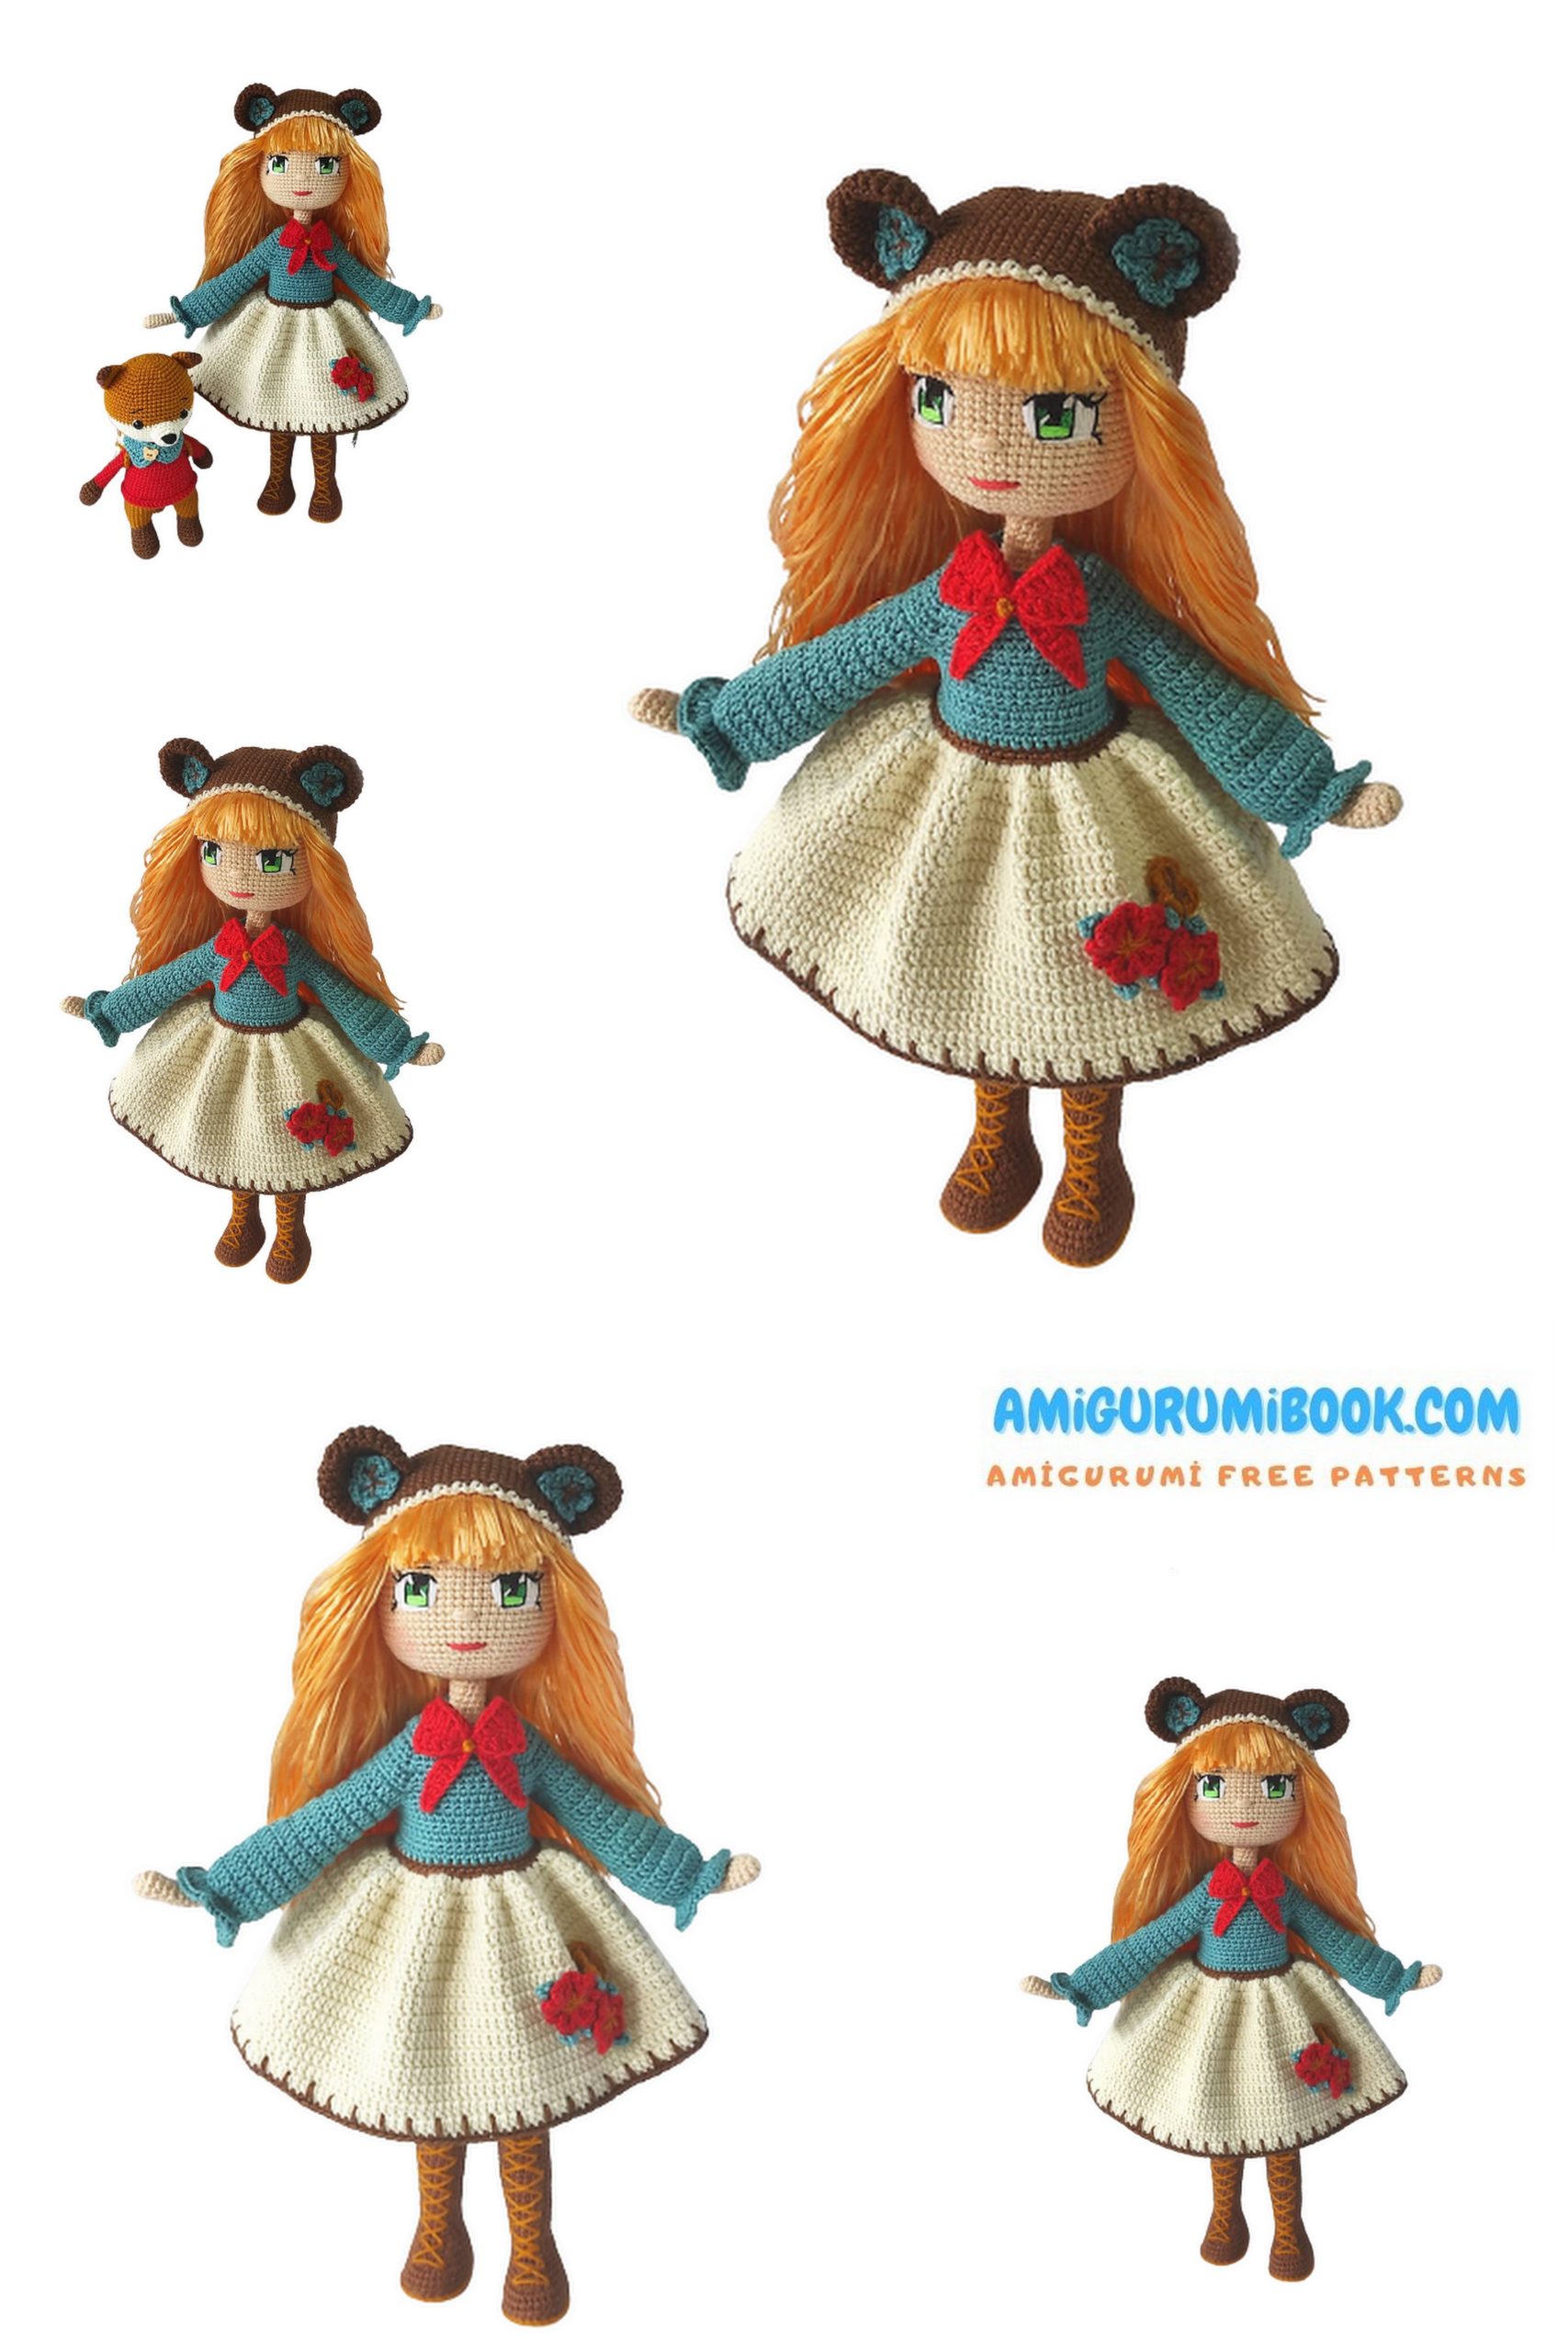
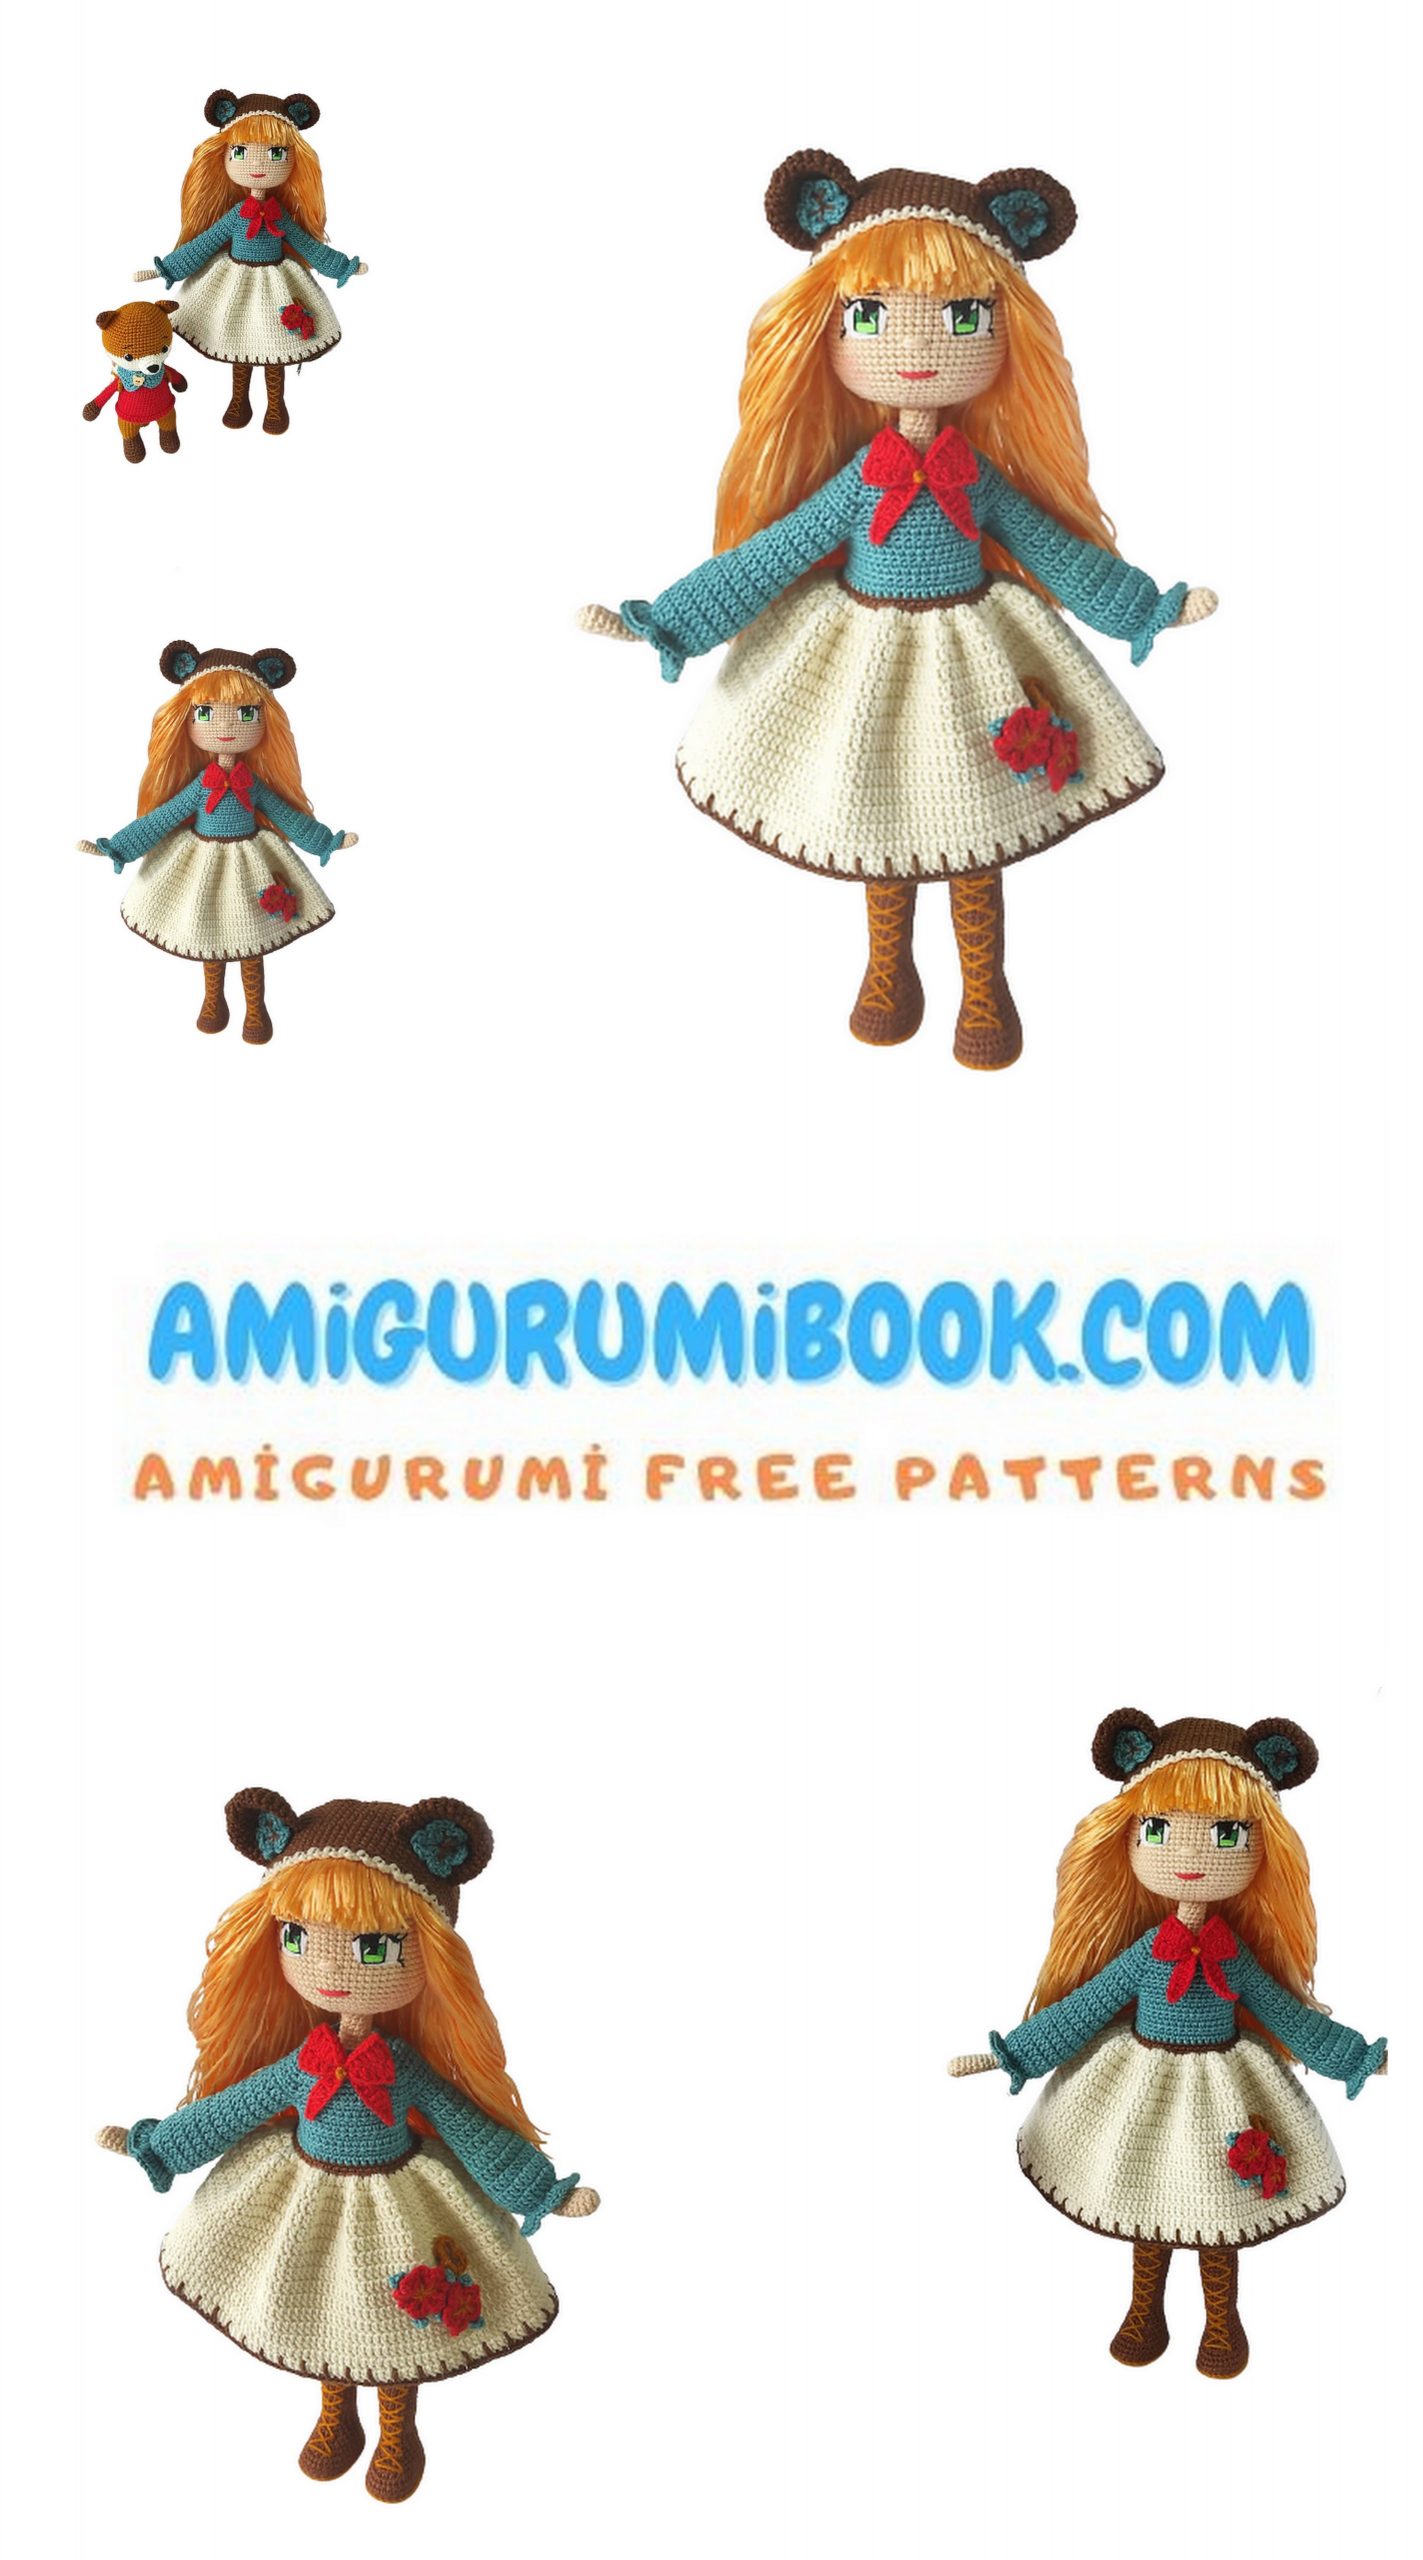
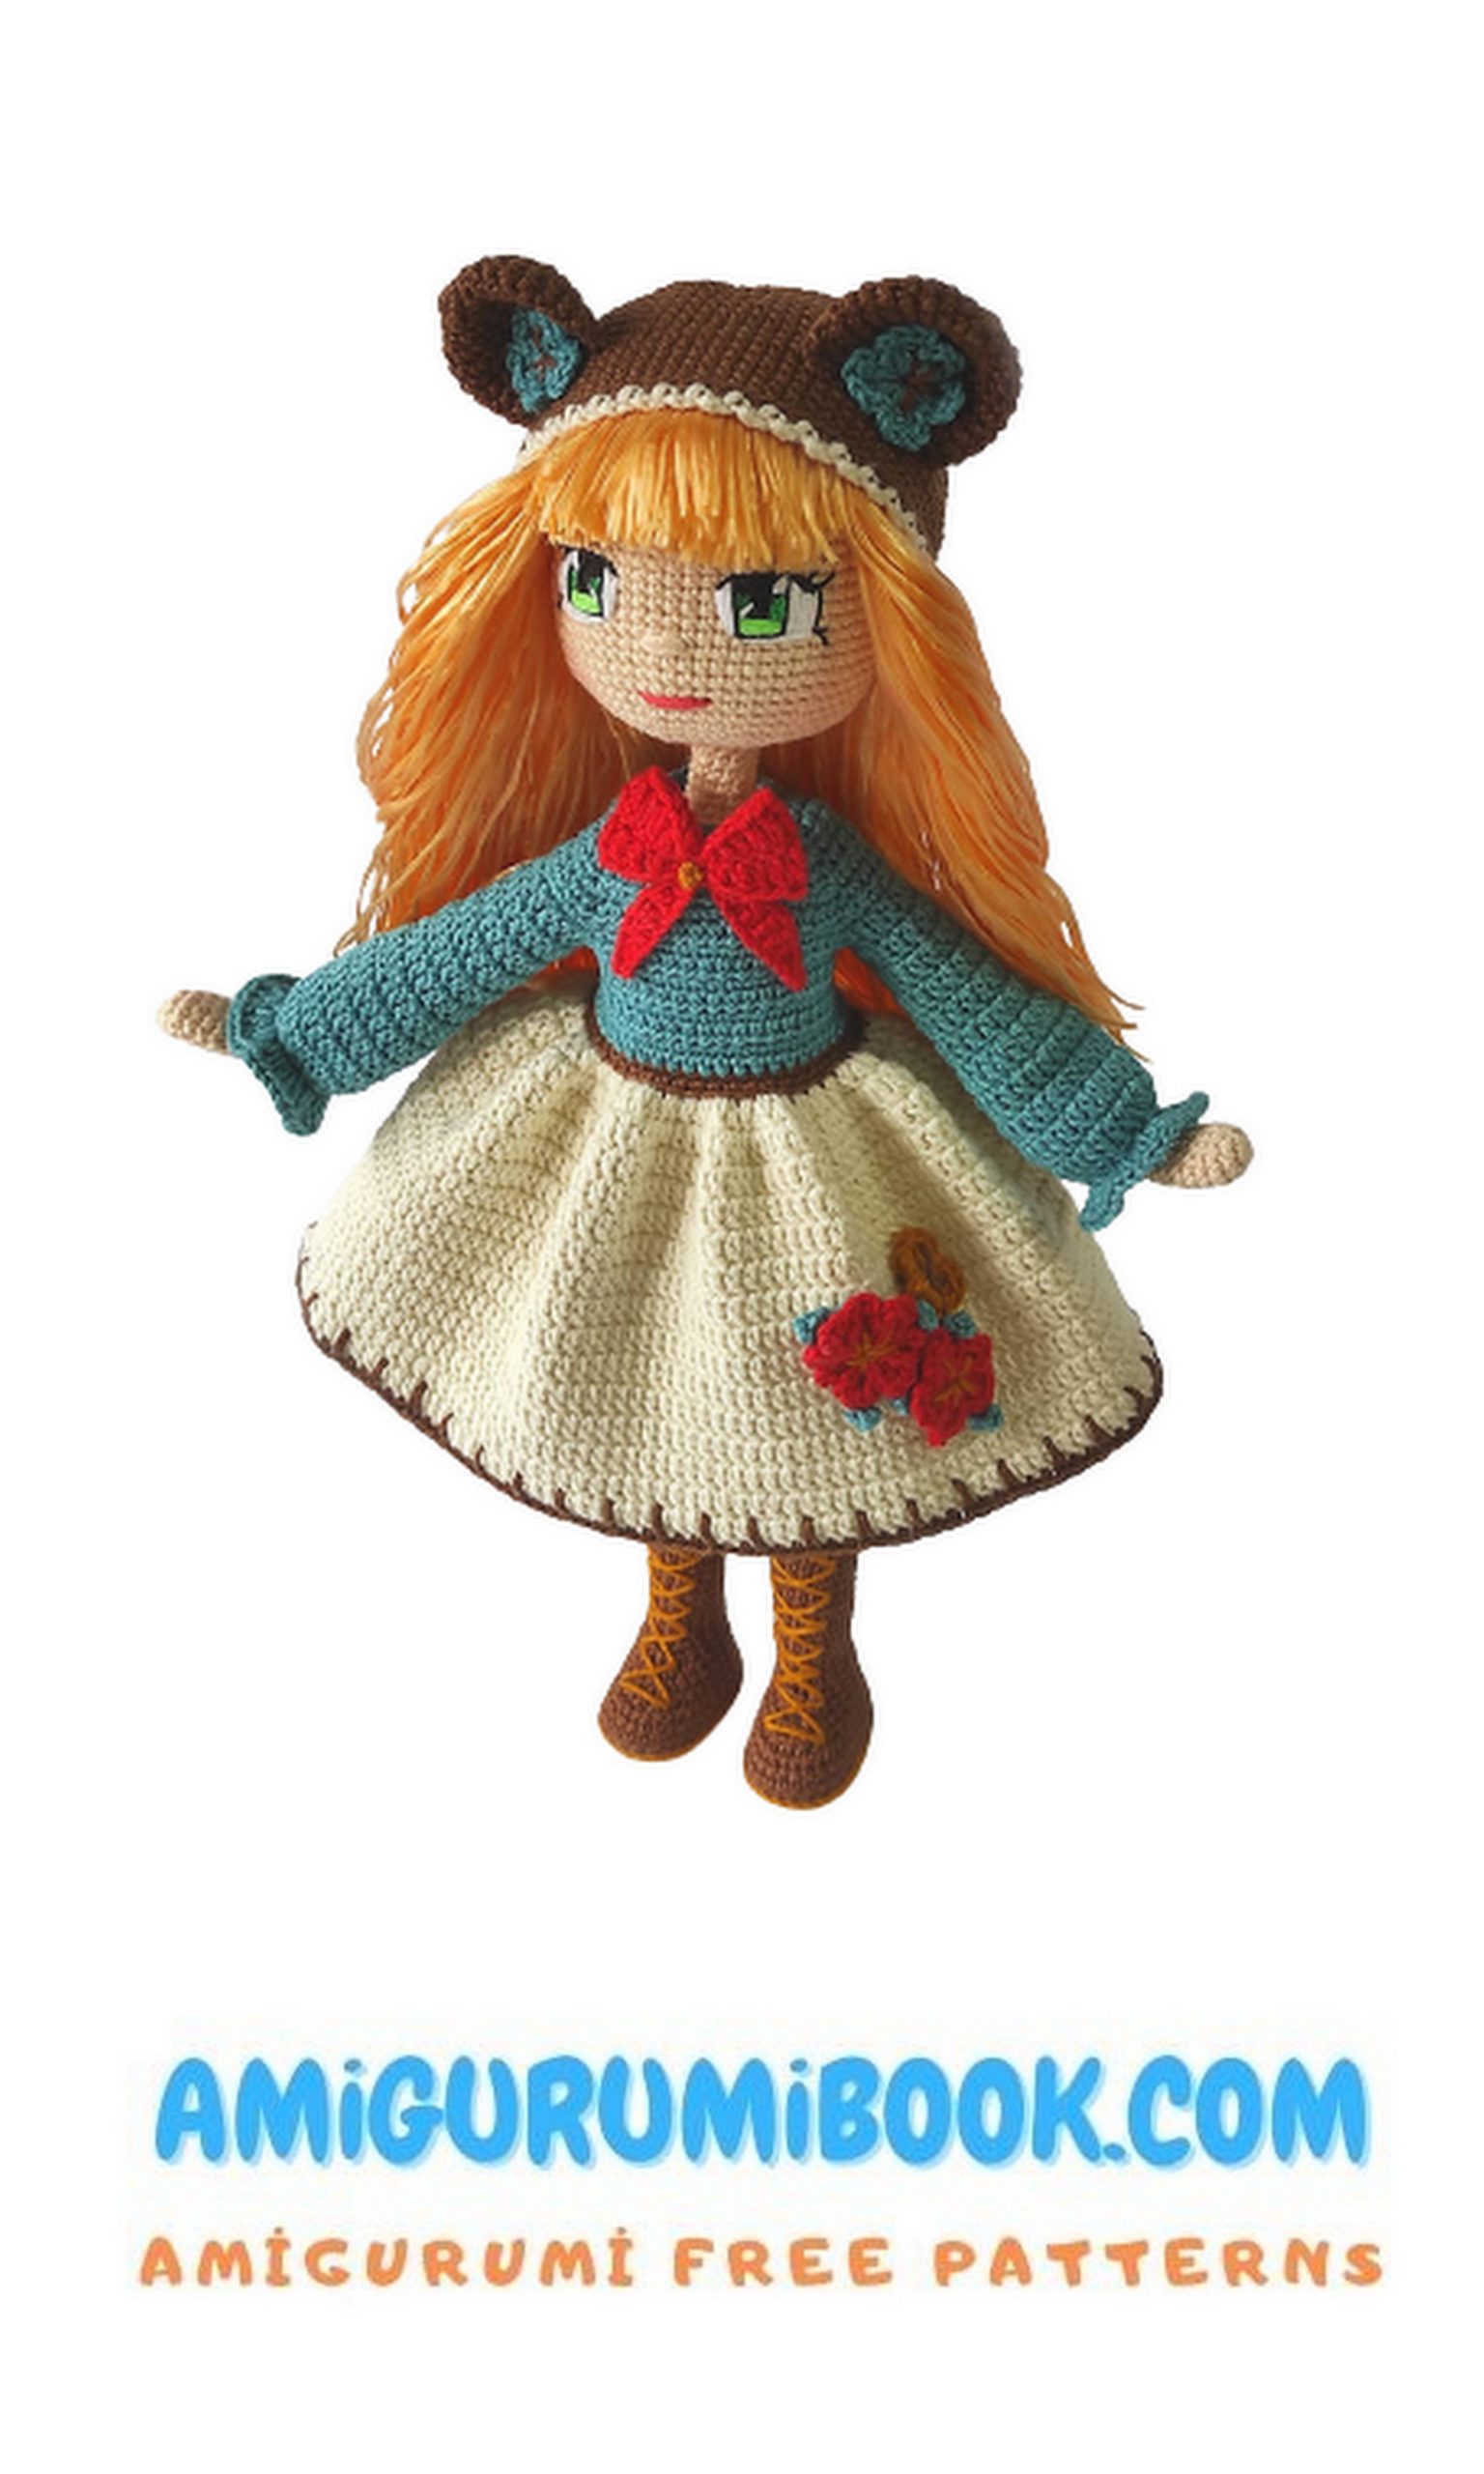
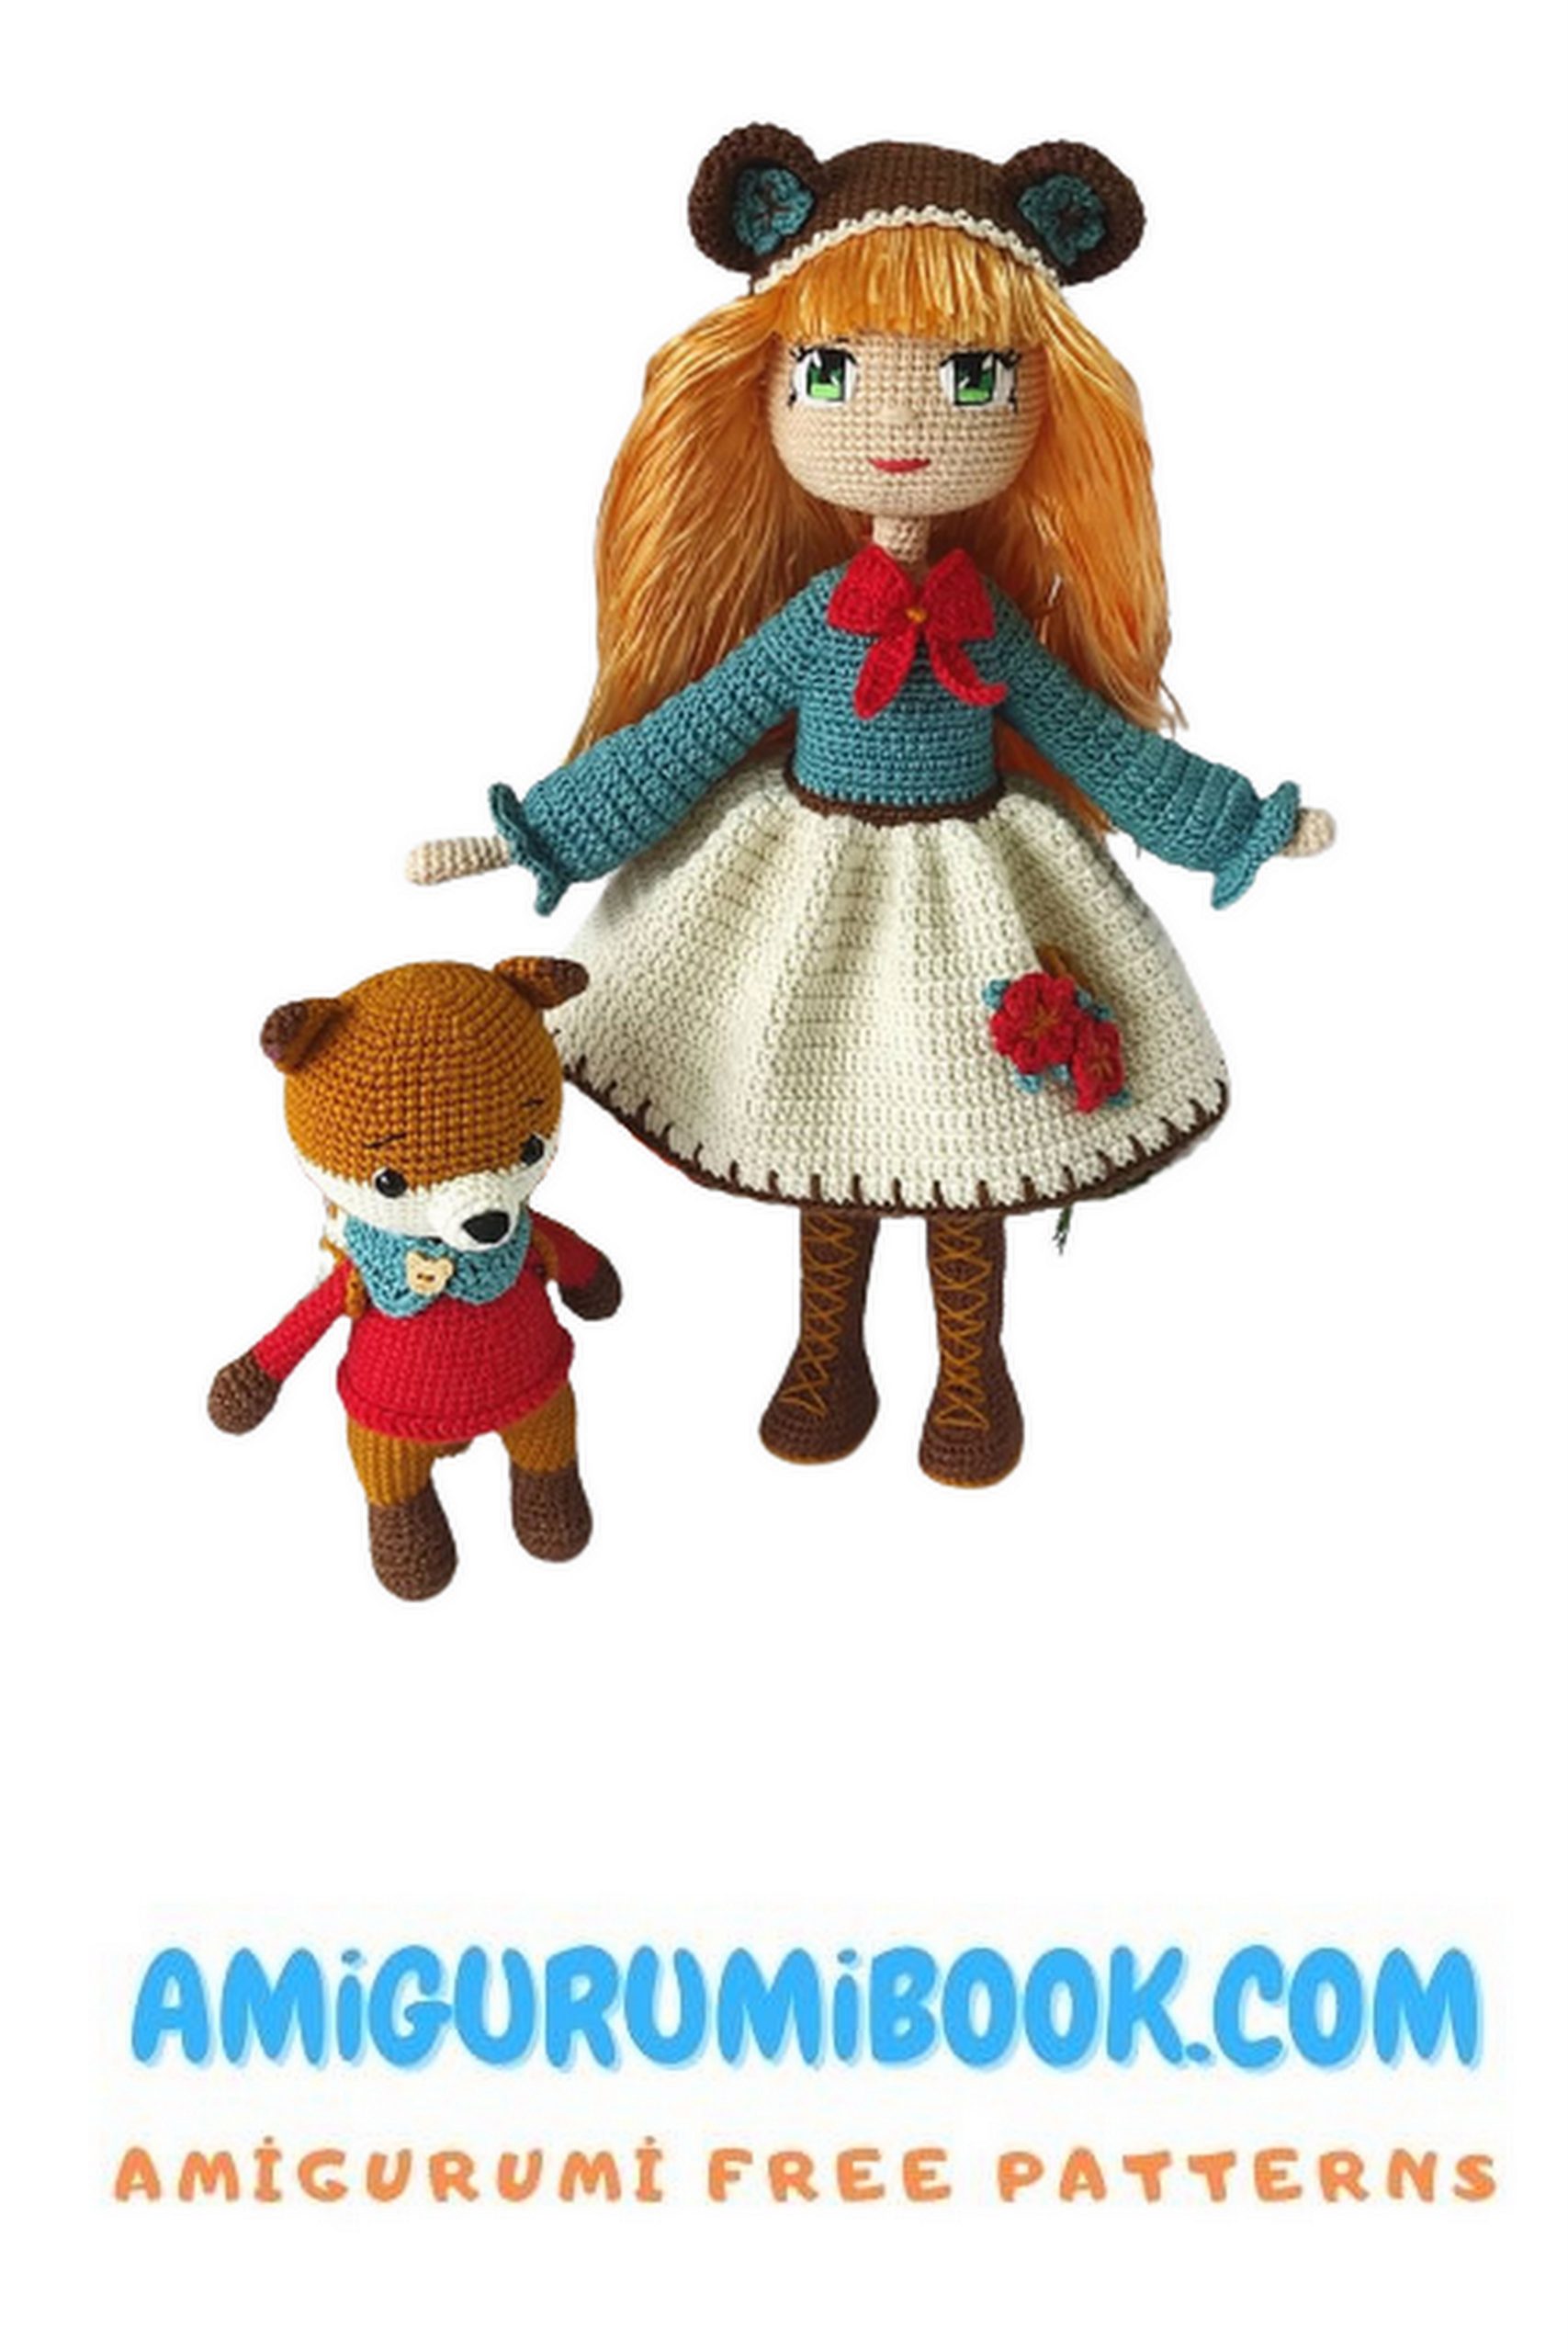
Lara Doll Amigurumi Free Pattern
I continue to share amigurumi free patterns. In this article, lara doll amigurumi free pattern is waiting for you.
ABBREVIATIONS
SC: single crochet
inc: increase (make 2 sc into one loop)
dec: decrease ( 2 sc by taking one decrease)
trdec: triple decrease (3 sc in one go)
TRINC: 3-increase (3 sc increase in same stitch)
CH: Chain
DC: double crochet
SL-ST: slip-stitch
DCINC: double crochet increase
HDC: half double crochet
DCTRINC: 3DC in same loop
BLO: Knit from the back loop
FLO: Knitting from the front loop
( ) Repeat as many times as the number in parentheses
Materials
• Catania green 2921 pieces
• Catania brown 1 pc
• Peria Hair Hair rope 5 nm
• Peria 36 skin color 2 pieces
Peria 18 cream 2 pieces Peria 35 red 1 piece Peria 60 ocher yellow 1 piece
• Wire for neck and arm 2.5 mm wire
• Two 10 mm buttons for the dress
• 1.75 mm hook (Charge may vary depending on your hand)
• Plastic ice cream container lid
• needle, scissors, bead fiber (If similar materials are used, the finished doll will be approximately 38 cm tall)
• Black, light green, dark green, white muline thread for embroidery eye
PATTERN
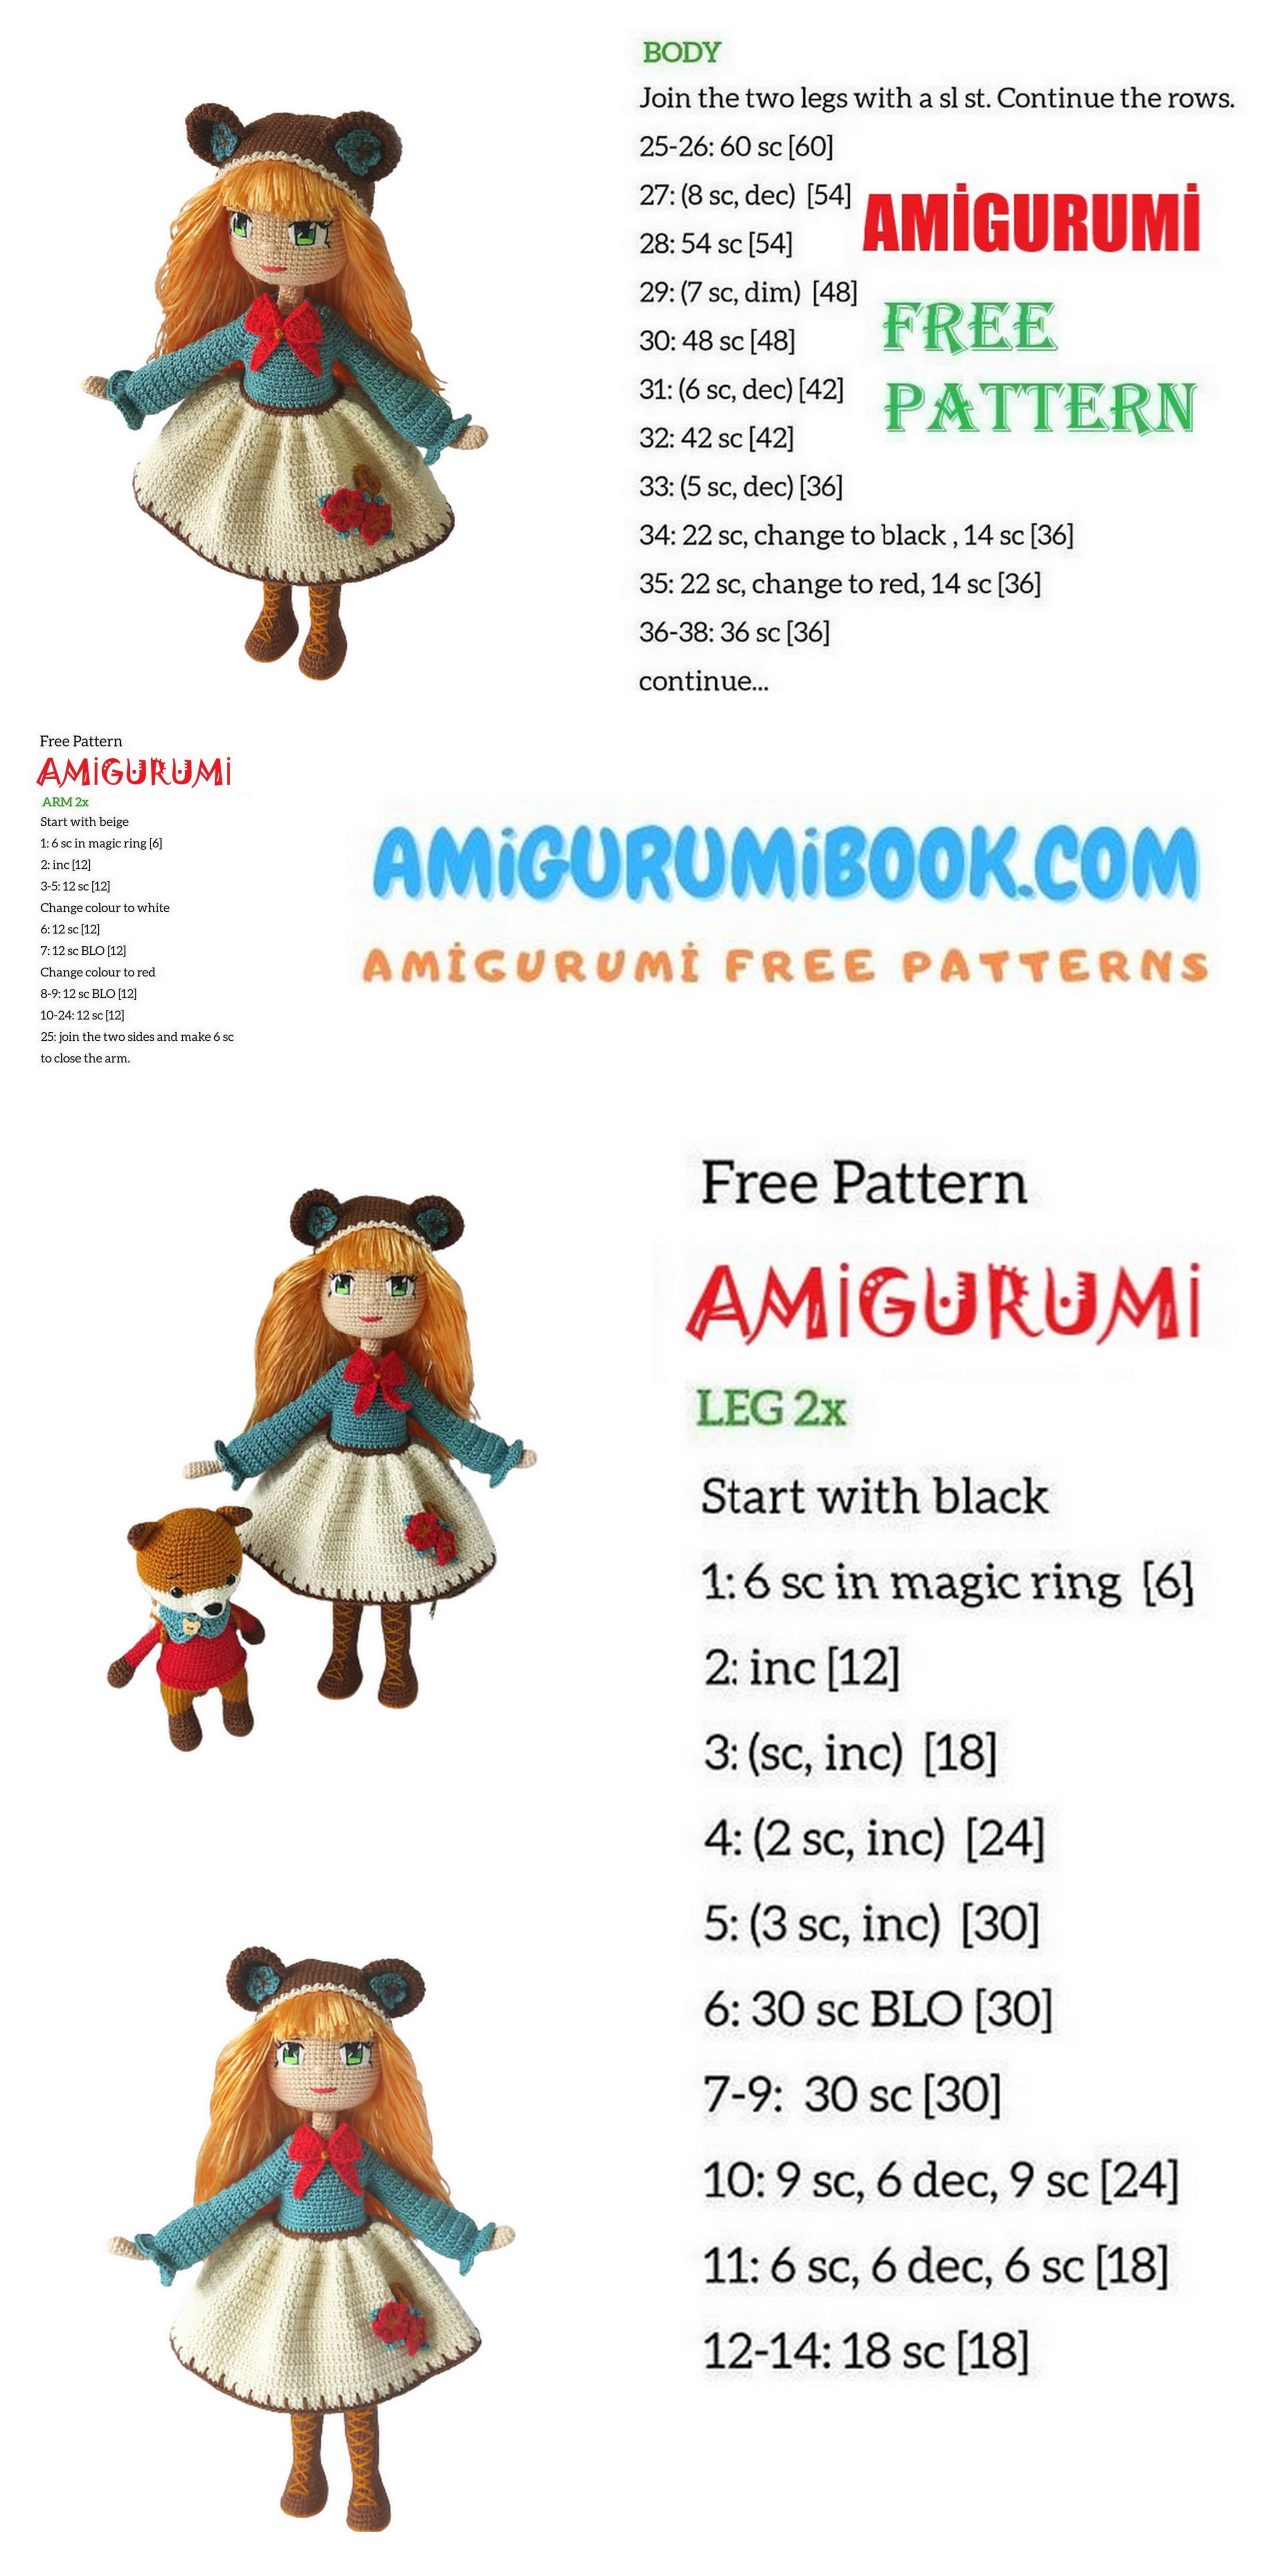
Arms (2 Pieces)
Let’s put a little silicon fiber on only the tip of the arms. Later arms
We will not fill it, we will put wire in it.
with tan
ROW 1: Magic ring into 6sc = (6)
ROW 2: Make 2sc in each stitch = (12)
ROW 3- 6: sc (12) in entire row
ROW 7: (4SC, DEC)* 2 times = (10)
ROW 8: (10)
ROW 9: (3SC, DEC)* 2 times = (8)
ROW 10:(8)
ROW 11: (3SC, INC)* 2 times = (10)
ROW 12 (10)
ROW 13-40: Whole row sc 10sc = (10)
We will insert our wire while adding the arms to the body.
36 cm of wire will be enough for the arms.
We will start knitting the boots with a mustard yellow color from the sole. Chain 8 with mustard yellow from the 2nd
ROW 1: INC, 5SC, same place 4SC, 5SC, INC = (18)
ROW 2: INC, 6SC, 4INC, 5SC, 2INC = (25)
ROW 3: SC, INC, 6SC, (INC, SC) *5 times , 6SC, INC = (32)
ROW 4:32SC
ROW 5: We continue with the color brown BLO 32SC
ROW 6-8: 32SC with sc in entire row
Let’s cut plastic to the size of the base and place it. While we continue our knitting, let’s take care to fill our silicon bead fiber from time to time.
ROW 9: 10sc, 6DEC, 10SC = (26)
ROW 10: 10SC, 3DEC, 10SC = (23)
ROW 11: 9SC, DEC, SC, DEC, 9SC = (21)
ROW 12 8SC, DEC, SC, DEC, 8SC = (19)
ROW 13: 7SC, DEC, SC, DEC, 7SC = (17)
ROW 14-19: 178 sc in entire row
ROW 20:INC, 16SC = (18)
ROW 21-22:18SC (18)
ROW 23:SC, INC, 16SC = (19)
ROW 24-25: Sc in entire row 19SC = (19)
ROW 26: 2sc, INC, 16SC = (20)
ROW 27-34: Entire row sc to 20sc
While we are progressing to our knitting, let’s fill the silicon fiber from time to time, fix it with our hands, if there are empty places, enough filling is done. Scissors or similar
Let’s get help with a tool. Let’s fix it manually.
Let’s go through the skin color blo! Knit another 4sc so that it comes to the middle of the back.
Let’s get the loop determinant here. Let’s continue knitting.
(WE CUT THE BROWN YARN AND GO TO TAN)
ROW 1: Let’s make 20sc from BLO with SKIN COLOR.
ROW 2-3:20 SC = (20)
ROW 4: DEC, 18SC = (19)
ROW 5: DEC, 17SC = (18)
ROW 6: DEC, 16SC= (17) ROW 7: 7SC, 3INC (KNEE WILL COME FRONT). 7SC = (20)
ROW 8: 20SC = (20)
ROW 9; INC, 19SC = (21)
ROW 10-11: 21SC = (21) · Increases in the leg should come to the back middle
ROW 12:SC, INC, 19SC = (22)
ROW 13-14: 22 SC = (22)
ROW 15: SC, INC, 20SC = (23)
ROW 16-27: Whole row sc 23sc = (23)
ROW 28: Left leg 20sc finished, let’s cut the string. ROW 28: Knit right leg to 9SC finish.
!!! Knit 9sc on right leg. 3 Chain and join with left leg. !!!
Let’s adjust the laces of the boots by working them diagonally towards the sole with 4 rows as in the picture. Then, let’s go up diagonally from the places we determined and complete the laces. The flo part of our bot
Let’s knit a row of sc.
!!! Let’s draw 3 CH and join the right leg to the left leg. !!! 23 SC+ 3 SC+23 SC+3SC =52 Let’s get the marker here.
ROW 1-10: Whole row sc 52 SC (52)
ROW 11: DEC, 3SC,DEC, 35SC, DEC, 3SC, DEC, 3SC = (48)
ROW 12:3SC, DEC, 35SC, DEC, 6SC = (46)
ROW 13: DEC, 3SC, 29sc, DEC, 3SC, DEC, 3SC = (42)
ROW 14: (5SC, DEC) *6 times =(36)
ROW 15-27: Whole row sc 36sc
!!! Let’s fill the body with fiber from time to time. !!!
Joining the Arms
!!! Let’s knit 21sc, let’s get the head of the row here. !!!
ROW 1: 6SC, 2SC ARM, 16SC, 2SC, 10SC = (36)
ROW 2: 6SC, 8SC ARM, 16SC, 8SC ARM, 10SC=(48)
RANK 3:5SC, DEC, 6SC, DEC, 14SC, DEC, 6SC, DEC, 9SC=(44)
ROW 4: 4SC, DEC, 6SC,DEC, 12SC, DEC, 6SC, DEC, 8SC=(40)
!!! Let’s put our wire in the arms. !!! Let’s bend the ends and measure from arm to arm and cut our wire according to arm length.
ROW 5: 40SC
RANK 6: 3SC, DEC, 6SC, 10SC, DEC, 6SC, DEC, 7SC = (36)
RANK 7: 2SC, 5DEC, 8SC, 5DEC, 6SC = (26)
ROW 8: SC, 4DEC, 5SC, 4DEC, 4SC= (18)
ROW 9: (4SC, DEC)* 3 times = (15)
ROW 10-13: entire row sc 15sc
20 cm of wire is sufficient for body and head. Place the wire before descending.
Head
with tan
ROW 1: Magic ring into 6SC
ROW 2: Make 2SC in each loop = (12)
ROW 3: (SC, INC)* 6 times = (18)
ROW 4: (2SC, INC)*6 times= (24)
ROW 5: (3SC, INC)*6 times= (30)
ROW 6: (4SC, INC) * 6 times = (36)
ROW 7: (5SC, INC)* 6 times = (42)
ROW 8: (6SC, INC)* 6 times = (48)
ROW 9: (7SC, INC)* 6 times = (54)
ROW 10: (8SC, INC)* 6 times = (60)
ROW 11: (9SC, INC) * 6 times = (66)
ROW 12-28: Whole row sc 66 = (66)
Before filling the head, follow the eye process by nm in the picture.
Let’s move forward. Between 19-20 Rows between two needles in the first picture
There are 13sc. Let’s process the eye by following the nm in the picture. Below
We will easily process the eye according to the details I have mentioned.
AFTER THE EYE WORK IS FINISHED, FROM WHERE WE LEFT
WE CONTINUE.
ROW 29: (9SC, DEC)* 6 times= (60)
ROW 30: (8SC, DEC)* 6 times = (54)
ROW 31: (7SC, DEC)* 6 times = (48)
ROW 32: (6SC, DEC)* 6 times = (42)
ROW 33: (5 SC, DEC)* 6 times = (36) (Let’s fill our heads)
ROW 34: (4SC, DEC)* 6 times = (30)
ROW 35: (3SC, DEC)* 6 times = (24)
ROW 36: (2SC, DEC)* 6 times = (18)
ROW 37: (4SC, DEC)* 3 times = (15)
eyes
Let’s follow the eye in order:
● The place where we will process the eye
● Black and iridescent green and embroidered
● Dark green embroidery
● Light green embroidery
● Black frame embroidery
● Processing of white parts
● Black contour embroidery
● Eyebrow and eyebrow embroidery… good luck with your hands and eyes this time with finish
Eyes Part 1
Eyes Part 2
● Cut enough thread (20cm) to pull the neck out.
● 20 cm of wire is sufficient for body and head.
settlement.
● In the picture after the head sprain, the shishi nose and mouth implanted needle
let’s work after the definition.
● For the hair, let’s set 16 chers from the top.
● If we want a dense hair transplant, we can increase the order.
● In the 5th picture, we draw bangs in the triangle section that I drew in black. 10 cm
long hair rope is enough for the fringe part.
● Proportioning the bangs 1 row above our eyebrows and cutting the edge
let’s fix it.
● Let’s cut 40 cm of hair thread and plant it on the remaining sections after the bangs.
● Let’s cut the ear Magic ring into 6 hdc sl-st. After 6sc of your eye
Let’s put his ears between 20-24 rows, Shi’i in the 8th picture.
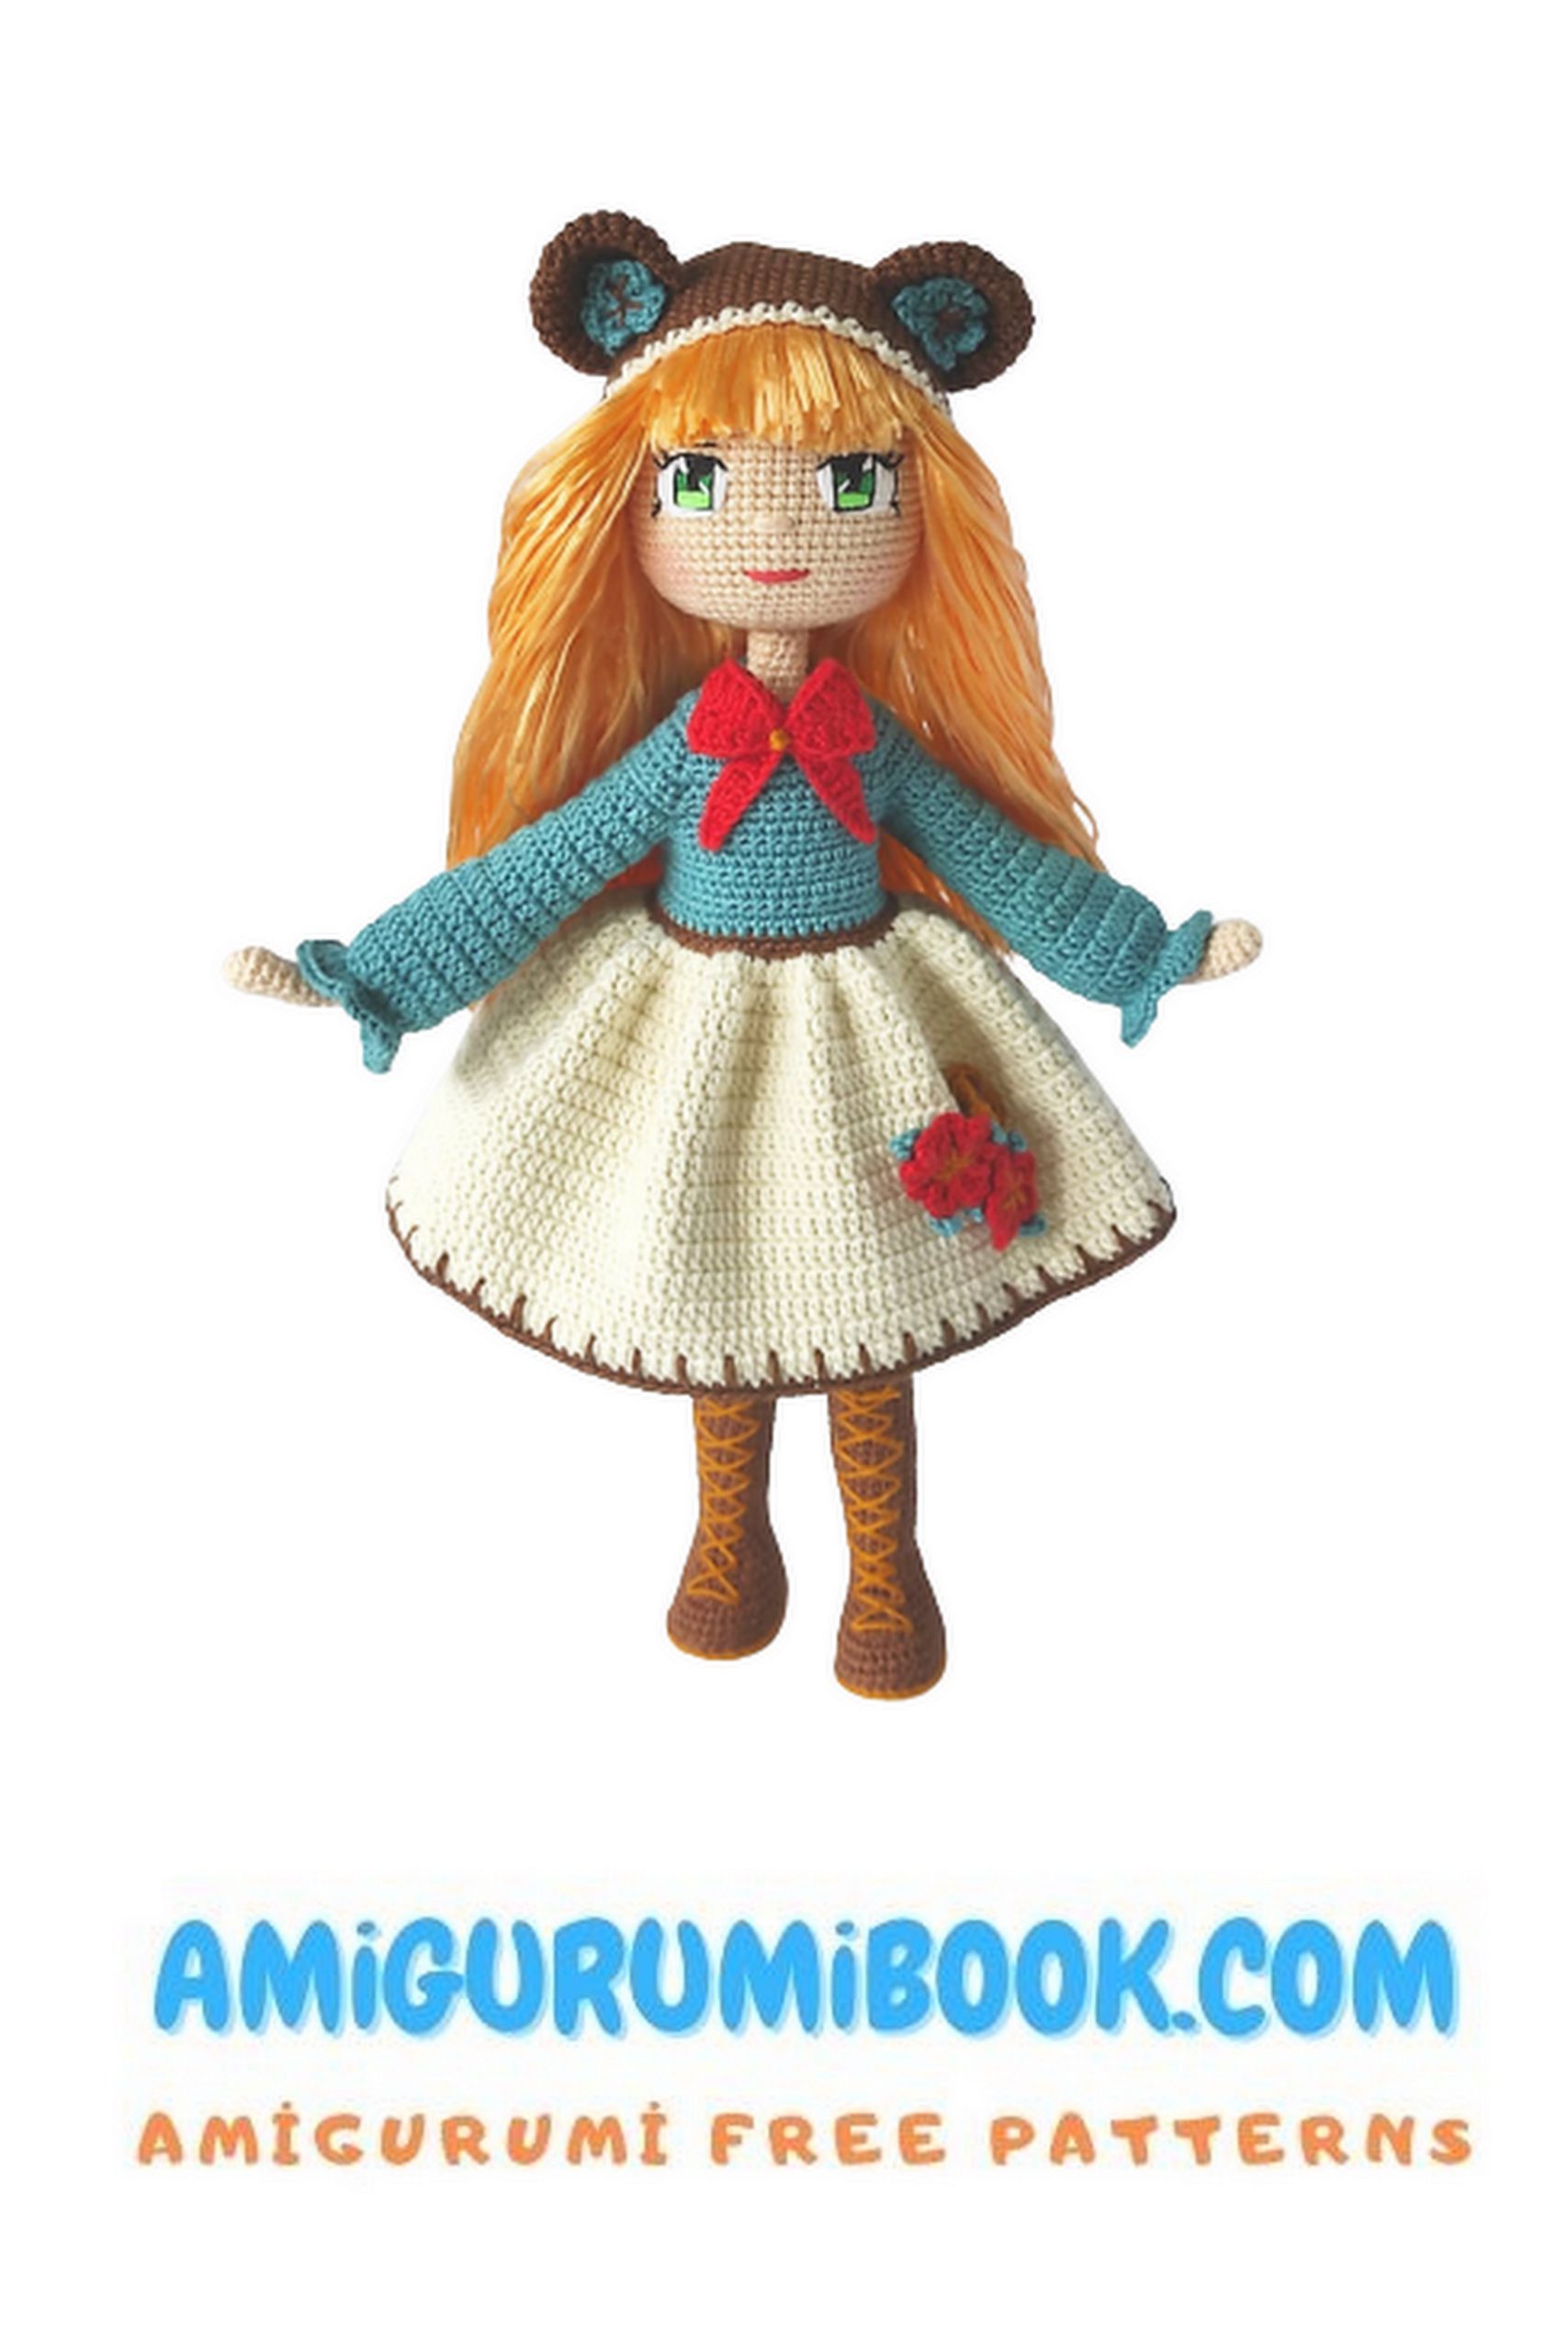
Hat
WITH BROWN THREAD
ROW 1: Magic ring into 6SC
ROW 2: Make 2sc in each stitch = (12)
ROW 3: (SC, INC)* 6 times = (18)
ROW 4: (2SC, INC)* 6 times = (24)
ROW 5: (3SC, INC)* 6 times = (30)
ROW 6: (4SC, INC)* 6 times = (36)
ROW 7: (5SC, INC)* 6 times = (42)
ROW 8: (6SC, INC)* 6 times = (48)
ROW 9: (7SC, INC)* 6 times = (54)
ROW 10: (8SC, INC)* 6 times = (60)
ROW 11: (9SC, INC)* 6 times = (66)
ROW 12: (10SC, INC)* 6 times = (72)
ROW 13: (11SC, INC)* 6 times = (78)
ROW 14-25: Let’s knit the whole row sc 78sc and finish by making sl-st.
After our hat snaps, from the reverse side of the knit from the blo part.
cream yarn with 2 ch, skip 1sc, sc……
Let’s complete the border.
Let’s move on to knitting the ears of the hat.
Ears (2 Pieces)
With brown rope
ROW 1: Magic ring into 6SC
ROW 2: Make 2sc in each stitch = (12)
ROW 3: (SC, INC)* 6 times =(18)
ROW 4: (2SC, INC)* 6 times =(24)
ROW 5: (3SC, INC)* 6 times =(30)
ROW 6-9: Whole row sc 30sc
ROW 10: (3SC, DEC)* 6 times =(24)
By folding the ears in two, we can connect with a tight needle, sl-st crochet.
In the picture above you can see the places where we will sew the ears.
Considerations when sewing ears
● While sewing our ears, let’s determine their location with a needle.
● Let’s count 6 rows up from the edge of the hat and insert the needle.
(This will be our place to sew the ears.)
● Count 8SC for the right ear, 14SC between the two ears and 8SC for the left ear.
We determine our place to plant.
● While sewing our ears, let’s sew from the FLO and BLO parts.
Flowers
The hat and handbag flowers are 5 pieces in total:
● For 2 green hats
● For 2 red dresses
● For 1 mustard yellow dress
Our Model:
● Magic ring into ( 2 CH, 2 DC, 2 CH, SC) * 5 times
● Let’s embroider with any color for flower veins.
● Let’s put flowers on our handicraft and hat.
Leaves (2 Pieces to be Knitted)
with green color
● Let’s shoot 4CH from the 2nd
3sc sl-st
● Let’s draw 4 CH from the 2nd
3sc sl-st
● Let’s draw 4 CH from the 2nd
3SC sl-st
● Just enough to stitch our thread.
Let’s cut it a little longer
Collar Ribbon on the Dress
Part 1
with red color
Let’s draw 25 CH from the 2nd
● SL-ST, SC, HDC, DC, DC, DC, DC, DC, DC, HDC, SC, SL-ST, SL-ST, SC, HDC, DC,
DC, DC, DC, DC, DC, DC, HDC, SC, SL-ST
● In the same way, in the other part of the 1CH traction and rotation
knitting
● SL-ST, SC, HDC, DC, DC, DC, DC, DC, DC, HDC, SC, SL-ST, SL-ST, SC, HDC, DC,
DC, DC, DC, DC, DC, DC, HDC, SC, SL-ST
● Forming by combining the two ends of the braid
Chapter 2
with red color
Let’s draw 18 CH from the 2nd
● SL-ST, SC, HDC, DC, DC, DC, HDC, SC, SL-ST, SL-ST, SC, HDC, DC, DC, DC, HDC,
SC, SL-ST
● In the same way, in the other part of the 1CH traction and rotation
knitting
● SL-ST, SC, HDC, DC, DC, DC, HDC, SC, SL-ST, SL-ST, SC, HDC, DC, DC, DC, HDC,
SC, SL-ST
Collar Ribbon 1st and 2nd Part Photos
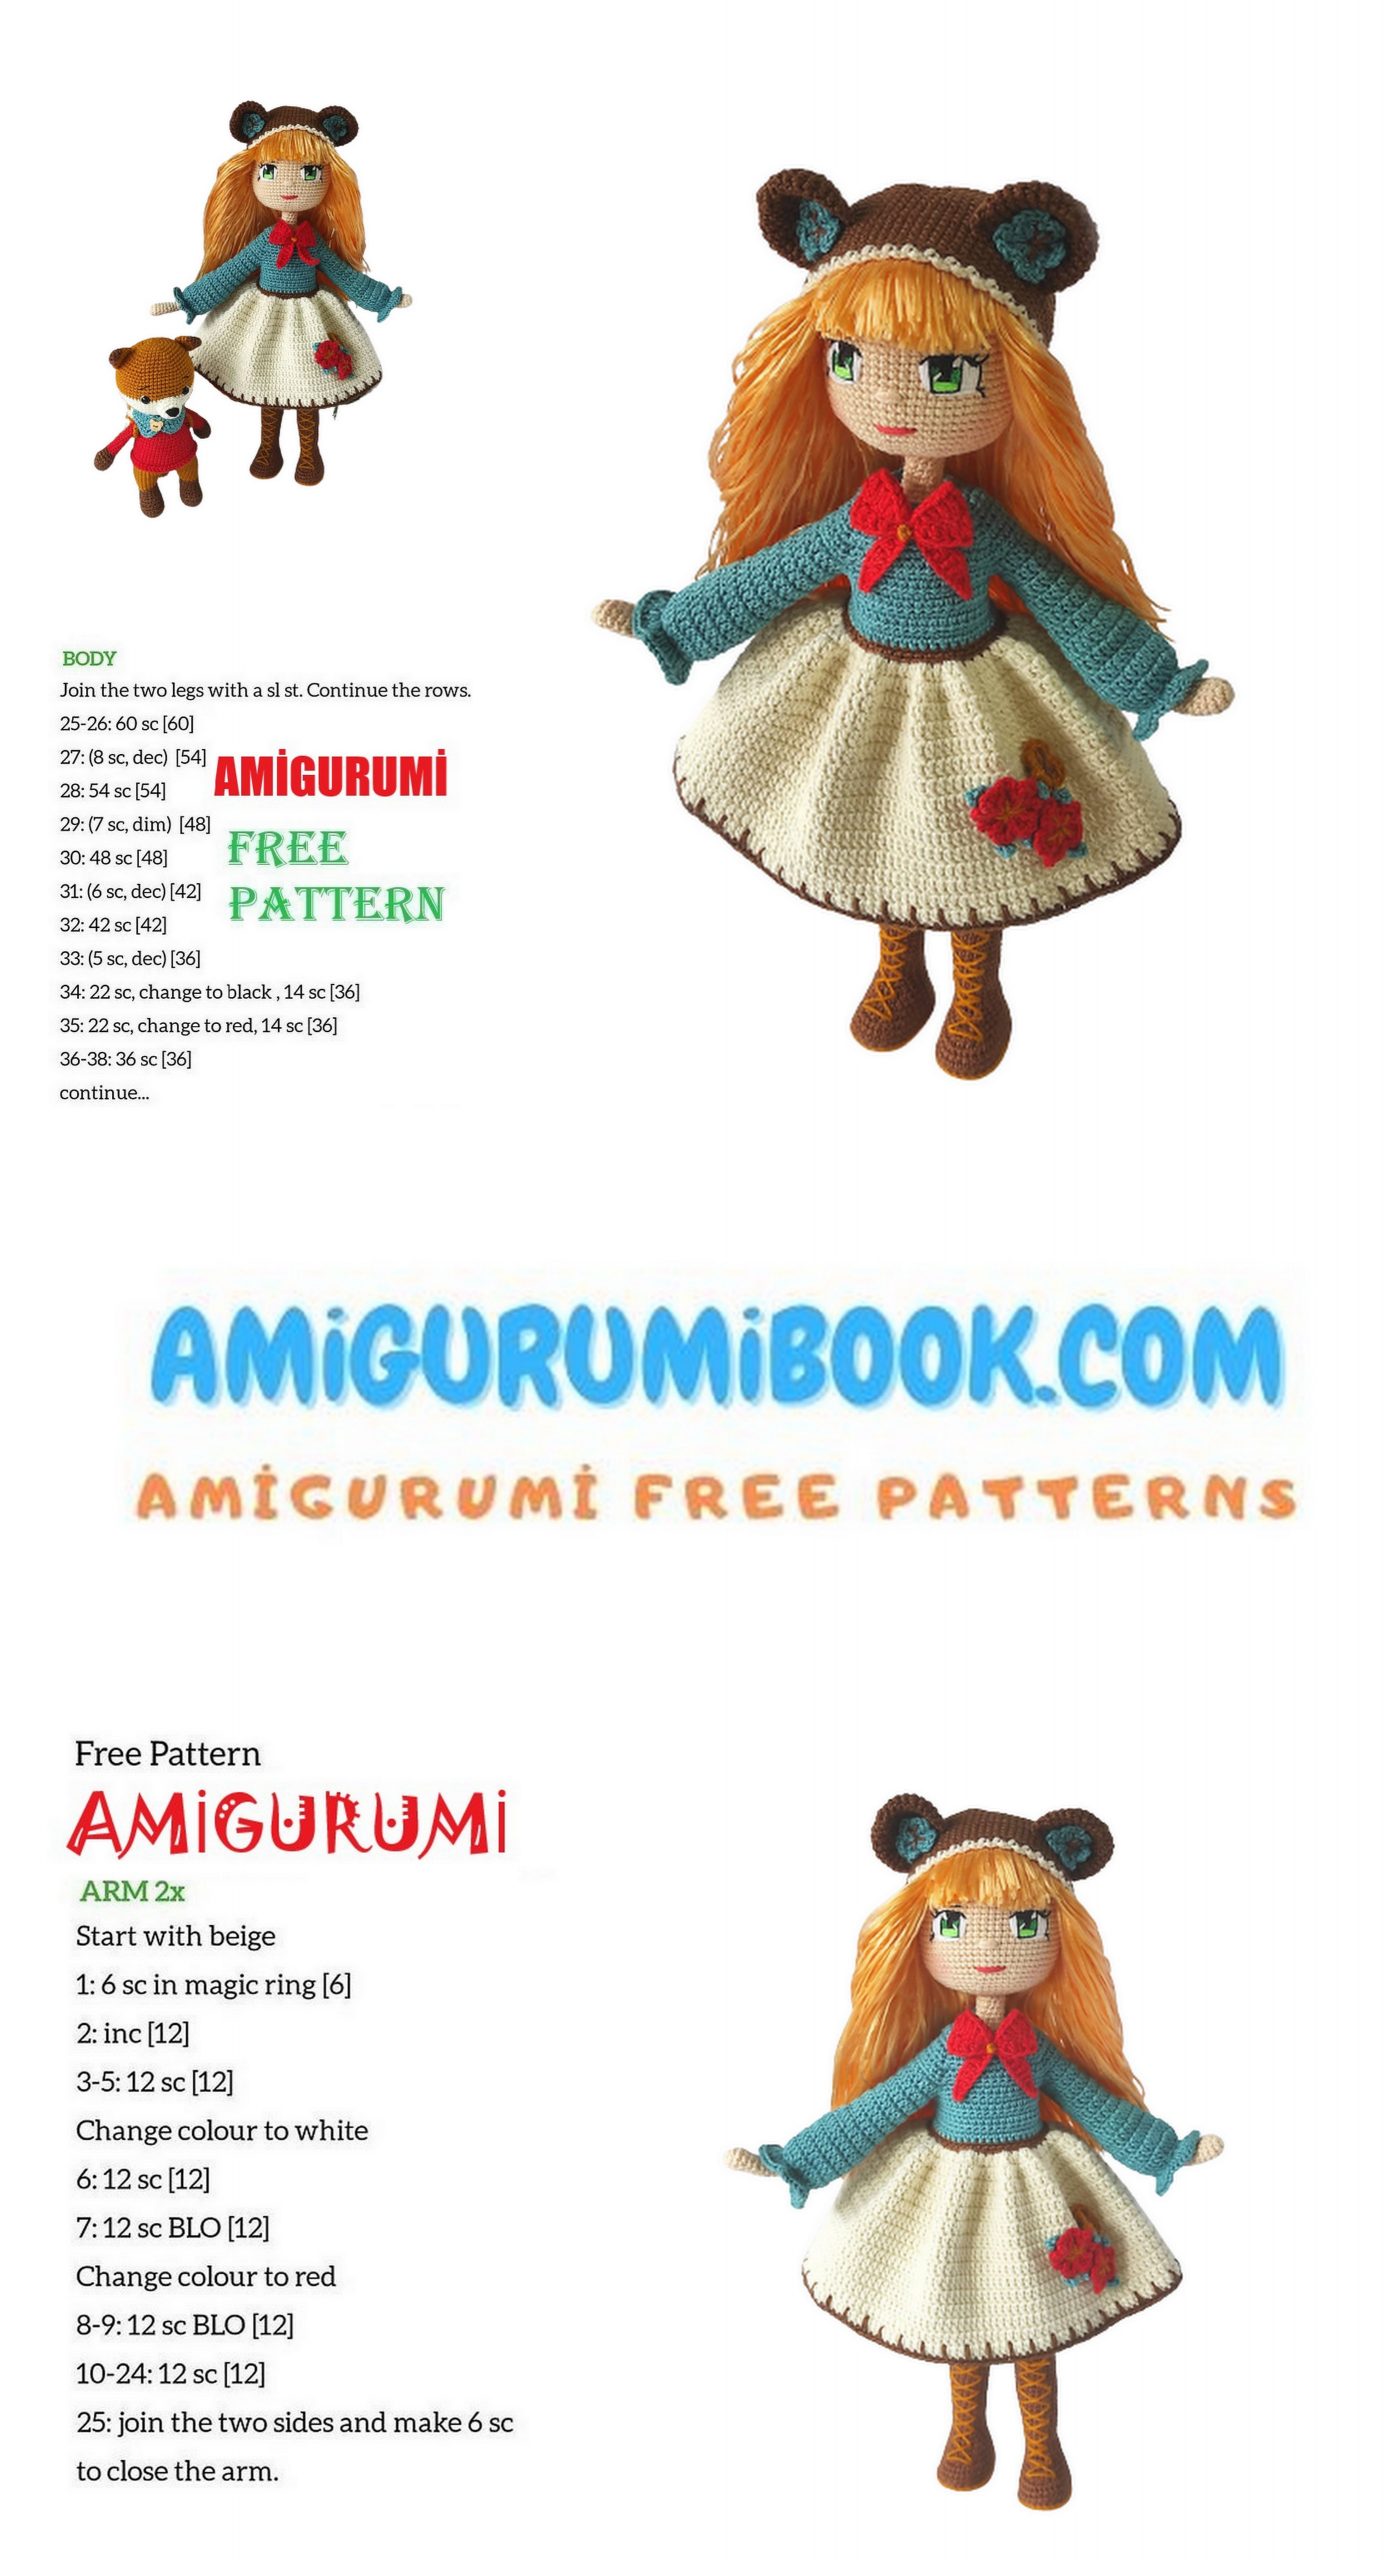
Dress
We start with CATANIA 292 (Green Color).
1. 25 CH check return from 2nd (2 SC, INC) *8 times, 2 CH check back.
2. 32 hdc, 1 CH check back.
3. 5 SC, TRINC, 4 SC, TRINC, 10 SC, TRINC, 4 SC, TRINC, 5 SC, 1 CH check back.
4. 40 SC, 1 CH pull back.
5. 6 SC, TRINC, 6 SC, TRINC, 12 SC, TRINC, 6 SC, TRINC, 6 SC, 1 CH check back.
6. 48 SC, 2 CH pull back.
7. 7 SC, TRINC, 8 SC, TRINC, 14 SC, TRINC, 8 SC, 7 SC , 2CH pull back.
8. 9 HDC, 5 CH pull, 10 SC skip, 18 HDC, 5 CH pull, 10 SC skip, 9 HDC, 1 CH pull
turn back.
9. 9 SC, 5 SC on chain, 18 SC, 5 SC on chain, 9 SC, 2 CH pull back.
10. 46 HDC, 1 CH check back.
11. 46 SC, 2 CH pull back.
12. 46 HDC, 1CH check back.
13. 46 SC, 2CH pull back.
14. 46 HDC, 1 CH check back.
15. Pull 46 SC, 1 CH with brown thread back.
16. Let’s make 46 SC, SL-ST and combine them with brown yarn.
From here, we continue with the cream color skirt.
Let’s continue our knitting by following the picture.
17. Pull 2 CH with cream thread, 46 DCINC from BLO (increase), SL-ST = (92)
18. 2 CH, (DC , DCINC) *46 times, SL-ST
19 – 31. 2 CH, 138 DC (13 ROW ), with HDC all row
32. 2SC to the hem edge with brown thread, SC by taking a loop from ONE BOTTOM row,
2sc…….continue
Dress Sleeves
Let’s knit in a spiral with Catania 292 (Green Color).
1. 2 CH check, 18 DC, SL-ST = (18)
2-6. 2CH, 18 DC, SL-ST = (18)
7. 2 CH, ( 2 DC , DCINC )* 6 times = (24)
8-10. 2 CH, 24 DC, SL-ST = (24)
11. 2 CH , ( 2DC , DCDEC )* 6 times,
SL-ST = (18)
12. 1 CH , (SC , DEC)* 6 ,SL-ST = (12)
13. 2 CH , DCTRINC, SL-ST
● Elḃiseṁi kollarıs arms are shaking
then ribbon and
my flower flower.
● Tie the back of the handiwork
let’s wear it, buttonhole
Let’s study the settlement.
● On the back of her hand
buttonhole
we wear.
● 5 SC, 8 CH in the same place SC, 7SC, 8
CH, same place SC, SL-ST
Let’s cut our rope and hide it.