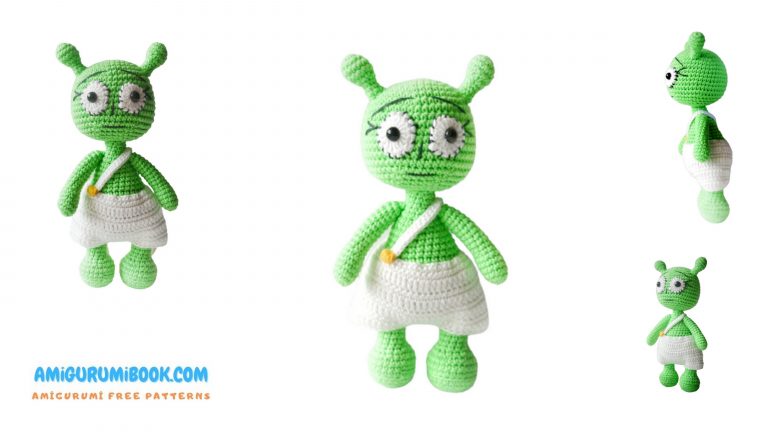
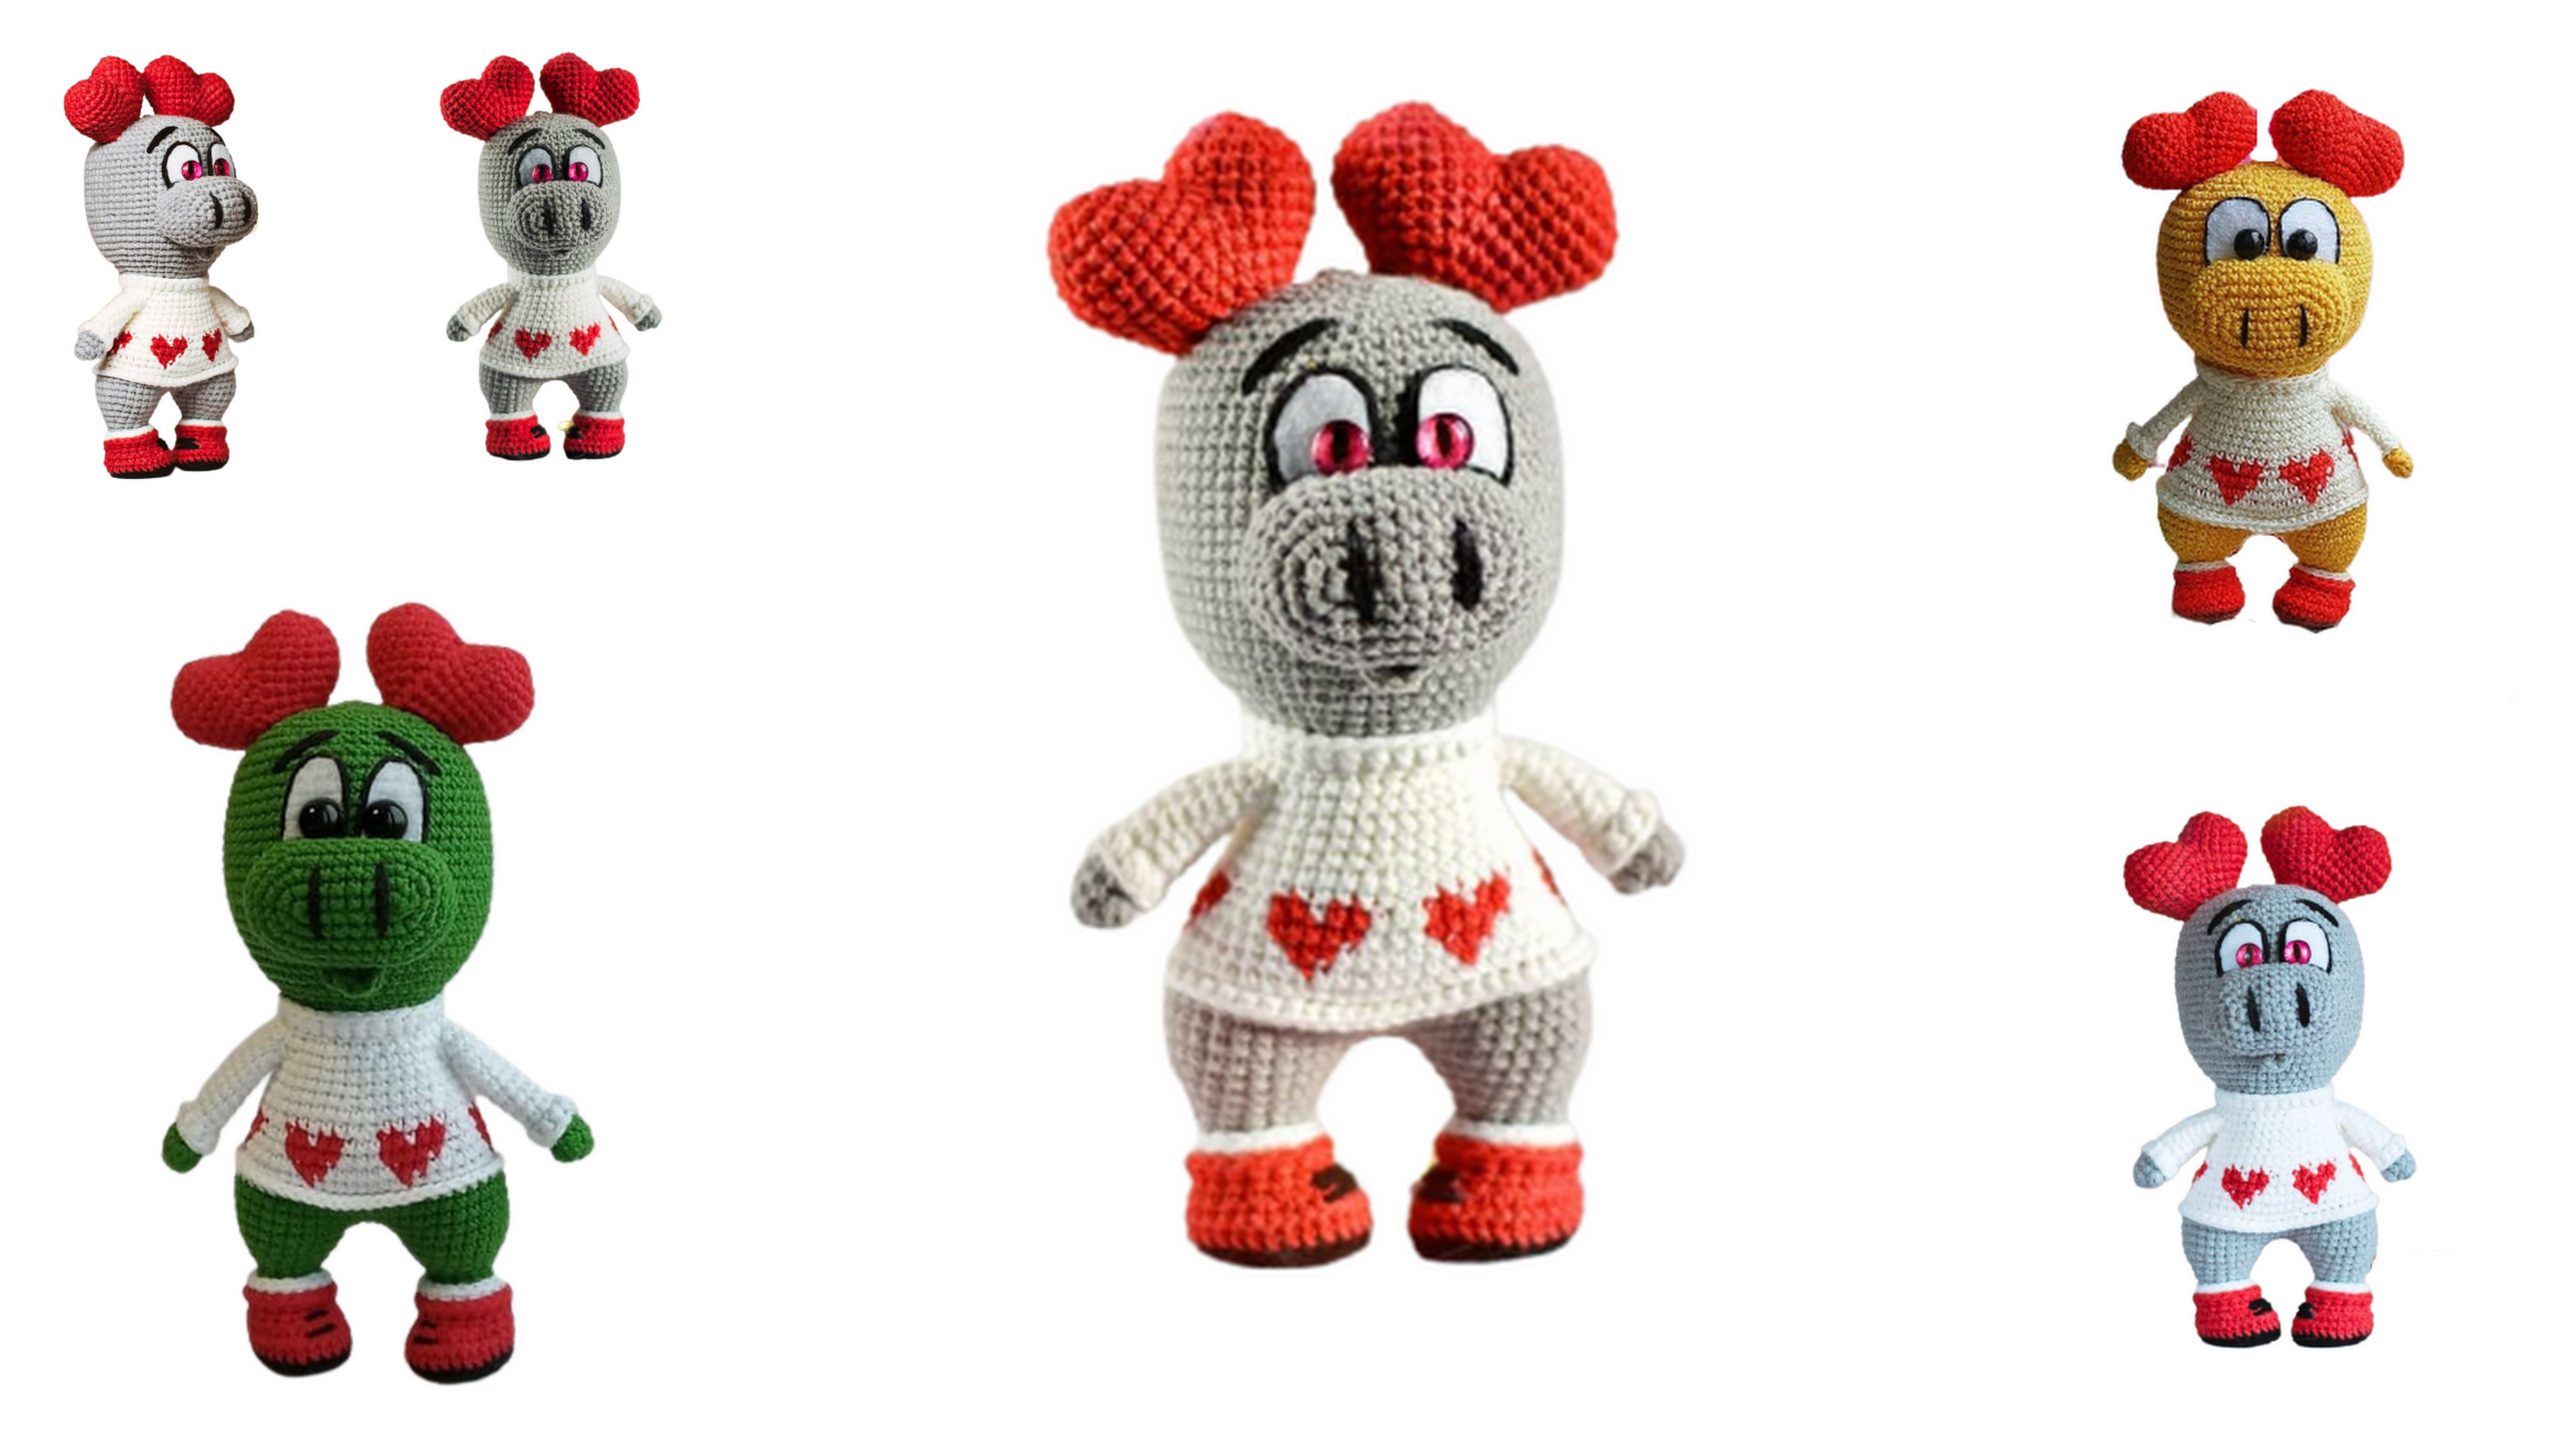
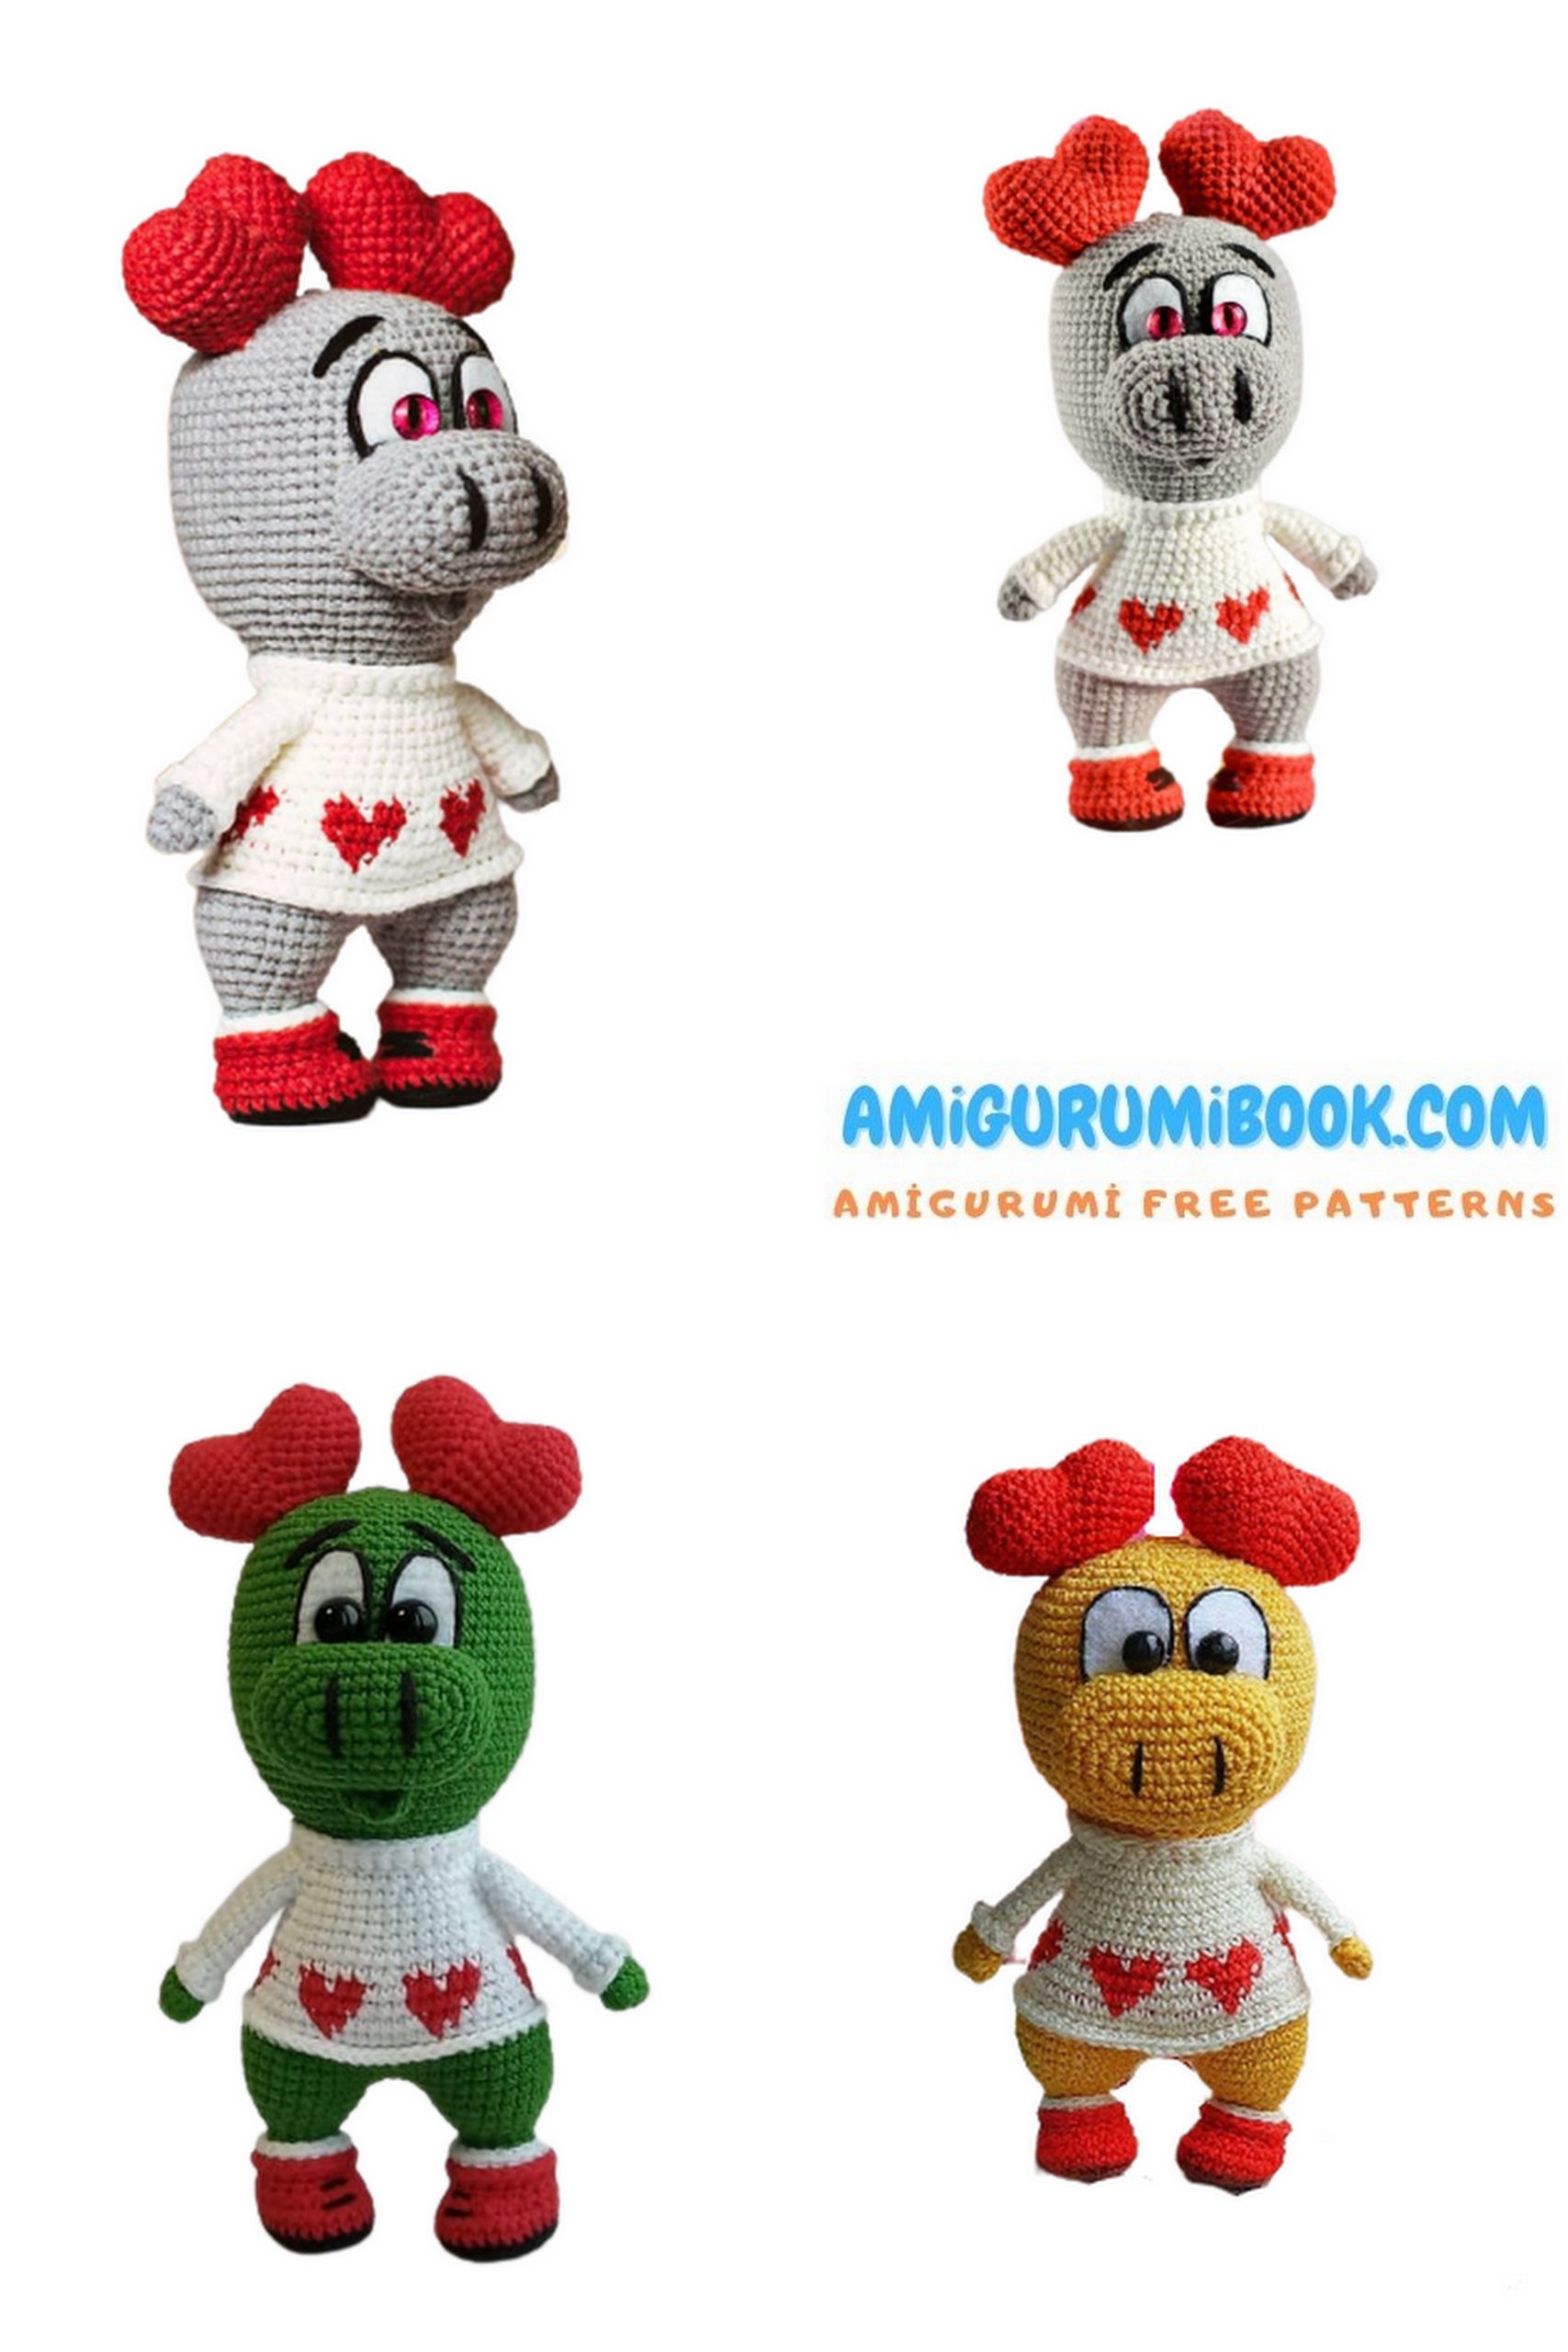
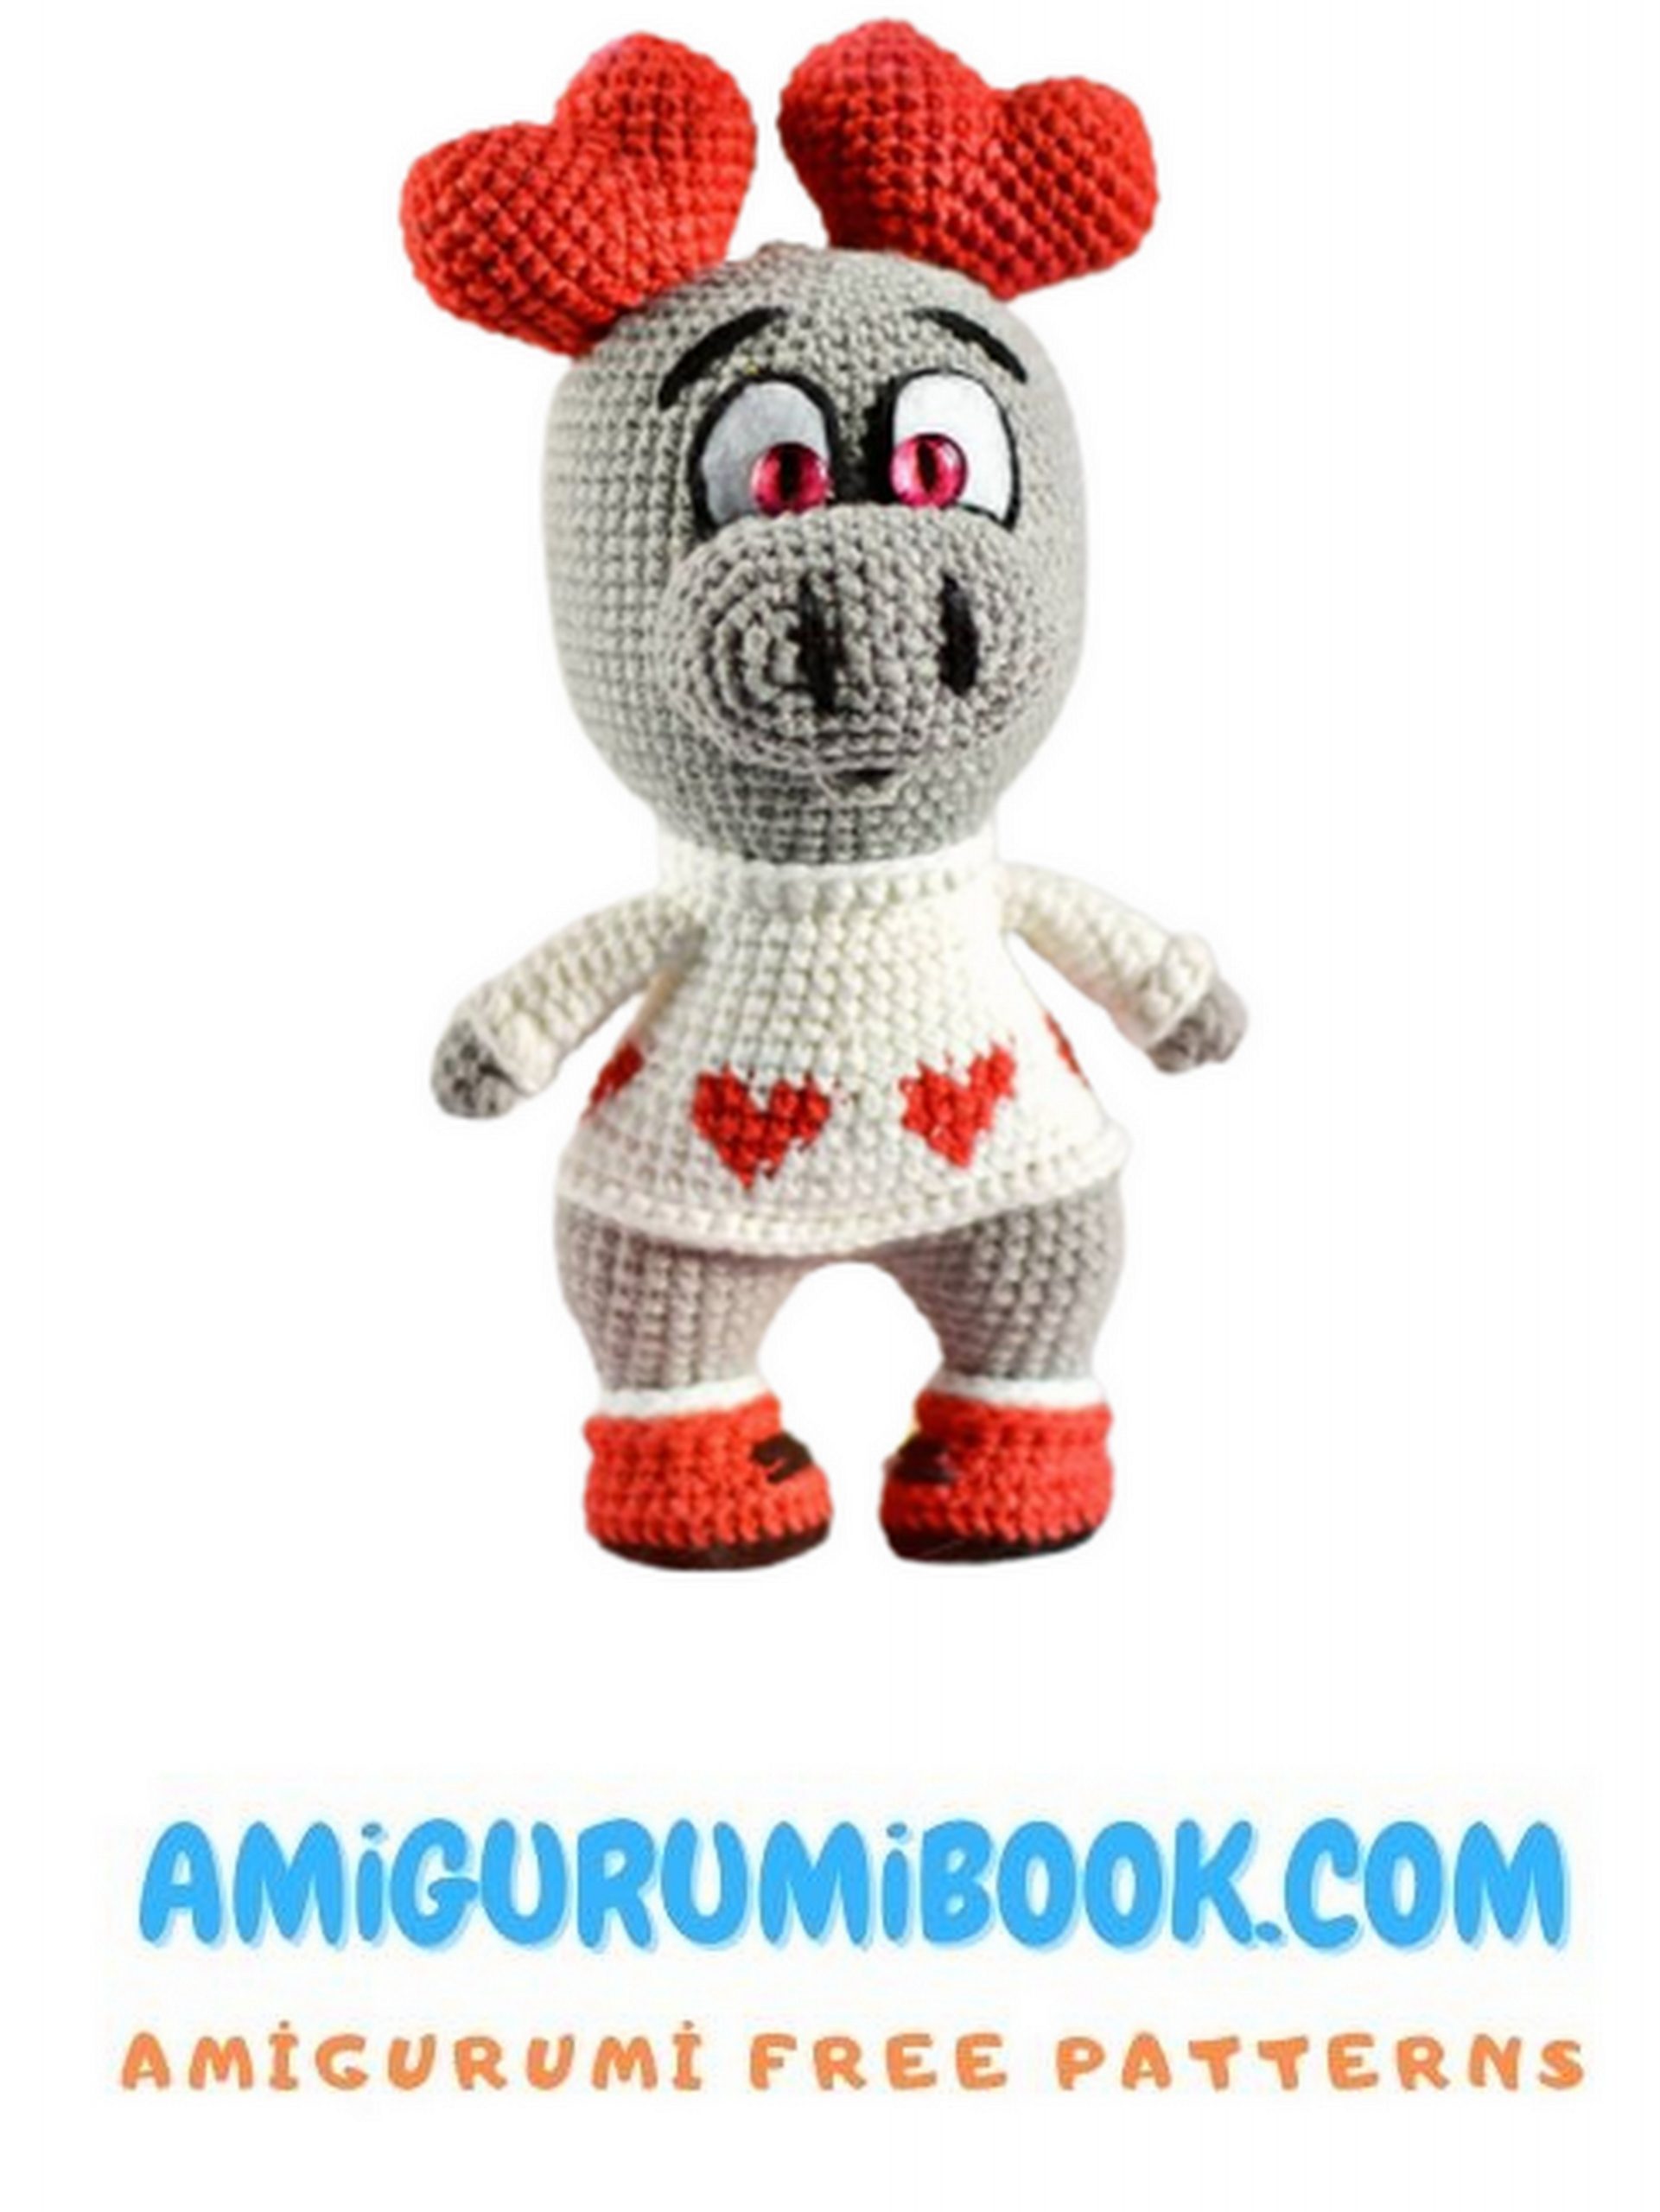
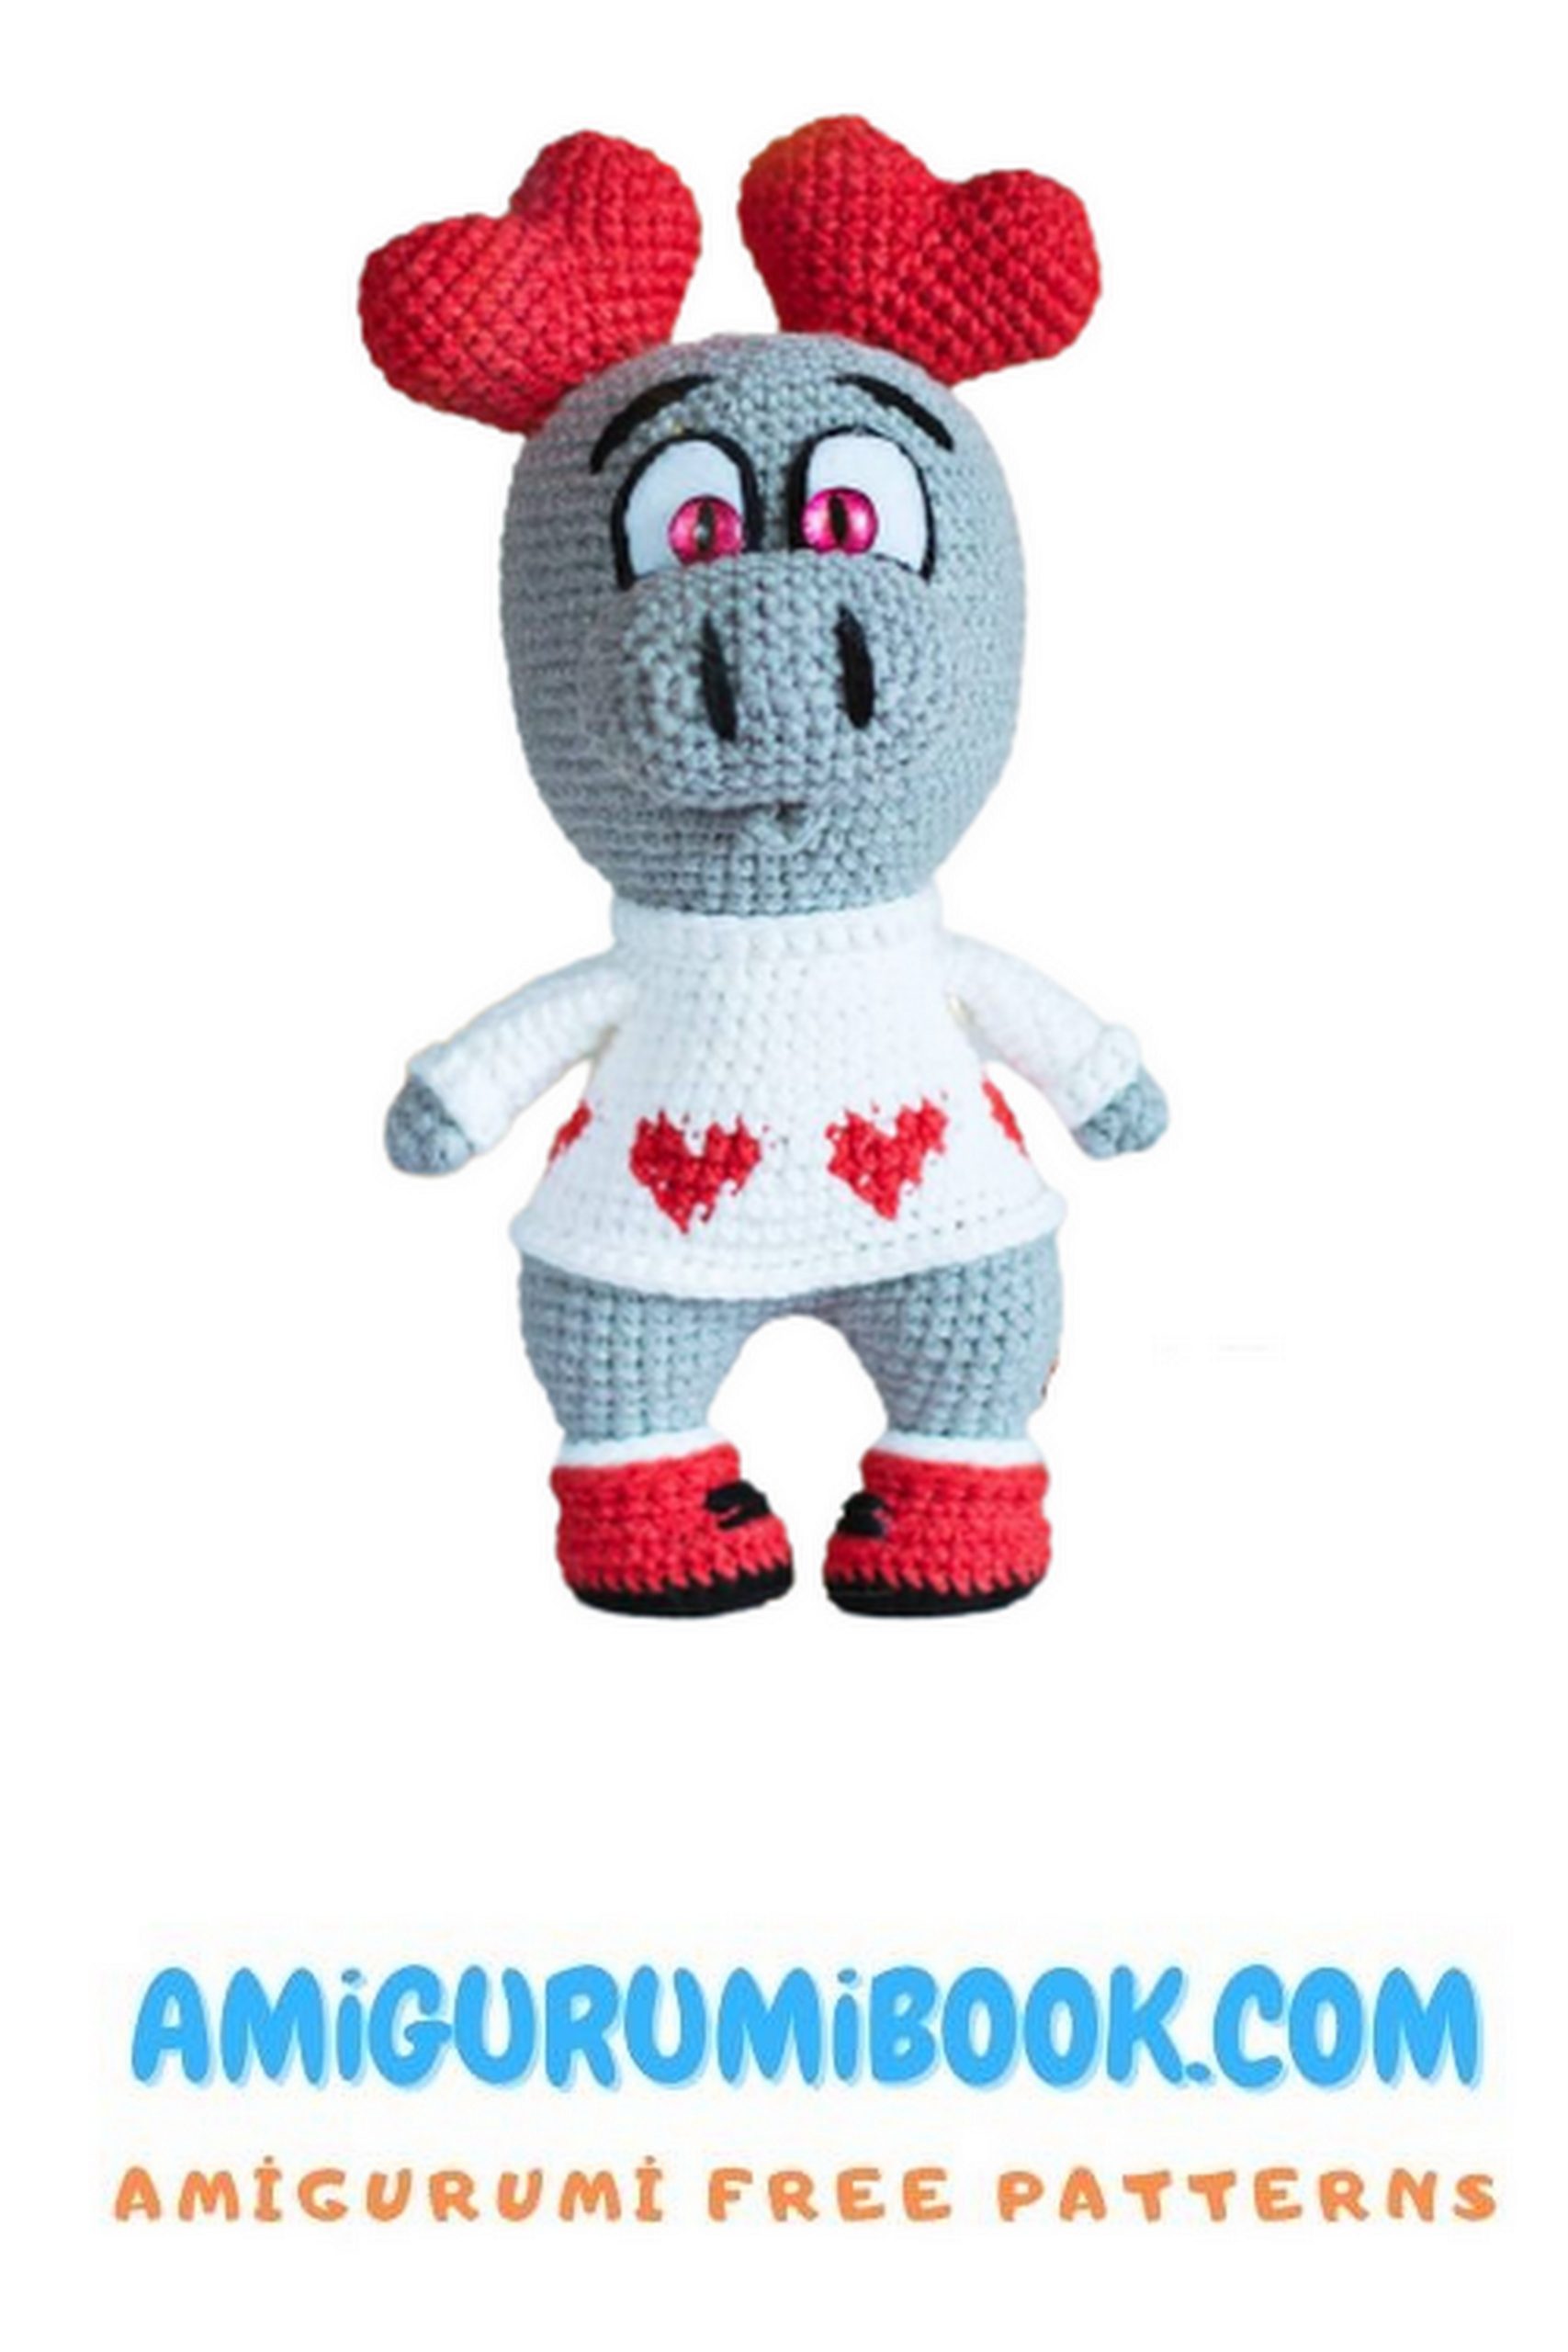
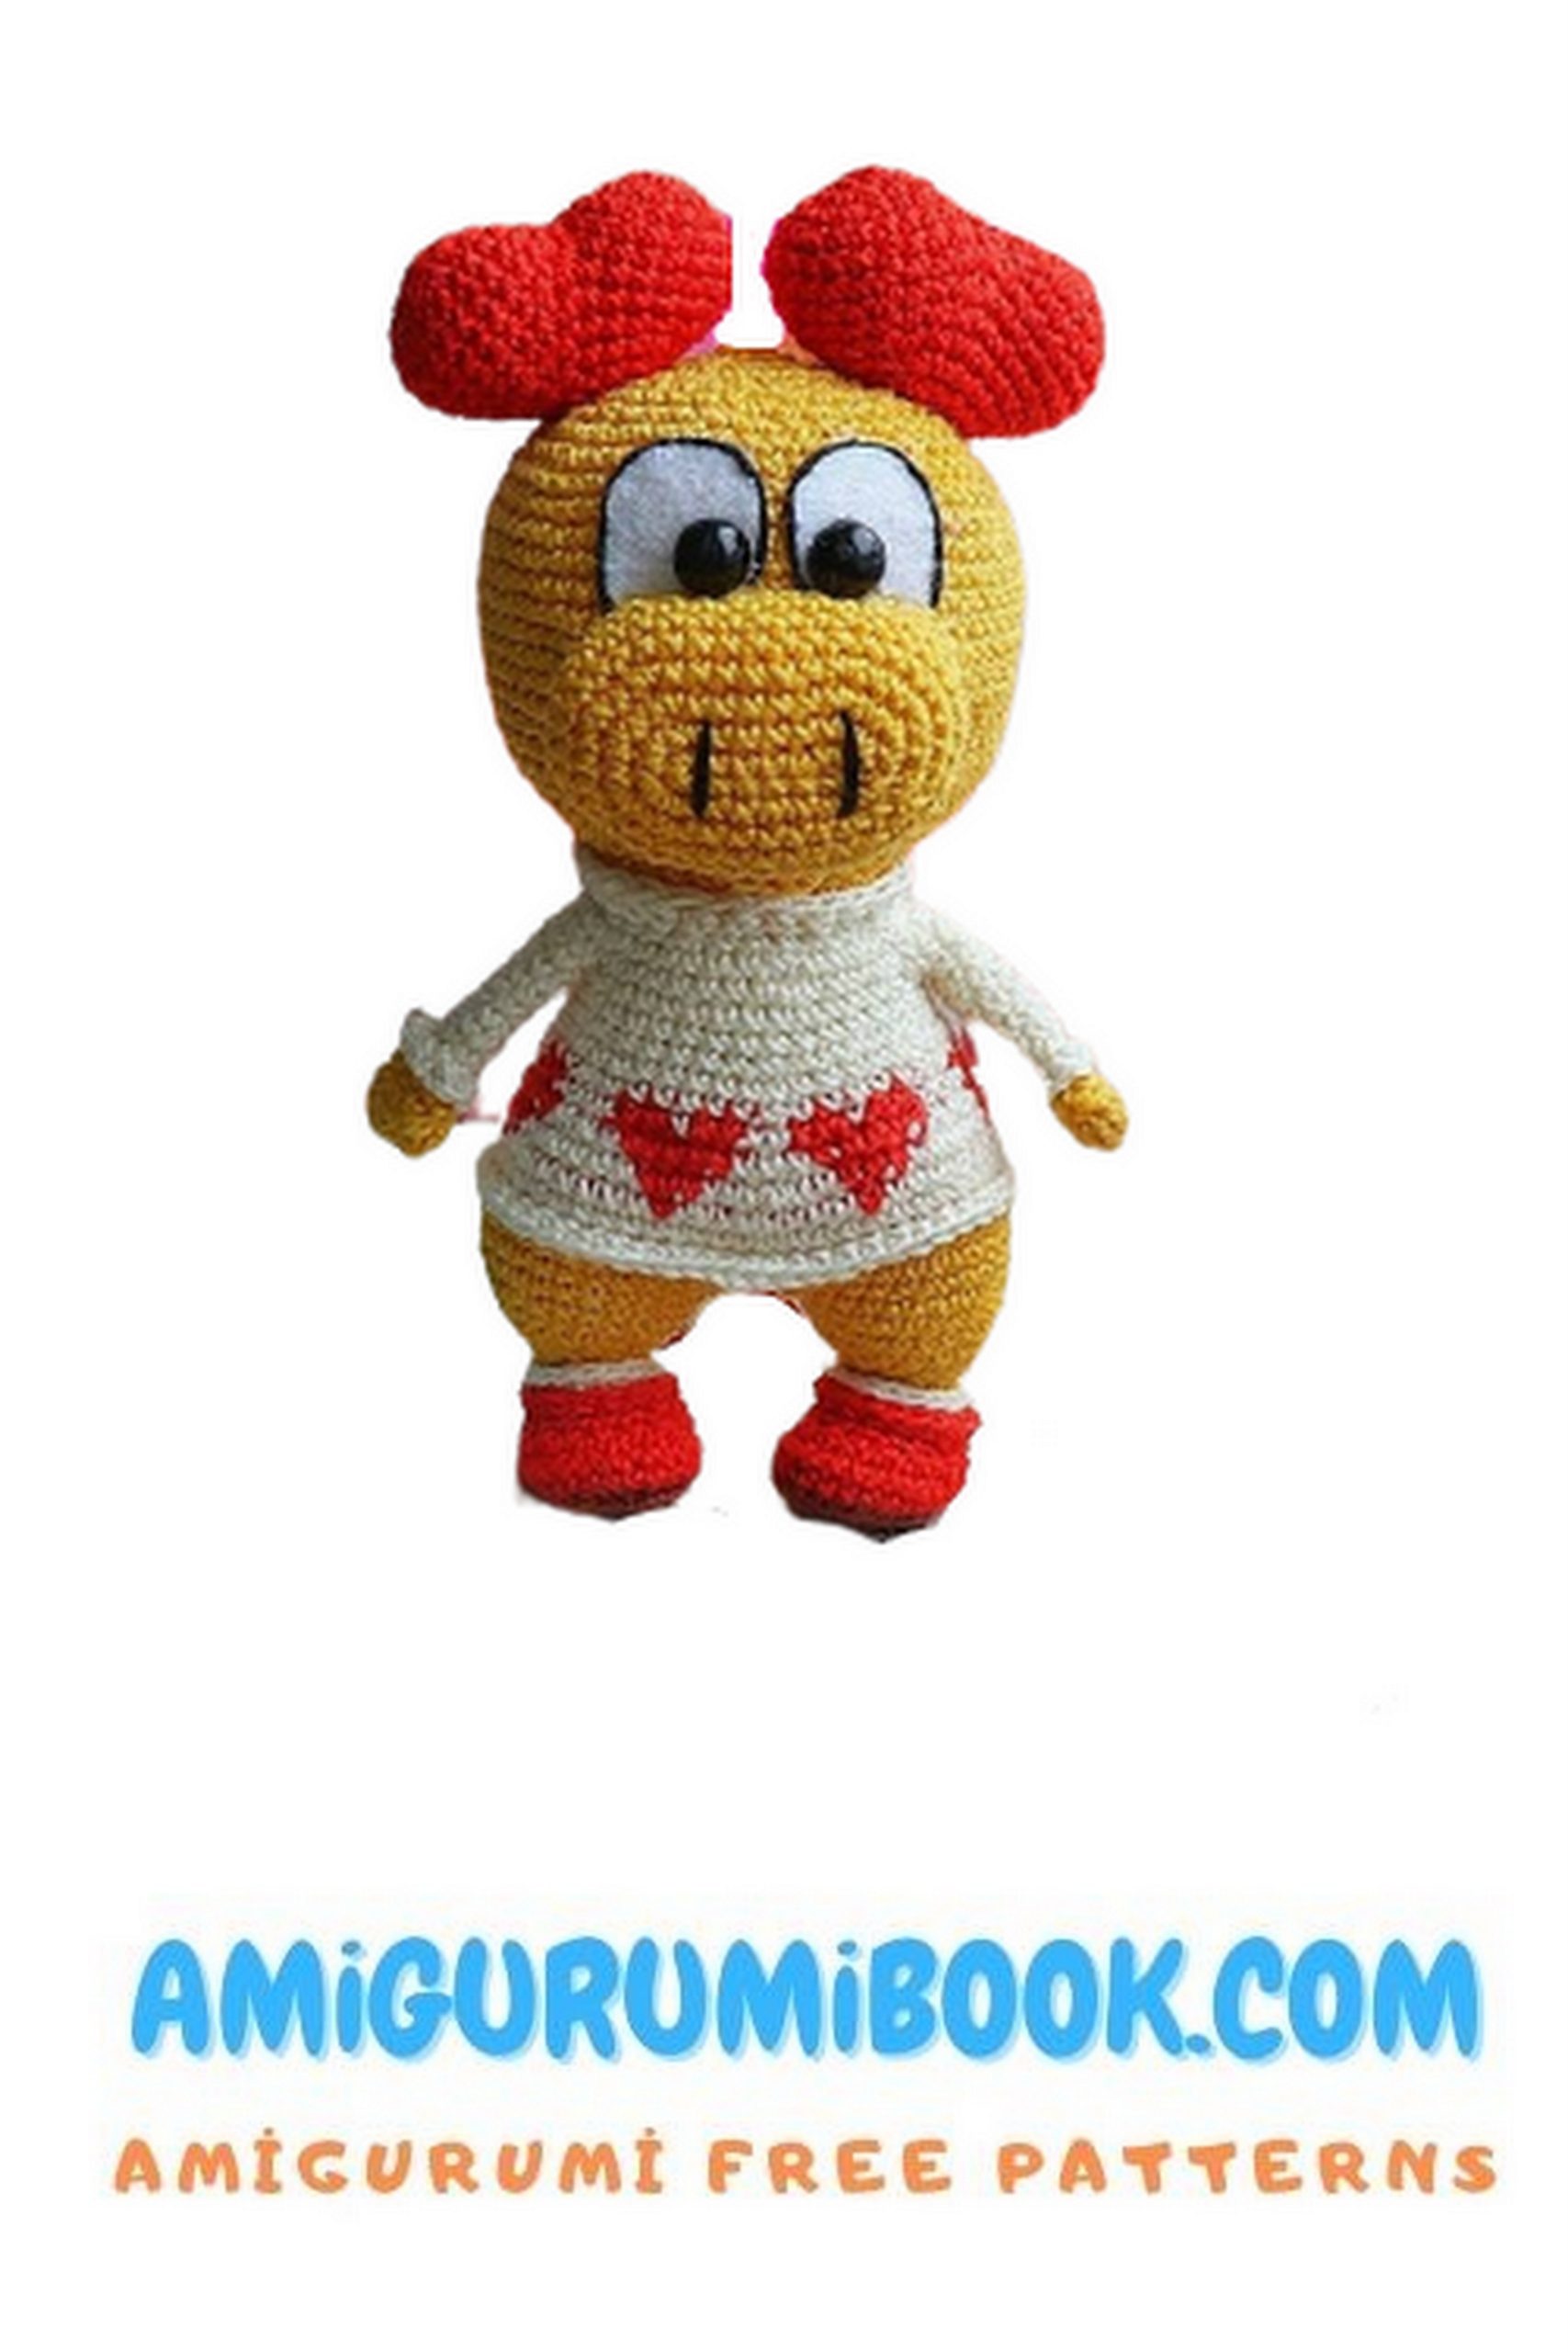
Love Monster Amigurumi Free Pattern
I continue to share amigurumi free patterns. In this article, love monster amigurumi free pattern is waiting for you.
Materials:
– yarn: Yarn Art Jeans 46(grey) for body, 01(white),
26(red), 53(black)
You can use absolutely any yarn in color and texture.
Jeans yarn consumption: one skein of the main color (gray), half a skein
red, a third of white, quite a bit of black.
– a thin contrast thread – a marker. Be sure to use
marker!
– a hook of the right size for your yarn, I have it No. 2;
– filler (holofiber, sintepukh);
– glass eyes 8mm (you can use any eyes);
– glue Moment Crystal;
– white felt;
– a needle for stitching parts;
– scissors;
– a piece of plastic for insoles, I use old discount ones
plastic cards.
The height of the finished toy, with the specified materials, is about 20cm.
Abbreviations:
sc – single crochet, knitted for both walls of the loop,
unless otherwise stated in the description;
ch – chain;
sl-st – slip stitch, do not knit it too tight;
Dec – decrease (2sc together for the front walls)
Inc – increase (2sc from one loop)
HDC – half double crochet
DC – double crochet
* – after this asterisk the number of repetitions knitted is indicated
loops
General recommendations for knitting toys:
– Please read the description carefully first.
toys, then start knitting.
– Choose a hook according to your density! between the columns
there should be a distance, the filler should not shine through,
but you don’t need to knit too tightly, the canvas should
turn out plastic, and not be wooden.
– Use a good filler to prevent
the appearance of bumps and bumps when filling the toy.
– All parts are knitted in a spiral, a lifting loop at the beginning of the row and
the connecting loop at the end of the row is not used.
– All loops, except for the decrease loop, are knitted for both walls
loops. Knitting loops for the front or back wall
indicated in the row description.
– We do not align the marker during knitting, but when
necessary, knit an offset loop to get into
description. When knitting the body, the marker runs smoothly
in the middle, especially pay attention to it when
joining hands.
– Please note that the connecting post is not
tied tight.
– Use a thin, contrasting marker thread to mark
the beginning of the row. Before knitting the first loop of the row
throw it alternately: before knitting and after knitting.
– The toy is knitted face out, fig.1.
– The thread is changed as follows:
You knit the last sc not to the end, i.e. insert hook for
both walls of the loop (when knitting a decrease, we insert the hook behind
two front walls), bring the thread out – there are two
loops, then take a thread of a different color and knit these loops
with a new color.
– When making the head, enter and exit all the threads from above
heads, in an open hole, so that it is convenient to fix them
and hide.
– Only the muzzle and ears are sewn on, hands are tied, the head
and body are knitted.
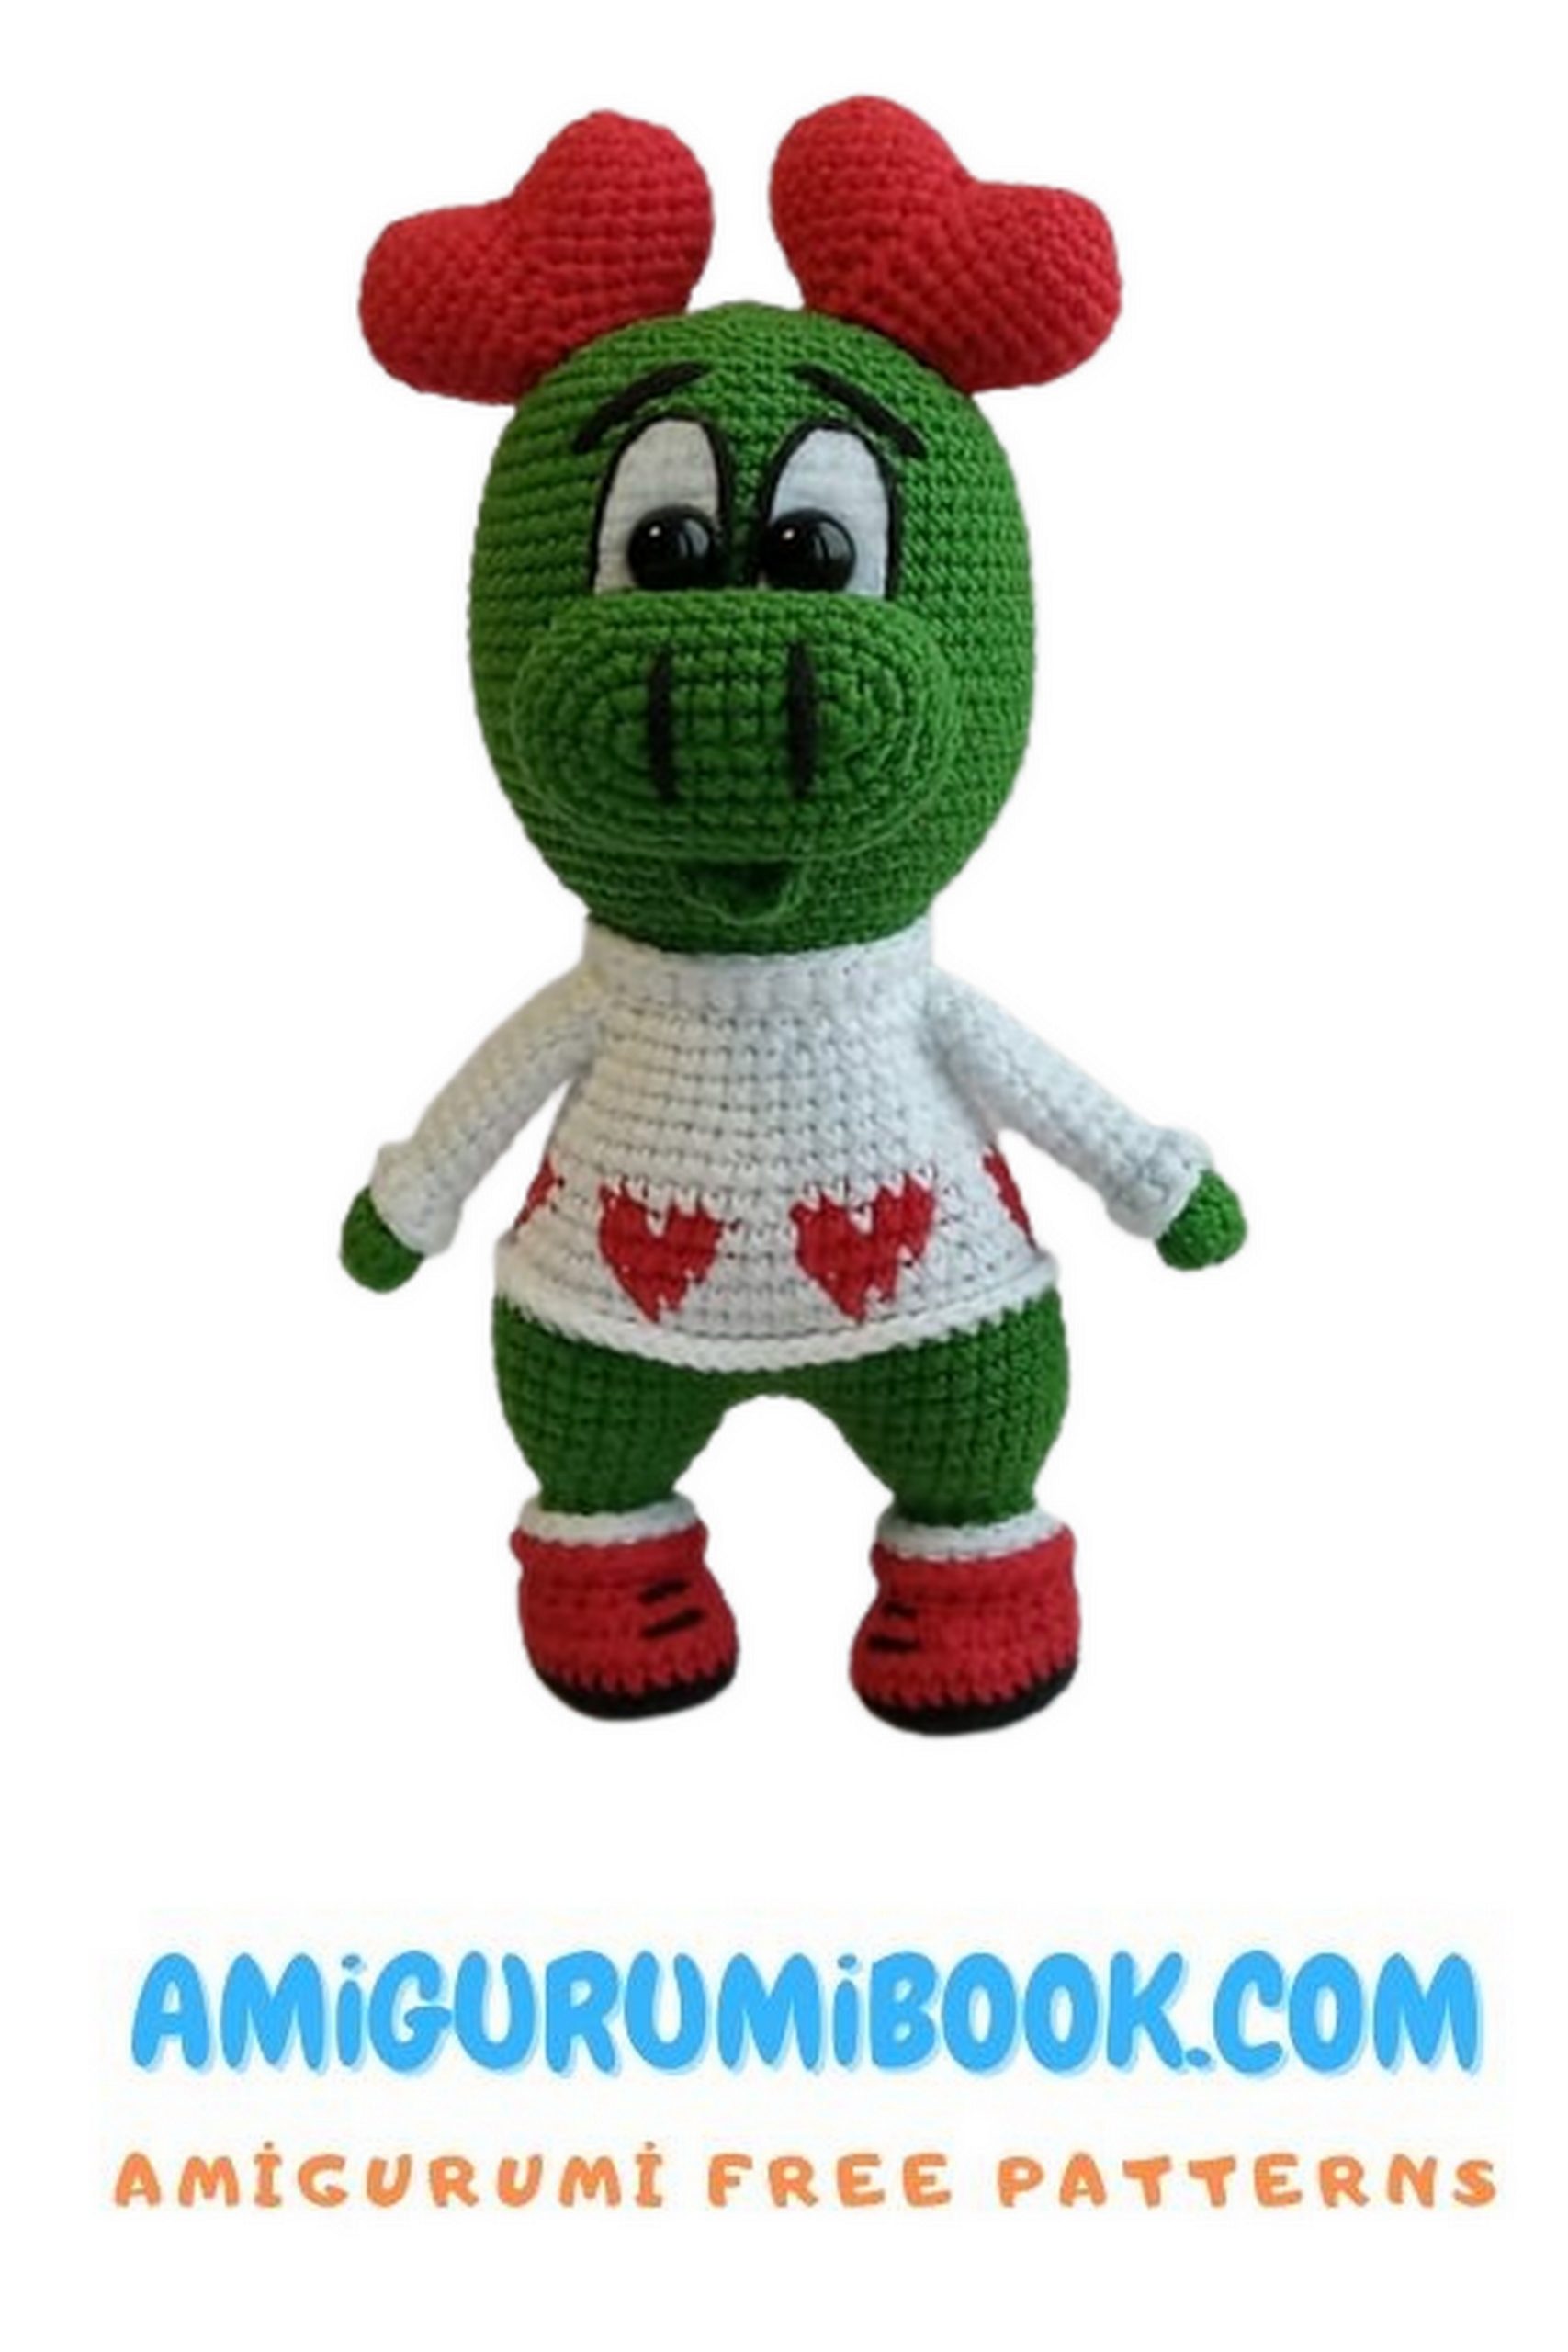
– You can knit the toy without clothes, by yourself
come up with an outfit for her, change the color scheme.
– You can use the weight in the legs, then the toy
it will be easier to stand on your own. You can use a special granulate, I use aqua soil (sold in pet stores).
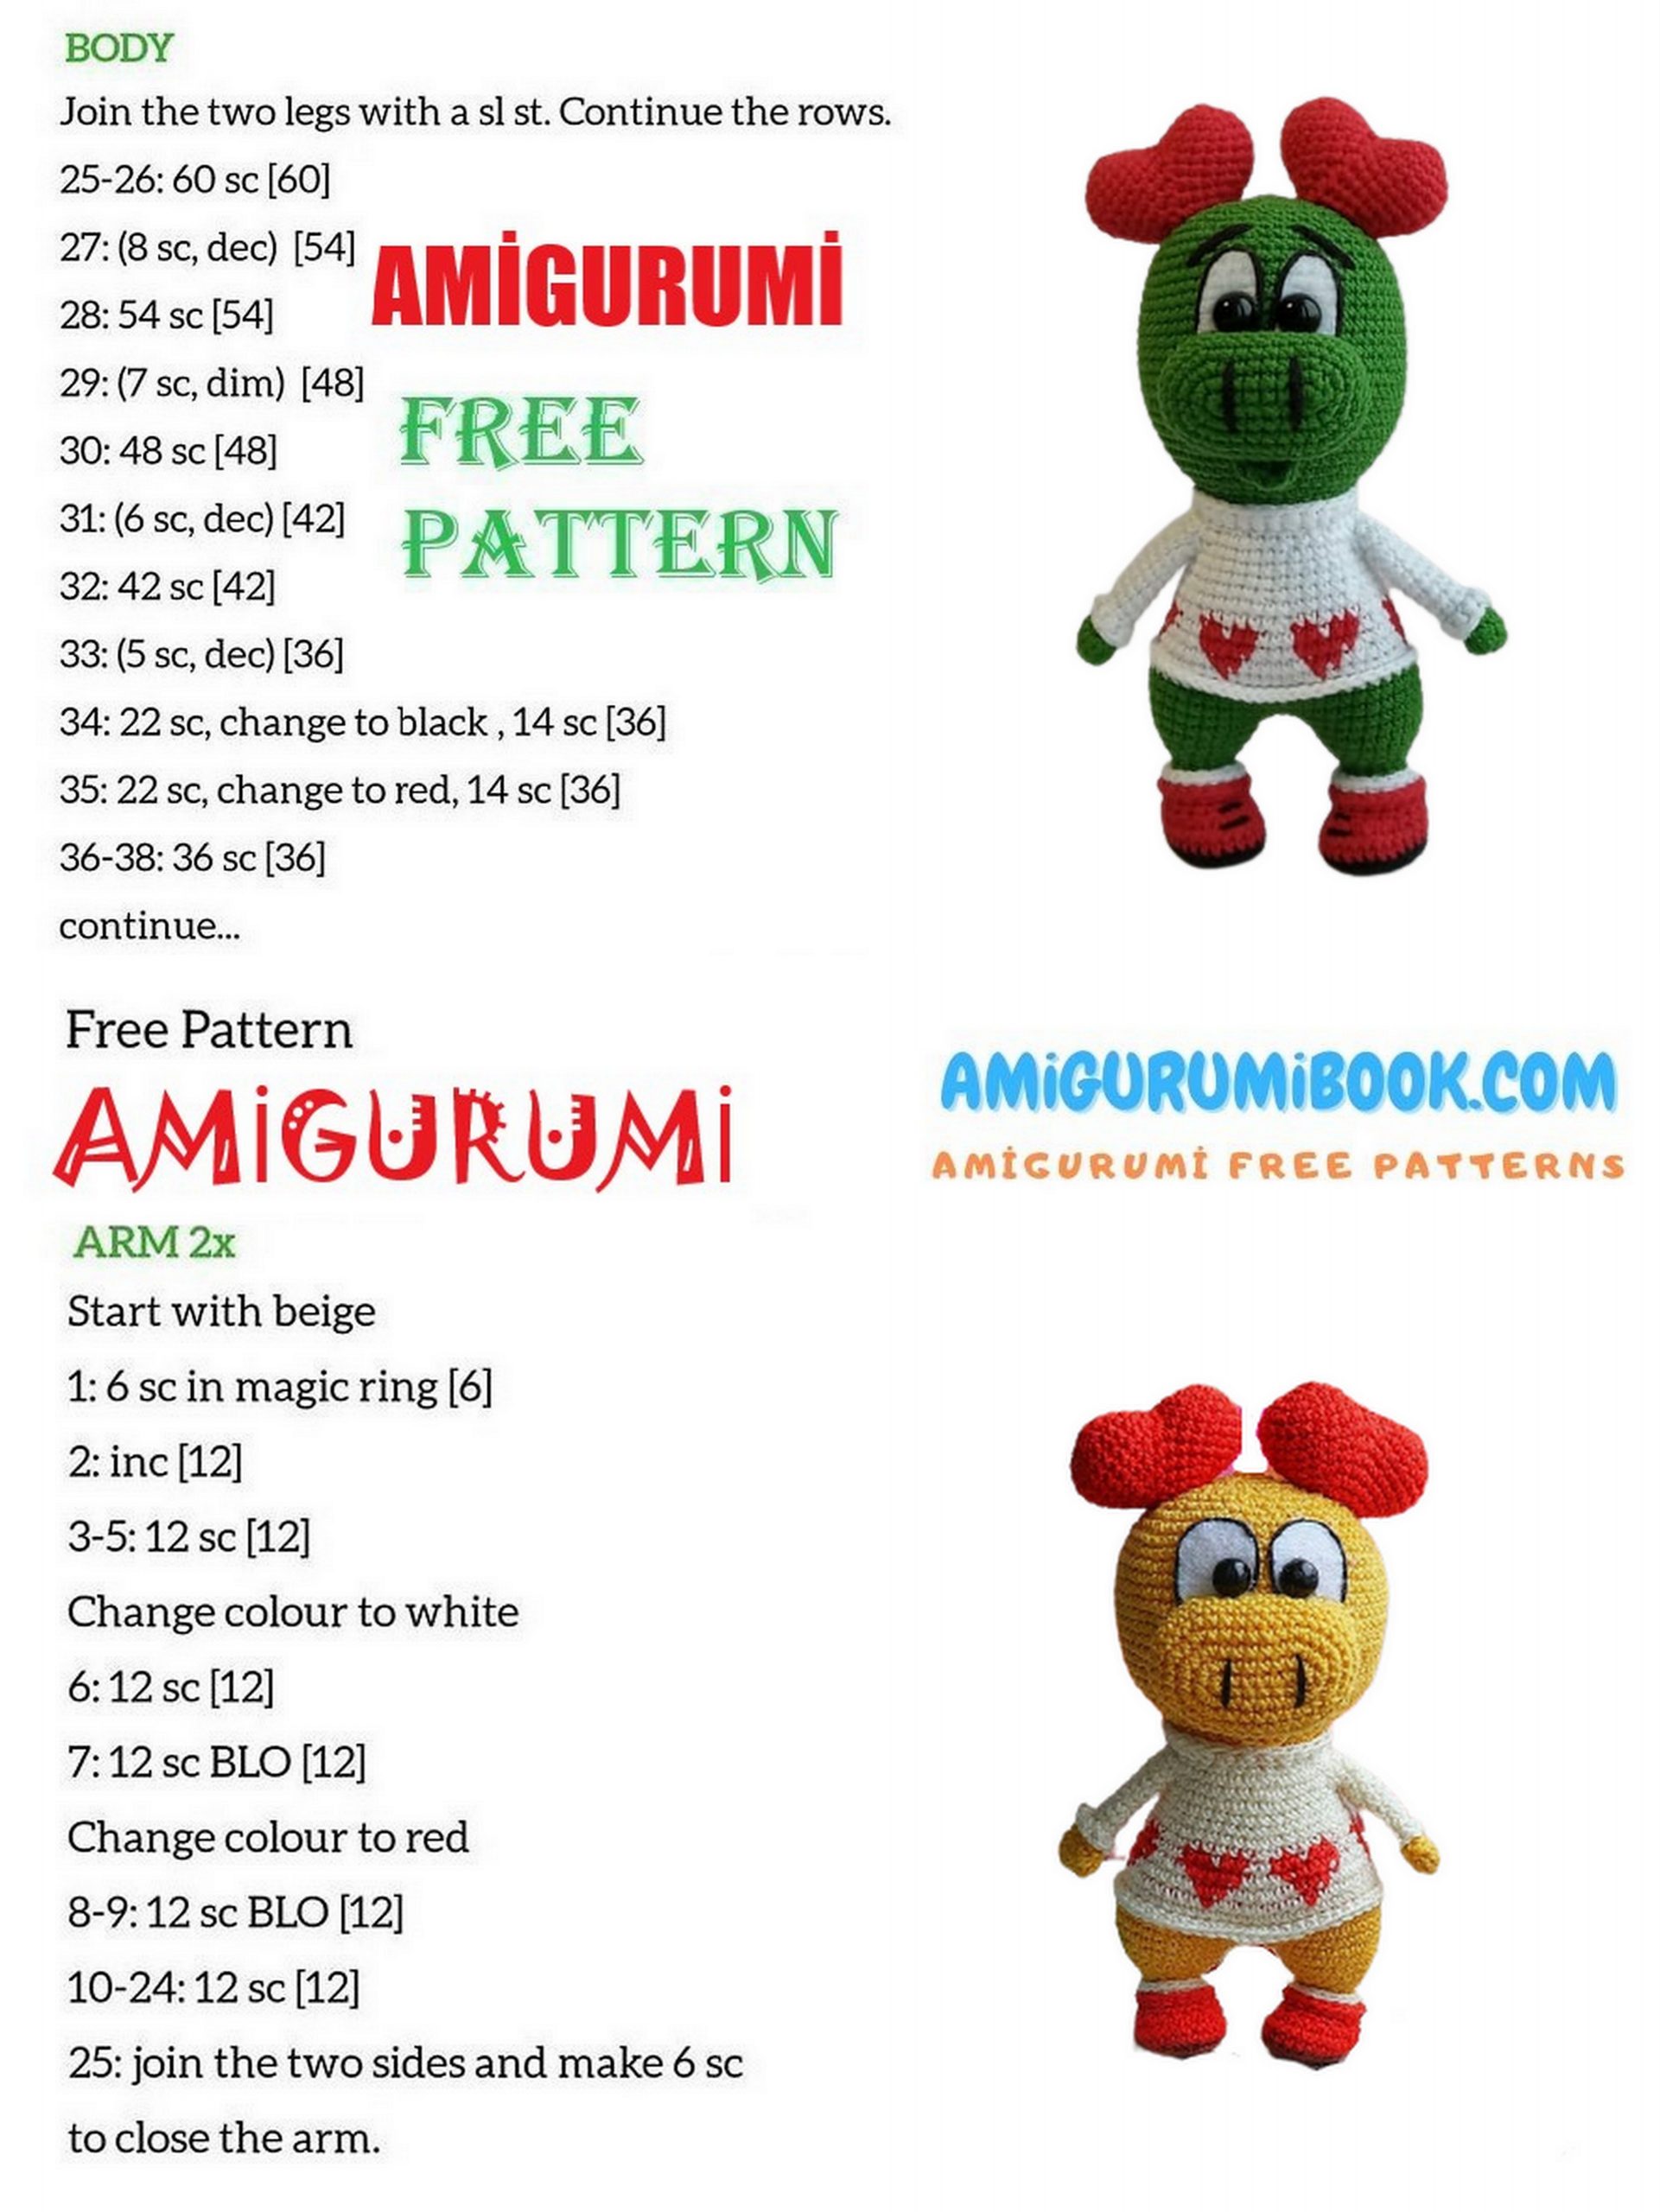
PATTERN

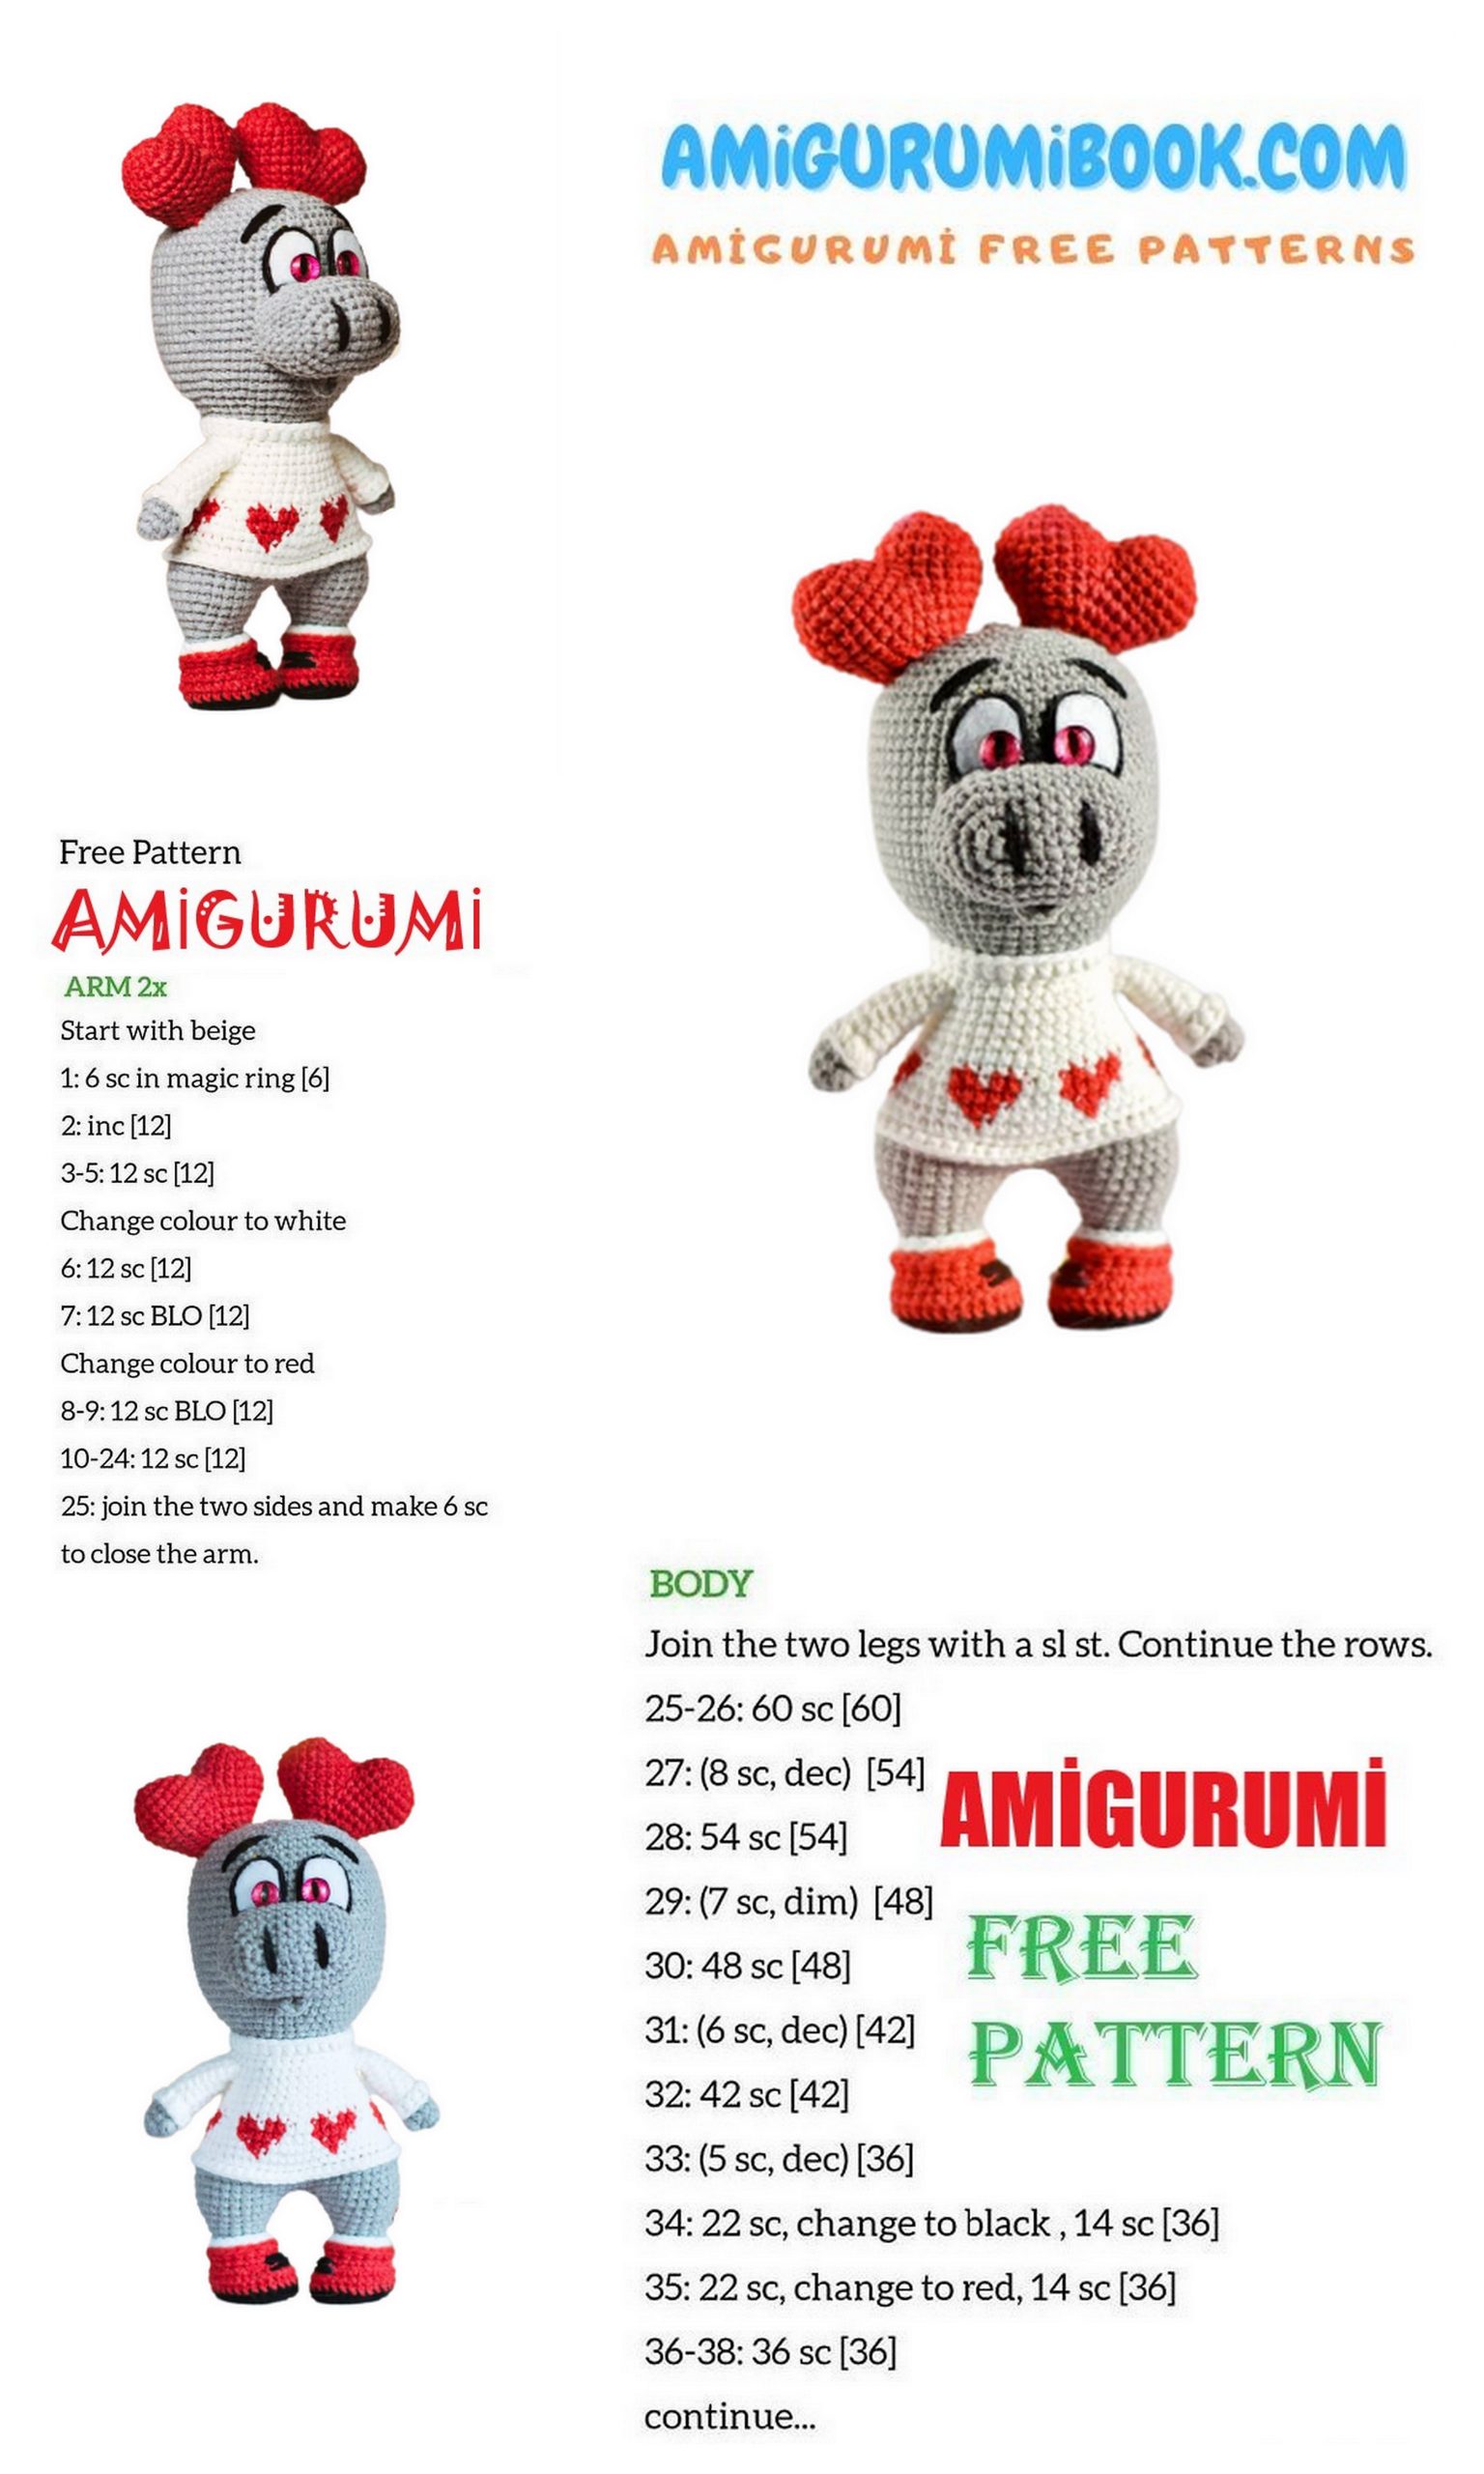
Arms:
We knit two identical parts.
We fill only the palm.
The marker is not aligned.
We start knitting with body color.
1. 6sc into magic ring – 6sc
2. (inc, 2sc)*2 – 8sc
3. inc, 3sc, puffy column, 3sc – 9 loops
4. 9sc, at the end of the row, change the thread to white.
5.9sc
6. 9sc behind the back wall
7-13 (7 rows) 9sc
We fasten the thread and cut it off.
Attach the thread of the color of the sweater to the 6th row and knit 9hdc behind the front walls of the row, holding the paw up with the palm of your hand. Cut the thread, fasten and hide.
Legs:
We knit two identical parts. We start knitting from the sole with a black thread.
Cast on a chain of 4ch, start knitting from the second loop from the hook:
1. inc, sc, 4sc in the last loop of the chain, then knit on the second side of the chain sc, inc. – 10sc, put a marker, do not knit a connecting column, continue knitting in a spiral.
2. inc*2, sc, inc*4, sc, inc*2 – 18sc
3. (sc, inc) * 2, sc, (sc, inc) * 4, sc, (sc, inc) * 2 – 26sc
change the thread to red, knit the next row behind the back
wall.
Trace the insole on paper, cut out two plastic insoles,
insert one insole and continue knitting.
4. 26sc for back wall
5.26sc
6.5sc, dec*8, 5sc-18sc
7. 18sc, change the thread to white.
8. 18sc behind the back wall, at the end of the row we change the thread to the color
body.
We knit the next row behind the back wall:
9. (sc, dec) * 6 – 12sc
10.12sc
11. (3sc, inc)*3 – 15sc
12. 2sc, inc, (4sc, inc)*2, 2sc – 18sc
13. (5sc, inc)*3 – 21sc
14. 3sc, inc, (6sc, inc)*2, 3sc – 24sc
For the left leg, knit another 14-15sc and one sl-st, fasten the thread and cut off. Knitting should end closer to the middle of the front of the leg so that the legs look inward.
On the right leg, knit 10sc and sl-st, do not break the thread, continue to knit the body.
Attach a white thread to the 9th row of the leg and knit it behind the front walls of the 18sc row, keep the leg with the feet down. Fasten the thread, cut off and hide the tip.
Attach a red thread to the 8th row of the leg and knit it behind the front walls of the 18sc row, keep the leg with the feet down. Fasten the thread, cut off and hide the tip.
The legs should be turned towards each other, they will be connected in a chain from ch, knit a chain from the right leg from sl-st, attach to the left leg in sl-st, then knit according to the description.

Body:
From the right leg to the left, tie a chain of 3ch, the marker runs along the back. Fill tightly as you knit.
1. (24sc leg, 3sc ch)*2 – 54sc
2-3. 54sc
4. 54sc, but we do not knit 1-2sc so that the knitting ends exactly in the middle of the back, we change the color to white.
5.54sc
6. 54sc for back wall
From the next row, we begin to knit a jacquard pattern in the form of hearts. Do not break the red thread, you can lay the thread along the loops and tie it in white, or you can freely let it inside the body, but then you have to monitor the tension of the thread. The photo shows the difference in the methods of knitting from the inside out.
The part where we freely stretch the thread when we knit according to the pattern is highlighted in blue.
In black – we lay a colored thread along the knitting and knit it together with sc, the thread is not visible from the face.
To be honest, I am not a fan of knitting jacquards, so I just let the thread freely inside the body, you can see in the photo how the pattern looks from the inside out.
7. 4sc, change the thread to red, 1sc in red, then alternate to the end of the row 8sc in white and 1sc in red, at the end of the row 4sc in white. Next, knit according to the pattern.
8.54sc
In the next row we will make decreases, but the decreases should be made only in the white part and not touch the pattern.
9. (dec, 7sc) – 48sc
10. 48sc, in this row we finish knitting the pattern, cut off the red thread, fasten it well.
11. (6sc, dec) * 6 – 42sc, do not make distribution decreases in this row, knit only as indicated, first 6sc, then decrease so that the pattern does not move.
12.42sc
13. (dec, 5sc)*6 – 36sc
14.36sc
In the next row we join the hands. We put our hands to the body so that the fingers look inward. Place the parts face to face. We pick up the loops of the hand from the inside of the part.
The marker runs exactly down the middle of the back.
Advice! Holes may appear at the point of attachment of the paws, after knitting the row following the attachment of the paws, in order to avoid these holes, you can knit like this:
We knitted the required number of loops of the body, now we hook the front wall of the already knitted loop of the body (connection with the paw) and the first loop of the paw for both walls and knit the usual sc – this will be the first loop of the paw. Then they knitted the required number of loops of the paw, picked up the loop of the paw already knitted in the previous row for the front wall and the first loop of the body for both walls and knitted it with the usual sc, this is the first loop of the body after the paw. Do the same with the second paw. Just be careful and count the loops so as not to knit an extra loop.
These photos are taken from my other master class and are provided as advice to the masters. The same invisible reduction can be done by attaching the halves of the heart (monster’s ears) to each other.
15. 8sc, 3sc with hand, 14sc, 3sc with hand, 8sc – 36sc
16. 8sc, 6sc on the hand, 14sc, 6sc on the hand, 8sc – 42sc
17. (5sc, dec)*6 – 36sc
18. 2sc, dec, (4sc, dec) * 5, 2sc – 30sc, change the thread to the color of the body, then knit the head. For convenience, we will count the rows first.
Head:
If you are using eyes on a secure mount,
I recommend that you first read the design of the face,
to determine the location for the peephole.
1. 30sc for back wall
2.30sc
3. 2sc, inc, (4sc, inc)*5, 2sc – 36sc
4. (5sc, inc)*6 – 42sc
For the convenience of knitting, we will return to the 1st row of the head and knit for
front walls of row 30hdc with white thread – it turned out
sweater collar. Then we knit the head again.
5. 3sc, inc, (6sc, inc)*5, 3sc – 48sc
6. (7sc, inc)*6 – 54sc
7. 4sc, inc, (8sc, inc)*5, 4sc – 60sc
8-23. (16 rows) 60sc
24. 4sc, dec, (8sc, dec)*5, 4sc – 54sc
25. (7sc, dec)*6 – 48sc
26. 3sc, dec, (6sc, dec)*5, 3sc – 42sc
27. (5sc, dec)*6 – 36sc
28. 2sc, dec, (4sc, dec)*5, 2sc – 30sc
29. (3sc, dec)*6 – 24sc
30. sc, dec, (2sc, dec) * 5, 2sc – 18sc
31. (sc, dec) * 6 – 12sc
32.dec*6-6sc
Leave a long thread to tighten the hole, fasten the thread and
cut off. Do not tighten the hole yet. All the threads that
you will shape the head, you will enter and exit into this hole, fix them and hide them inside the head. Pull off the opening before sewing on the ears.
For the 6th row of the body, attach a white thread and knit it behind the front walls of the 54sc row, fasten the thread, cut and hide.
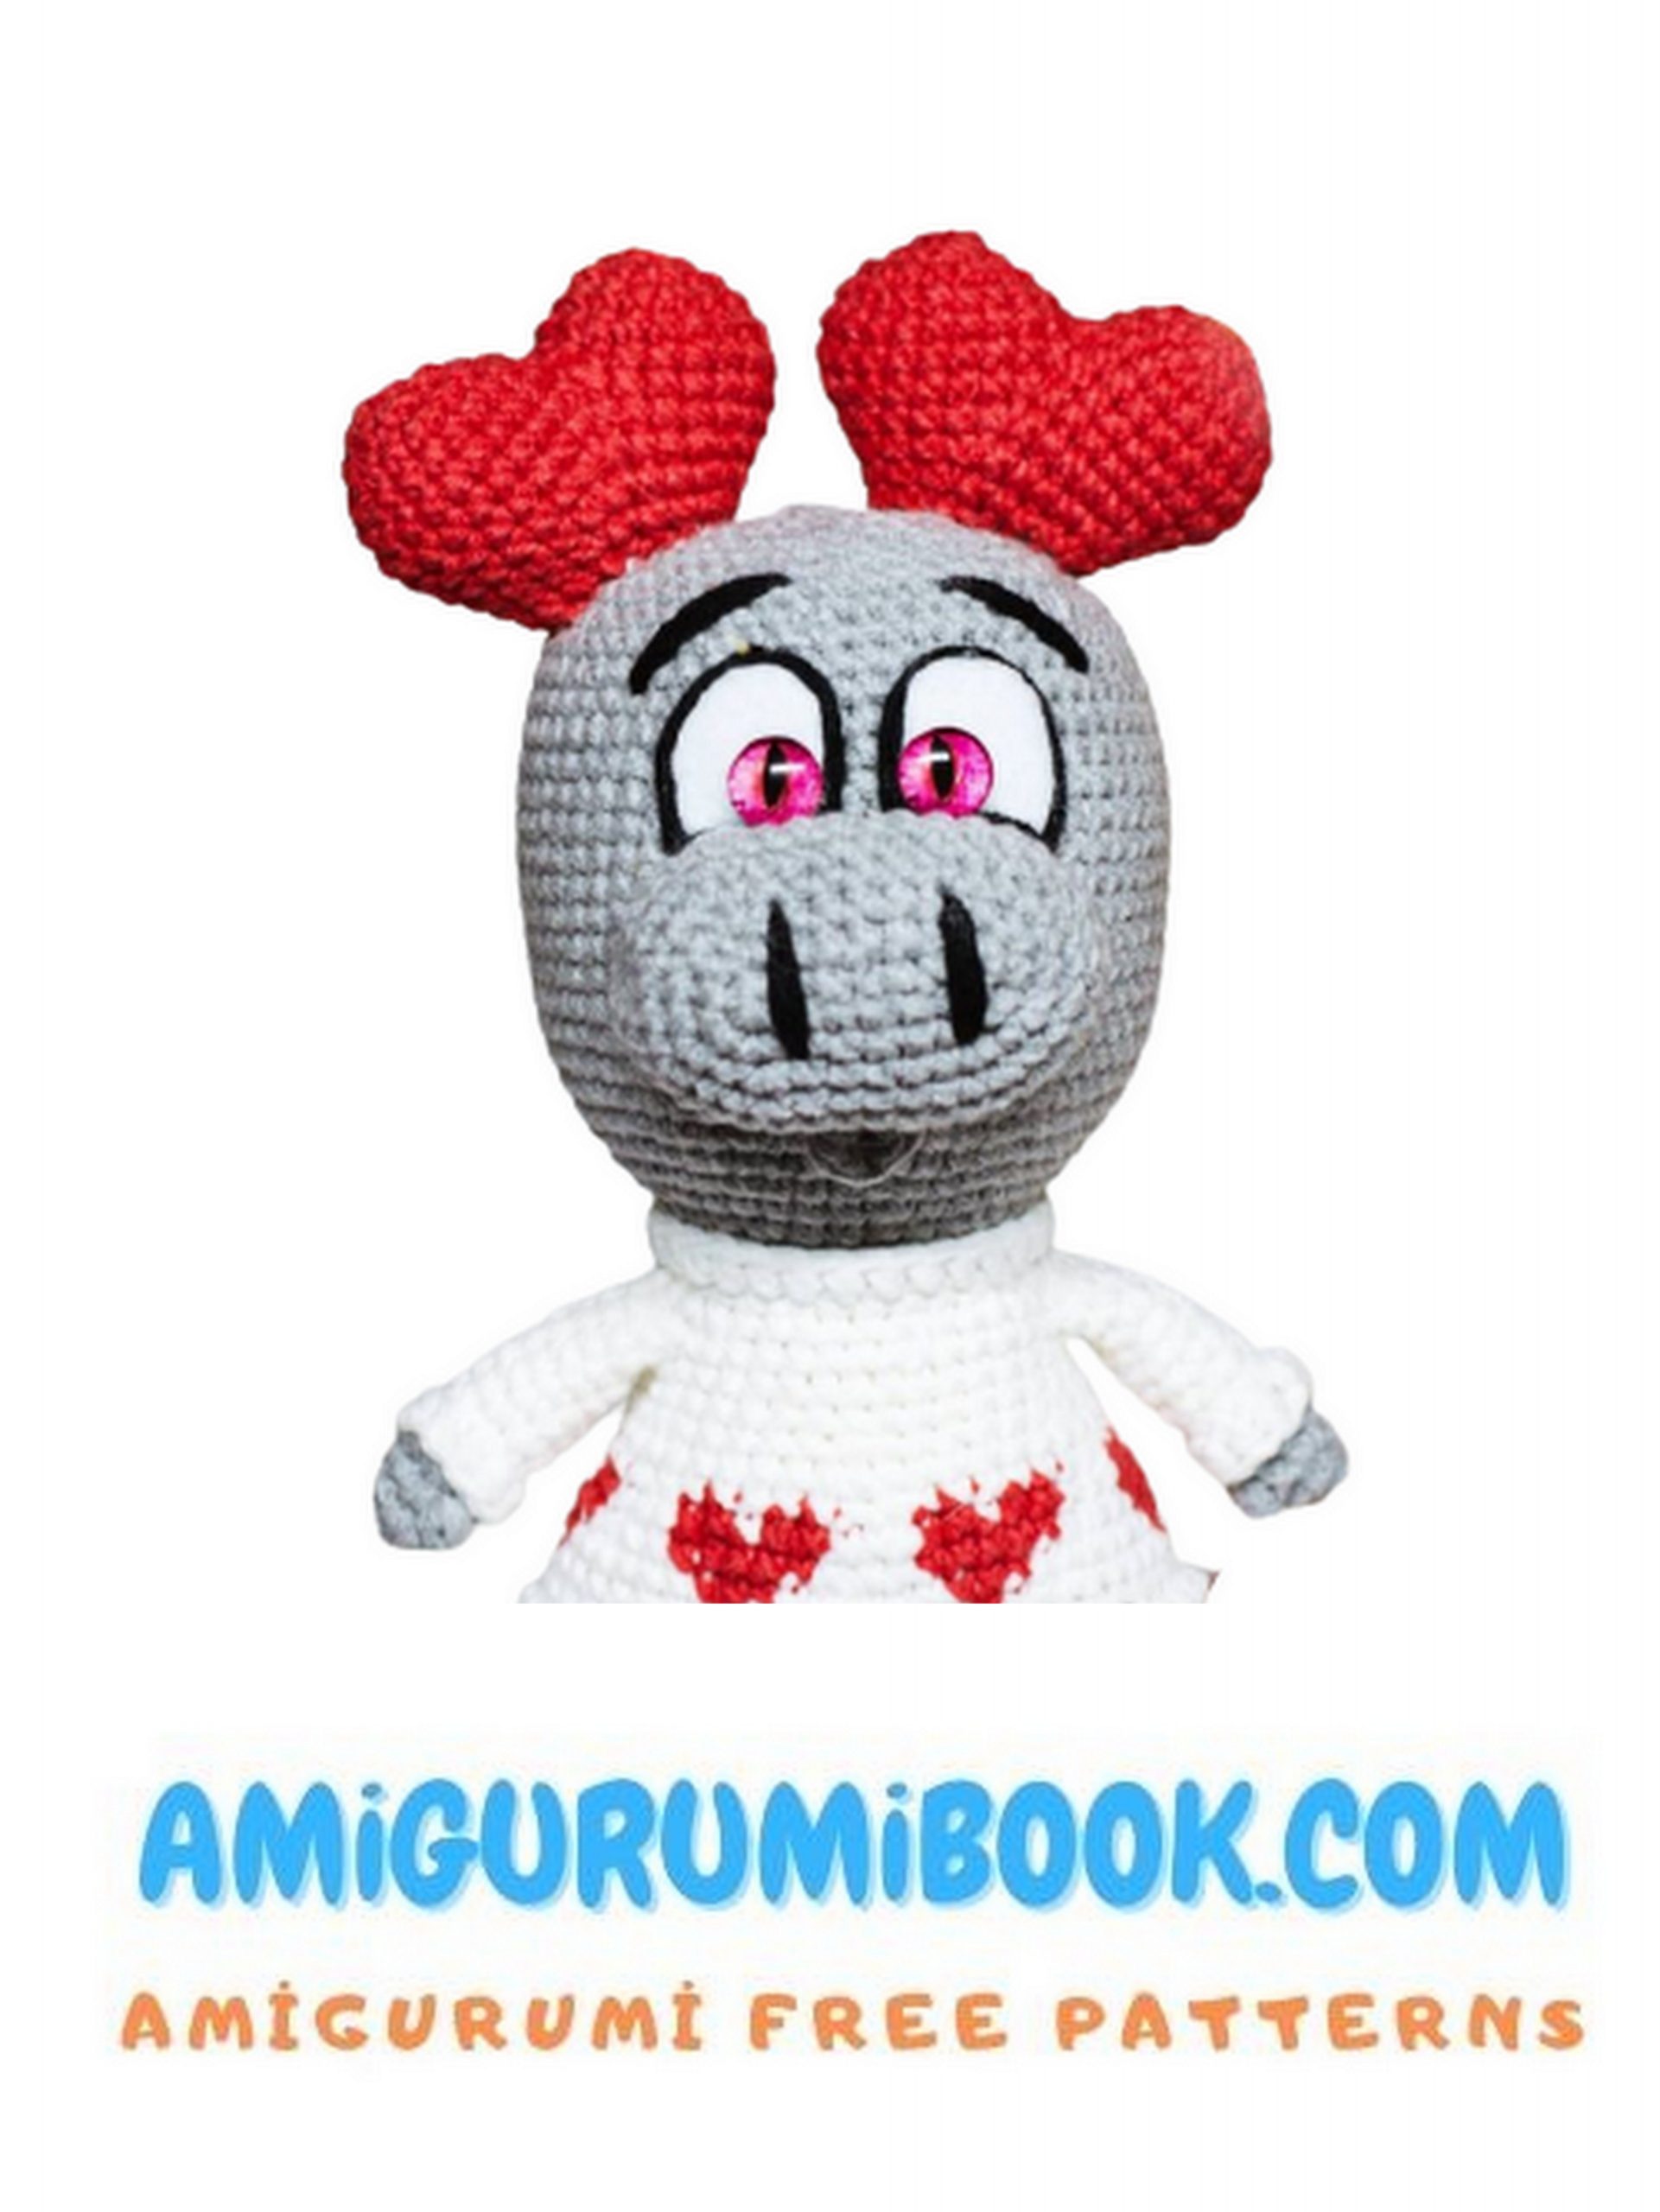
Face shaping:
Draw on paper the white for the eye, it should be about 4-5sc wide and 7sc high.
First try on the paper version of the white of the eye, then cut out two whites of the eyes from the felt.
Using a contrasting thread, determine the center of the head, mark the center with pins. If you are using the eyes on a safety mount then they will need to be inserted between approximately 16th and 17th rows of the head with a distance of 4-5sc. But first you need to make holes in the felt. You will need to insert the eyes no earlier than you start knitting 25-26 rows of the head. You can bite off the leg of the eye and glue them on top of the felt.
Fasten the felt on the head with pins between the 15th and 22nd rows of the head, the distance between the eye is 2sc. Using an auxiliary thread, check the symmetry of the eyes and only then glue the felt. While the glue dries, we will tie the mouth and muzzle.
Mouth:
With body color yarn, dial 5 ch, from the second loop from the hook, knit: hdc, 2dc, hdc and sl-st at the beginning of knitting, leave a long end for sewing, cut the thread.
Muzzle:
With a thread of body color, dial a chain of 7 ch, start knitting from the second loop from the hook:
1. inc, 4sc, 4sc in the last loop of the chain, turn the chain and continue knitting on the second side: 4sc, inc – 16sc, put a marker on the beginning of the row.
2. inc*2, 4sc, inc*4, 4sc, inc*2 – 24sc
3. (sc, inc)*2, 4sc, (sc, inc)*4, 4sc, (sc, inc)*2 – 32sc
4. (2sc, inc)*2, 4sc, (2sc, inc)*4, 4sc, (2sc, inc)*2 – 40sc
5-7. (3 rows) 40sc
8. dec, 16sc, dec*2, 16sc, dec – 36sc
Leave a long end for sewing, fasten the thread and cut off.
Sew on the muzzle only when the whites of the eyes are well glued and the glue has dried. Start sewing on the muzzle a row higher than the squirrels are glued, i.e. sew on felt. If not, then sew exactly under the felt. Sew on 2/3 of the muzzle and only then fill it tightly.
In height, sew a muzzle between 9 and 17 rows.
Embroider the nostrils with a black thread, let me remind you that you can insert and withdraw the thread into an open hole on top of the head, then it will be more convenient to hide the tips.
Embroider the eyelids with a black thread, sew around the whites of the eyes. If somewhere the thread will not hold, it can be glued a little.
Sew the mouth from below, exactly in the middle of the muzzle.
Embroider the eyebrows with black thread, glue the eyes to the inner corners of the felt squirrel.
Ears:
We knit two identical ears in the form of hearts.
We knit with a red thread.
Each heart consists of two halves, we knit them the same way.
1. 6sc into magic ring
2. inc*6 – 12sc
3. (sc, inc)*6 – 18sc
4. (5sc, inc)*3 – 21sc
5. 21sc, fasten and cut the thread on the first half, do not cut the thread on the second half, continue knitting.
Fold the halves right side together, knit 3sc together. continue to knit in a circle.
1. 18sc for one half, 18sc for the second half – 36sc
Starting from the next row, the first loop of the row at the end of the row is knitted with a decrease.
2. 8sc, dec, (7sc, dec) * 3 – 32sc, the last decrease consists of the last and first loops of the row, knit in the same way in the following rows.
3. (6sc, dec)*4 -28sc
4. (5sc, dec)*4 – 24sc
5. (4sc, dec)*4 – 20sc
6. (3sc, dec)*4 – 16sc
Fasten the thread, leave a long end for sewing.
Densely fill the details, try on the place of sewing on
head and secure with pins. Sew to the head.
With a black thread, embroider the laces on Monster’s boots.
Your Monster of Love is ready!