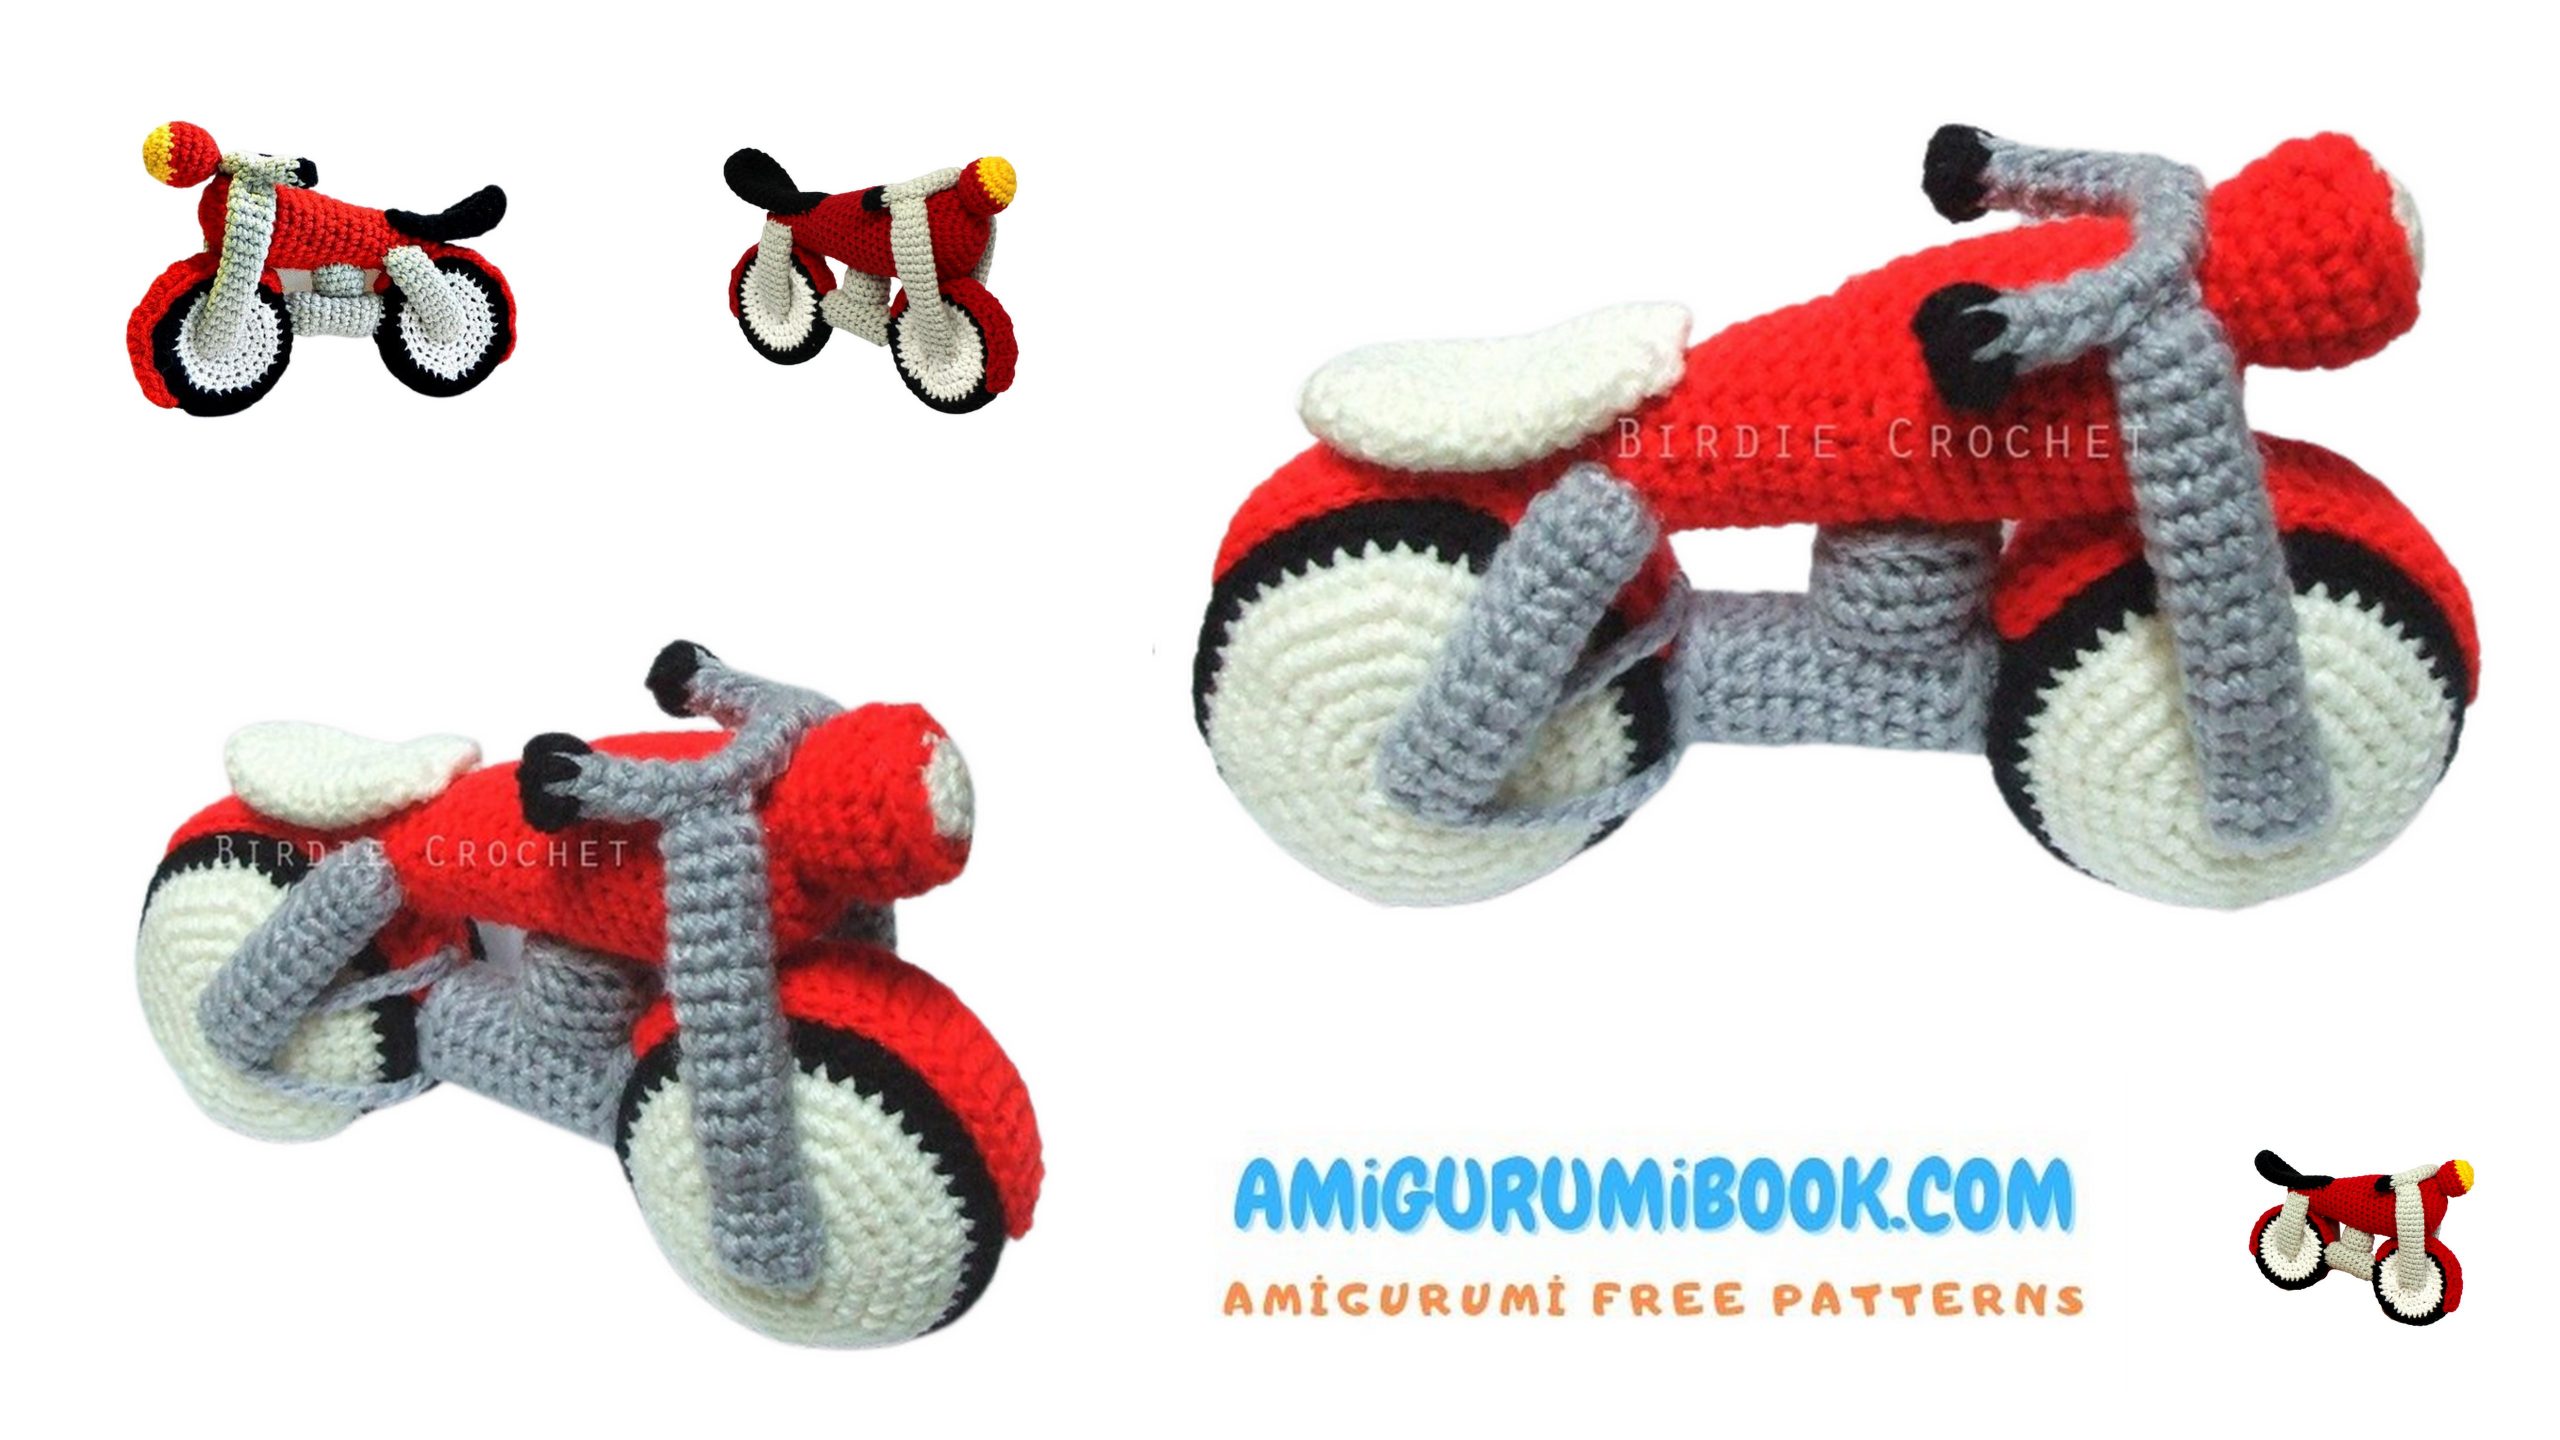
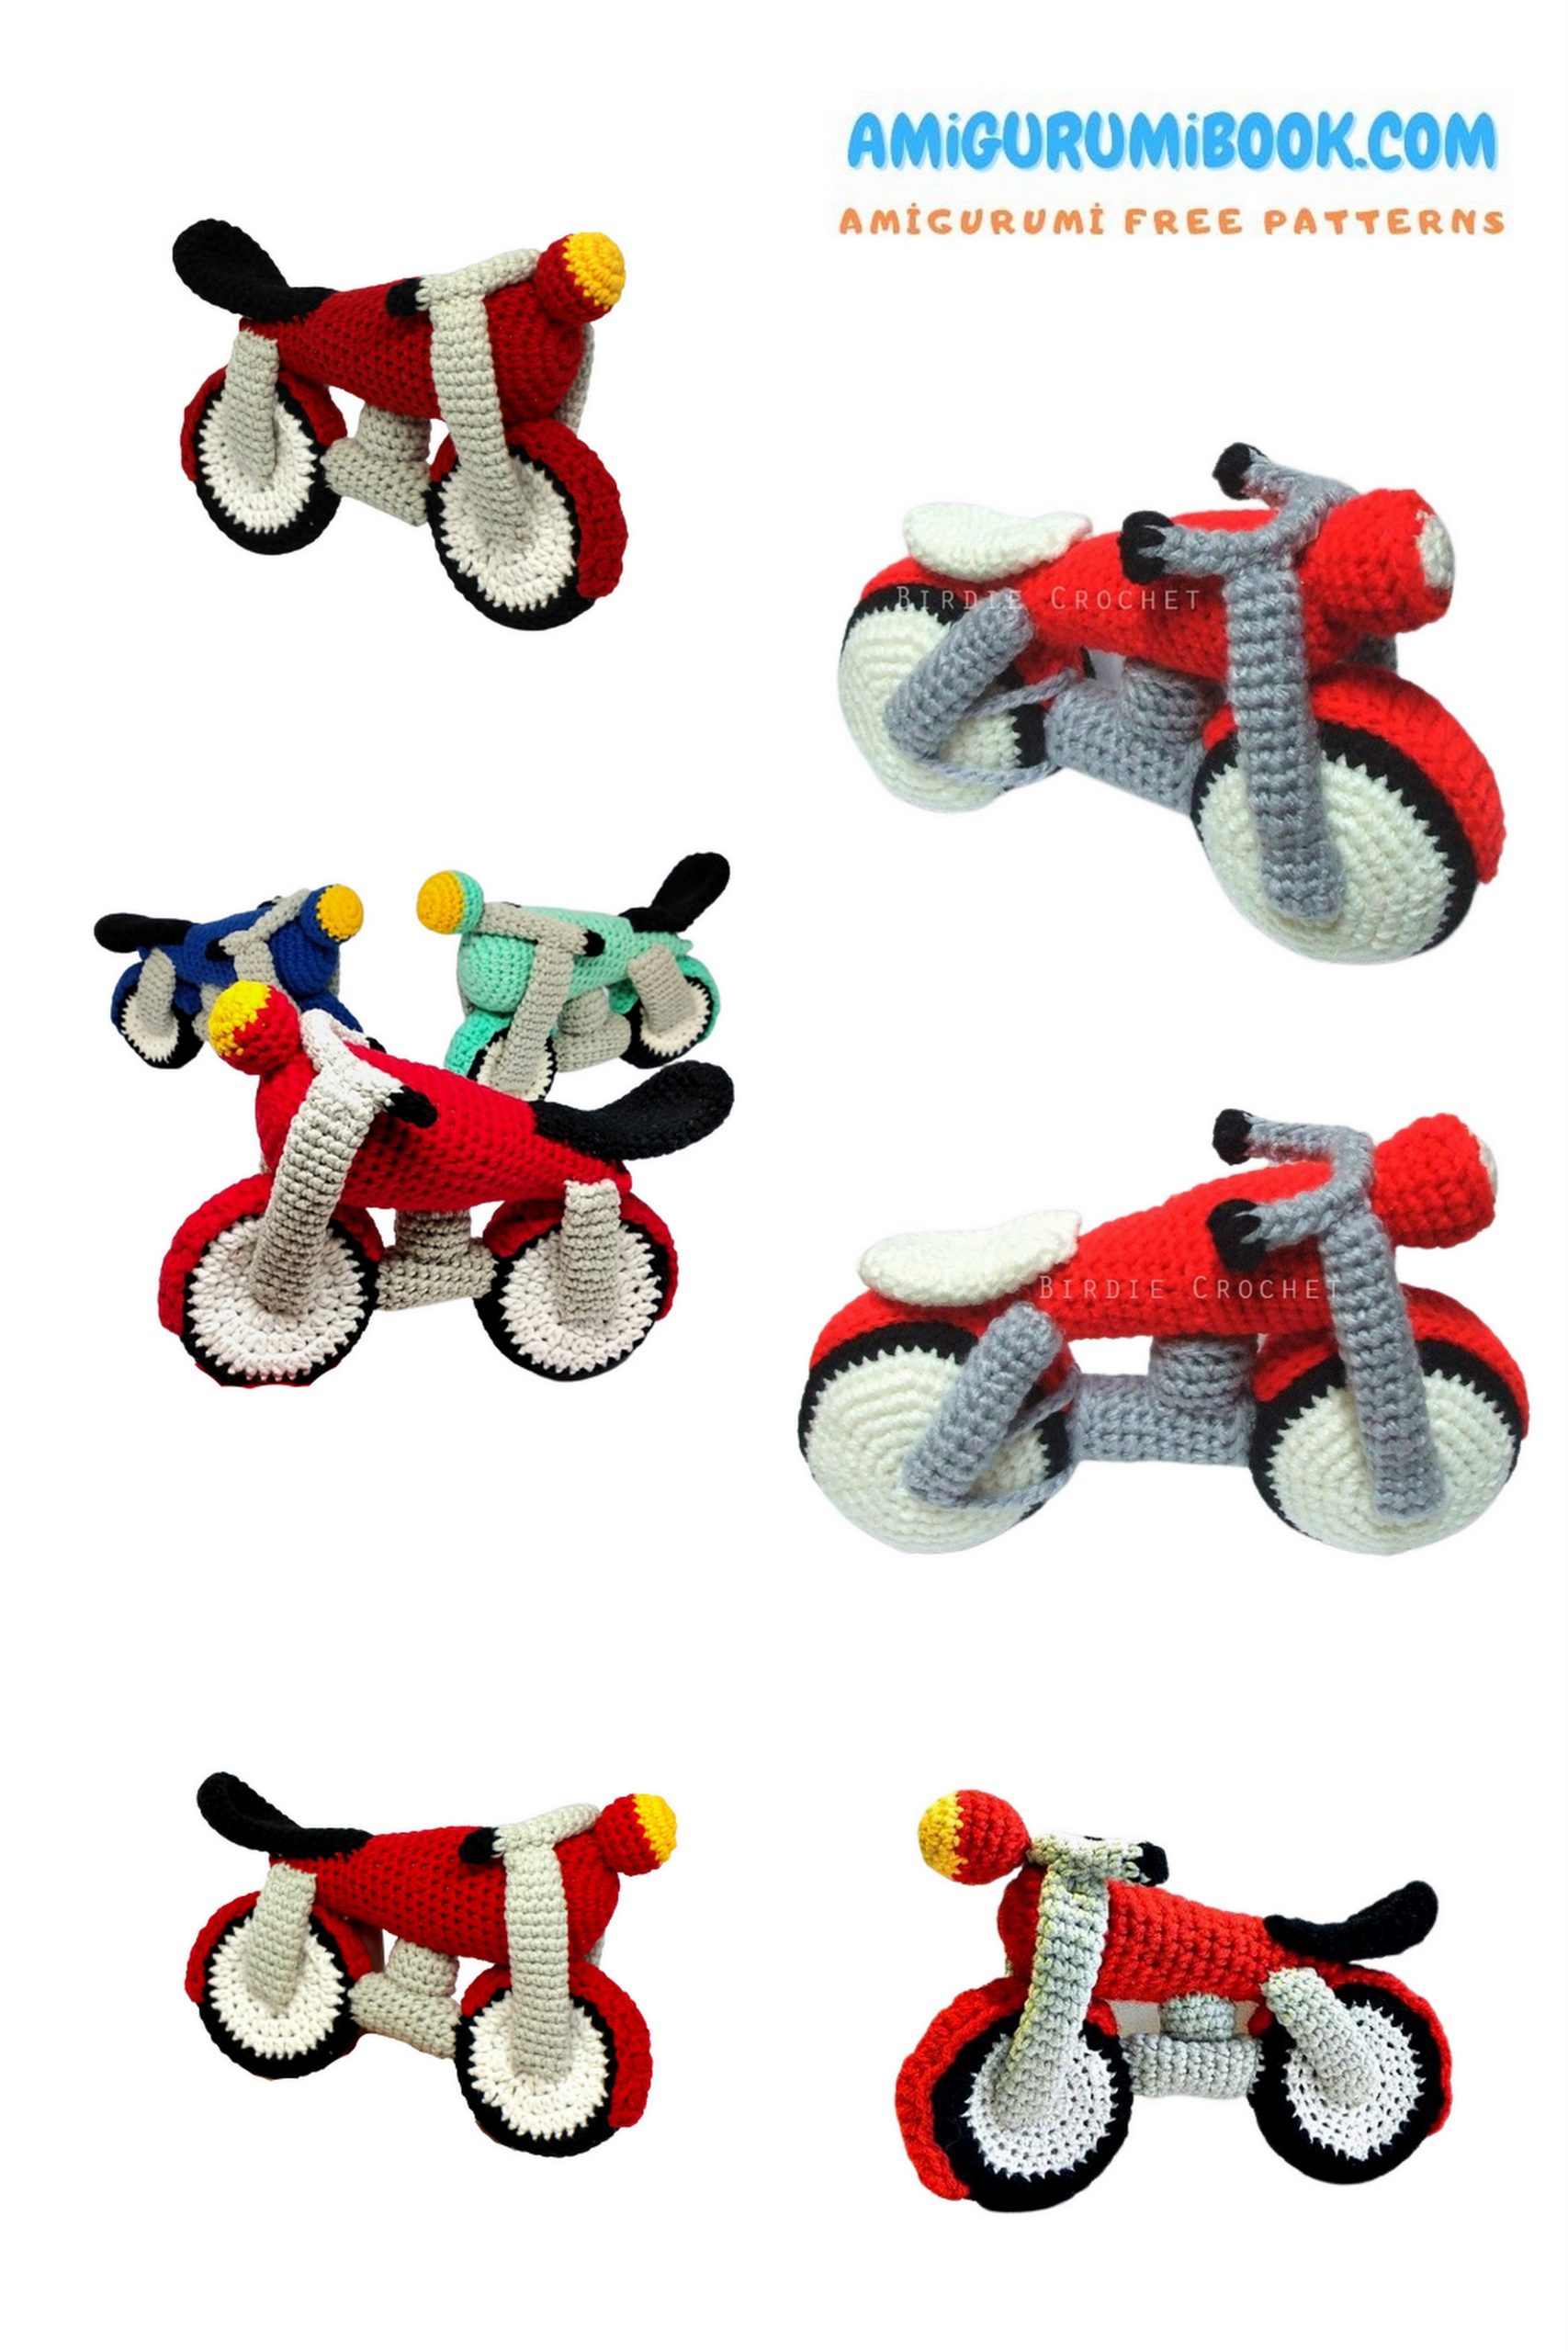
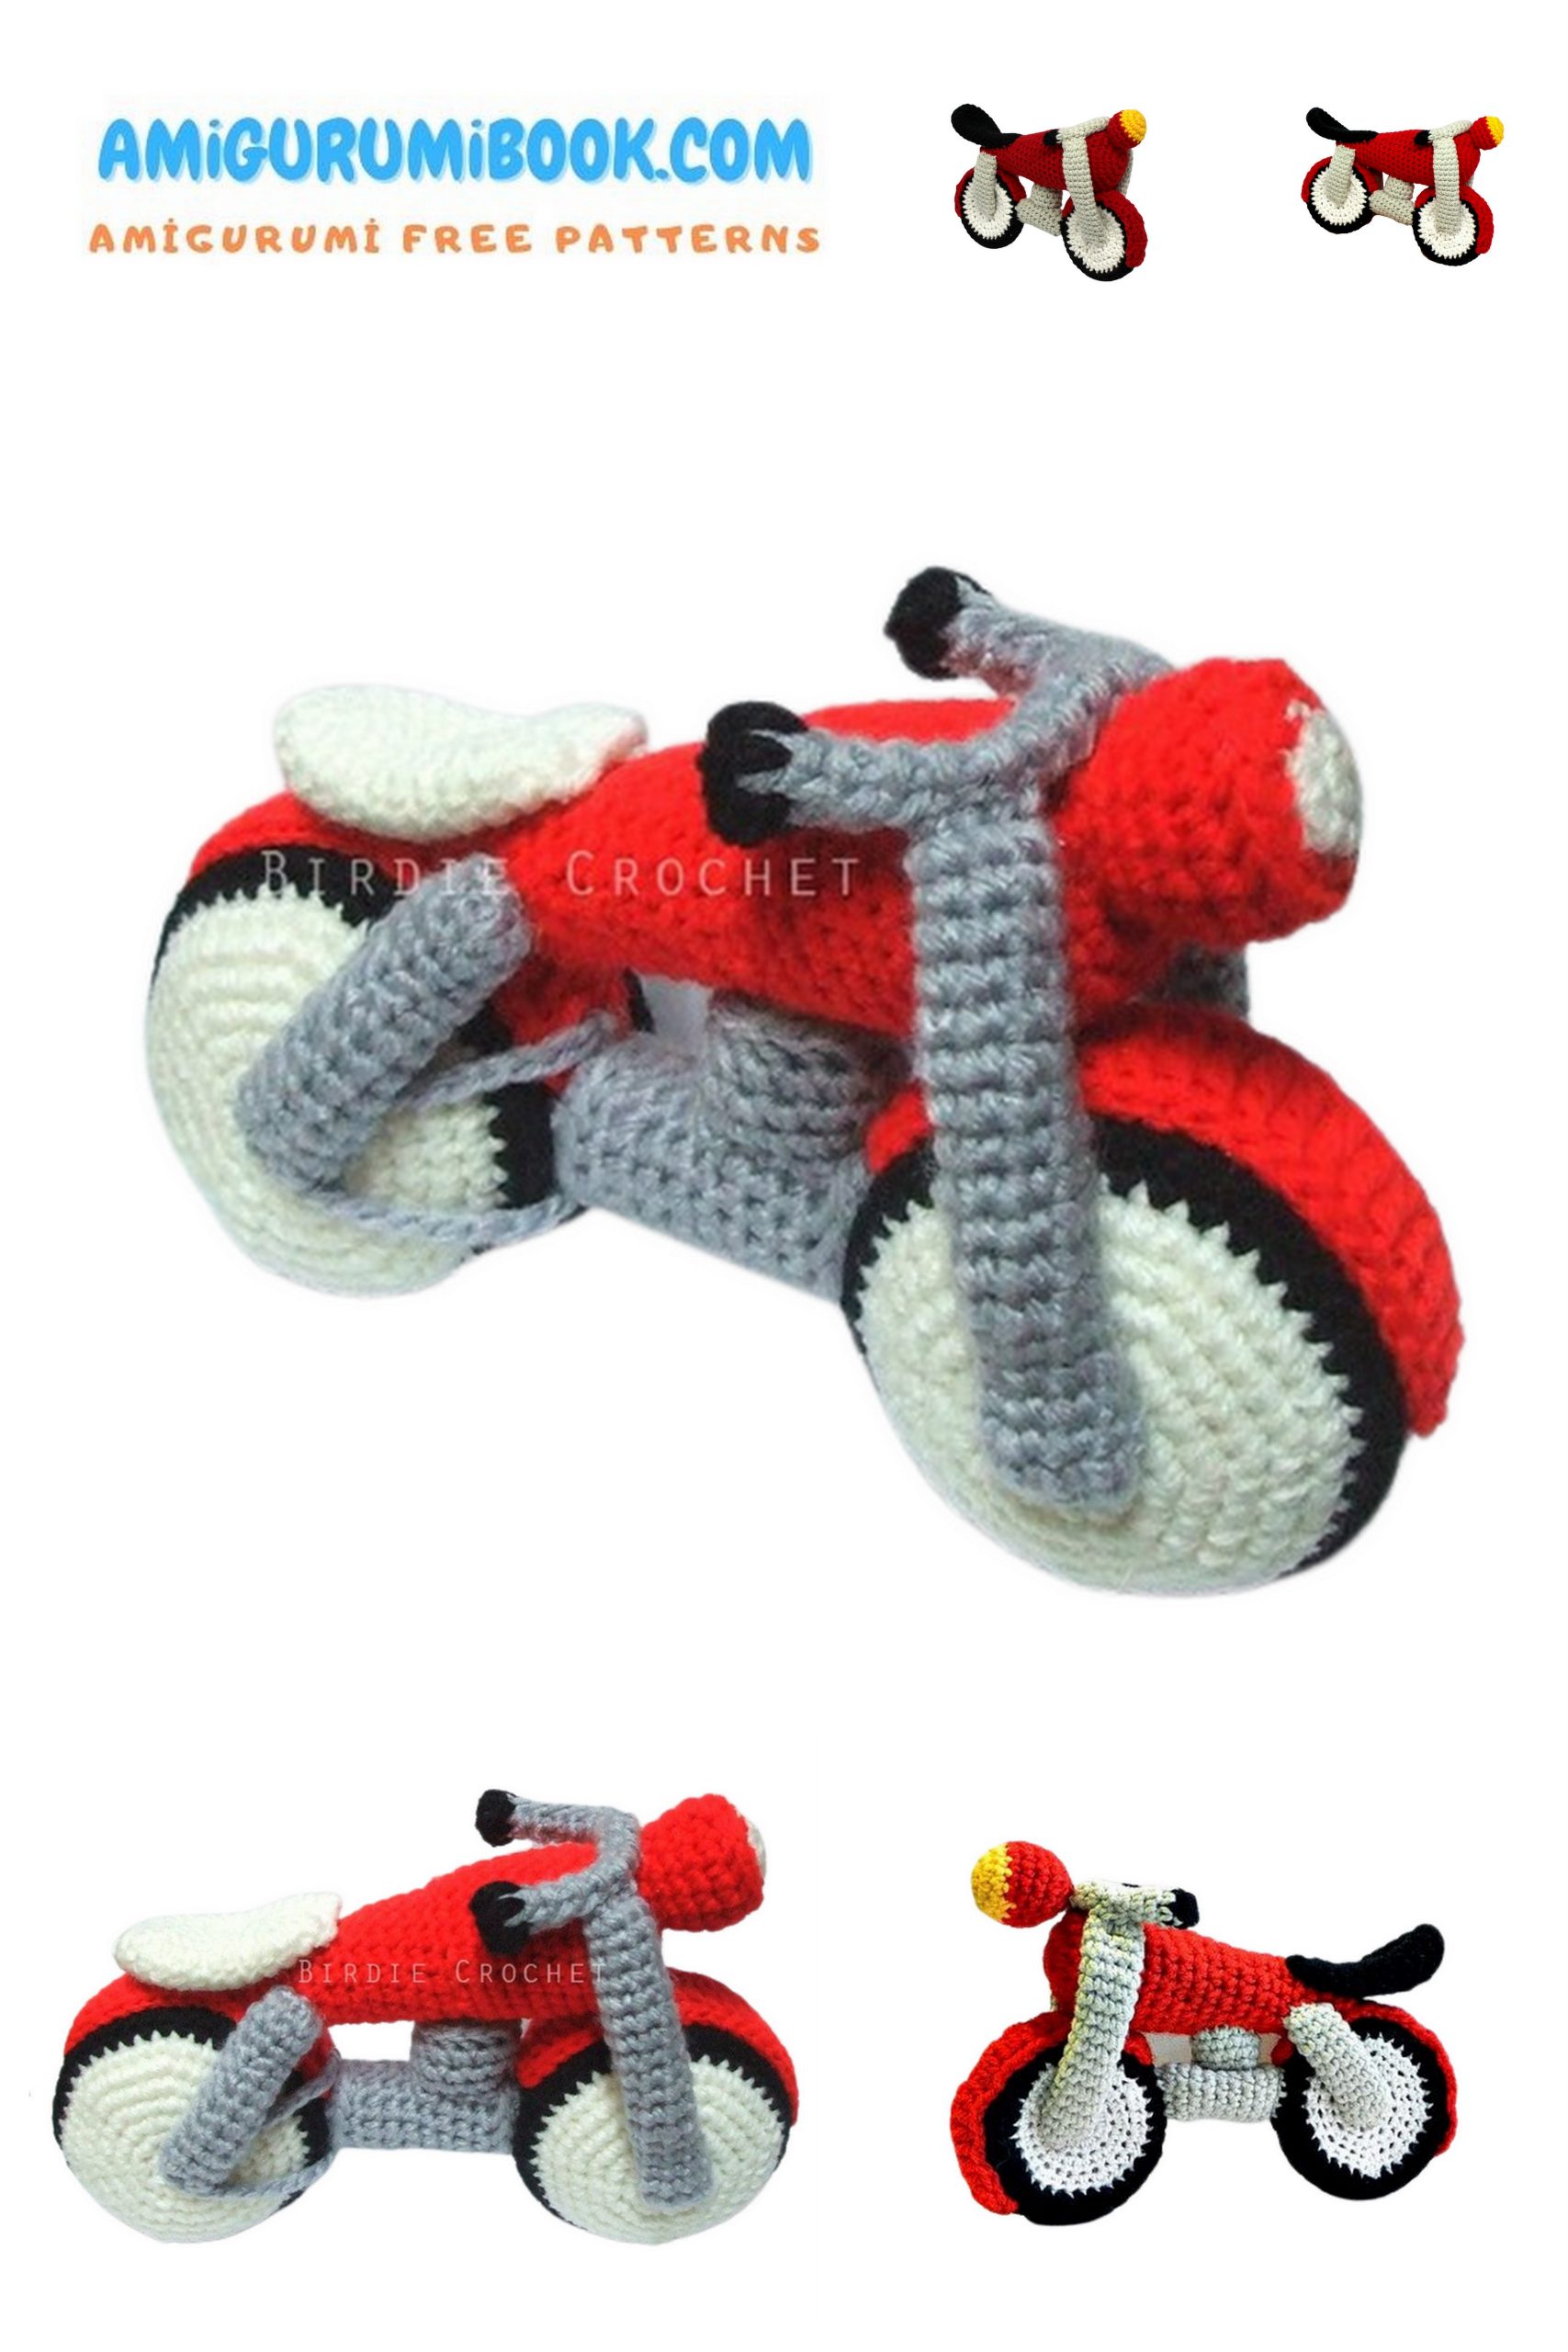
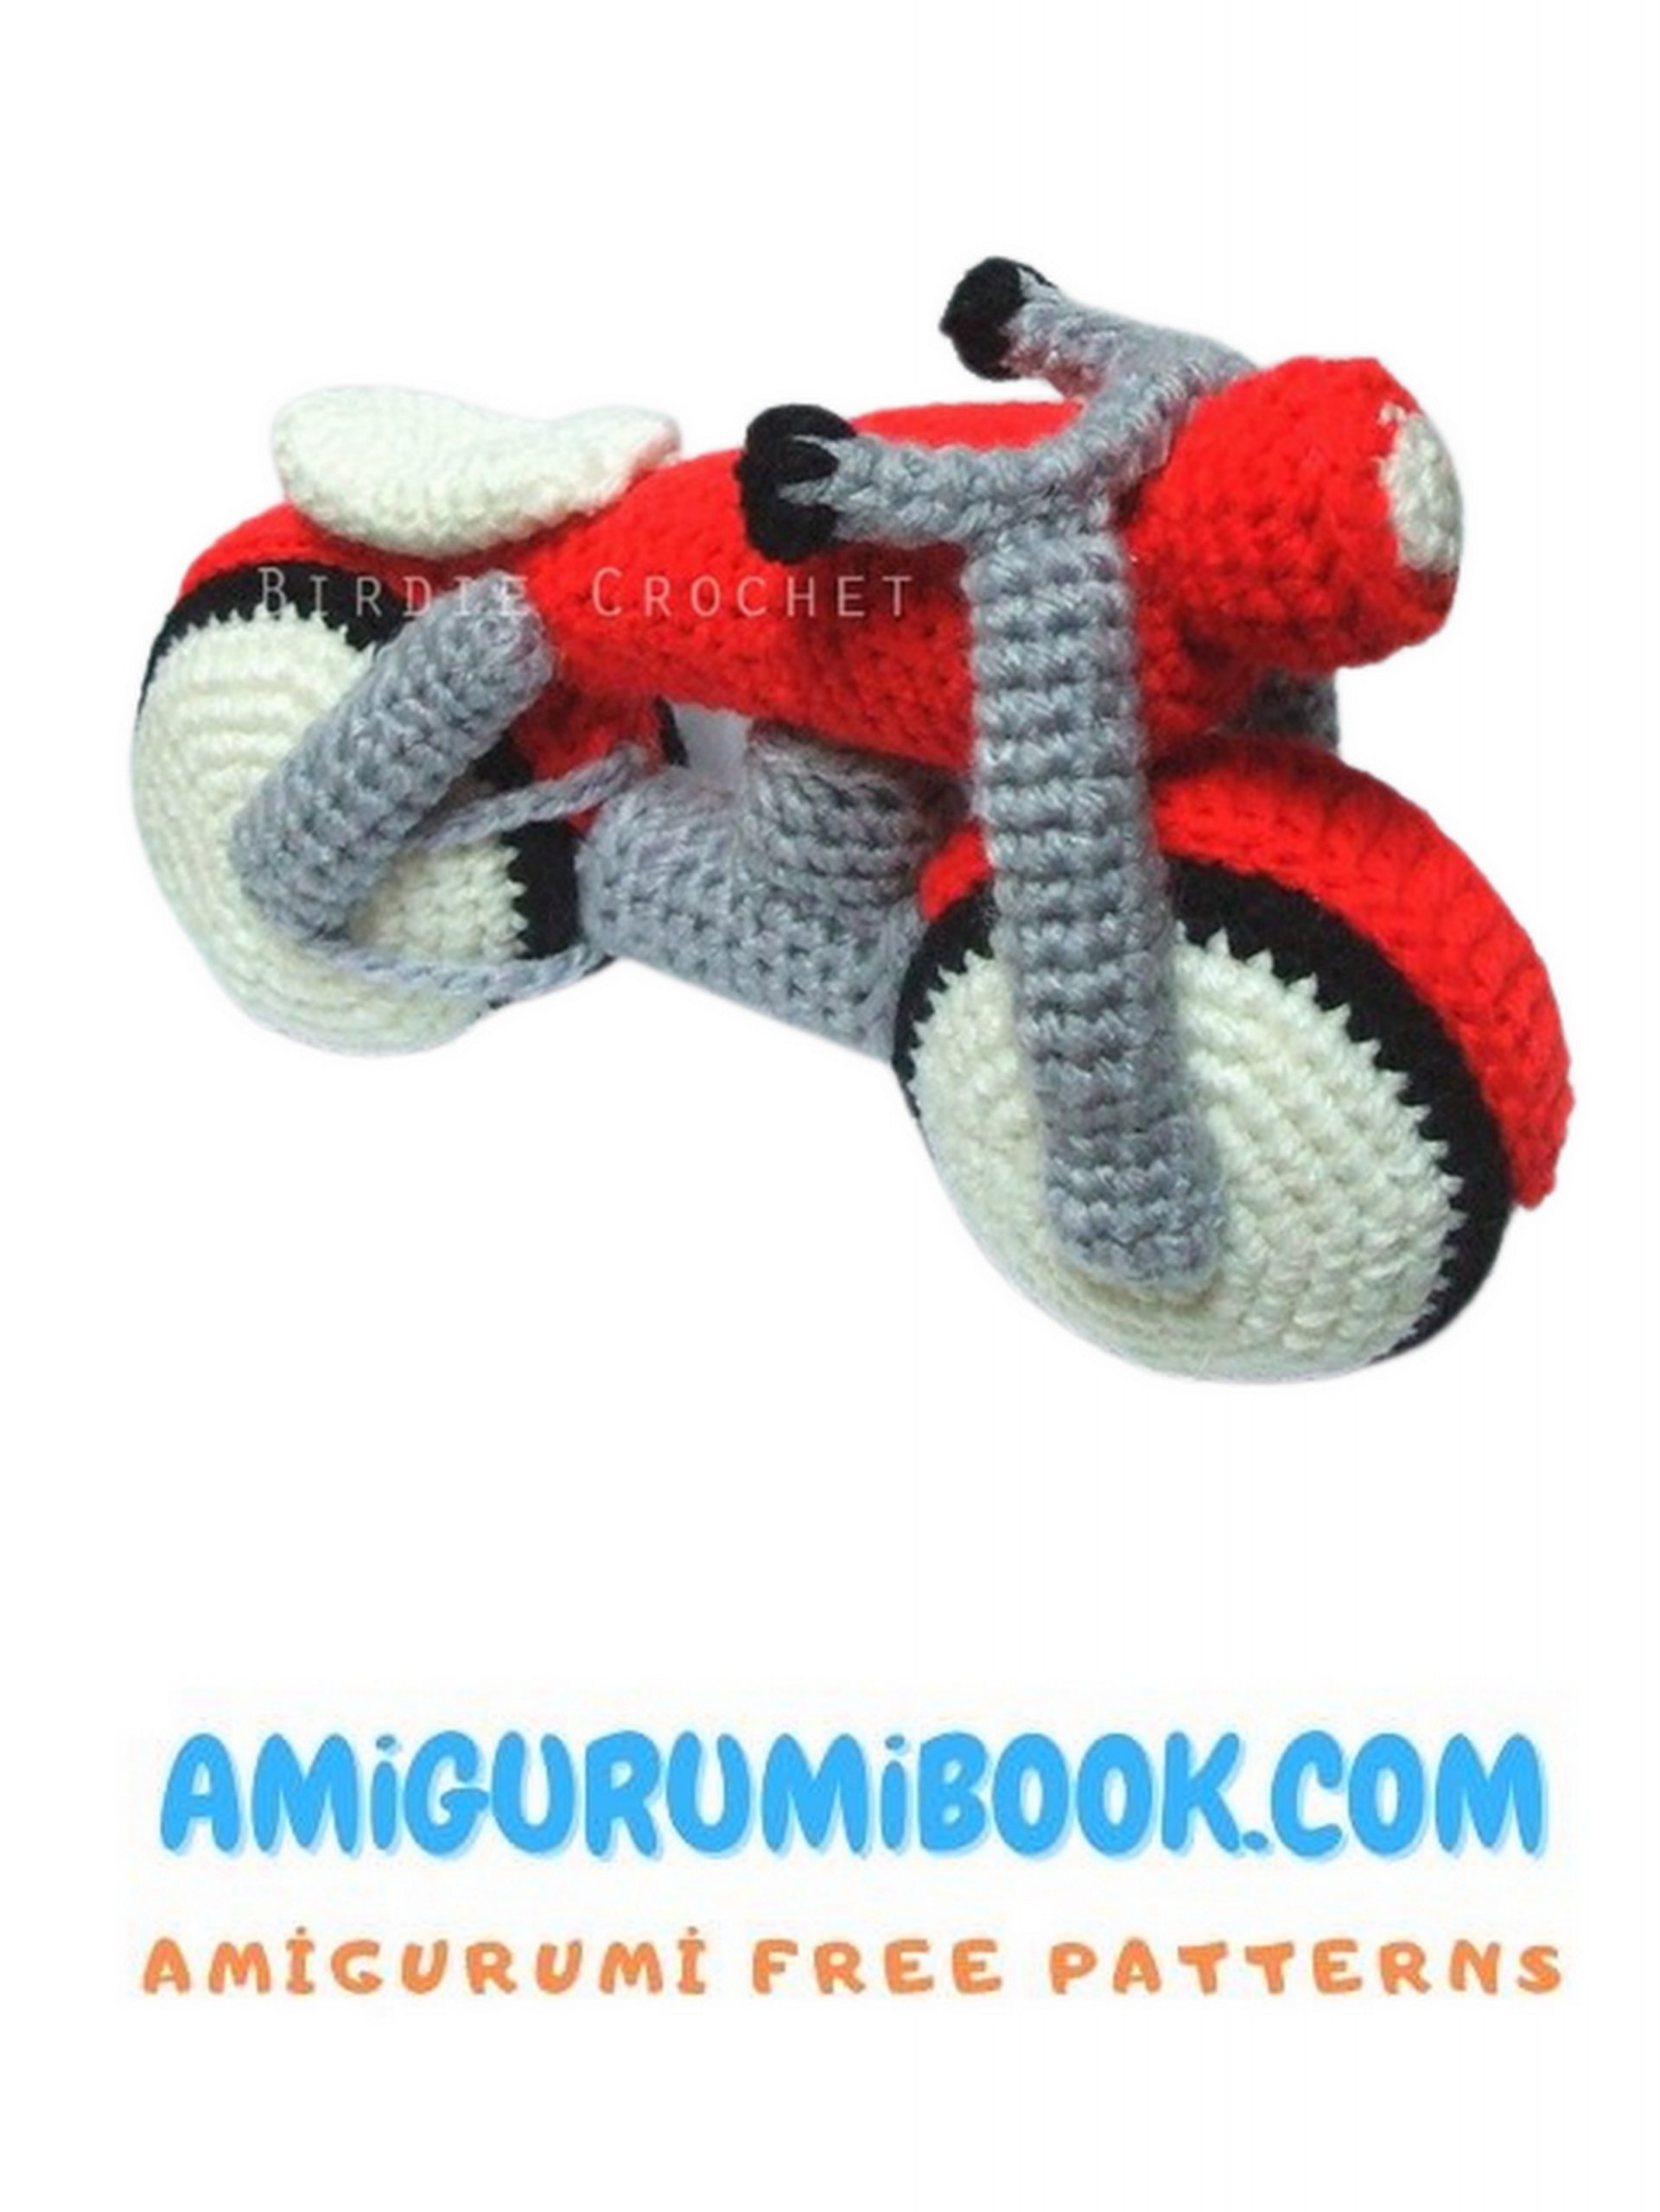
Motorcycle Amigurumi Free Pattern
In this article, motorcycle amigurumi free pattern is waiting for you. You can find Amigurumi free patterns on this site.
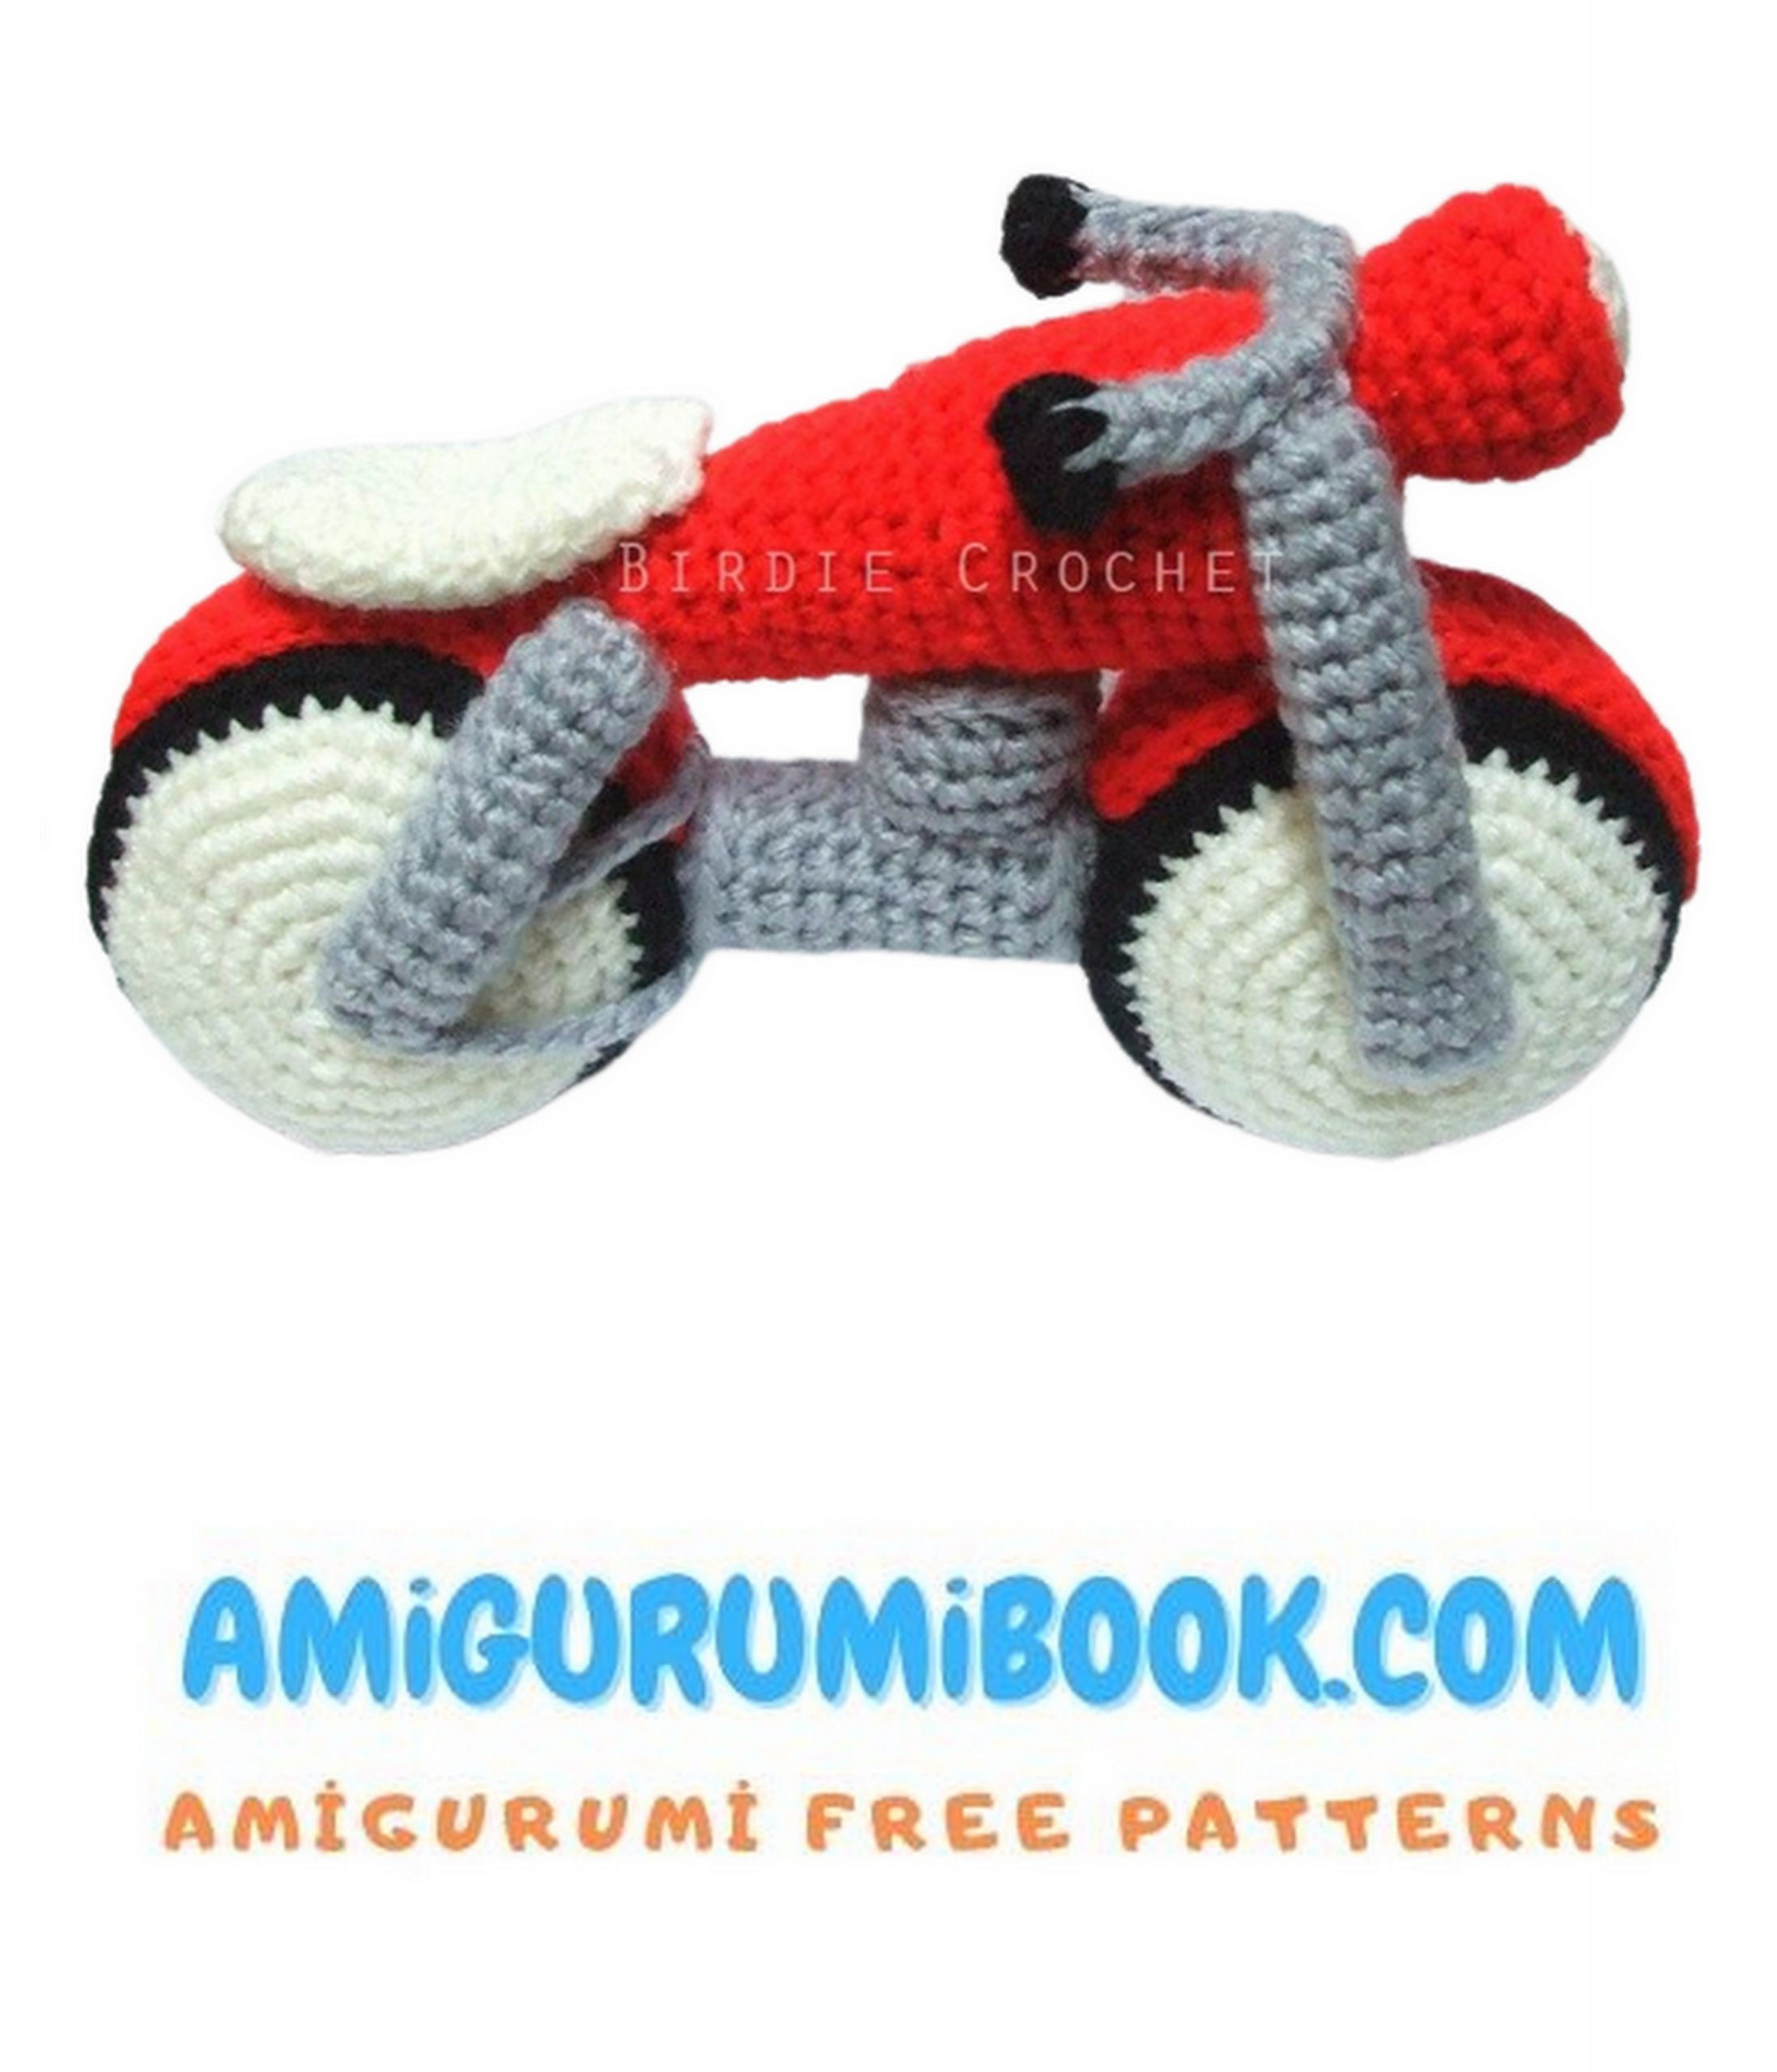
*Note: I don’t know the names of these motorcycle parts, so I’ve numbered them in the
picture below. If you know the correct names, please let me know!
Materials:
Yarn colors: red, gray, white, and black. (I used up some miscellaneous yarns in my stash, which were
mostly Red Heart yarns.)
Size D/3-3.25mm hook
POLY-FIL Fiber (100% Polyester Fiberfil) “stuffing”
Tapestry Needle
Pattern – Front Wheel (Part #10):
*Note: The wheels are worked starting in the white center of one side (side A), up to the
black of tire, and then the other white side (side B) is worked separately and sewn on. I found
this helped make the spacing when you’re working the second half of the wheel more even
and made it easy to stuff the wheel.
Rnd a1: In white, make a magic circle. Work 8 sc in the center of the circle. Join and ch 1.
Rnd a2: Work 2 sc in each st around. Join and ch 1.
Rnd a3: *2 sc in first st, 1 sc in next st* – repeat around. Join and ch 1.
Rnd a4: *2 sc in first st, 1 sc in each of the next 2 sts* – repeat around. Change to black, join
and ch 1.
Rnd a5: In black, *2 sc in first st, 1 sc in each of the next 3 sts* – repeat around. Join and ch
Rnd a6: Work 1 sc in each st around. Join and ch 1.
Rnd a7: Work 1 sc in each st around. Join and fasten off, leaving a long tail.
You will now work the other white side of the tire/wheel.
Rnd b1: In white, make a magic circle. Work 8 sc in the center of the circle. Join and ch 1.
Rnd b2: Work 2 sc in each st around. Join and ch 1.
Rnd b3: *2 sc in first st, 1 sc in next st* – repeat around. Join and ch 1.
Rnd b4: *2 sc in first st, 1 sc in each of the next 2 sts* – repeat around. Change to black, join
and ch 1.
Rnd b5: In black, *2 sc in first st, 1 sc in each of the next 3 sts* – repeat around. Join fasten
off, leaving a long tail.
Use the tail ends of the black yarn and a tapestry needle to sew side B to side A. Before
sewing completely shut, make sure you insert enough stuffing inside the wheel and then
finish sewing. Weave in ends.
Pattern – Back Wheel (Part #11):
Rnd a1: In white, make a magic circle. Work 8 sc in the center of the circle. Join and ch 1.
Rnd a2: Work 2 sc in each st around. Join and ch 1.
Rnd a3: *2 sc in first st, 1 sc in next st* – repeat around. Join and ch 1.
Rnd a4: In black, *2 sc in first st, 1 sc in each of the next 2 sts* – repeat around. Join and ch
Rnd a5: Work 1 sc in each st around. Join and ch 1.
Rnd a6: Work 1 sc in each st around. Join and fasten off, leaving a long tail.
You will now work the other white side of the tire/wheel.
Rnd b1: In white, make a magic circle. Work 8 sc in the center of the circle. Join and ch 1.
Rnd b2: Work 2 sc in each st around. Join and ch 1.
Rnd b3: *2 sc in first st, 1 sc in next st* – repeat around. Join and ch 1.
Rnd b4: In black, *2 sc in first st, 1 sc in each of the next 2 sts* – repeat around. Join fasten
off, leaving a long tail.
Use the tail ends of the black yarn and a tapestry needle to sew side B to side A. Before
sewing completely shut, make sure you insert enough stuffing inside the wheel and then
finish sewing. Weave in ends.
Pattern – Bike Body (Part #3):
Rnd 1: In red, ch 6. Starting in the 2nd chain space from the hook, work 1 sc in each st,
continuing to work around the other side of the chain as well. Join to beginning and ch 1.
Rnd 2: Work 2 sc in eac st around. Join and ch 1.
Rnd 3: *Work 2 sc in first st, 1 sc in next st* – repeat around. Join and ch 1.
Rnds 4-6: Work 1 sc in each st around. Join and ch 1.
Rnd 7: *sc2tog, sc in each of the next 3 sts* – repeat around. Join and ch 1.
Rnds 8-10: Work 1 sc in each st around. Join and ch 1.
Rnd 11: *sc2tog, sc in each of the next 2 sts* – repeat around. Join and ch 1.
Rnds 12-20: Work 1 sc in each st around. Join and ch 1.
Stuff the bike body, but do not overstuff!
Rnd 21: sc2tog – repeat around. Join and fasten off. Weave in ends.
Pattern – Bike Fender, Front Wheel (Part #6):
Rnd 1: In red, ch 16. Work 1 sc in each st across. Ch 1 and turn.
Rnd 2: sc across. Ch 1 and turn.
Rnd 3: sc across the row, then sc around the rectangle, working 2 sc sts in each corner st.
This makes a kind of oval shape. Continue around the rectangle/oval. Join and ch 1.
Rnd 4: sc around. Join and fasten off, leaving a long tail.
Pattern – Bike Fender, Back Wheel (part #7):
Rnd 1: In red, ch 14. Work 1 sc in each st across. Ch 1 and turn.
Rnd 2: sc across the row, then sc around the rectangle, working 2 sc sts in each corner st.
This makes a kind of oval shape. Continue around the rectangle/oval. Join and ch 1.
Rnd 3: sc around. Join and fasten off, leaving a long tail.
Pattern – Large Connecting Bar (Part #9):
Rnd 1: In gray, make a magic circle. Work 6 sc in the center of the circle. Join and ch 1.
Rnd 2: Work 2 sc in each st around. Join and ch 1.
Rnds 3-10: sc around. Join and ch 1.
Carefully stuff the bar, but do not overstuff!
Rnd 11: sc2tog – repeat around. Join and fasten off, leaving a long tail.
Pattern – Small Connecting Bar (Part #8):
Rnd 1: In gray, make a magic circle. Work 6 sc in the center of the circle. Join and ch 1.
Rnd 2: Work 2 sc in each st around. Join and ch 1.
Rnds 3-4: sc around. Join and ch 1.
Carefully stuff the bar, but do not overstuff!
Rnd 5: sc2tog – repeat around. Join and fasten off, leaving a long tail.
Pattern – Front Wheel Bars (Part #12), make 2:
Rnd 1: In gray, make a magic circle. Work 6 sc in the center of the circle. Join and ch 1.
Rnds 2-16: sc around. Join and ch 1.
Rnd 17: sc2tog – repeat around. Join and fasten off, leaving a long tail.
Pattern – Back Wheel Bars (Part #13), make 2:
Rnd 1: In gray, make a magic circle. Work 6 sc in the center of the circle. Join and ch 1.
Rnds 2-10: sc around. Join and ch 1.
Rnd 11: sc2tog – repeat around. Join and fasten off, leaving a long tail.
Pattern – Handlebars (Part #1):
Rnd 1: In black, make a magic circle. Work 4 sc in the center of the circle. Change to gray,
join and ch 1.
Rnds 2-13: In gray, sc around. Join and ch 1.
Rnd 14: sc around. Change to black, join and ch 1.
Rnd 15: In black, sc, sc2tog, sc. Join and fasten off, leaving a long tail.
Pattern – Seat (Part #2):
Rnd 1: In white, make a magic circle. Work 8 sc in the center of the circle. Join and ch 1.
Rnd 2: Work 2 sc in each st around. Join and ch 1.
Rnd 3: *Work 2 sc in first st, then 1 sc in the next st* – repeat around. Join and ch 1.
Rnd 4: sc around. Join and ch 1.
Rnd 5: *Work 2 sc in first st, then 1 sc in the each of the next 2 sts* – repeat around. Join
and ch 1.
Rnd 6: *sc2tog, sc in next st* – repeat around. Join and ch 1.
Rnd 7: *sc2tog* – repeat around. Join with sl st and fasten off, leaving a long tail. Use a
tapestry needle and the tail end of the yarn to stitch the small hole closed. Note: This will be
the bottom of the seat and will not be visible.
Pattern – Headlamp Frame (Part #4):
Rnd 1: In red, make a magic circle. Work 6 sc in the center of the circle. Join and ch 1.
Rnd 2: sc around. Join and ch 1.
Rnd 3: sc around. Join and fasten off, leaving a long tail.
Pattern – Headlamp Bulb (Part #5):
Rnd 1: In white, make a magic circle. Work 6 sc in the center of the circle. Join and ch 1.
Rnd 2: *sc2tog* – repeat around. Join and fasten off, leaving a long tail.
Joining the Pieces:
Begin by joining parts #10 and #9, using a tapestry needle and the tail ends of the yarn to
stitch them together. Join part #11 to part #9. Then join part #8 to part #9 so that it is
adjacent to – but not actually attached – to part #10.
Carefully sew part #6 on top of part #10, then see past #7 on top of part #11. (These are the
bike fenders.)
Insert part #5 into the hole of part #4, this creating a complete headlamp. See onto part #3
(bike body). Sew this completed body assembly onto the wheel/axel assembly, connecting at
the edges of the fenders and at the top of part #8.
Sew parts #1 and #2 onto the bike body. Then sew both of the #12 parts from the center of
the front wheel to the top of the bike body, sewing one on each side of the wheel. (See
photos for placement if neccessary.) Repeat with both #13 parts and the back wheel.