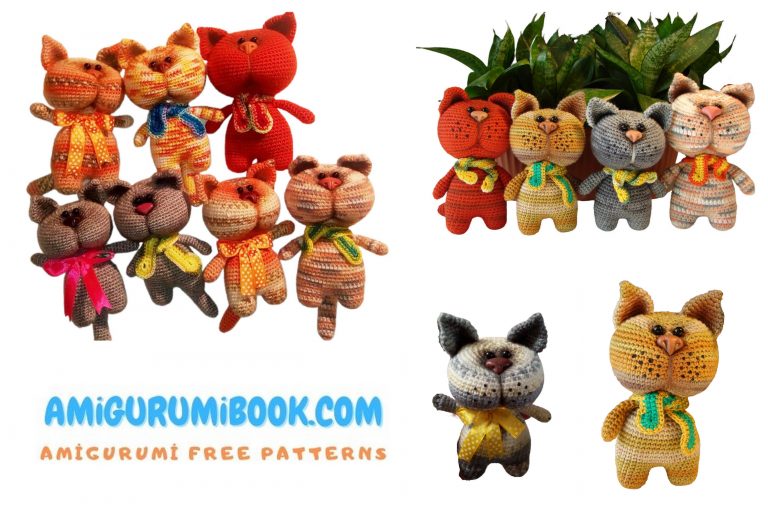
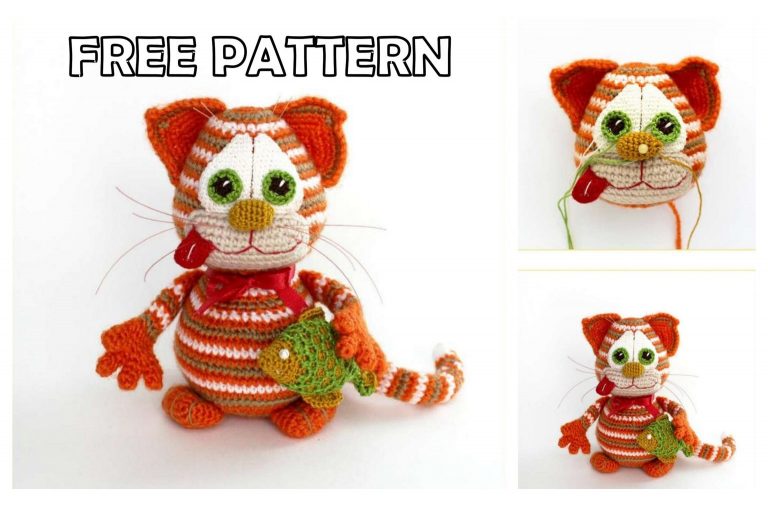
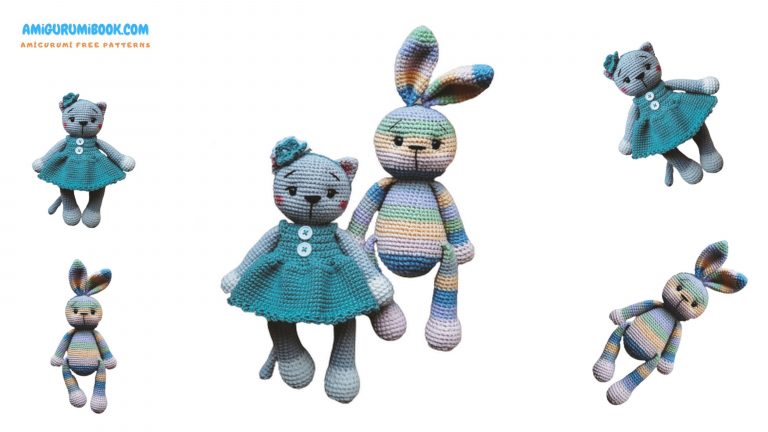
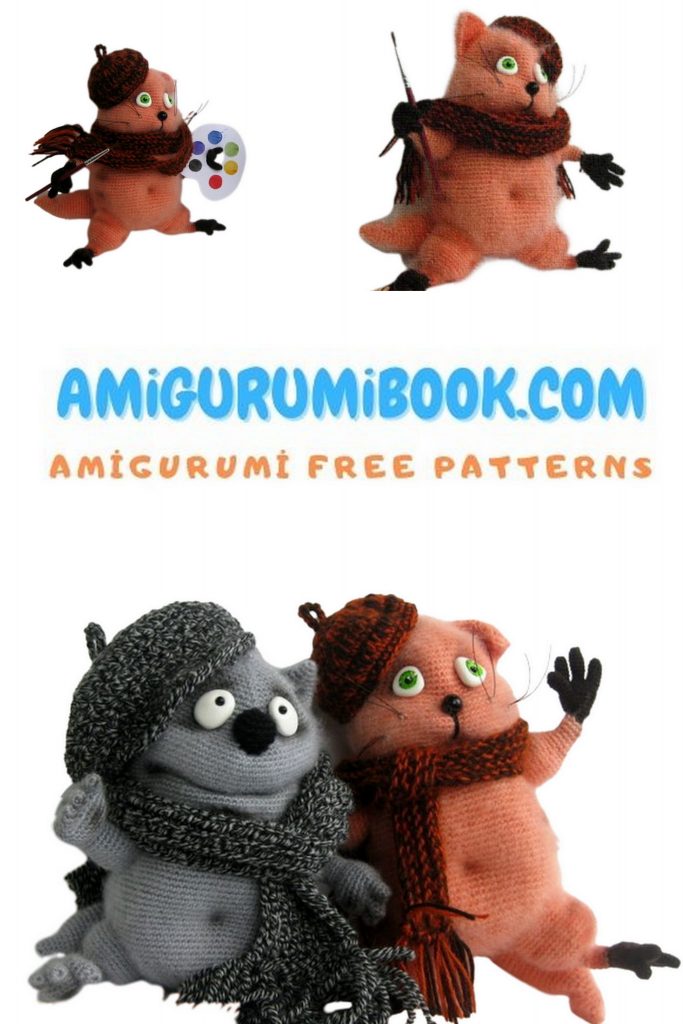
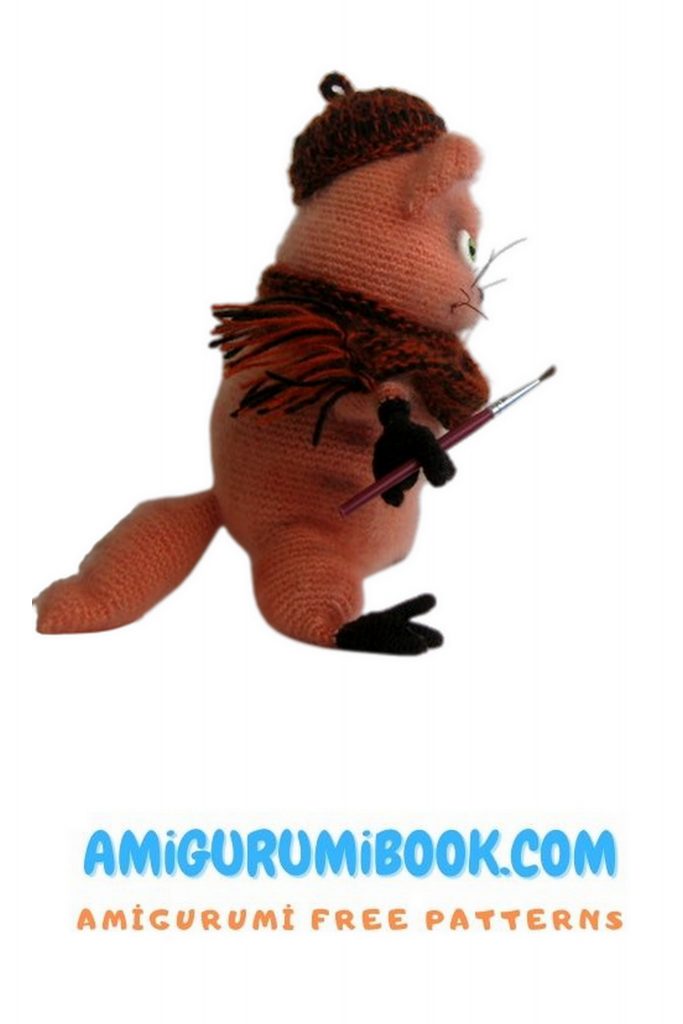
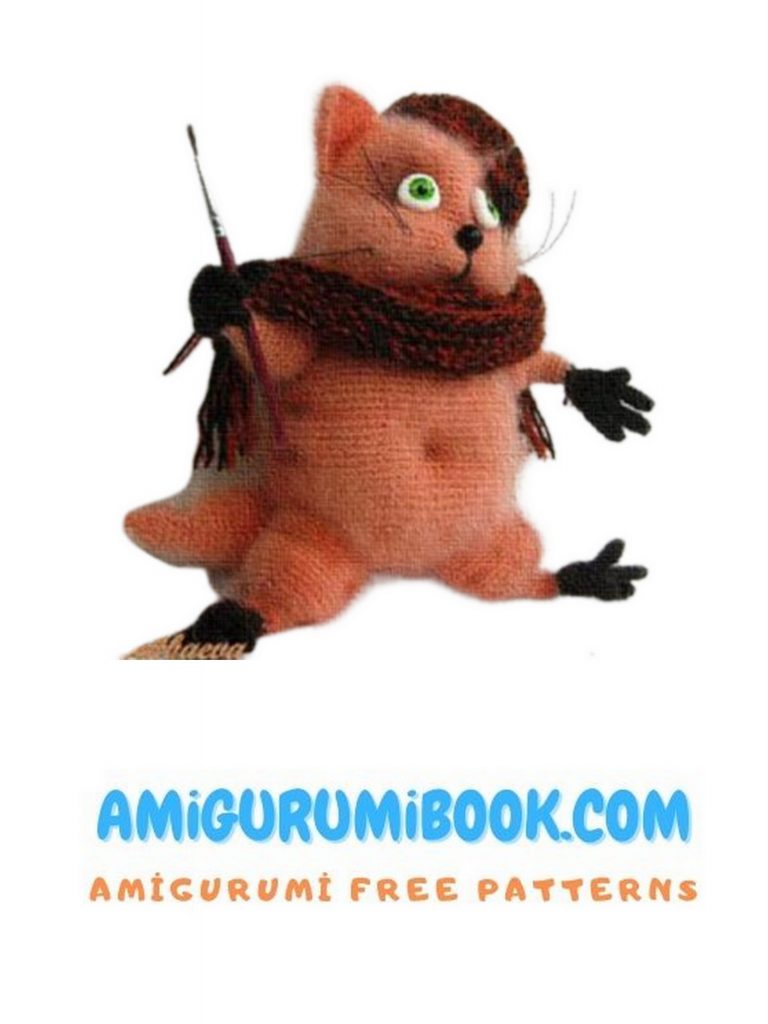
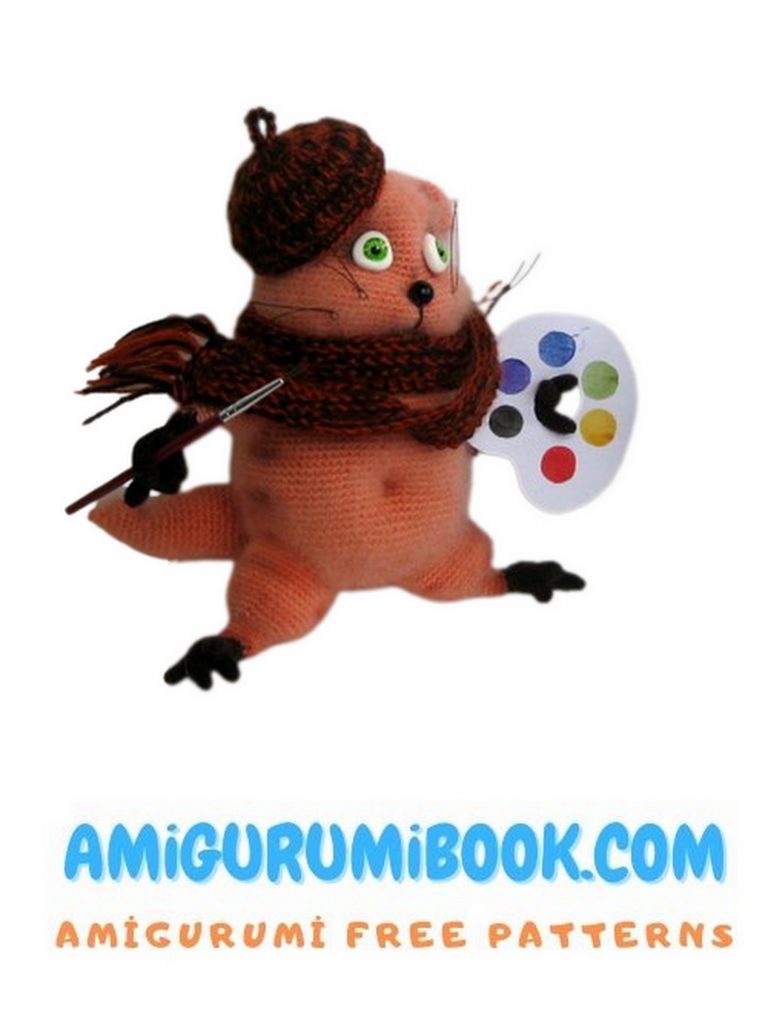
Painter Cat Amigurumi Free Pattern
I continue to share amigurumi free patterns. In this article, painter cat amigurumi free pattern is waiting for you.
Materials:
- Hook number 2, hook number 1.5.
- Main yarn (I knitted from ANGORA FINE yarn 50% mohair, 50% nylon, 300 m, 50 gr, peach color, in 2 strands) 50-80g.
- Brown yarn for legs (400g / 100m, divide the thread in half) 10 gr.
- Filler: holofiber or synthetic winterizer.
- White baked plastic for making eyes.
- Two small black beads for the pupil with a diameter of 2-3 mm.
- Bead for the nose with a diameter of 6-8 mm.
- Acrylic paints and varnish (brush for application). Colors: green, white and black.
- 2 m of copper wire with a thickness of approximately 0.6-0.8 mm.
- Long needle for tightening.
- Strong thread for tightening.
- Instant glue moment
- Mustache line.
- Good mood!
Abbreviations:
ch-chain
sc – single crochet
sl-st – slip stitch
dc – double crochet
hdc – double crochet
inc – increase, knit twice in one loop
dec – decrease, knit two loops together
hsc – single crochet
The size of the toy in a sitting position using the specified materials is 20 cm.
All parts of the toy, except for the ears, are knitted in a spiral, for both walls of the loop.
Use a marker or contrast thread to make the work easier. A new row begins before the loop in which the marker is inserted. In the process of knitting, it is necessary to monitor the symmetry of the toy. When shifting the marker to the right, it is necessary to tie an additional column and shift the marker by one loop (“shift loop” does not participate in the description of the rows).
When knitting a toy, make a decrease from two loops an “invisible” decrease. To do this, insert the hook behind the front wall of the base loop and immediately behind the front wall of the next base loop. There are 3 loops on the hook, knit through 2 half loops. Then knit again through 2 loops.
Any yarn can be used! At your discretion. Better, of course, mohair. But the most important thing is that the fingers are knitted from fine yarn, otherwise it will not be fingers, but sausages! 🙂
Before you start knitting, go over the description with your eyes.
This master class was created a year ago, that is, these are my first steps in knitting toys and the first experience in creating a master class.
In this master class, the wire frame is described in one way. The method consists in cutting one long piece of wire from which all the limbs of the toy are formed. Let me tell you right now that I don’t do that. It is much easier to make a separate frame for each limb and then twist them together inside the body.
I hope I have made this point clear. If you have any questions, I’ll be happy to answer!
I want to emphasize that if you make the frames separately, then it is logical to first tie these same limbs, and then start the carcass. 🙂
PATTERN
Head-Torso
We start knitting with the main yarn crochet No. 2. The body is knitted from the bottom up in a spiral for both walls of the loop. Use a marker or contrast thread to make the work easier.
Row 1: 6sc into magic ring = 6sc
2nd row: 6inc = 12sc
3 row: (inc, 1sc) x 6 times = 18sc
4 row: (inc, 2sc) x 6 times = 24sc
5 row: (inc, 3sc) x 6 times = 30sc
6 row: (inc, 4sc) x 6 times = 36sc
7 row: (inc, 5sc) x 6 times = 42sc
8 row: (inc, 6sc) x 6 times = 48sc
9 row: (inc, 7sc) x 6 times = 54sc
10 row: (inc, 8sc) x 6 times = 60sc
11 row: (inc, 9sc) x 6 times = 66sc
12 row: (inc, 10sc) x 6 times = 72sc
13 row: (inc, 11sc) x 6 times = 78sc
14-19 row: 78sc = 78sc
20 row: (inc, 12sc) x 6 times = 84sc
21-31 row: 84sc = 84sc
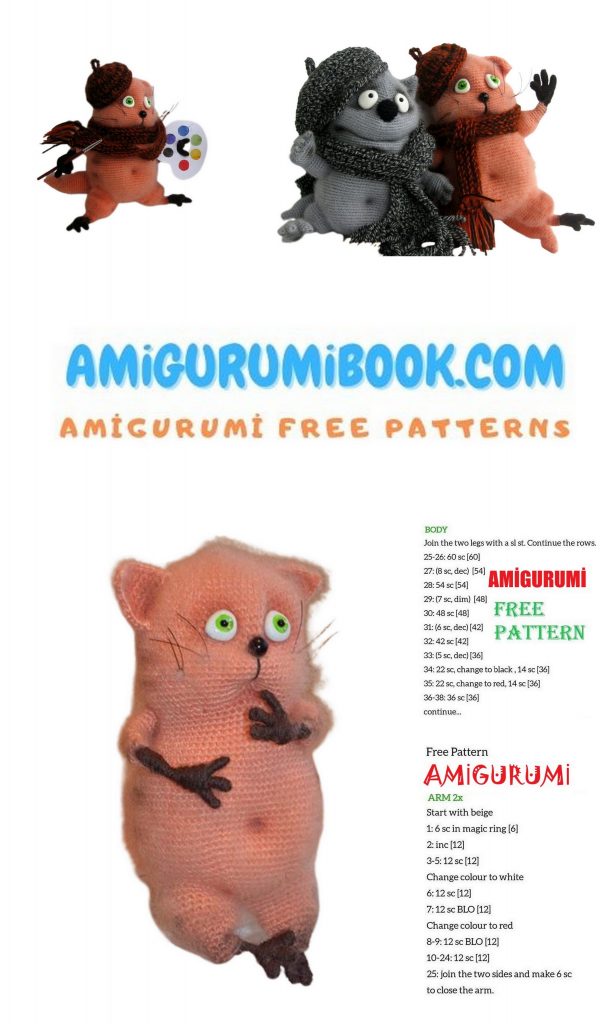
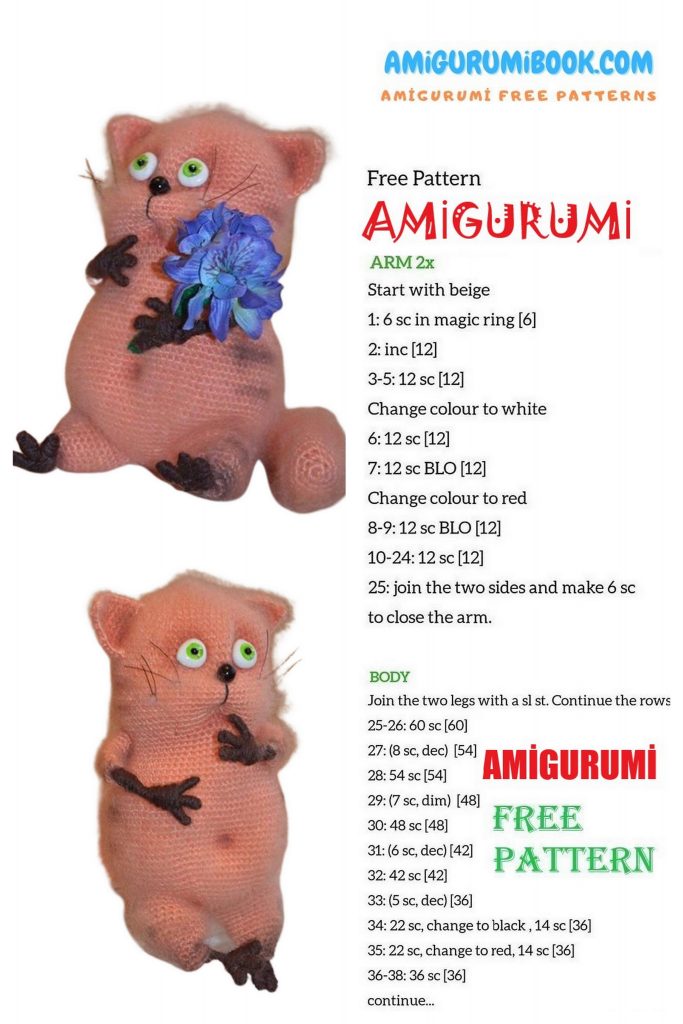
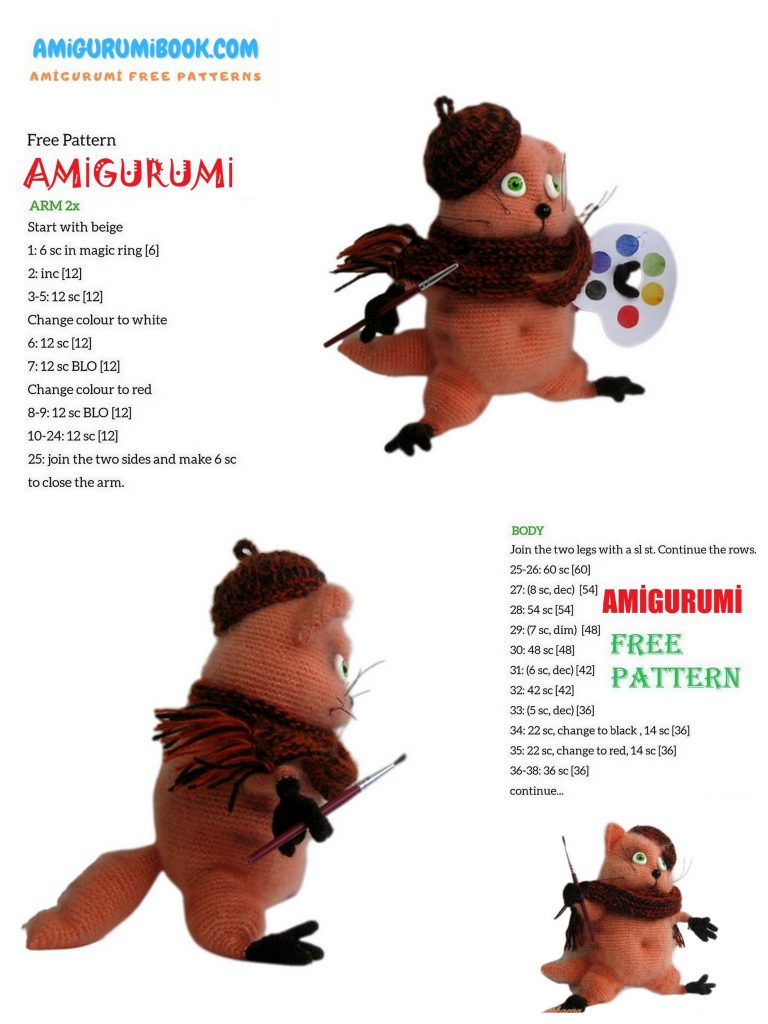
32 row: (1dec, 12sc) x 6 times = 78sc
33 row: 78sc = 78sc
34 row: (1dec, 11sc) x 6 times = 72sc
35 row: 72sc = 72sc
36 row: (1dec, 10sc) x 6 times = 66sc
37 row: 66sc = 66sc
Prepare the wire frame.
To do this, take a copper wire about 2 m long, pierce the body and thread the wire between 37 and 38 rows. Align the ends of the wire so that the torso is in the middle.
Guide each free end into the same hole, forming a wire loop. Bring both ends to the lower part of the body between approximately 9 and 10 rows, observing symmetry relative to the marker. Inside, twist the two free ends together and secure with adhesive tape.
Form 4 fingers from each wire loop (about 3 cm each). Twist each finger.
Stuff the body with filler.
Tip: since your foot size may differ from mine, I advise you to knit one foot (from fingers to 5 rows) before making a wire frame. This way you can determine the length of the wire for each of your fingers.
The second option: make the wire fingers long, 3-4 cm each. In the future, the excess wire can be bent.
Do not forget to stuff the carcass with filler during work!
Next, knit according to the description:
38 row: (dec, 9sc) x 6 times = 60sc
39 row: (dec, 8sc) x 6 times = 54sc
40 row: 54sc = 54sc
41 row: 4sc, inc, 7sc, inc, 4sc, inc, (1sc, inc) x 3 times, 6sc, inc, (1sc, inc) x 3 times, 4sc, inc, 7sc, inc, 4sc = 66sc
42 row: 4sc, inc, 8sc, inc, 5sc, inc, (2sc, inc,) x 3 times, 8sc, inc, (2sc, inc) 3 times, 5sc, inc, 8sc, inc, 4sc = 78sc
43-45 row: 78sc = 78sc
46 row: (inc, 12sc) x 6 times = 84sc
47-49 row: 84sc = 84sc
50 row: (dec, 12sc) = 78sc
51-52 rows: 78sc = 78sc
53 row: 4sc, dec, 8sc, dec, 5sc, dec, (2sc, dec) x 3 times, 8sc, dec, (2sc, dec) x 3 times, 5sc, dec, 8sc, dec, 4sc = 66sc
54-61 row: 66sc = 66sc
62 row: (dec, 9sc) x 6 times = 60sc
63 row: (dec, 8sc) x 6 times = 54sc
64 row: (dec, 7sc) x 6 times = 48sc
65 row: (dec, 6sc) x 6 times = 42sc
66 row: (dec, 5sc) x 6 times = 36sc
67 row: (dec, 4sc) x 6 times = 30sc
68 row: (dec, 3sc) x 6 times = 24sc
69 row: (dec, 2sc) x 6 times = 18sc
70 row: (dec, 1sc) x 6 times = 12sc
71 row: 6dec = 6sc
Pull off the remaining loops, remove the tip of the thread.
Front Paws
The right and left upper paws are knitted symmetrically.
Middle finger
We start crochet No. 1.5 with brown yarn:
1st row: 6sc into magic ring
2nd row: inc, 5sc = 7sc
3 row: inc, 6sc = 8sc
4 row: inc, 7sc = 9sc
5-6 row: 9sc = 9sc
7 row: dec, 7sc = 8sc
8 row: 8sc = 8sc
Thumb
We start crochet No. 1.5 with brown yarn:
1st row: 6sc in ring = 6sc
2nd row: 2inc, 4sc = 8sc
3rd row: inc, 7sc = 9sc
4th row: 9sc = 9sc
5 row: dec, 7sc = 8sc
6 row: 8sc = 8sc
Little finger
We start crochet No. 1.5 with brown yarn:
Row 1: 6sc into magic ring
2 row: inc, 5sc = 7sc
3 row: inc, 6sc = 8sc
4-6 row: 8sc = 8sc
Fore finger
We start crochet No. 1.5 with brown yarn:
1st row: 6sc into magic ring
2nd row: inc, 5sc = 7sc
3 row: inc, 6sc = 8sc
4 row: inc, 7sc = 9sc
5 row: 9sc = 9sc
6 row: dec, 7sc = 8sc
7 row: 8sc = 8sc
We do not break the thread, we continue knitting, connecting the fingers of the right foot:
1st row: 4sc on index finger, 4sc on middle finger, 8sc on little finger, 4sc on middle finger, 4sc on index finger = 24sc
2-3 row: 24sc = 24sc
4 row: 17sc, 4sc stitches on the thumb to connect with 4 loops of the main knitting, 3sc = 24sc
Fill fingertips with filler. Put the blanks on the wire frame and continue knitting around the frame:
Tip: to prevent the wire from sliding inside the knitted fabric, wrap each finger with adhesive tape.
5 row: 17sc, 4 loops on the thumb, 3sc = 4sc
6-7 row: 24sc = 24sc
8 row: (dec, 1sc) x 6 times = 18sc
9 row: 18sc = 18sc
10 row: dec, 7sc, dec, 7sc = 16sc
11 row: dec, 6sc, dec, 6sc = 14sc
12 row: dec, 5sc, dec, 5sc = 12sc
13-14 row: 12sc = 12sc
Switch to orange thread and continue knitting:
15-16 row: 12sc = 12sc
Go to crochet #2:
17-19 row: 12sc = 12sc
20 row: (inc, 1sc) x 6 times = 18sc
21-22 row: 18sc = 18sc
23 row: (inc, 2sc) x 6 times = 24sc
24-28 row: 24sc = 24sc
29 row: (dec, 2sc) x 6 times = 18sc
30 row: 18sc = 18sc.
Leave 15 cm of thread for sewing to the body.
Fill the handles with filler and sew to the body.
hind legs
The right and left upper paws are knitted symmetrically.
Middle finger
We start crochet No. 1.5 with brown yarn:
1st row: 6sc into magic ring
2nd row: inc, 5sc = 7sc
3 row: inc, 6sc = 8sc
4 row: inc, 7sc = 9sc
5-6 row: 9sc = 9sc
7 row: dec, 7sc = 8sc
8 row: 8sc = 8sc
Thumb
We start crochet No. 1.5 with brown yarn:
1st row: 6sc in ring = 6sc
2nd row: 2inc, 4sc = 8sc
3rd row: inc, 7sc = 9sc
4th row: 9sc = 9sc
5 row: dec, 7sc = 8sc
6 row: 8sc = 8sc
Little finger
We start crochet No. 1.5 with brown yarn:
Row 1: 6sc into magic ring
2 row: inc, 5sc = 7sc
3 row: inc, 6sc = 8sc
4-6 row: 8sc = 8sc
Fore finger
We start crochet No. 1.5 with brown yarn:
1st row: 6sc into magic ring
2nd row: inc, 5sc = 7sc
3 row: inc, 6sc = 8sc
4 row: inc, 7sc = 9sc
5 row: 9sc = 9sc
6 row: dec, 7sc = 8sc
7 row: 8sc = 8sc
We do not break the thread, we continue knitting, connecting the fingers of the right foot:
1st row: 4sc on index finger, 4sc on middle finger, 8sc on little finger, 4sc on middle finger, 4sc on index finger = 24sc
2-3 row: 24sc = 24sc
4 row: 17sc, 4sc stitches of the thumb to four loops of the main knitting, 3sc = 24sc
Fill fingertips with filler. Put the blanks on the wire frame and continue knitting around the frame:
5 row: 17sc, 4 loops on the thumb, 3sc = 24sc
6-8 row: 24sc = 24sc
9 row: (dec, 2sc) x 6 times = 18sc
10 row: 18sc = 18sc
11 row: (dec, 7sc) x 2 times = 16sc
12 row: (dec, 6sc) x 2 times = 14sc
13th row: (dec, 5sc) x 2 times = 12sc
Switch to orange yarn and continue with crochet #2:
14-18 row: 12sc = 12sc
19 row: (inc, 1sc) x 6 times = 18sc
20 row: (inc, 2sc) x 6 times = 24sc
21 row: (inc, 3sc) x 6 times = 30sc
22 row: (inc, 4sc) x 6 times = 36sc
23-31 row: 36sc = 36sc
Leave the thread for sewing the foot to the body.
Fill the legs with filler and write to the carcass.
Tail
The tail is knitted with the main, orange thread in two additions, crochet No. 2.
As you knit, fill the tail with filler:
1 row: 6sc. into magic ring = 6sc
2nd row: 6inc = 12sc
3-5 rows: 12sc = 12sc
6 row: inc, 10sc, inc = 14sc
7 row: 1sc, inc, 10sc, inc, 1sc = 16sc
8 row: 2sc, inc, 10sc, inc, 2sc = 18sc
9 row: 18sc = 18sc
10 row: (inc, 2sc) x 6 times = 24sc
11-12 rows: 24sc = 24sc
13th row: (inc, 3sc) x 6 times = 30sc
14-15 rows: 30sc = 30sc
16 row: (dec, 3sc) x 6 times = 24sc
17 row: 24sc = 24sc
18 row: dec, 22sc = 23sc
19 row: 23sc = 23sc
20 row: dec, 21sc = 22sc
21 row: dec, 20sc = 21sc
22 row: dec, 19sc = 20sc
23 row: dec, 18sc = 19sc
24 row: dec, 17sc = 18sc
25 row: 18sc = 18sc
26-28 rows: 1sc, inc, 4sc dec, 2sc, dec, 4sc, inc, 1sc = 18sc
29 row: 18sc = 18sc
30 row: (dec, 1sc) x 6 times = 12sc
31 row: 6dec = 6sc
Pull off the remaining loops, remove the tip of the thread.
Ears
Ears can be knitted separately from the head, and then sewn on.
Ears are knitted in turning rows with single crochets.
Mark two points on the head, symmetrical with respect to the marker: the first point is to retreat 7 rows from the crown, the second point is 17 rows from the crown.
The left eyelet is worked from top to bottom in turning rows, starting from the 1st loop. Cast on 12 stitches.
1 row: 12sc = 12sc (knit from bottom to top)
2nd row: 11sc, knit turn
3rd row: 10sc, turn
4th row: 9sc, turn
5 row: 8sc, turn
6 row: 7sc, turn
7th row: 1hsc, 5sc, turn
8 row: 4sc, turn
9 row: 3sc, turn
10 row: 2sc, turn
11 row: 1sc, fasten the thread
Tie the ear with single crochets starting from the bottom.
Decor
The toy should be combed properly. On the muzzle, only the cheeks should be combed.
Muzzle tightening
To decorate the muzzle, insert a long needle with a thread in the nose area, fasten the thread, bring it out below the chin, tighten, fasten the thread. Return the needle to its original position and repeat again.
Bring the needle to the place of the left eye socket, fasten the thread by making a stitch. Bring the needle into the right eye socket. Slightly tighten the thread, fasten.
Separate the cheeks by making a few stitches with black thread. Sew on a nose bead.
For the mustache, prepare 6 pieces of black fishing line about 10 cm long.
Using a hook, insert the fishing line into the cheeks, forming a mustache.
Navel tightening
Insert a long needle with a thread in the navel area, fasten the thread by making a couple of stitches. Bring the needle out behind the body in the place where the tail will be attached.
Slightly tighten the thread to form a navel, fasten the thread. Repeat again.
Next, make a constriction to form a “butt”. Fasten the thread. Sew on the tail.
Eyes
Do not be afraid to make eyes out of plastic!
Firstly, there is nothing to worry about, and secondly, your toys will always be distinguished by their individuality!
Purchased eyes can be glued on if desired.
To make the eyes, we need white baked plastic, acrylic paints (green, white and black), two small beads (diameter 3-4mm) and acrylic varnish. In order to make it more convenient to paint the eyes, you can use a piece of double-sided tape.
Sculpt two flat pancakes out of plastic. Carefully insert a bead into the middle of each, bake according to the instructions.
Let the eyes cool and put them on the tape.
Draw a circle with green paint around the black bead pupil. Apply a second layer if necessary.
Mix green and black paint, apply strokes with thin rays. Make a few highlights with white paint.
After the paint has completely dried, cover the eyes with varnish.
Allow the varnish to dry, and glue the eyes with super-moment glue on the previously tinted eye sockets.
Comb the toy, toned if desired. For tinting, you can use dry pastels, decorative cosmetics, oil paints.
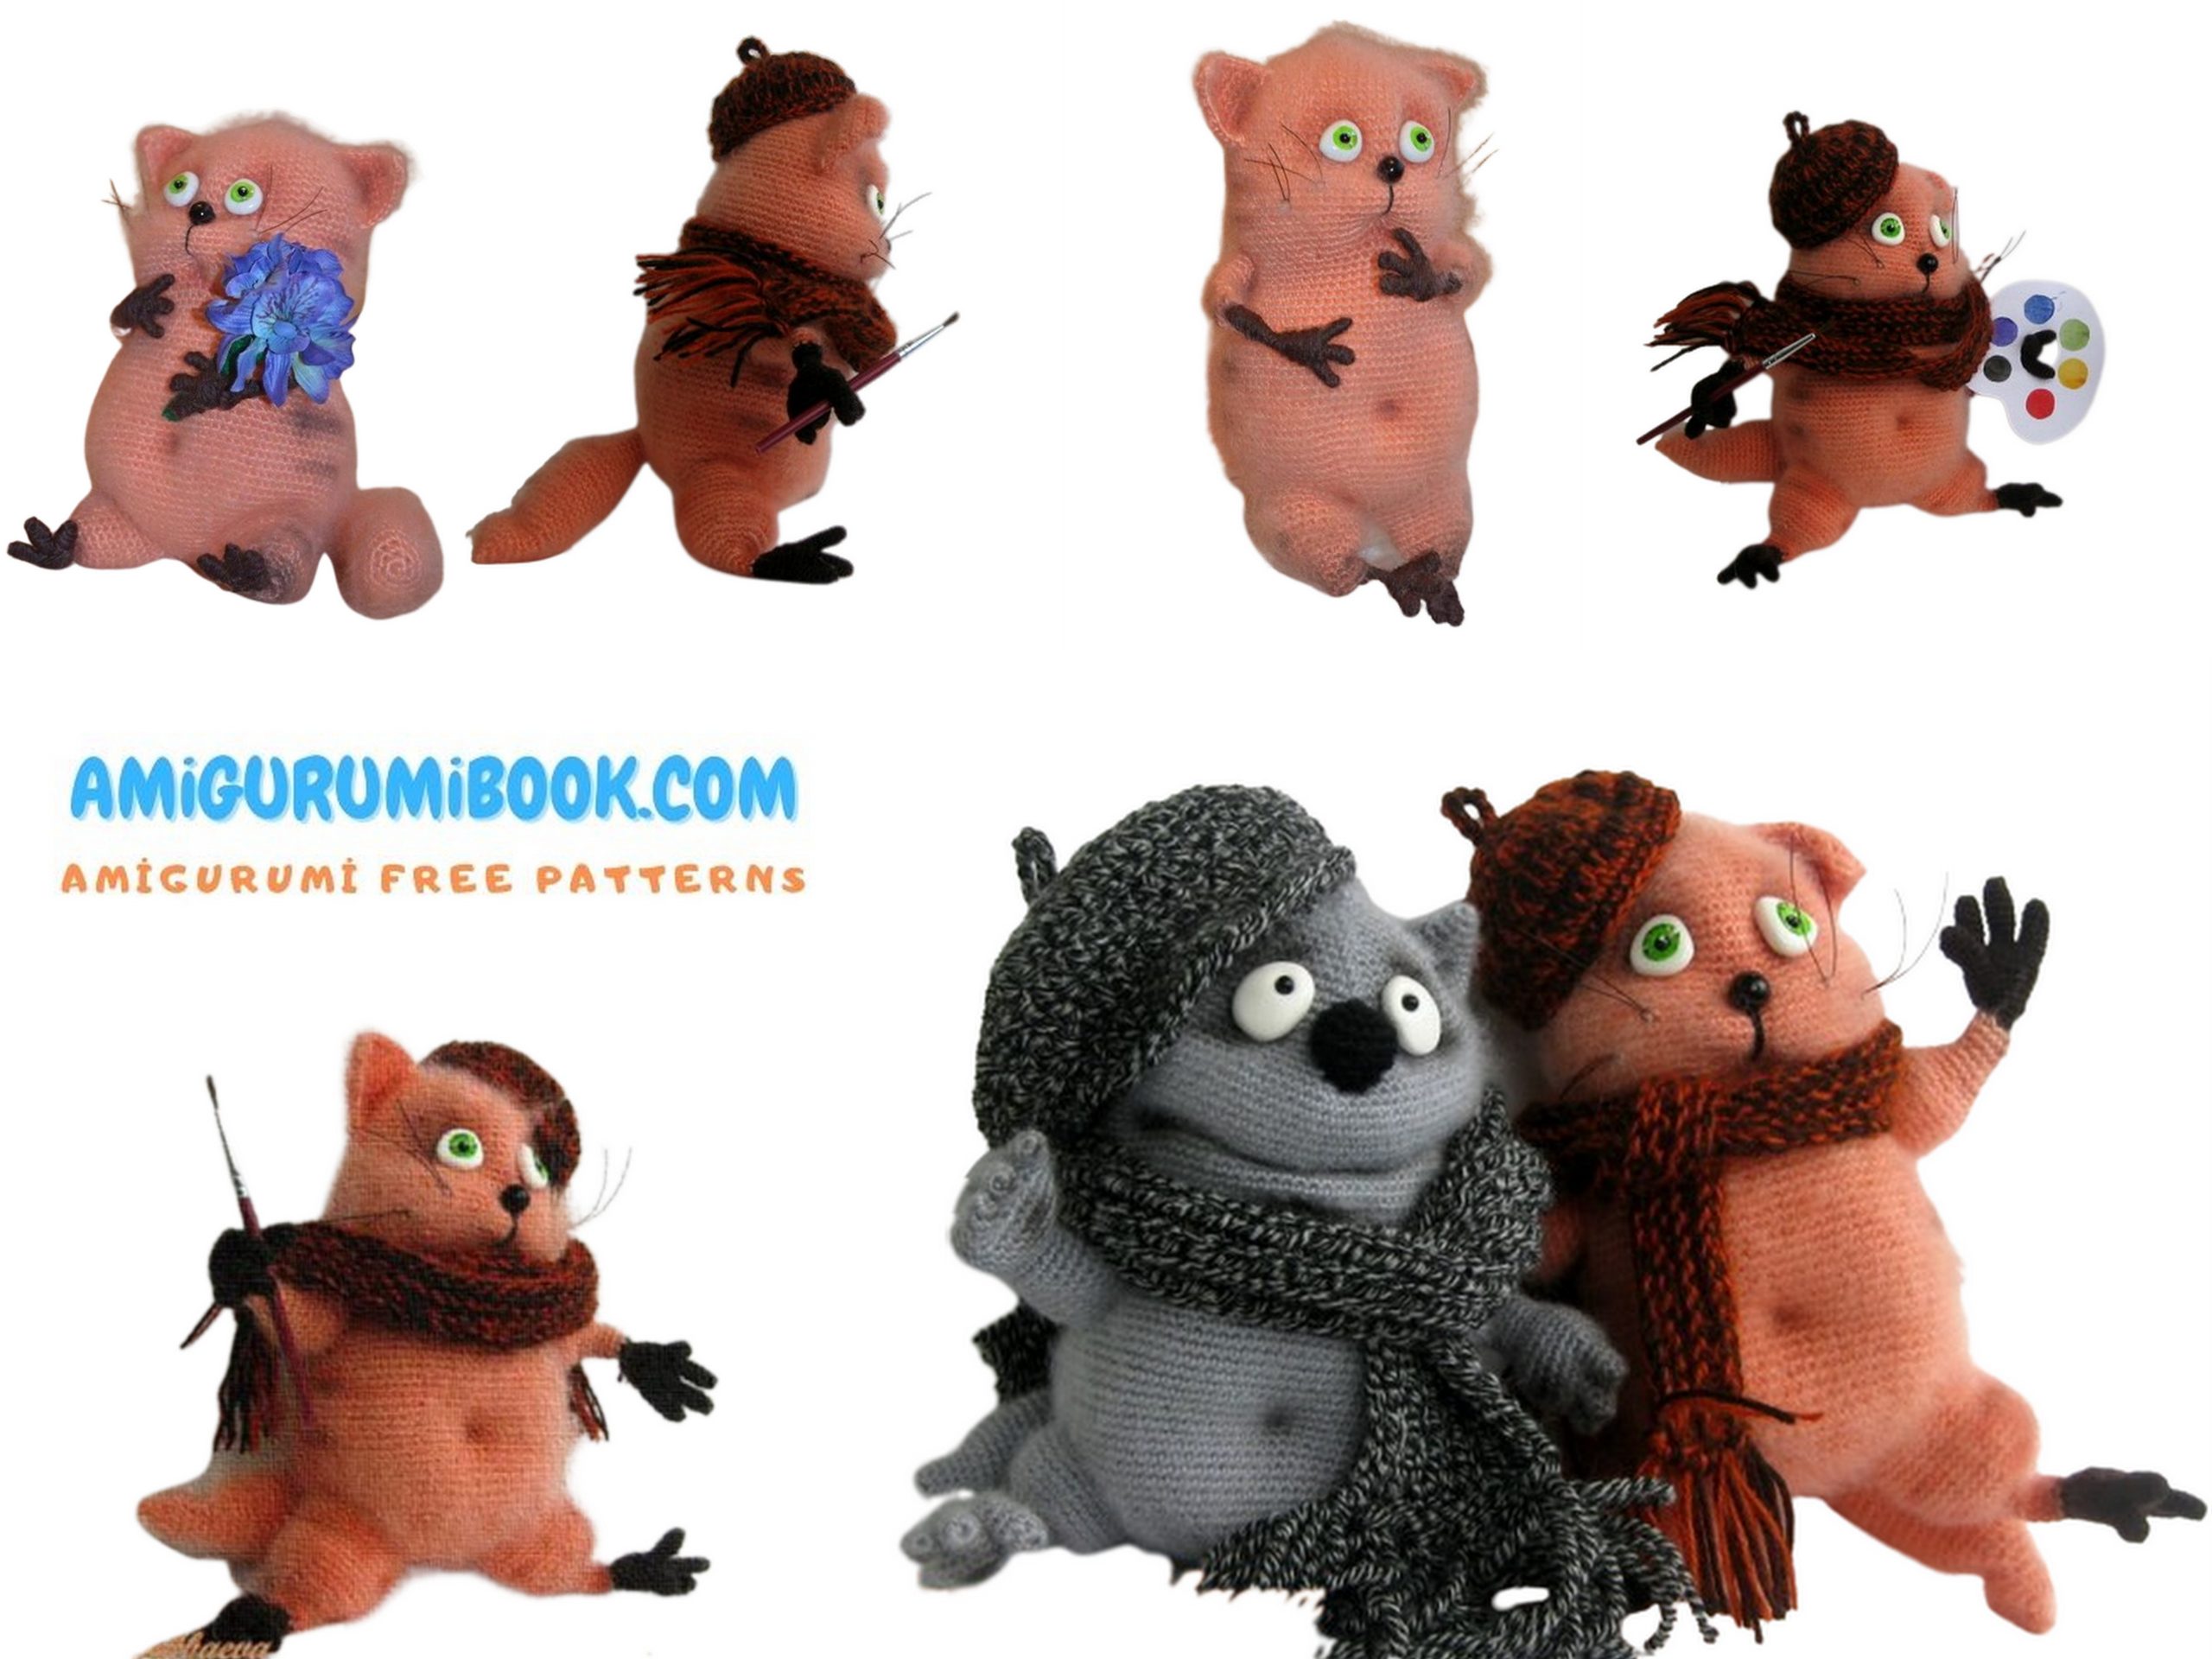
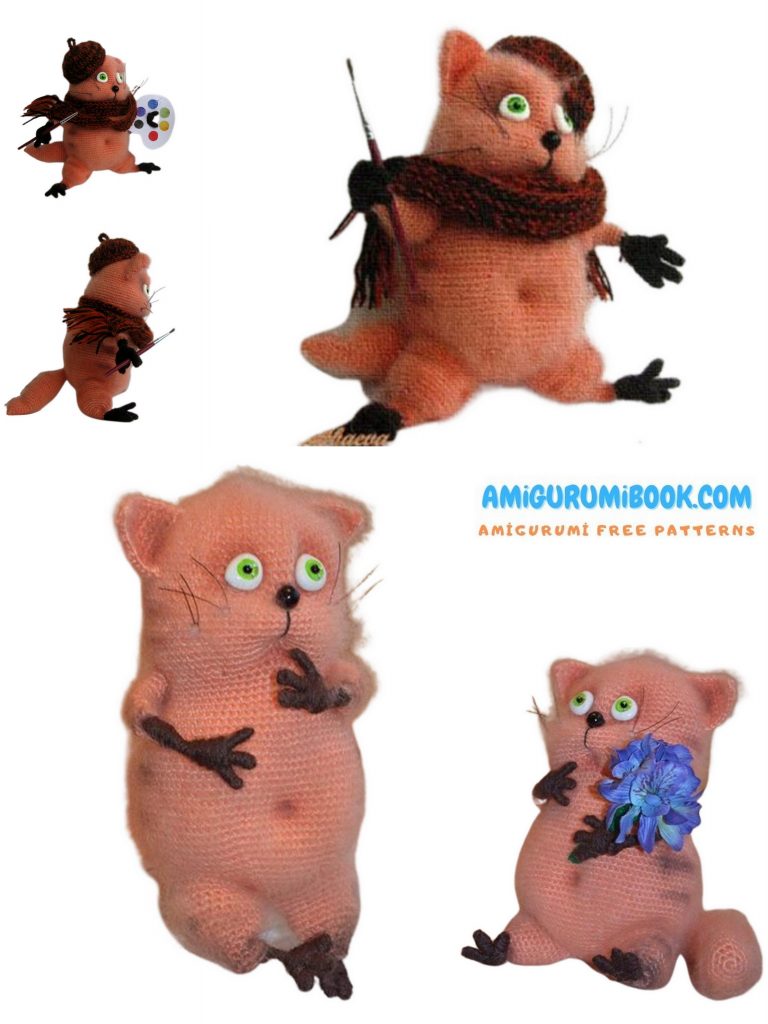
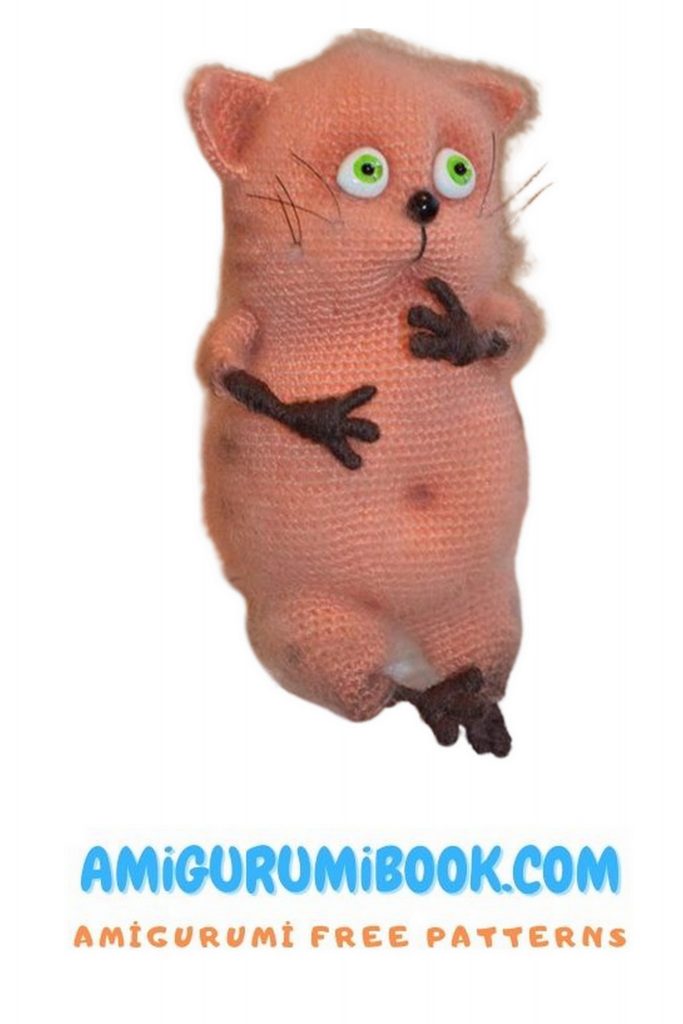
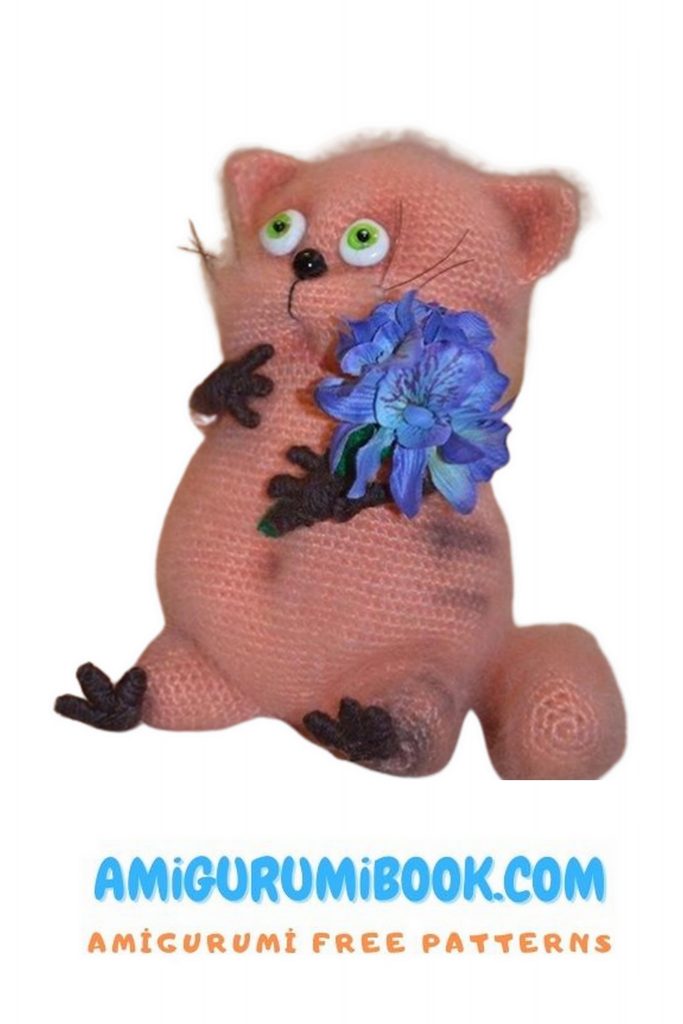
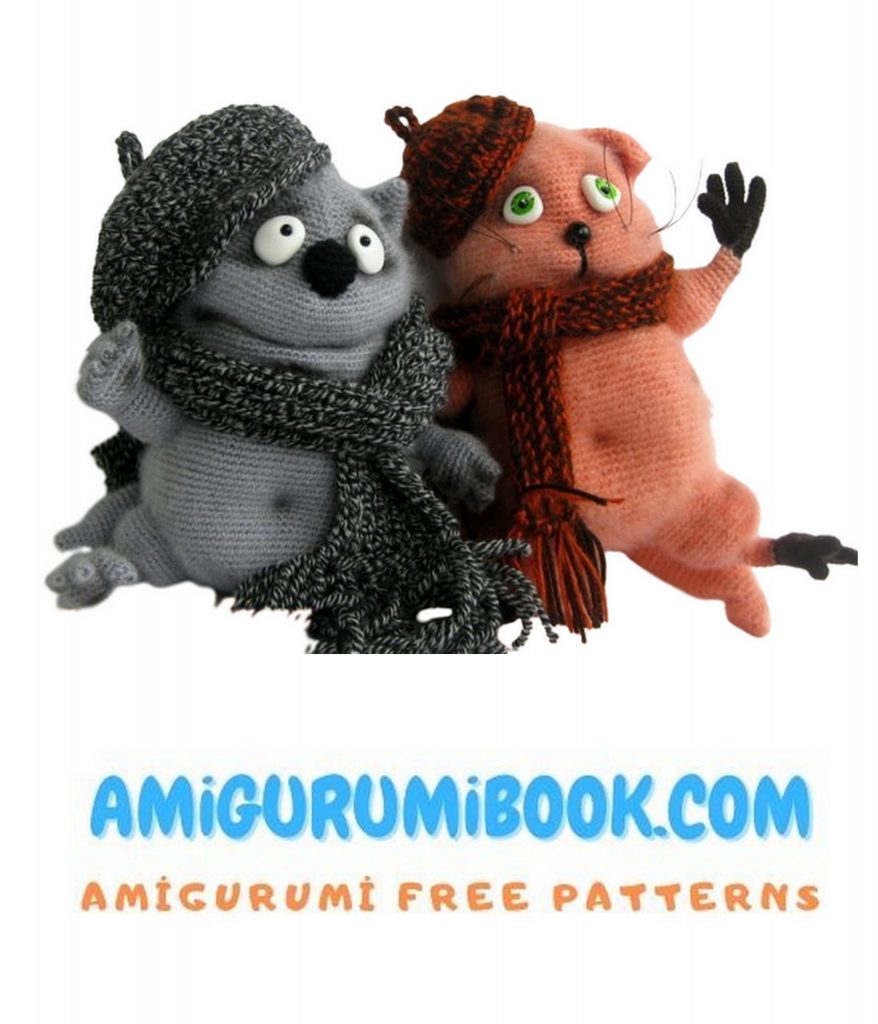
So, we meet our cat Martin! He can be like this: lonely, sad and in love.
Or maybe like this: an intelligent, free artist.
Good luck in your work, dear needlewomen!