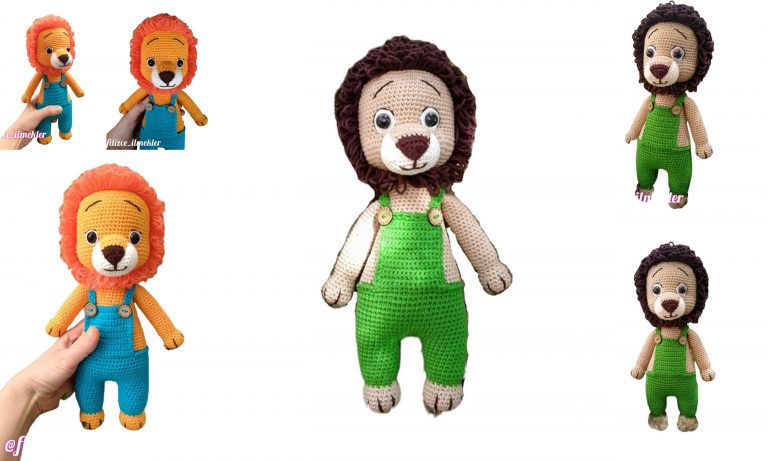
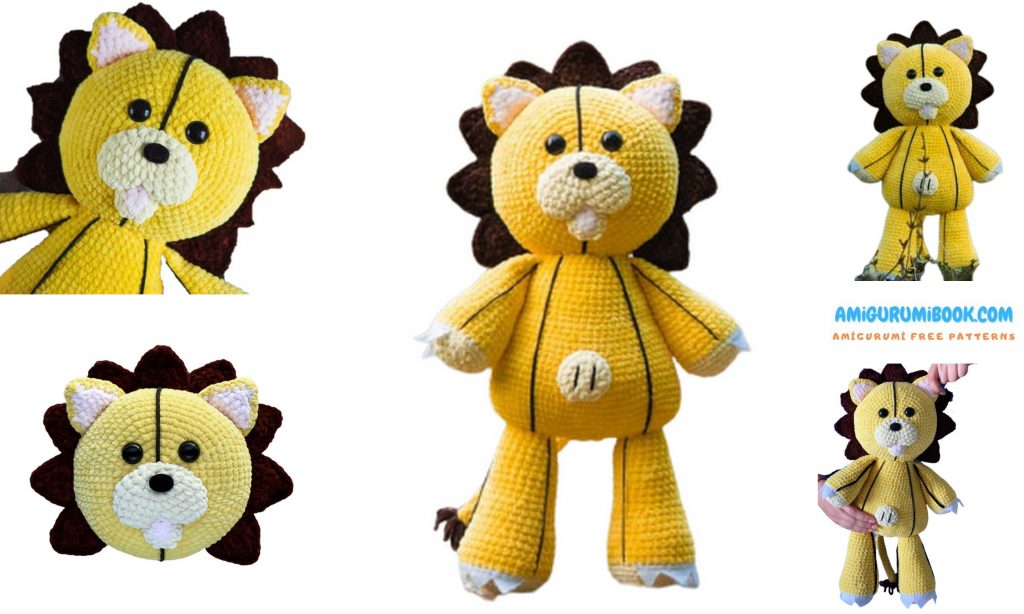
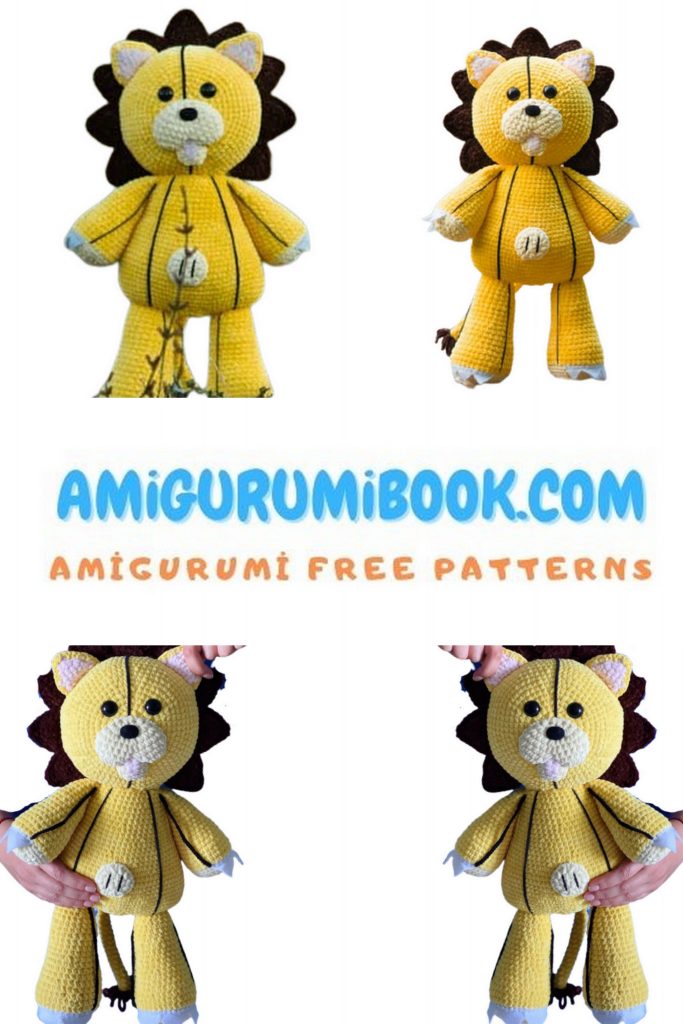
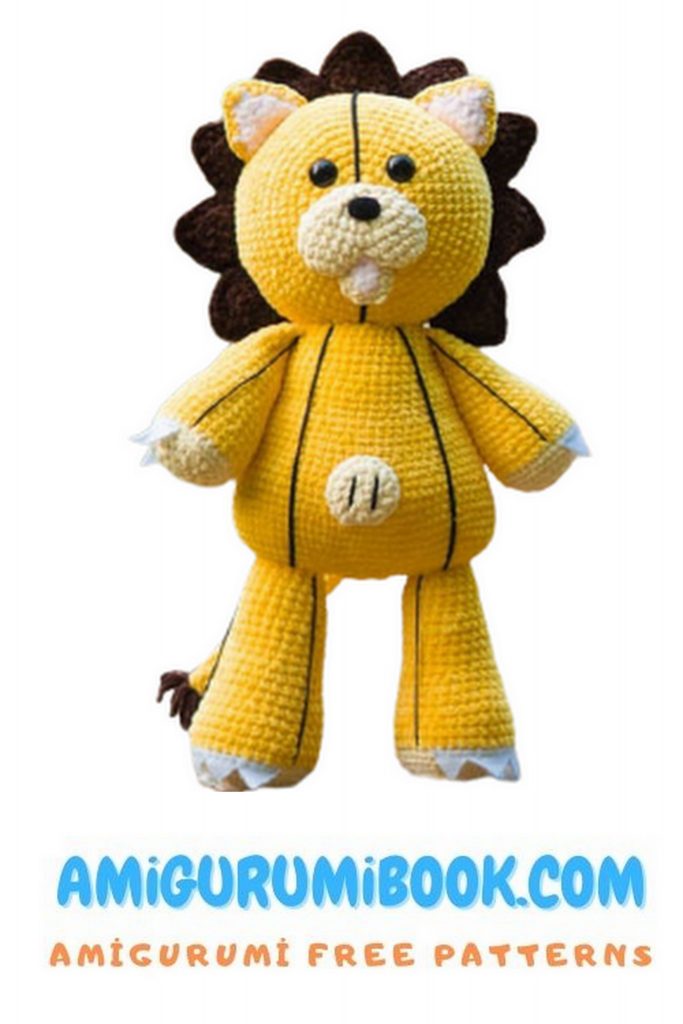
Plush Lion Kon Amigurumi Free Pattern
In this article plush lion kon amigurumi free pattern is waiting for you. On our website for free amigurumi patterns.
Master class “Plush lion Kon”
This MK does not contain knitting lessons and is intended for
those who already have experience in knitting toys.
Difficulty is medium.
Materials:
1. YarnArt Yarn “Dolce”: yellow (No. 761) – 2 pcs, brown (No. 775) – 1 pc,
light yellow (No. 783) – 1 piece, a little pink (No. 750). Or its counterparts.
2. YarnArt “Jeans PLUS”: black (#53).
3. Hook – 4.0 or the one you usually knit with this yarn.
4. White felt.
5. Filler.
6. Eyes on a secure mount, diameter 20 mm.
7. Oval nose on a secure mount, diameters 20*15 mm.
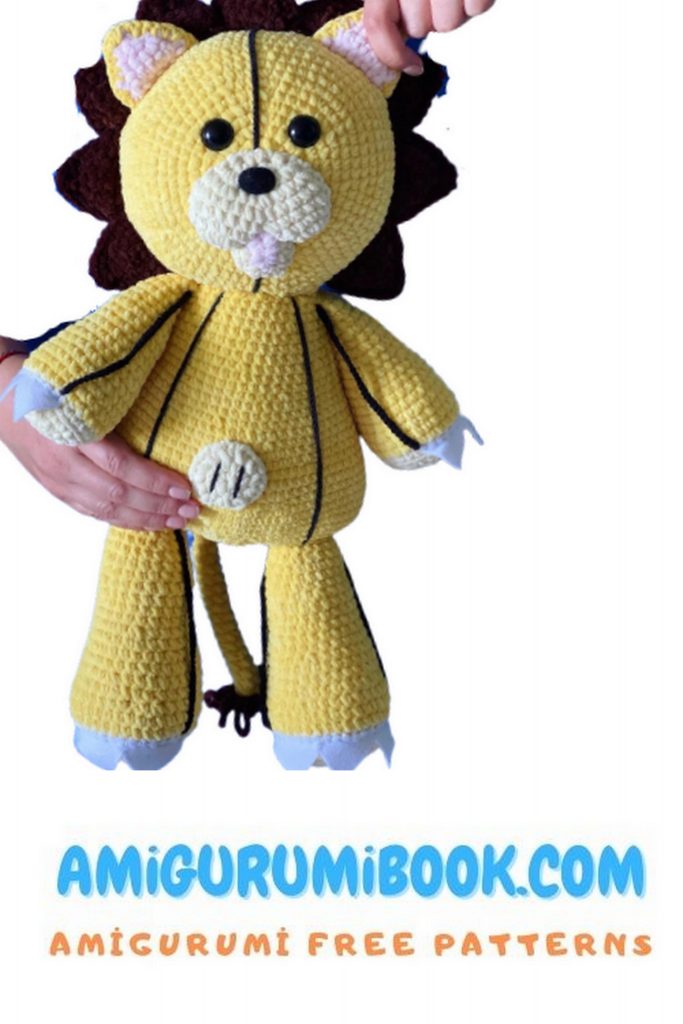
The growth of the finished toy turned out to be about 50 cm.
Abreviations:
ch-chain
sc – single crochet
inc – increase
dec – decrease
PATTERN
Head
We knit in yellow:
1 row: 6 sc into magic ring
2nd row: 6 inc (12)
3 row: 12 inc (24)
4 row: (3 sc, inc) * 6 (30)
5 row: (4 sc, inc) * 6 (36)
6 row: (5 sc, inc) * 6 (42)
7 row: (6 sc, inc) * 6 (48)
8 row: (7 sc, inc) * 6 (54)
9 row: (8 sc, inc) * 6 (60)
10 row: (9 sc, inc) * 6 (66)
11 row: (10 sc, inc) * 6 (72)
12 row: (11 sc, inc) * 6 (78)
13 row: (12 sc, inc) * 6 (84)
14 row: (13 sc, inc) * 6 (90)
15-19 rows: 90 sc (5 rows)
20 row: (13 sc, dec) * 6 (84)
21 row: (12 sc, dec) * 6 (78)
22 row: (11 sc, dec) * 6 (72)
23 row: (10 sc, dec) * 6 (66)
24 row: (9 sc, dec) * 6 (60)
25 row: (8 sc, dec) * 6 (54)
26 row: (7 sc, dec) * 6 (48)
27 row: (6 sc, dec) * 6 (42)
28 row: (5 sc, dec) * 6 (36)
29 row: (4 sc, dec) * 6 (30)
Start stuffing your head. The part must be completely stuffed.
30 row: (3 sc, dec) * 6 (24)
31 row: (2 sc, dec) * 6 (18)
32 row: (1 sc, dec) * 6 (12)
33 row: 6 dec
Cut the thread, fasten.
Mane
We knit in brown. Do not stuff the part.
It is necessary to connect 18 details.
1 row: Dial 9 ch. From 2 loops: 8 sc, ch, turn.
2 row: dec, 4 sc, dec, ch, turn.
3rd row: dec, 2 sc, dec, ch, turn.
4th row: 2 dec, ch, turn.
5th row: dec.
Cut the thread, fasten.
After 18 parts are connected, we will connect them.
To do this: take 2 triangles, tie them together. In the upper corner, knit 3 sc in one loop.
Do not cut the thread after the two sides are tied. Immediately begin to tie the next triangle.
Sew the mane in the 17th row of the head.
Important! The mane is not sewn along the entire diameter of the head, it is necessary to leave a place for attaching the body. The mane needs to be sewn tighter.

muzzle
Knit in light yellow. We do not fill the detail.
First detail:
1 row: 6 sc into magic ring
2nd row: 6 inc (12)
3 row: 12 sc.
Cut the thread, fasten.
Second detail:
1 row: 6 sc into magic ring
2nd row: 6 inc (12)
3 row: 12 sc.
We do not cut the thread, we continue knitting further:
4th row: 6 sc x 2, 12 sc x 1, 6 sc x 2 (24)
5 row: 24 sc
6 row: (2 sc, dec) * 6 (18)
7 row: (1 sc, dec) * 6 (12)
8 row: 6 dec
Cut the thread, fasten. If you sew with the same thread, then leave a long tip.
Lip
You need 2 identical parts: pink and light yellow. We do not fill the detail.
Pink detail:
1st row: cast on 4 ch.
From 2 loops: inc, 1 sc, 4 sc in 1 loop, 1 sc, inc. (ten)
Cut the thread and fasten off.
yellow detail:
1st row: cast on 4 ch.
From 2 loops: inc, 1 sc, 4 sc in 1 loop, 1 sc, inc. (ten)
We do not cut the thread, we continue knitting. Attach 2 parts wrong sides to each other:
2nd row: 2 inc, 1 sc, 4 inc, 1 sc, 2 inc.
Cut the thread, fasten. If you sew with the same thread, leave a long tip.
Ears (2 pcs)
Looks like a mane, but you need to knit 2 yellow and 2 pink details. We do not fill the detail.
Detail:
1 row: Dial 9 ch. From 2 loops: 8 sc, ch, turn.
2 row: dec, 4 sc, dec, ch, turn.
3rd row: dec, 2 sc, dec, ch, turn.
4th row: 2 dec, ch, turn.
5th row: dec.
Cut the thread, fasten.
Fold the pink and yellow pieces wrong sides together. Tie around the perimeter with yellow thread. In the upper corner, knit 3 sc in one loop.
Knit 2 sides. Cut the thread, fasten. If you sew with the same thread, then leave a long tip.
Nose
If there is no finished spout, you can tie it. The part can be stuffed when sewing.
We knit with black cotton yarn:
1 row: 5 ch. From 2 loops: inc, 2 sc, 4 sc in 1 loop, 2 sc, inc. (12)
2nd row: 2 inc, 2 sc, 4 inc, 2 sc, 2 inc (20)
Cut the thread, fasten. If you sew with the same thread, then leave a long tip.
If desired, you can embroider a highlight with a white thread.
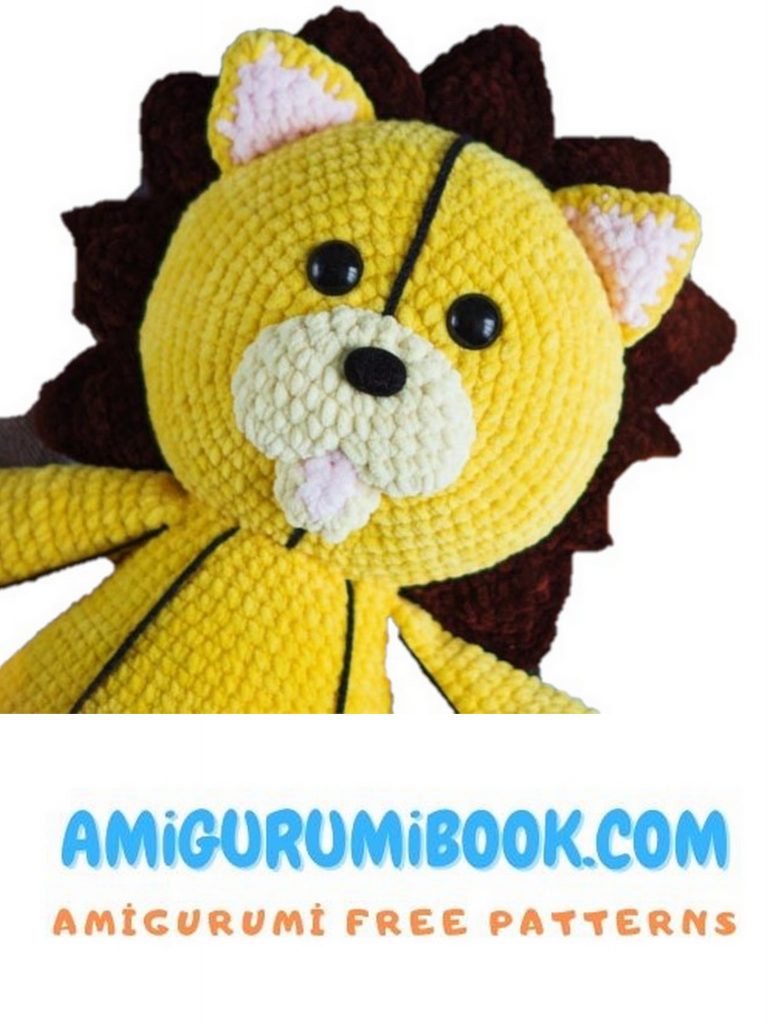
Head decoration
1. From black cotton yarn, dial a chain of air loops. I got it: 140 ch. Sew on the center of the head. The center of the head is the center of the 5th tip of the mane.
If you do not want to type a chain, then you can simply make a line from the thread.
2. Attach the muzzle to the head, the upper part of the muzzle is approximately 2-3 rows of the head. Fix the muzzle with needles, but do not sew!
3. Attach the lip under the muzzle, attach with a needle. Do not sew.
4. Remove the muzzle, sew on the lip. I only sewed the top.
5. After the lip is sewn, re-attach the muzzle and sew it on.
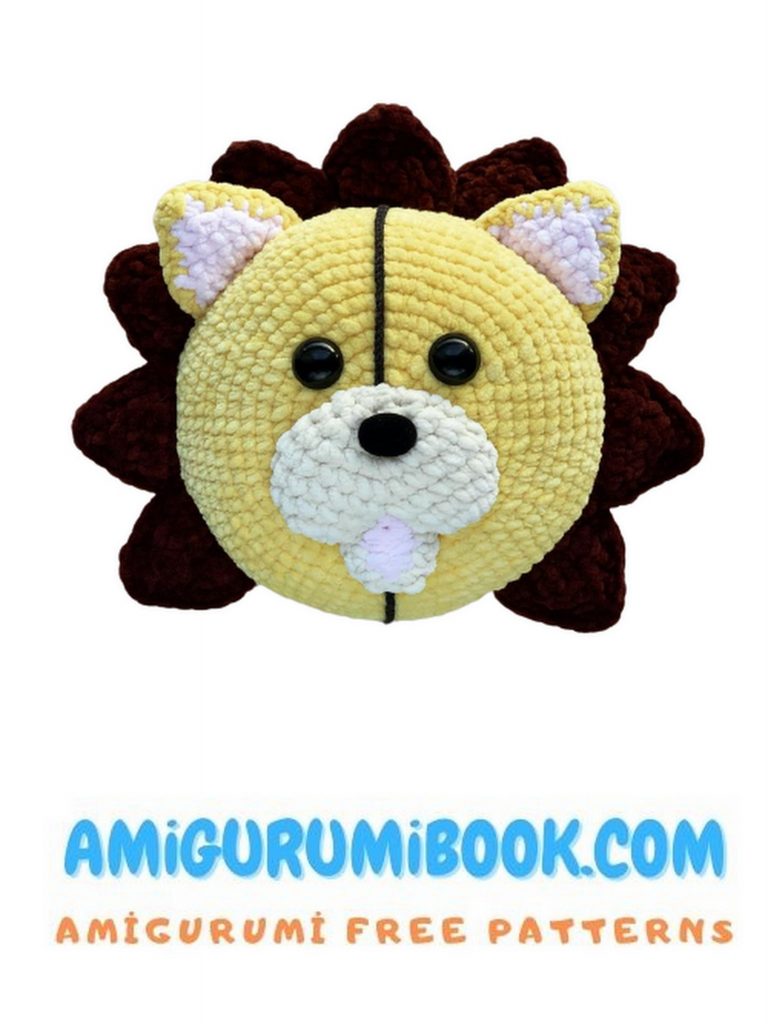
It should look like this.
6. Sew on the ears between the 3-4 and 6-7 points of the mane.
7. Glue the nose and eyes.
Used eyes and nose on a secure mount. But it is difficult to stick them: thanks to the remaining leg, the part can pop out and peel off. So I sawed off the leg to get a flat piece.
She applied it to her head and looked at a good location.
After I found it, I glued it.
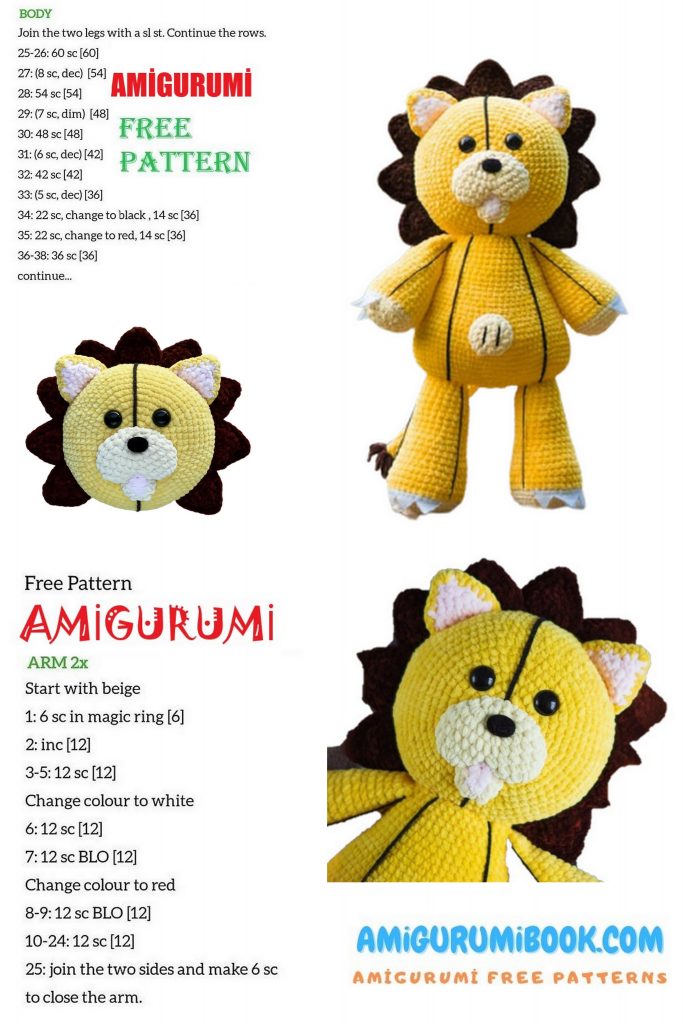
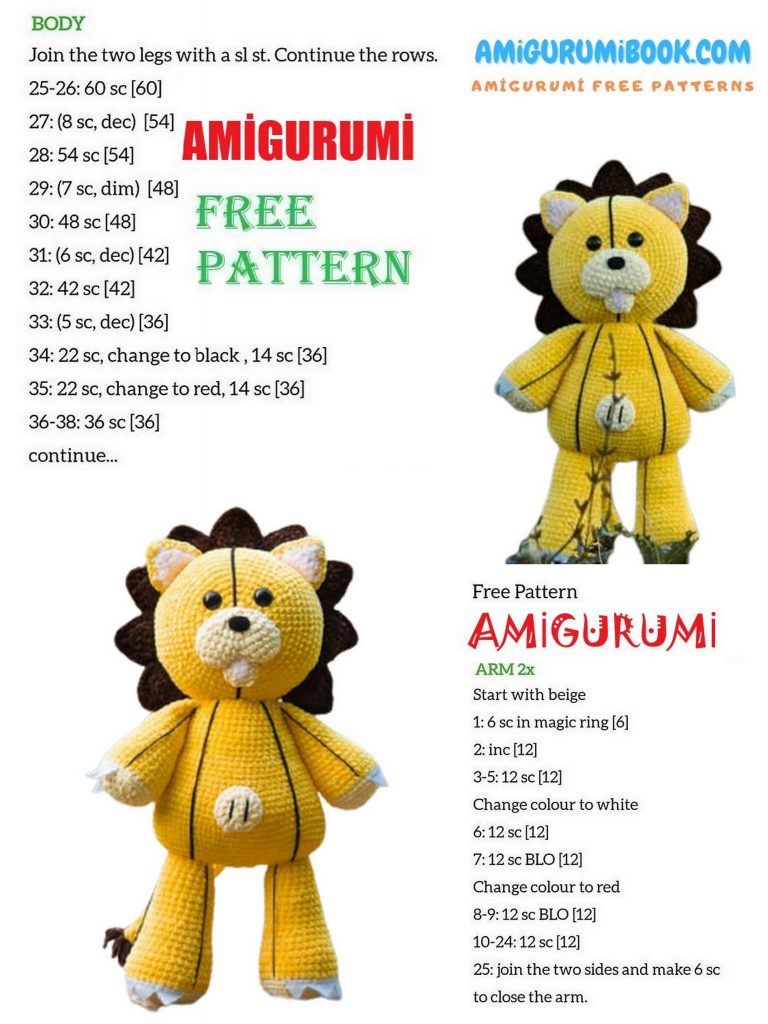
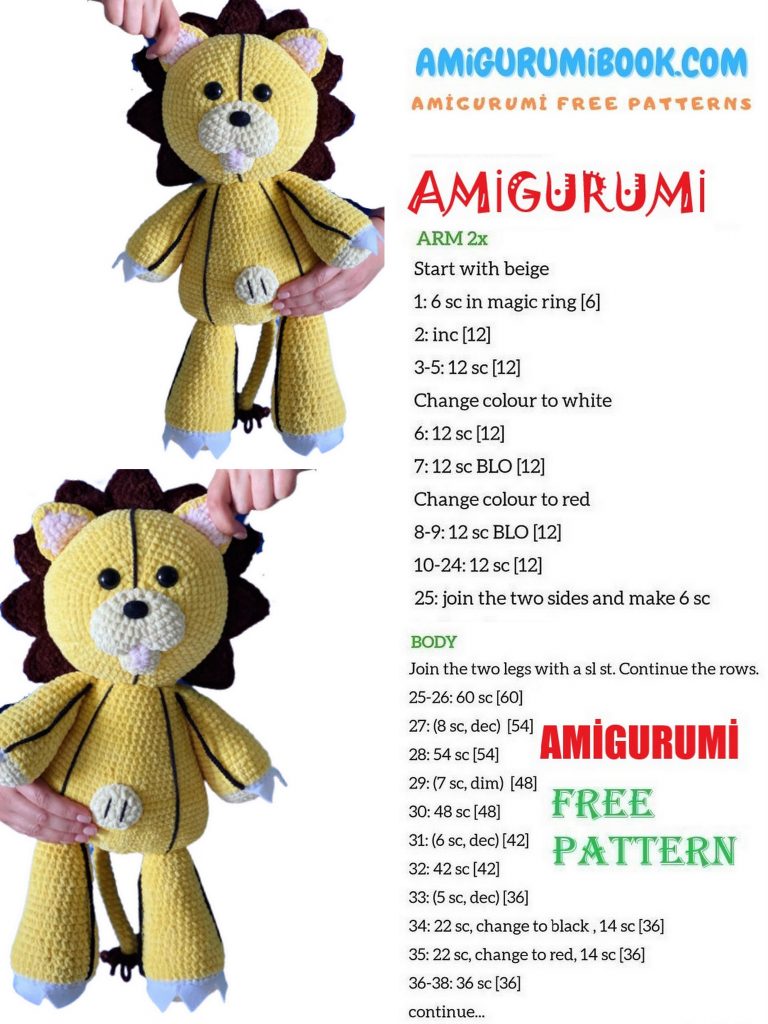
Hands (2 pcs)
Start in light yellow:
1 row: 6 sc into magic ring
2nd row: 6 inc (12)
3 row: 12 inc (24)
4 row: (3 sc, inc) * 6 (30)
5 row: 30 sc behind the back wall
Change color to yellow.
6-7 rows: 30 sc (2 rows)
8 row: (8 sc, dec) * 3 (27)
9 row: 27 sc
10 row: (7 sc, dec) * 3 (24)
11 row: 24 sc
12 row: (6 sc, dec) * 3 (21)
13 row: 21 sc
14 row: (5 sc, dec) * 3 (18)
15 – 16 rows: 18 sc (2 rows)
17 row: (4 sc, dec) * 3 (15)
18-19 rows: 15 sc (2 rows)
20 row: (3 sc, dec) * 3 (12)
21-22 row: 12 sc (2 rows)
Fill your hands by about 1/3: plump at the bottom, then weakly.
Fold in half, knit 6 sc.
Cut the thread, fasten.
Legs (2 pcs)
Start in light yellow:
1 row: 6 sc into magic ring
2nd row: 6 inc (12)
3 row: 12 inc (24)
4 row: (3 sc, inc) * 6 (30)
5 row: (4 sc, inc) * 6 (36)
6 row: 36 sc behind the back wall of the loop.
Change color to yellow.
7 – 8 rows: 36 sc (2 rows)
9 row: (10 sc, dec) * 3 (33)
10 row: 33 sc
11 row: (9 sc, dec) * 3 (30)
12 row: 30 sc
13 row: (8 sc, dec) * 3 (27)
14 row: 27 sc
15 row: (7 sc, dec) * 3 (24)
16 – 18 rows: 24 sc (3 rows)
19 row: (6 sc, dec) * 3 (21)
20 – 22 rows: 21 sc (3 rows)
23 row: (5 sc, dec) * 3 (18)
24 row: 18 sc
25 row: (4 sc, dec) * 3 (15)
26 row: 15 inc (30)
27 row: (4 sc, inc) * 6 (36)
Completely stuff your legs.
Cut the thread, fasten.
Tail
We knit in yellow, we do not stuff the part:
1 row: 6 sc into magic ring
2 row: 6 sc
We continue to knit 6 sc until the tail is 20 cm long.
At the tip of the tail, make loops of dark brown yarn.
Body
We knit in yellow, stuff the detail as we knit:
1 row: 6 ch. From 2 loops: inc, 3 sc, 4 sc in 1 loop, 3 sc, inc (14)
2nd row: 2 inc, 3 sc, 4 inc, 3 sc, 2 inc (22)
3 row: 2 sc on the body, 7 sc with the leg, 4 sc, 7 sc with the leg, 2 sc (22)
4 row: 2 inc, 29 sc on the remaining leg, 4 inc, 29 sc on the remaining leg, 2 inc (74)
5 row: (16 sc, inc) * 4, 6 sc (78)
6 row: (12 sc, inc) * 6 (84)
7-9 rows: 84 sc (3 rows)
10 row: (12 sc, dec) * 6 (78)
11 row: 78 sc
12 row: (11 sc, dec) * 6 (72)
13 row: 72 sc
14 row: (10 sc, dec) * 6 (66)
15 row: 66 sc
16 row: (9 sc, dec) * 6 (60)
17 row: 60 sc
18 row: (8 sc, dec) * 6 (54)
19-20 rows: 54 sc (2 rows)
21 row: (7 sc, dec) * 6 (48)
22-23 rows: 48 sc (2 rows)
24 row: (6 sc, dec) * 6 (42)
25-27 rows: 42 sc (3 rows)
28 row: (5 sc, dec) * 6 (36)
29 row: 36 sc
30 row: We will knit our hands, see that they run parallel to each other. 9 sc, 6 sc with arm, 12 sc, 6 sc with arm, 3 sc (36)
31 row: 36 sc
Cut the thread, fasten. If you sew the body to the head with the same thread, then leave a long tip.
Button
We knit light yellow:
1 row: 6 sc into magic ring
2nd row: 6 inc (12)
3 row: 12 inc (24)
Cut the thread, fasten. If you sew with the same thread, then leave a long tip.
With black cotton thread, embroider 2 parallel stripes that imitate sewing on a button.
Or you can use a ready-made button of a suitable color, diameter 50 mm.
Assembly
1. Sew on a button
2. Sew the tail between the 6th and 7th rows of the body.
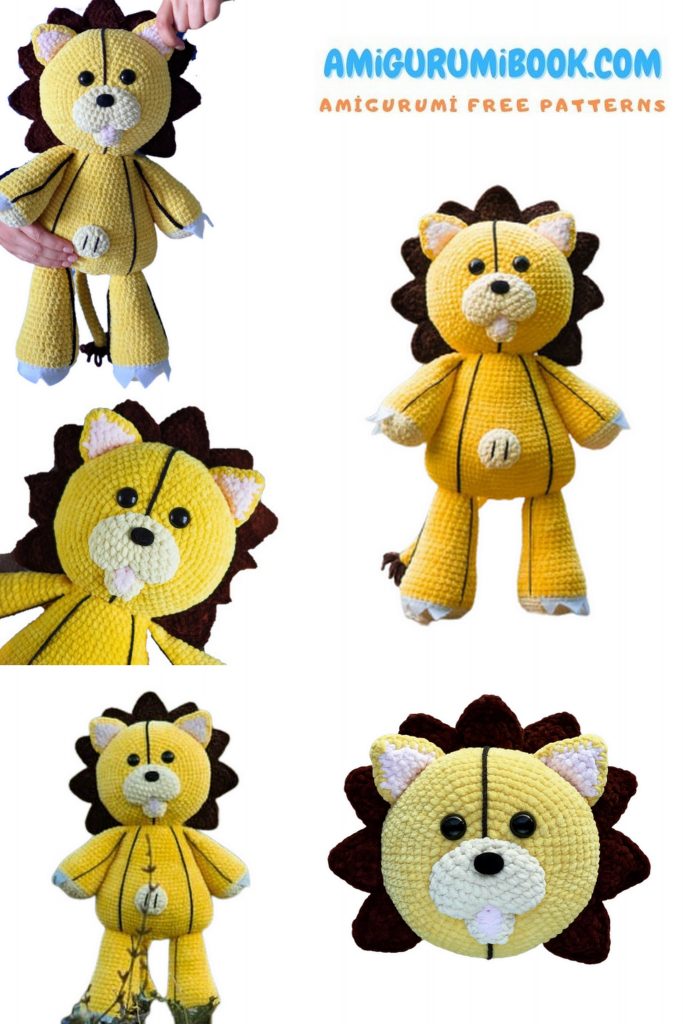
3. Next, we will make black stripes on the body, as shown in the figure:
You will need several pieces of black thread: 2 for the arms, 2 for the legs and 2 for the body. From black cotton yarn, you can dial a chain of air loops or simply cut off a piece of thread of a suitable length.
I made chains of air loops, applied them to the body and watched enough or not, so the number of loops is not counted.
Body: The thread runs from about the middle of the leg to ¼ of the head.
Hands: The thread runs from one end of the fold to the other, hiding behind the fingers.
Legs: The thread divides the leg in half, hiding behind the toes.
4. Cut out a row of triangles from white felt and sew them onto the arms and legs.
This is what a row of triangles looks like:
For legs: length 12 cm, height 2-3 cm, for arms – 10 cm and height 2-3 cm.
Sew between black threads in the 5th row for the arms and in the 6th row for the legs.