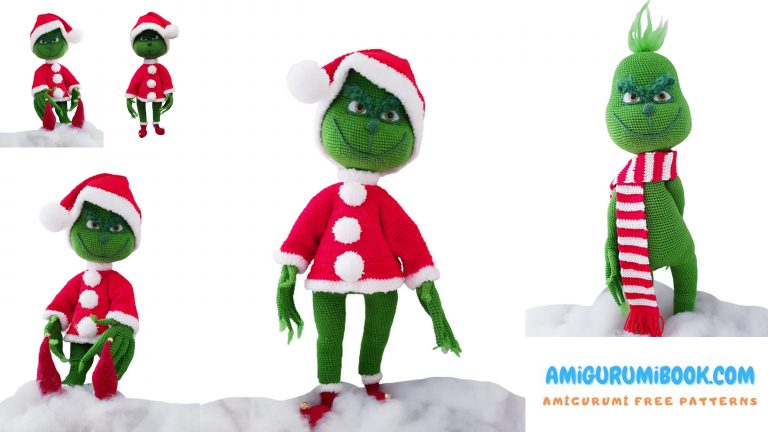
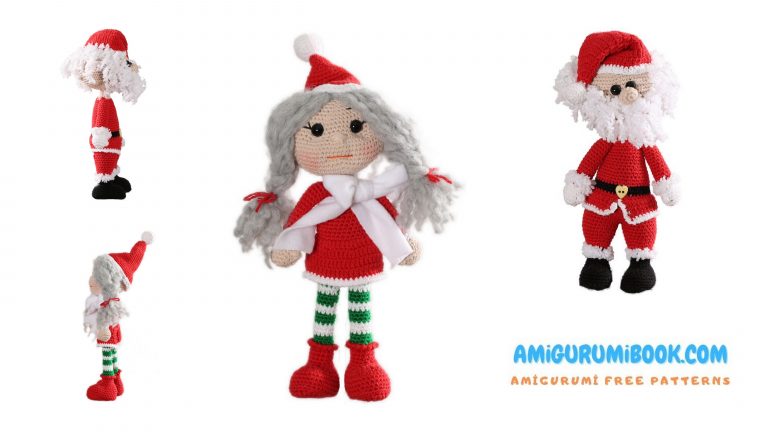
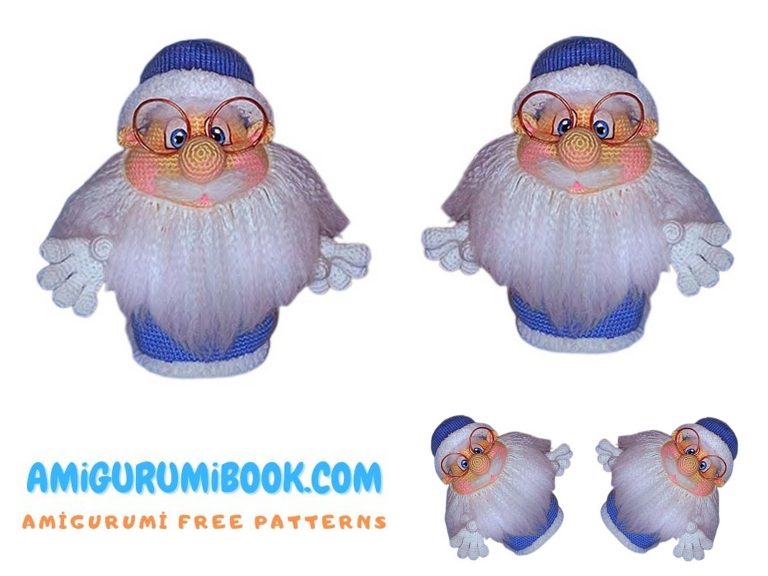
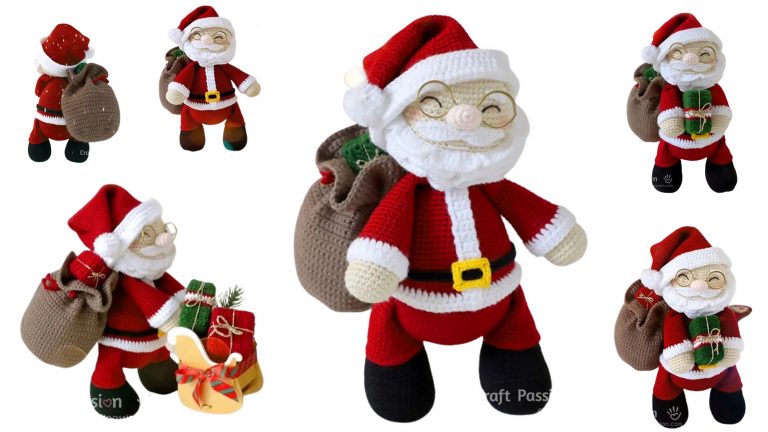
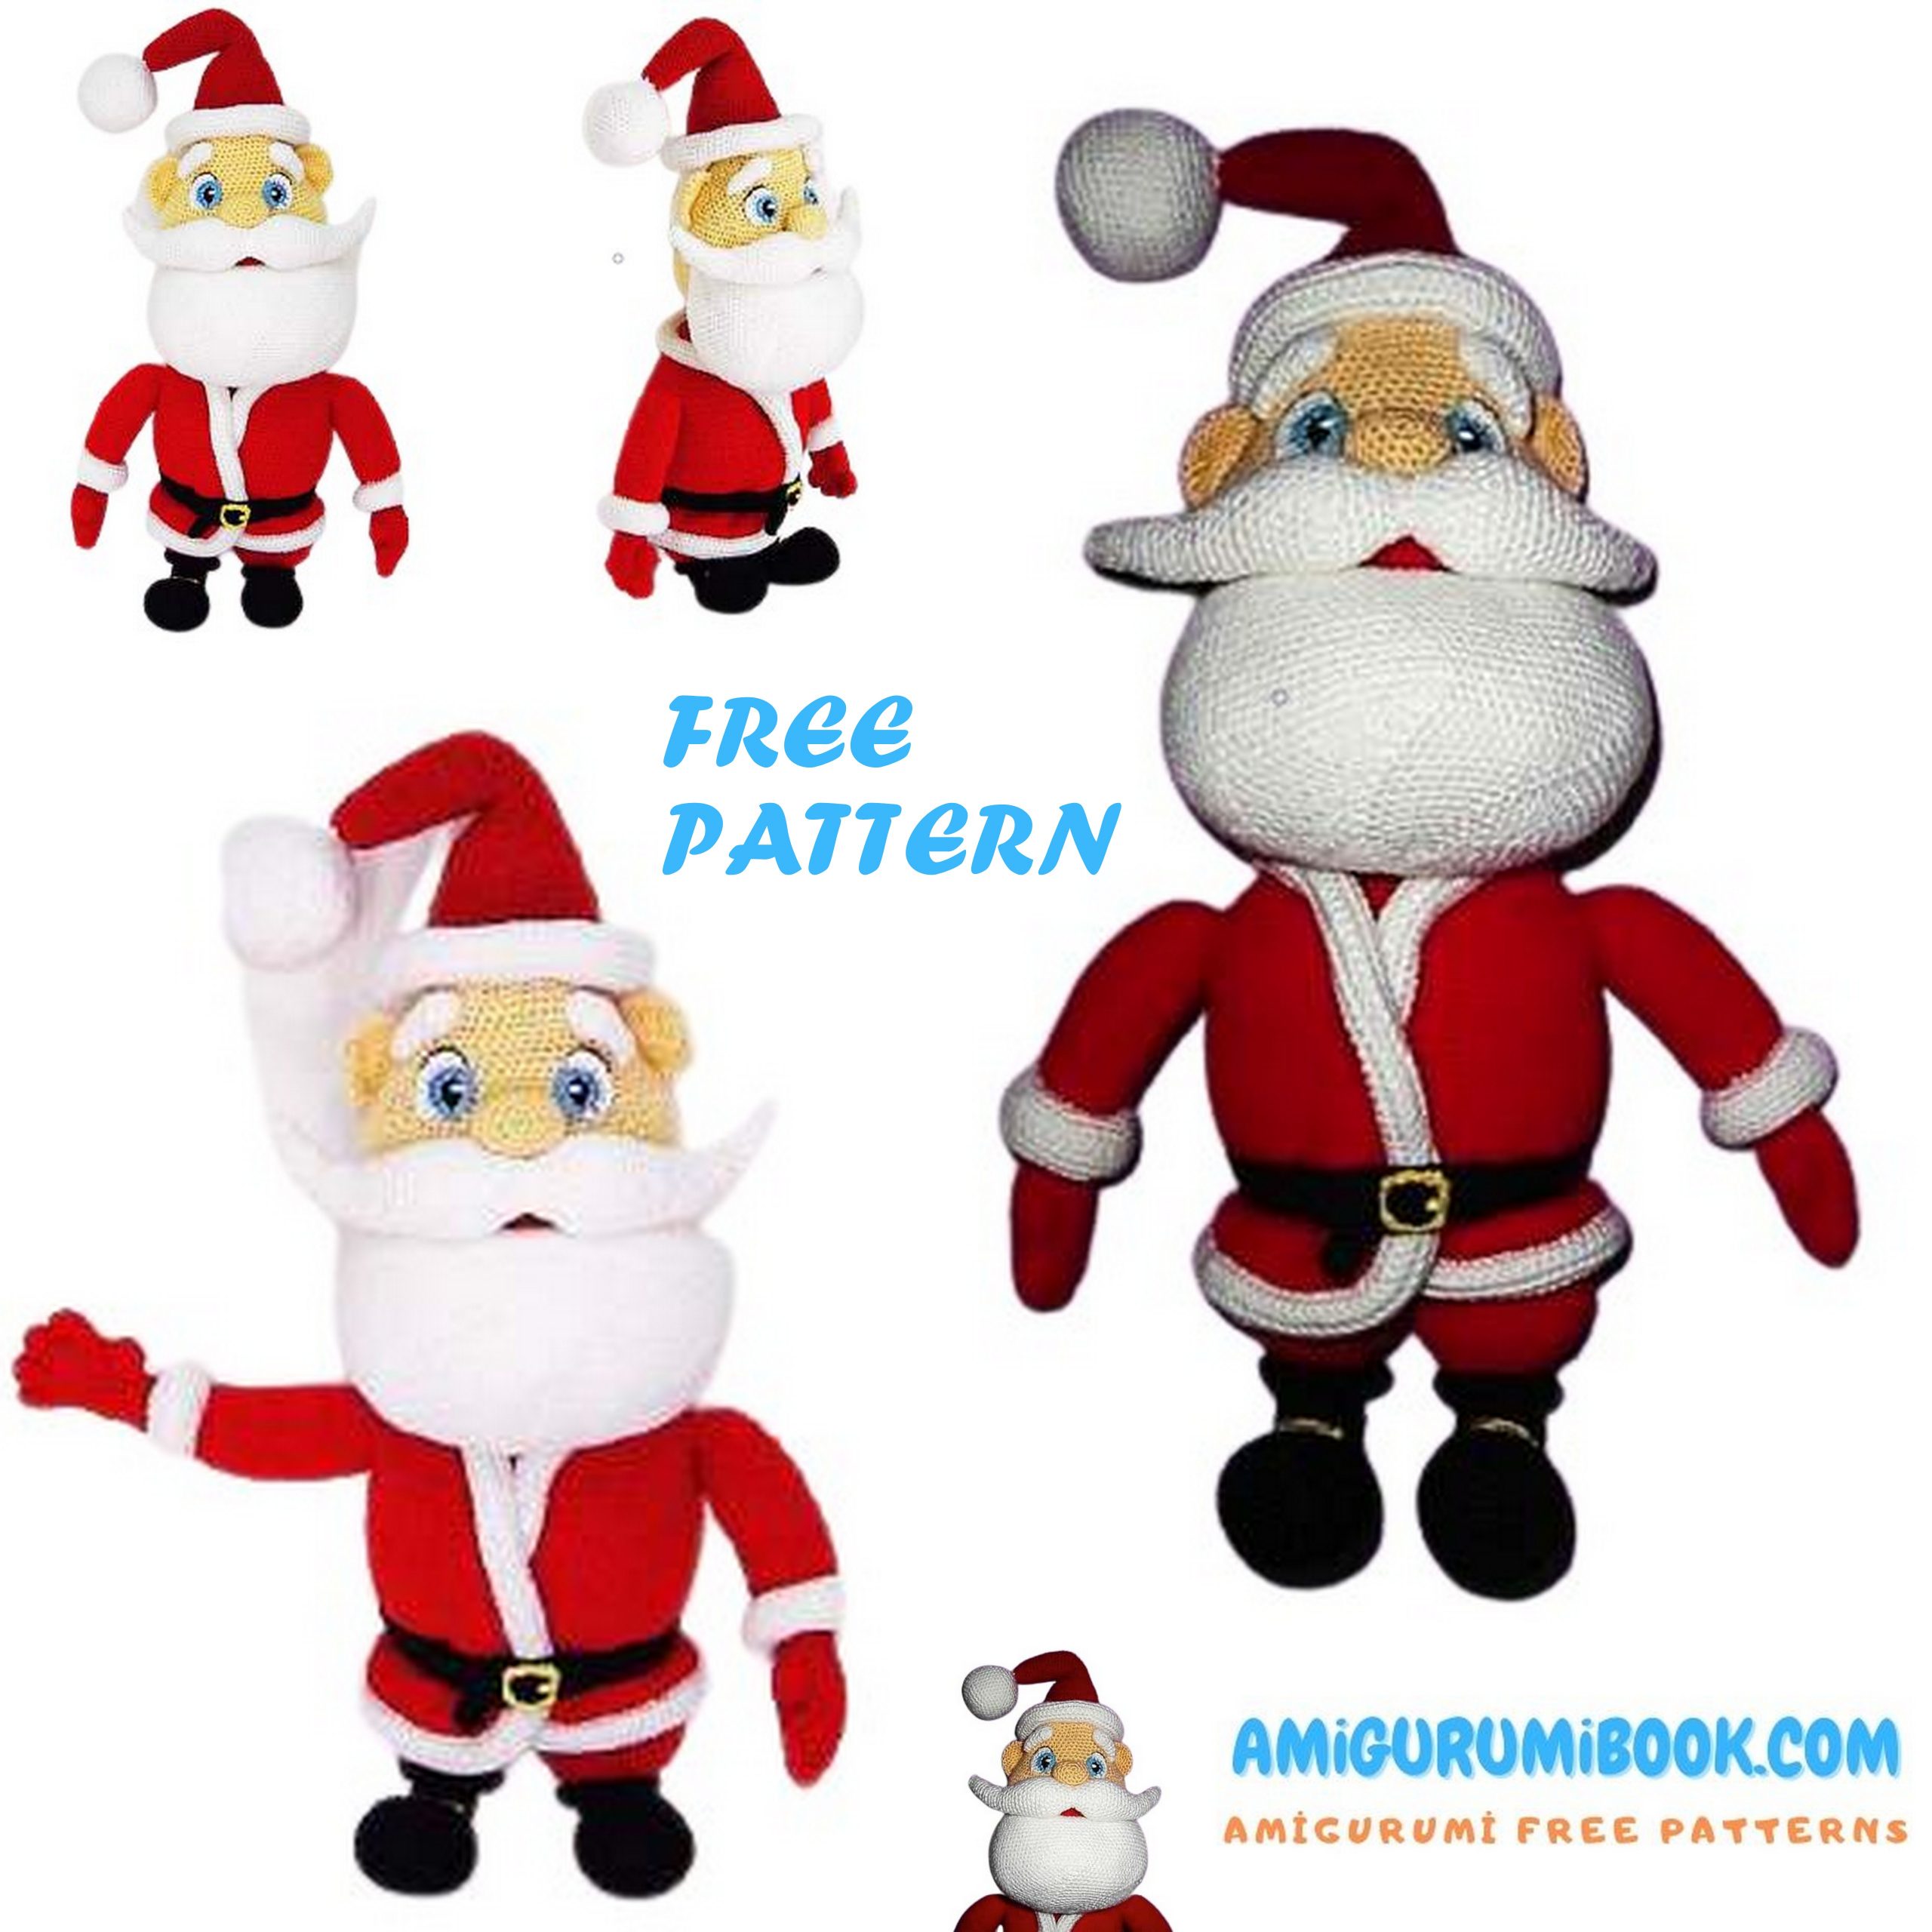
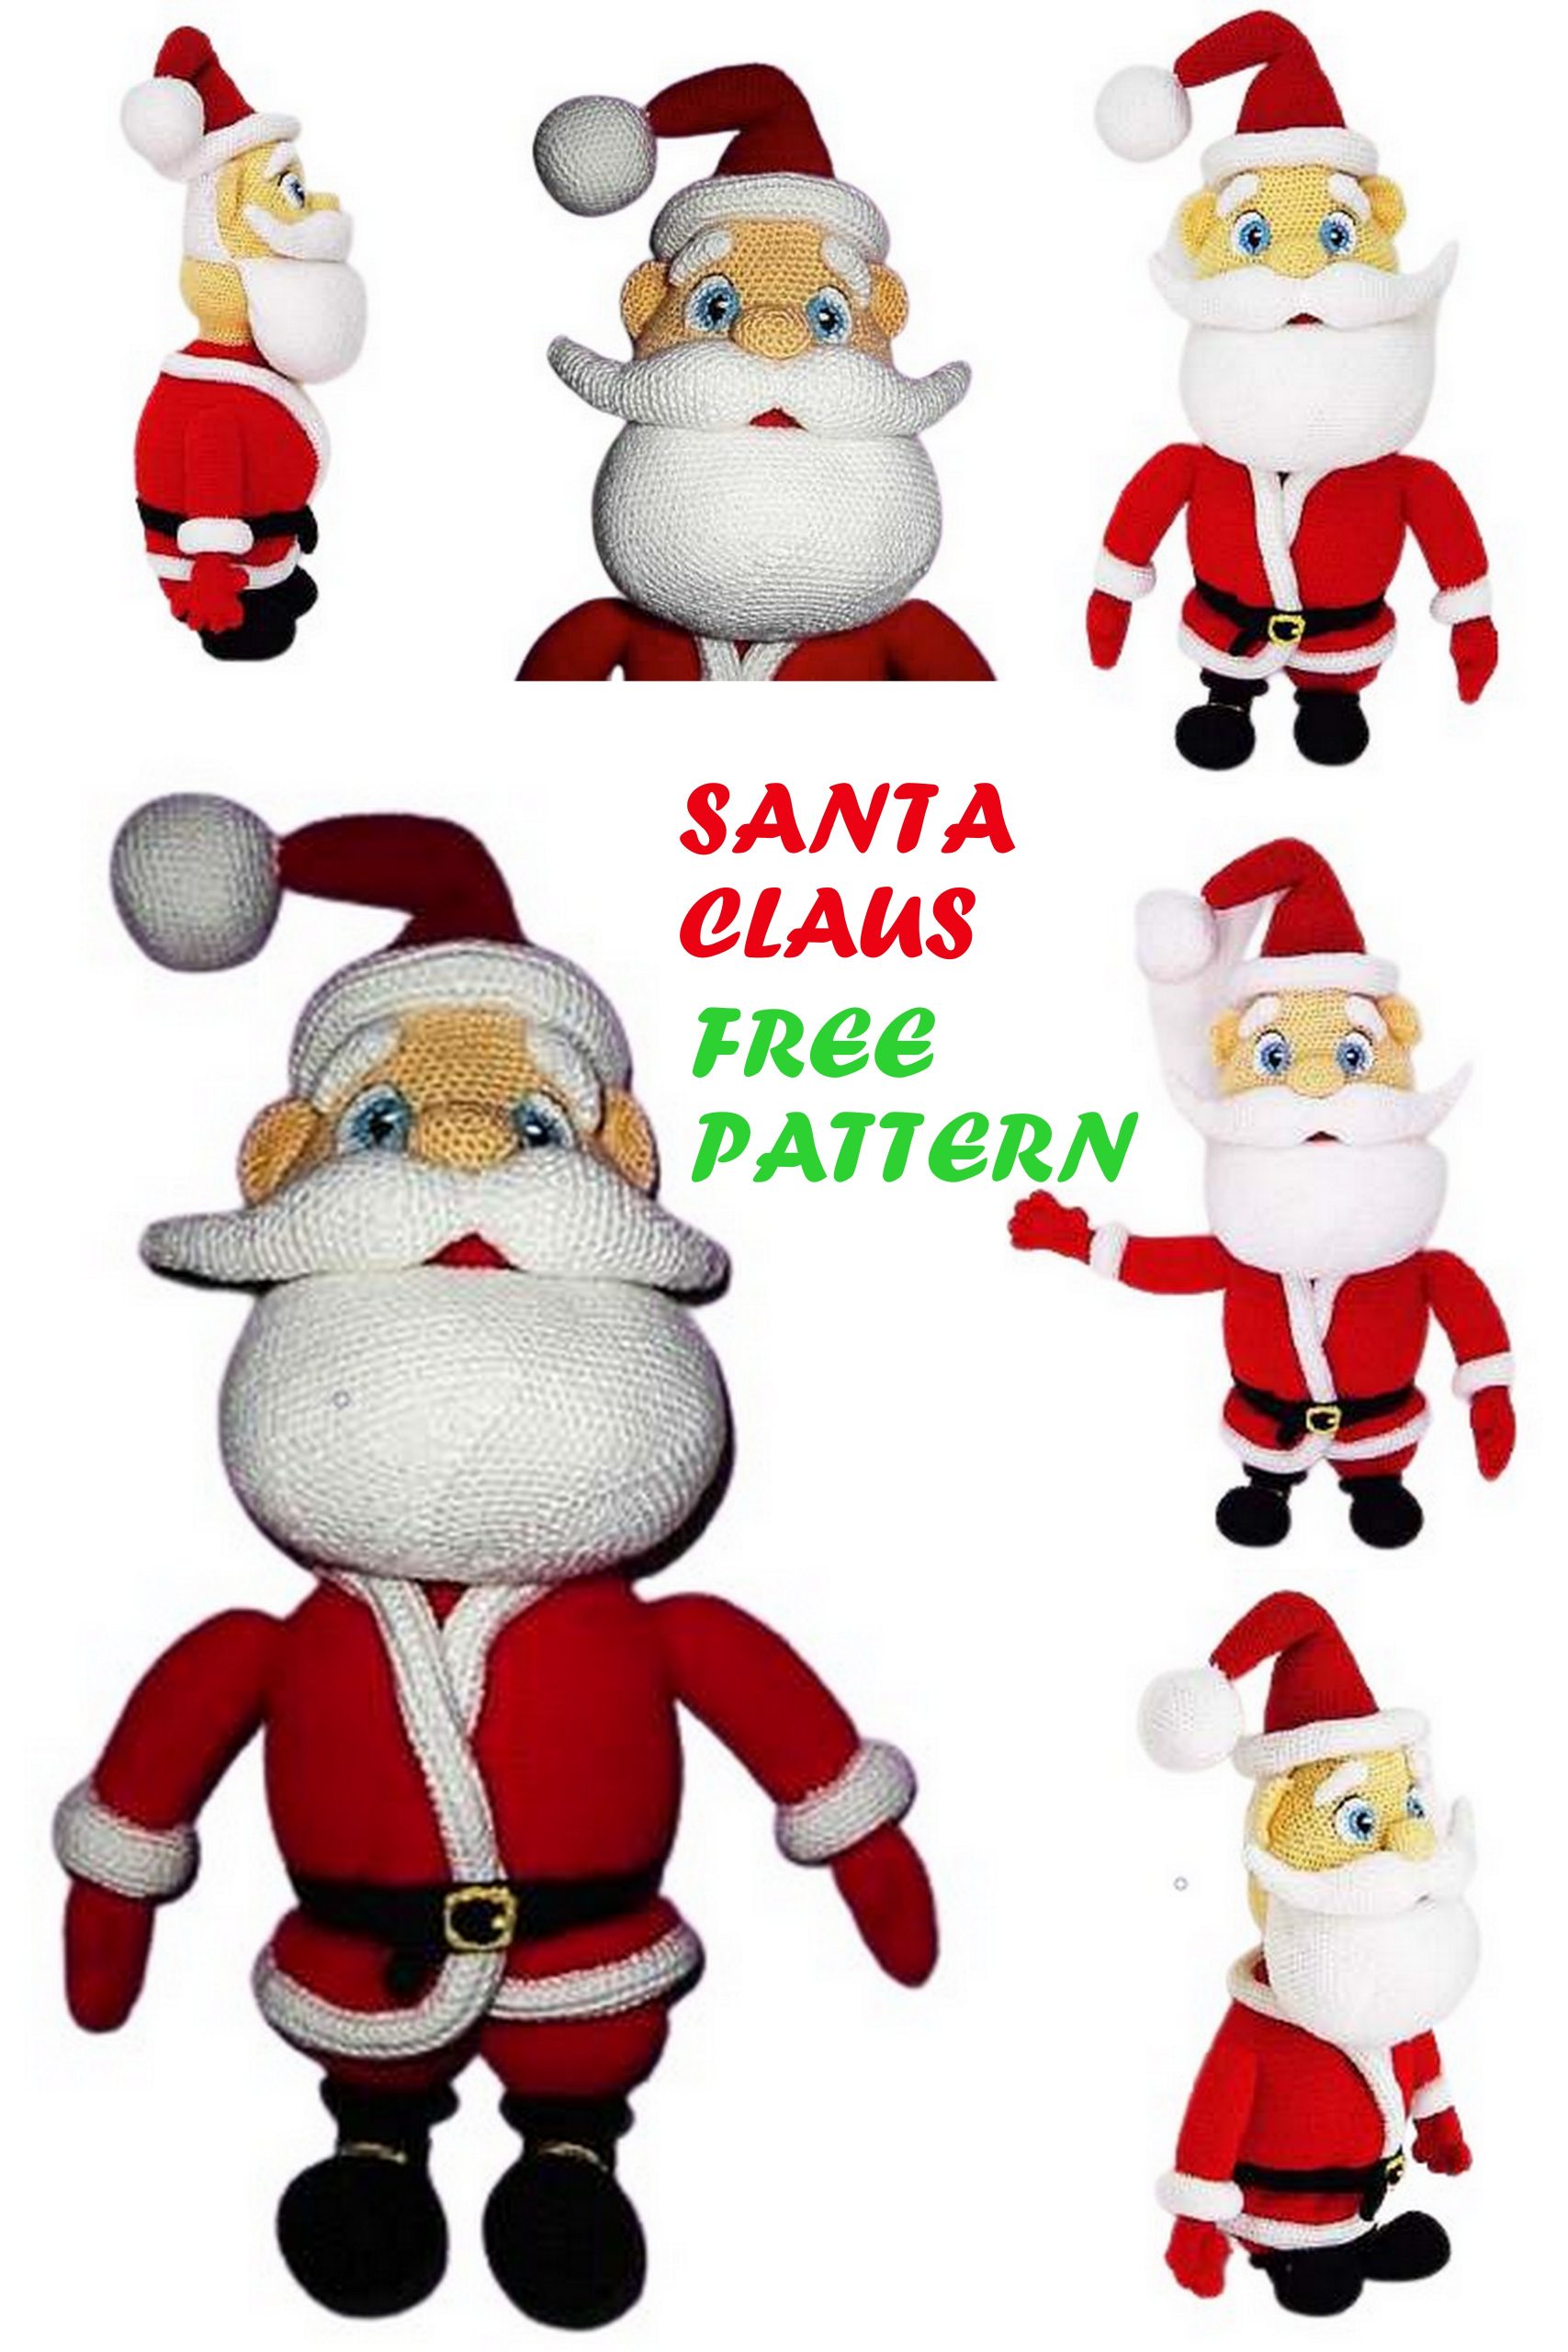
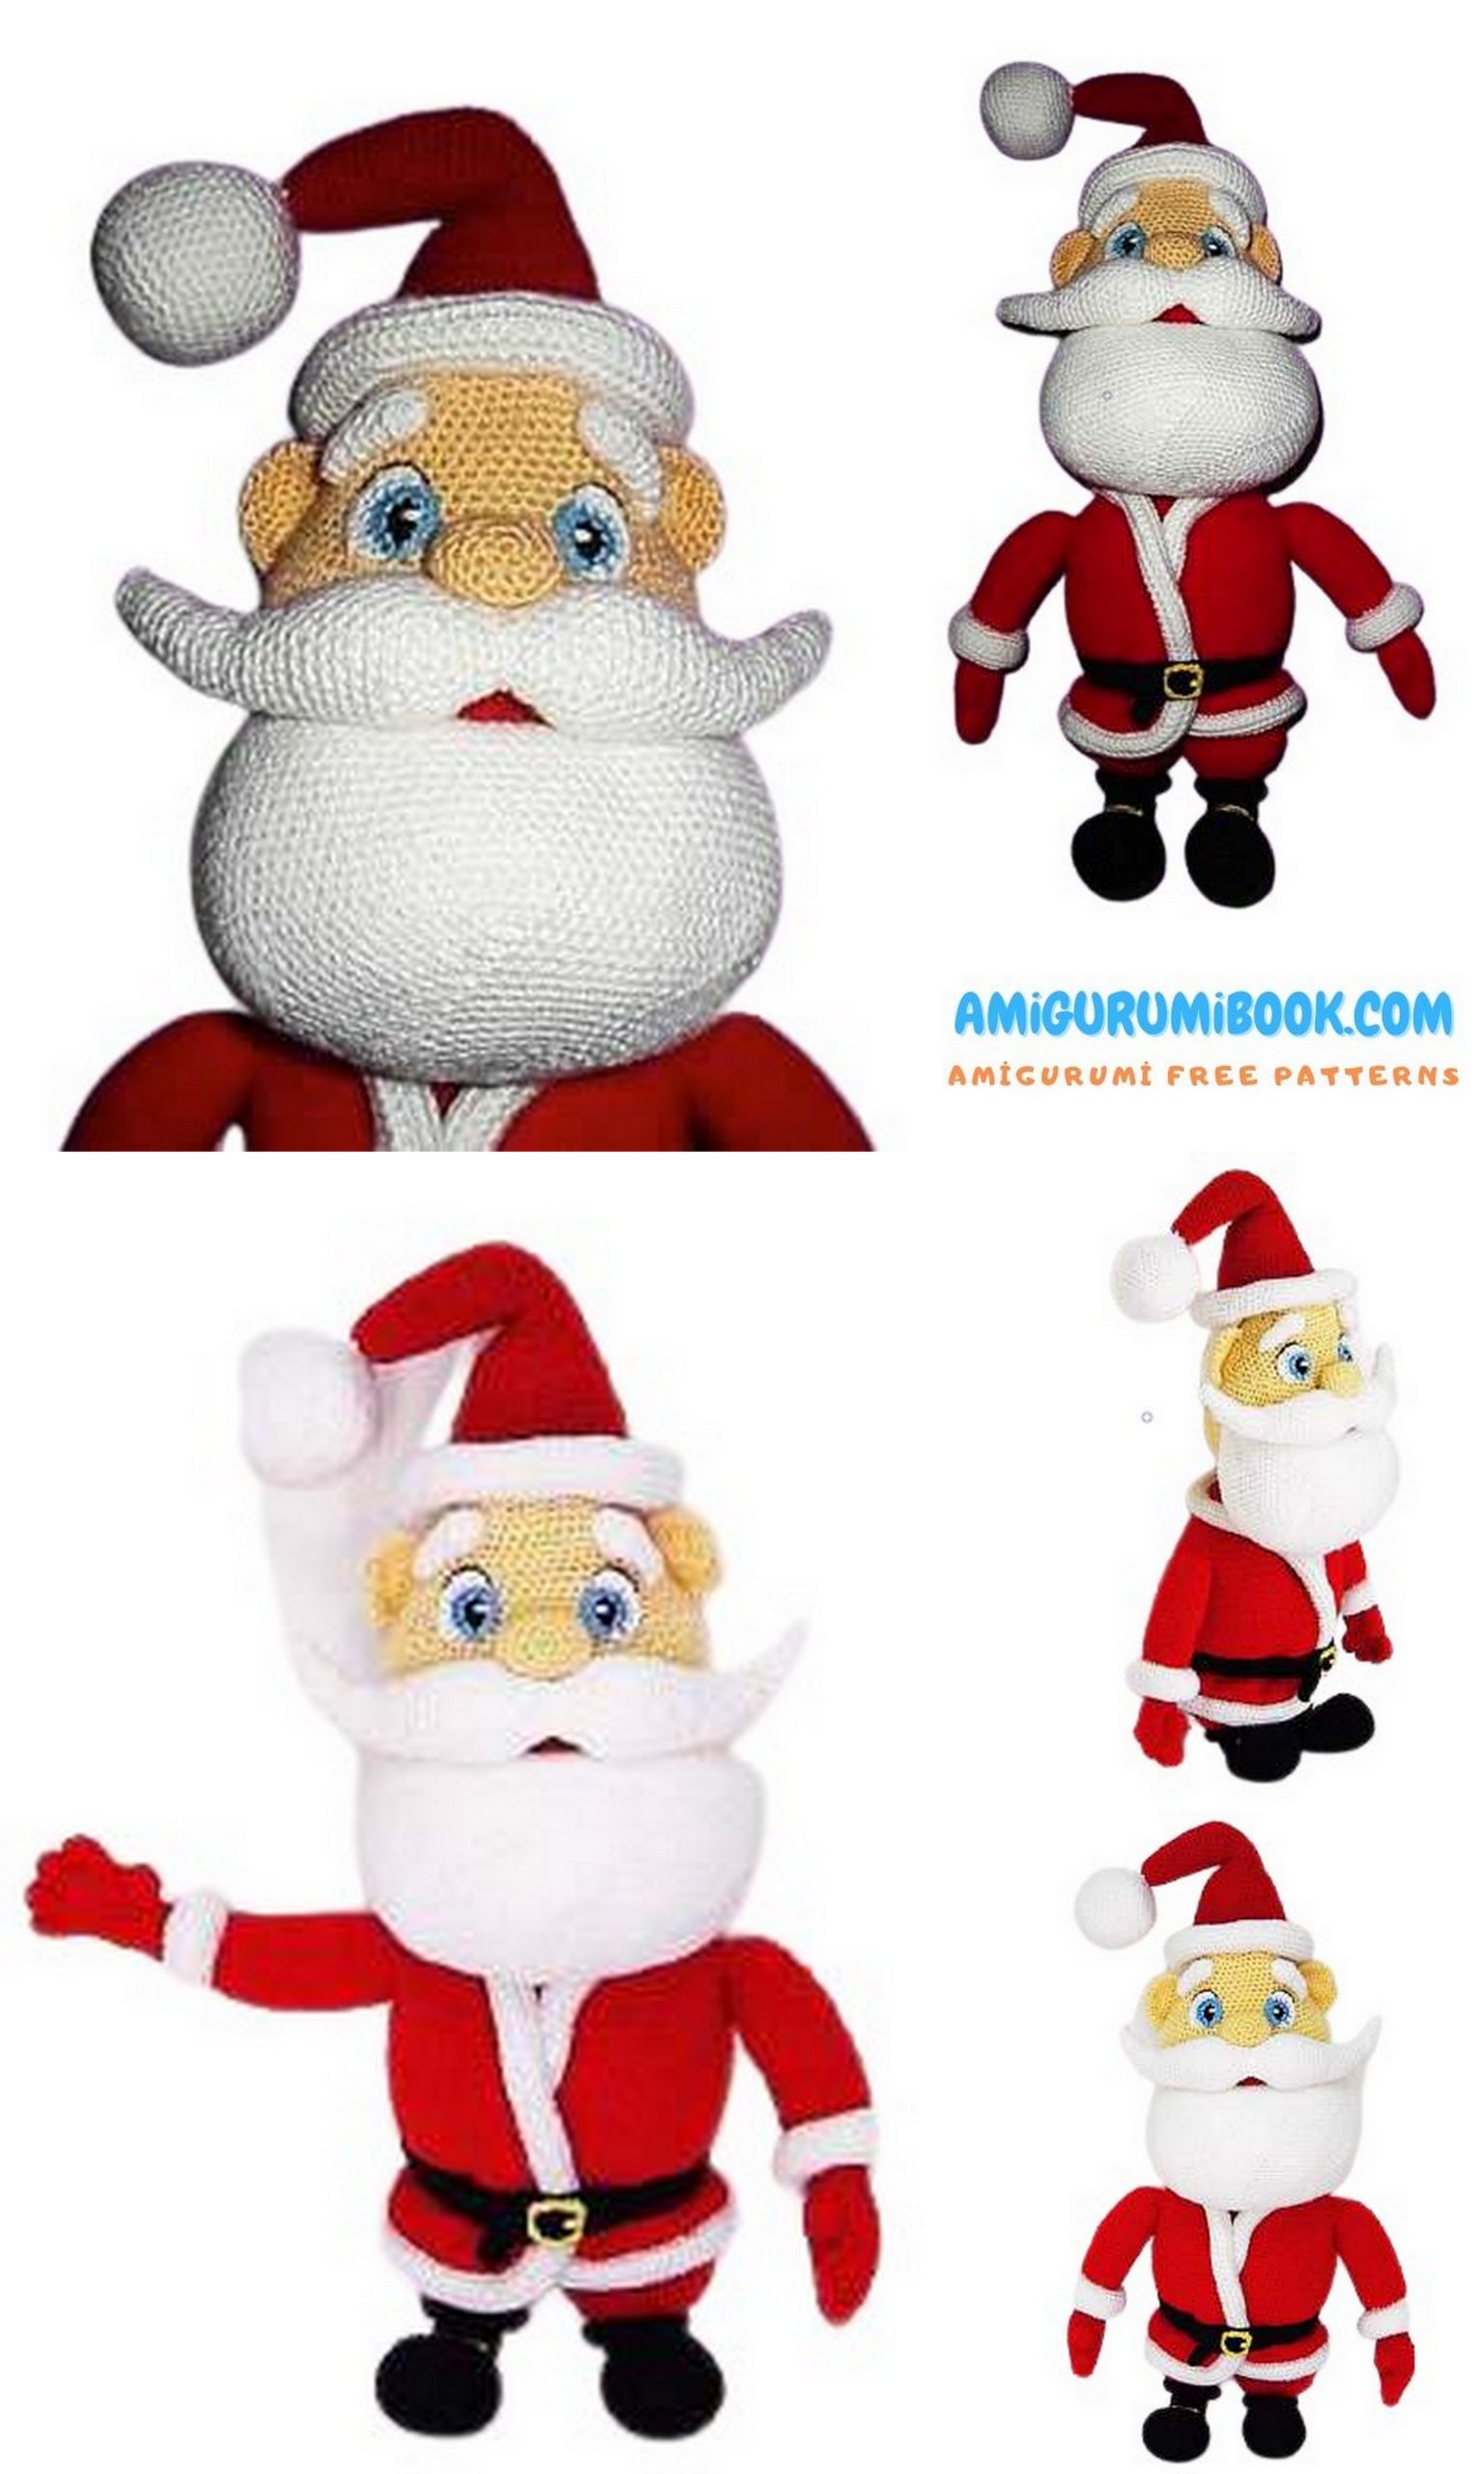
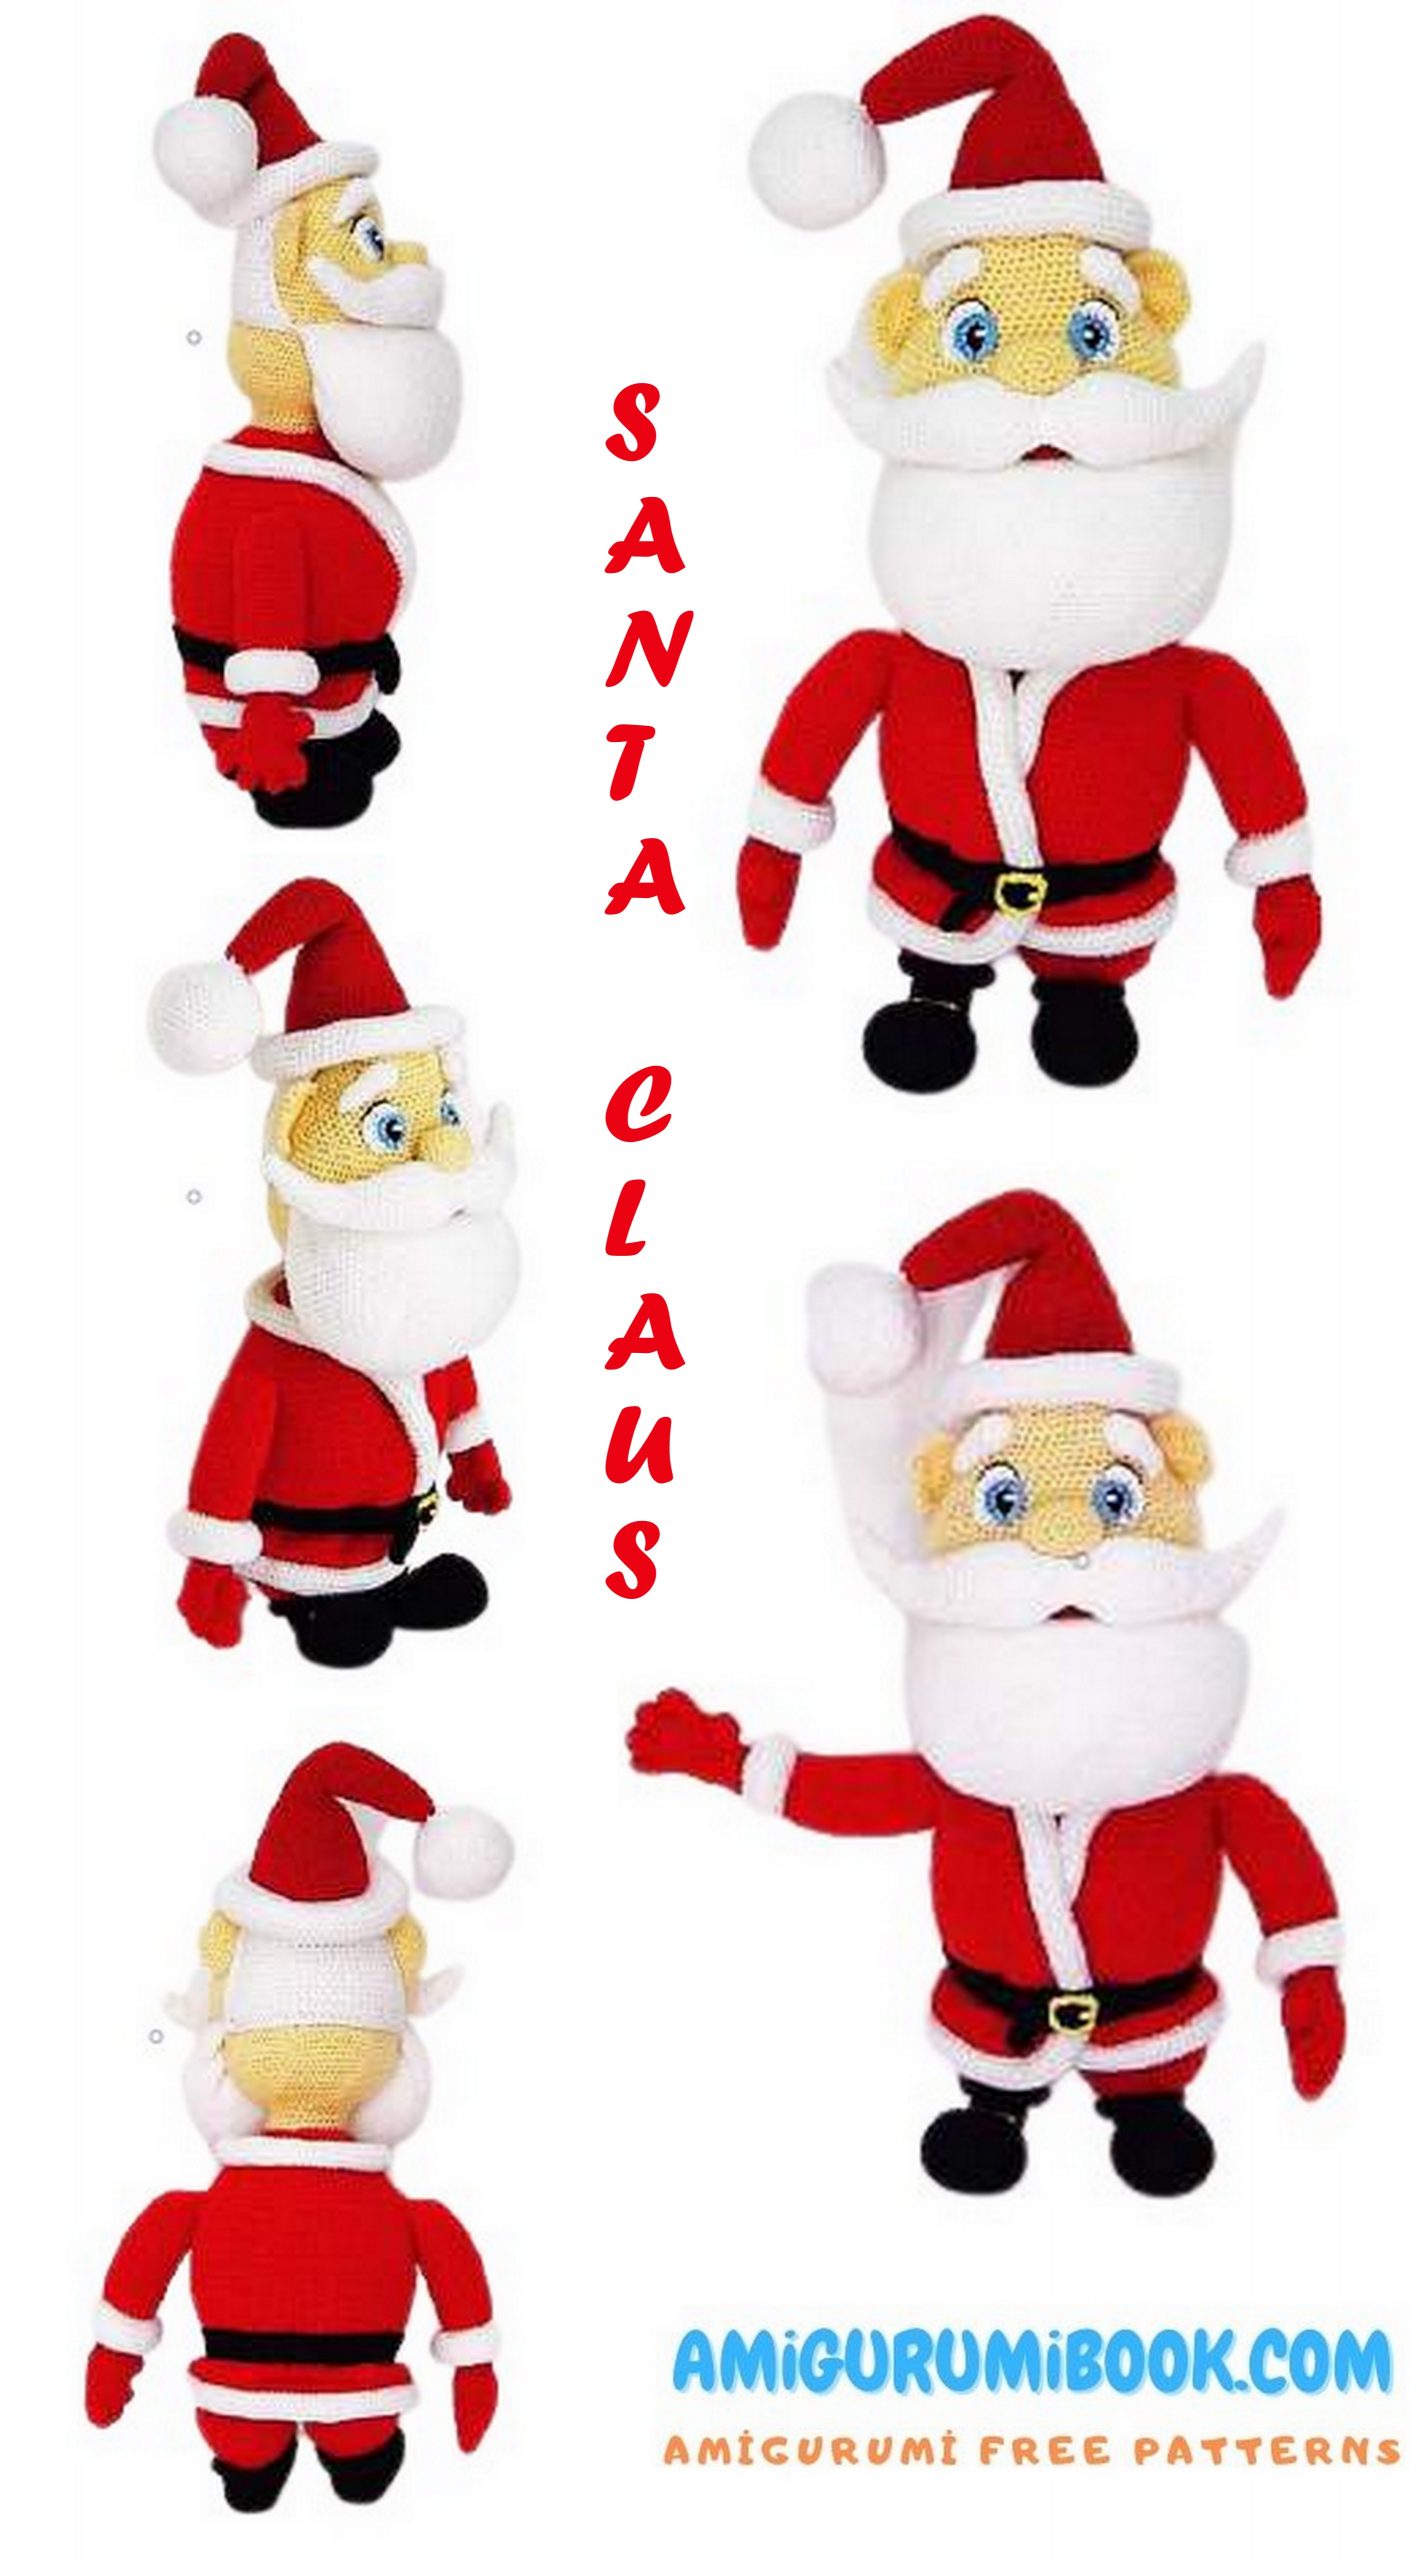
Santa Claus Amigurumi Free Pattern
I continue to share free amigurumi patterns with you. In this article, you can knit the santa claus amigurumi free pattern with pleasure.
MATERIALS
– Wool of different colors: white, black,
flesh color, red, yellow, sky blue.
– Wool thickness: 3-4 mm.
– Crochet needle suitable for the thickness of the yarn.
– Needle to sew wool.
– Synthetic filling.
Abbreviations
Sc: single crochet
İnc: increase
Dec: decrease
Fill as we knit.
If you have doubts about the points you can visit
Basic Stitches Tutorial to knit amigurumis

PATTERN

LEGS
In black
1. Magic ring into 6 sc
2. Inc at all points (12).
3. “1 sc, inc”, repeat until the end of the
turn (18).
4. 1 sc in each stitch (18).
5. We knit in the upper part of the
chains 1 sc in each stitch (18).
We will return to this round to sew the
boots to the part of the chains that
we leave free.
6. En 10. 1 sc in each stitch (18).
11. We change to red and weave in the
top of chains 1 sc in
each point (18). We will return to this round
to complete the boots.
12. 1 sc in each stitch (18).
13. “2 sc, inc”, repeat (24).
14. “3 sc, inc”, repeat (30).
15. “4 sc, inc”, repeat (36).
16. “5 sc, inc”, repeat (42).
17. “6 sc, inc”, repeat (48).
18. Al 20. 1 sc in each stitch (48).
21. “6 sc, dec”, repeat (42).
22. “5 sc, dec”, repeat (36).
We bind off the first leg, we knit the
second following the same pattern and the
we leave without finishing to start the

Union of the legs:
We put one leg next to the other and
we mark the central point between them.
We knit in the second leg that we leave
without bind off 1 sc in each stitch until reaching
to the marked point.
We pass with 1 sc to the first leg.
We knit 1 sc in it in each stitch until
get back to the marked point,
we pass with 1 sc to the second leg and
we complete the union.
We close the gap between the legs with the
wool needle. We continue to weave the …
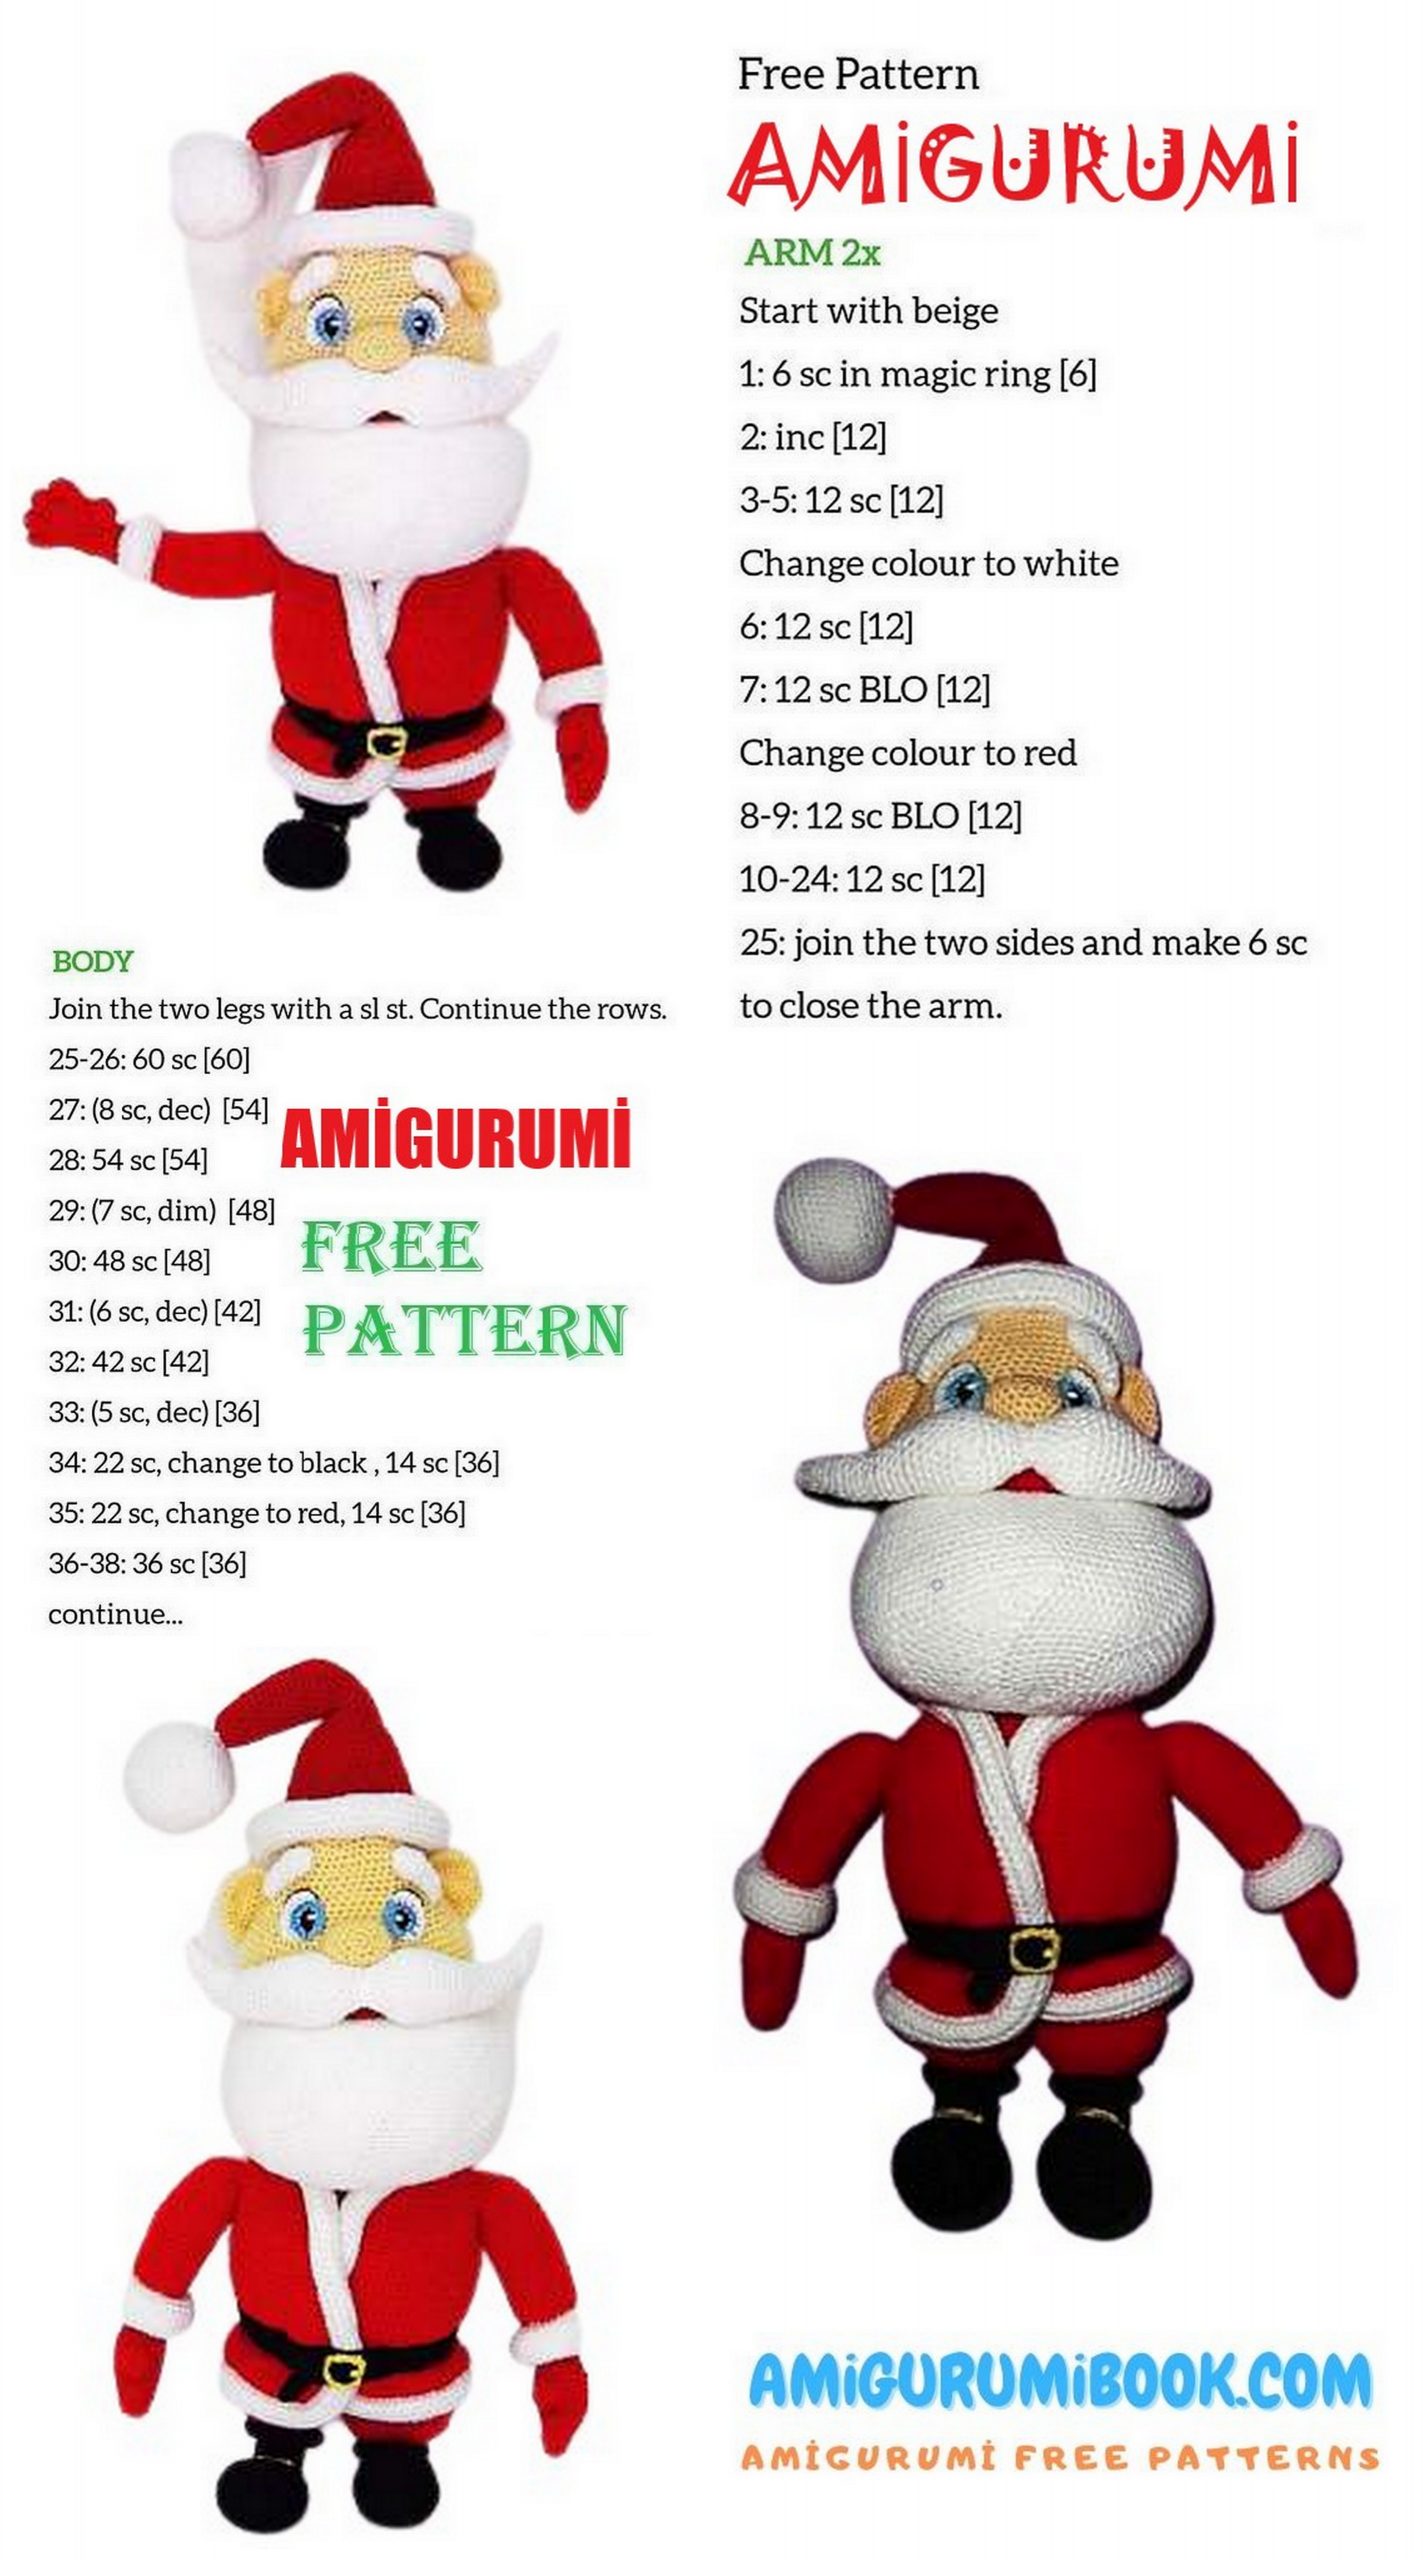
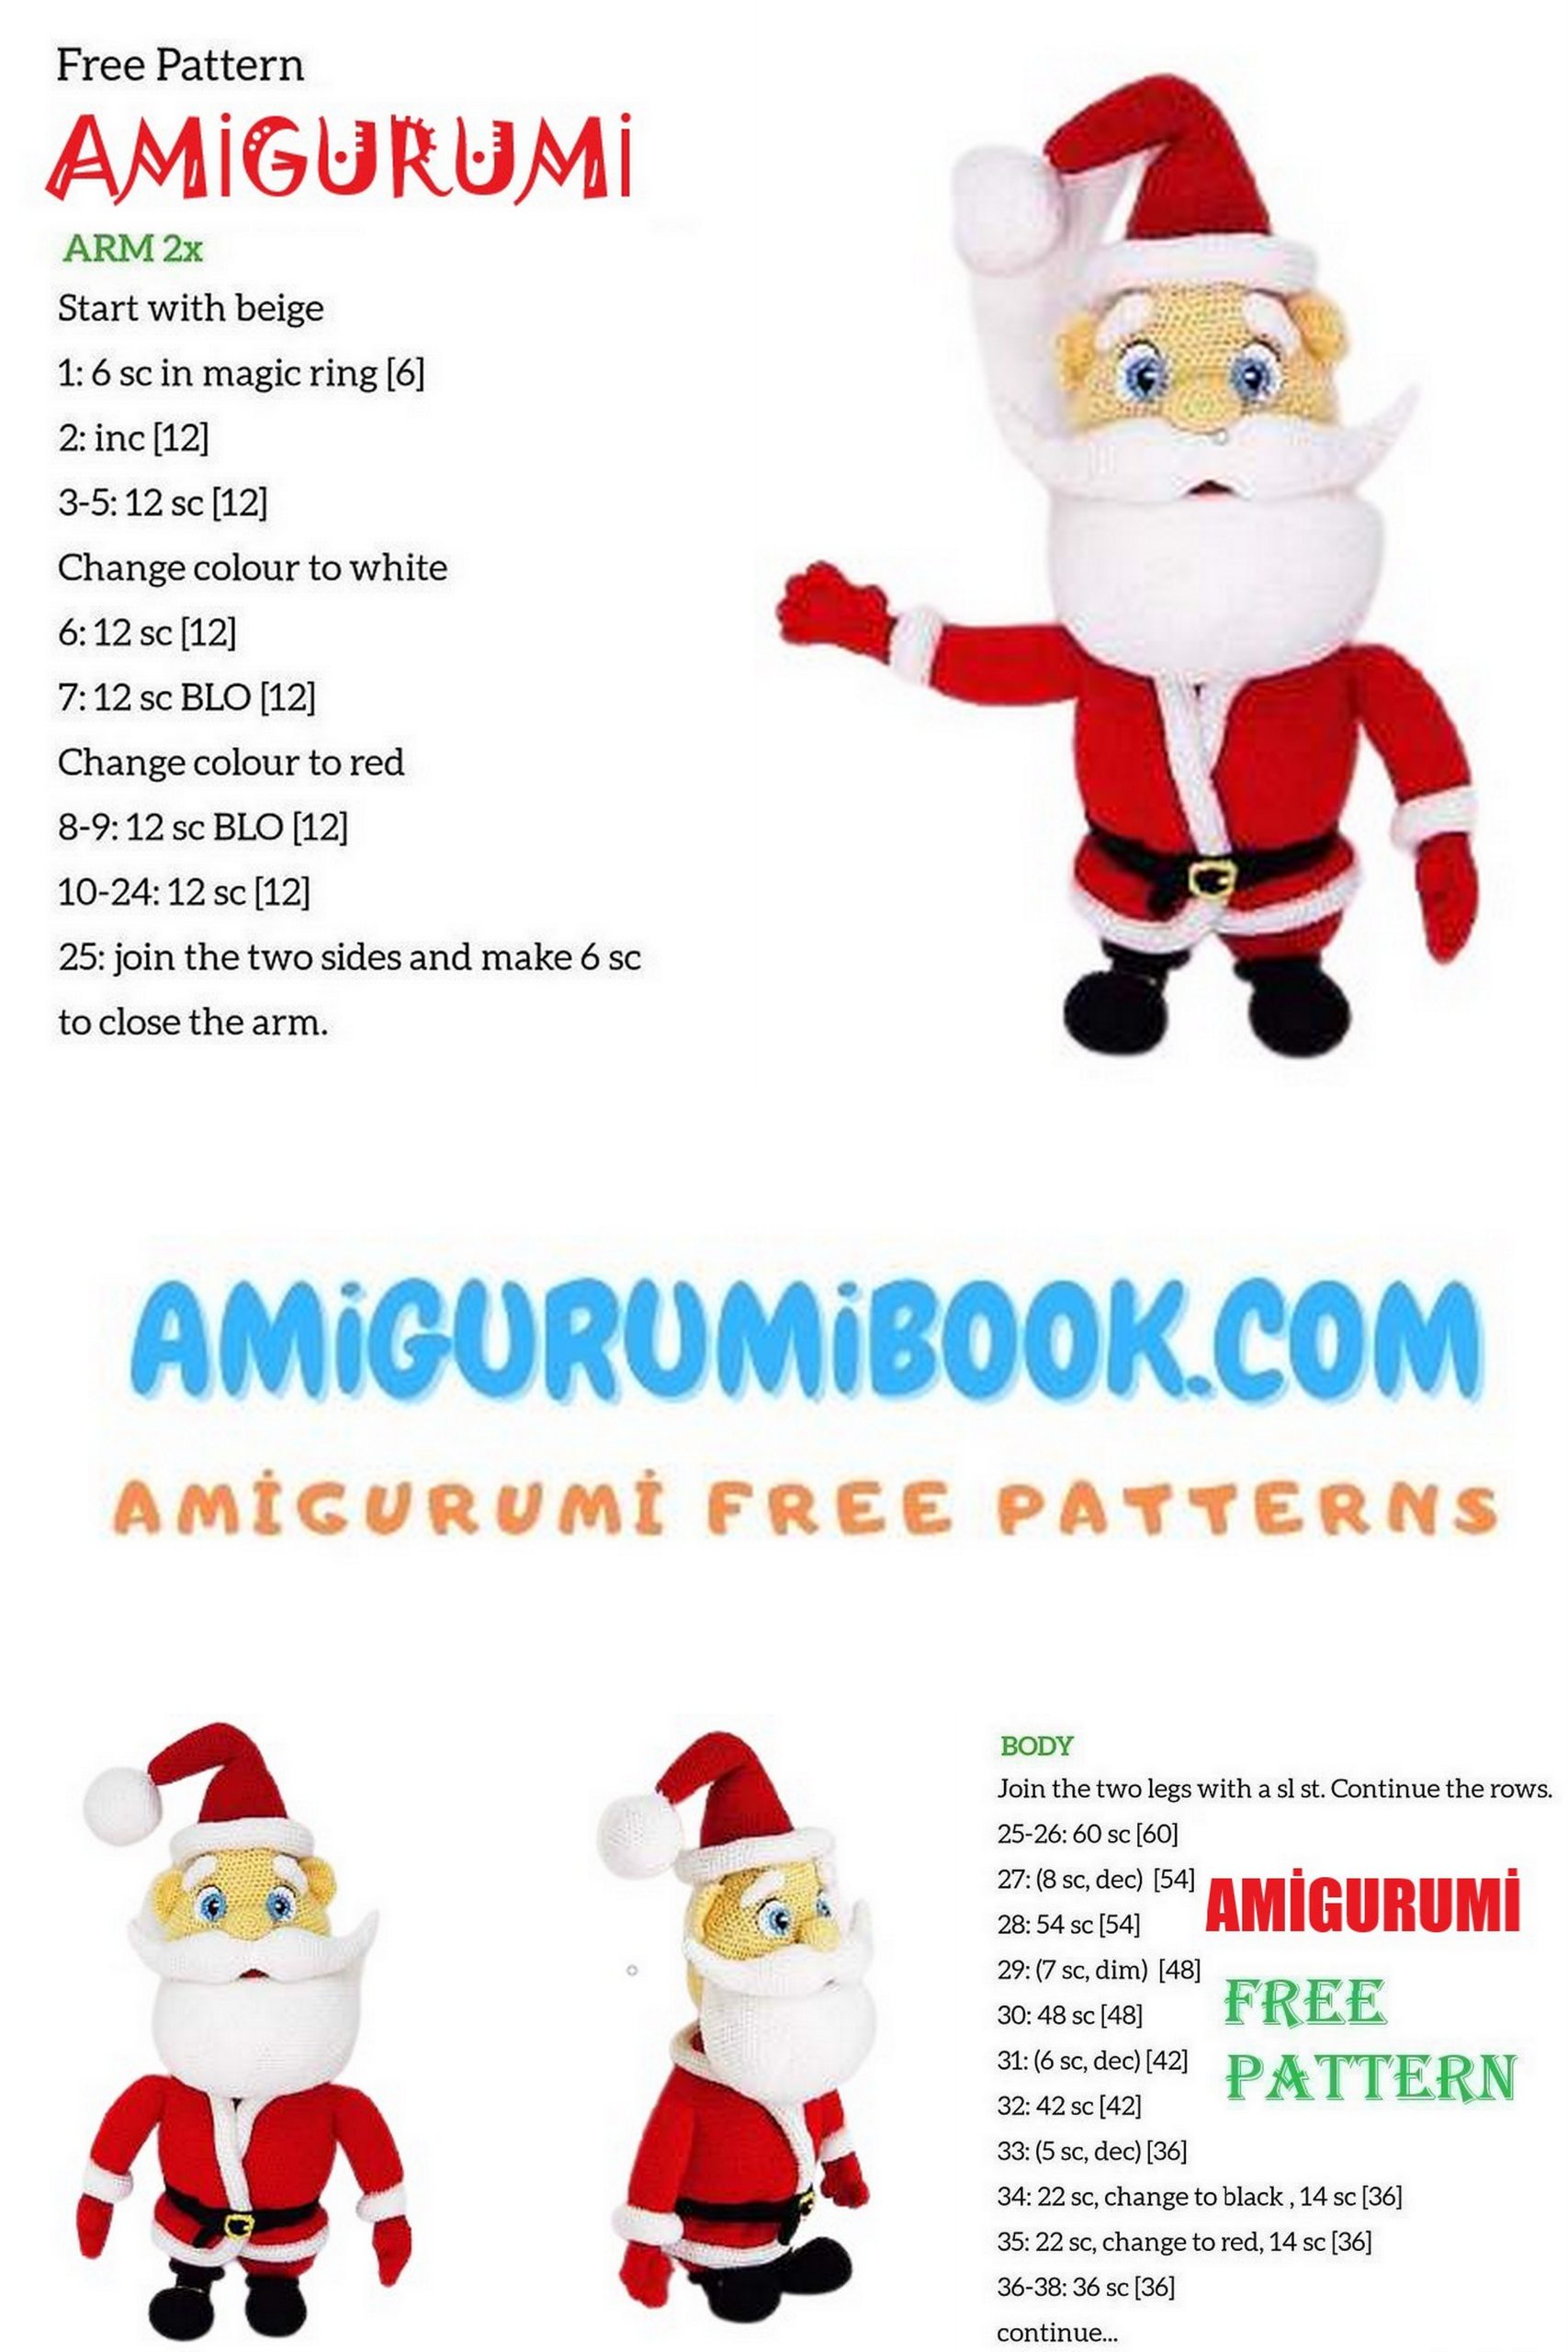
BODY
1. In total we will have 72 sc
2. “10 sc, dec”, repeat (66).
3. “9 sc, dec”, repeat (60).
4. On 10. 1 sc in each stitch (60).
11. We are going to start knitting the belly.
For this we will divide the piece into 2 parts
of 30 sc We mark the beginning and the end of the
segment on which we will weave the
belly. On it we knit “4 sc, inc” 6
times. We do 1 sc in each point in the
rest of the round (66). To facilitate our
work we will continue marking the
segment in the following laps.
12. Now the front segment of the
belly has 36 sc. On it we knit “5
sc, inc ”6 times. We do 1 sc in each
stitch in the rest of the round (72).
13. Our segment now has 42 sc
We will continue to increase, weaving
over it “6 sc, inc” 6 times. 1 sc in each
point in the rest of the round (78).
14. We will have 48 sc in our segment. On it we knit “7 sc, inc” · 6 times. 1 sc in each stitch the rest of the round. (84).
15. Finally, we will increase our segment, which now has 54 sc, knitting “8 sc, inc” over it 6 times. 1 sc in each stitch the rest of the round. (90).
We will mark the segment one last time and leave the mark to guide us later.
16. Al 30. 1 sc in each stitch (90).
31. We are going to start reducing the belly.
To do this, we re-mark the front segment that after lap 15 has 60 sc, guiding us by the marks we left on that same lap. Thus, once the piece has been divided into the 60 sc on the belly and the 30 sc on the back, we begin to reduce by knitting “8 sc, dec” 6 times over the belly segment. We do 1 sc in each stitch for the rest of the round. (84).
As we have done previously, we continue marking the segment to be able to weave on it more easily.
32. Our segment has 54 sc and on it we knit “7 sc, dec” 6 times. 1 sc in each stitch the rest of the round (78).
33. and 34. 1 sc in each stitch (78).
35. Our segment has 48 sc over which we knit “6 sc, dec” 6 times. 1 sc in each stitch the rest of the round (72).
36. Finally, our segment has 42 sc. On it we knit “5 sc, dec” 6 times. 1 sc in each stitch the rest of the round (66).
We can now remove the marks, because now we are going to weave normally over the entire piece.
37. Y 38. 1 sc in each stitch (66).
39. “9 sc, dec”, repeat (60).
40. Y 41. 1 sc in each stitch (60).
42. “8 sc, dec”, repeat (54).
43. Y 44. 1 sc in each stitch (54).
45. “7 sc, dec”, repeat (48).
46. and 47. 1 sc in each stitch (48).
48. “6 sc, dec”, repeat (42).
49. Y 50. 1 sc in each stitch (42).
51. “5 sc, dec”, repeat (36).
52. “4 sc, dec”, repeat (30).
We top off.
JACKET
In red
1. 91 chains on which we knit 90 sc
2. At 30. Parting chain, we turn and knit 1 sc in each stitch (90).
31. String apart, we turn and knit “13 sc, dec”, repeat (84).
32. Parting chain, we turn and knit “12 sc, dec”, repeat (78).
33. String apart, we turn and knit “11 sc, dec”, repeat (72).
34. String apart, we turn and knit “10 sc, dec”, repeat (66).
35. String apart, we turn and knit “9 sc, dec”, repeat (60).
36.At40. In this and in the following rounds we will lose 2 sc in each row. For this we will not chain the separation before turning, thus losing 1 sc and we will make 1 final dec with the last two stitches, thus losing another sc (58), (56), (54), (52), (50).
41. We place the row marker to continue working in the round bordering the piece with sc. Thus we will have: 40 sc + 90 sc + 40 sc + 50 sc = 220 sc
42. We change to white and knit 1 sc at the bottom of the chains in each stitch (220).
We will return to this round to close the edge of the jacket.
43. Al 49. 1 sc in each stitch (220).
50. We close the edge with sc joining this round with the part of the chains that we left free on round 42. (220).
We fill while closing.
We top off.
ARMS (x2)
In red
Thumb:
1. Magic ring into 8 sc
2. En 4. 1 sc in each stitch (8).
We top off.
Fingers (x4):
1. Magic ring into 6 sc
2. En 5. 1 sc in each stitch (6).
We knit three fingers and finish them off,
we leave the fourth finger unfinished for
start the union of the fingers:
1. With 1 sc we move to another finger,
we knit 2 more sc, we go to the third
finger with 1 sc and we knit another 2 sc more.
Finally we go to the last finger with 1
sc We knit 5 more sc and repeat the
same sequence on the other side.
We will have 24 points. (4 fingers x 6 sc).
2. “2 sc, dec”, repeat (18).
3. Al 9. 1 sc in each stitch (18).
10. “1 sc, dec”, repeat (12).
11. Al 15. 1 sc in each stitch (12)
16. We change to white and knit “1 sc,
inc “, repeat (18).
17. We knit in the upper part of the
chains 1 sc in each stitch. (18).
We will return to this round to complete
sleeves.
18. “2 sc, inc”, repeat (24).
19. We change to red and weave in the
top of chains 1 sc in each
point (24). We will return to this round to
complete the sleeves.
20. Al 40. 1 sc in each stitch (24).
41. “2 sc, dec”, repeat (18).
42. “1 sc, dec”, repeat (12).
43. Dec in all stitches (6).
We top off. We close the gap with the
wool needle.
WE COMPLETE THE SLEEVES
In white
1. We start from lap 19 of the arms and
with the doll’s hands up,
we weave in the part of the chains that
We leave 1 sc free at each point (24).
2. “3 sc, inc”, repeat (30).
3. “4 sc, inc”, repeat (36).
4. En 8. 1 sc in each stitch (36).
9. “4 sc, dec”, repeat (30).
10. “3 sc, dec”, repeat (24).
11. “2 sc, dec”, repeat (18).
12. We close the edge by hooking this
back by sc with the part of the
chains that we leave free on lap 17
of the arms. (18). We fill while
we close.
We top off.
HEAD
In flesh color
1. Magic ring into 6 sc
2. Inc at all points (12).
3. “1 sc, inc”, repeat (18).
4. “2 sc, inc”, repeat (24).
5. “3 sc, inc”, repeat (30).
6. “4 sc, inc”, repeat (36).
7. “5 sc, inc”, repeat (42).
8. “6 sc, inc”, repeat (48).
9. Al 15. 1 sc in each stitch (48).
16. “7 sc, inc”, repeat (54).
17. and 18. 1 sc in each stitch (54).
19. “8 sc, inc”, repeat (60).
20. Y 21. 1 sc in each stitch (60).
22. We begin to weave the cheeks. “one
sc, inc “6 times, 9 sc,” 1 sc, inc “6
times. 1 sc in each stitch in the rest of
turn around. (72).
23. “2 sc, inc” 6 times, 9 sc, “2 sc,
inc ”6 times. 1 sc at each point in the
rest of the turn. (84).
24. At 30. 1 sc in each stitch (84).
31. 5 sc, “2 sc, dec” 6 times, 9 sc, “2
sc, dec ”6 times, 1 sc at each point in
the rest of the round (72).
32. 5 sc, “1 sc, dec” 6 times, 9 sc, “1
sc, dec ”6 times, 1 sc at each point in
the rest of the round (60).
33. Al 35. 1 sc in each stitch (60).
36. “9 sc, inc”, repeat (66).
37. “10 sc, inc”, repeat (72).
38. “11 sc, inc”, repeat (78).
39. “12 sc, inc”, repeat (84).
40. Al 42. 1 sc in each stitch (84).
43. “12 sc, dec”, repeat (78)
44. “11 sc, dec”, repeat (72).
45. “10 sc, dec”, repeat (66).
46. “9 sc, dec”, repeat (60)
47. “8 sc, dec”, repeat (54).
48. “7 sc, dec”, repeat (48).
49. “6 sc, dec”, repeat (42).
50. “5 sc, dec”, repeat (36).
51. “4 sc, dec”, repeat (30).
52. Al 56. 1 sc in each stitch (30).
We top off.
BEARD
In white
1. 55 chains on which we weave 54 sc
2. We continue knitting without turning,
again for the start strings but for
the other side another 54 sc, to get like this
one piece of 108 sc in total. (108).
3. We place the lap marker to
start working in the round in the part
top of chains 1 sc in each
point (108). We will return to this round to
sew the beard to the face.
4. En 20. 1 sc in each stitch (108).
21. “16 sc, dec”, repeat (102).
22. “15 sc, dec”, repeat (96).
23. “14 sc, dec”, repeat (90).
24. “13 sc, dec”, repeat (84).
25. “12 sc, dec”, repeat (78)
26. “11 sc, dec”, repeat (72).
27. “10 sc, dec”, repeat (66).
28. “9 sc, dec”, repeat (60)
29. “8 sc, dec”, repeat (54).
30. “7 sc, dec”, repeat (48).
31. “6 sc, dec”, repeat (42).
32. “5 sc, dec”, repeat (36).
33. “4 sc, dec”, repeat (30).
34. “3 sc, dec”, repeat (24).
35. “2 sc, dec”, repeat (18).
36. “1 sc, dec”, repeat (12).
37. Dec in all stitches (6).
We top off. We close the gap with the
wool needle.
We sew the beard in its upper part
for the part of the chains that we leave
free on lap 3, in the lead (lap 33),
that is, under the cheeks. For his part
lower, that is, below the beard,
we sew it from the rest of it
row 3 leaving 3 rows apart.
HAIR
In white
1. Magic ring into 6 sc
2. Inc at all points (12).
3. “1 sc, inc”, repeat (18).
4. “2 sc, inc”, repeat (24).
5. “3 sc, inc”, repeat (30).
6. “4 sc, inc”, repeat (36).
7. “5 sc, inc”, repeat (42).
8. “6 sc, inc”, repeat (48).
9. Y 10. 1 sc in each stitch (48).
11. 24 sc (we leave the rest unwoven). (24).
12. At 29. Chain of separation, we turn
and we knit 1 sc in each stitch (24).
30. We place the lap marker
to start knitting in the round
bordering the piece with sc Like this
we will have: 19 sc + 24 sc + 19 sc + 24
sc = 86 sc
We top off. To give you a little
volume we are going to fill slightly
sew it to the head. For placement
we must bear in mind that
ends of the upper part of the beard
they are attached to the ends of the last row
of the hair.
MUSTACHES (x2)
In white
1. 7 chains on which we knit 6 sc
2. We continue working without turning, again through the starting chains but on the other side another 6 sc, to obtain a piece of 12 sc in total. (12).
3. We place the row marker to start knitting in the round at the top of the chains 1 sc in each stitch (12).
We will return to this round to sew the two whiskers together.
4. and 5. 1 sc in each stitch (12).
6. “1 sc, inc”, repeat (18).
7. “2 sc, inc”, repeat (24).
8. Al 10. 1 sc in each stitch (24).
11. “6 sc, dec”, repeat (21).
12. Y 13. 1 sc in each stitch (21).
14. “5 sc, dec”, repeat (18).
15. and 16. 1 sc in each stitch (18).
17. “4 sc, dec”, repeat (15).
18. Al 20. 1 sc in each stitch (15).
21. “3 sc, dec”, repeat (12).
22. Al 25. 1 sc in each stitch (12).
26. “2 sc, dec”, repeat (9).
27. At 31. 1 sc in each stitch (9).
32. “1 sc, dec”, repeat (6).
33. Al 35. 1 sc in each stitch (6).
We top off. We close the gap with the wool needle.
We will sew the mustaches to form a single piece for the part of the chains that we leave free on round 3. After sewing the mouth on the beard, we can sew the mustaches on it.
NOSE
In flesh color
1. Magic ring into 6 sc
2. Inc at all points (12).
3. “1 sc, inc”, repeat (18).
4. “2 sc, inc”, repeat (24).
5. Y 6. 1 sc in each stitch (24).
7. Dec 4, 4 sc, 4 dec, 4 sc (16).
8. Dec 2, 4 sc, 2 dec, 4 sc (12).
We top off.
EARS (x2)
In flesh color
1. Magic ring into 6 sc
2. Inc at all points (12).
3. “1 sc, inc”, repeat (18).
4. “2 sc, inc”, repeat (24).
5. Al 8. 1 sc in each stitch (24).
We top off. We fold and sew close to the hair on the cheeks.
MOUTH
In red
1. Magic ring into 6 sc
2. Inc at all points (12).
3. “1 sc, inc”, repeat (18).
4. 1 sc in each stitch (18).
We top off.
EYES (x2)
LEFT:
In black
1. Magic ring into 6 sc
2. We change to light blue and we make Inc in all the points (12).
3. We change to white and knit 8 sc (we leave the rest without knitting) (8).
4. Separating chain, we turn and knit 6 sc Bind off.
RIGHT:
In black
1. Magic ring into 6 sc
2. We change to light blue and we make Inc in all the points (12).
3. We change to white and make a separation chain, turn and knit 8 sc (we leave the rest unwoven) (8).
4. Parting chain, we turn and knit 6 sc
We top off.
In black we embroider a line from about the middle. In white we embroider the reflections.
EYEBROWS (x2)
In white
1. 4 chains over which we knit 3 sc
2. We continue knitting without turning, again through the starting chains but on the other side another 3 sc, to obtain a piece of 6 sc in total. (6).
3. We place the row marker to start knitting in the round “1 sc, inc”, repeat (9).
4. and 5. 1 sc in each stitch (9).
6. “1 sc, dec”, repeat (6).
7. and 8. 1 sc in each stitch (6).
9. “1 sc, dec”, repeat (4).
10. 1 sc in each stitch (4).
We top off. We close the gap with the wool needle.
BOOTS (x2)
In black
1. Magic ring into 6 sc
2. Inc at all points (12).
3. “1 sc, inc”, repeat (18).
4. “2 sc, inc”, repeat (24).
5. “3 sc, inc”, repeat (30).
6. “4 sc, inc”, repeat (36).
7. On 10. 1 sc in each stitch (36).
11. “4 sc, dec”, repeat (30).
12. Y 13. 1 sc in each stitch (30).
14. “3 sc, dec”, repeat (24).
15. Y 16. 1 sc in each stitch (24).
17. “2 sc, dec”, repeat (18).
18. Al 22. 1 sc in each stitch (18).
23. “1 sc, dec”, repeat (12).
24. Dec in all stitches (6).
We top off. We close the gap with the
wool needle.
We sew the boots to the part of the
chains that we leave free on lap 5
of the legs.
WE COMPLETE THE BOOTS:
In black
1. We start from round 11 of the legs and
with the doll’s feet up,
we weave in the part of the chains that
We leave 1 sc free at each point (18).
2. “2 sc, inc”, repeat (24).
3. “3 sc, inc”, repeat (30).
4. “4 sc, inc”, repeat (36).
5. 1 sc in each stitch (36).
We top off.
BOOT BUCKLE (x2):
In yellow
We knit 5 chains, 1 slip stitch
over the last string, another 5 strings, 1
slip stitch over last chain of
this group, 5 more chains, 1 point
slipped on the last chain of this
group, 4 chains and we close the piece with
1 slip stitch to first chain all.
BELT
In black
1. 101 chains on which we weave 100 sc
2. At 5. Separation chain, we turn and
we knit 1 sc in each stitch (100).
We top off.
There will be a little belt left with
with respect to the doll’s waist. It
we will sew so that a small
excess part hang from the buckle,
hiding the rest.
BELT BUCKLE
In yellow
We knit 5 chains, 1 slip stitch
over the last string, another 5 strings, 1
slip stitch over last chain
from this group, 5 more chains, 1 point
slipped on the last chain of this
group, 4 chains and we close the piece with
1 slip stitch to first chain
all.
We top off.
HAT
In white
1. Magic ring into 6 sc
2. Inc at all points (12).
3. “1 sc, inc”, repeat (18).
4. “2 sc, inc”, repeat (24).
5. “3 sc, inc”, repeat (30).
6. “4 sc, inc”, repeat (36).
7. “5 sc, inc”, repeat (42).
8. Al 16. 1 sc in each stitch (42).
17. “5 sc, dec”, repeat (36).
18. “4 sc, dec”, repeat (30).
19. “3 sc, dec”, repeat (24).
20. “2 sc, dec”, repeat (18).
21. “1 sc, dec”, repeat (12).
22. Dec in all stitches (6).
23. We switch to red and weave Inc in
all points (12).
24. “3 sc, inc”, repeat (15).
25. Al 27. 1 sc in each stitch (15).
28. “4 sc, inc”, repeat (18).
29. Al 32. 1 sc in each stitch (18).
33. “5 sc, inc”, repeat (21).
34. Al 37. 1 sc in each stitch (21).
38. “6 sc, inc”, repeat (24).
39. Al 42. 1 sc in each stitch (24).
43. 6 dec, “1 sc, inc” 6 times (24).
44. 3 dec, “2 sc, inc” 6 times (27).
45. 2 dec, 1 sc in each stitch in
the rest of the round (25).
46. 1 dec, 1 sc in each stitch in
the rest of the round (24).
47. 2 dec, “2 sc, inc” 6 times, 1 dec (27).
48. 2 dec, “2 sc, inc” 7 times, 1 dec (31).
49. 1 dec, 1 sc in each stitch in the rest of the round (30).
50. “4 sc, inc”, repeat (36).
51. Al 55. 1 sc in each stitch (36).
56. “5 sc, inc”, repeat (42).
57. and 58. 1 sc in each stitch (42).
59. “6 sc, inc”, repeat (48).
60. 1 sc in each stitch (48).
61. “7 sc, inc”, repeat (54).
62. 1 sc in each stitch (54).
63. “8 sc, inc”, repeat (60).
64. “9 sc, inc”, repeat (66).
65. We knit in the upper part of the
chains 1 sc in each stitch (66).
We will return to this round to complete
the hat.
66. 1 sc in each stitch (66).
We top off.
WE COMPLETE THE HAT
In white
1. We hooked on the last lap of the
hat (lap 66) and with the hat
placed in normal position, that is
upwards, we knit 1 sc in each stitch (66).
2. We knit in the upper part of the
chains 1 sc in each stitch (66).
3. “10 sc, inc”, repeat (72).
4. “11 sc, inc”, repeat (78).
5. Al 9. 1 sc in each stitch (78).
10. “11 sc, dec”, repeat (72).
11. “10 sc, dec”, repeat (66).
12. We close the edge hooking with
sc this round with the chains part
that we left free on lap 65 of
hat. We fill while closing.
We top off.
This pattern is for personal use. You can knit the amigurumi,
sell it, give it away or do whatever you want with it. But please no
Sell, share, or post this pattern anywhere. Thank you.
AND READY! HAVE FUN!!