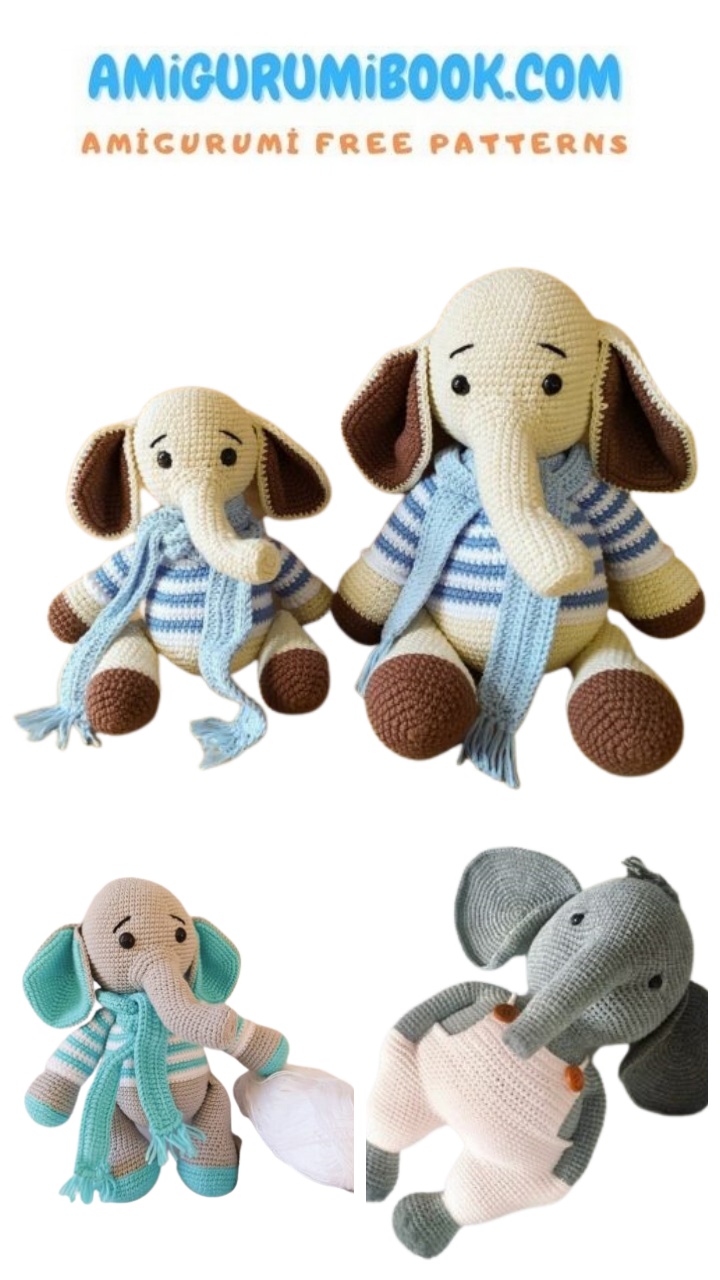
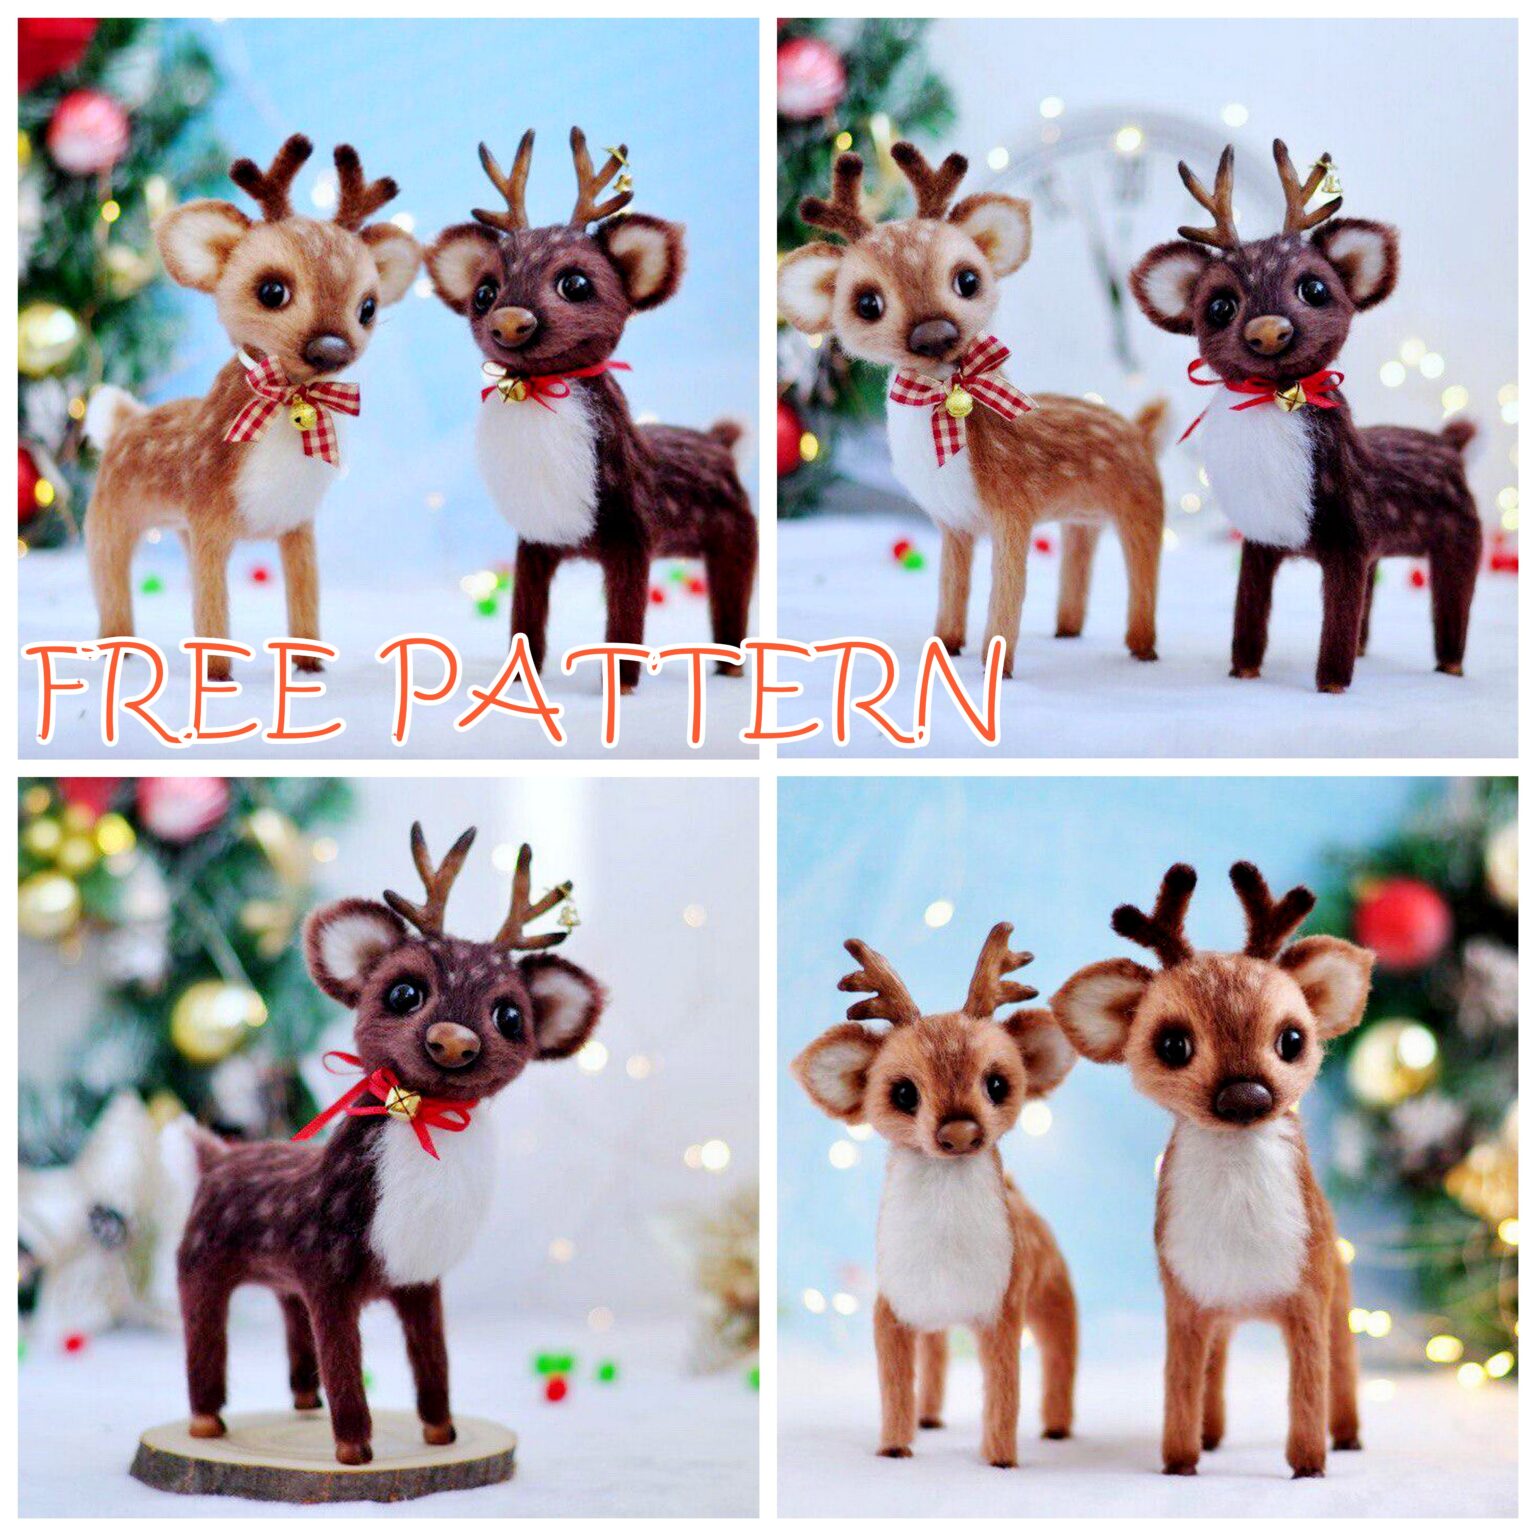
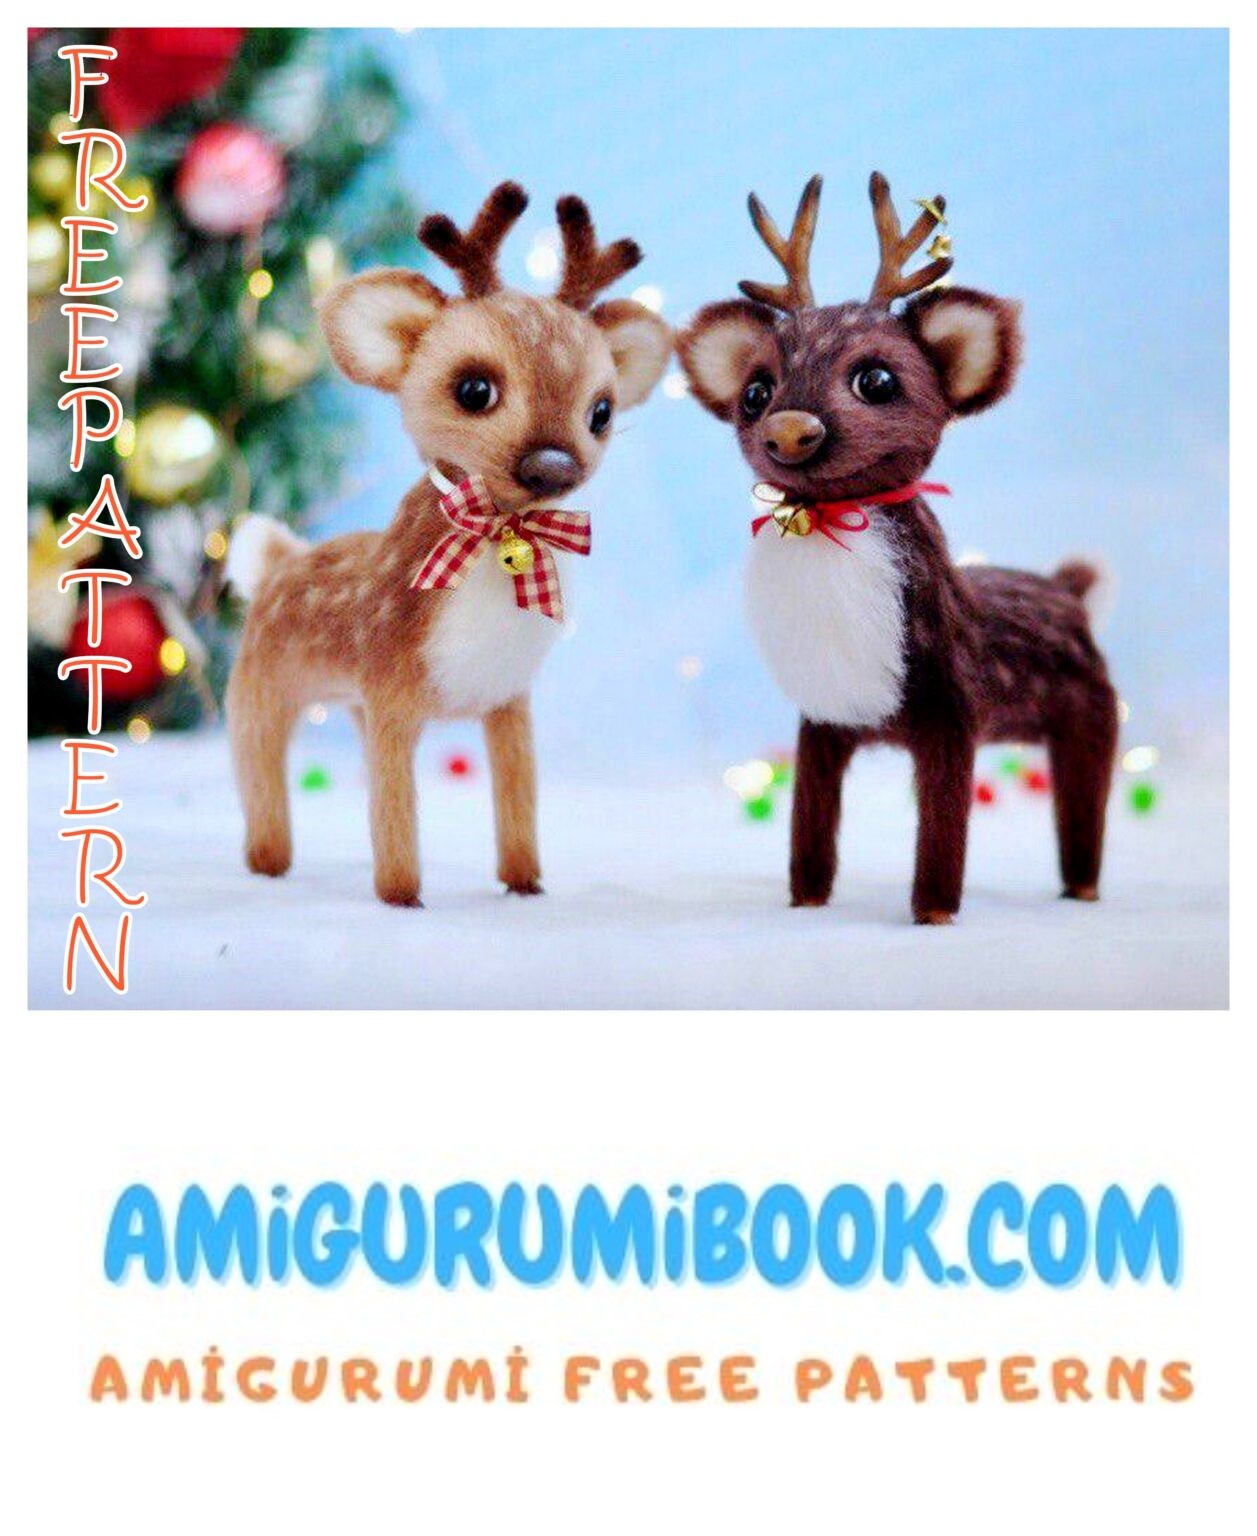
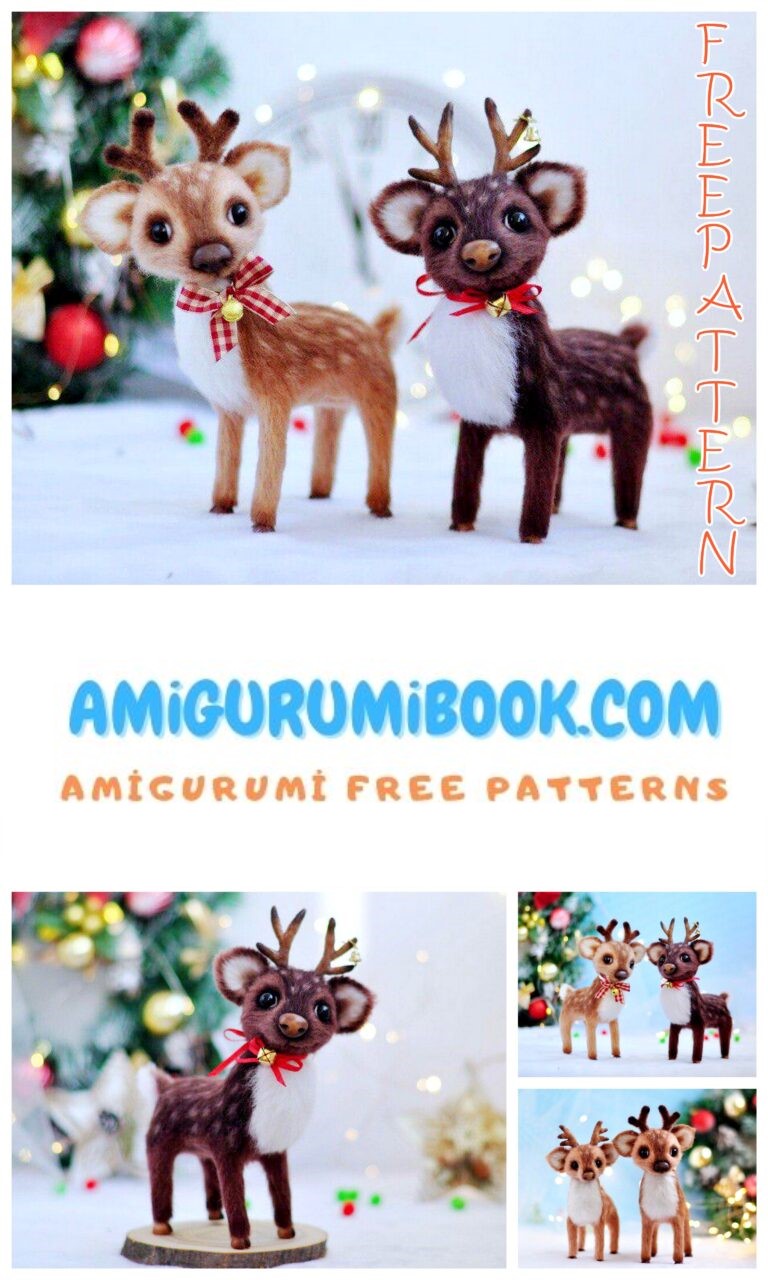
Sweet Reindeer Amigurumi Free Pattern
We continue to share the best quality amigurumi patterns for free. In this article, we shared a wonderful amigurumi reindeer pattern.
The size of the toy is 17-18 cm, excluding the horns from the specified yarn.
Abbrevations:
Ch – chain
Sc – single crochet
Inc – incraise (knit 2 sc in one loop)
Dec – decrease (knit 2 sc together)
Dc – double crochet
Hdc – half double crochet
Sl-st – slip stitch
(…) -number of loops in a row
Materials:
Yarn:
1. Alize Kid Mohair 500m / 50gr color brown # 305 and white # 55 on the breast, ears, tail. I knitted in 3 threads; consumption of about 30 grams of brown and 10 grams of white per toy);
2. Kid Mohair Italian 900m / 100g, beige and white on the breast, ears and tail. I knitted in 2 threads. You can use any mohair-containing or textured yarn (depending on the thickness of the yarn, the size of the toy will vary);
Clover hook # 1.25;
Wire Ø 1.5 mm (diameter depends on the size of the toy);
Filler (I have artificial swan down);
Semi beads Ø 7 or 8 mm;
Glue “Moment Crystal”;
Gallery Soft Dry Pastels, flat synthetic brush;
Faber Castell marker black or CD marker, helium pen;
Disc Ø15 or 18 mm – 1 pc for the head, Disc Ø20 mm – 1 pc for the neck. Cotter pin T-shaped (2.0 x 2.5)
This is for one toy (it is better to have other sizes if you will use a different yarn);
Velcro for clothes and a slicker for combing;
Needle and strong thread for tightening; sharp scissors, round-nose pliers;
Strong hold hairspray for fixing toning;
Wool for felting or carded white, felting needle # 38 “star”;
Flesh or brown polymer clay for horns (I have “Sonnet”);
Glass or metal granulate, pebble for weighting the toy.
Head
The marker goes in the middle of the forehead, follow it, if necessary make an offset loop.
1.2 ch, in the 2nd from the hook, work 6 sc
2.6 inc (12)
3. (2 sc, inc) * 4 (16)
4. (3 sc, inc) * 4 (20)
5.20 sc (20)
6. (4 sc, inc) * 4 (24)
7.24 sc (24)
8.2 hdc, inchdc, 3 hdc, inc, 10 sc, inc, 3 hdc, inchdc, 2 hdc (28)
9.2 hdc, inchdc, hdc, add. eye marker, 3 hdc, inchdc, 12 sc, inchdc, 3 hdc, add. eye marker, hdc, inchdc, 2 hdc (32)
10.2 hdc, inchdc, 5 hdc, inc, 14 sc, inc, 5 hdc, inchdc, 2 hdc (36)
11.4 hdc, inchdc, 6 hdc, inc, 12 sc, inc, 6 hdc, inchdc, 4 hdc (40)
12.2 hdc, (inchdc, 5 hdc) * 2, 12 sc, (5 hdc, inchdc) * 2, 2 hdc (44)
13.14 hdc, 16 sc, 14 hdc (44)
14.13 hdc, 18 sc, 13 hdc (44)
I knit counterclockwise (inside out), but you can knit in the open. This description is for inside out knitting.
15 – 16.44 sc (44) 2 rows Align marker
17.22 sc, add. cotter pin marker, 22 sc (44)
18.44 sc (44)
19.10 hdc, (2 hdc, dechdc) * 2, 8 sc, (dechdc, 2 hdc) * 2, 10 hdc (40)
20.3 hdc, dechdc, 2 hdc, dechdc, 22 sc, dechdc, 2 hdc, dechdc, 3 hdc (36)
21. (4 sc, dec) * 6 (30)
22. (3 sc, dec) * 6 (24)
23. (2 sc, dec) * 6 (18)
24. (1 sc, dec) * 6 (12)
We do not close the head until the end, we will make a tightening through the hole. Combing your head, insert the cotter pin with the disc in the place marked by add. marker (disc 18 mm, cotter pin 2.0 x 2.0 mm).
Start stuffing your head. Distribute the filler evenly, fill the muzzle loosely, the head itself tightly, but not stone. After tightening, add filler to the head so that the back is tightly packed.
25. Decreases to the end after eye tightening.
Pull the hole, fasten, cut the thread, hide the tip inside the head.
Tightening
Install the pins in the places marked with extra. marker. Insert the needle into the open hole (leave the tip 10-15 cm) and withdraw at point 1, step back 1 sc and bring the needle back into the hole at the back of the head. Pull the thread by pressing your finger into the eye area and repeat the tightening several times. Make the same tightening with the other eye, tie the thread, do not cut it, bring it out in t. 1. Make tightening between the left and right eyes (thread inside the canvas, repeat several times), slightly pulling the thread. Repeat 2-3 times. Pull up the thread, bring it into the open hole at the back of the head, tie the thread and hide it inside the head.
Tightening 2.
Put the pins:
t. 3 Center of the muzzle;
t. 4 – down 5 rows from t. 3
t. 5 and t. 6 – below under the eyes.
Fasten the thread at point 5, withdraw the needle in the area of the right eye, step back 1 column to the right and take the needle away at point 5, (the thread is inside the fabric, pull the thread). Make the same tightening on the other side.
Tightening 3.
From the area of the left eye, withdraw the needle at point 4, insert it into point 3 (the thread is on top of the canvas, it separates the muzzle into two halves) and remove it at point 4.
Let’s make a smile line. Insert the needle at point 5 and withdraw at point 4 (thread on top of the fabric). From point 4, insert the needle at point 6 and withdraw at point 4 (thread on top of the fabric).
Withdraw the needle to the neck (next to the disc), tighten and secure. Hide the thread inside the head and cut.
Ears
(4 parts: 2 white, 2 brown).
We knit in rotary rows. At the beginning of the row, make an air loop.
1.2 ch, in the 2nd from the hook, work 6 sc
2.2 sc, inchdc * 2, 2 sc (8)
3.sl-st, inc, hdc, inchdc * 2, hdc, inc, sl-st (12)
4.2 sl-st, inc, 2 hdc, inchdc * 2, 2 hdc, inc, 2 sl-st (16)
5.3 sl-st, inc, 3 hdc, inchdc * 2, 3 hdc, inc, 3 sl-st (20)
6.4 sl-st, inc, 4 hdc, inchdc * 2, 4 hdc, inc, 4 sl-st (24)
Fasten and cut the thread. Place one part of the ear over the other and tie the ears around the perimeter with brown thread on all sides, knit 3 sc in the upper corner of the ear.
Leave the tip for sewing. Comb and cut neatly along the edge and slightly on the inside of the ear.
Breast.
We knit in white with rotary rows, at the beginning of the row we make an air loop.
This will be the top of the breast.
Dial 13 ch. in the 2nd from the hook, knit a loop
1 – 3.12 sc (12) 3 rows
4.inc, 10 sc, inc (14)
5 – 22.14 sc (14) 18 rows
23.dec, 10 sc, dec (12)
24.12 sc (12)
25.dec, 8 sc, dec (10)
26.10 sc (10)
Fasten and cut the thread.
Leave the tip for sewing. Comb well and trim the ends a little.
Tail
(2 pieces: white and brown).
We knit in rotary rows, at the beginning of the row we make an air loop.
Dial 6 ch. knit a loop in the 2nd from the hook
1.5 sc (5)
2.2 sc, inc, 2 sc (6)
3 – 5.6 sc (6) 3 rows
6.2 sc, dec, 2 sc (5)
7.dec, 1 sc, dec (3)
8.dec, 1 sc (2)
9.dec
Fasten and cut the thread.
Put one piece on top of the other and tie the tail around the perimeter, except for the base with white thread, in the upper corner of the tail, knit 3 sc. Leave the tip for sewing. Comb and trim neatly around the edge.
Legs (front).
We knit in a spiral. We do not follow the marker.
1.2 ch, in the 2nd from the hook, work 6 sc
2. (2 sc, inc) * 2 (8)
3 – 7.8 sc (8) 5 rows
8.7 sc, inc (9)
9 – 12.9 sc (9) 4 rows
13.8 sc, inc (10)
14 – 15.10 sc (10) 2 rows
16.9 sc, inc (11)
17 – 18.11 sc (11) 2 rows
19.10 sc, inc (12)
20 – 21.12 sc (12) 2 rows
22. (5 sc, inc) * 2 (14)
23 – 24.14 sc (14) 2 rows
Fasten and cut the thread. We will knit the legs. Comb and trim the protruding hairs neatly.
Legs (back).
We knit in a spiral. We do not follow the marker.
1.2 ch, in the 2nd from the hook, work 6 sc
2. (2 sc, inc) * 2 (8)
3 – 7.8 sc (8) 5 rows
8.7 sc, inc (9)
9 – 12.9 sc (9) 4 rows
13.8 sc, inc (10)
14 – 15.10 sc (10) 2 rows
16. (4 sc, inc) * 2 (12)
17.12 sc (12)
18. (5 sc, inc) * 2 (14)
19.14 sc (14)
20. (6 sc, inc) * 2 (16)
21.16 sc (16)
22. (7 sc, inc) * 2 (18)
23 – 24.18 sc (18) 2 rows
Fasten and cut the thread. We will knit the legs. Comb and trim the protruding hairs neatly.
We knit in a spiral. The marker goes in the middle of the back, follow it, if necessary, make an offset loop.
1.2 ch, in the 2nd from the hook, work 6 sc
2.6 inc (12)
3. (1 sc, inc) * 6 (18)
4. (2 sc, inc) * 6 (24)
5. (3 sc, inc) * 6 (30) along this row we measure the disc for the neck
6 – 7.30 sc (30) 2 rows
8. (4 sc, inc) x6 (36)
9 – 11.36 sc (36) 3 rows
12. (5 sc, inc) * 6 (42)
13.3 sc, dec, 12 sc, inc, 6 sc, inc, 12 sc, dec, 3 sc (42)
14.6 sl-st, 8 sc, 14 hdc, 8 sc, 6 sl-st (42)
15.3 sl-st, dec, 2 sl-st, 10 sc, inchdc, 6 hdc, inchdc, 10 sc, 2 sl-st, dec, 3 sl-st (42)
16 – 17.6 sl-st, 8 sc, 14 hdc, 8 sc, 6 sl-st (42) 2 rows
18 – 23.10 sc, 22 hdc, 10 sc (42) 6 rows
Check the position of the marker, align if not straight on the back. Otherwise, the legs will not fit smoothly.
Body
24.11 sc, place front leg right side to front side of torso and work 7 leg loops and 7 torso loops at the same time, 6 sc, attach second front leg right side to front side of torso and work 7 leg loops and 7 torso loops at the same time, 11 sc (42)
25.11 sc, 7 sc along remaining leg loops, 6 sc, 7 sc along remaining leg loops, 11 sc (42)
Back up the body. You don’t have to comb the chest, we will sew a white overlay on it. We fasten the head at the beginning of knitting – in the KA (disc 20 mm), wrap the antennae of the cotter pin.
26.4 sc, inc, 3 sc, 8 hdc, dechdc, 6 hdc, dechdc, 8 hdc, 3 sc, inc, 4 sc (42)
27.8 sc, 26 hdc, 8 sc (42)
28.4 sc, inc, 3 sc, 8 hdc, dechdc, 6 hdc, dechdc, 8 hdc, 3 sc, inc, 4 sc (42)
29.8 sc, 26 hdc, 8 sc (42)
30.4 sc, inc, 3 sc, 8 hdc, dechdc, 6 hdc, dechdc, 8 hdc, 3 sc, inc, 4 sc (42)
31.8 sc, 26 hdc, 8 sc (42)
32 – 40.42 sc (42) 9 rows
Back up the body. Prepare the wire frame. Take a wire about 30 cm long and fold it in half. Wrap the end with electrical tape. This will serve as the spine, then we will attach the frame to it from the front and hind legs. For the front and hind legs, take a segment of about 25-30 cm. Wrap the part that will be inside the leg with electrical tape. Then we don’t stuff our legs. Wrap the leg frame around the spine. Fix the junction with electrical tape or adhesive tape.
Insert structure. The very end should reach the very neck and serve as a frame for it.
Gradually stuff the body (the neck is dense, the body is of medium density).
We begin to knit the hind legs. Check marker position (fold body in half and align).
41.9 sc, attach hind leg right side to front side of torso and work 9 leg loops and 9 torso loops at the same time, 6 sc, attach second hind leg right side to front side of torso and work 9 leg loops and 9 torso loops at the same time, 9 sc (42)
42.9 sc, 9 sc along remaining leg loops, 6 sc, 9 sc along remaining leg loops, 9 sc (42)
43 – 44.42 sc (42) 2 rows
Wrap the frame of the hind legs around the spine. Fix the junction with electrical tape. Insert structure. Cut off excess wire, wrap with electrical tape and bend inward. It is better to put a weighting agent (glass or metal granulate sewn into a bag; a pebble) in the back of the body, so the deer will stand more stable and not fall forward. Add filler to the thigh.
45. (5 sc, dec) * 6 (36)
46. (4 sc, dec) x6 (30)
47. (3 sc, dec) x6 (24)
48. (2 sc, dec) x6 (18)
49. (1 sc, dec) x6 (12) Fill the body to the end
50.6 dec
Close the hole, fasten the thread and cut.
Hide the tip inside the body. Combing.
Knitted horns.
Make a frame for the horns out of wire (see dimensions in the photo).
We take yarn of the same thickness as for the deer. We knit in a spiral, we do not follow the marker.
First detail.
1.2 ch, in the 2nd from the hook, work 6 sc
2 – 6.6 sc (6) 5 rows. Put the part on the frame, then we will knit around it.
7.2 air. stitches, throw over wire, skip 2 sc, 4 sc (6)
8.2 sc air hinges, 4 sc (6)
9 – 11.6 sc (6) 3 rows. Fasten and cut the thread.
Leave the tip for sewing.
Second detail.
1.2 ch, in the 2nd from the hook, work 6 sc
2 – 5.6 sc (6) 4 rows
Fasten and cut the thread. Leave the tip for sewing. Put the second part on the frame and sew. Comb the horns and cut short.
Find a place for the horns, make holes with an awl, insert the frame and sew.
Polymer clay horns.
Make a frame for the horns (see photo). Knead flesh-colored or brown plastic. And focusing on the photo to mold the horns. It is good to smooth out the seams between the parts with your fingers or a stack. Make a texture on the horns with the tip of the needle. Tinted horns with brown pastel if there was a flesh-colored plastic. Bake according to the instructions. Find a place for the horns, make holes with an awl, insert the frame and glue.
Hooves
For sculpting hooves, it is better to take plastic of the same color as for sculpting the nose and horns. Roll 4 identical balls, flatten them by pressing them against the table, make an incision in the middle with a blade or a stack. Pierce the top to the middle of the hoof with the wire that will be in the leg. Better to cut off small wires and bake with them. After baking, remove them and glue them to the legs. Finished flesh plastics hooves can be tinted with brown pastels prior to baking. Tinted in the same way as the nose. Comb the legs in advance, trim a little, then glue the hooves.
Find a place for the ears, pin and sew. Comb the sewing area to smooth the transition. Inside the ear, tint with brown pastel.
Find a place for the tail, pin and sew. The ponytail can be sewn up or down. Comb the sewing area to smooth the transition.
Pin the white breast pad, referring to the photo. Sew on and comb again to smooth the sewing area.
Glue the eyes in place of the dips. I have 7-8 mm plastic half-beads. Circle neatly around the eye with a thin black marker or black capillary pen.
Sew the white under the eye or roll on a small piece of carding.
Gently draw with a thin brush with pastel the lines of the mouth tightening. Stick on the nose.
Tint the area around the nose with dark brown pastels.
For toning the body, use dry soft pastels. Rub it and paint over the face and body with a brush, be sure to comb it with a brush so that the villi are painted over to the very base. After toning the body, draw randomly white spots. After finishing toning, fix it with a strong hold hairspray. Spray on the toy from a distance of at least 30 cm.
Wipe the eyes from the varnish with a damp cotton swab.
That’s all !
The Deer is ready!