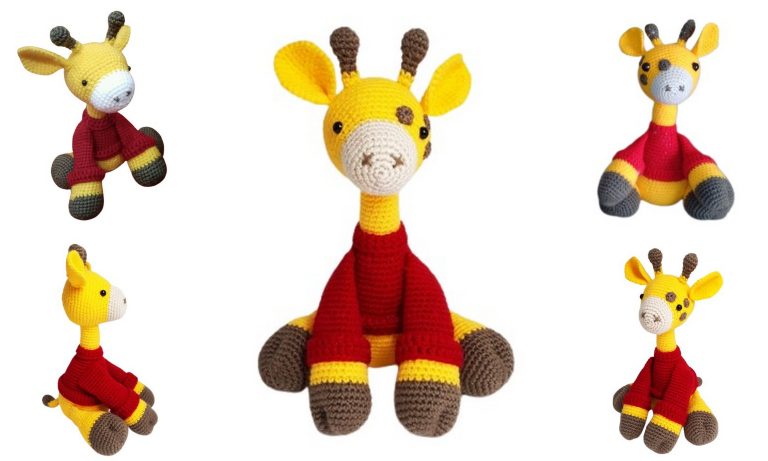
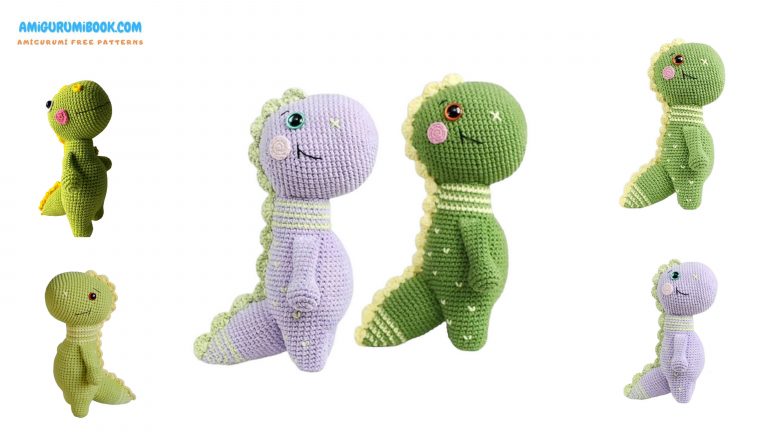
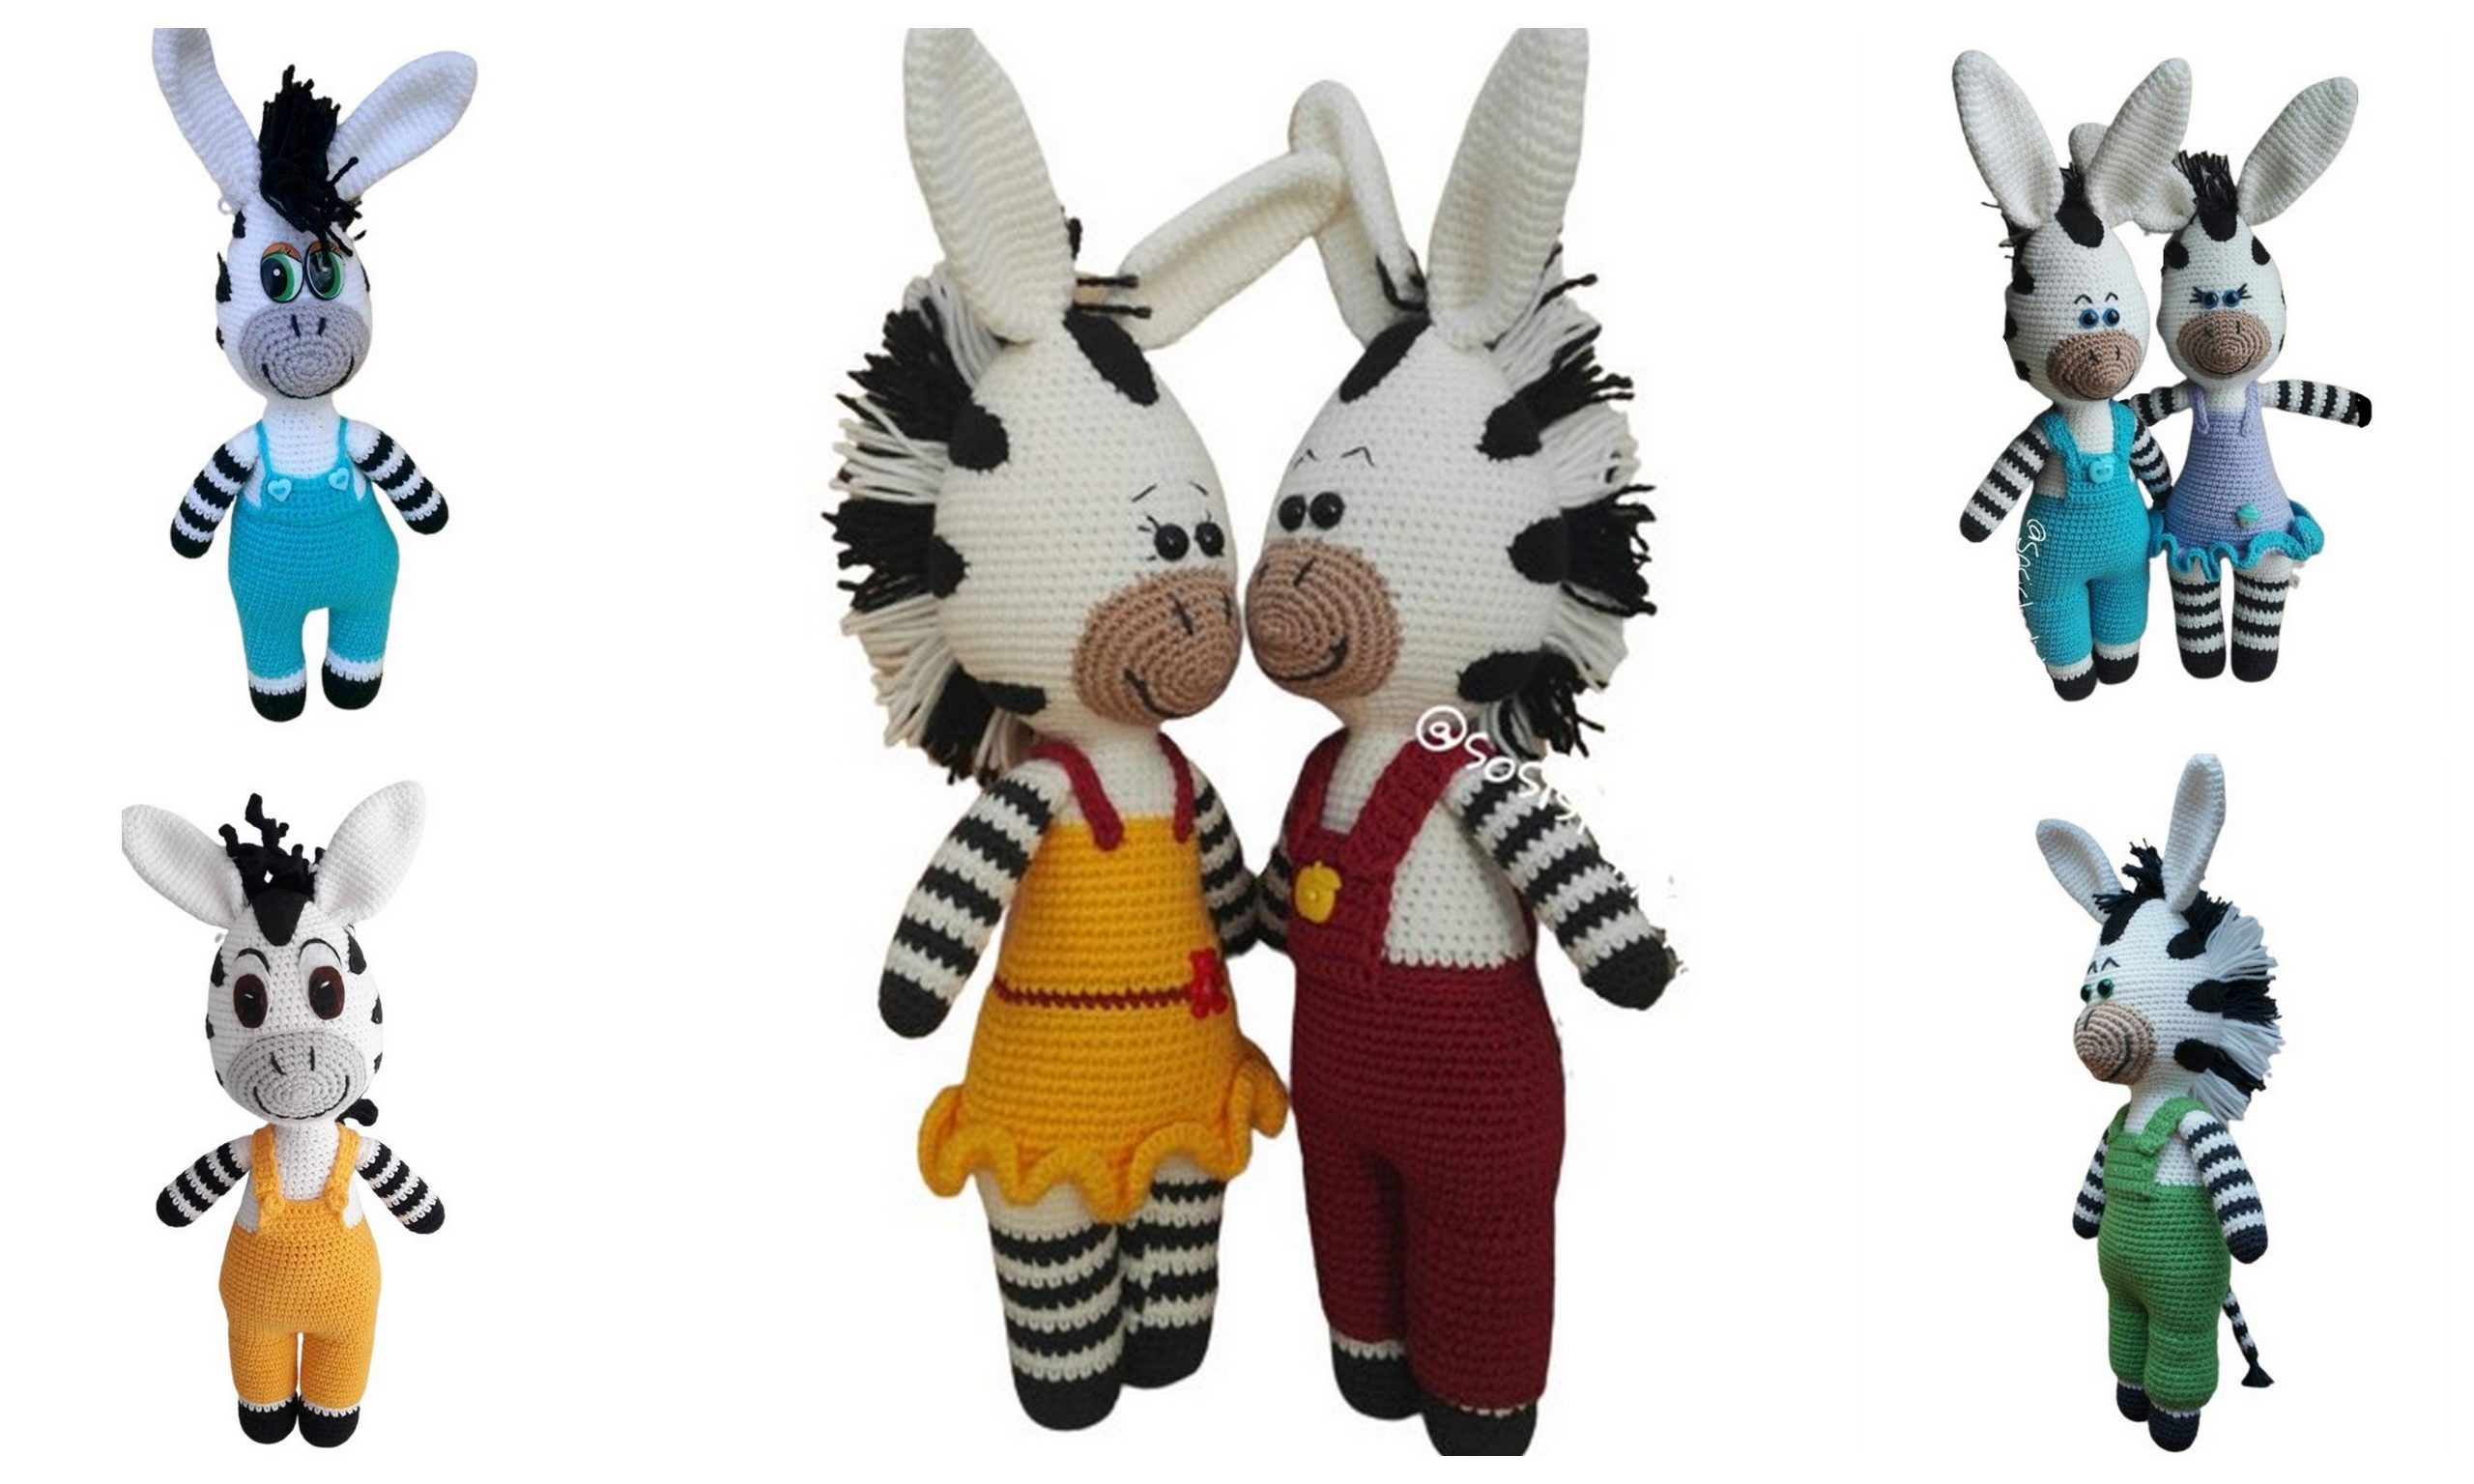
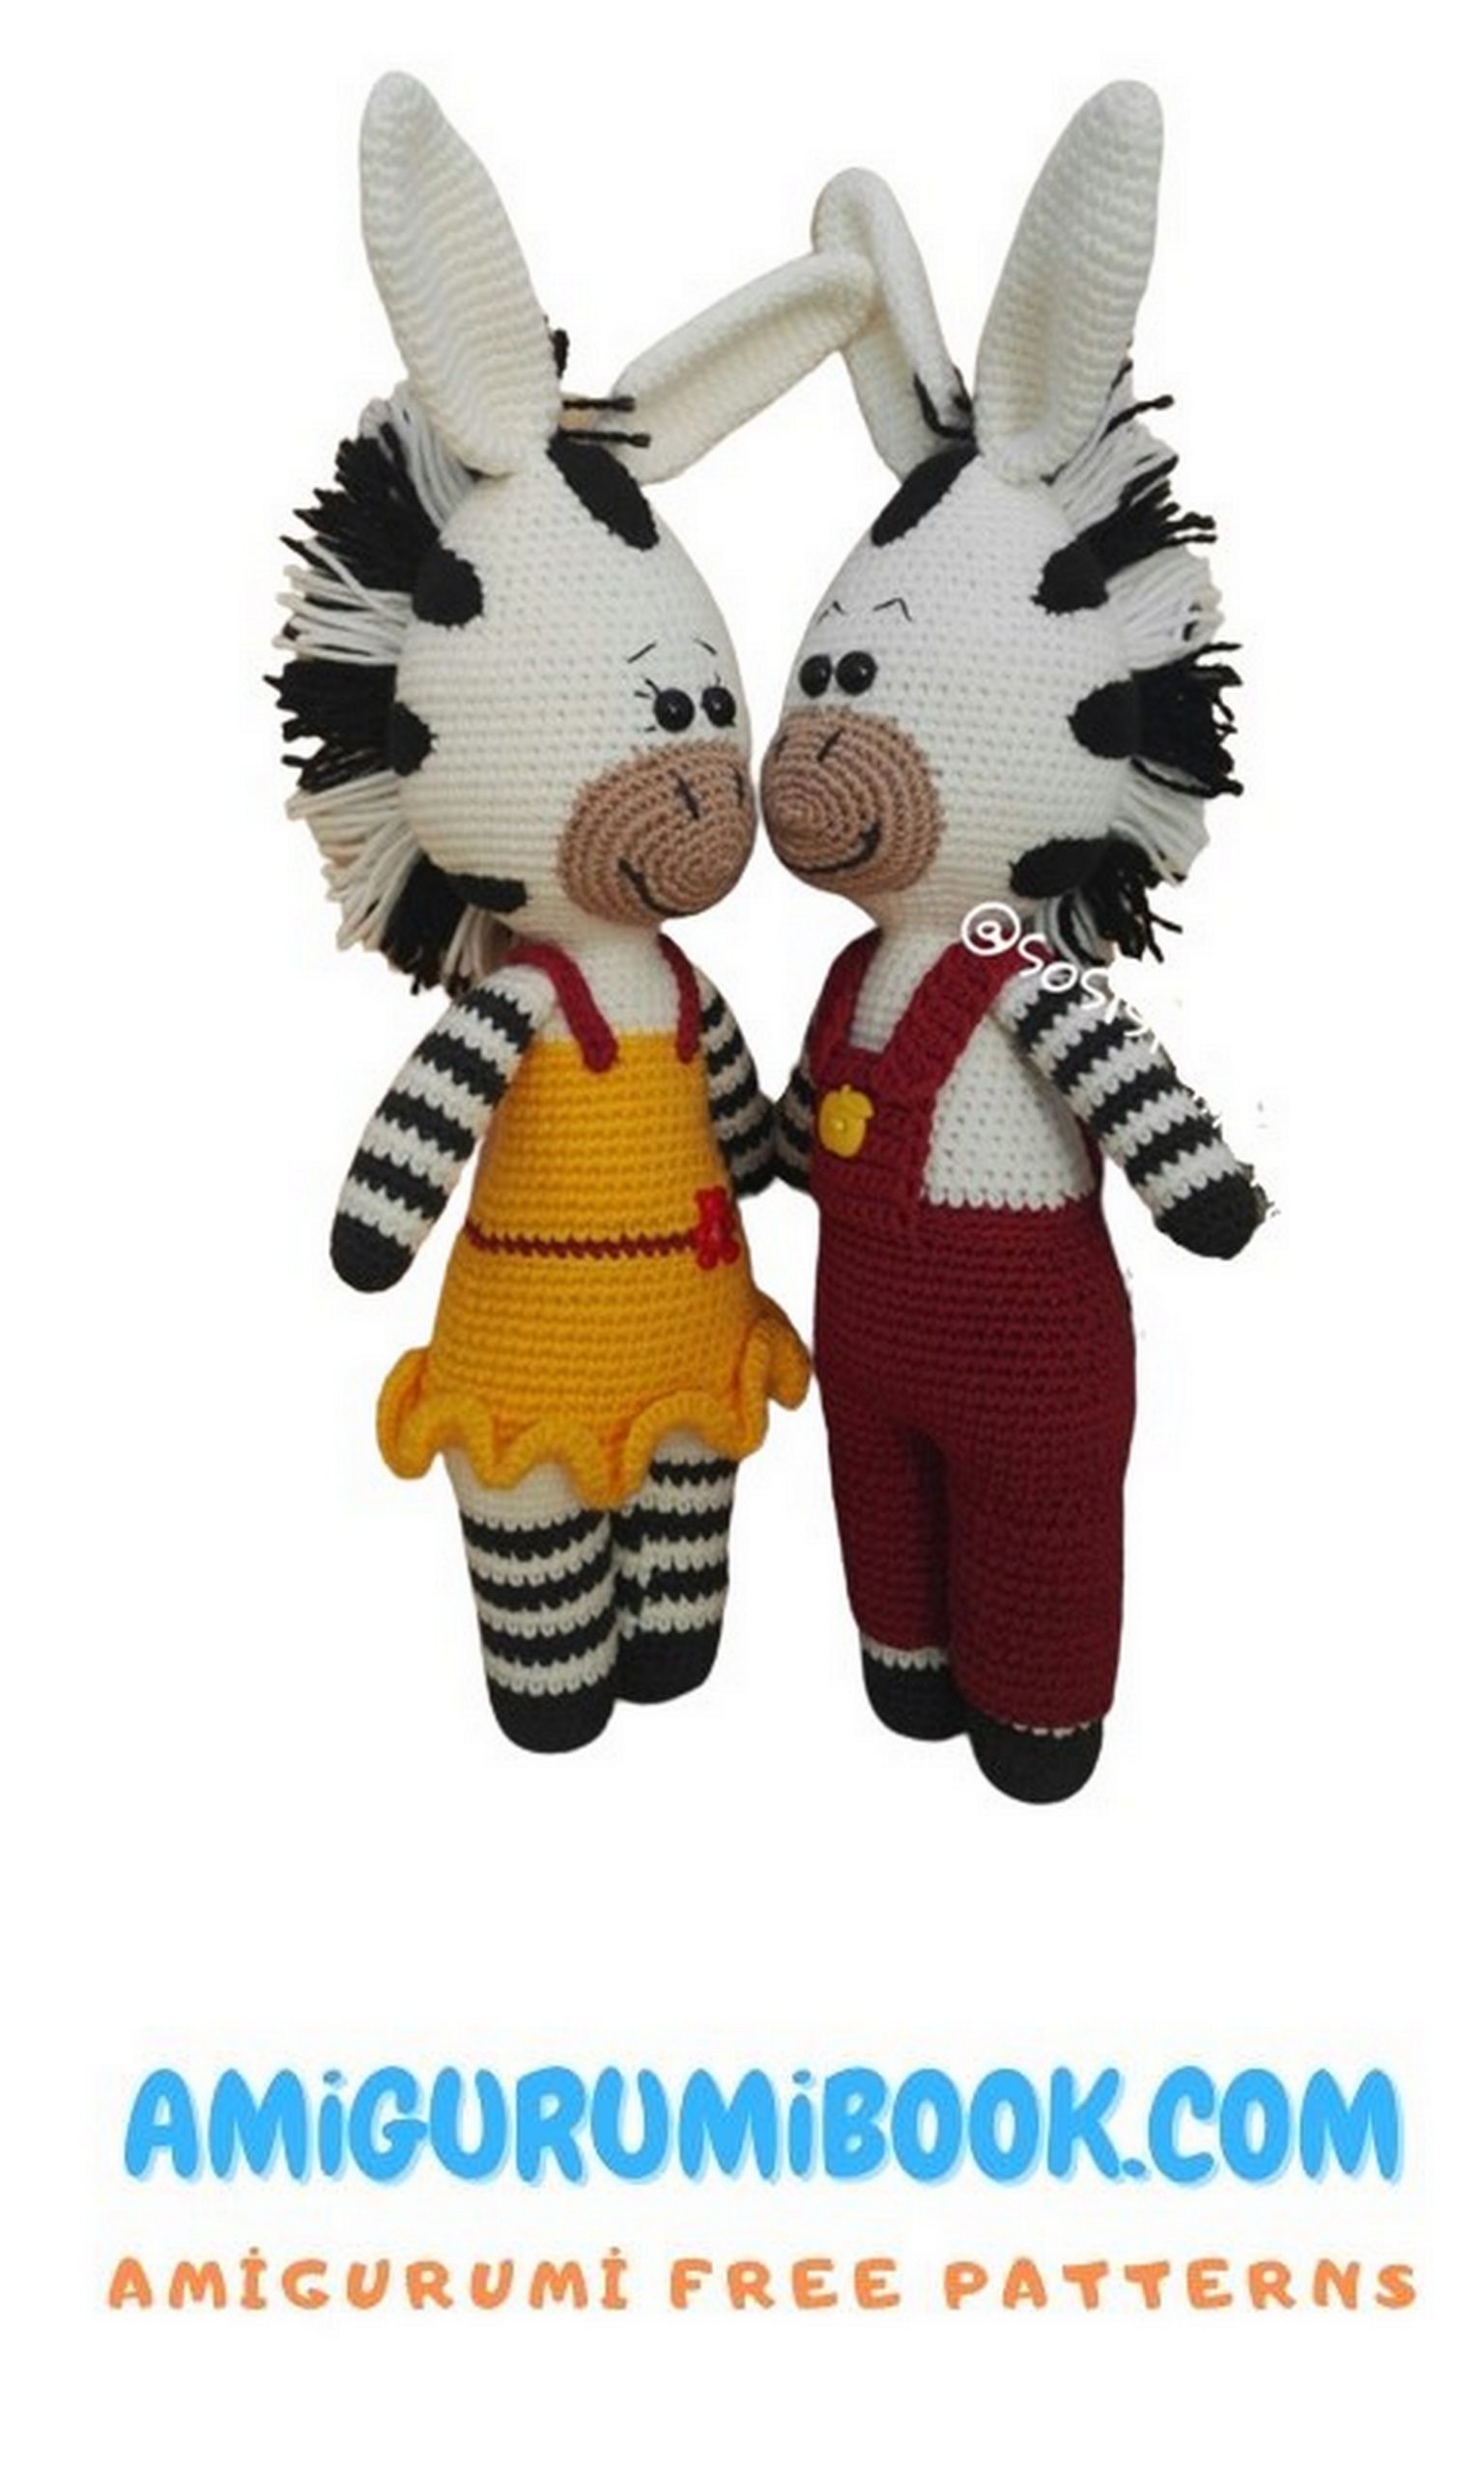
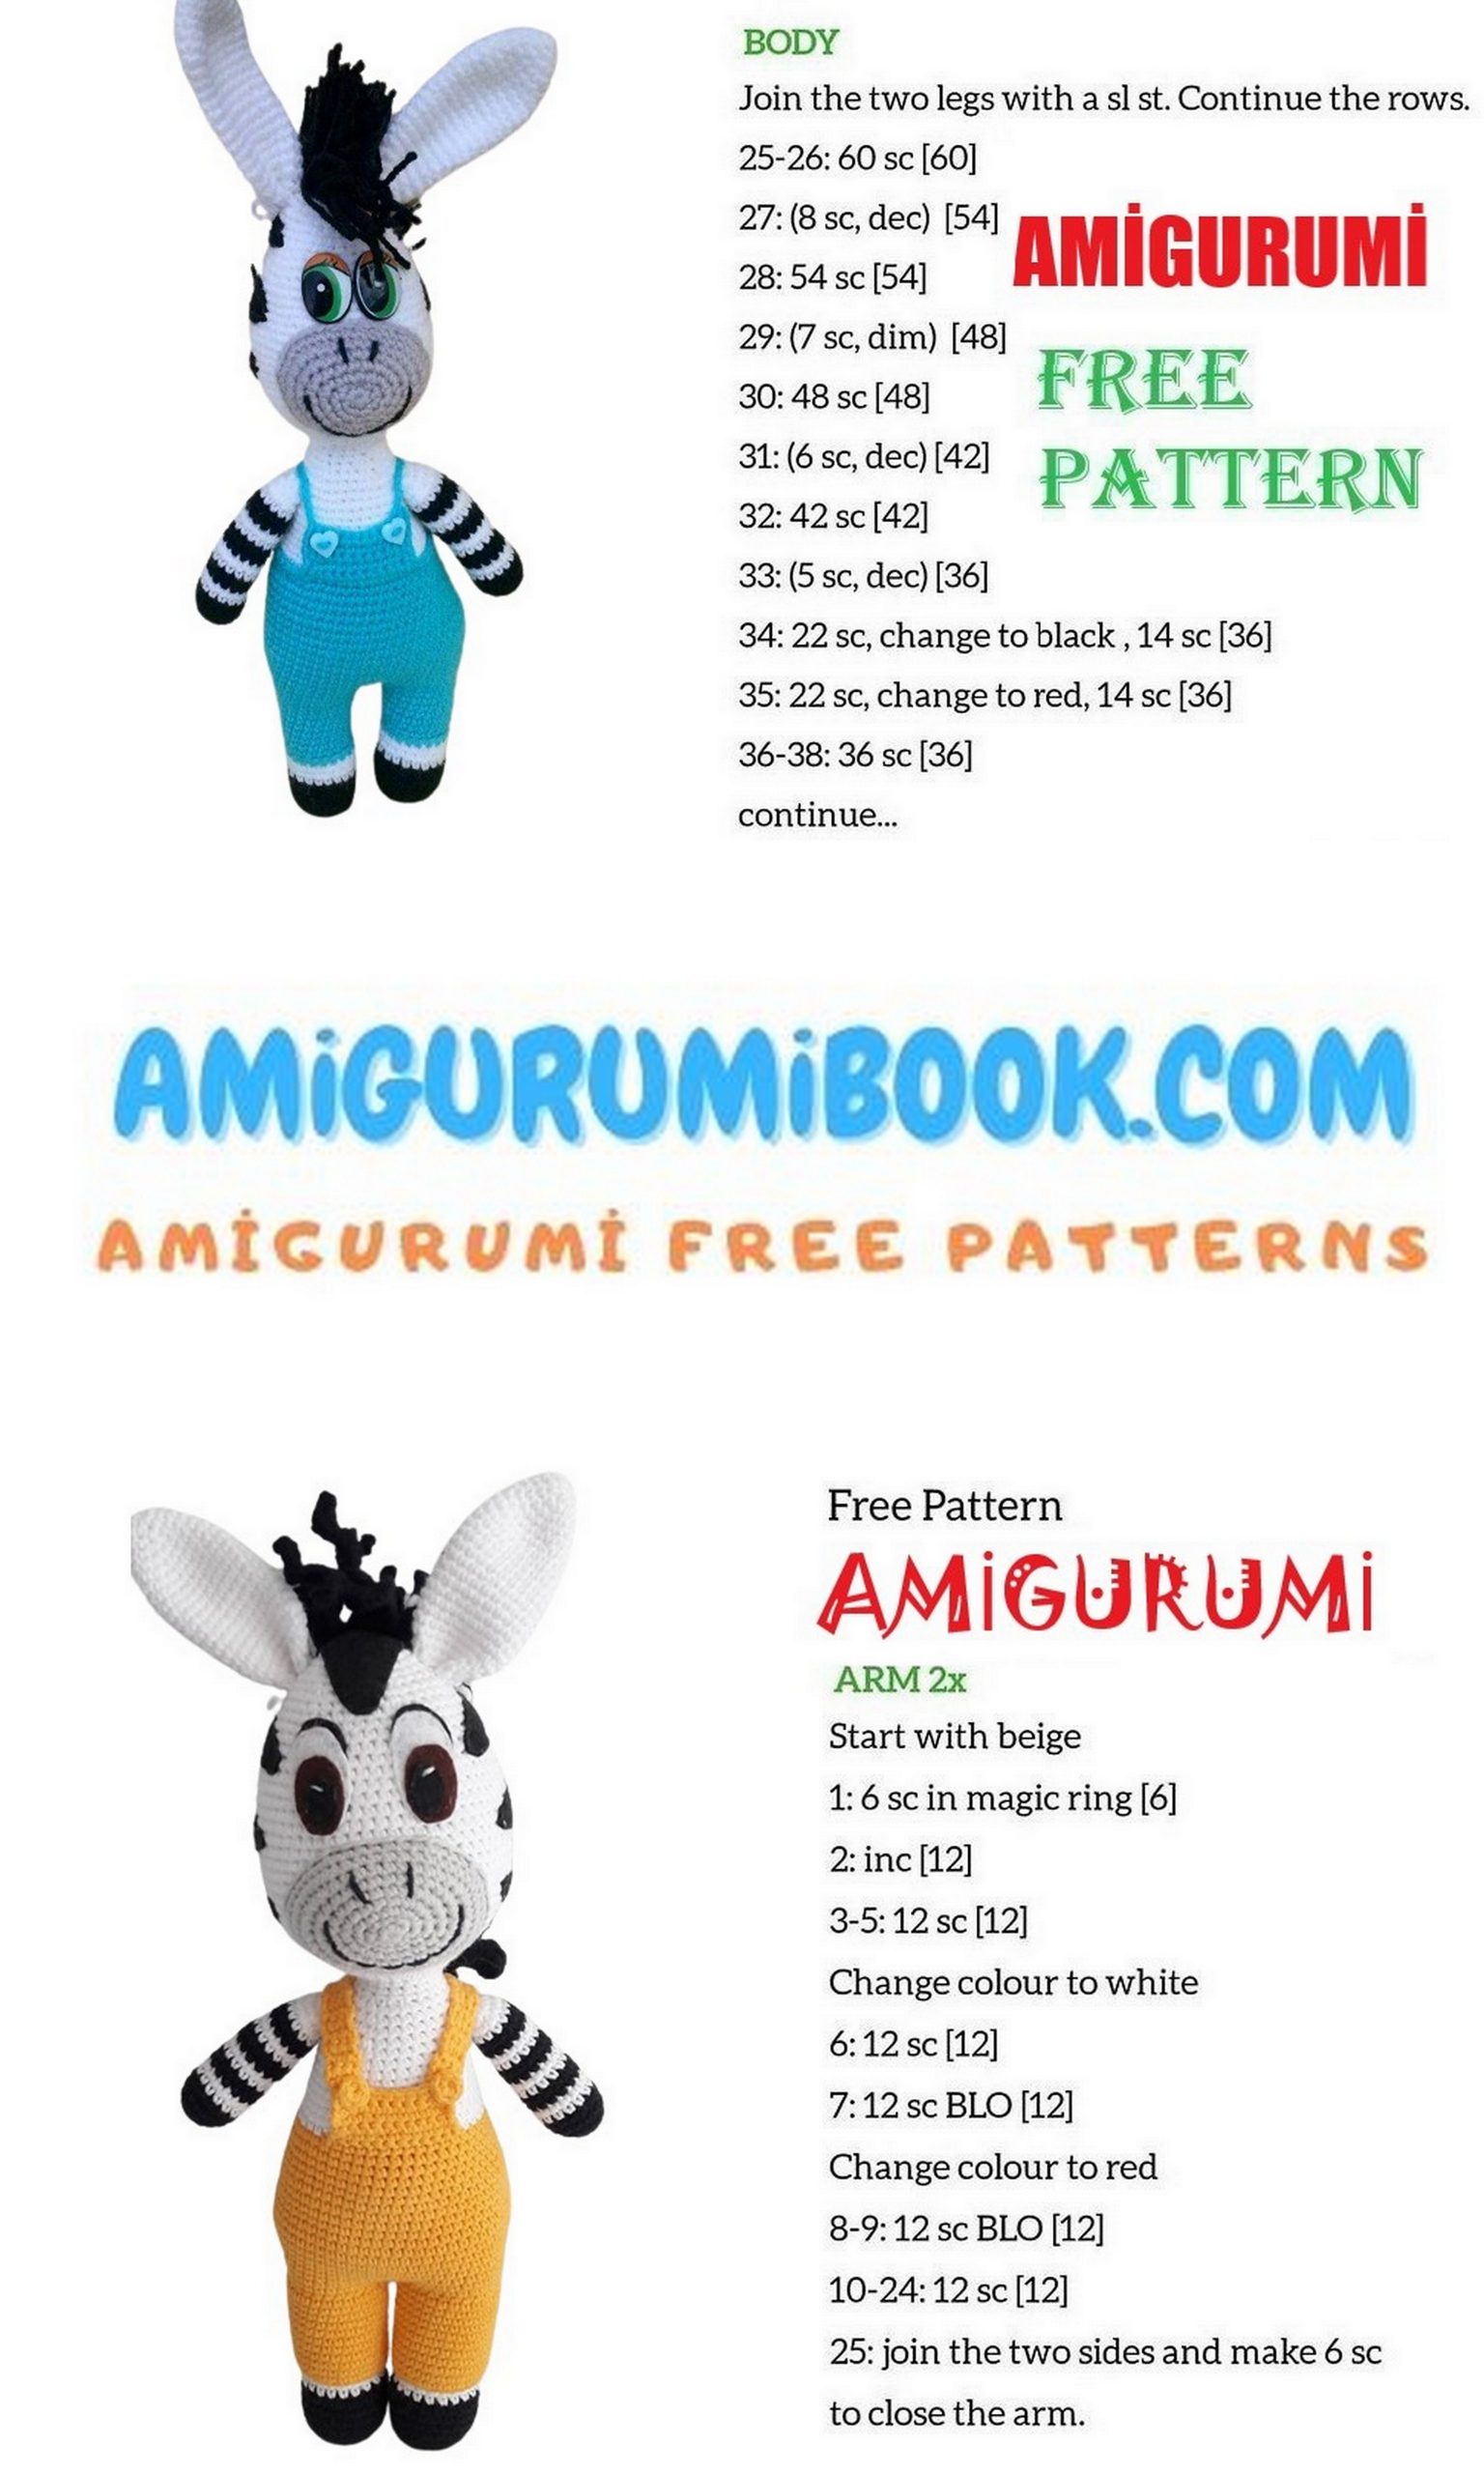
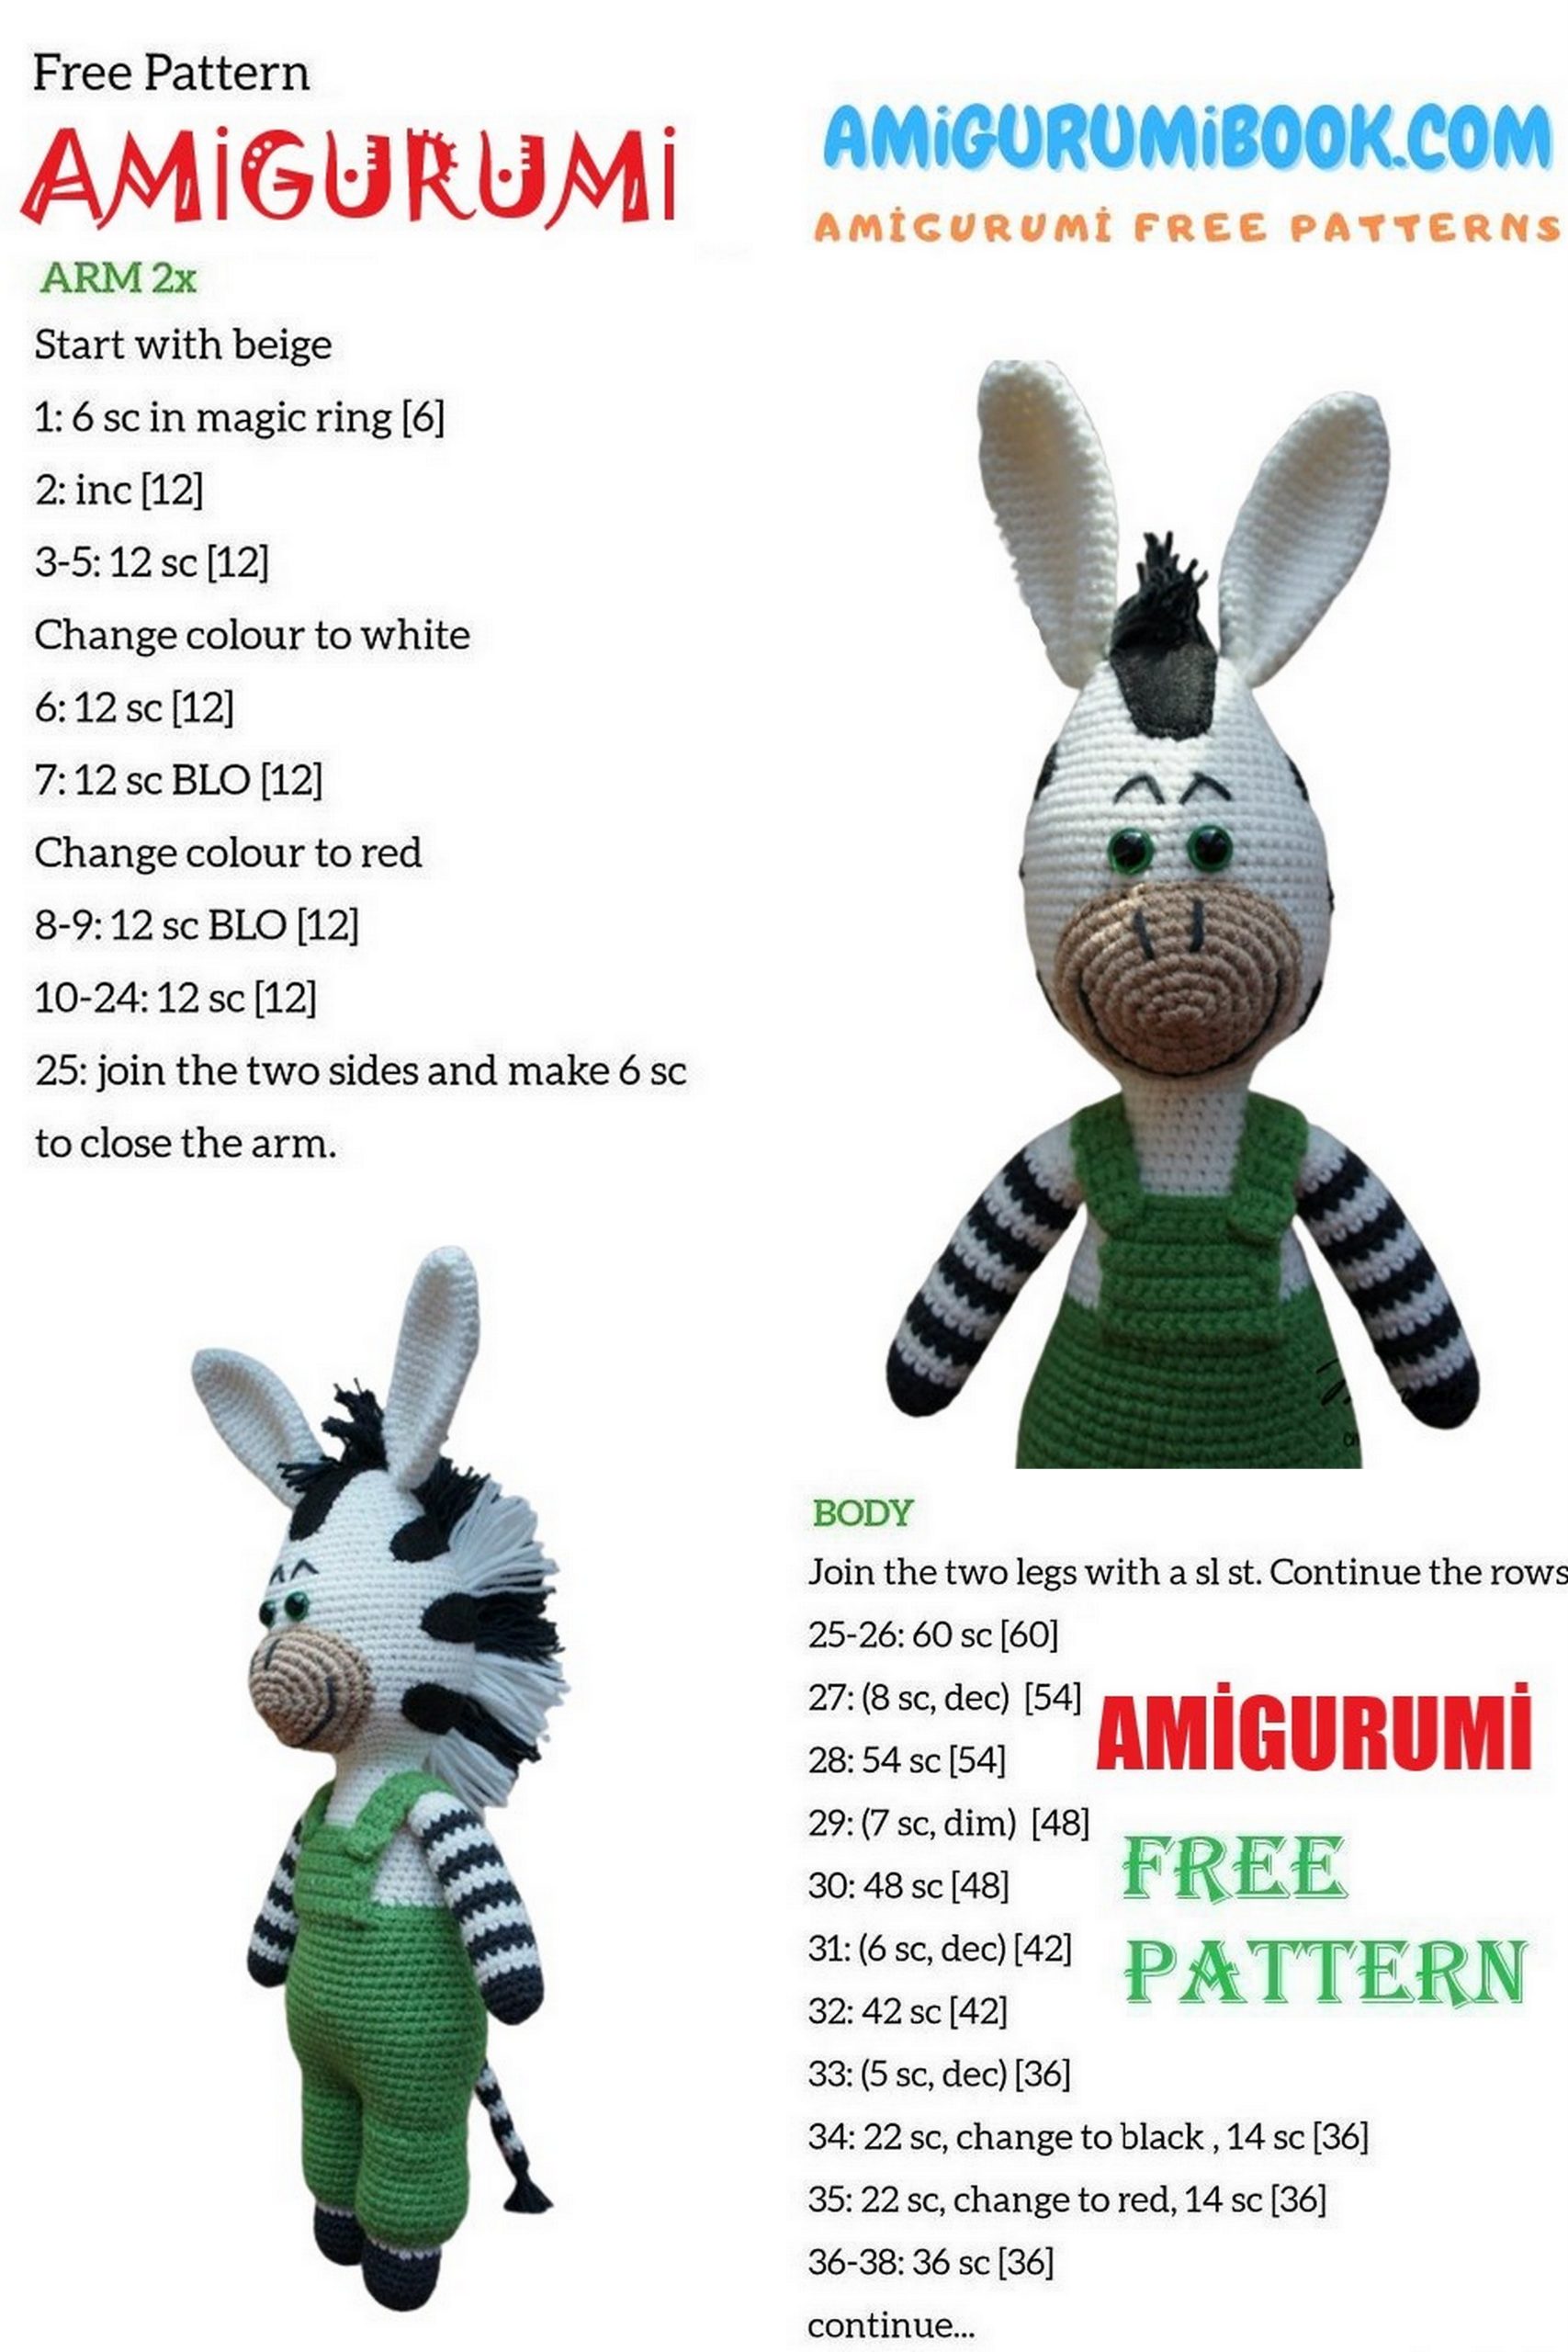
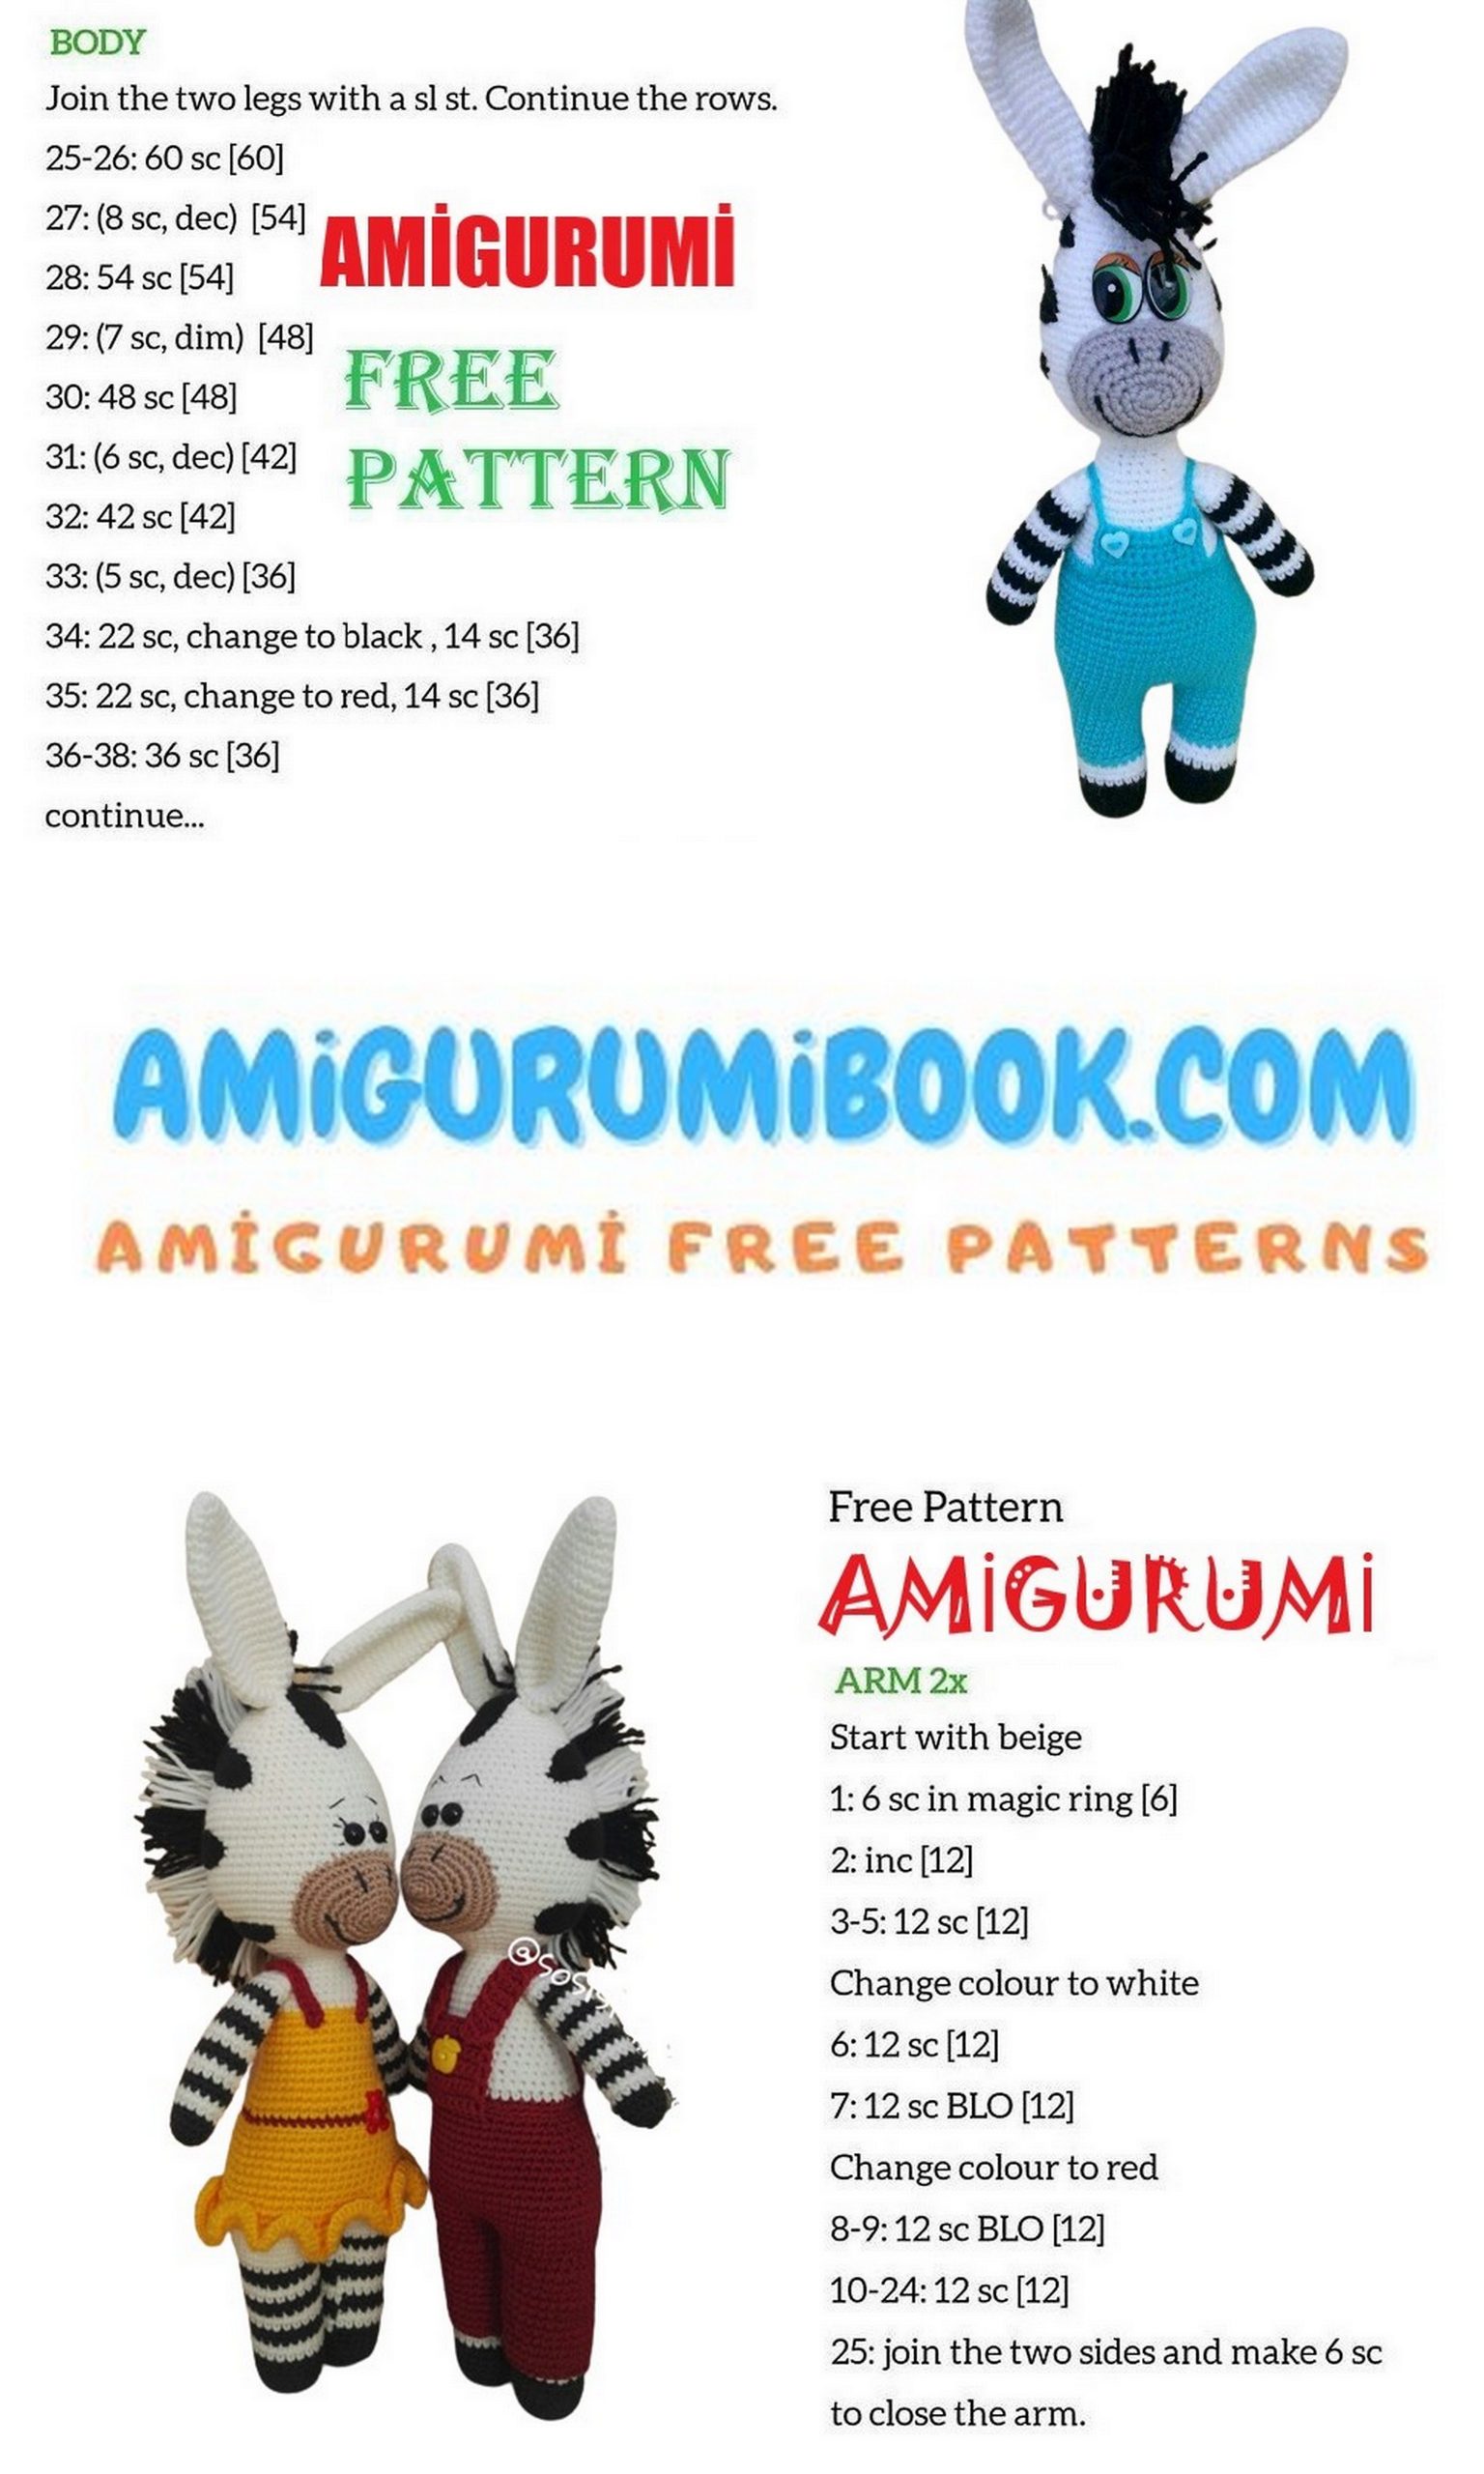
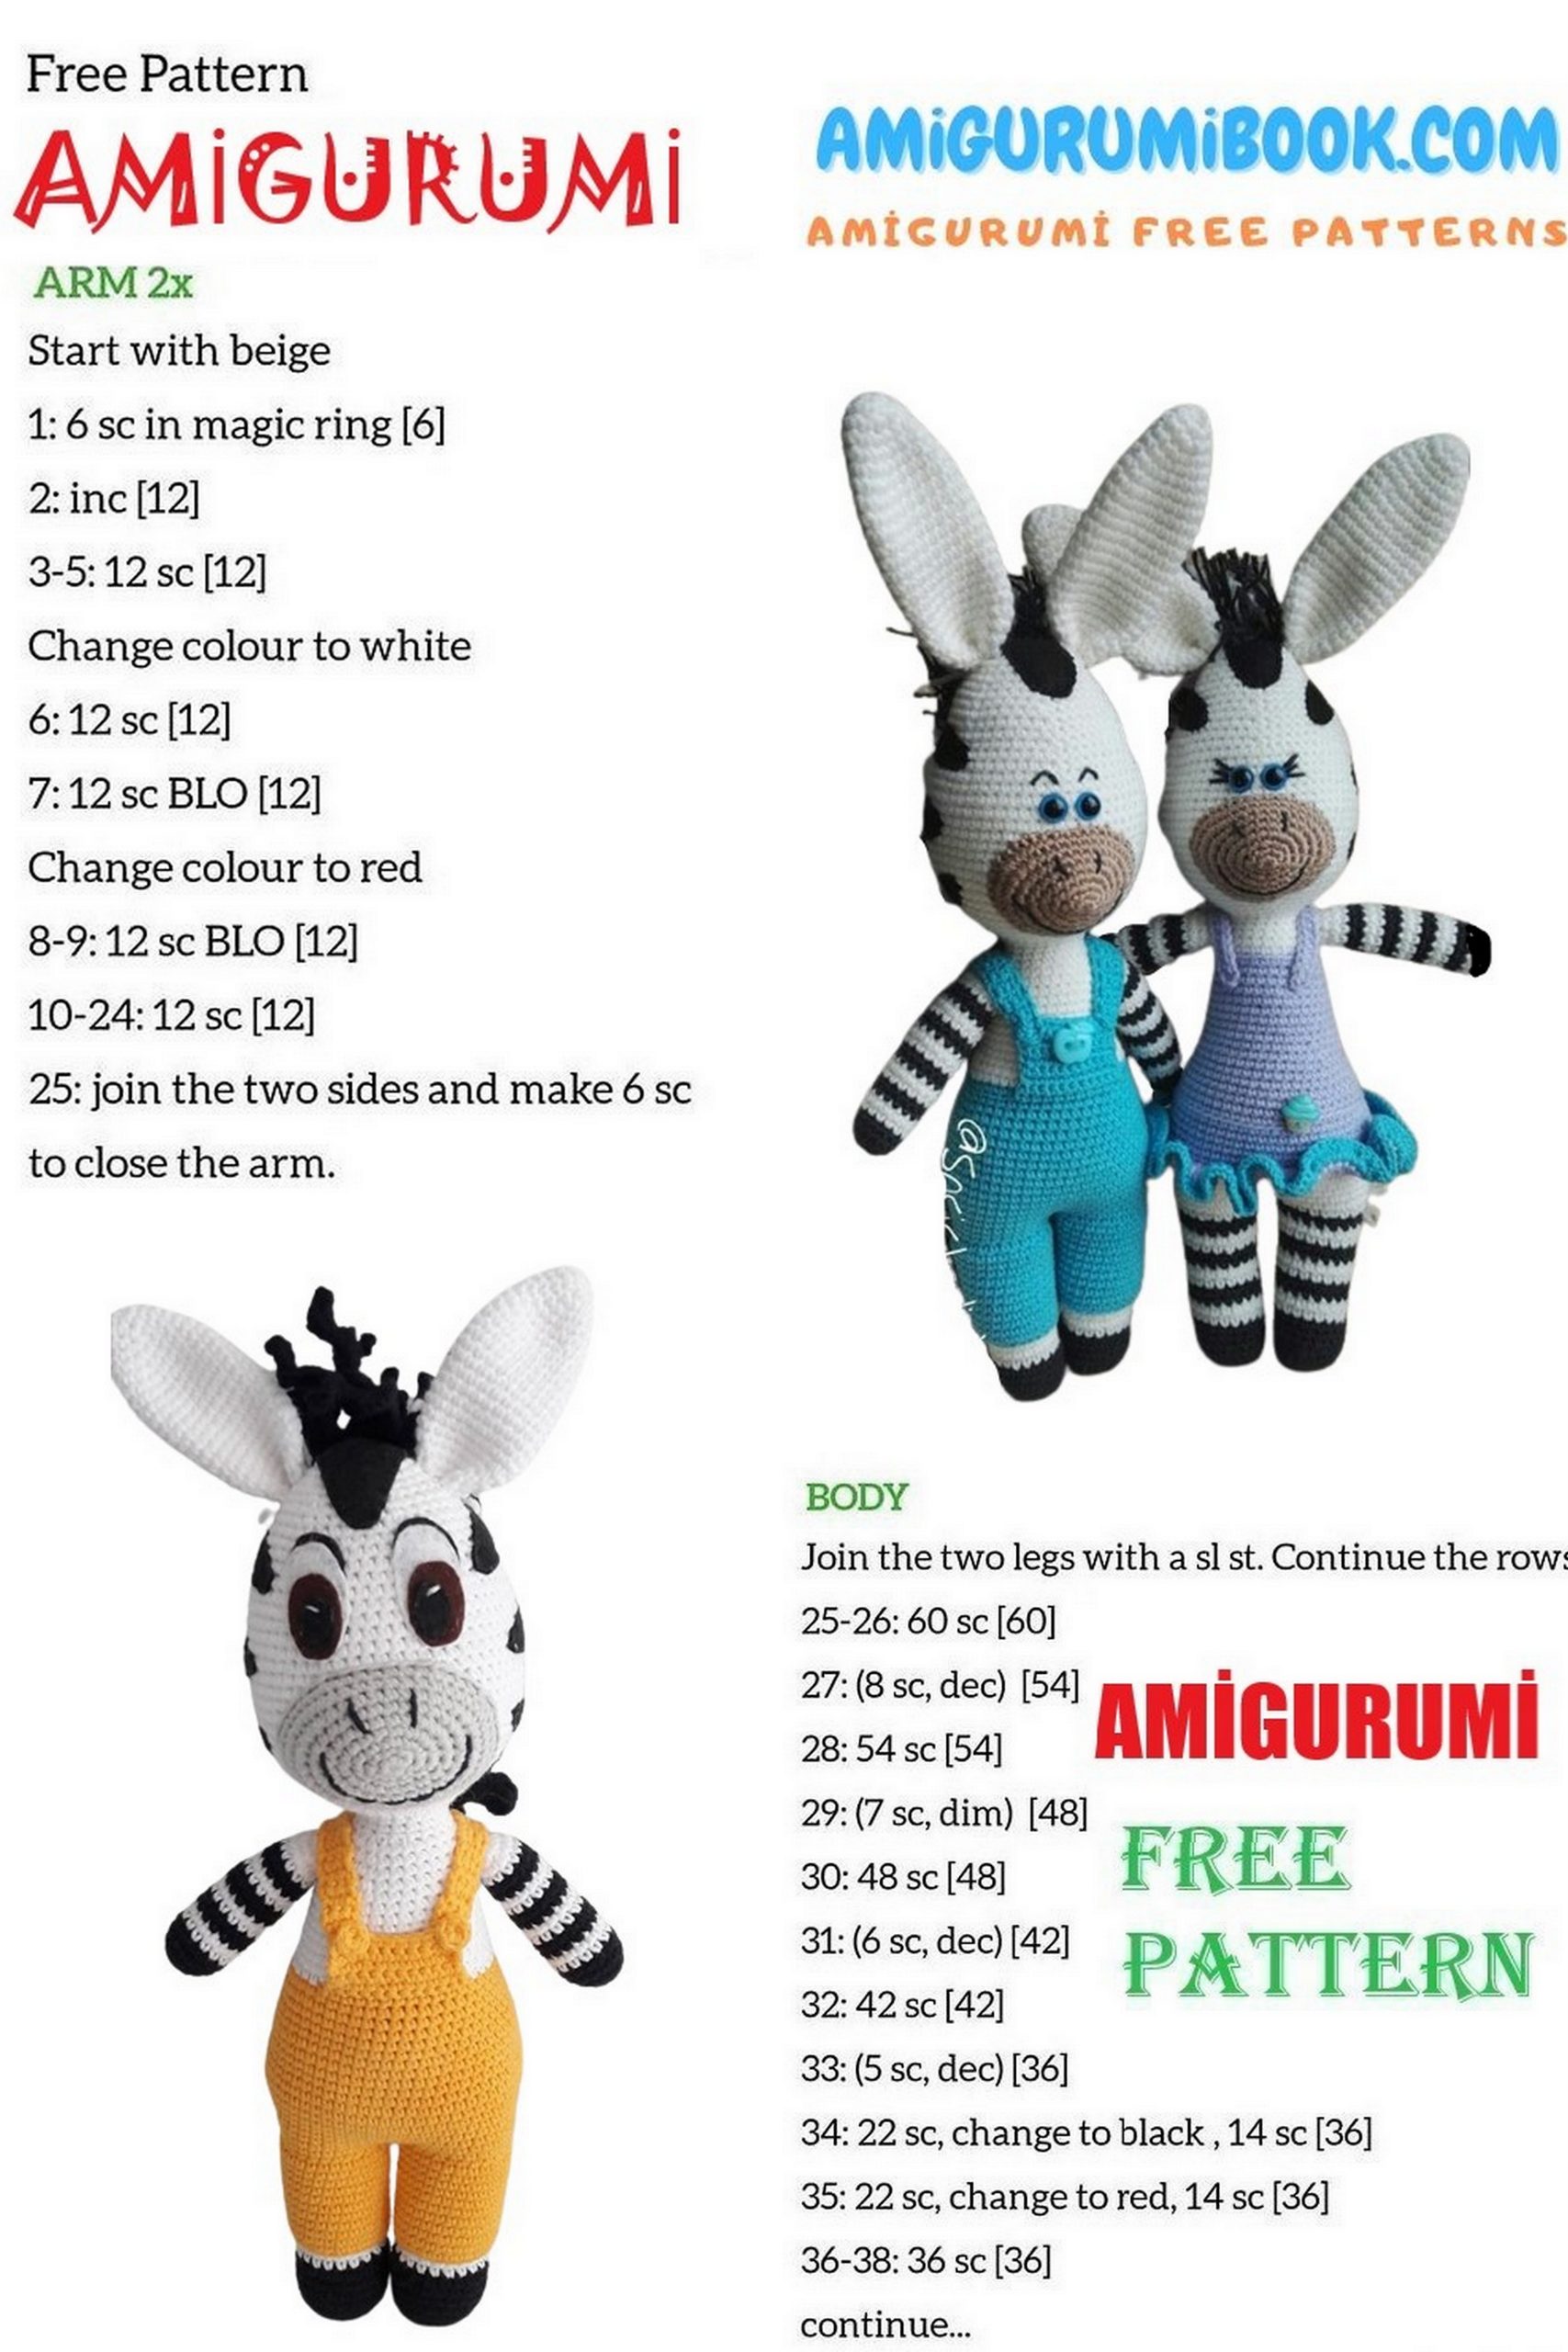
Zebra Couple Amigurumi Free Pattern
In this article I will share with you amigurumi zebra free crochet pattern. We always keep you up-to-date with Amigurumi.
Abbreviations:
CH – chain
SC – single crochet
İNC – increase
DEC – decrease
sl-st- slip-stitch
PATTERN
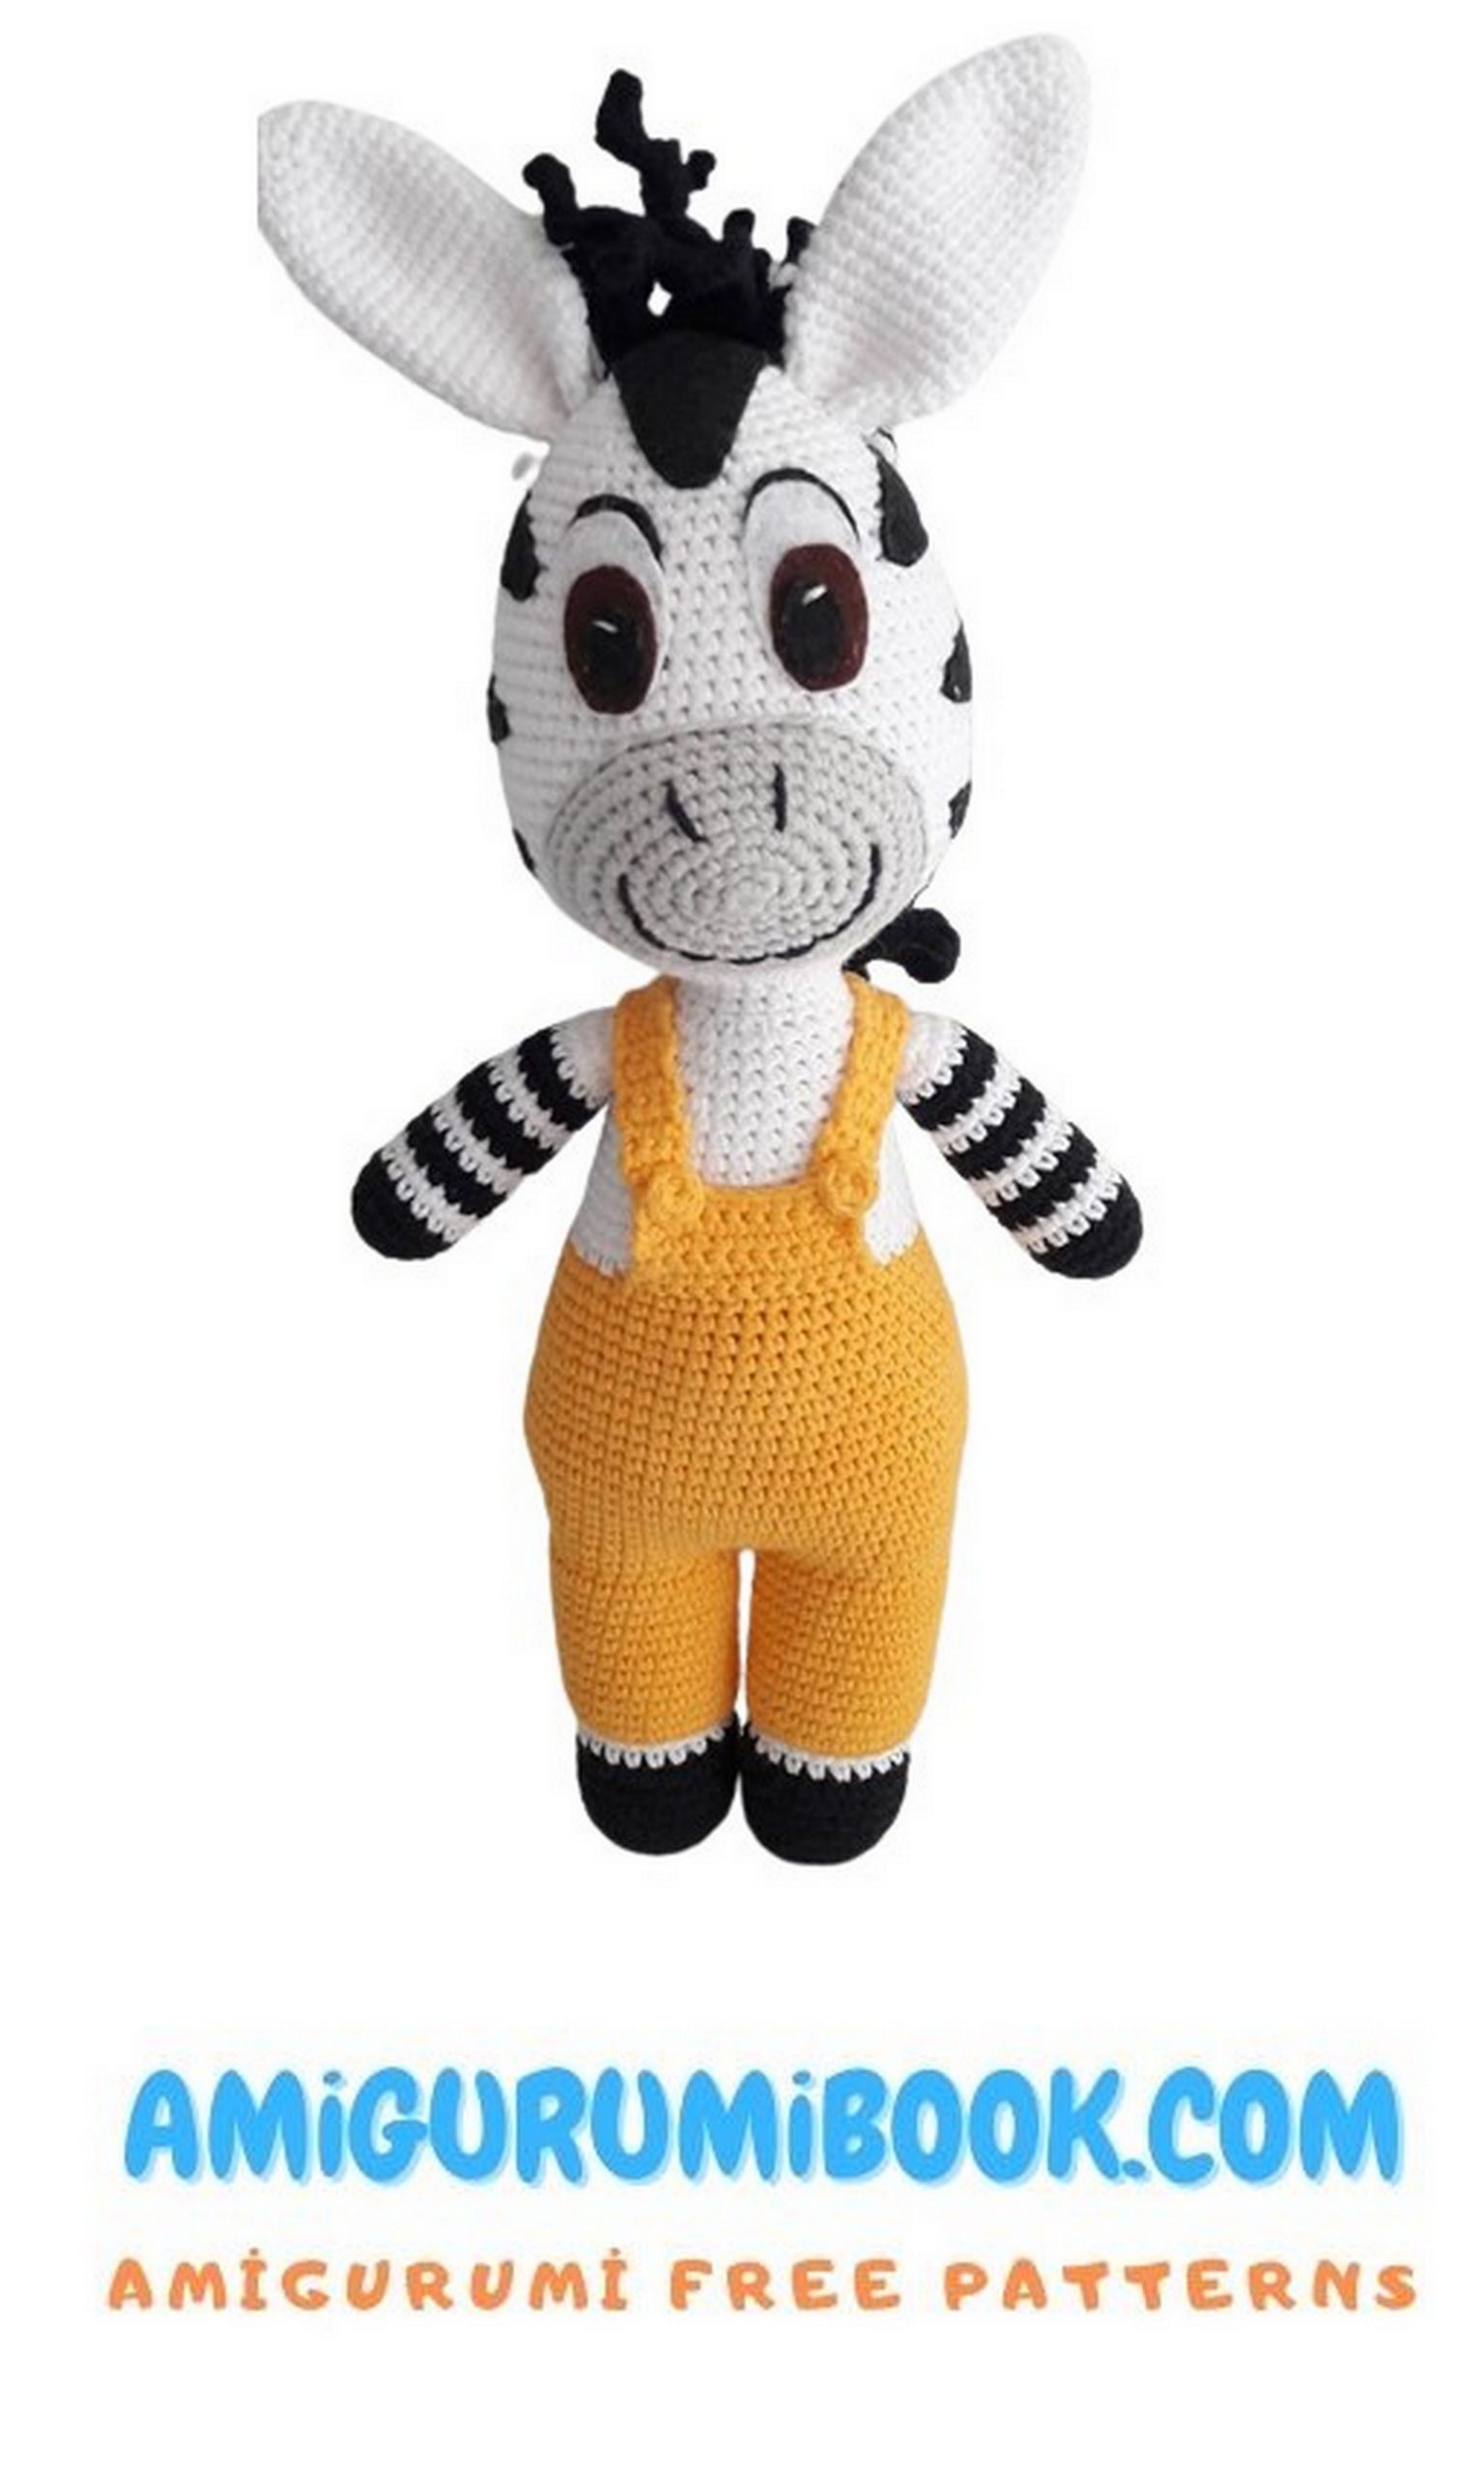
Stage 1: legs and body.
I crochet 2.5 of Crochet yarn, it turns out quite tightly.
We will need white and black yarn (2 pcs) on our feet.
We start with black yarn, then in the 10th row we change to white.
1.5 sc into magic ring
2.5 increase (10)
3. (inc, sc) * 5p (15)
4. (inc, sc) * 7p (22)
5.22 sc behind the back of the loop
6-9. 22 sc in a circle (4 rows)
10. white thread. (dec, 9 sc) * 2p (20)
11-21. 20 sc in a circle (11 rows)
22. (2 sc, inc) * 6p, 2sc (26)
Leg – red yarn (mine), 2 pcs.
1. Close a chain of 28 VP into the ring with a connecting loop, knit 28 sc.
2-10. 28 sc in a circle (9 rows)
11. (sc, dec, 11 sc) * 2p (26)
After you finish the last (11th row) do not cut the thread, you will need it to tie the leg to the leg. Now we need to connect the red leg with the white part of the leg. Insert your foot into the leg and knit together at the same time one loop from the leg and one from the leg (row 12). Repeat for the second leg. and trouser legs.
Now you need to connect both legs. Keep them together. Now, sc, connect one loop from the first leg and one from the second, knitting them together. This first loop will be the beginning of the circular row. First sc connected both our legs, so you need to knit the whole circle. Total should get 52 loops = 1 row of ours torso.
Stuff both legs. When the body is ready, it will be much more difficult to do this due to the small inlet size.
The t-shirt is red and white yarn.
1. 52 sc
2. (inc, 25 sc) * 2p (54)
3.13 sc, inc, 26 sc, inc, 13 sc (56)
4.14 sc, inc, 28 sc, inc, 12 sc (58)
5.15 sc, inc, 28 sc, inc. 13 sc (60)
6-7. 60 sc in a circle
8.15 sc, dec, 29 sc, dec, 1 sc (58)
9.58 sc (58)
10.15 sc, dec, 13 sc, dec, 13 sc, dec, 11 sc (55)
11.55 sc (55)
12.14 sc, dec, 13 sc, dec, 11 sc, dec, 11 sc (52)
13.52 sc (52)
14.14 sc, dec, 12 sc, dec, 11 sc, dec, 9 sc (49)
15.49 sc (49)
16.14 sc, dec, 11 sc, dec, 10 sc, dec, 8 sc (46)
17.46 sc (46)
18.14 sc, dec, 10 sc, dec, 9 sc, dec, 7 sc (43)
19. 43 sc in a circle behind the back wall of the loop
20. white thread. 20 sc, dec, 19 sc, dec (41)
21.14 sc, dec, 7 sc, dec, 8 sc, dec, 6 sc (38)
22.38 sc (38)
23.14 sc, dec, 7 sc, dec, 7 sc, dec, 4 sc (35)
24-28 (5 rows) 35 sc (35)
29. 13 sc, dec, 7 sc, dec, 7 sc, dec, 2 sc (32)
30. 32 sc (32)
31. 13 sc, dec, 6 sc, dec, 5 sc, dec, 2 sc (29)
32. 13 sc, dec, 5 sc, dec, 5 sc, dec (26)
33. dec, 8 sc, 3 decreases, 2 sc, dec, 2 sc, 2 decreases (19)
34. dec, 17 sc (18)
We do not break the thread, we continue to knit her head
Stage 2: head and ears
Head.
We continue with a white thread from the body.
1.18 sc n circle
2. (2 sc, inc) * 6p (24
3. (3 sc, inc) * 6p (30)
4. (4 sc, inc) * 6p (36)
5. (5 sc, inc) * 6p (42)
6. (6 sc, inc) * 6p (48)
7. (7 sc, inc) * 6p (54)
8. (8 sc, inc) * 6p (60)
9-22. 60 sc in a circle (14 rows)
23. (dec, 8 sc) * 6p (54)
24. 54 sc in a circle
25. (dec, 7 sc) * 6p (48)
26. 48 sc in a circle
27. (dec, 6sc) * 6p (42)
28. 42 sc in a circle
29. (dec, 5 sc) * 6p (36)
30. 36 sc in a circle
31. (dec, 4 sc) * 6p (30)
32. 30 sc in a circle
33. (dec, 3 sc) * 6p (24)
34.24 sc in a circle
35. (dec, 2 sc) * 6p (18)
36. 18 sc in a circle
37. 9 decreases, tighten the hole and hide the tail.
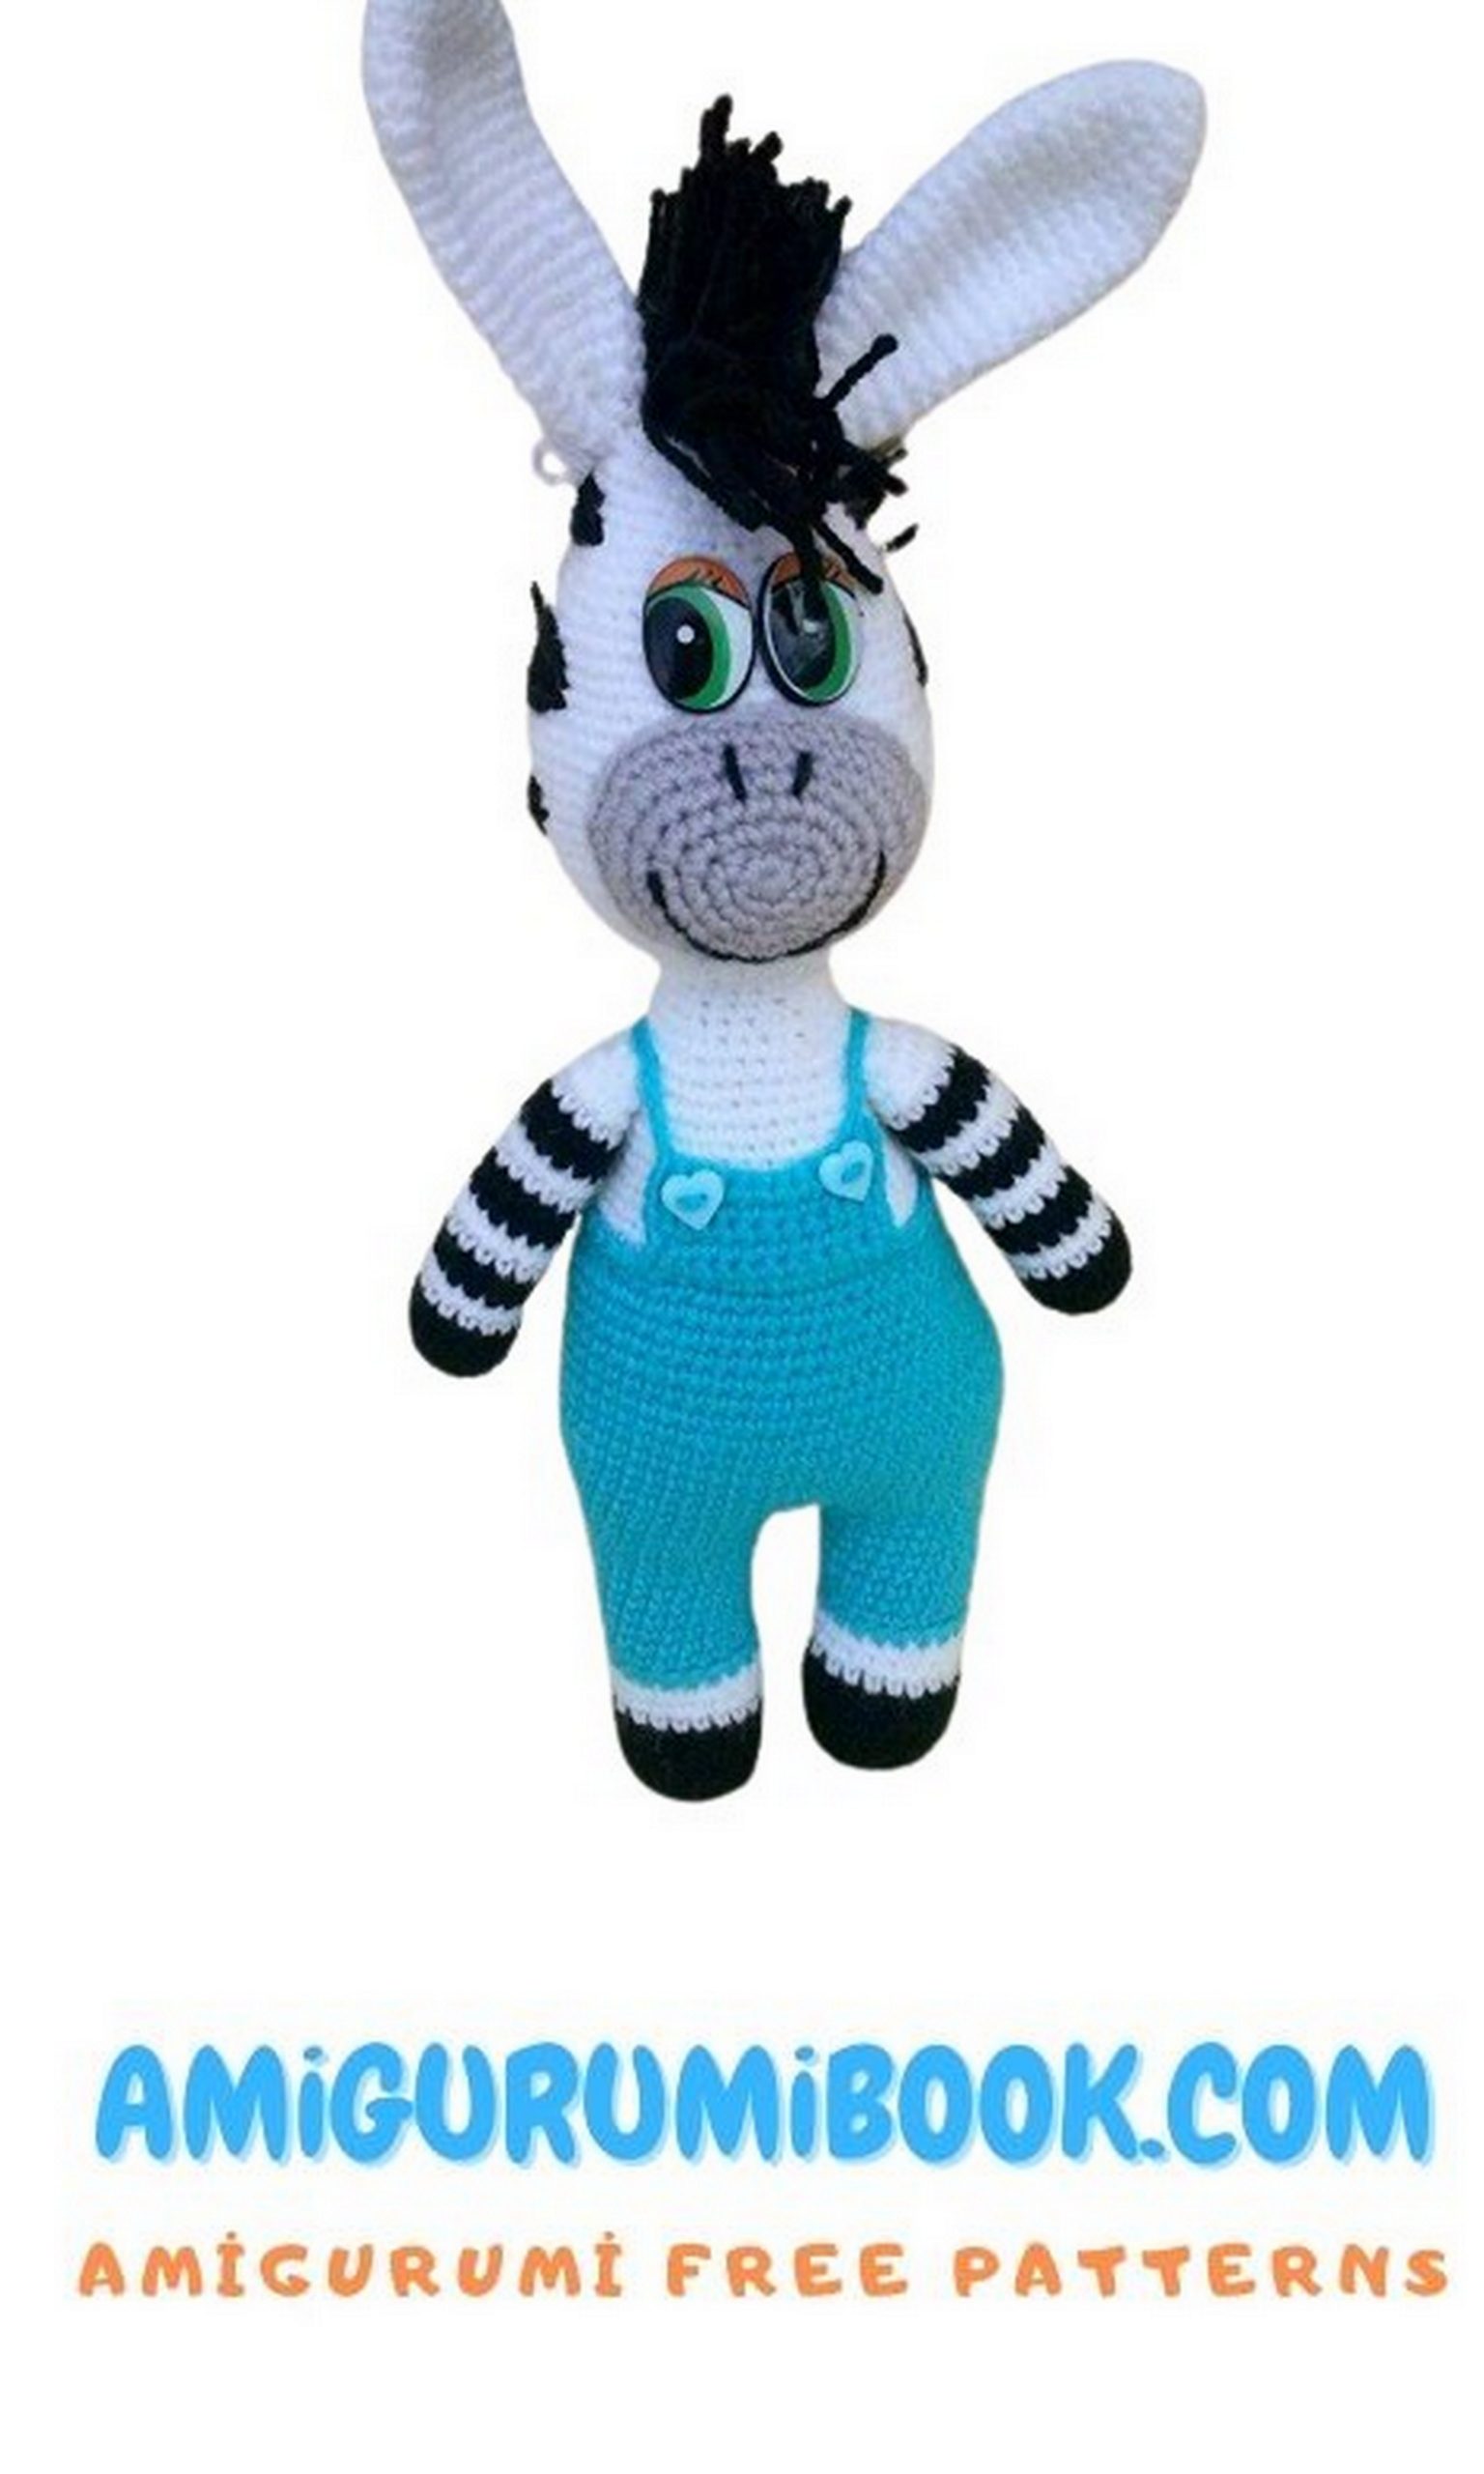
I use screw eyes. It is important not to forget to insert them at the knitting stage. I insert on the 20th row when we knit 14 rows without increments. Then everyone decides for himself))) Make eyes in a bunch, or through a gap, higher or lower;)
Ears (2 pcs)
White thread.
1.4 sc into magic ring
2.4 increase (8)
3. (inc, 3 sc) * 2p (10)
4. (inc, 4 sc) * 2p (12)
5. (inc, 5 sc) * 2p (14)
6. (inc, 6 sc) * 2p (16)
7. (inc, 7 sc) * 2p (18)
8. (inc, 8 sc) * 2p (20)
9-20. 20 sc in a circle (12 rows)
21. (dec, 8 sc) * 2 (18)
22. (dec, 7 sc) * 2p (16)
23. (dec, 6 sc) * 2p (14)
Tighten, make sure that you leave the tail long enough to sew the ears to the head. The ears do not stuff.
We will sew on later;)
And now about the Zebra girl.
I knit this couple always at the same time 🙂
The knitting pattern is the same, with a few exceptions.
Legs without panties, which means alternating rows of black and white, because it’s a zebra! )) I knit two rows of white, two black. 22 row in legs I get black (26 sc). 23 row – we connect both legs (52 sc). Next, I again knit a row in 52 sc so that the legs are the same length as Zebrenysh (he has longer pants because of his panties).
So we already get 2 rows from the beginning of the body:
1. 52 sc
2. 52 sc.
Next, we knit according to the scheme of their 1 stage.
6-7 rows, when you reach 60 sc I start to knit a dress. So the 6th row we change the thread to a colored one for the dress. 7 we knit a row for the back loop, so that later we tie a skirt.
We knit 8-16 rows according to stage 1.
17 row I changed the color of the thread to make a belt. I knit on the back wall of the loop.
18. a row according to the scheme of 1 stage and the color is changed to the color of the dress.
We knit 19-28 according to the scheme from the 1st stage with a colored thread (we continue the dress; in the 19th row behind the back wall of the loop do not knit, usually knit).
29. a row we change the thread to white and knit behind the back wall of the loop (the dress is finished), then continue white thread according to the scheme of 1 stage and knit the head according to 2 stages.
Frill.
In the 7th row, we knit the front wall of the loop without an increase of 60 sc
8a. into magic ring each loop in increments = 120 sc
9a. into magic ring each loop in increments = 240 sc
Hide the thread.
I sew the button at the junction, where it is clear that the color is changing.
Stage 3: pens and muzzle
Pens (black and white yarn), do not forget to stuff before closing.
1.black 5 sc into magic ring
2.black İnc * 5p (10)
3.black (inc, 1sc) * 5p (15)
4-5. black 15 sc in a circle
6-7. white 15 sc in a circle
8-9. black 15 sc in a circle
10-11. white 15 sc in a circle
12-13. black 15 sc in a circle
14-15. white 15 sc in a circle
16-17. black 15 sc in a circle
18-19. white 15 sc in a circle
20-21. black 15 sc in a circle
22. white 15 sc in a circle
23.White 14 sc, inc (16)
24.white (dec, 2 sc) * 4p (12)
25. white (dec, sc) * 4p (8)
Tighten, leave the tail to sew the handle to the body. Also tie the second handle.
Muzzle.
I knit with beige yarn, someone saw, knits with gray. You decide 🙂
1.6 sc
2. (inc, 2 sc) * 2p (8)
3. (3 increments, sc) * 2p (14)
4.sc, 3 increments, 5 sc, 3 increments, 2 sc (20)
5.2 sc, 3 increments, 8 sc, 3 inc, 4 sc (26)
6.2 sc, 4 inc, 10 sc, 4 inc, 6 sc (34)
7.3 sc, 6 inc, 10 sc, 6 inc, 9 sc (46)
8. 46 sc in a circle.
Leave a long end for sewing. With a needle for stitching, embroider a smile and nostrils with black thread. Then we sew the muzzle to the head, without making it too stretched and flat, add a little filler.
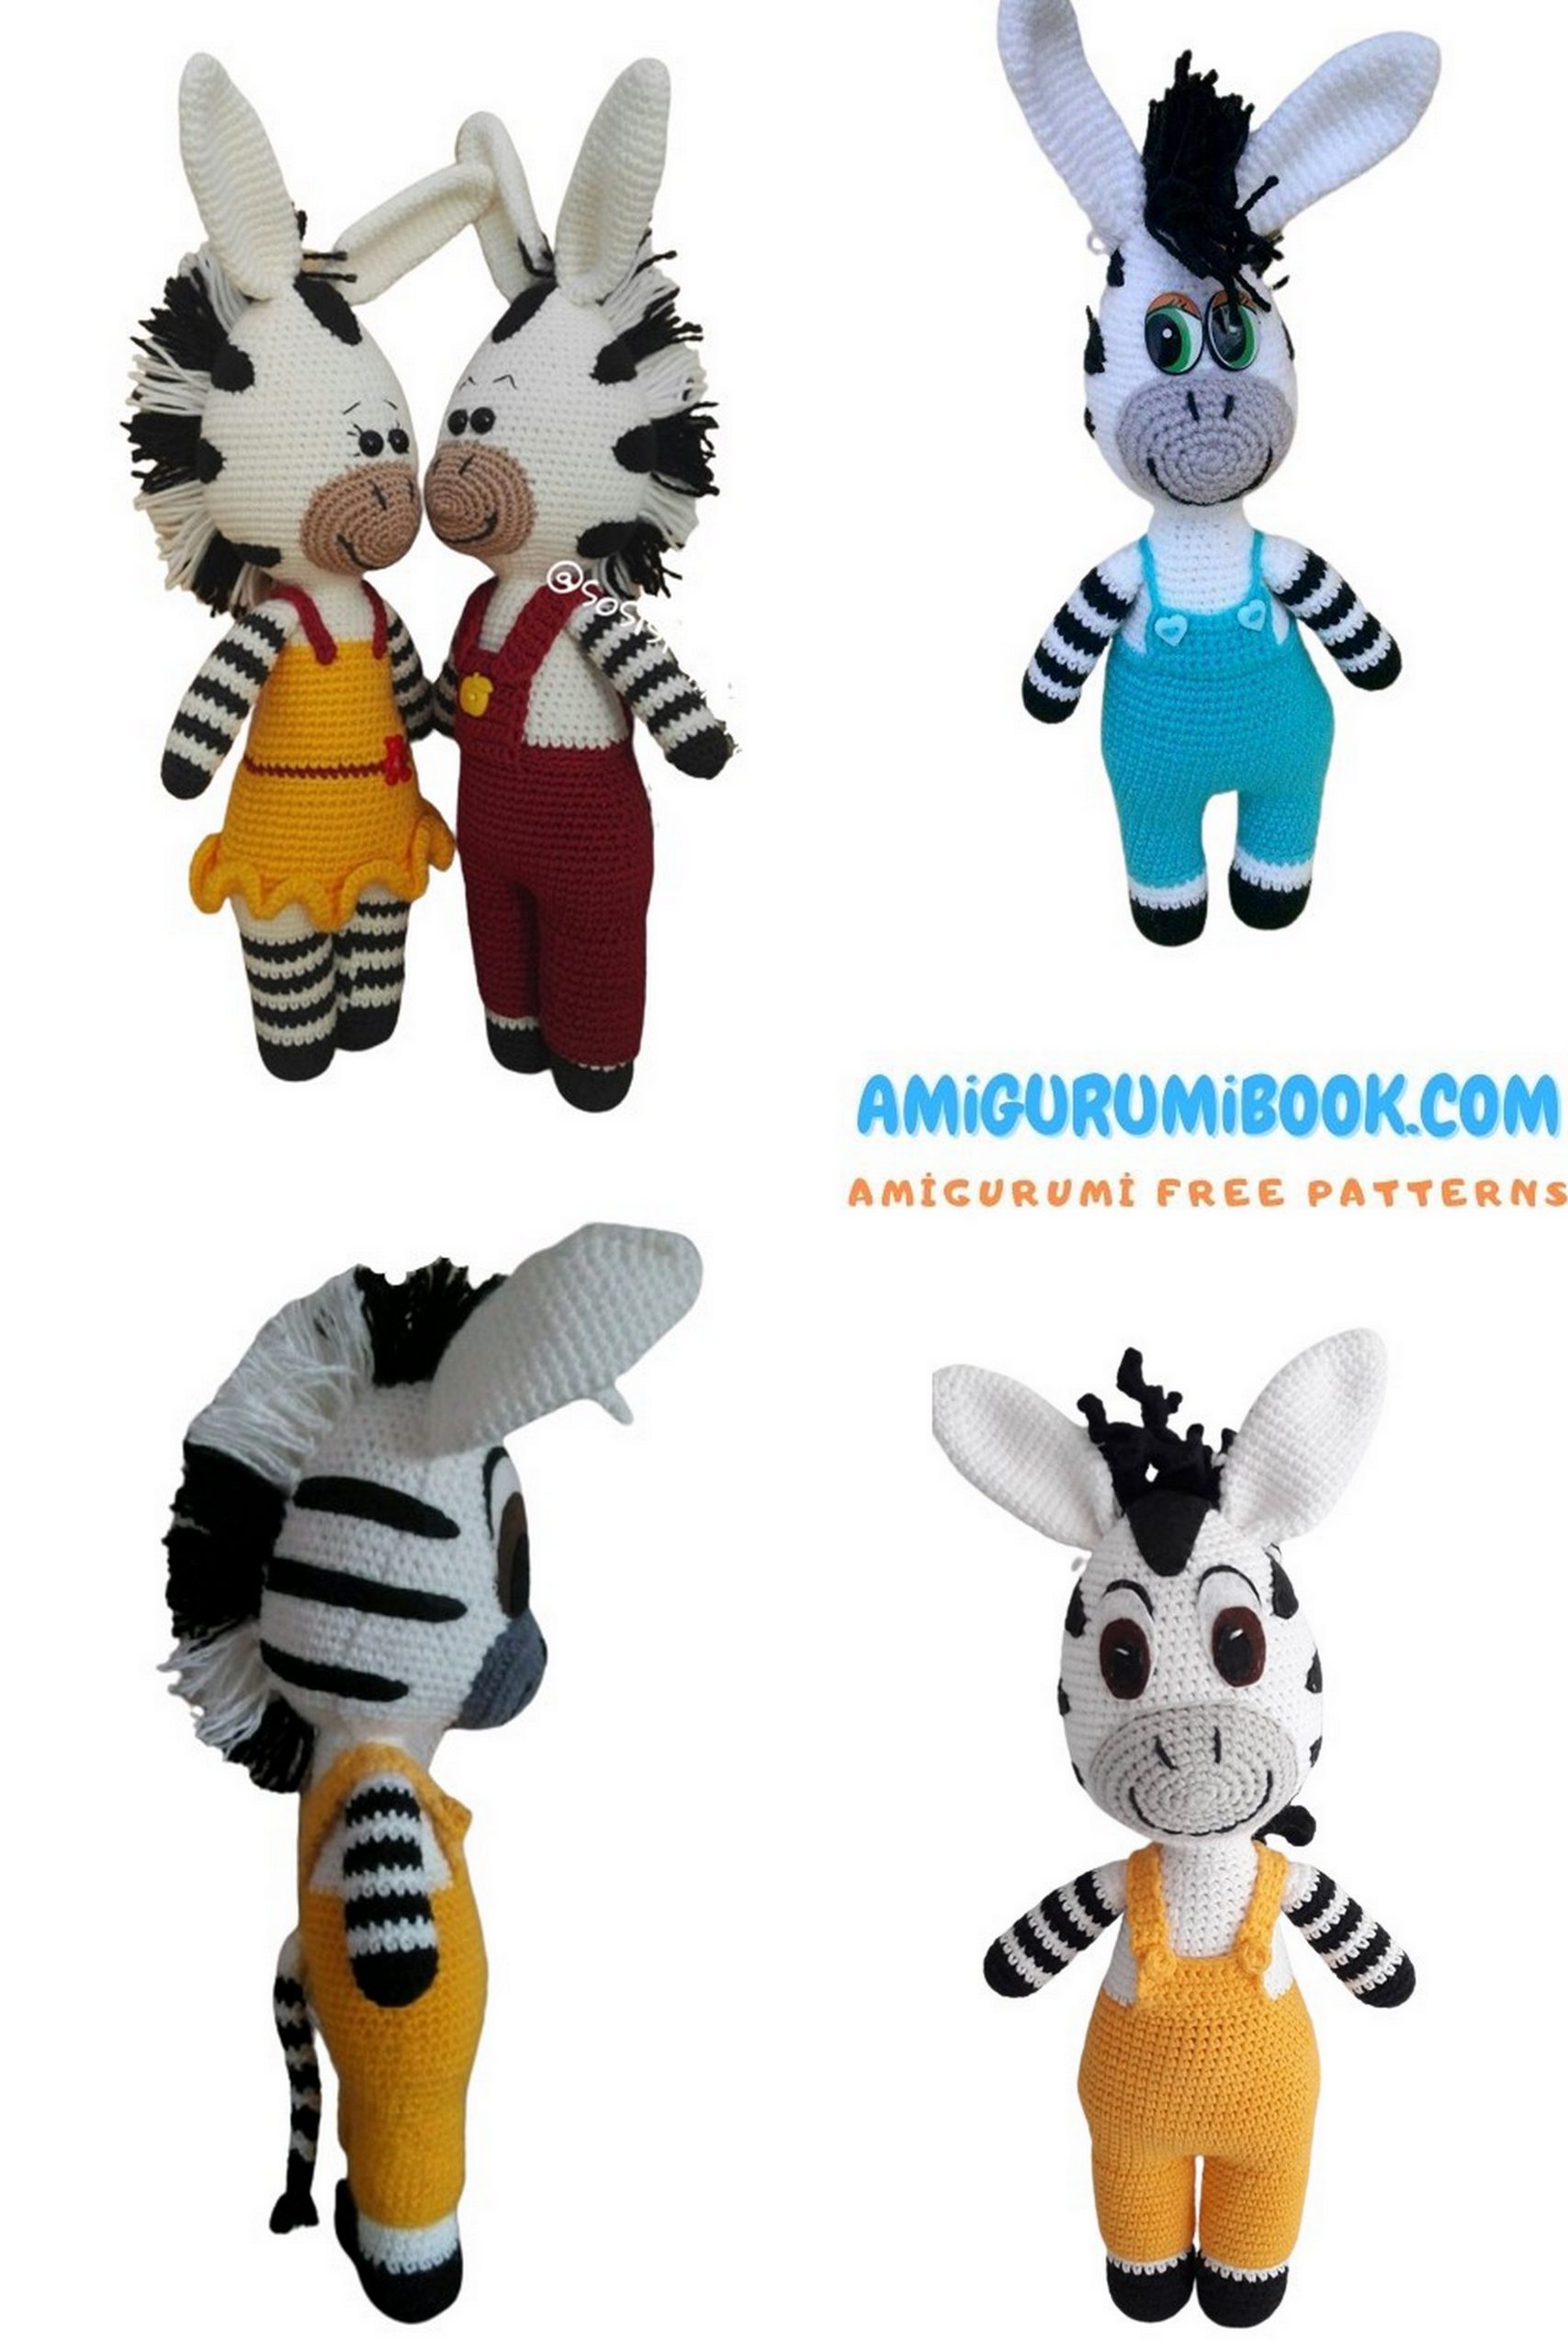
I am still lagging behind you, so I attach photos of past zebriks. We are already ready with pens, muzzle and ears. Sew handles to the body, fold the ears at the base and also sew to the head, leaving place for the top strip. We decorate the eyes with cilia or eyebrows and sew the muzzle.
The next stage will be on Sunday, by this time I will try to catch up with you 🙂 We will tie the top panties, as well as draw strips and make a mane 🙂
Stage 4, final moments 🙂
Bib and suspenders for the boy:
We attach the thread for the front wall of the loop of that row on the pants, where we changed the color to white and knitted for the back wall of the loop. We attach so that the bib is located in the middle.
The description suggests the following:
1-5 rows 11 sc, ch, turn.
Personally, I knit “by eye” in width and height a little more, the main thing is to like it 🙂 If you want to decorate with a button, then it’s better to do it now, then it will be less convenient to sew it.
Back straps: From the back we also attach the thread for the front wall of the loop of the row where they were knitted for the back loop wall. The back straps should also be located in the middle of the body.
Description offers us the following:
1. 6sc, ch, turn.
2-23. 3 sc, ch, turn.
Tighten and leave a long ponytail. Repeat rows 2-23 for the second strap, attaching a new thread. Connect the bib and straps with a stitching needle.
Personally, I do the back back a little differently. I knit the beginning as well as a bib, and branch closer to my neck straps. It turns out the back of the jumpsuit.
Straps for the girl:
40 VP; in the second loop from the hook in the opposite direction (so that everything is with the front loops) we knit
39 sc. The straps are ready. We align the ends along the edge of the dress, fix the middle on the back and sew tips and middle to back.
Tail.
White and black yarn.
leave a long thread at the beginning to sew the tail to the body later.
1.White 6sc into magic ring
2-4. 6 sc in a circle
5-6. black 6 sc in a circle
7-8. white 6 sc in a circle
9-10. black 6 sc in a circle
11-12. white 6 sc in a circle
13-14. black 6 sc in a circle
15-16. white 6 sc in a circle
17-18. black 6 sc in a circle
19-20 white 6 sc in a circle
21-23 black 6 sc in a circle
make a brush on the end of the tail
Strips:
We make of felt.
We need 3 strips on each side and 1 central. Total 7 strips. We make the front tip rounded, the back straight so that then the mane is in good contact with it. The upper central strip should end at the crown near the ears, do not have to do it far on the head, otherwise the mane will be sad to hang from behind, and we need a funny crest 🙂
I sew the strips first, then make the mane.
Mane:
We cut the threads of equal length, white and black, 10 cm each. For this, I wind them on a small cardboard and
I cut from below and above, it turns out just 10 cm in length. Now do the mane:
We introduce the hook into one of the loops between the ears (just as our felt upper strip ends). We take our thread and hook it up in the middle and pull it into a loop, pull the ends into a loop. Thus, we make each thread, as a result, we get a mane. We alternate the colors of the mane as follows: where there are no stripes, there is a white mane, where are the stripes, there we make black threads.