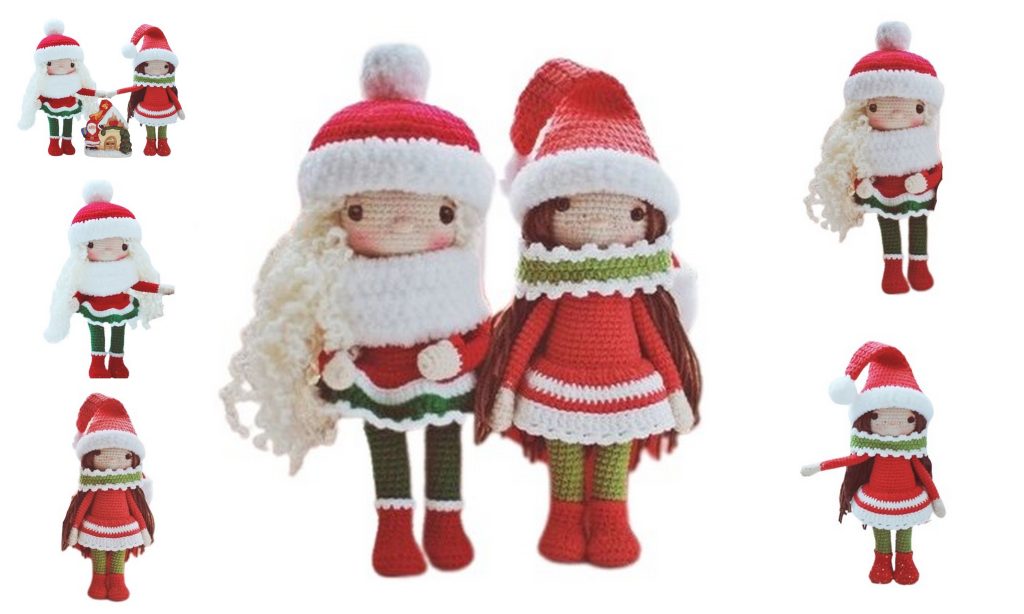
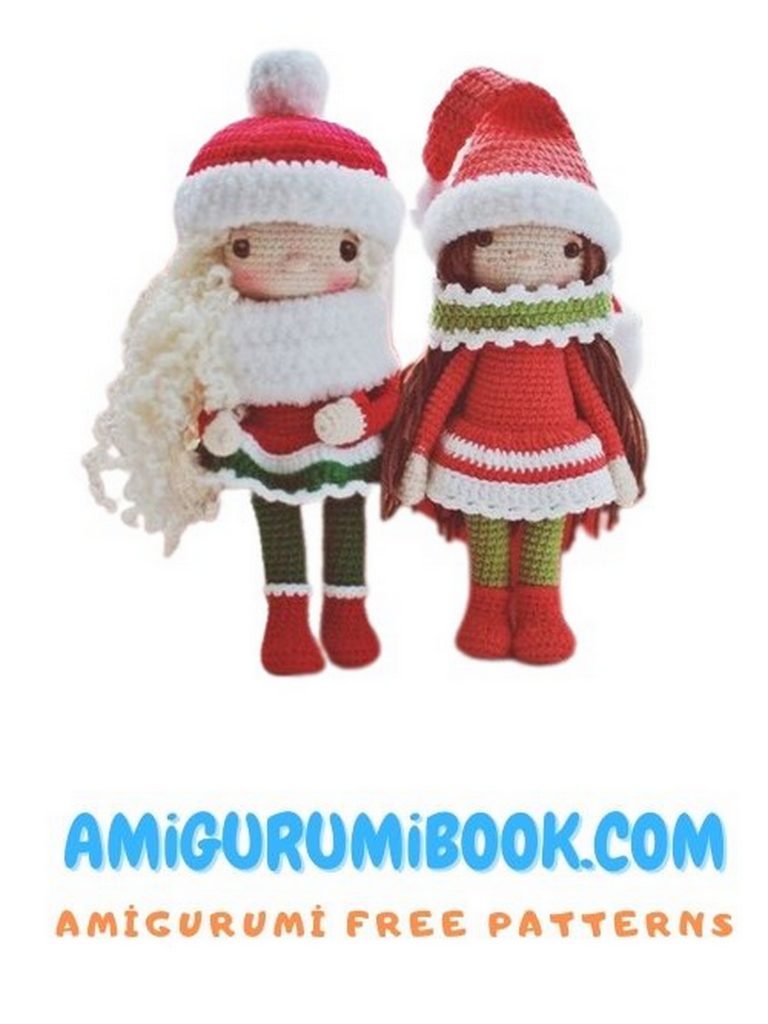
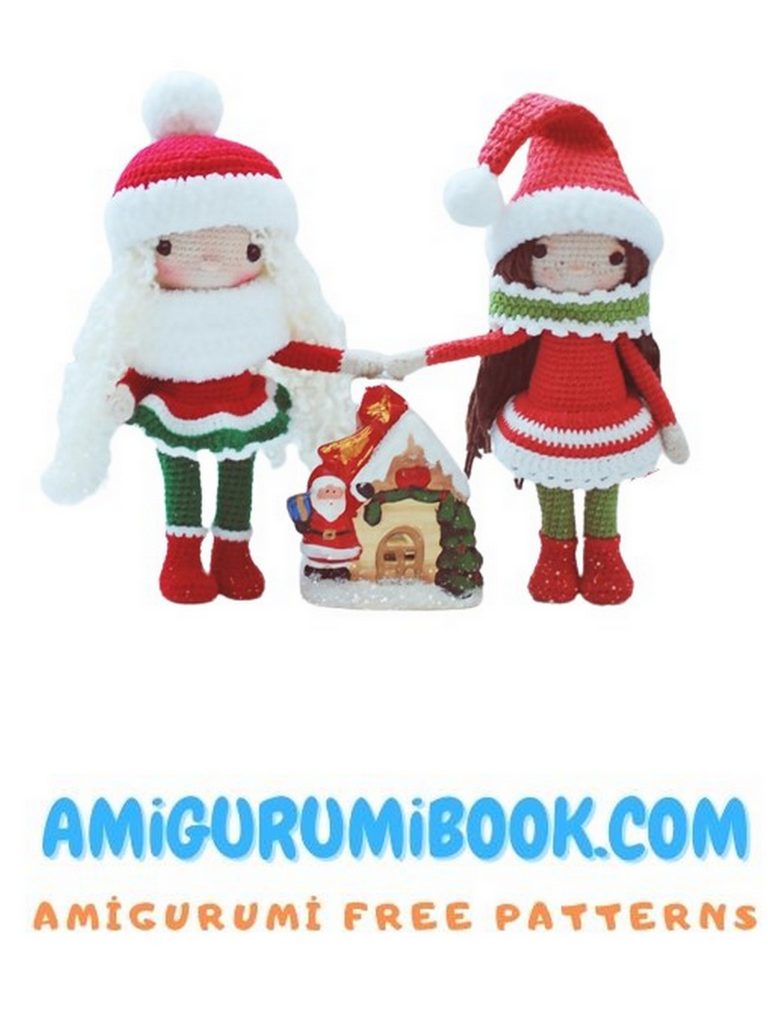
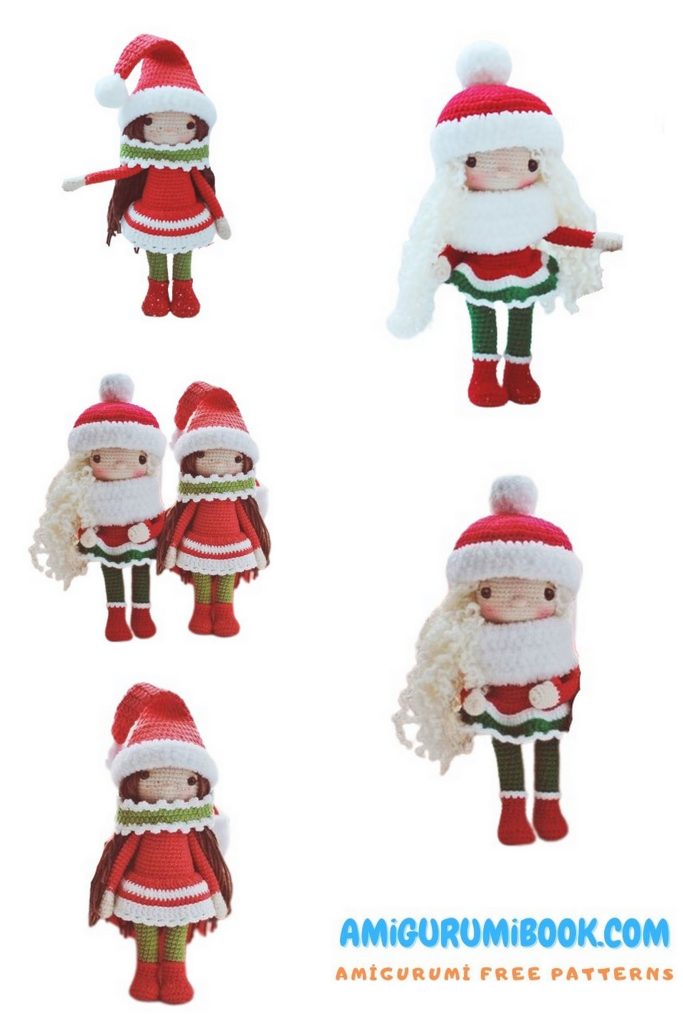
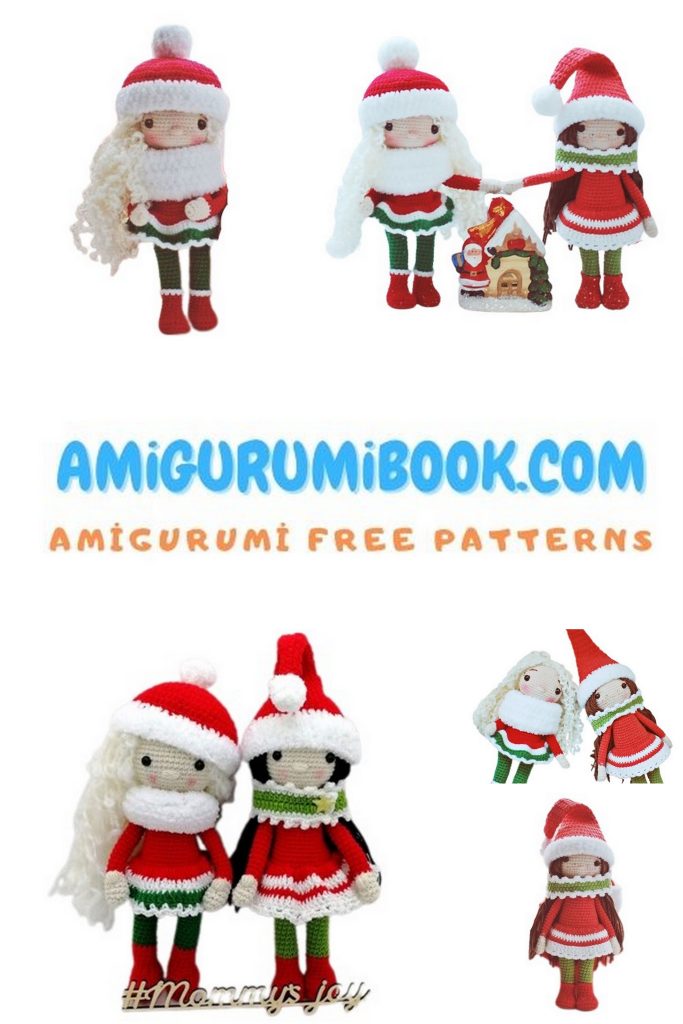
Celebrate the holiday season with a charming Christmas Party Girls amigurumi pattern that brings festive cheer to your handmade collection. This free pattern offers a delightful way to create adorable crochet dolls perfect for gifts or seasonal decorations. free crochet patterns
You may also like more amigurumi patterns.
Looking to infuse some handmade warmth and holiday cheer into your Christmas festivities? Our Christmas Party Girls Amigurumi free pattern is just what you need. Whether you’re an experienced crocheter or new to the craft, these delightful amigurumi dolls dressed in their Christmas best are a joy to create. With this pattern, you can make charming decorations or thoughtful gifts for loved ones. Let’s dive into the magic of crochet and bring a touch of whimsy to your holiday season!
Abbreviations:
ch – chain stitch
sc – single crochet
hdc – half double crochet
dec – decrease
inc – increase
sl-st – slip stitch
dc – single crochet with yarn over
PATTERN
Stage 1. Legs. 2 pieces.
Using red yarn, make a chain of 5 chain stitches (ch).
Row 1: Starting from the second ch from the hook, 3 sc, inc in the last ch, on the other side of the chain – 3 sc, inc in the last ch (12).
Row 2: 3 sc, inc, inc in the center of the toe, inc, 3 sc, 3 inc (19).
Row 3: 3 sc, (inc, 1 sc) repeat 3 times, inc, 4 sc, inc, 2 sc, inc, 1 sc (25).
Outline the foot on cardboard or plastic and cut out the sole.
Row 4: 25 sc in the back loops (25).
Row 5: 3 sc, 11 hdc, 11 sc (25).
Row 6: 2 sc, 3 dec, 1 sc, 3 dec, 10 sc (19).
Row 7: 2 sc, 4 dec, 5 sc, 1 dec, 2 sc (14). Insert the sole.
Rows 8-10: (Repeat for 3 rows) 14 sc (14).
Row 11: Work in the front loops only, 13 sc, 1 sl st (14).
Cut the yarn and fasten off, hiding the ends. Stuff the boot and optionally add weights. Attach green yarn at the back and work 14 sc in the back loops of row 10 (14).
Row 12: 12 sc, dec (13).
Rows 13-22: (Repeat for 10 rows) 13 sc (13).
Cut and fasten off the yarn. Repeat the same for the second leg without cutting the yarn.
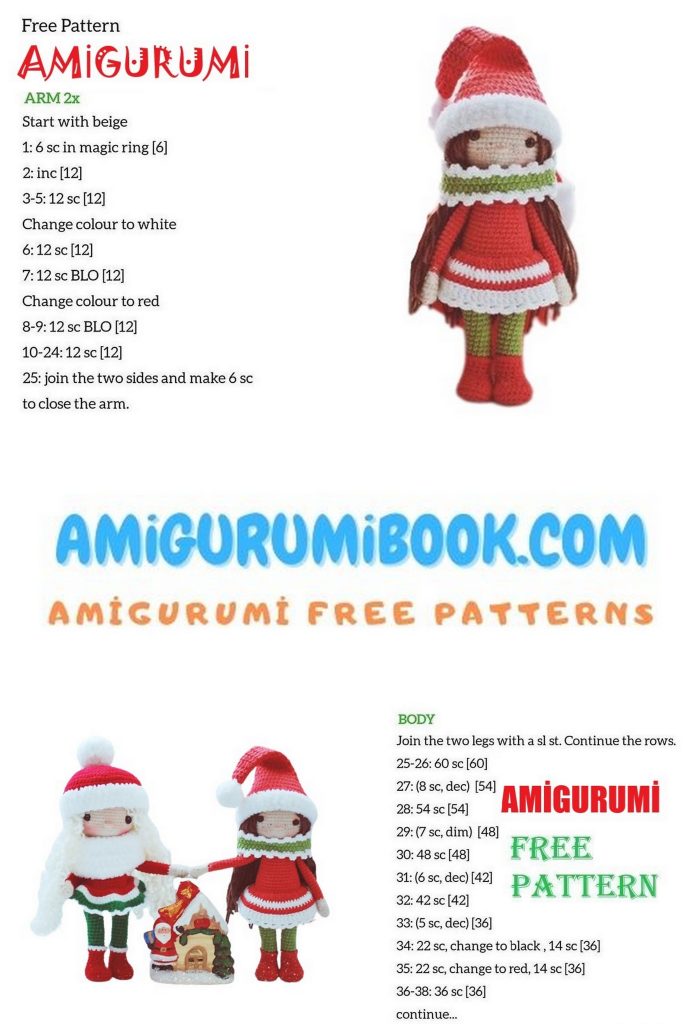
Stage 2. Arms. 2 pieces.
Begin crocheting with flesh-colored yarn.
Work in spirals.
Row 1: 6 sc in magic ring (6).
Row 2: 6 inc (12).
Rows 3-4: (Repeat for 2 rows) 12 sc.
Row 5: (dec, 4 sc) repeat twice (10).
Row 6: 1 bobble stitch (3 hdc together with a common top), 9 sc (10).
Row 7: dec, 3 sc, cut the flesh-colored yarn, join red yarn, and continue to complete row with 5 sc (9).
Rows 8-22: (Repeat for 15 rows) 9 sc.
Lightly stuff the arm, fold in half, and sew, joining with 4 sc stitches.
Stage 3. Body.
On the second leg, work 5 slip stitches (sl st) to create an offset (5 sc stitches) so that the marker is on the right side when viewed from the toe. Stuff the legs tightly. Cut and secure the yarn from the first leg.
Row 1: Ch 3, join the yarn to the leg you worked on first (left leg), work 6 sc around the back of the leg, place a marker here, as this will be the new beginning of the row.
Continue following the marker to ensure it’s always on the right side. If it moves to the back, make slip stitches for adjustment.
Row 1: 7 sc in front of the left leg, 3 sc in the ch space, 13 sc in front of the right leg, 3 sc in the ch space, 6 sc behind the left leg (32).
Row 2: 6 sc, inc, 3 sc (above the ch space), inc, 11 sc, inc, 3 sc, inc, 5 sc (36).
Row 3: 36 sc.
Row 4: 9 sc, inc in the center of the front, 13 sc, inc, 6 sc, inc, 5 sc (39).
Row 5: 39 sc. In this row, you can work 1 slip stitch to ensure the marker stays on the side.
Row 6: 9 sc, inc in the center of the front, 1 sc (40).
Rows 7-8: (Repeat for 2 rows) 40 sc. Cut and secure the green yarn.
Row 9: Join red yarn, 40 sc.
Row 10: 40 sc in the back loops.
Row 11: 4 sc, (dec, 8 sc) repeat 3 times, dec, 4 sc (36).
Rows 12-13: (Repeat for 2 rows) 36 sc.
Row 14: 4 sc, (dec, 7 sc) repeat 3 times, dec, 3 sc (32).
Rows 15-16: (Repeat for 2 rows) 32 sc.
Row 17: 3 sc, (dec, 6 sc) repeat 3 times, dec, 3 sc (28).
Rows 18-19: (Repeat for 2 rows) 28 sc.
Row 20: In this row, work only 25 sc (i.e., do not complete the row to the end of the back, leave 3 stitches unworked) and place a marker. Move the beginning of the row since you’ll be attaching the arms in the next row. Stuff the body.
Skirt:
Row 1: Start with red yarn in the back loops of the 9th row of the body. Work 2 sc in each stitch around (80).
Rows 2-4: Work 3 more rows of 80 sc, alternating colors as desired.
Row 5: Create loops of 3 chains each.
Attach the arms in the next stage.
Stage 4. Attaching the Arms. Crocheting the Head.
Continue working on the body, attaching the arms.
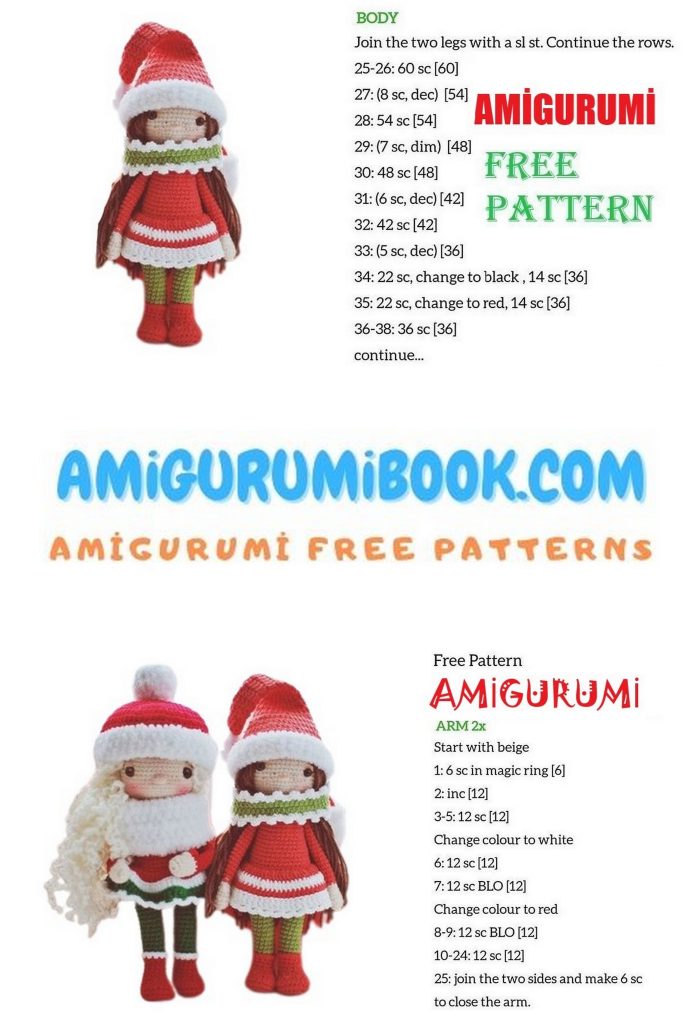
Row 21: Attach the left arm – 4 sc, 12 sc in front, attach the right arm – 4 sc, 8 sc in the back (28).
Row 22: 2 sc, dec, 3 sc, dec, 2 sc (center front), dec, 3 sc, dec (beginning of arm), 2 sc, 8 sc (back) (24).
Row 23: (dec, 2 sc) repeat 6 times (18). Stuff the body, change to flesh-colored yarn.
Row 24: Using flesh-colored yarn, work 6 dec, 1 sc (12).
Rows 25-26: (Repeat for 2 rows) 12 sc (12). This is the neck. Do not cut the yarn, start crocheting the head.
Starting the Head:
Row 1: 12 inc (24).
Row 2: (inc, 3 sc) repeat 6 times (30).
Row 3: 2 sc, (inc, 4 sc) repeat 5 times, inc, 2 sc (36).
Row 4: (inc, 5 sc) repeat 6 times (42).
Row 5: 3 sc, (inc, 6 sc) repeat 5 times, inc, 3 sc (48).
Row 6: (inc, 7 sc) repeat 6 times (54).
Rows 7-14: (Repeat for 8 rows) 54 sc.
You can insert safety eyes between rows 10-11, spacing them 10 sc apart or as desired.
Row 15: (7 sc, dec) repeat 6 times (48).
Row 16: 48 sc.
Row 17: 3 sc, (dec, 6 sc) repeat 5 times, dec, 3 sc (42).
Row 18: 42 sc.
Row 19: (5 sc, dec) repeat 6 times (36).
Insert wire or cotton swabs for reinforcement. Stuff the head.
Row 20: (4 sc, dec) repeat 6 times (30).
Row 21: (3 sc, dec) repeat 6 times (24). Stuff the head firmly.
Row 22: (2 sc, dec) repeat 6 times (18).
Row 23: (1 sc, dec) repeat 6 times (12).
Row 24: 6 dec, pull the stitches tight, secure and cut the yarn.
Stage 5. Finishing.
Ears:
Make 5 sc in a ring, but don’t close the circle. Attach them where you like, near the eyes or elsewhere.
Nose: Embroider the nose around rows 8-9.
Use a needle to embroider the eyelids and black eyelashes with flesh-colored yarn. Add blush with dry pastels or blush.
Hair:
Attach the hair with a simple knotting method using yarn of any color. Start from the crown and fill in the back.
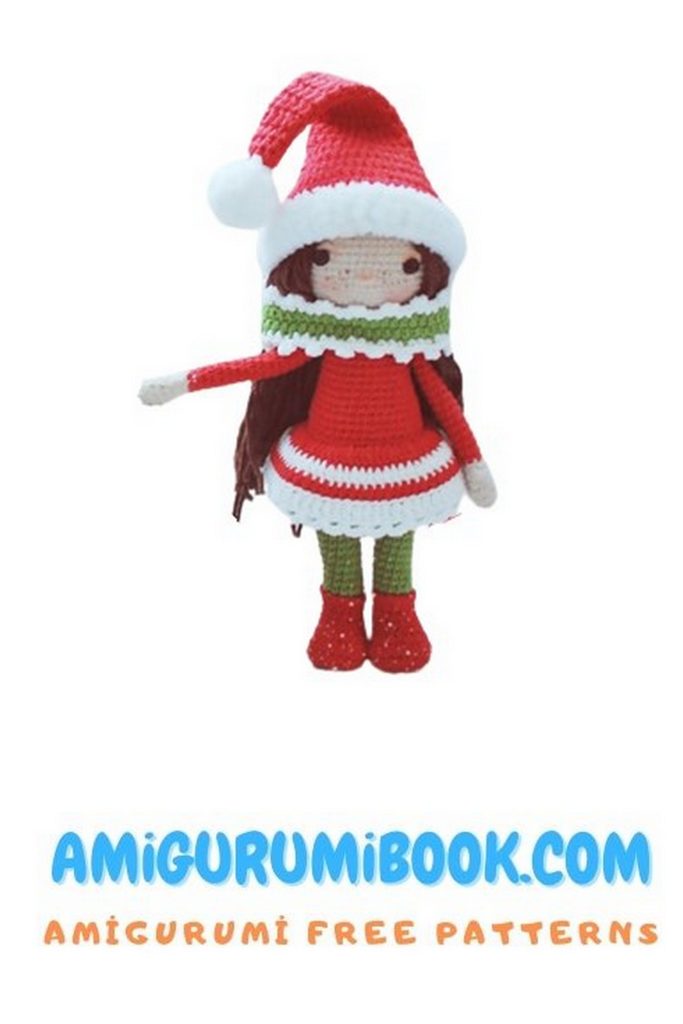
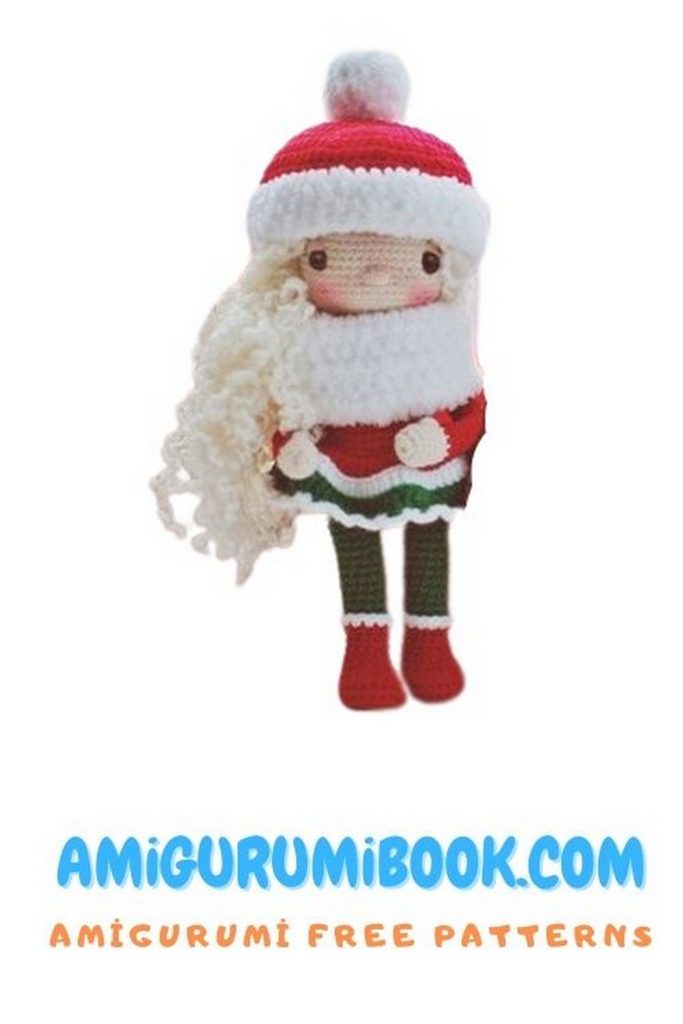
Hat:
For the hat, use a larger crochet hook or crochet more loosely to ensure it’s not too small.
Starting with a slipknot (sl st):
Row 1: Ch 8 (8).
Rows 2-3: (Repeat for 2 rows) 8 sc (8).
Row 4: (inc in sc, 3 sc) repeat twice (10).
Rows 5-6: (Repeat for 2 rows) 10 sc (10).
Row 7: (inc in sc, 4 sc) repeat twice (12).
Row 8: 12 sc (12).
Row 9: (inc in sc, 3 sc) repeat 3 times (15).
Row 10: 15 sc (15).
Row 11: (inc in sc, 4 sc) repeat 3 times (18).
Row 12: 18 sc (18).
Row 13: (inc in sc, 2 sc) repeat 6 times (24).
Row 14: 24 sc (24).
Row 15: (inc in sc, 3 sc) repeat 6 times (30).
Row 16: (inc in sc, 4 sc) repeat 6 times (36).
Row 17: (inc in sc, 5 sc) repeat 6 times (42).
Row 18: (inc in sc, 6 sc) repeat 6 times (48).
Row 19: 48 sc (48).
If the hat feels too small, you can crochet another row with increases. Or, if it’s too large, crochet one with decreases.
Rows 20-22: Work 3 more rows with 48 sc using Alize Softy yarn. Cut and secure the yarn.
Starting with a slipknot (sl st):
Row 1: Ch 9 (9).
Row 2: 9 sc in magic ring (9).
Row 3: 4 dec in sc, 1 sc. Pull the stitches tight, sew the pompom to the hat.
Scarf:
Using green yarn, chain approximately 50 ch, then work 3 hdc in each chain, and 5 hdc in the last chain for rounding. Edge the scarf with white sc, making a picot (3 ch) in every third stitch.
Stage 6. Finishing, Option 2.
Alternate Hat:
An alternative hat that fits more hair can be made as follows:
Starting with a slipknot (sl st):
Row 1: Ch 9 (9).
Row 2: 9 sl st in magic ring (9).
Row 3: (1 sl st, 3 sl st) repeat 3 times (27).
Row 4: (2 sl st, inc in sl st) repeat 3 times (36).
Row 5: (3 sl st, inc in sl st) repeat 3 times (45).
Row 6-9: (4 rows) 45 sl st (45).
Cut and secure the red yarn. Then crochet with white yarn.
Row 10-12: (3 rows) 45 sl st (45).
Cut and secure the yarn. Make a pompom from white yarn (refer to the previous method).
Finishing, Option 2: Scarf:
For the scarf, chain 50 with white yarn and work 5 rows of 50 sl st. Then switch to green yarn, and in each third stitch, make a picot (3 ch).
Please note that this translation provides instructions for crocheting a doll with its accessories. You can use these instructions to create your candy doll amigurumi. If you have any specific questions or need further assistance, feel free to ask!