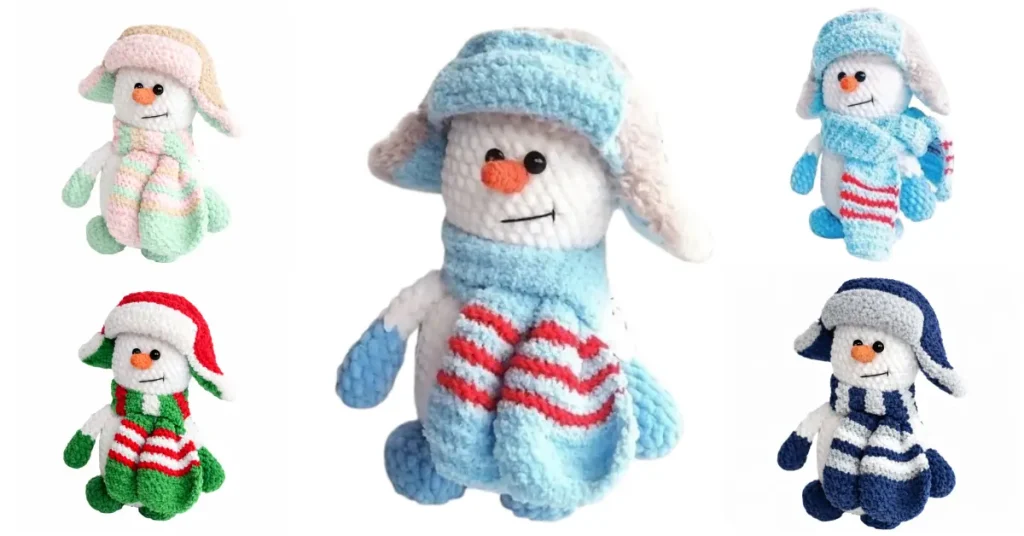
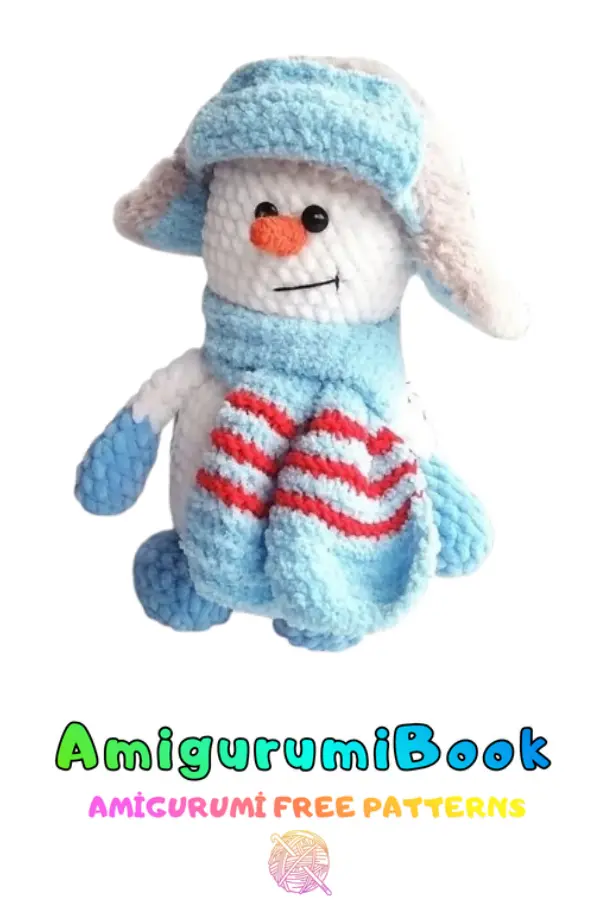
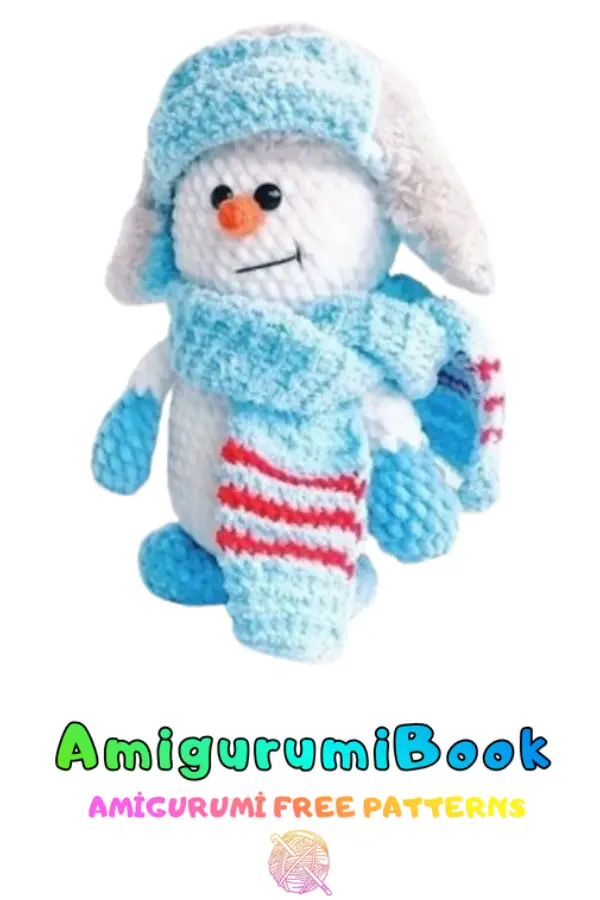
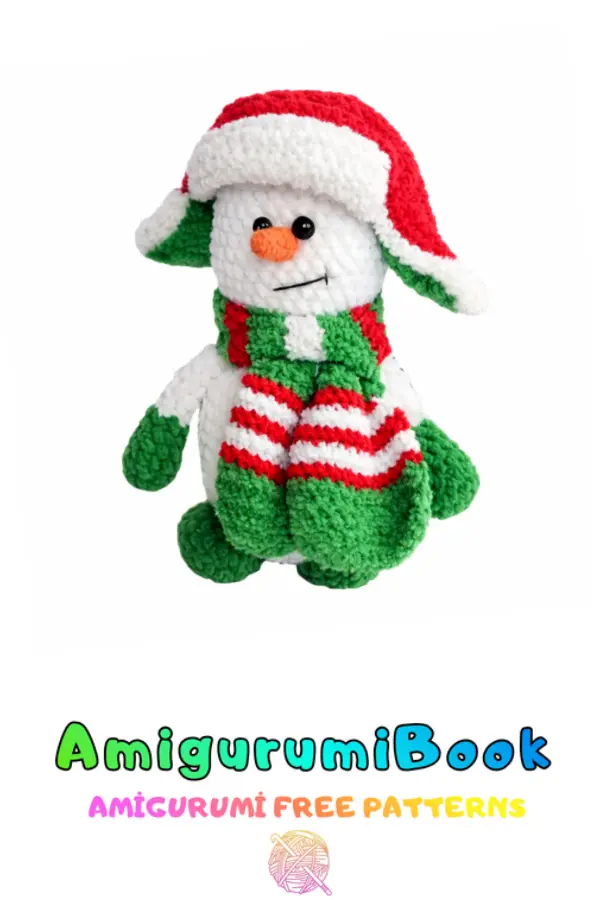
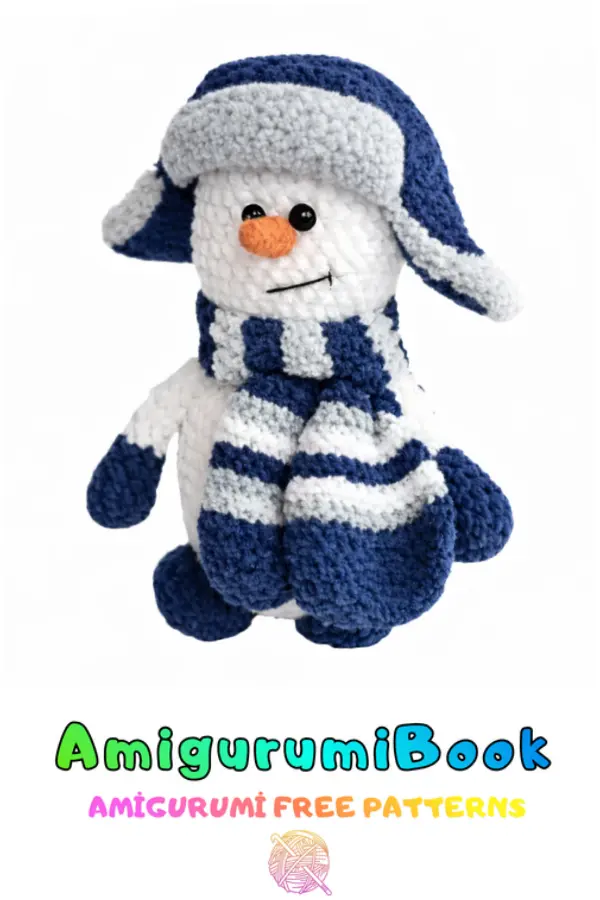
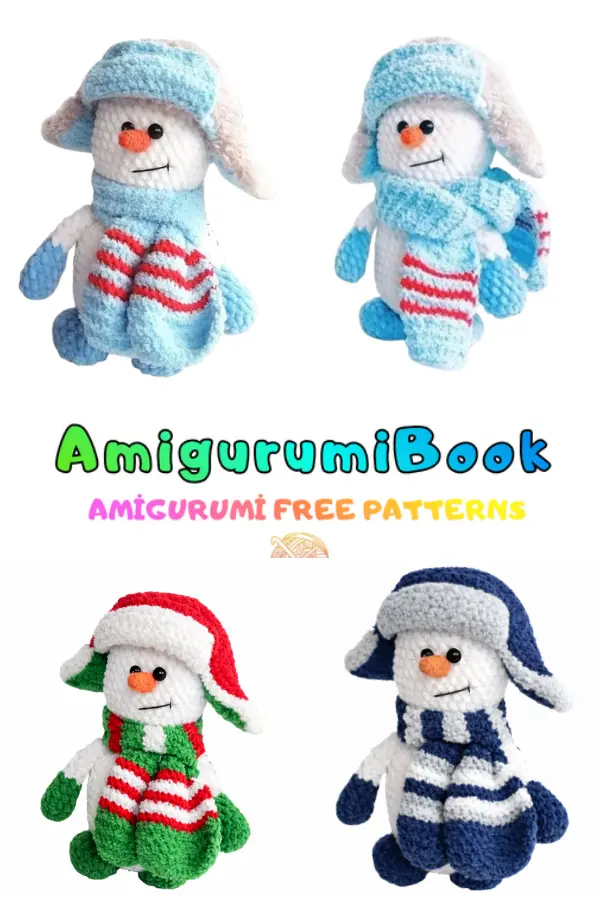
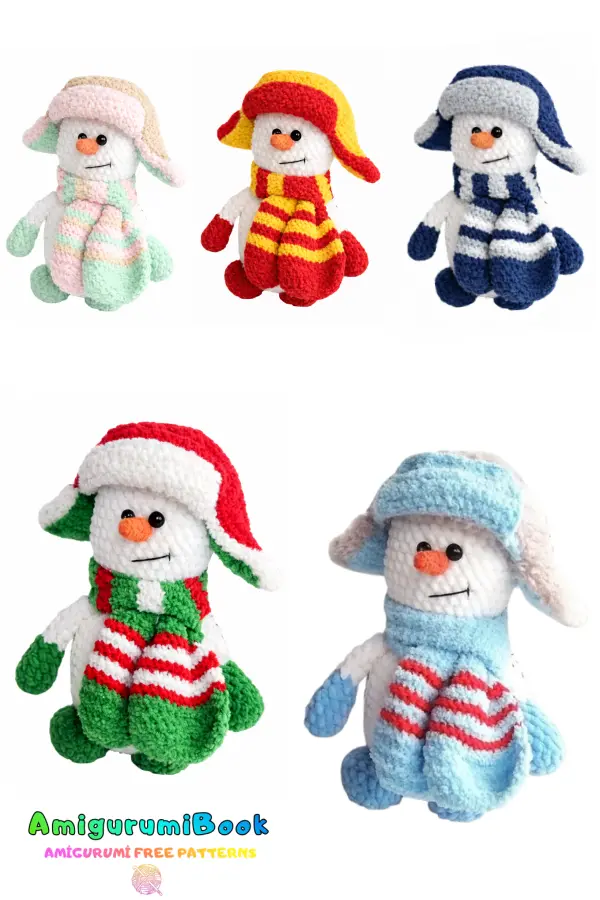
If you want to take your amigurumi snowman to the next level, this earflap hat and scarf set is the perfect finishing touch. Designed to match the snowman shown in the photos, this free crochet bonus pattern is easy to follow and works perfectly with plush yarn.
This optional accessory set adds extra character and warmth to your snowman, making it ideal for Christmas amigurumi, winter decor, or handmade gifts. The hat features cute earflaps with ties, while the scarf completes the cozy winter look.
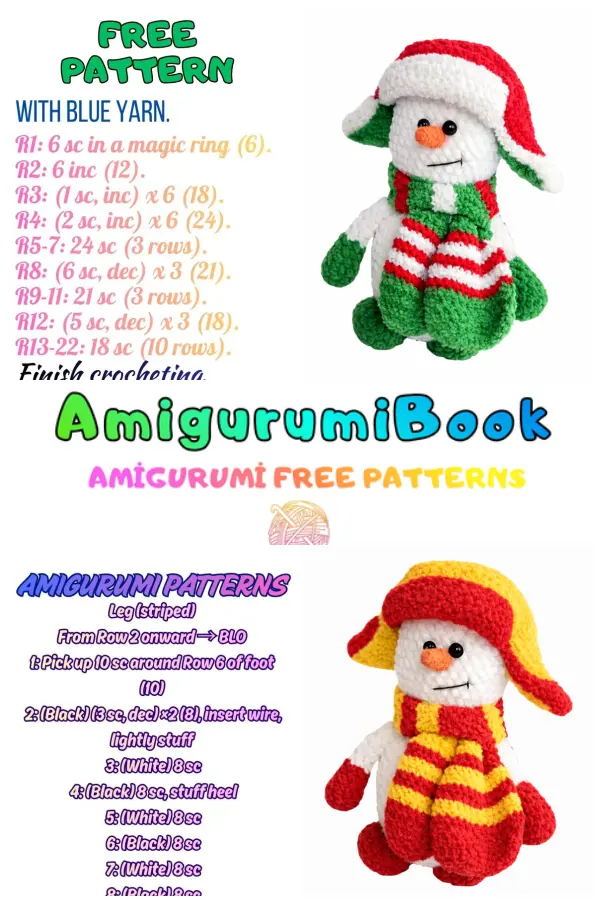
If you want to access 1000+ free amigurumi patterns, you can download our application from this link!
Abbreviations
- ch – chain
- sc – single crochet
- inc – increase (2 sc in one stitch)
- dec – decrease (2 stitches together)
- MR – magic ring
- (…) * n – repeat instructions in brackets n times
- ( ) – total stitch count
Materials
- Himalaya Dolphin Baby yarn
- Main color: white (1.5–2 skeins)
- Additional colors for boots and mittens (optional)
- Small amount of orange yarn for the nose
- Black thread for mouth embroidery
- Hook 3.0 mm
- Hook 2.5 mm (for the nose)
- Fiberfill stuffing
- Safety eyes 8–9 mm
- Yarn needle
- Stitch marker
Body + Head – Amigurumi Snowman
(worked as one piece)
Color: White
1: ch 2, 6 sc in the second chain from hook (6)
2: 6 inc (12)
3: (1 sc, inc) * 6 (18)
4: (2 sc, inc) * 6 (24)
5: (3 sc, inc) * 6 (30)
6: (4 sc, inc) * 6 (36)
7–14: 36 sc (8 rows)
Stuff as you crochet.
15: (4 sc, dec) * 6 (30)
16: 30 sc
17: (3 sc, dec) * 6 (24)
18: (2 sc, dec) * 6 (18)
19: (1 sc, dec) * 6 (12)
Continue with the head:
20: (1 sc, inc) * 6 (18)
21: (2 sc, inc) * 6 (24)
22: (3 sc, inc) * 6 (30)
23: (4 sc, inc) * 6 (36)
24–29: 36 sc (6 rows)
👉 Insert safety eyes between 28–29, leaving 1 sc between them.
30: (4 sc, dec) * 6 (30)
31: 30 sc
32: (3 sc, dec) * 6 (24)
33: (2 sc, dec) * 6 (18)
34: (1 sc, dec) * 6 (12)
35: 6 dec
Pull the opening closed and hide the yarn.
Amigurumi Snowman- Nose
1: 4 sc in MR
2: 4 sc
3: (1 sc, inc) * 2 (6)
4–5: 6 sc
6: (2 sc, inc) * 2 (8)
7–8: 8 sc
Fasten off, leave a long tail for sewing. Lightly stuff.
Face Shaping & Assembly
- Sew the nose on row 27 between the eyes
- Embroider the mouth from row 25 diagonally to row 26
- Sew arms on row 17
Amigurumi Snowman – Arms (Make 2)
Using mitten color yarn:
1: ch 2, 6 sc in second chain from hook
2: 6 inc (12)
3–4: 12 sc
5: (4 sc, dec) * 2 (10)
6: (3 sc, dec) * 2 (8)
7: (2 sc, dec) * 2 (6)
Stuff lightly, close, hide yarn.
Boots / Shoes – Amigurumi Snowman
(Make 2)
1: inc, 6 sc, 3 inc, 6 sc, inc (23)
2: 23 sc in back loops only
3: 23 sc
4: 23 sc
5: 6 sc, 5 dec, 7 sc (18)
6: 4 sc, 4 dec, 6 sc (14)
7: 6 sc, dec, 6 sc (13)
Stuff, close, hide yarn.
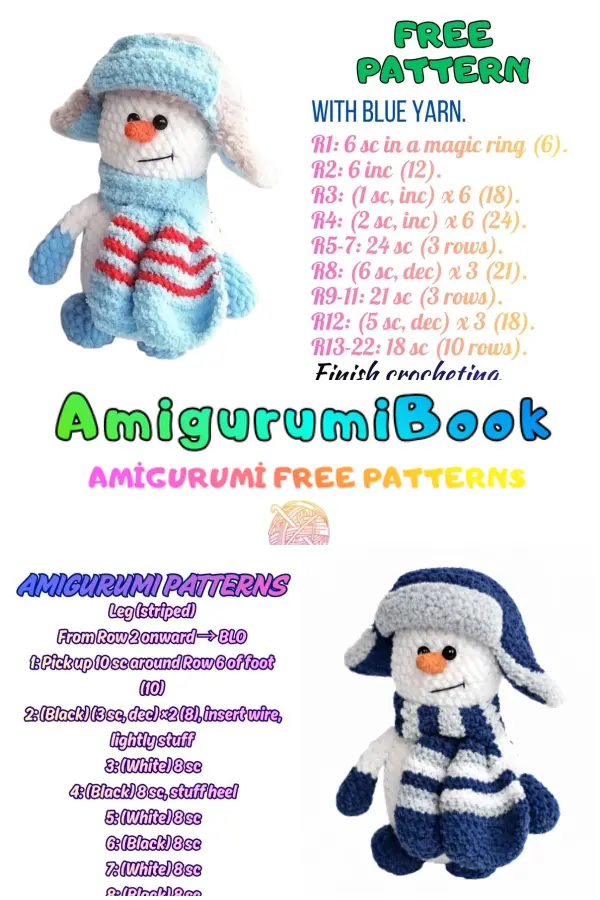
Earflap Hat
Using plush yarn (same color as in the photo).
Hat – Main Part
1: MR, 6 sc (6)
2: 6 inc (12)
3: (1 sc, inc) * 6 (18)
4: (2 sc, inc) * 6 (24)
5: (3 sc, inc) * 6 (30)
6: (4 sc, inc) * 6 (36)
7–11: 36 sc (5 rows)
Do not fasten off. Continue with earflaps.
Earflap 1
12: 7 sc
13: ch 1, turn, 6 sc
14: ch 1, turn, dec, 4 sc (5)
15: ch 1, turn, dec, 3 sc (4)
16: ch 1, turn, dec, 2 sc (3)
17: ch 1, turn, dec, 1 sc (2)
18: ch 1, turn, dec (1)
Fasten off.
Earflap 2
Skip 12 stitches from the first earflap.
19: Join yarn, 7 sc
20: ch 1, turn, 6 sc
21: ch 1, turn, dec, 4 sc (5)
22: ch 1, turn, dec, 3 sc (4)
23: ch 1, turn, dec, 2 sc (3)
24: ch 1, turn, dec, 1 sc (2)
25: ch 1, turn, dec (1)
Fasten off.
Edging
Join yarn at the back of the hat.
26: sc evenly around the hat and earflaps
27: sl st around
Fasten off, hide all yarn ends.
Ties (Make 2)
Attach yarn to the tip of each earflap.
- ch 12–15
- sl st back along the chain
Fasten off.
Scarf
Using plush yarn in a contrasting color.
1: ch 46
2: sc in second chain from hook and in each chain across (45)
3–5: ch 1, turn, sc in each stitch across (3 rows)
Fasten off, hide yarn ends.
Fringe
Attach yarn to one end of the scarf.
6: ch 6, sl st in same stitch
7: repeat across the width of the scarf
Fasten off, trim evenly.
Size Adjustment
- Shorter scarf: reduce starting chains
- Longer scarf: add more chains
- Thicker look: add 1–2 more rows
Final Notes
- Stuff firmly but do not overfill
- Work in continuous spirals