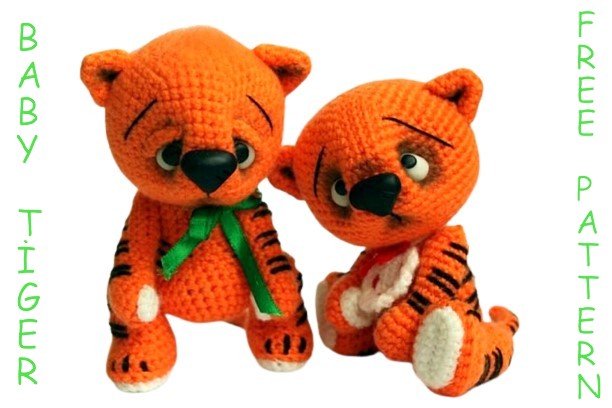
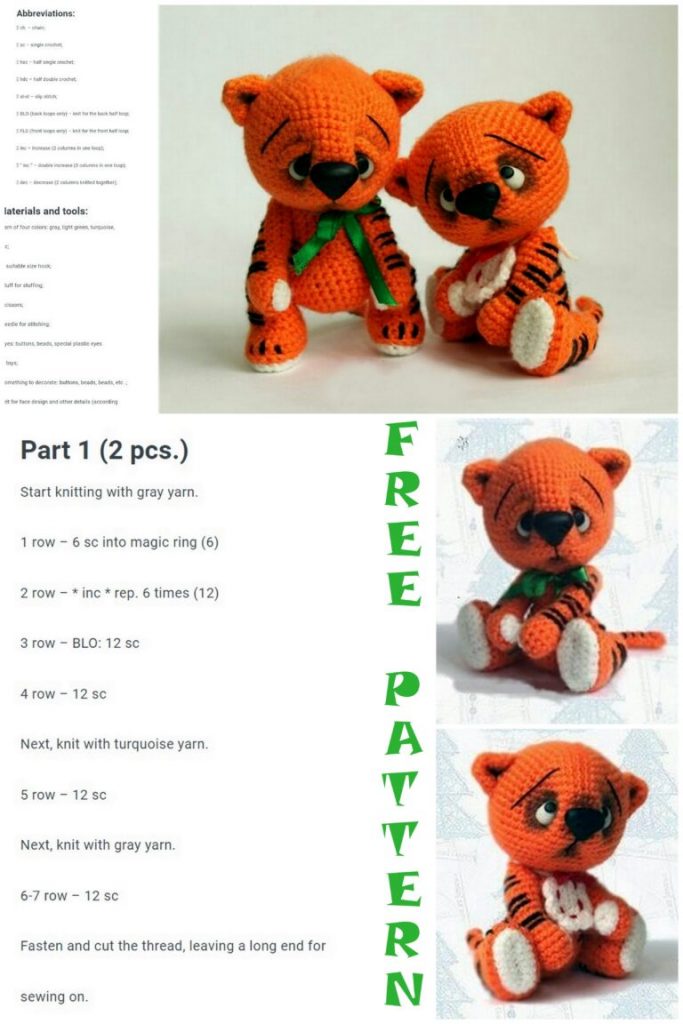
You can visit my site to get free amigurumi animal designs. I shared with you the amigurumi baby tiger pattern in this article.
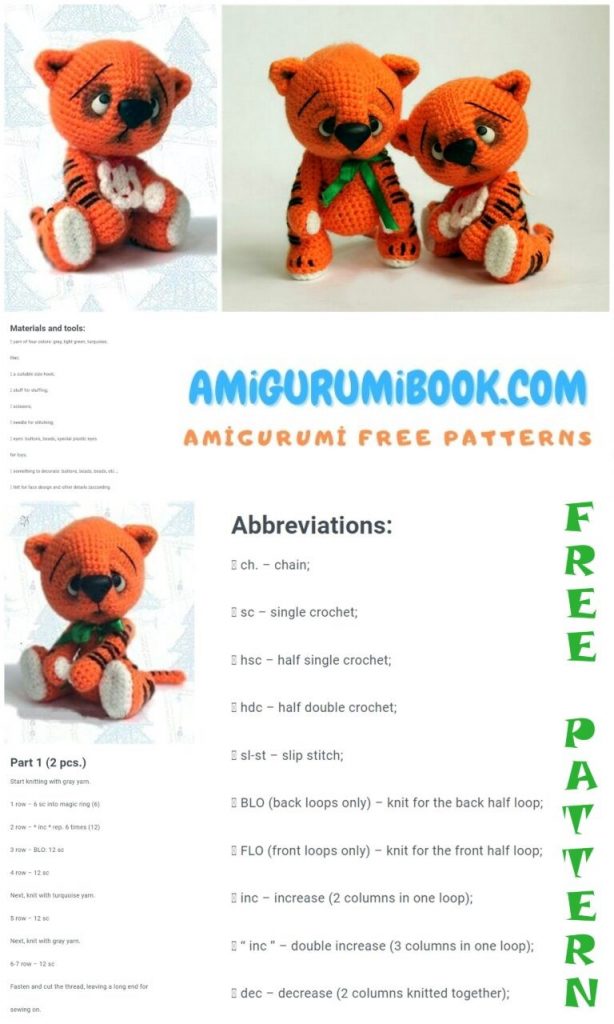
Abbreviations:
SC – single crochet
İNC – increase
DEC – decrease
CH – chain
We will need:
– Orange, brown, white thread, suitable
under the hook number 2.
– Hook 2, hook No. 1.5-1.6
– Mounts for legs and head, with swivel mount.
– Either threads, with the usual fastening of parts,
– Toy filler
– Mouline thread black or brown for eyebrows and mouth
– Nose, eyes

Head
1. Chain of 2 CH, in the second loop from the hook at SC.
2 (2SC to next SC) x6 times = 12SC.
3. (1SC, 2SC to next SC) x6 times 218SC
4. (2SC, 2SC to next SC) x6 times = 24SC.
5. (ZSC, 2SC to next SC) x6 times = 30SC.
6. (4SC, 2SC to next SC) x6 times = 36SC.
7. (5SC 2SC Next SCx6 times 42SC.
8. (6SC, 2SC to next SC) x6 times = 48SC.
9. (7SC, 2SC in SC) xb times = 54SC.
10-16.SC in a circle = 54SC.
17. (7SC, 2SC together) x6 times = 48SC. –
18. (6SC, 2SC Together) x 6 times = 42SC.
19. (5SC, 2SC Together) x 6 times = 36SC.
20. (4SC, 2SC Together) x 6 times = 30SC.
21. (ZSC, 2SC together) x 6 times = 24SC.
22. (2SC, 2SC together) x 6 times = 18SC.
23. (SC, 2SC together) x 6 times = 12SC.
24. (2SC together) x 6 times = 6SC.
body
1. Chain of 2 CH, in the second loop from the hook at SC.
2. (2SC in next SC) x6 times = 12SC.
3. (1SC, 2SC to next SC) x6 times = 18SC.
4. (2SC, 2SC to next SC) x6 times = 24SC.
5. (5SC, 2SC to next SC) x4 times = 28SC.
6-9.SC in a circle = 28SC.
10. (2SC together, 2SC) x 4 times, 12SC = 24SC,
11. (2SC together, 2SC) X3 times, 12SC = 21SC.
12 SC in a circle = 21SC
13. (2SC Together, 5SC) x3 times = 18SC
14-16, SC in a circle = 18SC
17. (SC, 2SC together at times = 12SC.
18. (2SC together) xb times = 6SC


Legs. 2 pieces.
1. Chain of 7 CH, in the second loop from the hook ЗSC, SC in the next 4 loops.
ЗSC into the last loop of the chain, unfold the knitting and knit on the back of the chain, SC into the next 4 loops. Then we knit in a circle 14sc
2. (2SC to next SC) xZraza, 4SC, (2SC to next SC) XZraza, 4SC = 20SC
3.knit in a circle = 20SC
4. We knit in a circle only for the loop wall closest to us = 20SC
5. Knit in a circle = 20SC At this point we compact the sole. For example, you can cut a stack of thick cardboard.
6. (SC, 2SC together) x3 times, 11SC = 17SC
7. (2SC together) x Time, 11SC = 14SC You can stuff the sock
8-12, knit in a circle = 14SC
13. (2SC together, SC) x 4 times, 2SC together
14. 2SC Knit together until we close the leg.
Pens. 2 pieces.
1. Chain of 4 CH, SC into the second loop from the hook, SC, ЗSC into the last loop of the chain, turn over the knitting and knit SC on the back of the chain, 2SC into the last loop = 8SC
2. (SC, 2SC to next SC) x4 times = 12SC
3-5. Knit in a circle = 12SC
6. (4SC, 2SC together) x2 times = 10SC
7-15, knit in a circle = 10SC
16, 2SC knit together until we close the handle.
Ears. 2 pieces.
1. Chain of 2 CH, in the second loop from the 6 SC hook.
2. (2SC, 2SC next SC,) x2 times = 8SC,
3. (2SC, 2SC next SC,) x3 times = 12SC.
4. (1SC, 2SC to next SC) xb times = 18SC.
5.knit in a circle 18SC, cut off the thread, leaving about 15-20cm for sewing
Tail.
1. Chain of 2 CH, in the second loop from the 4SC hook,
2. Knit 4 SC in a circle to the required length.
That’s all, it remains only to collect the tiger cub, arrange the muzzle and embroider the strips.If you wish, you can knit white feet and palms. Feet, in white we carry out the 1st 3 rows according to the LEGS scheme.
Hands, in white, we perform the 1st 2 rows according to the scheme of the handles. (it is better to take a thinner hook) Sew the finished feet and palms to the crochet legs.
First, we need a bear or some other animal. Or rather, his head. Another needle and a strong thread.
1. We will pull the bear’s face, highlighting the area of the nose and the recesses of the “eyes
We outline the places on the head of the toy where the nose and eyes will be located.We guide the alu between the columns in the place of the future eye No. 1, scribble the note odol glad, and view between the columns of the same row in the place of the future eyeњ2. We do not stretch the thread We go down a row below and do the same operation back, Now we carefully pull the thread until a hump for the nose is formed. We make a few back and forth stitches to secure the thread. If you want a more explicit highlight of the nose, then we do the same one more row below.
In the same way, we make indentations for the mouth. Then we withdraw the thread somewhere on the back of the head and cut it off,
2 Tint the toy
Apply a dark color to all the recesses and try on the eyes.
We make a nose and eyes. Sew on the eyelid and ears. We tint the ears and cheeks a little.
That’s all.