
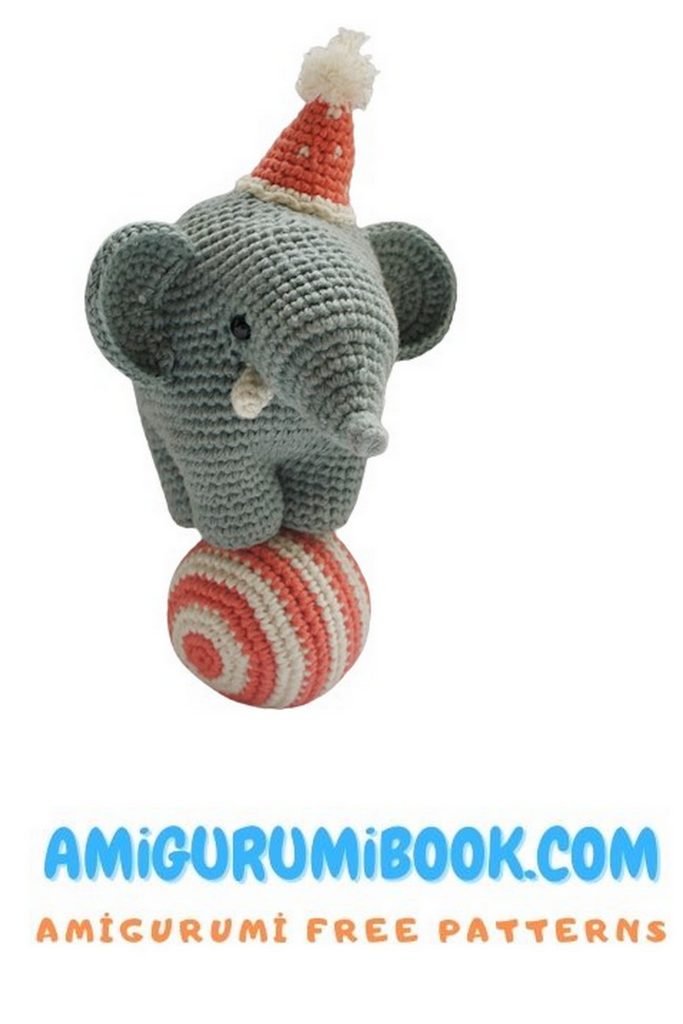
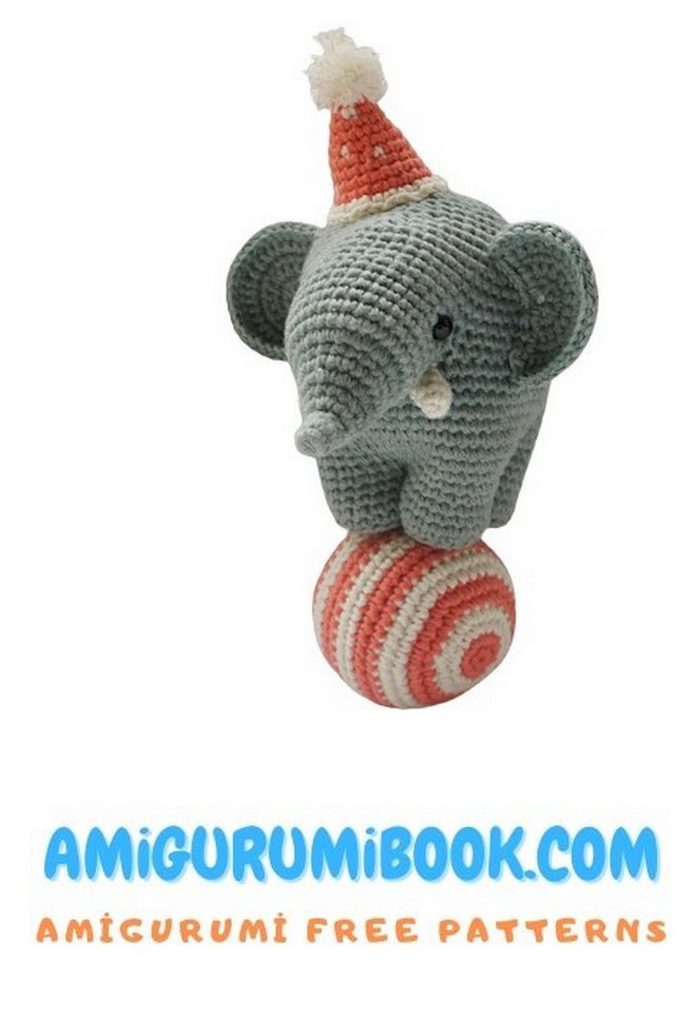
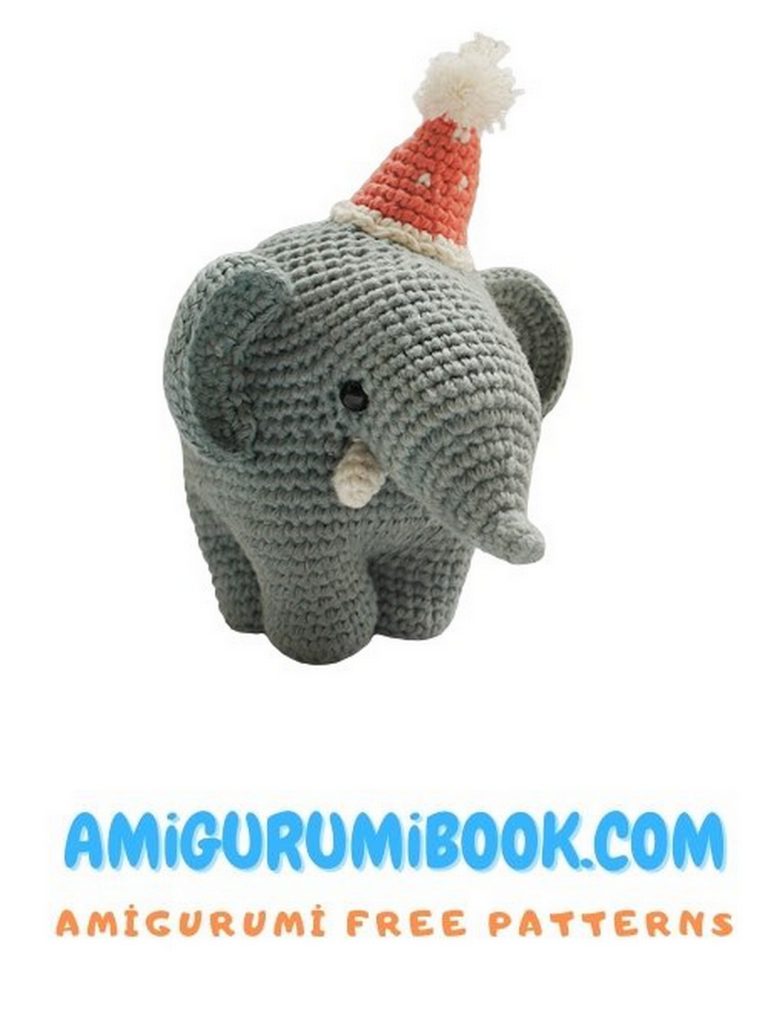
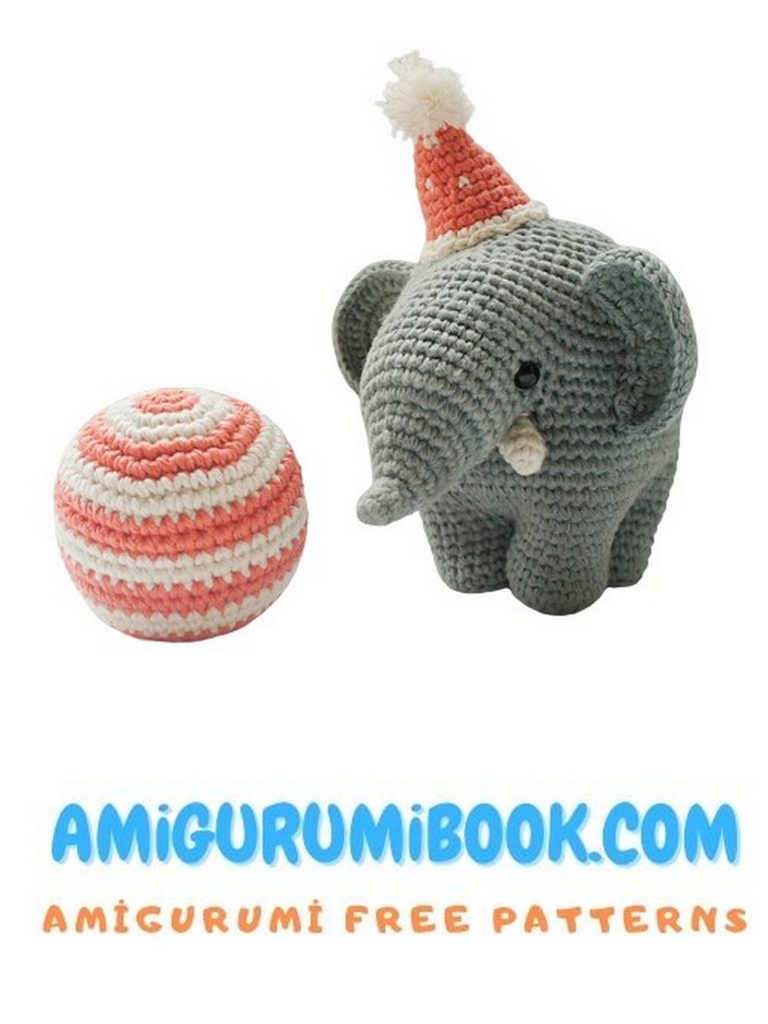
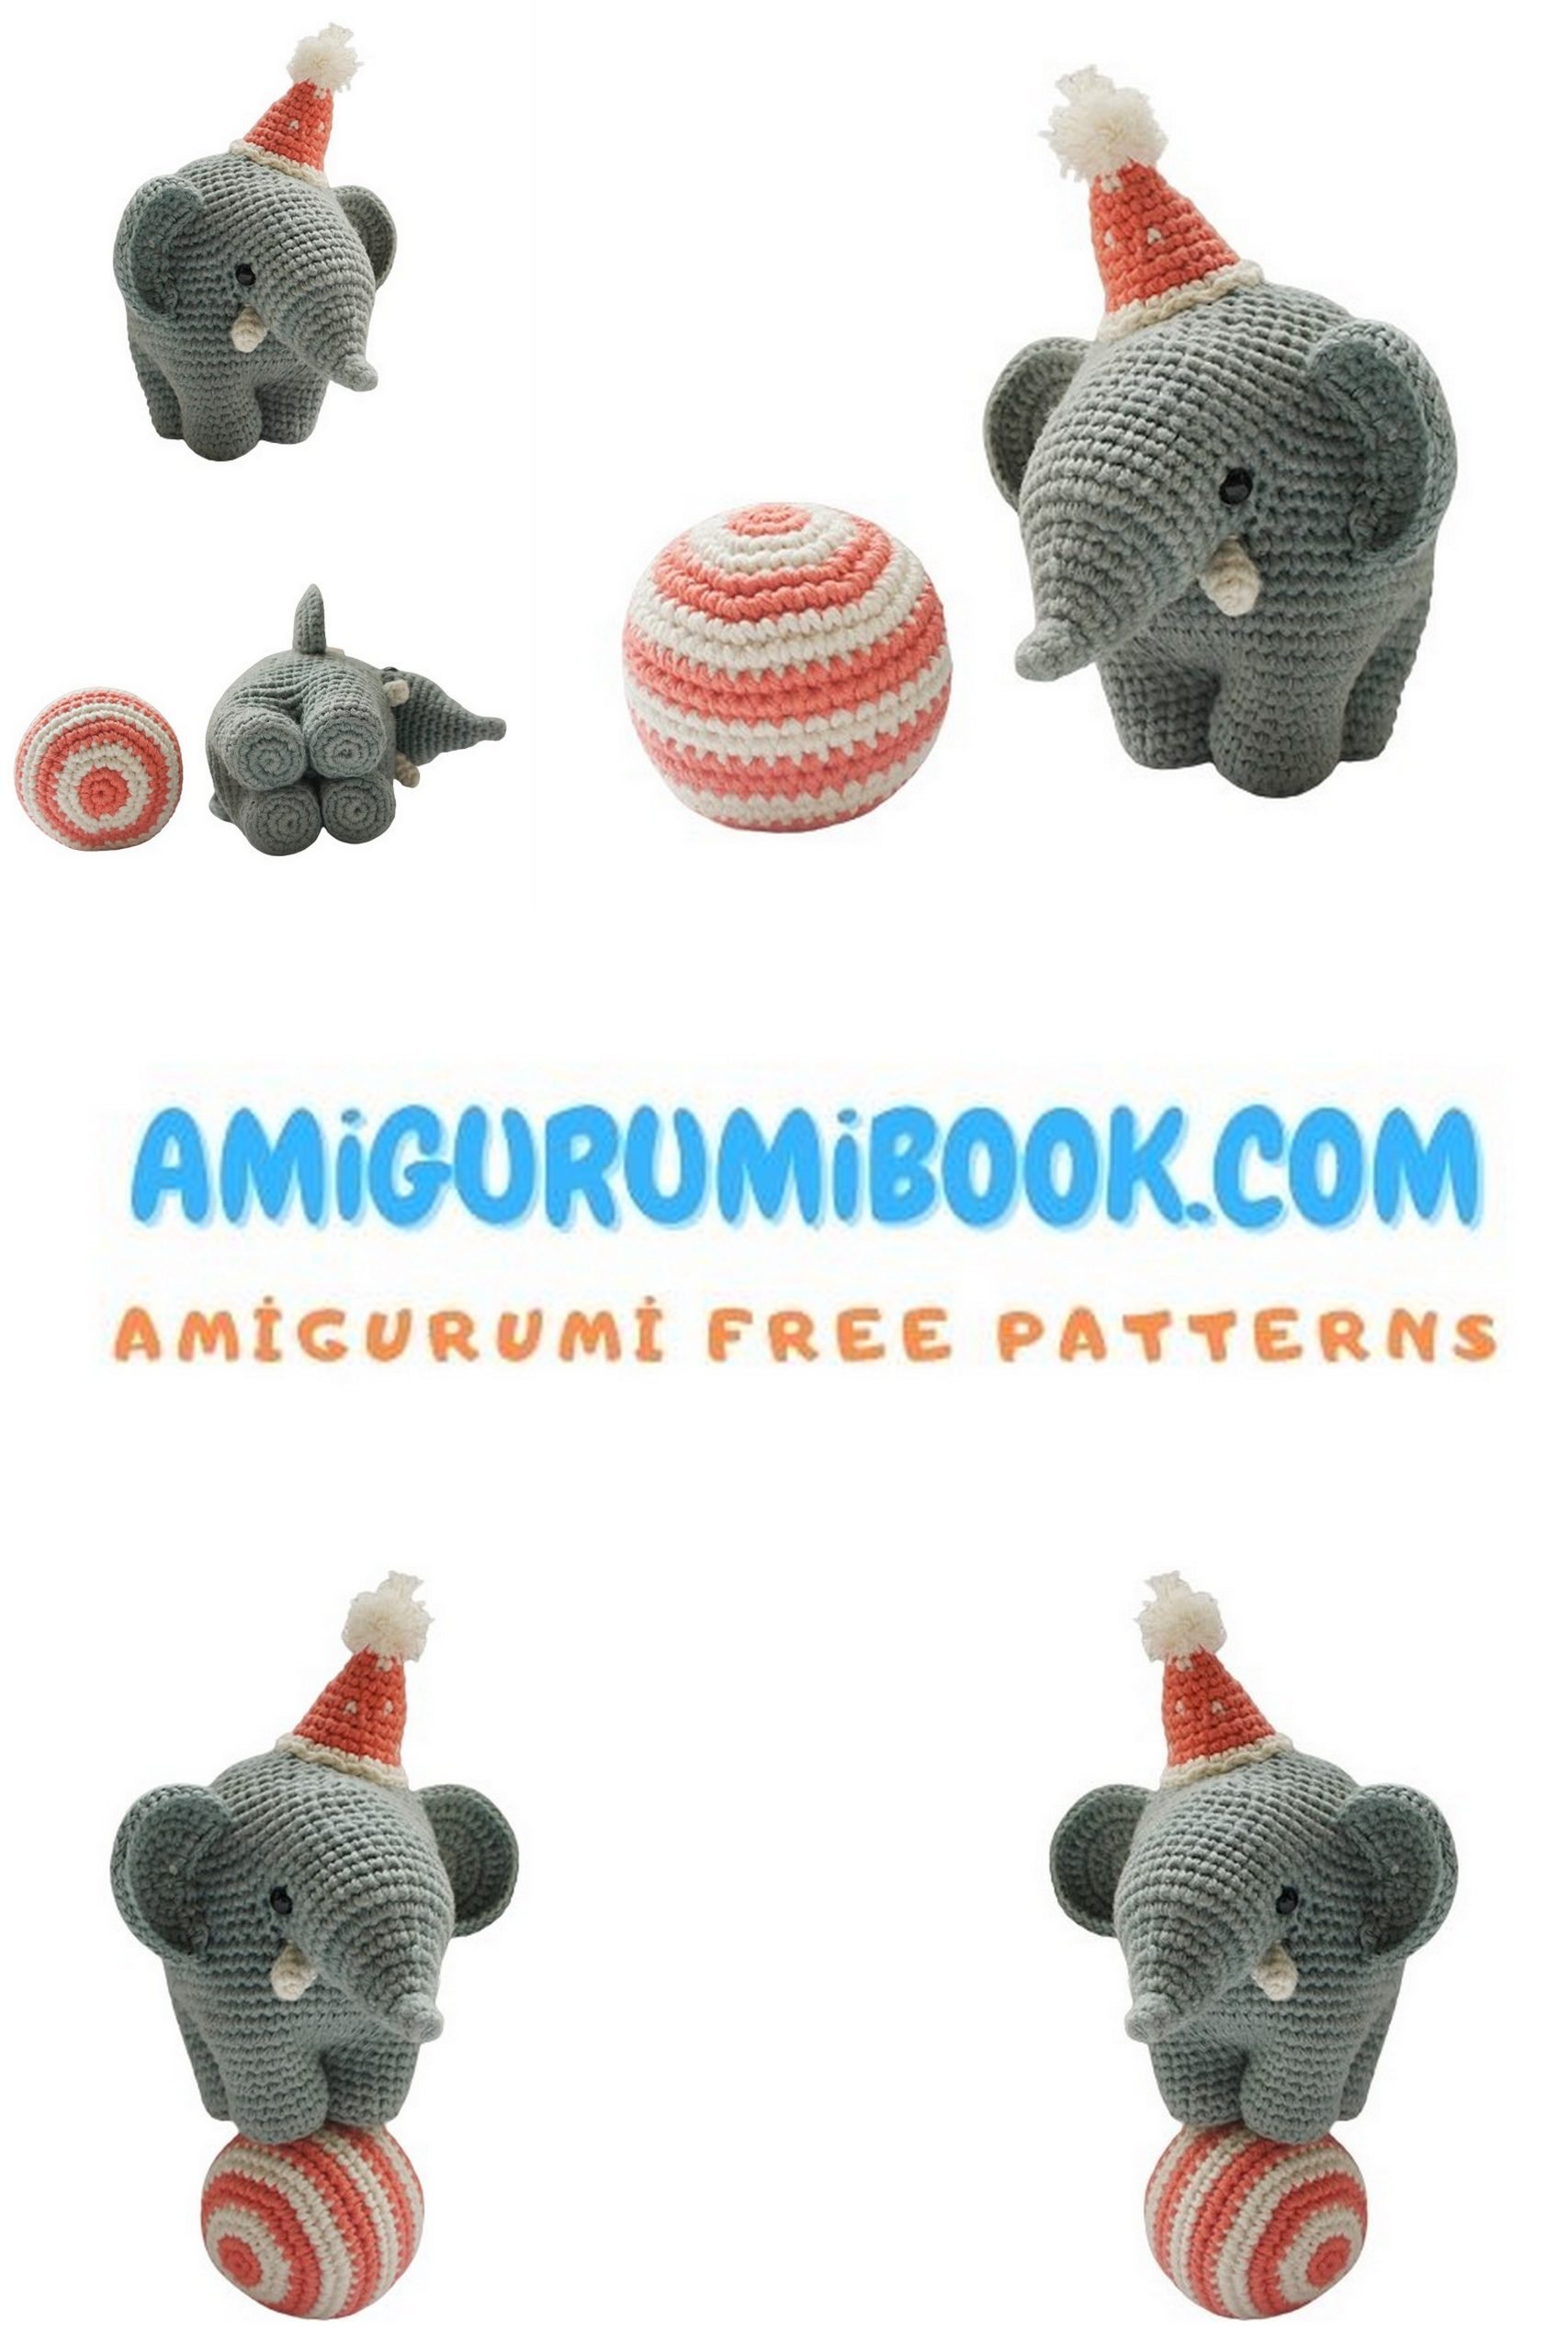
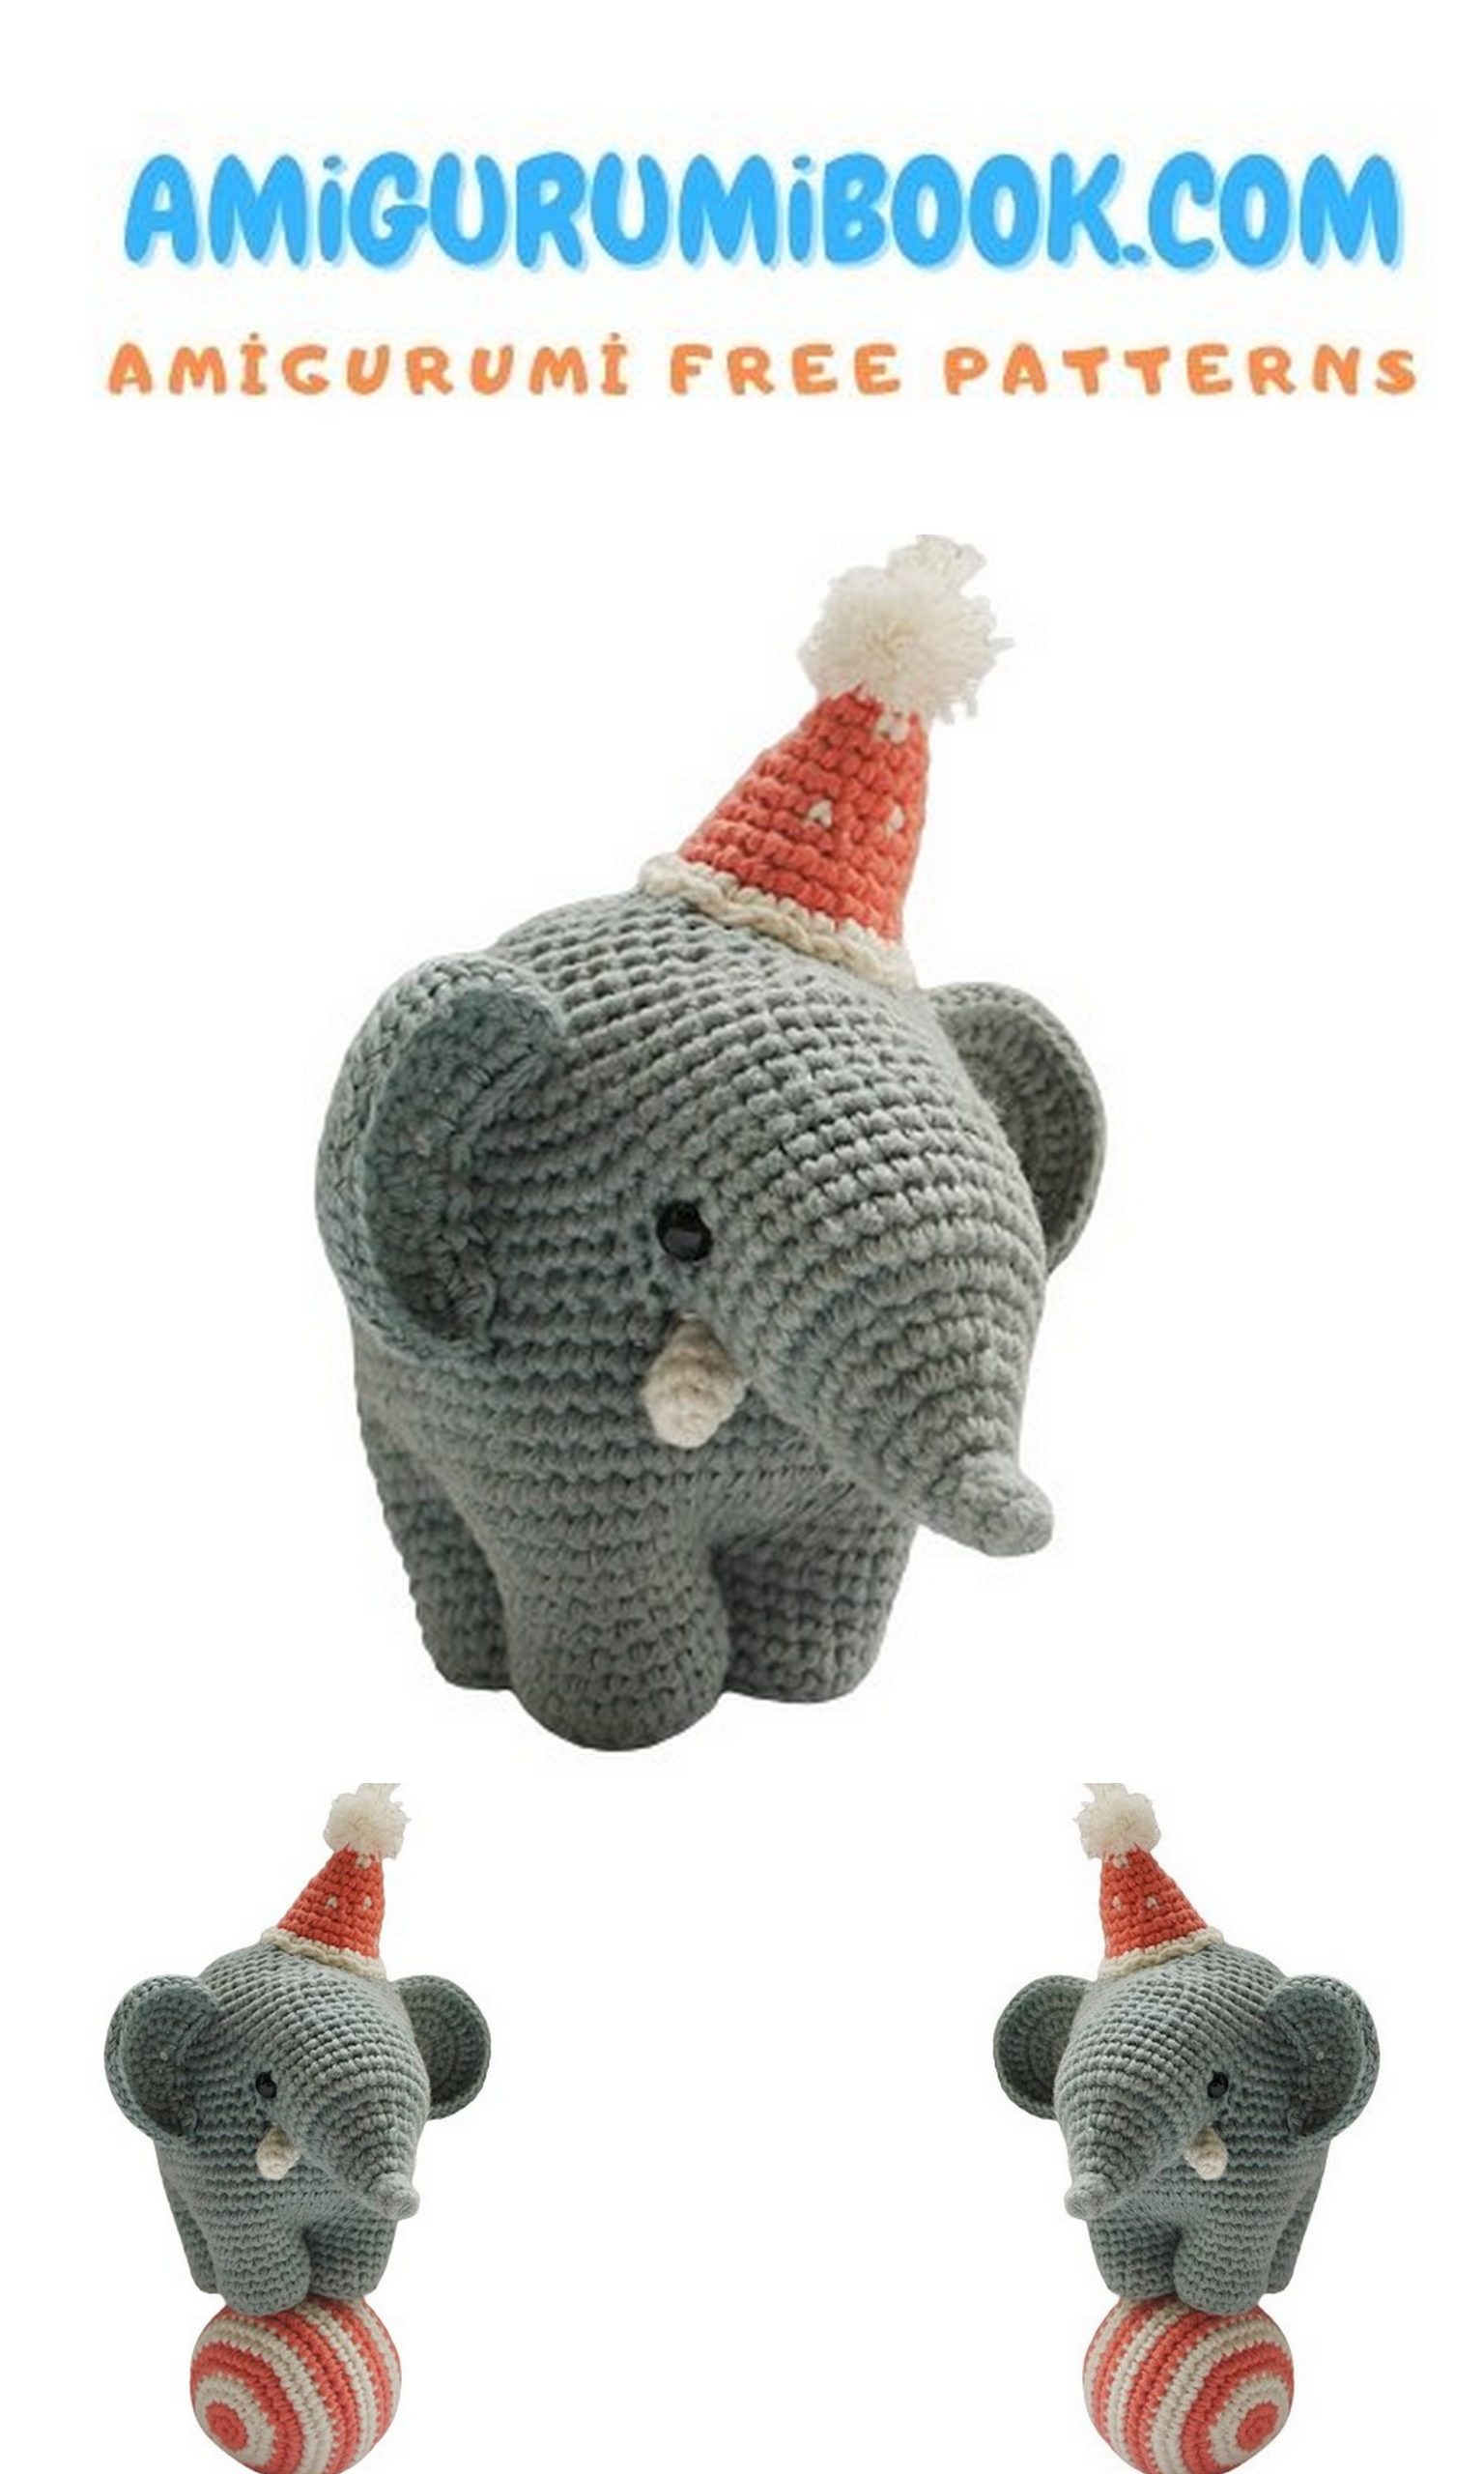
Step right into the world of fun and creativity 🎪 This circus elephant amigurumi free pattern lets you crochet an adorable and playful toy full of charm and personality.
With its cute trunk, floppy ears, and tiny circus accessories, this elephant is a joyful project for both beginners and experienced crocheters. The step-by-step instructions make it easy to follow while helping you achieve a clean and professional finish.
Whether you’re making a unique handmade gift or adding a cheerful piece to your amigurumi collection, this little circus elephant will definitely steal the show. Grab your yarn and start crocheting your own today! 🧶✨
If you want to access 1000+ free amigurumi patterns, you can download our application from this link!
🧶 Materials & Tools
- Crochet hook: 3.0 mm
- 100% cotton yarn (suitable for 3.0 mm hook)
- Fiberfill stuffing
- Safety eyes
- Tapestry needle
- Scissors
🎨 Colors
- Main color (elephant body)
- White (tusks)
- Main + contrasting color (hat & ball)
✂️ Abbreviations
dec: decrease (sc 2 stitches together)
MR: magic ring
ch: chain
sc: single crochet
sl st: slip stitch
st(s): stitch(es)
inc: increase (2 sc in same stitch)

🐘 Trunk
With main body color:
1: 6 sc in MR (6)
2–4: 6 sc
5: (inc) * 6 (12)
6–8: 12 sc
9: (inc) * 6, 6 sc (18)
10–12: 18 sc
13: (2 sc, inc) * 6 (24)
14: 24 sc
15: (3 sc, inc) * 6 (30)
16: 30 sc
17: (4 sc, inc) * 6 (36)
18: 36 sc
F.o. and leave a tail for sewing.
🐘 Legs & Body
🦵 Legs (Make 4)
With main color:
1: 6 sc in MR (6)
2: (inc) * 6 (12)
3: (1 sc, inc) * 6 (18)
4: 18 sc in BLO
5–7: 18 sc
👉 Make 3 legs and fasten off
👉 4th leg: do not cut yarn
🔗 Join Legs
Join all legs in round:
- Attach to 2nd leg → 14 sc
- Attach 3rd leg → 14 sc
- Attach 4th leg → 14 sc
- Attach 1st leg → 14 sc
👉 Total: 56 sc
F.o. (do not close gap)
🔘 Close Center Gap
Join yarn inside gap:
1: 4 sc on each leg → total 16 sc
2: 16 sc
3: 8 dec (8)
4: 4 dec (4)
F.o. and close
🧸 Body
Rejoin yarn to main body:
9: (inc, 13 sc) * 4 (60)
10: (9 sc, inc) * 6 (66)
11–13: 66 sc
14: (9 sc, dec) * 6 (60)
15–19: 60 sc
🐘 Attach Trunk
20:
24 sc, attach trunk (12 sc together), 24 sc
21:
24 sc, 24 sc on trunk, 24 sc (72)
🧸 Continue Body
22: (10 sc, dec) * 6 (66)
23–24: 66 sc
25: (9 sc, dec) * 6 (60)
26: 60 sc
27: (8 sc, dec) * 6 (54)
28: 54 sc
29: (7 sc, dec) * 6 (48)
30: (6 sc, dec) * 6 (42)
👉 Insert safety eyes + start stuffing
🔻 Closing
31: (5 sc, dec) * 6 (36)
32: (4 sc, dec) * 6 (30)
33: (3 sc, dec) * 6 (24)
34: (2 sc, dec) * 6 (18)
👉 Stuff more
35: (1 sc, dec) * 6 (12)
36: 6 dec (6)
Close and weave in ends
🐘 Ears (Make 2)
With main body color, work in turning rows:
1: ch 2, 4 sc in 2nd ch (4), ch 1, turn
2: (inc) * 4 (8), ch 1, turn
3: (1 sc, inc) * 4 (12), ch 1, turn
4: (2 sc, inc) * 4 (16), ch 1, turn
5: (3 sc, inc) * 4 (20), ch 1, turn
6: (4 sc, inc) * 4 (24), ch 1, turn
7: 24 sl st
F.o., leave long tail for sewing
🦷 Tusks (Make 2)
With white yarn:
1: 5 sc in MR (5)
2–3: 5 sc
F.o., leave long tail for sewing
🐾 Tail
With main color:
1: ch 9 (leave long tail)
2: from 2nd ch → 4 sc
3: (inc) * 4 (8)
4: 8 sc
5: 4 dec (4)
F.o., weave ends
👉 Use starting tail to sew onto body
🎩 Cone Cap
With one or two colors:
1: 6 sc in MR (6)
2: 6 sc
3: (inc) * 6 (12)
4–5: 12 sc
6: (1 sc, inc) * 6 (18)
7–8: 18 sc
👉 Optional color change
9: (2 sc, inc) * 6 (24)
10: (3 sc, inc) * 6 (30)
F.o., leave long tail
✨ Finishing
Attach to top of hat
Make a small pompom

🎈 Ball
Use two colors (alternate every 2 rounds if desired)
1: 6 sc in MR (6)
2: (inc) * 6 (12)
3: (1 sc, inc) * 6 (18)
4: (2 sc, inc) * 6 (24)
5: (3 sc, inc) * 6 (30)
6: (4 sc, inc) * 6 (36)
7: (5 sc, inc) * 6 (42)
8–16: 42 sc
17: (5 sc, dec) * 6 (36)
18: (4 sc, dec) * 6 (30)
19: (3 sc, dec) * 6 (24)
20: (2 sc, dec) * 6 (18)
👉 Stuff firmly
21: (1 sc, dec) * 6 (12)
22: 6 dec (6)
F.o., close and weave in ends
🧵 Assembly
Add ball as accessory (optional)
Stuff the cap and sew slightly to one side of the head
Sew ears in place
Attach tusks
Sew tail to the body