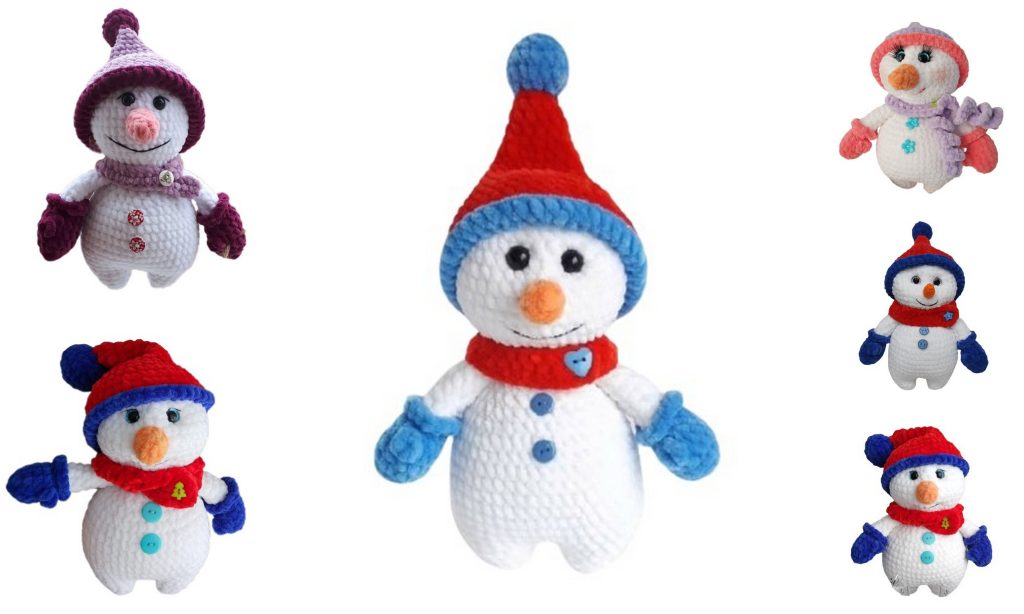
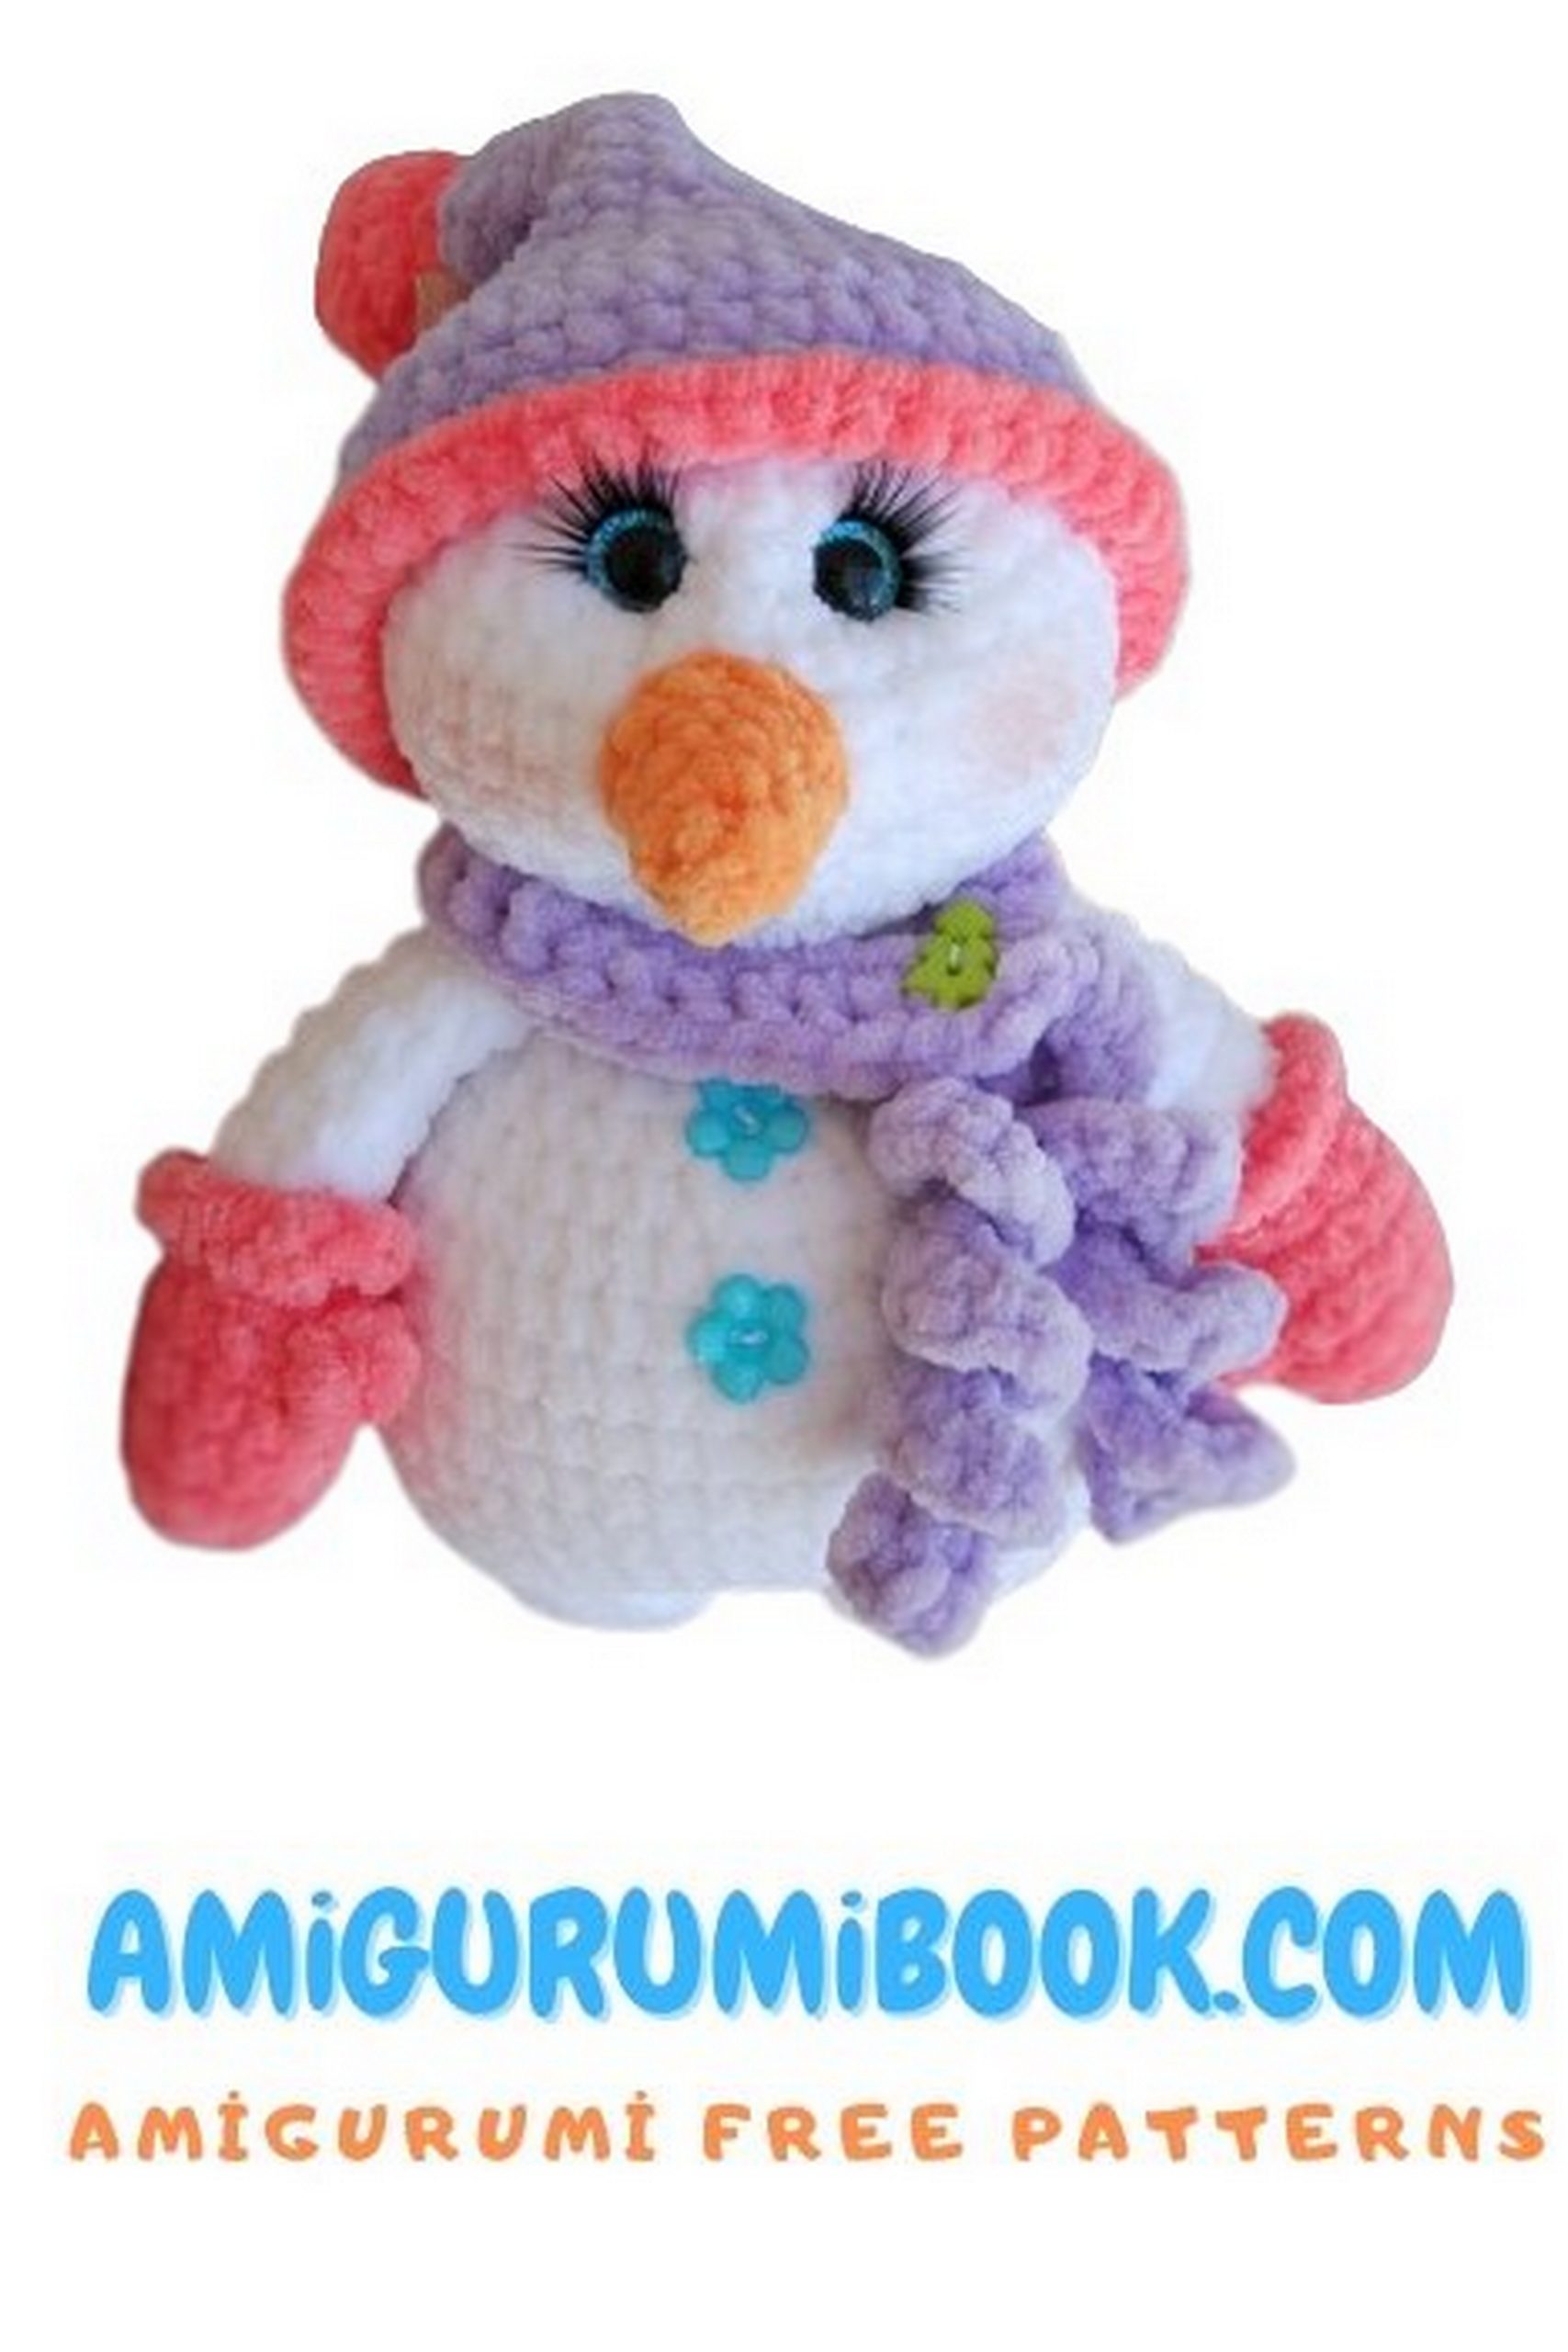
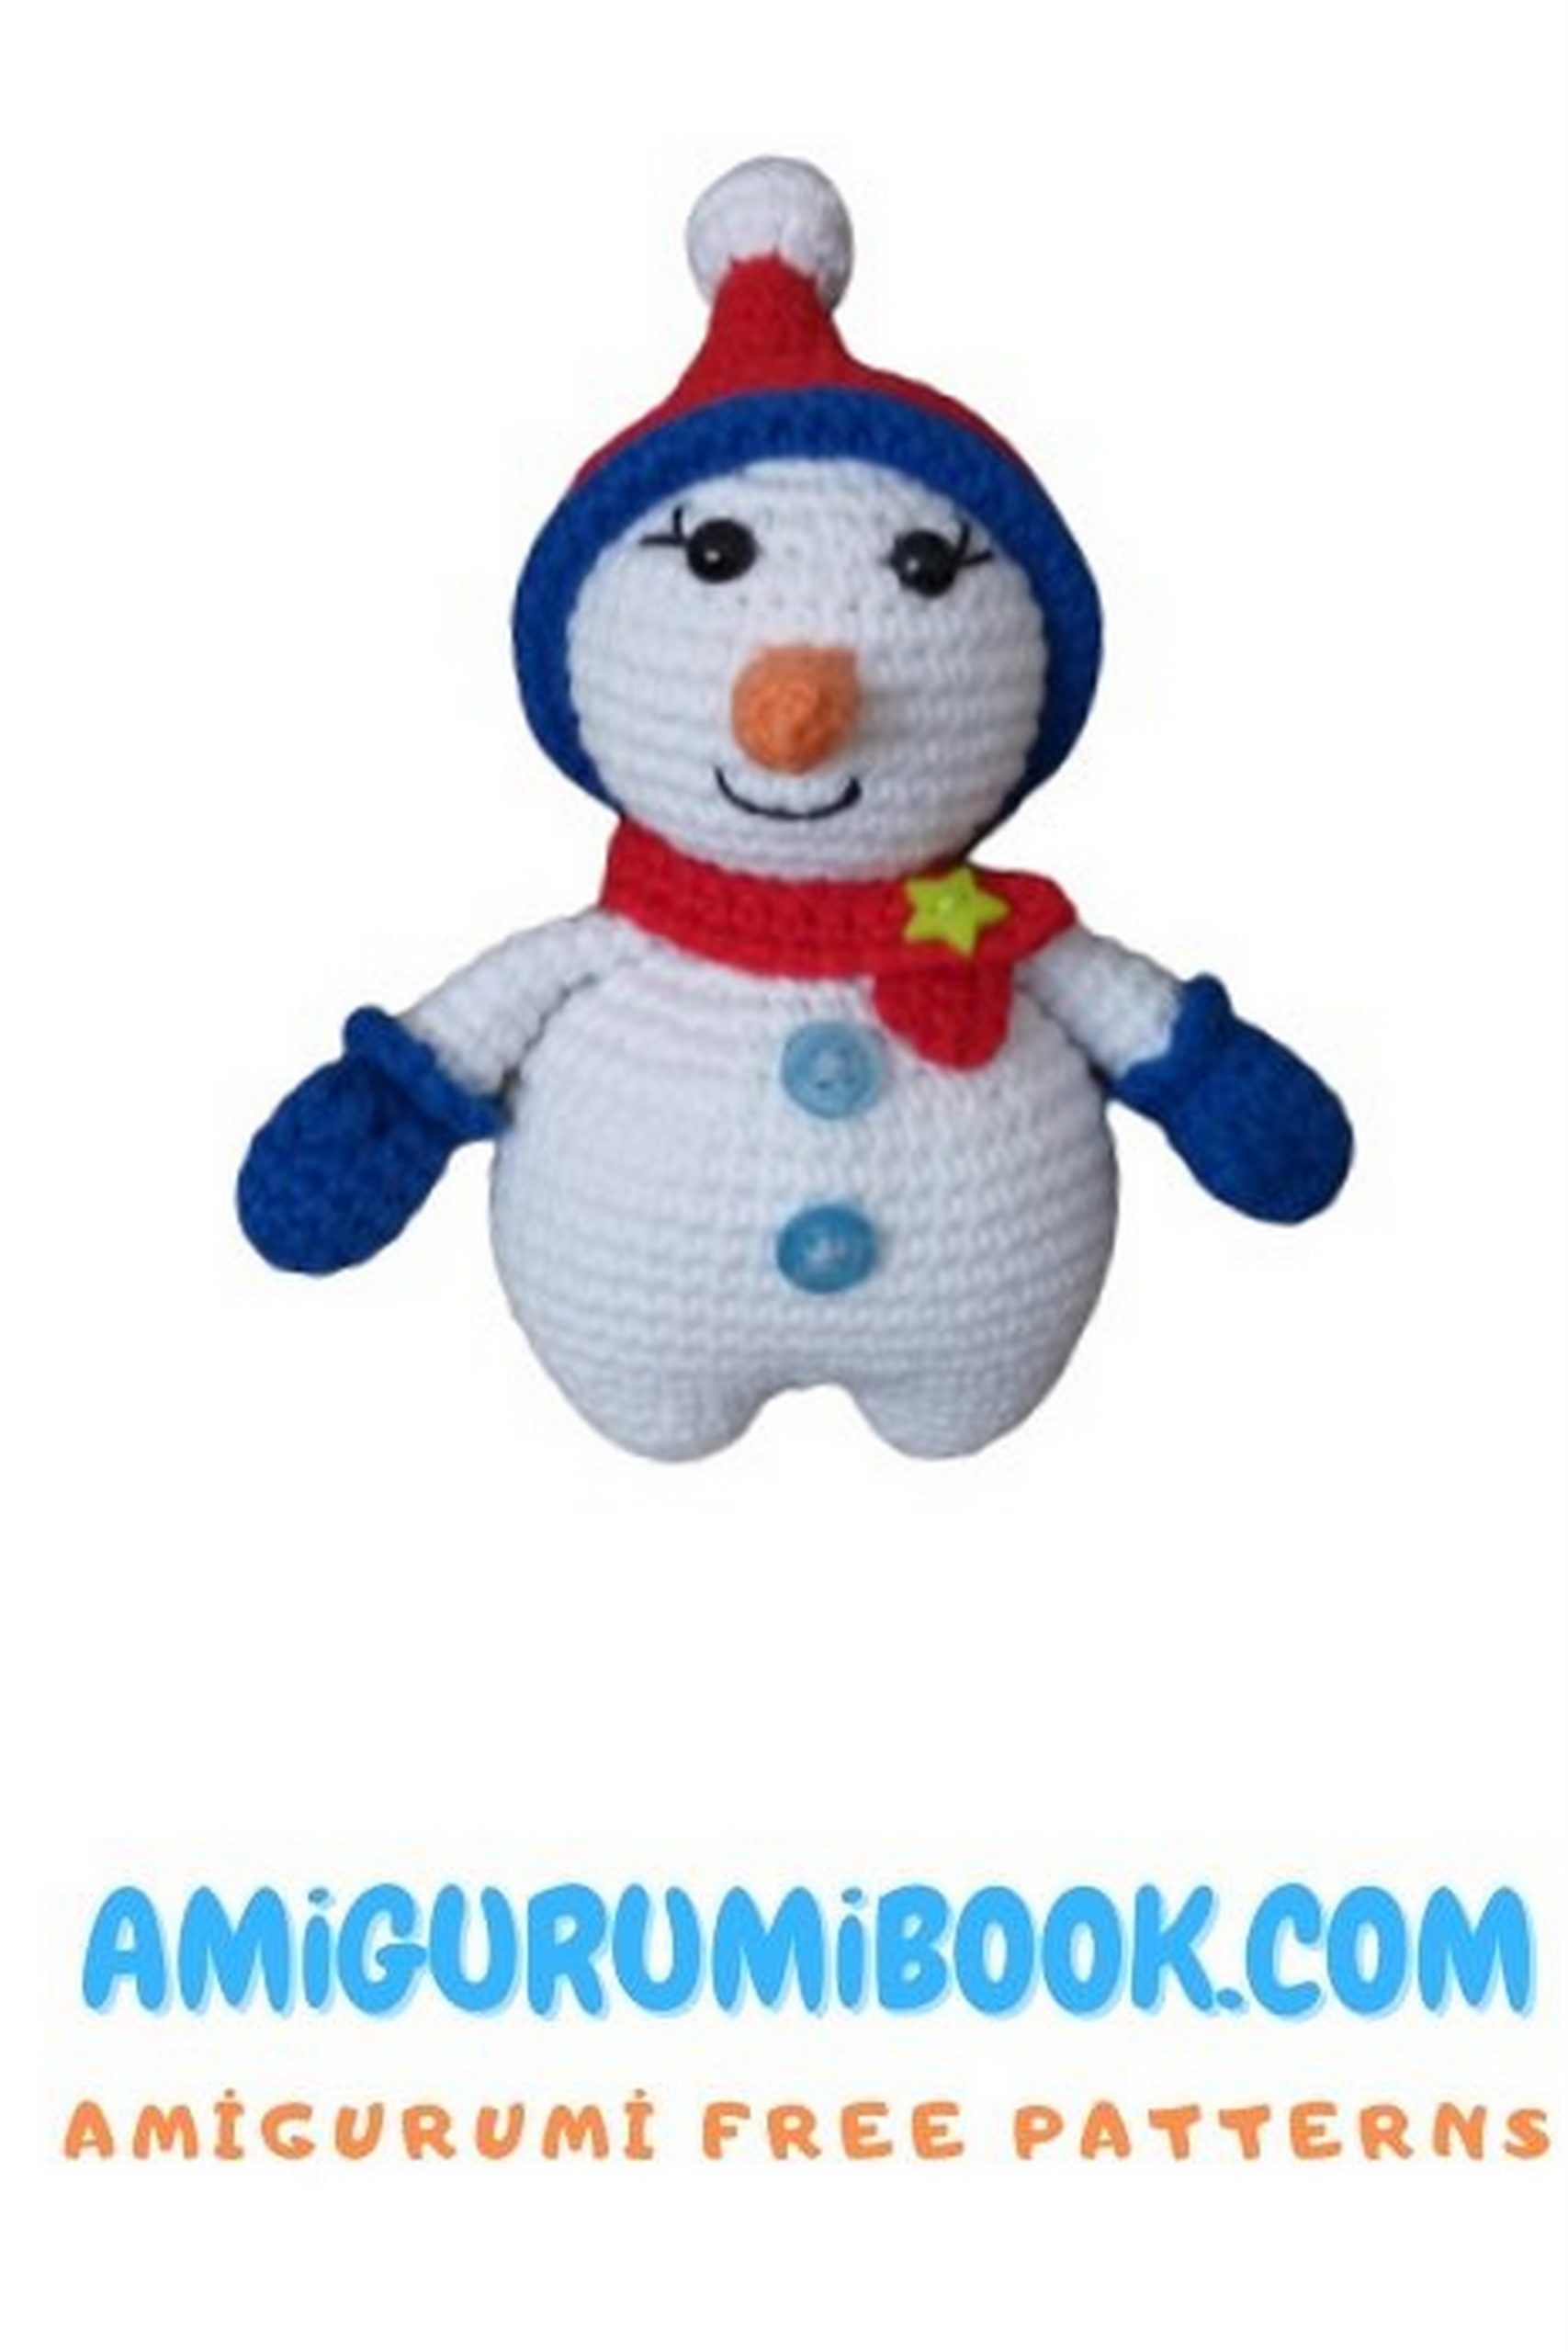
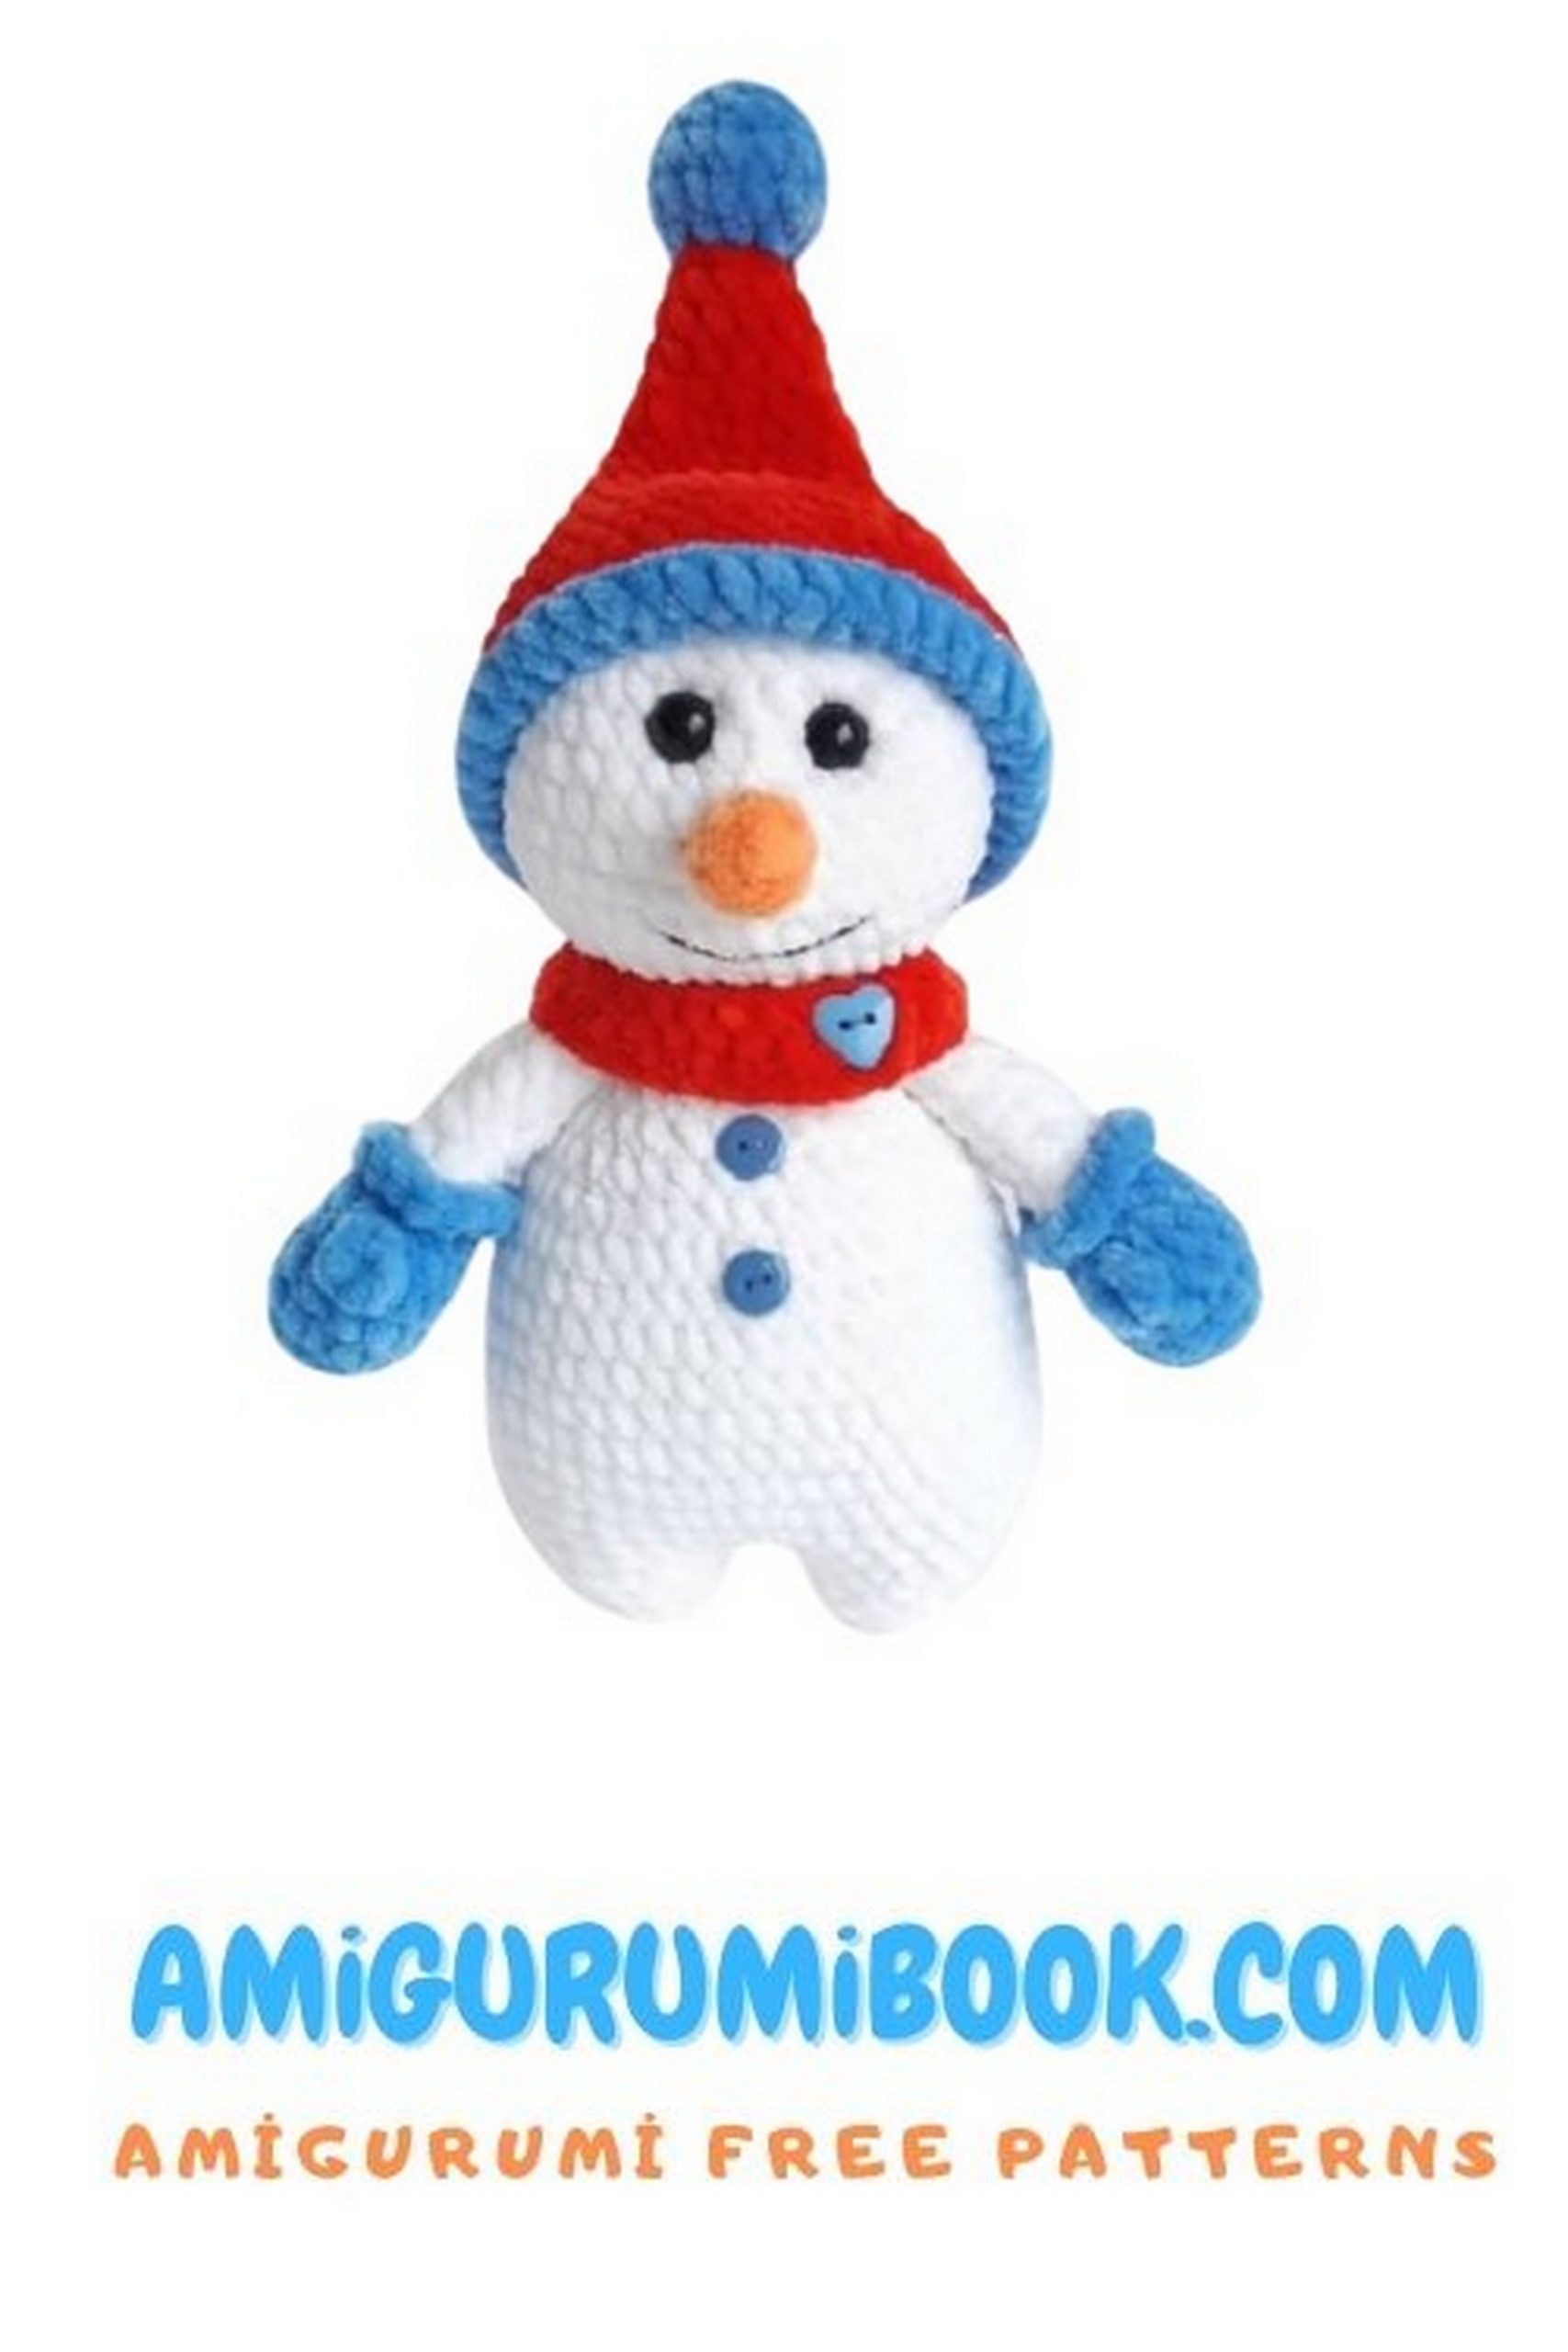
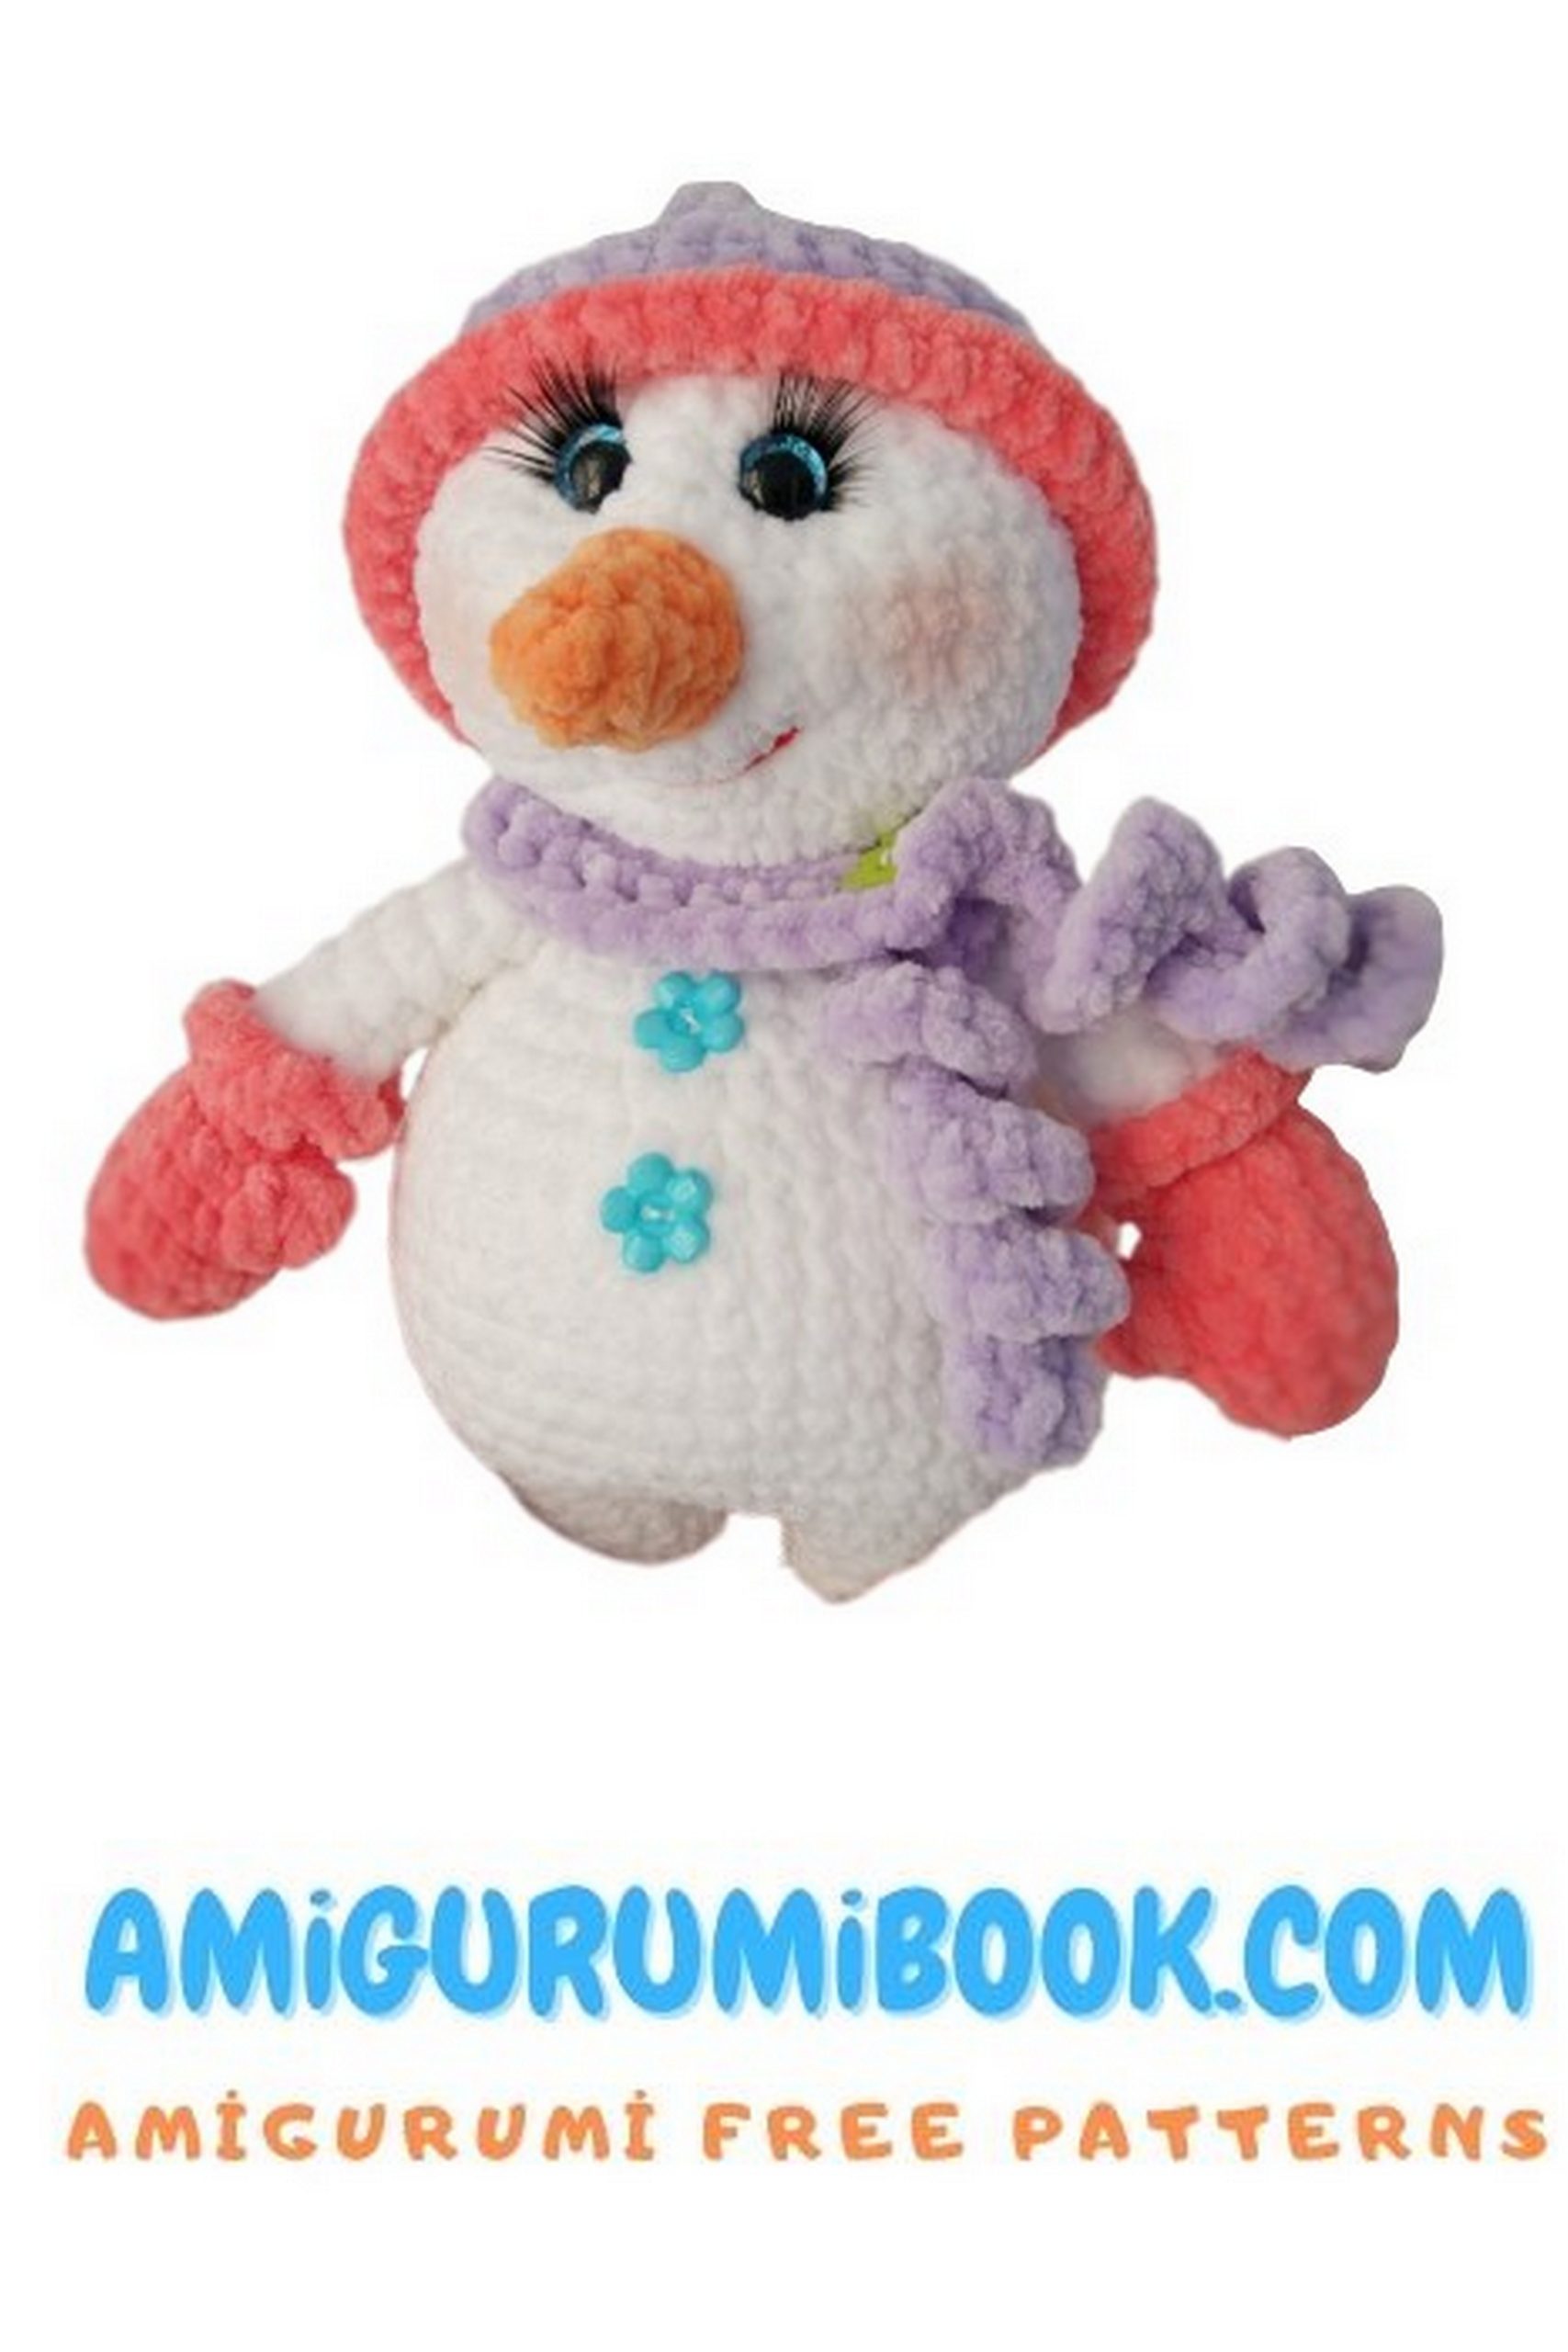
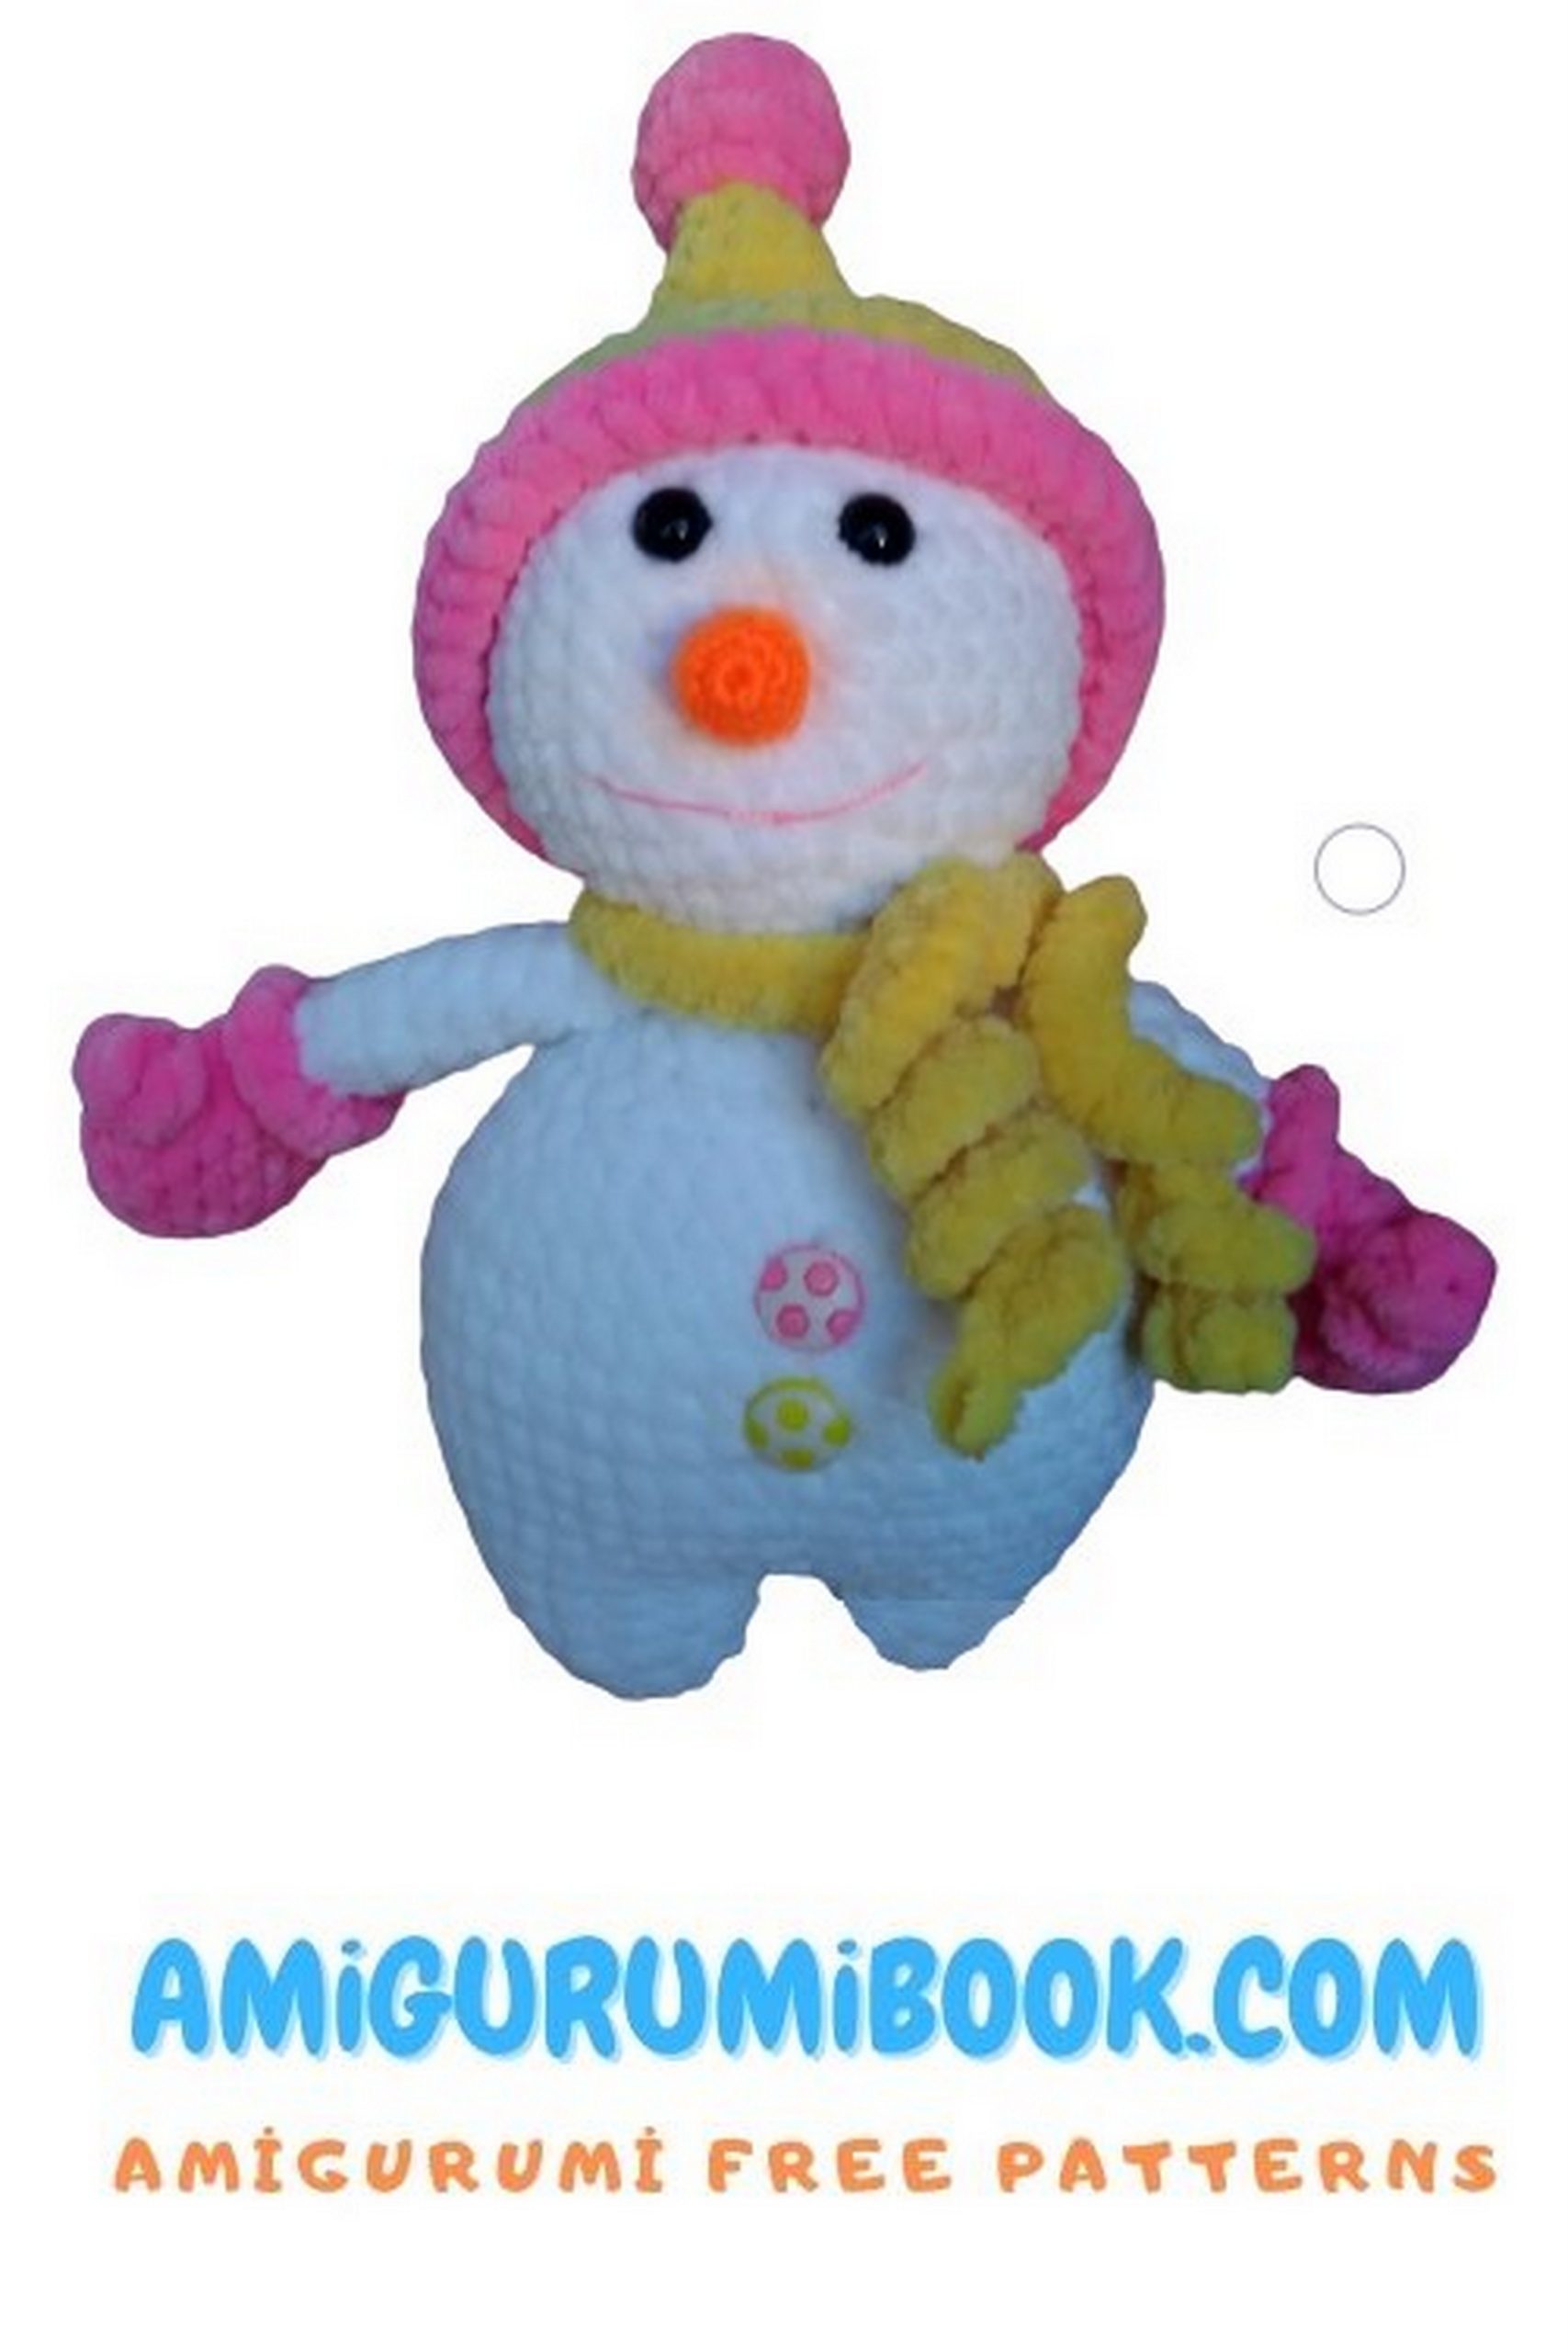
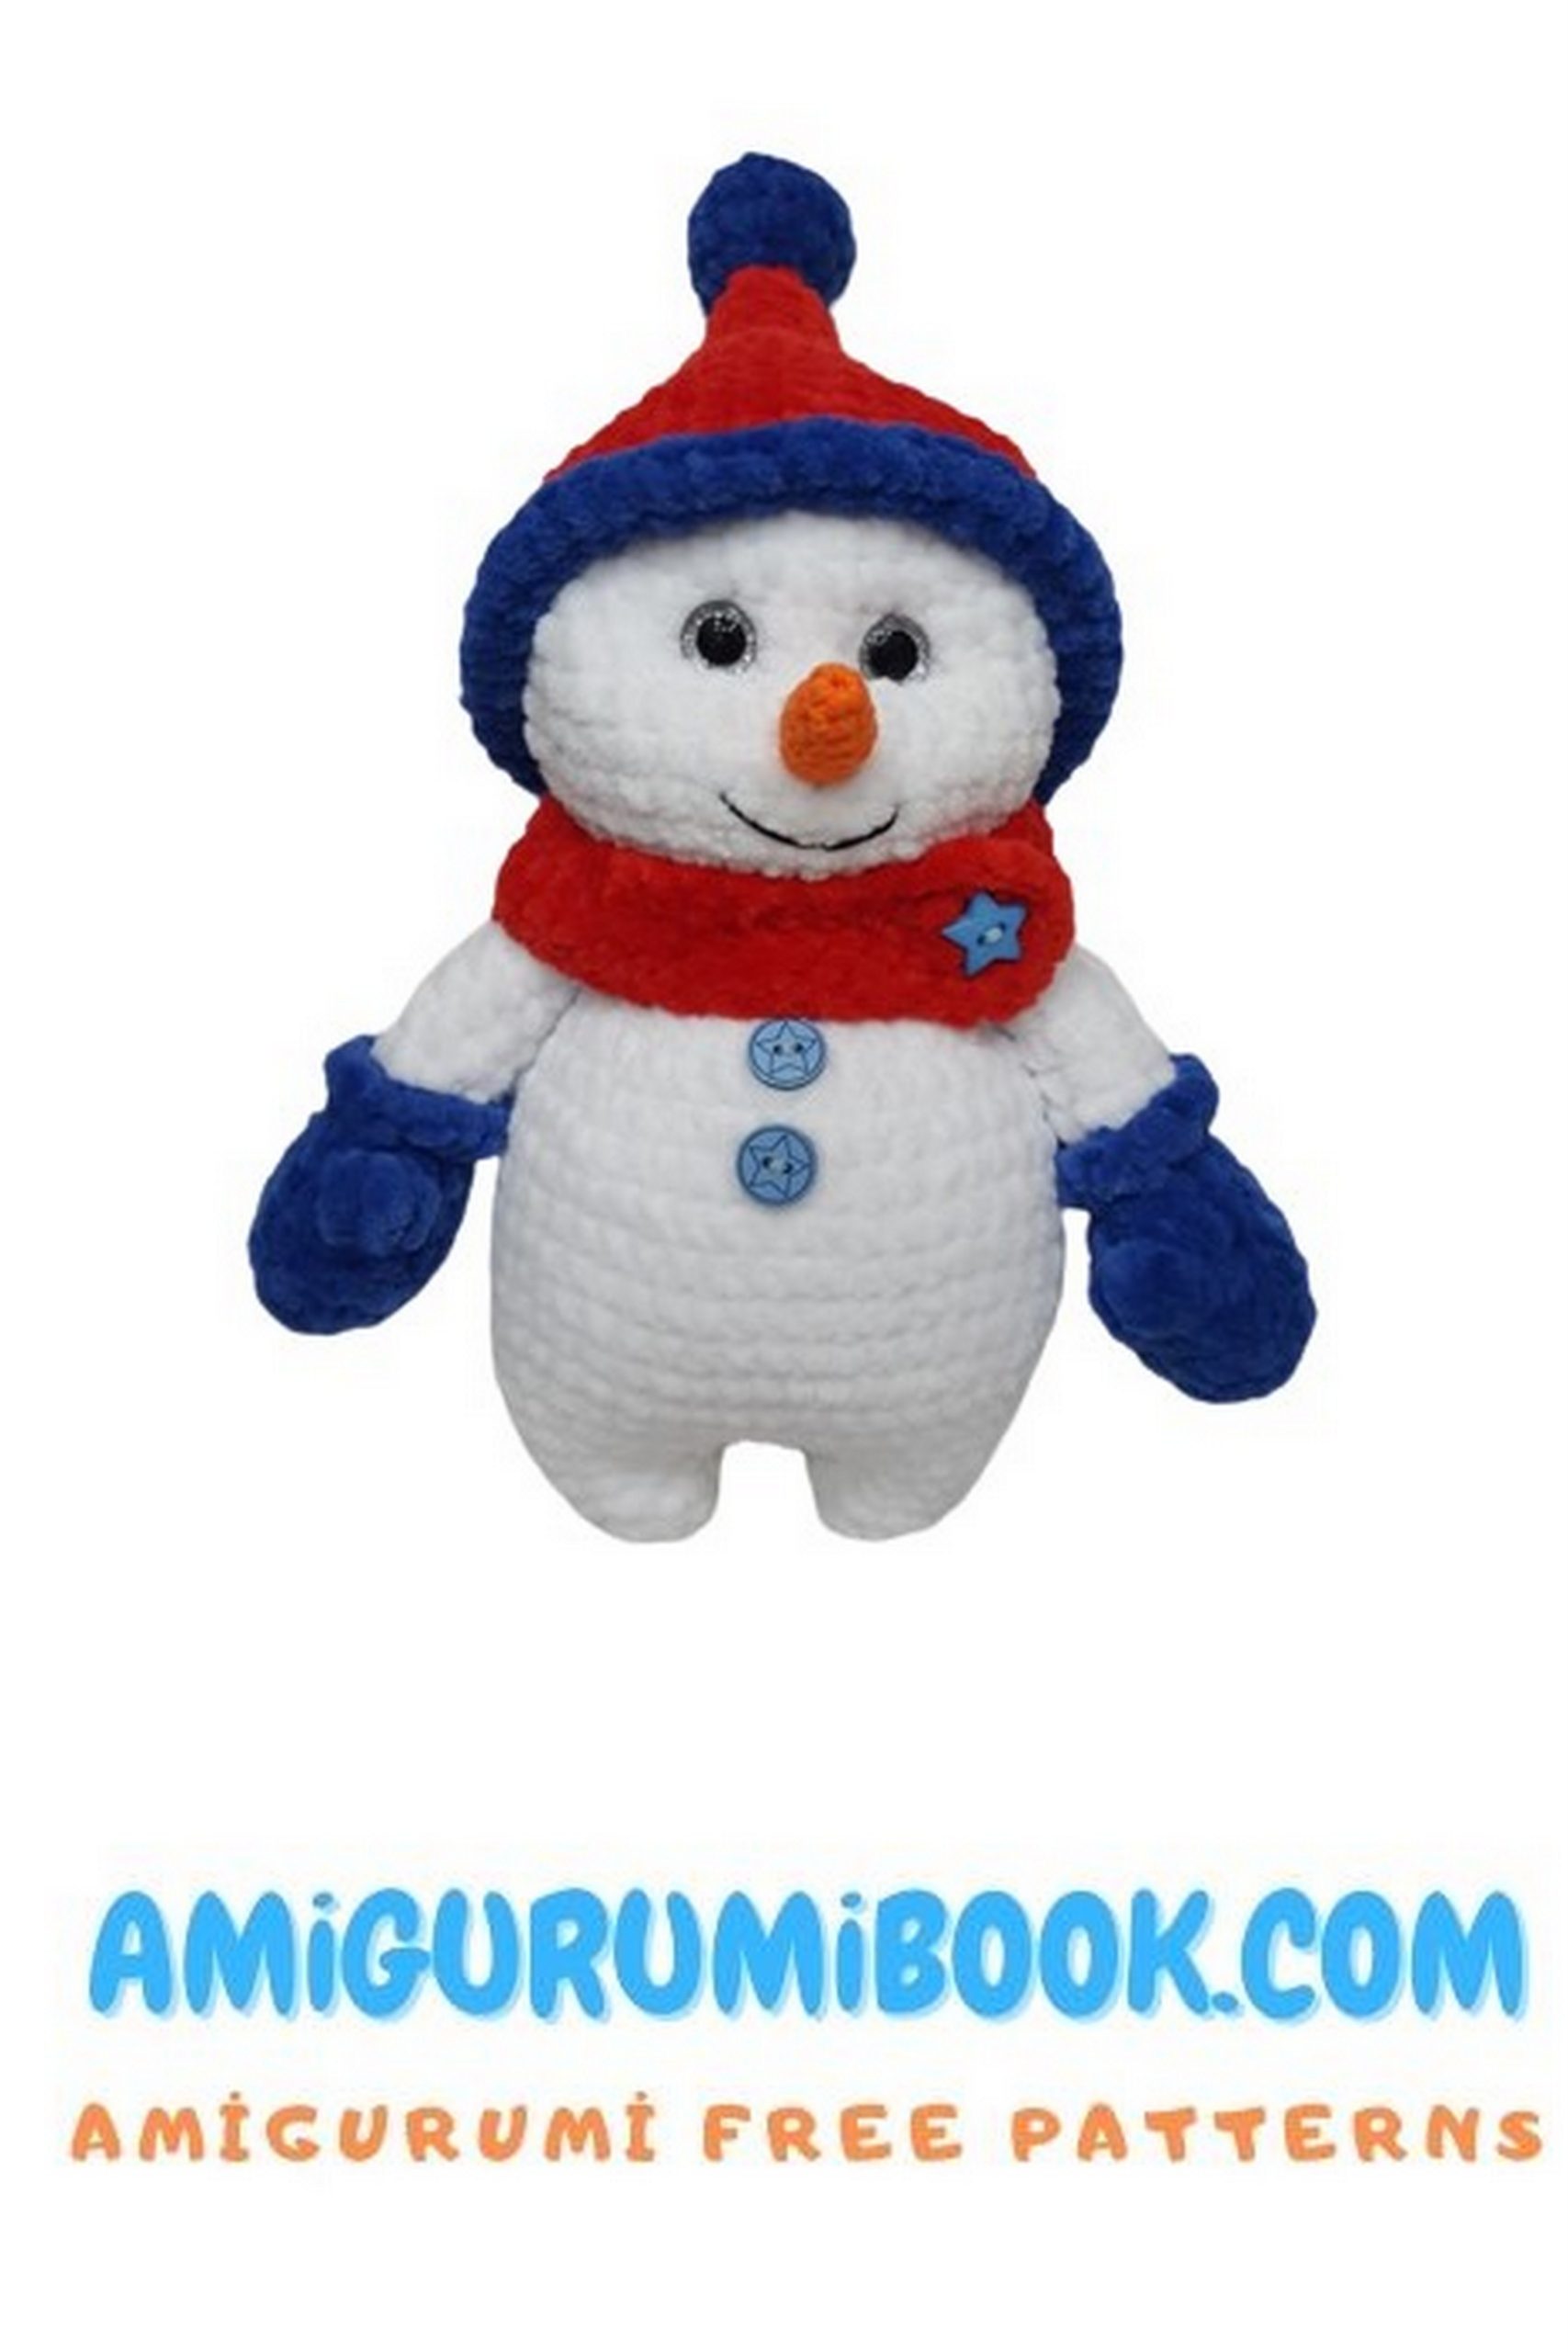
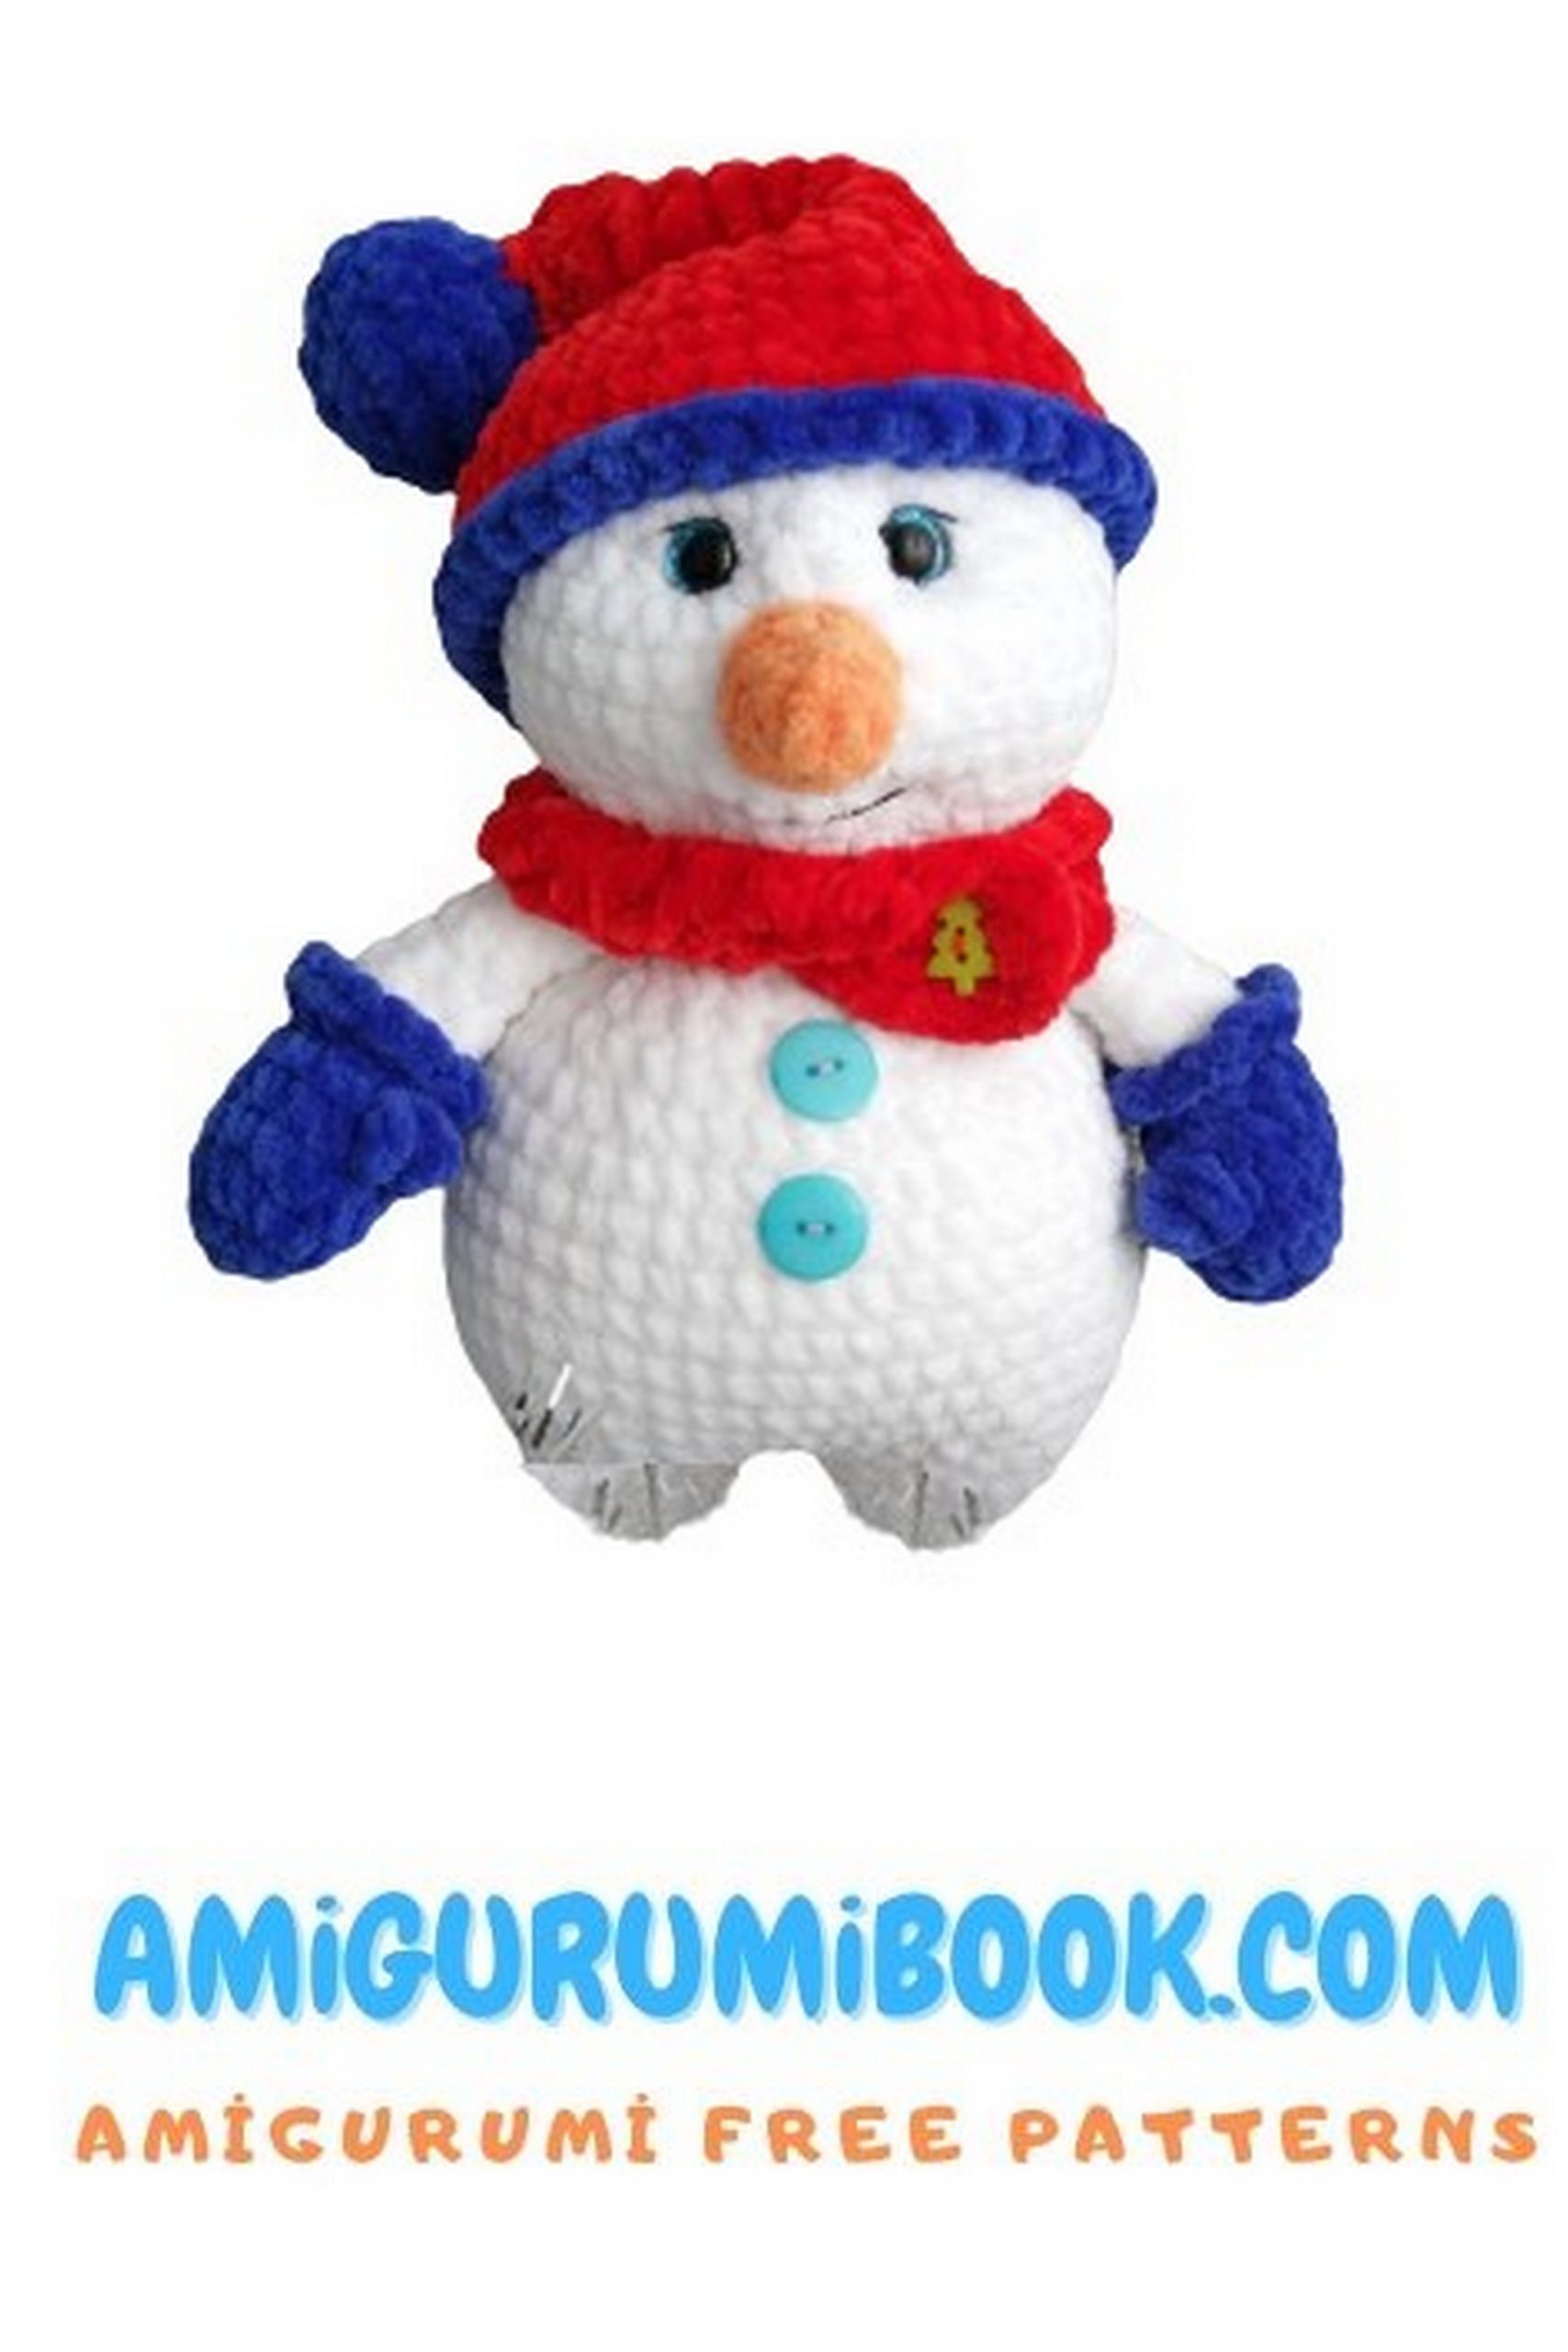
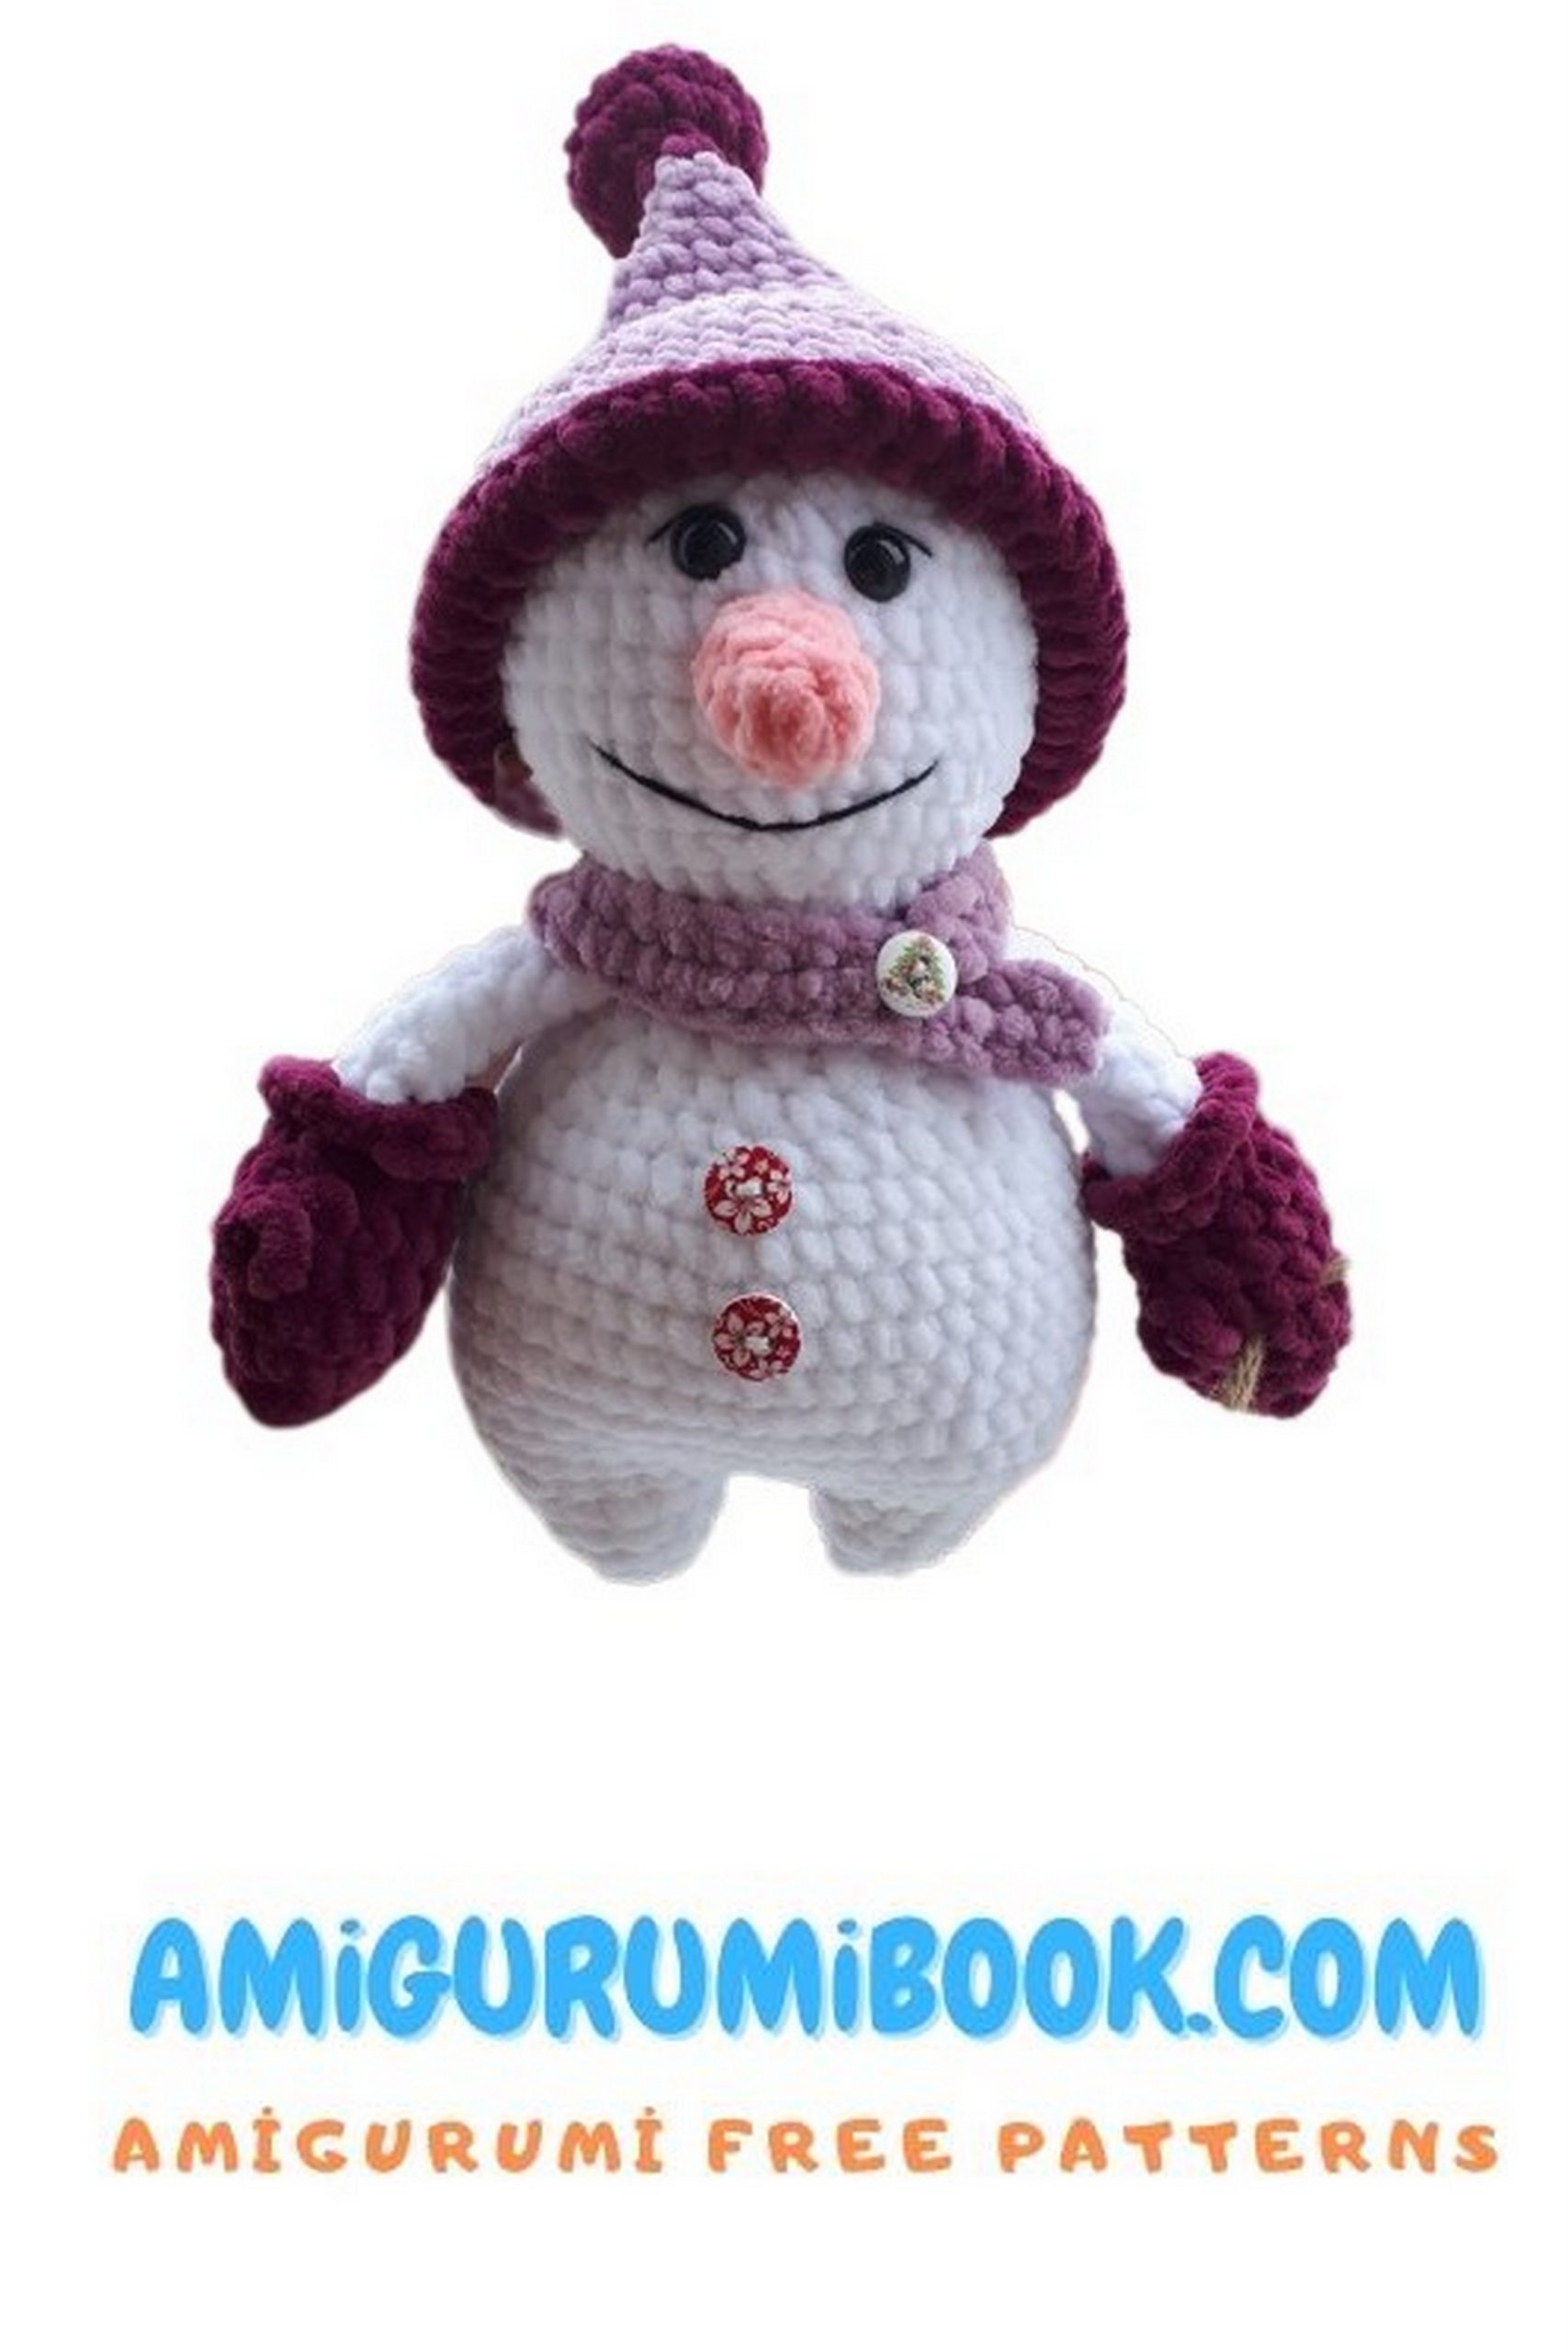
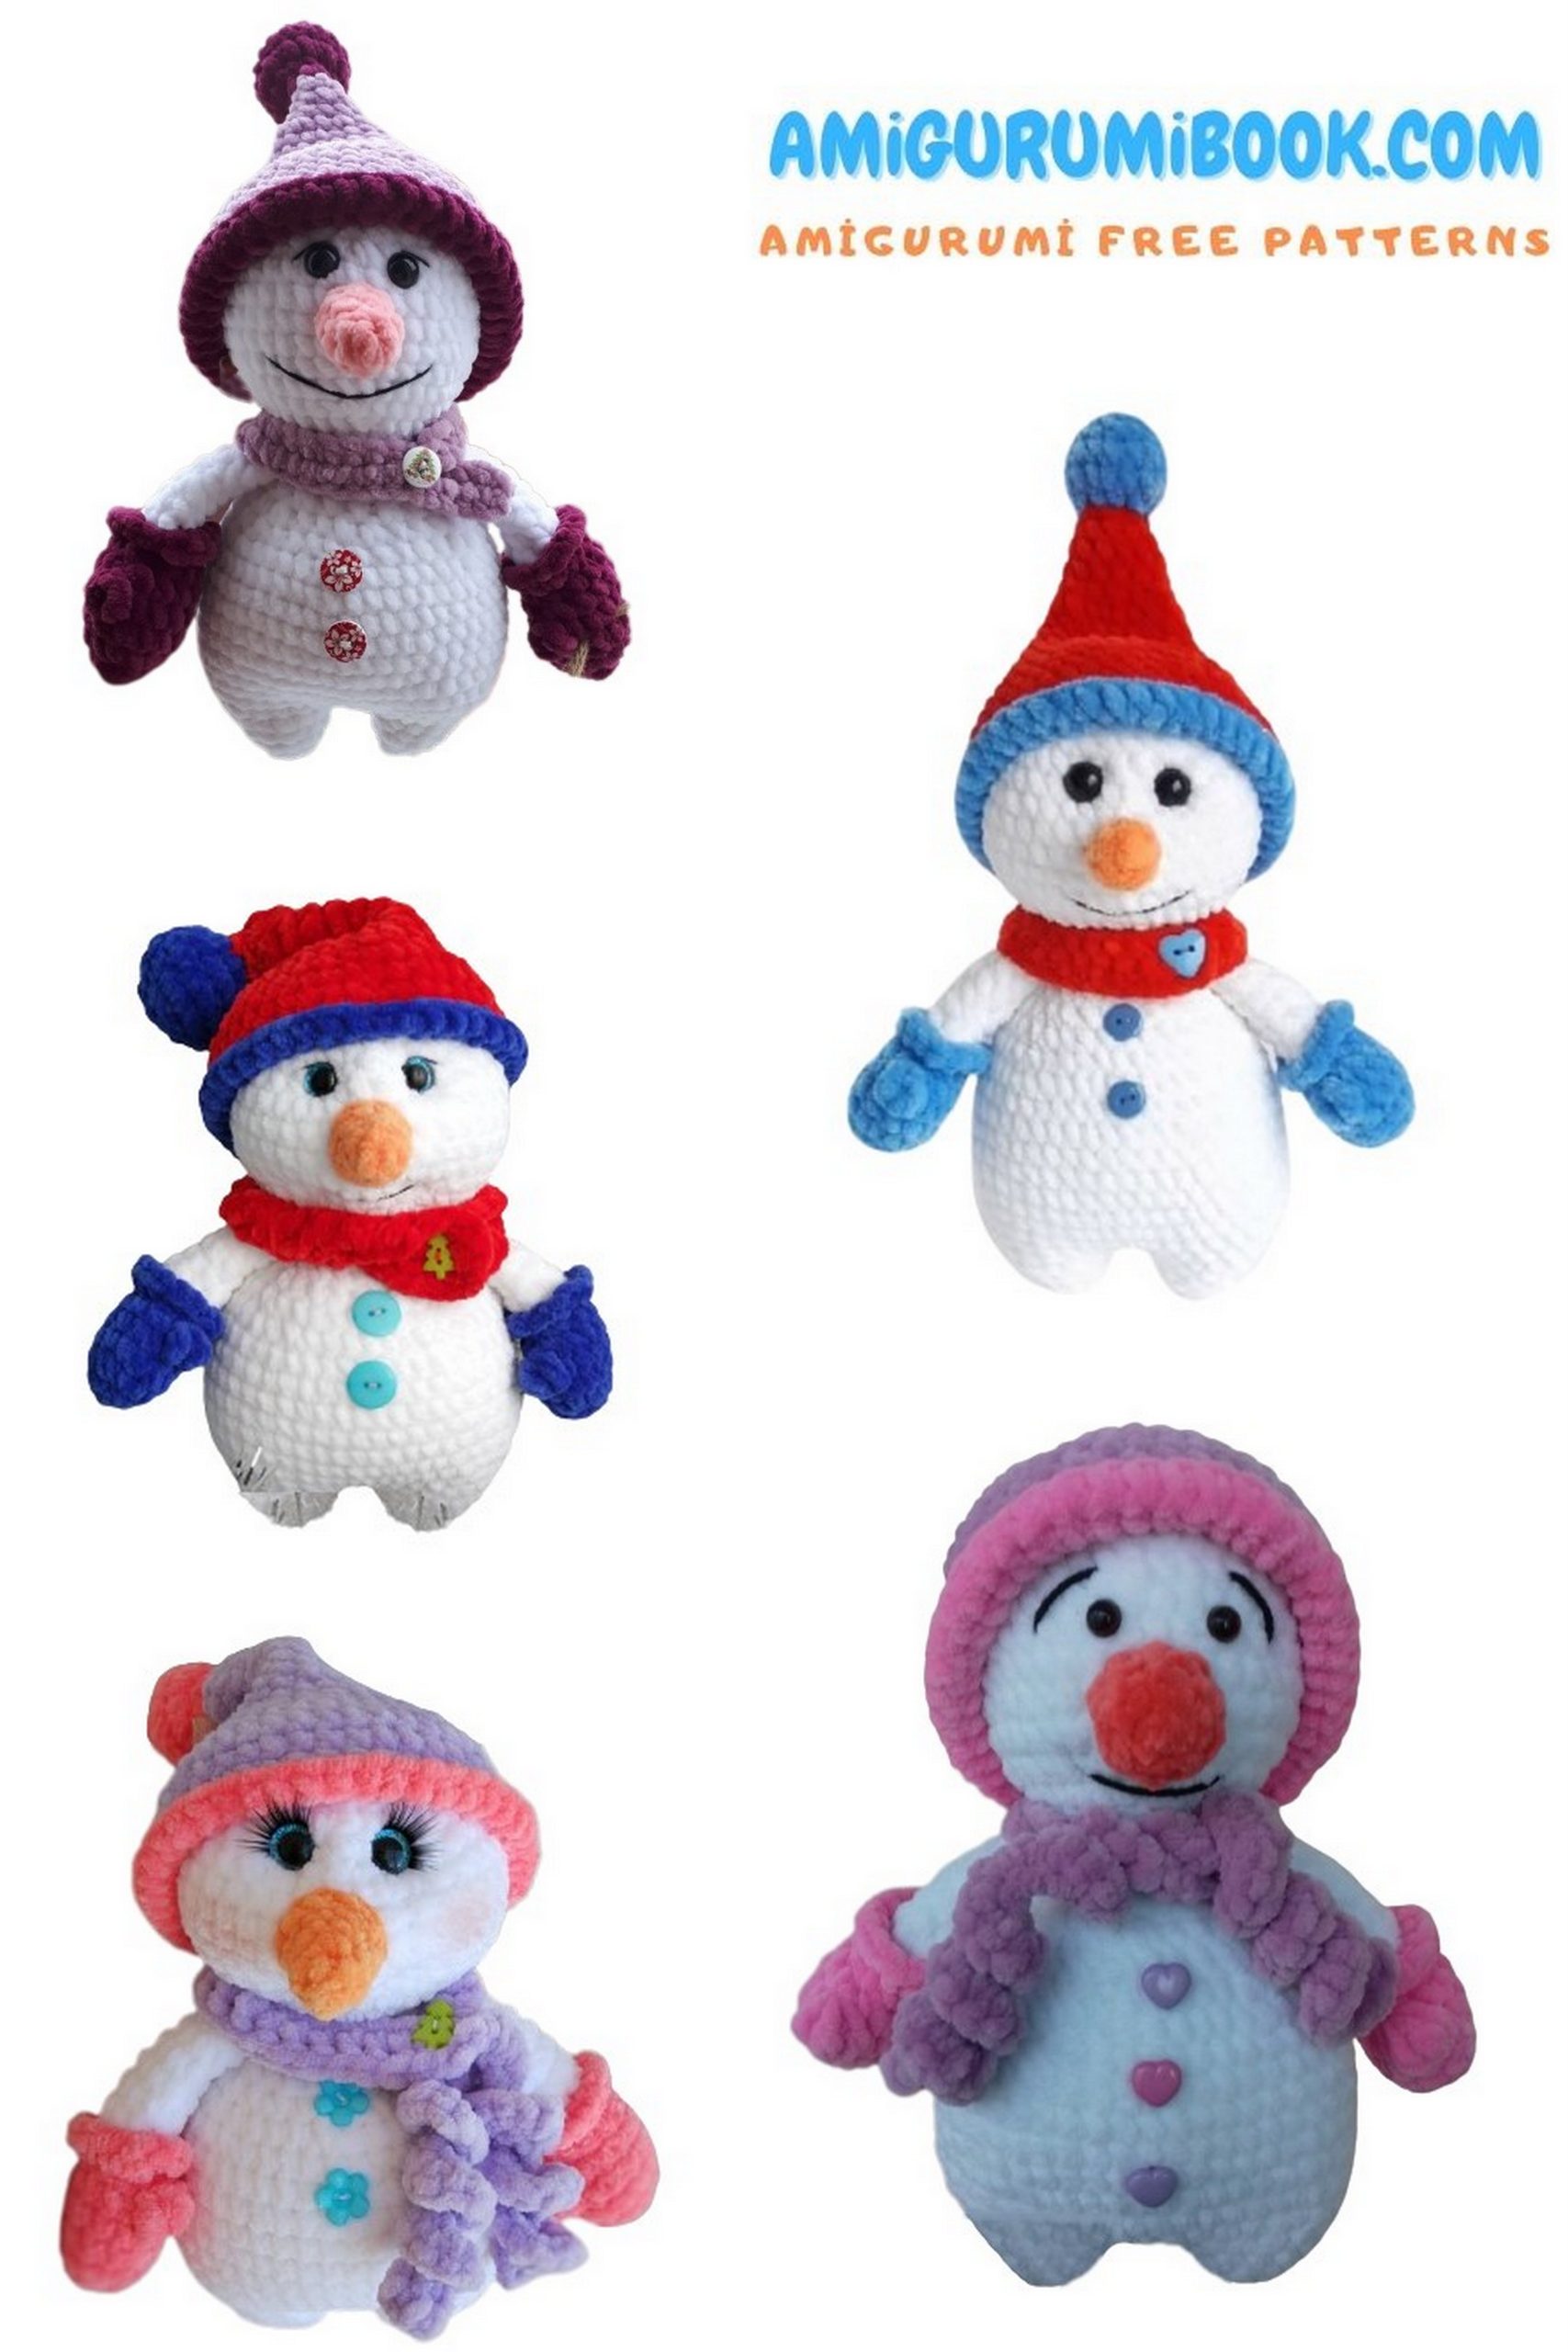
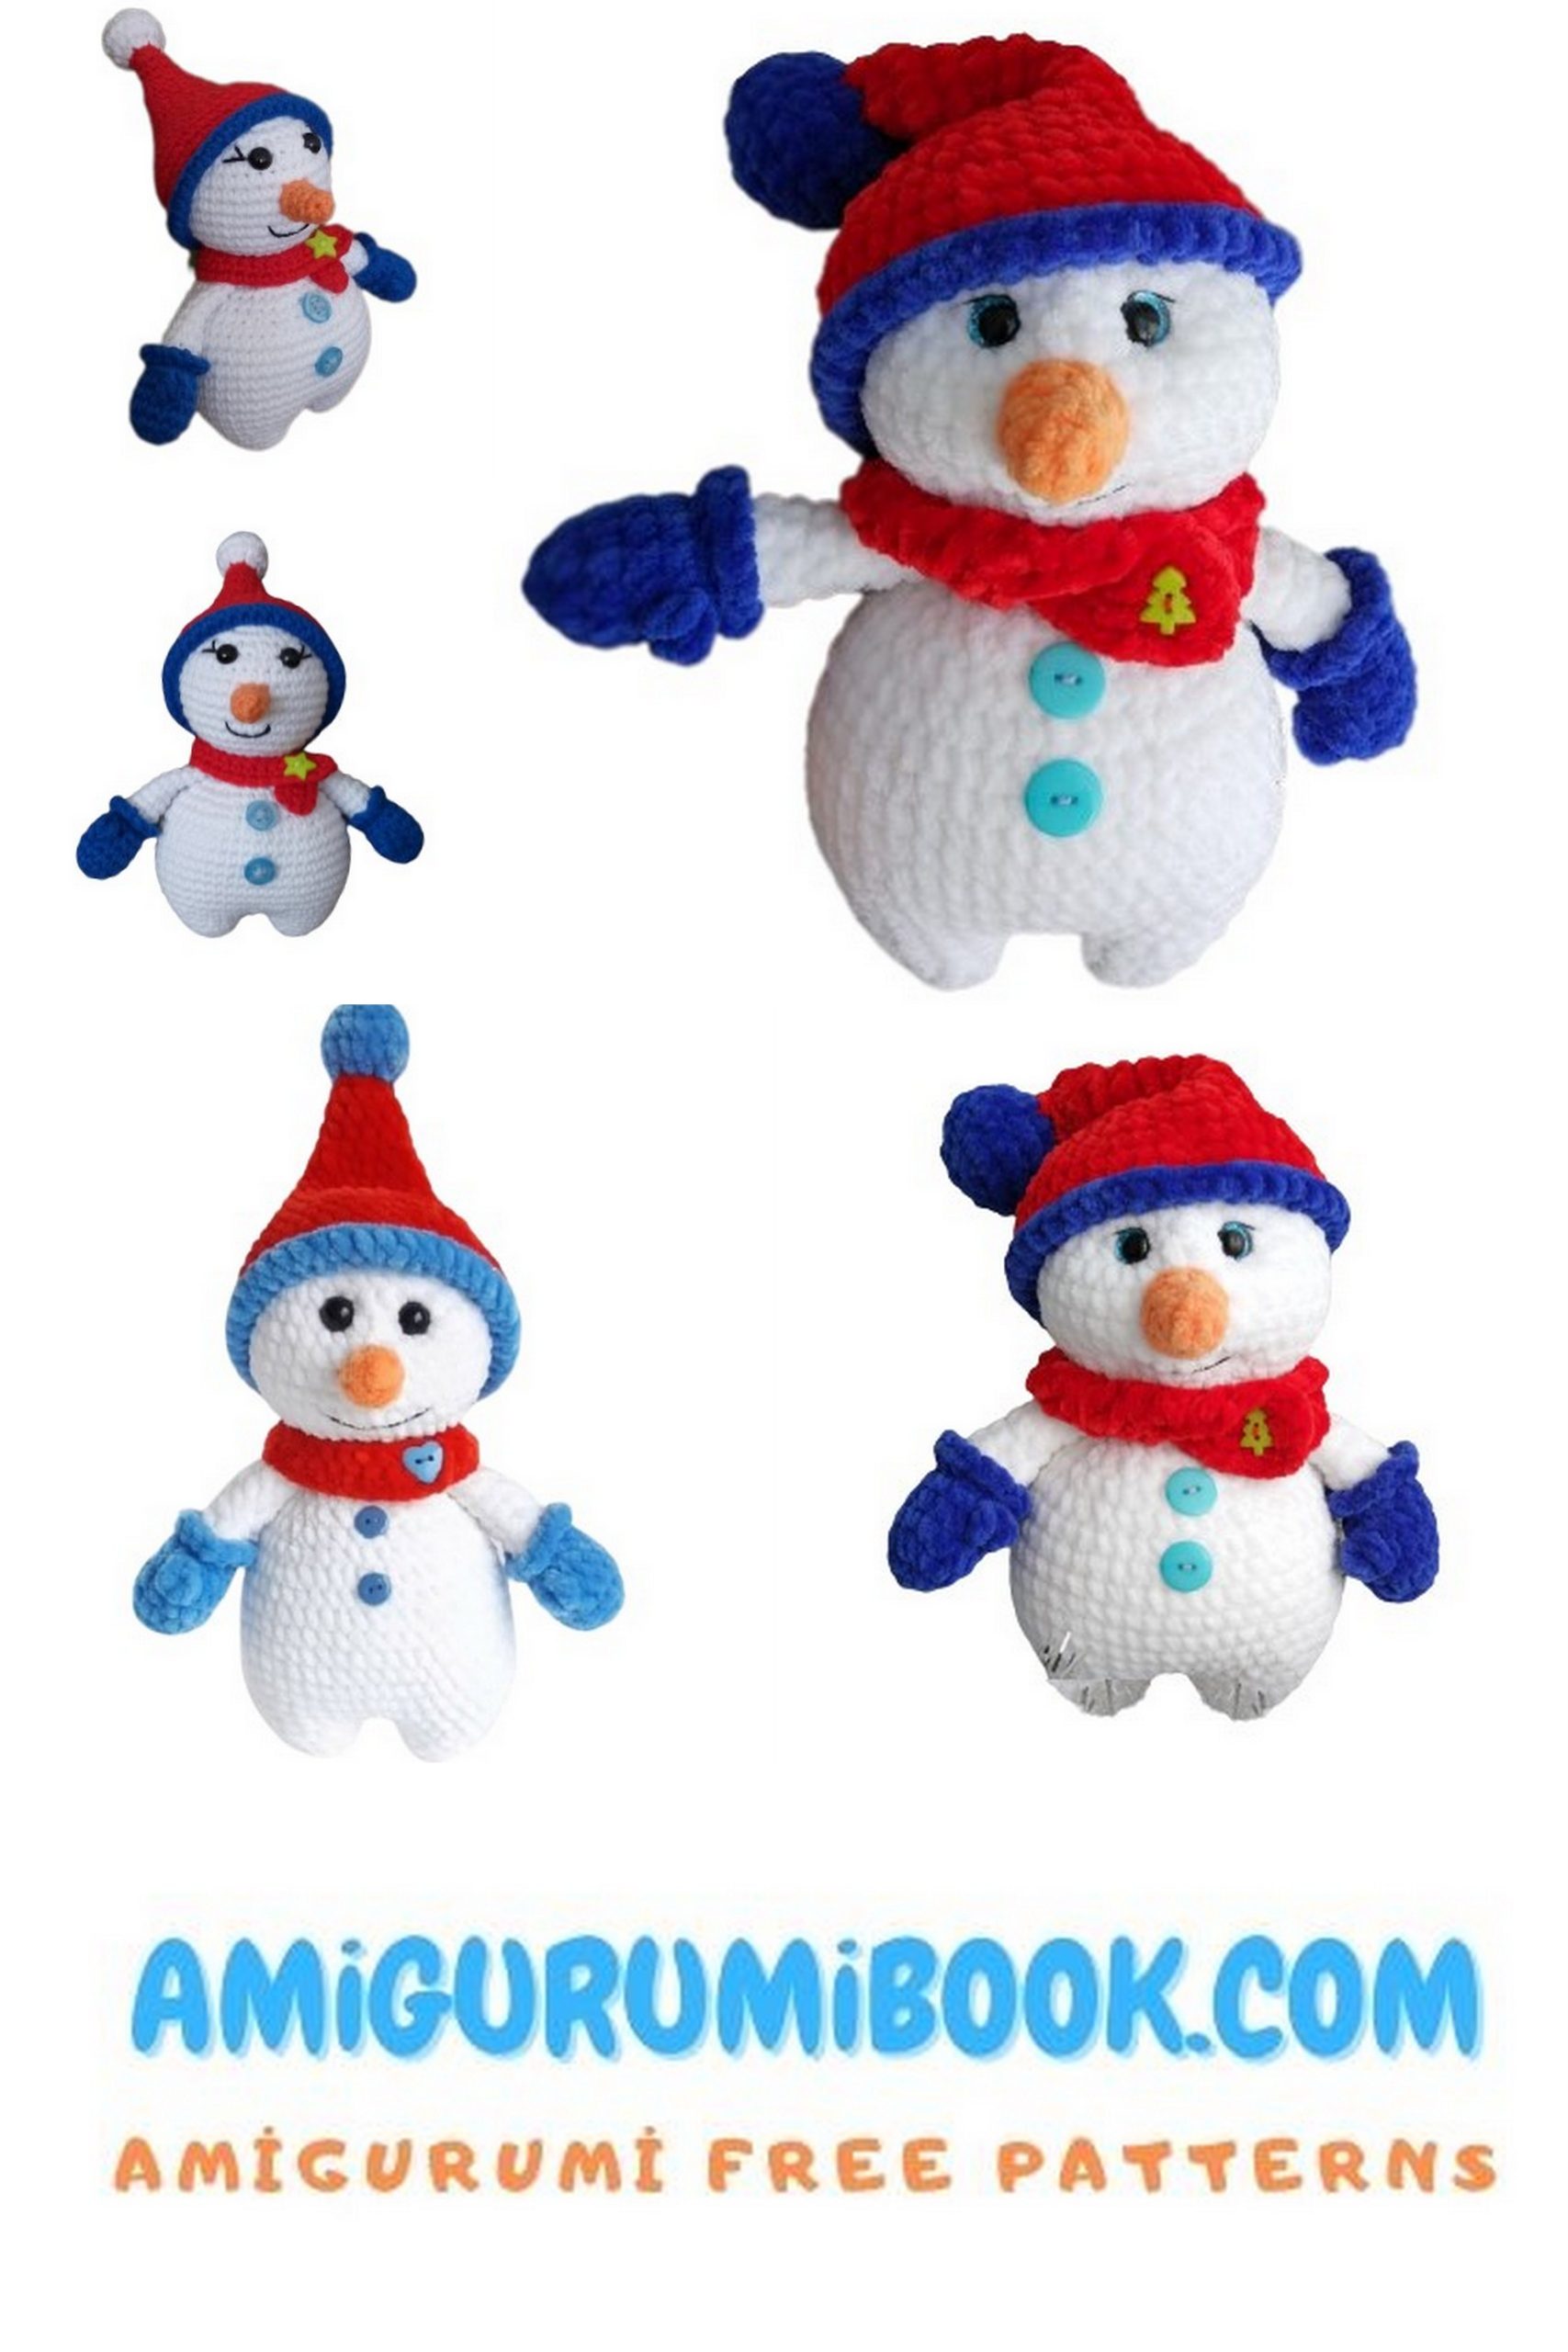
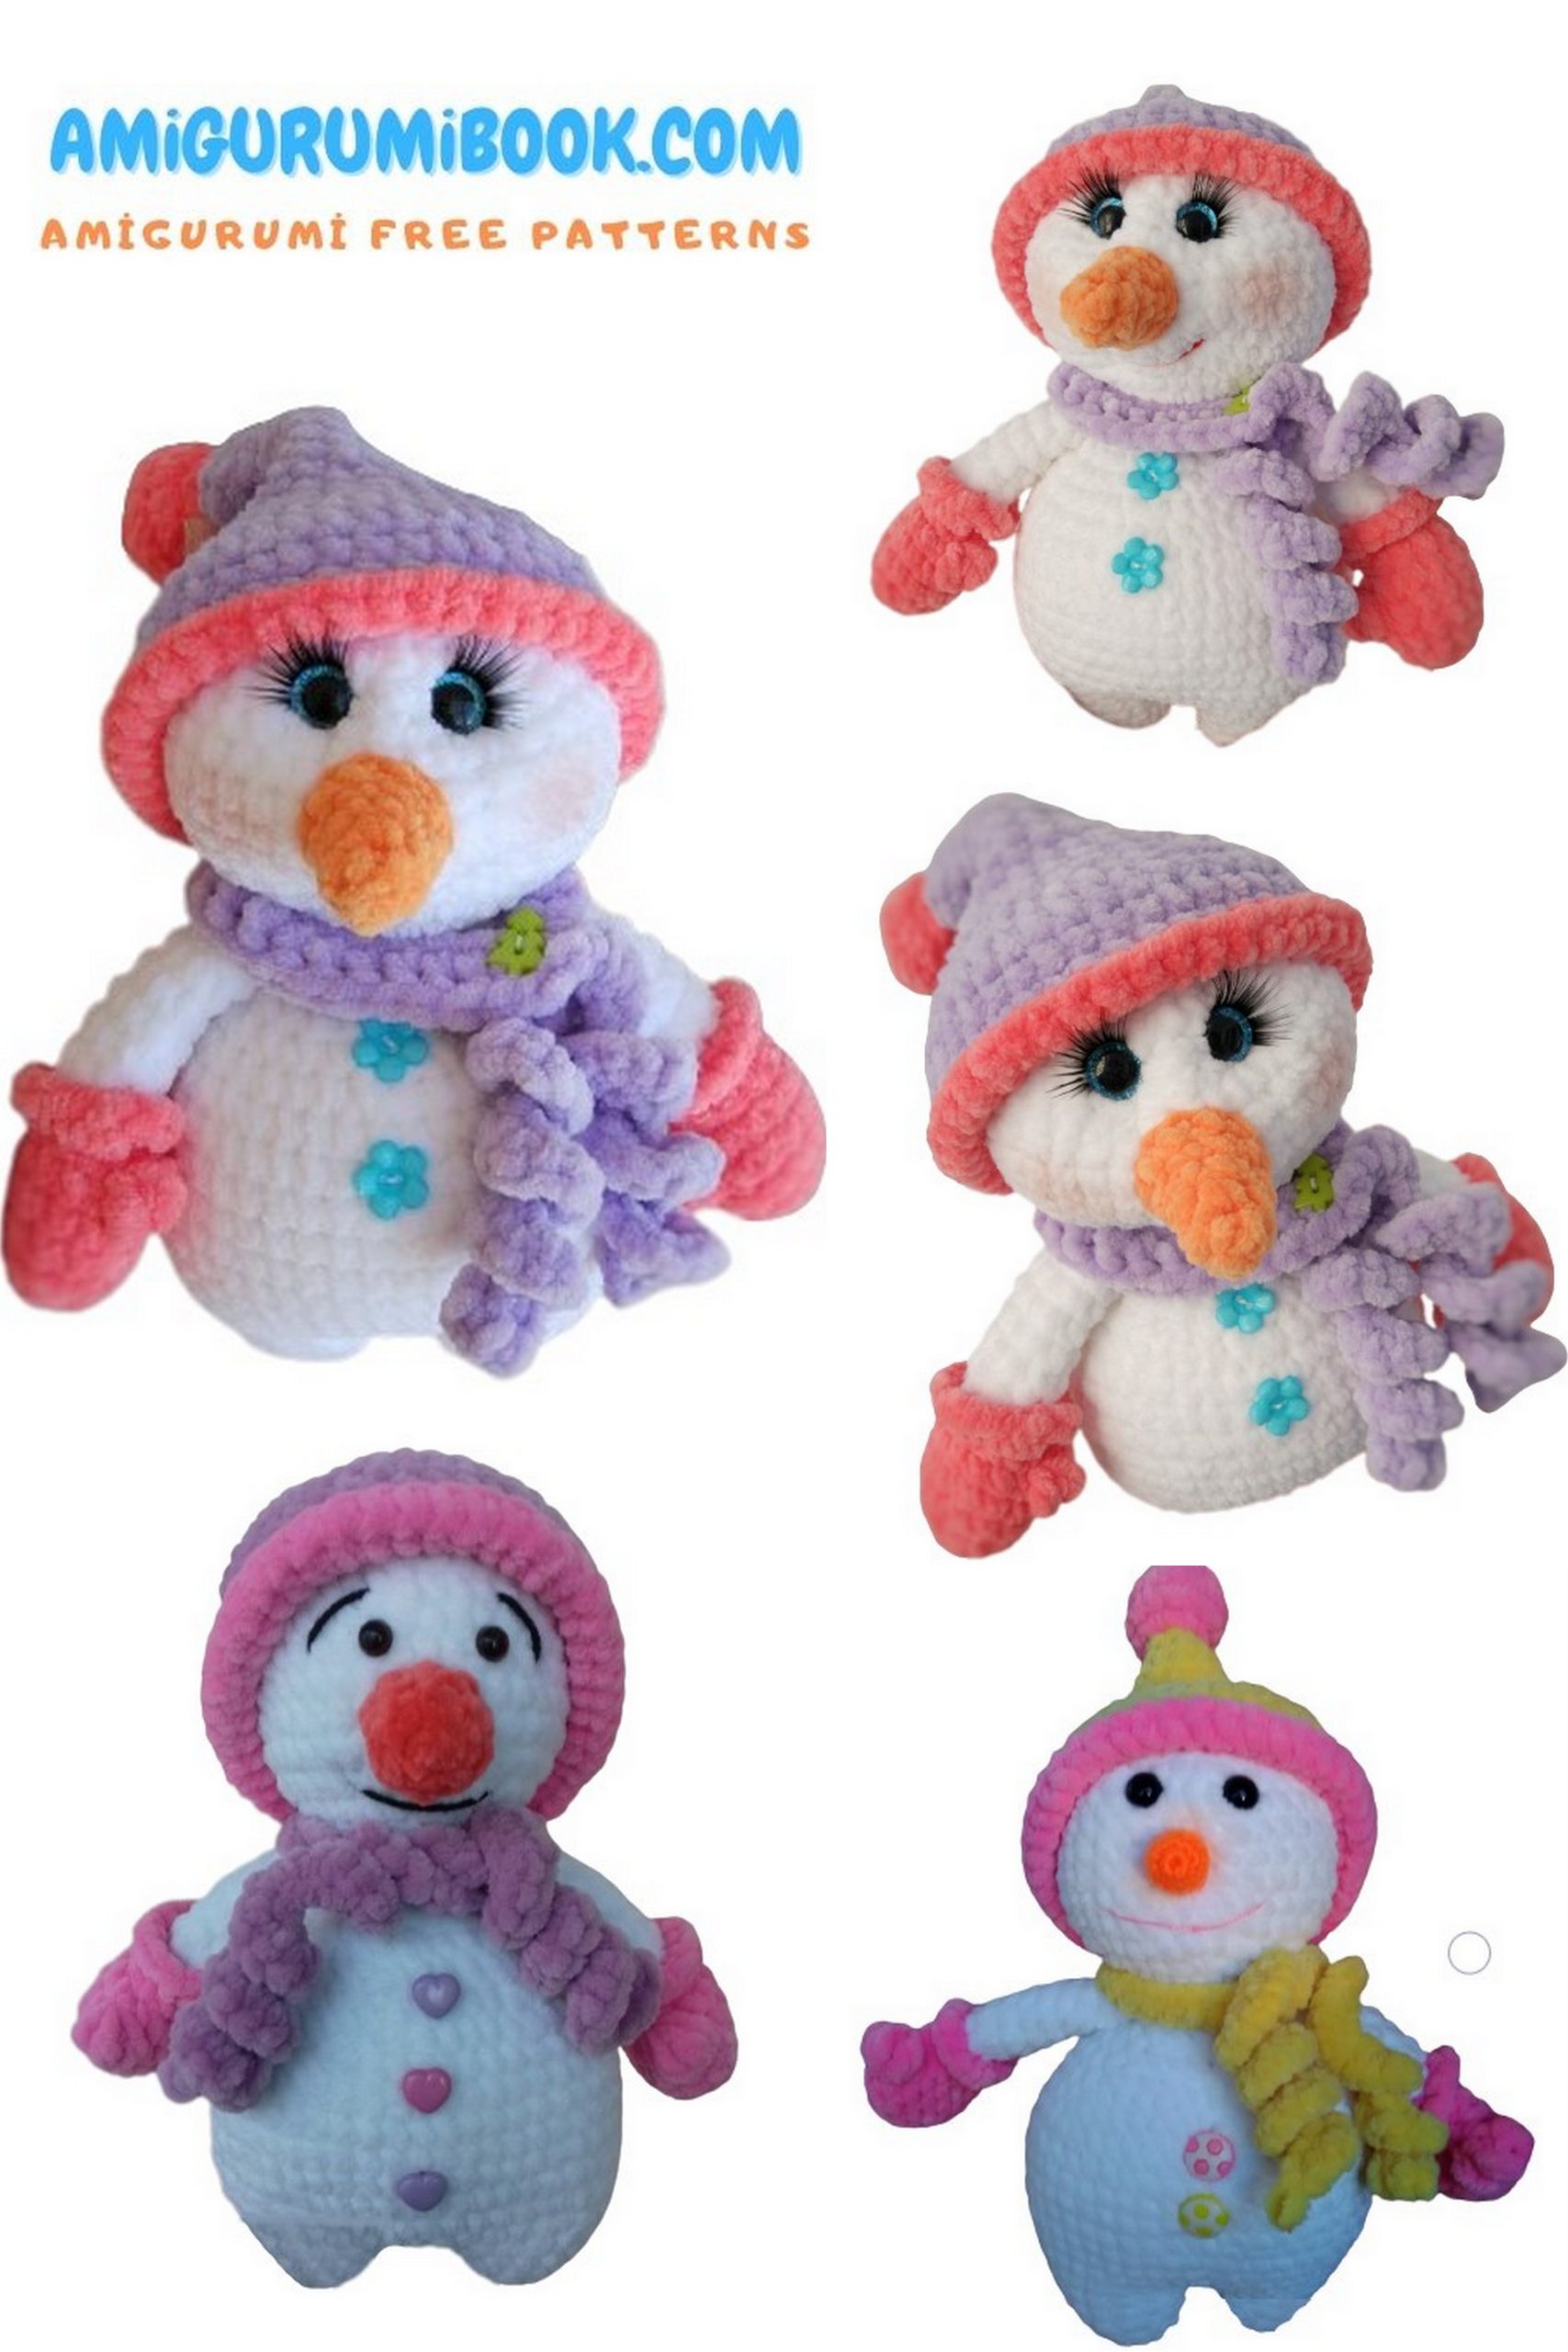
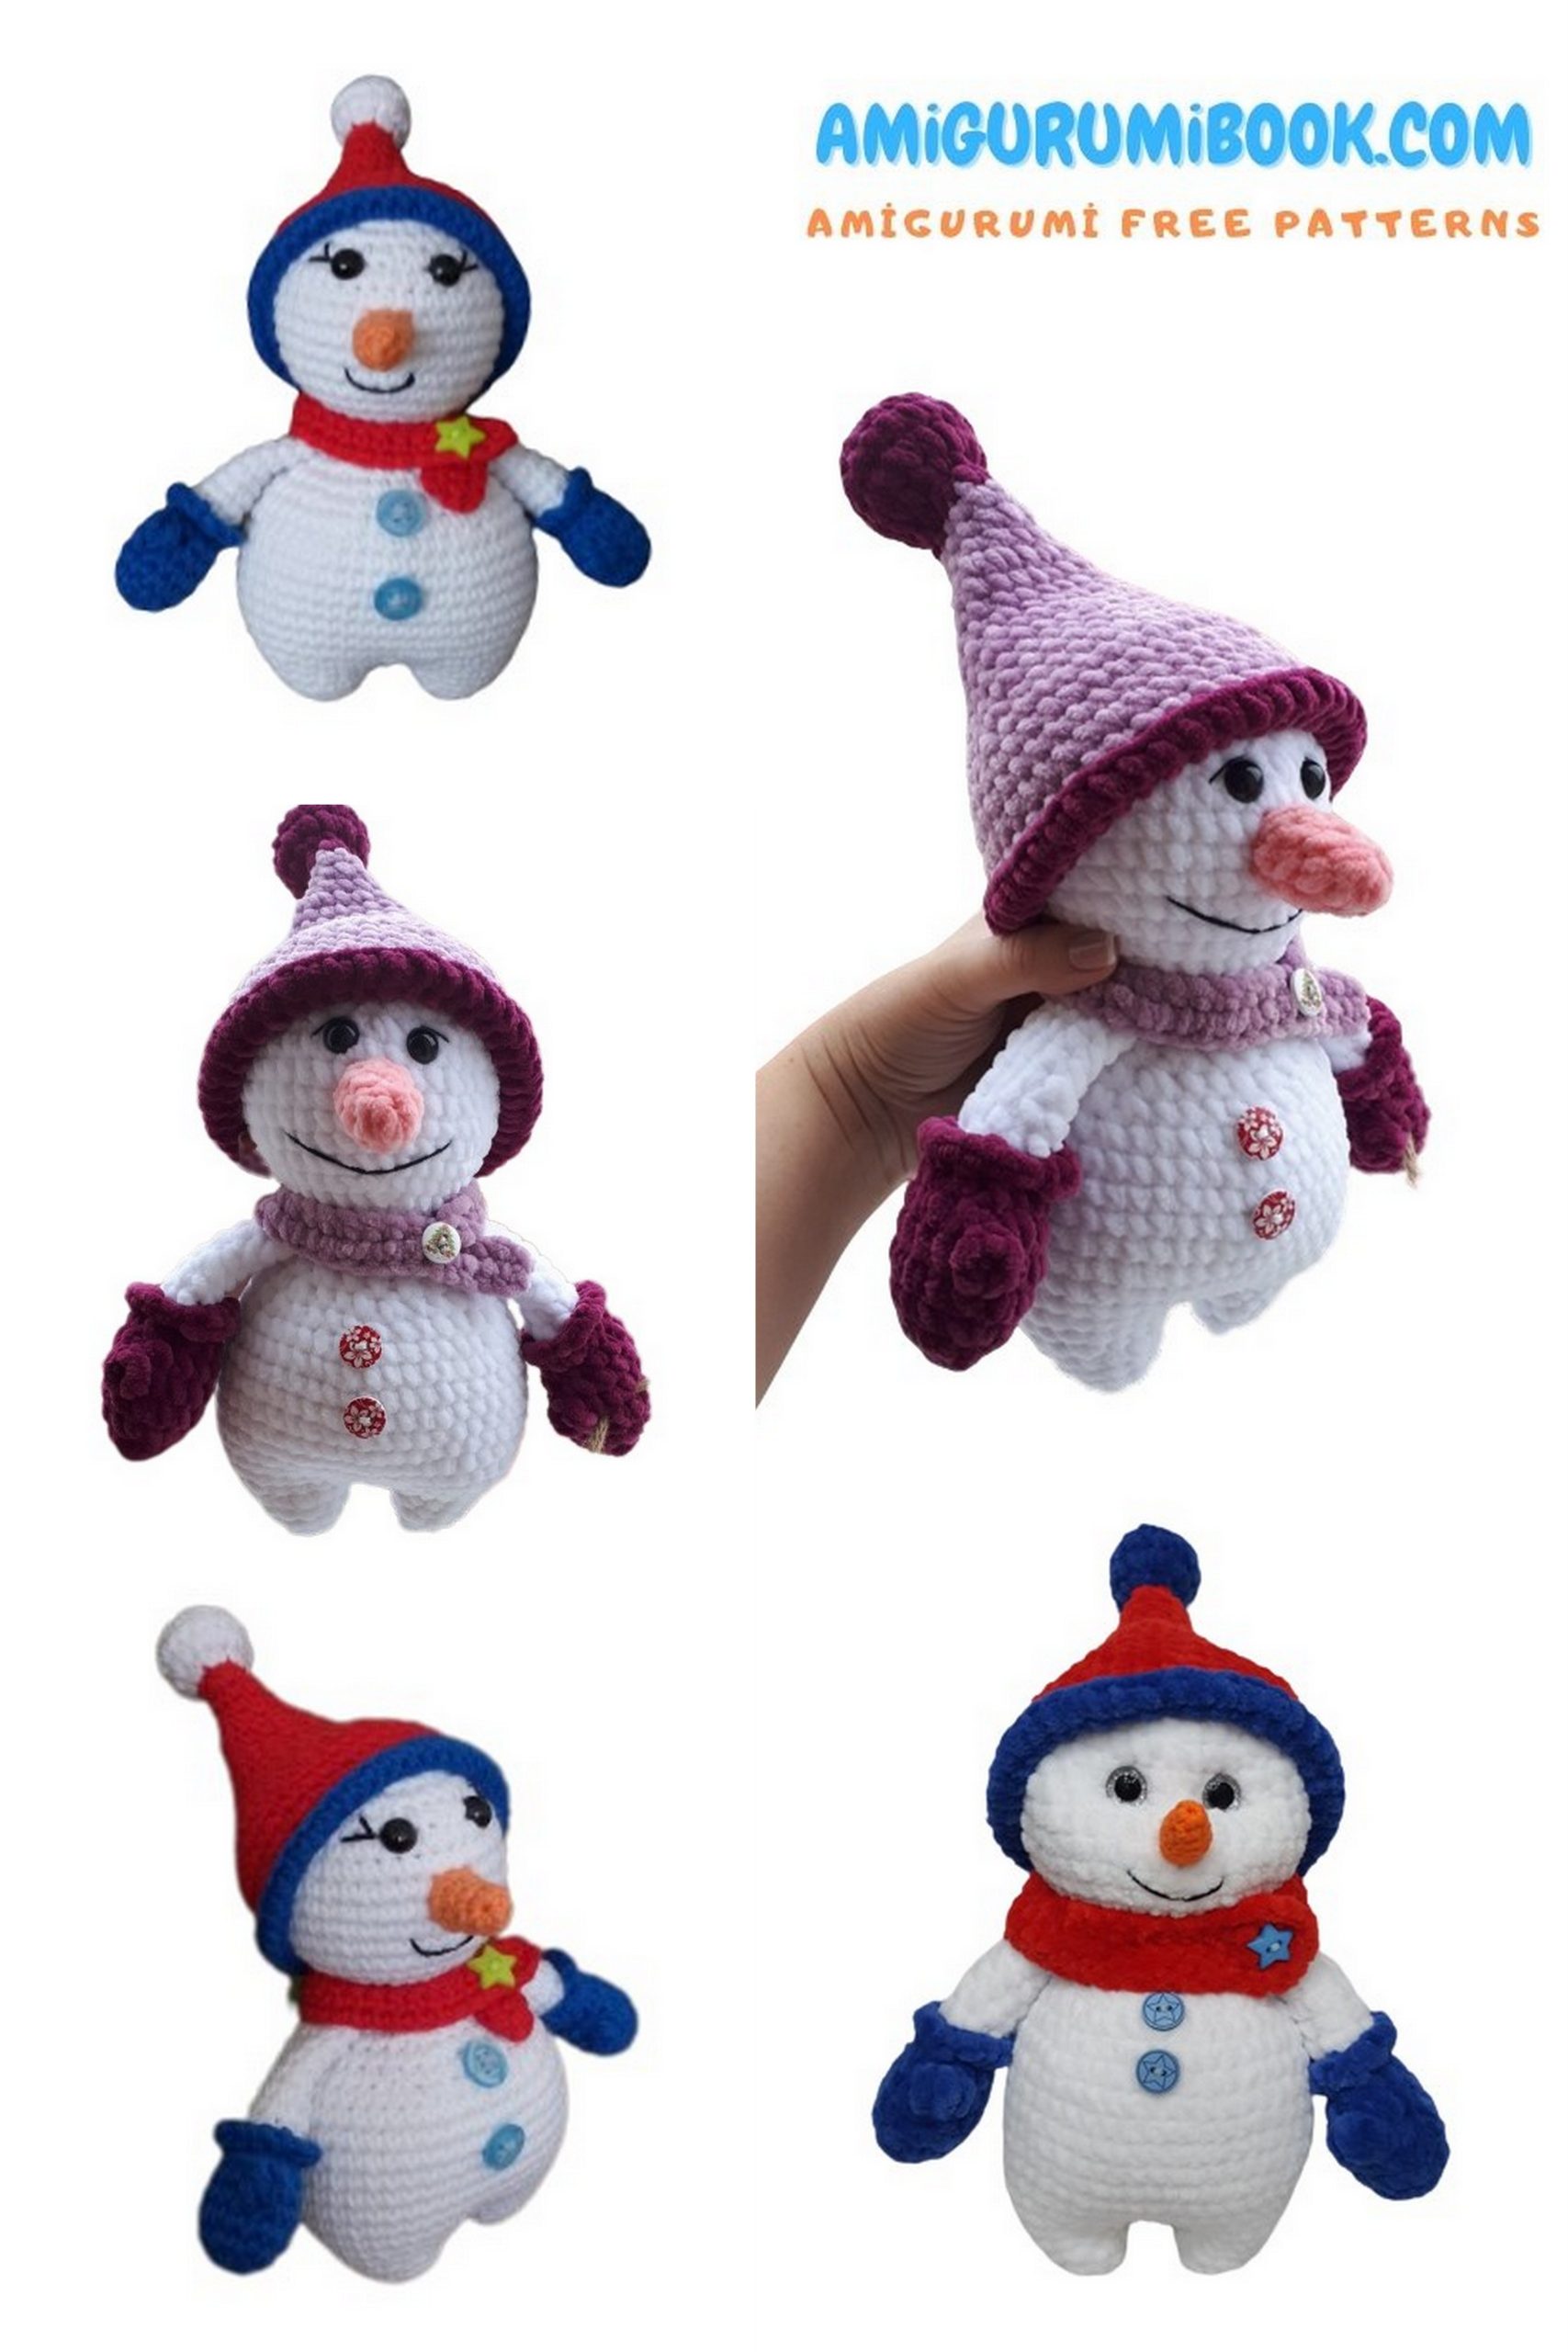
Get ready for the coziest winter crochet project with this Velvet Cute Snowman Amigurumi Free Pattern. Made with soft plush yarn, this adorable snowman features a round cuddly body, sweet embroidered details, and charming winter accessories that make it perfect for the holiday season.
This step-by-step crochet tutorial walks you through shaping the body, head, hat, and decorative elements, helping you create a soft velvet snowman that looks both festive and heartwarming. Whether you’re making Christmas decor, a handmade gift, or adding to your winter amigurumi collection, this free snowman pattern is fun, beginner-friendly, and incredibly satisfying to complete.
Grab your velvet yarn and crochet hook and bring this cute snowman to life!
If you want to access 1000+ free amigurumi patterns, you can download our application from this link!
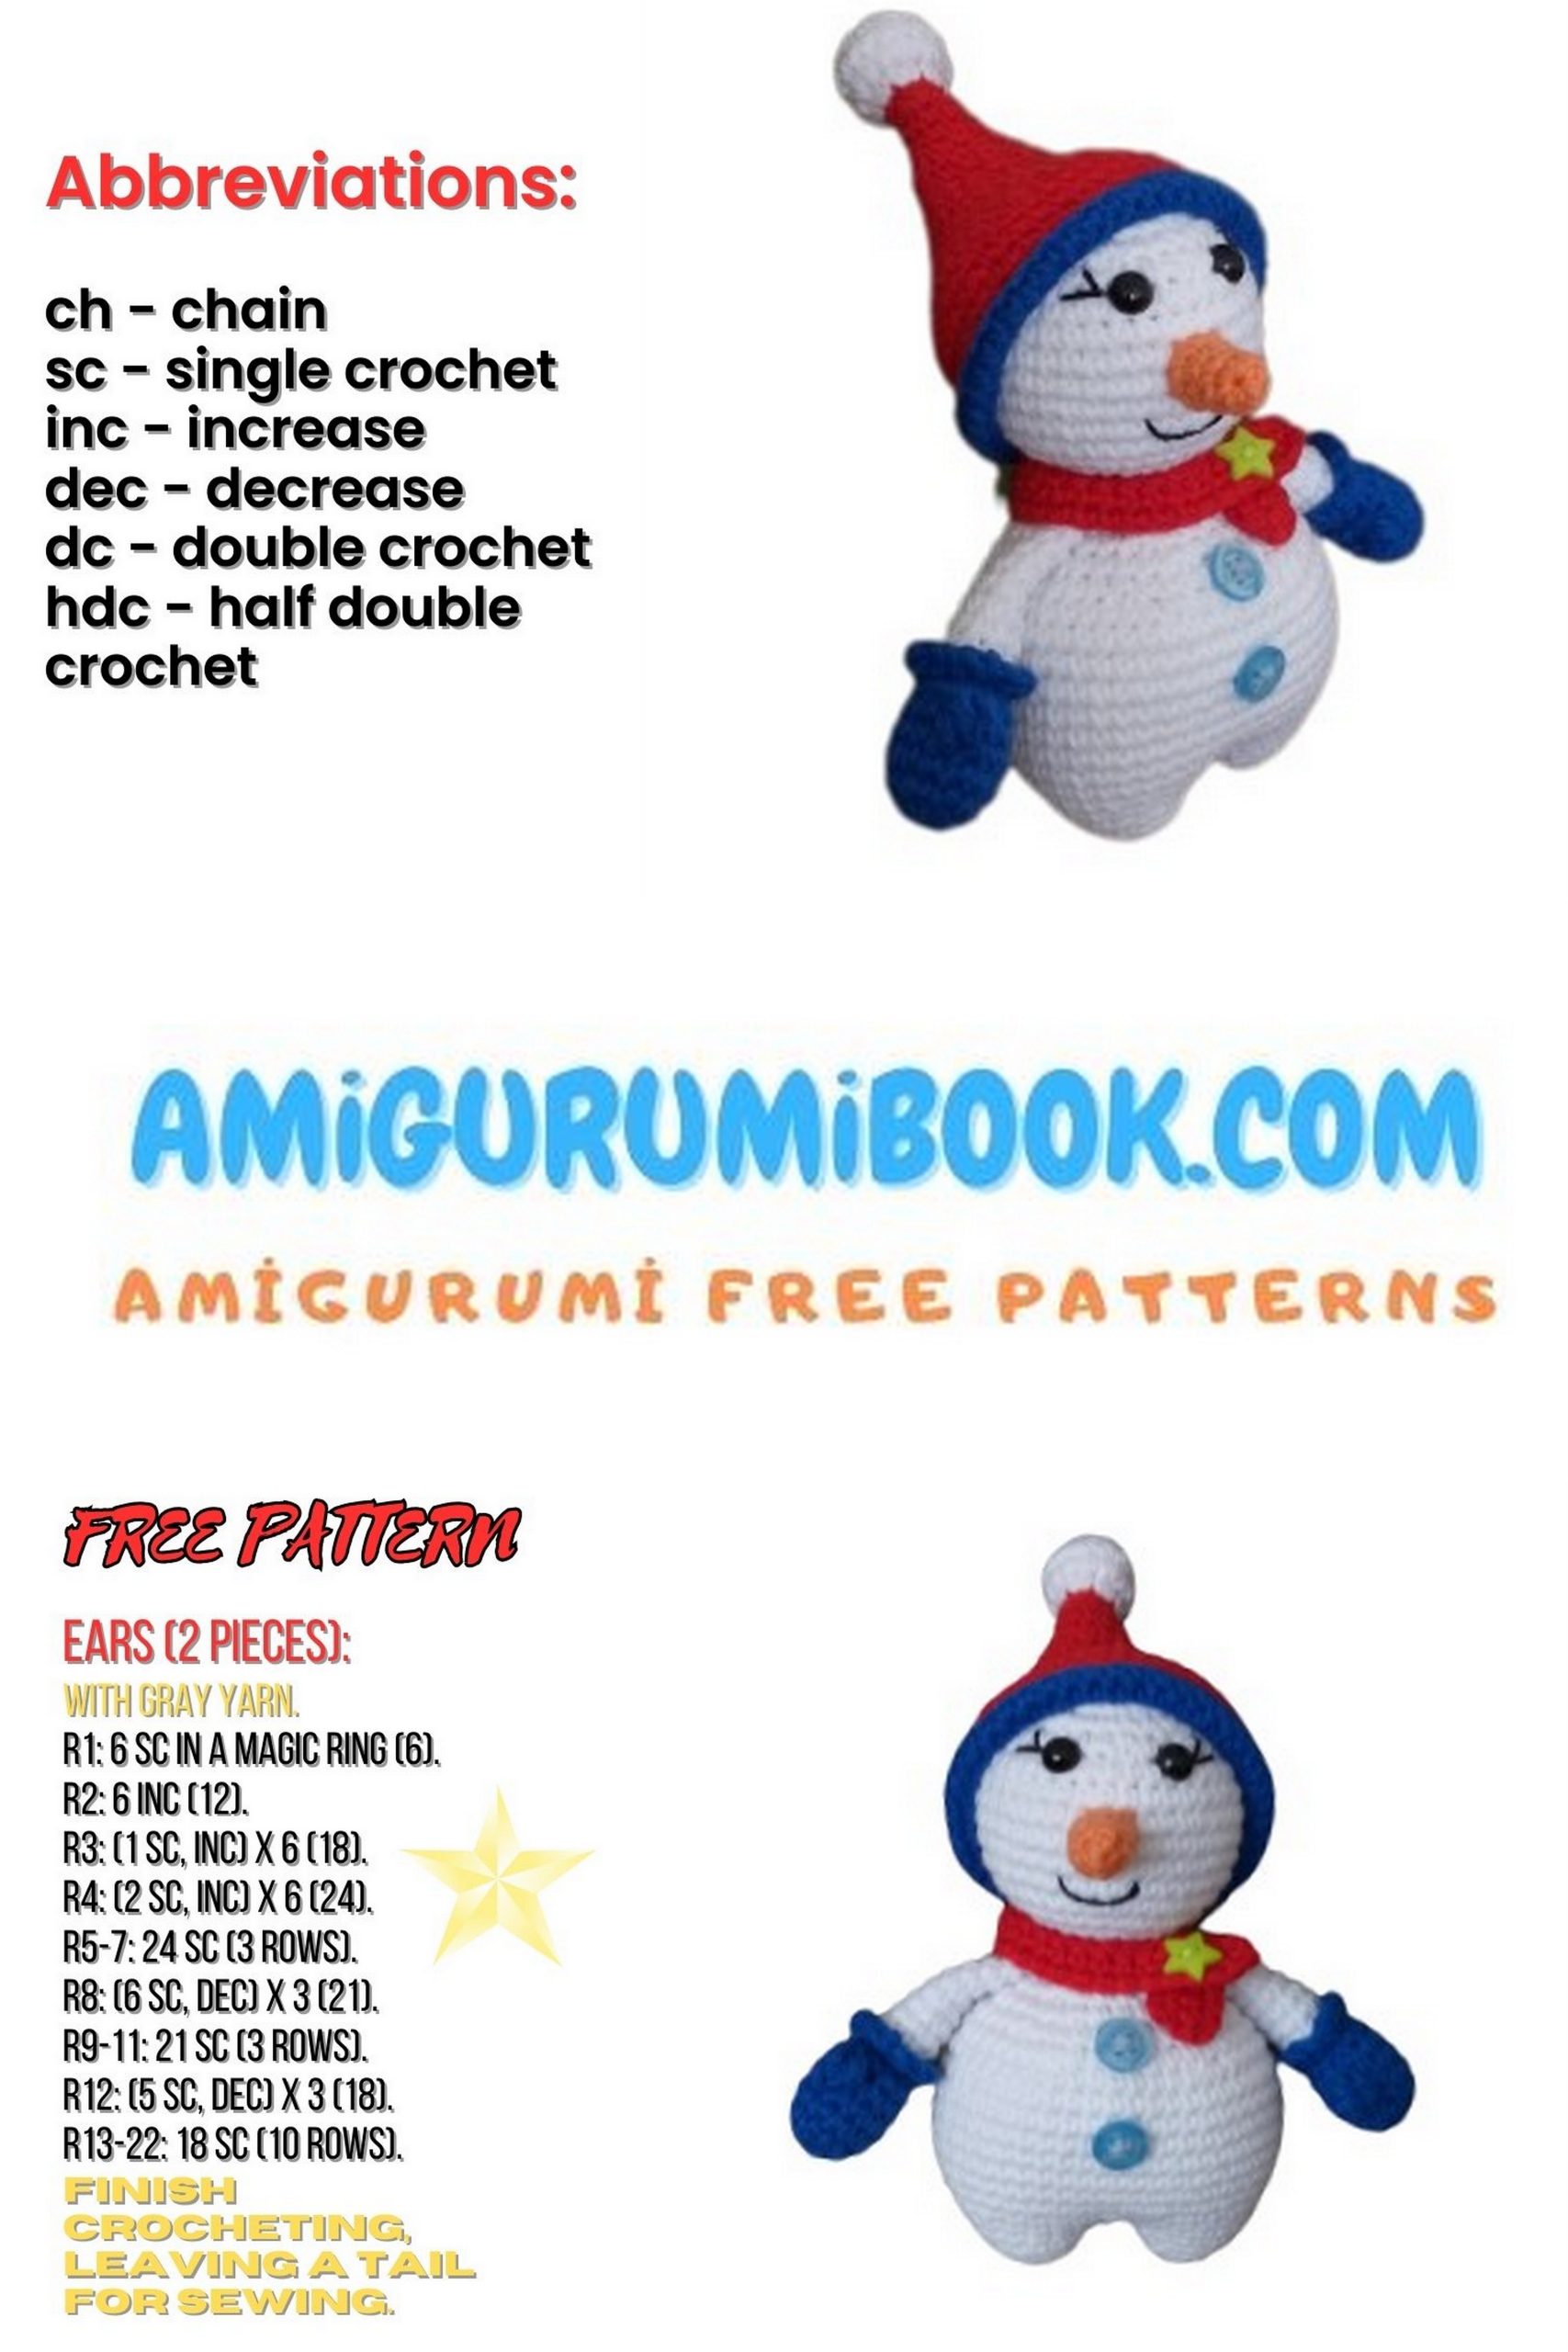
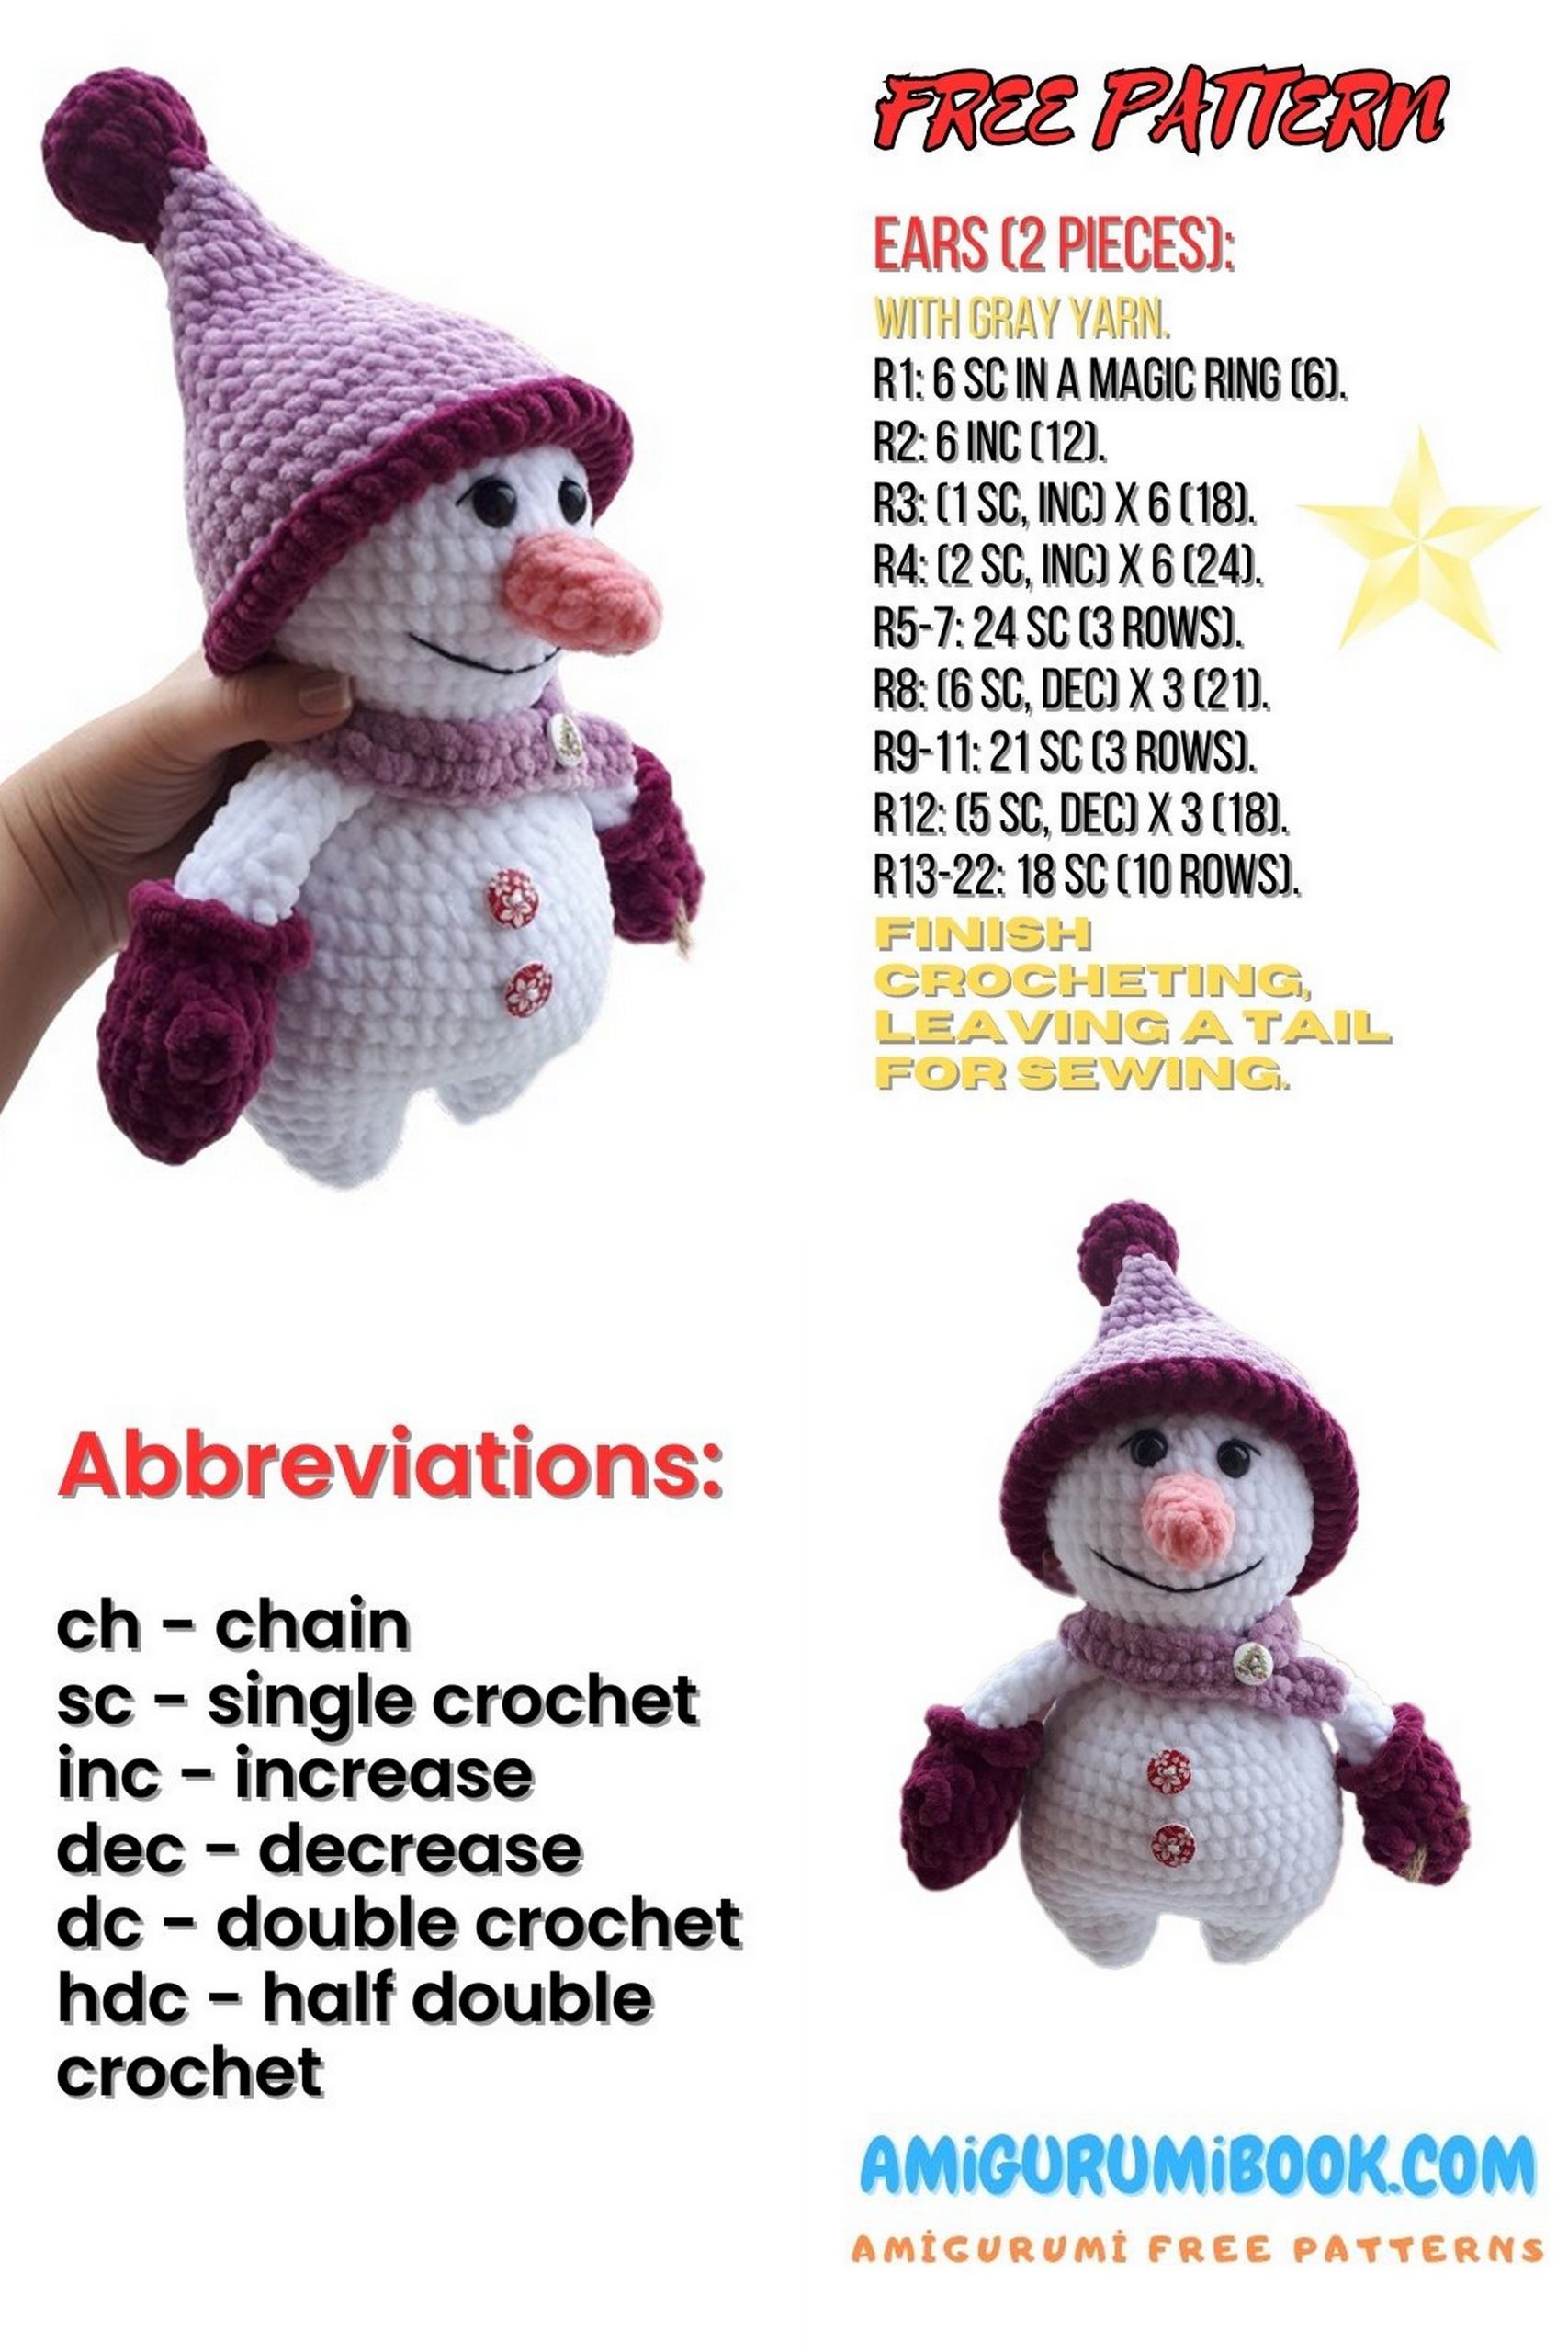
Abbreviations:
ch – chain stitch
sc – single crochet
dc – double crochet (US: single crochet two together)
inc – increase
dec – decrease
(…)* repeat the number of times indicated
PATTERN

Stage 1. Arms (stuff only the gloves)
Crochet in the color of the gloves.
1st Row: Ch 2, single crochet (sc) 6 into the second chain from the hook. (6)
2nd Row: Increase (inc) in each stitch. (12)
3rd Row: (Inc, 5 sc) repeat 2 times. (14)
4th Row: 14 sc. (14)
5th Row: 1 sc, crochet 3 sc2tog (single crochet two together) in the next stitch with a shared top, 12 sc. (14)
6th Row: (Dec, 5 sc) repeat 2 times. (12)
7th Row: (Dec, 2 sc) repeat 3 times. (9)
Attach the snowman’s color thread; leave the glove color thread in place.
8th Row: Working into the back loops of the 7th row, single crochet (sc) 9 with the snowman color. (9)
9th Row – 15th Row: Single crochet 9 in each row.
16th Row: Fold the arms in half and single crochet 4.
Crochet the second arm in the same way except for the 5th and 6th rows. Crochet them as follows:
5th Row: 12 sc, crochet 3 sc2tog with a shared top in the next stitch, 1 sc. (14)
6th Row: (5 sc, dec) repeat 2 times. (12)
Crochet the Legs (2 pieces) in the Snowman Color
1st Row: Ch 2, single crochet 6 into the second chain from the hook. (6)
2nd Row: (1 sc, inc) repeat 3 times. (9)
3rd Row: (2 sc, inc) repeat 3 times. (12)
4th Row: (3 sc, inc) repeat 3 times, sc. (15)
Finish the thread on the first leg and continue crocheting on the second leg.
Body
5th Row: Ch 1, attach the first leg, single crochet 7, start with the joint stitch, 1 inc, 8 sc, 1 inc in a chain, 8 sc (start with the joint stitch on the second leg, 1 inc, 7 sc, 1 sc in the chain). (36)
6th Row: 36 sc.
7th Row: (5 sc, inc) repeat 6 times. (42)
8th Row: (6 sc, inc) repeat 6 times. (48)
9th Row – 15th Row: 48 sc (7 rows).
16th Row: (6 sc, dec) repeat 6 times. (42)
17th Row: (5 sc, dec) repeat 6 times. (36)
18th Row: (4 sc, dec) repeat 6 times. (30)
19th Row: (3 sc, dec) repeat 6 times. (24)
20th Row: (2 sc, dec) repeat 6 times. (18)
21st Row: (4 sc, dec) 3 times (15)
22nd Row: (3 sc, dec) 3 times (12) – In this row, you need to attach the arms. Ensure they are positioned on the sides of the body.
Head
23rd Row: Inc in each stitch. (24)
24th Row: (3 sc, inc) repeat 6 times. (30)
25th Row: (4 sc, inc) repeat 6 times. (36)
26th Row: (5 sc, inc) repeat 6 times. (42)
27th Row – 32nd Row: 42 sc (6 rows).
33rd Row: (5 sc, dec) repeat 6 times. (36)
34th Row: (4 sc, dec) repeat 6 times. (30)
Insert the eyes between the 32nd and 33rd rows, approximately 3 sc apart.
35th Row: (3 sc, dec) repeat 6 times. (24)
36th Row: (2 sc, dec) repeat 6 times. (18)
37th Row: (1 sc, dec) repeat 6 times. (12)
38th Row: Dec in each stitch. (6)
Fasten off and tighten the hole.
Stage 3. Carrot, Hat, and Scarf
Carrot:
1st Row: Ch 2, single crochet 4 into the second chain from the hook.
2nd Row: (1 sc, inc) repeat 2 times. (6)
3rd Row: 6 sc.
4th Row: (2 sc, inc) repeat 2 times. (9)
5th Row: 9 sc, slip stitch (ss).
Fasten off and sew the carrot to the snowman’s head as you see fit.
Scarf:
Create a chain of chain stitches of the desired length. Crochet two rows of single crochet (sc), then attach a button.
Hat (2 Variants):
Variant 1:
The number of chain stitches is determined based on the circumference of the snowman’s head. Create a round and crochet 4/5 rows without decreases. Then, start decreasing by 3/4 stitches at regular intervals. Decrease until you have 6 sc left, then crochet a pompom:
1st Row: Inc in each stitch. (12)
2nd Row: (1 sc, inc) repeat 6 times. (18)
3rd Row: 18 sc.
4th Row: (1 sc, dec) repeat 6 times. (12)
5th Row: Dec in each stitch. (6)
Stuff the pompom, tighten, cut off the thread, and hide it.
Variant 2: (As I Crochet)
1st Row: Ch 45, join in a circle.
2nd Row: 45 sc.
3rd Row: 45 sc.
Change the thread color.
4th Row: 45 sc – form the roll: crochet the stitches from the chain and the back loop of the stitches from the 3rd row together.
5th Row: 45 sc.
6th Row: 45 sc.
7th Row: 45 sc.
8th Row: (7 sc, dec) repeat 5 times. (40)
9th Row: (6 sc, dec) repeat 5 times. (35)
10th Row: (5 sc, dec) repeat 5 times. (30)
11th Row: 30 sc.
12th Row: (3 sc, dec) repeat 6 times. (24)
13th Row: 24 sc.
14th Row: (2 sc, dec) repeat 6 times. (18)
15th Row: 18 sc.
16th Row: 18 sc.
17th Row: (1 sc, dec) repeat 6 times. (12)
18th Row: 12 sc.
19th Row: 12 sc.
20th Row: 12 sc.
21st Row: Dec in each stitch. (6)
Change the thread, move on to crocheting the pompom.
22nd Row: Inc in each stitch. (12)
23rd Row: (1 sc, inc) repeat 6 times. (18)
24th Row: 18 sc.
25th Row: (1 sc, dec) repeat 6 times. (12)
26th Row: Dec in each stitch. (6)
Stuff the pompom, tighten, cut off the thread, and hide it.
Now, all parts of the snowman are ready. You can decorate it as you like, put on the hat and scarf.