
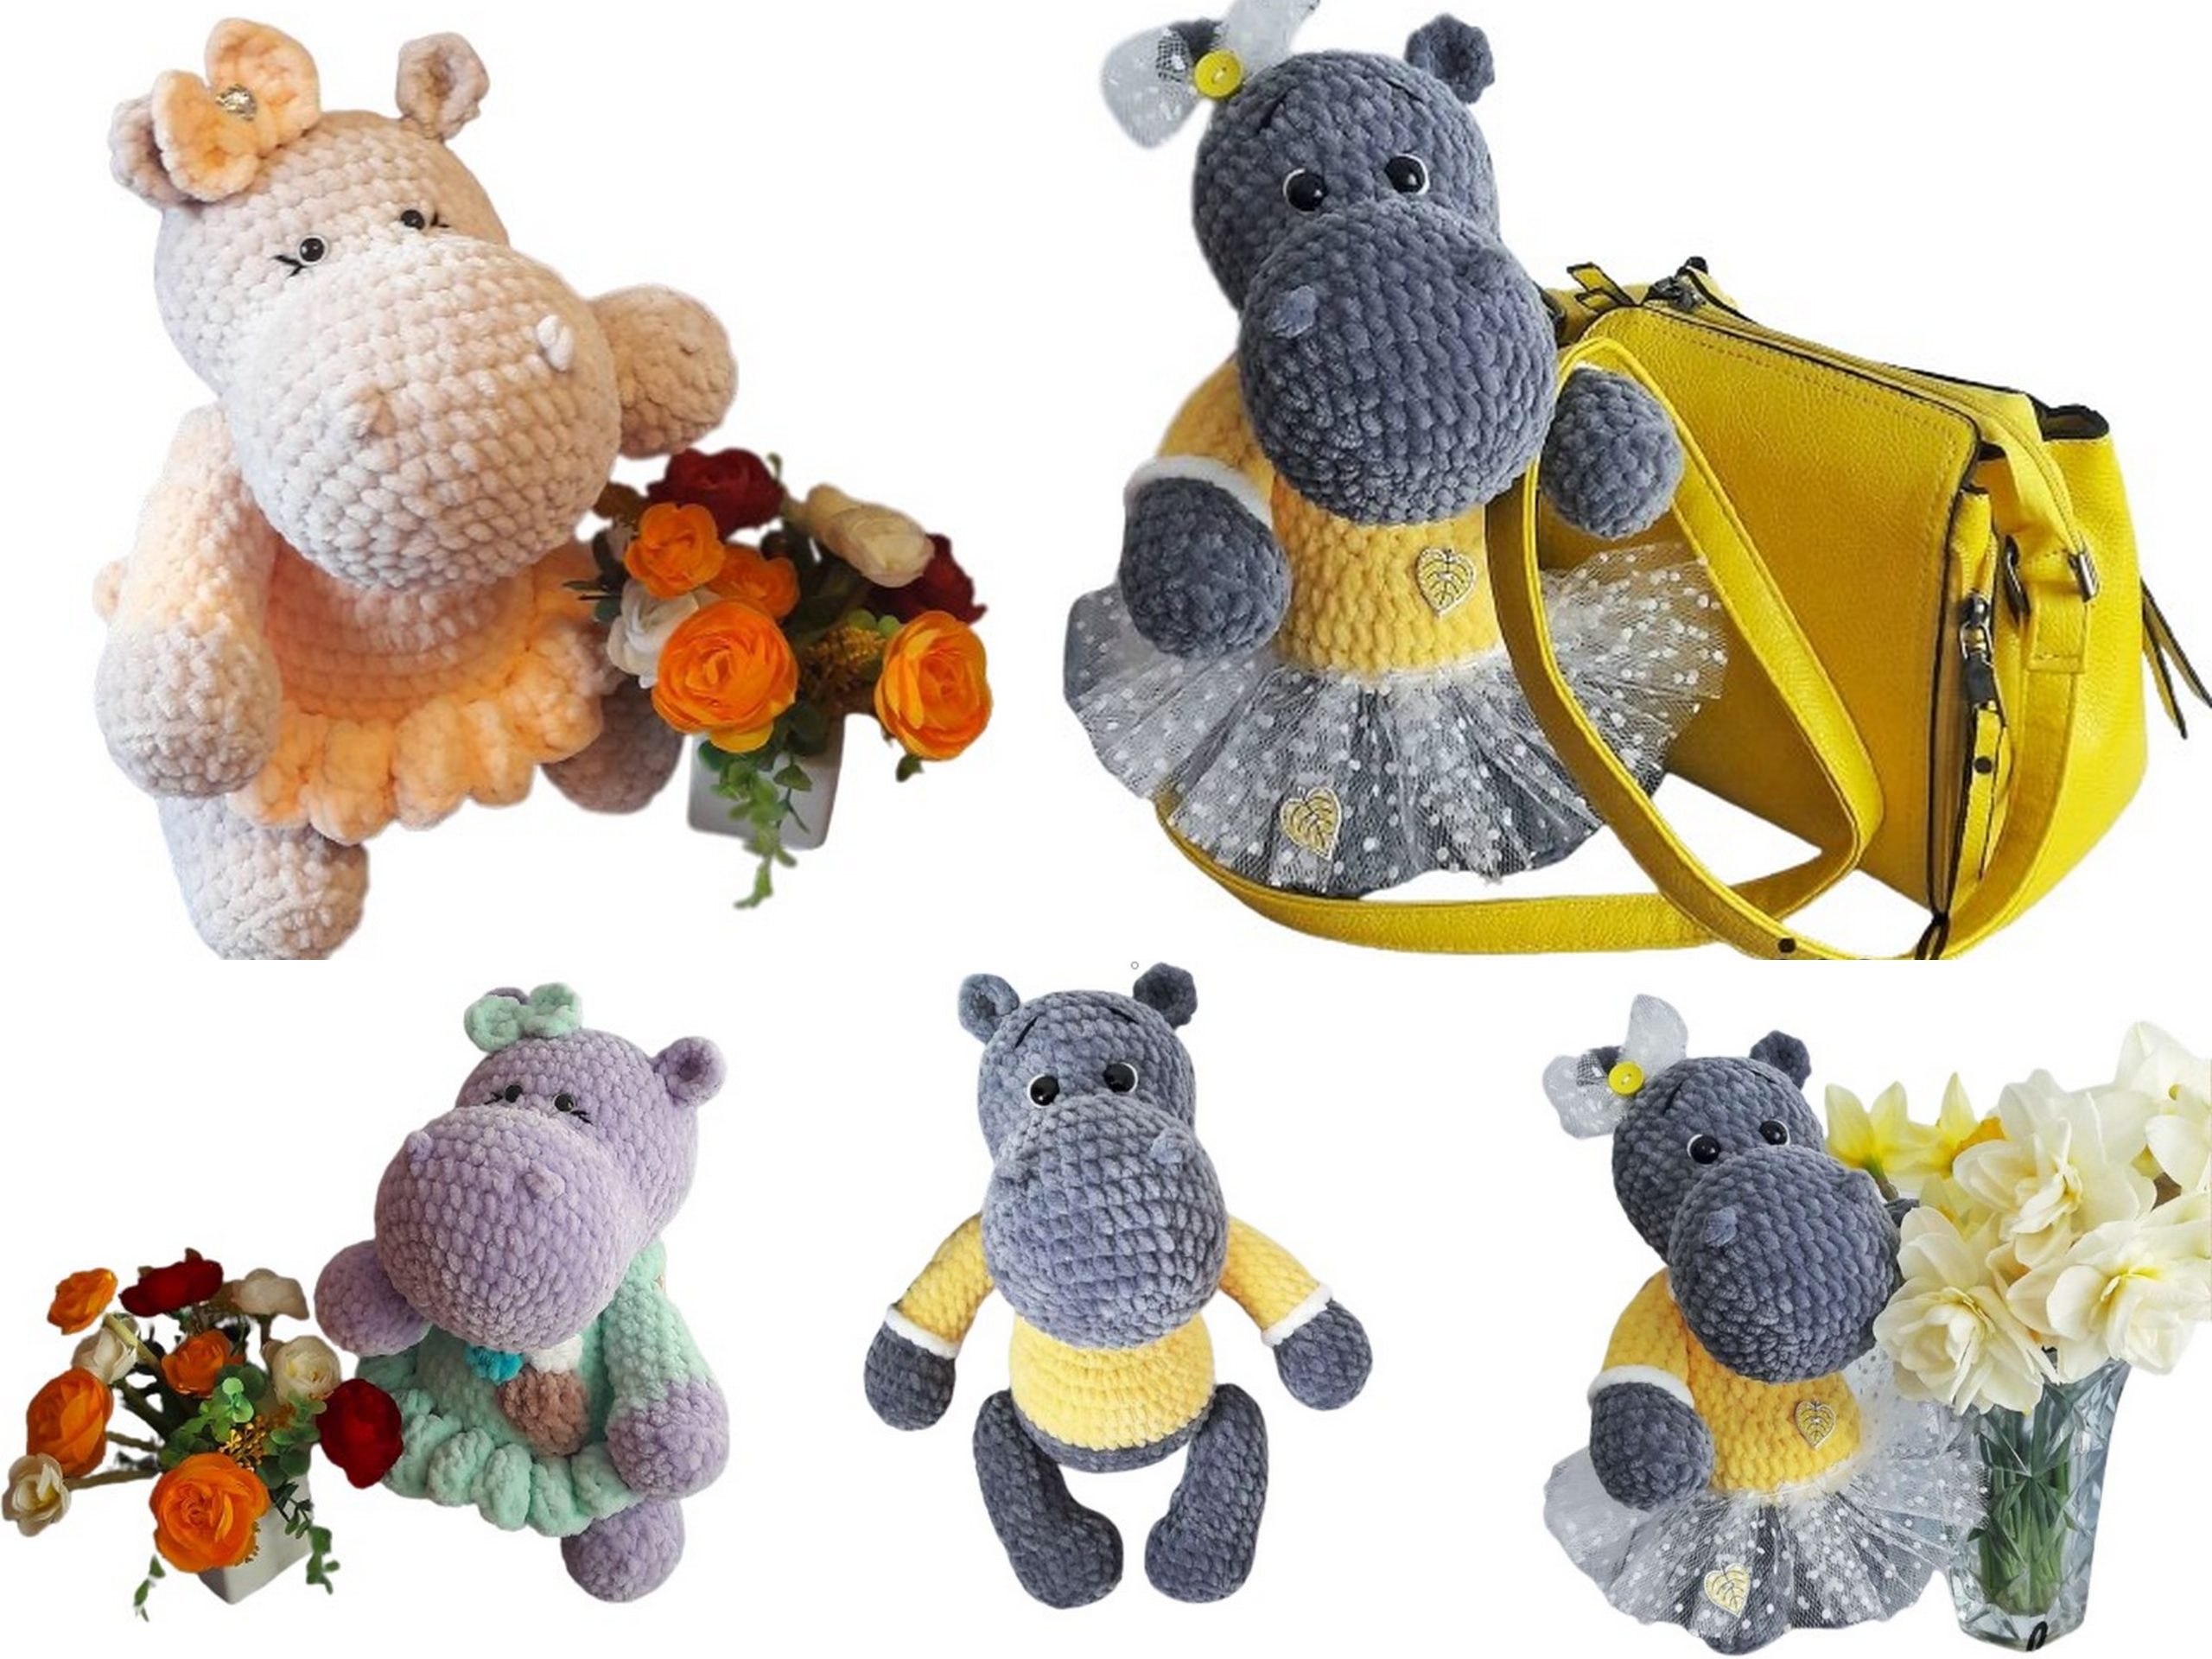
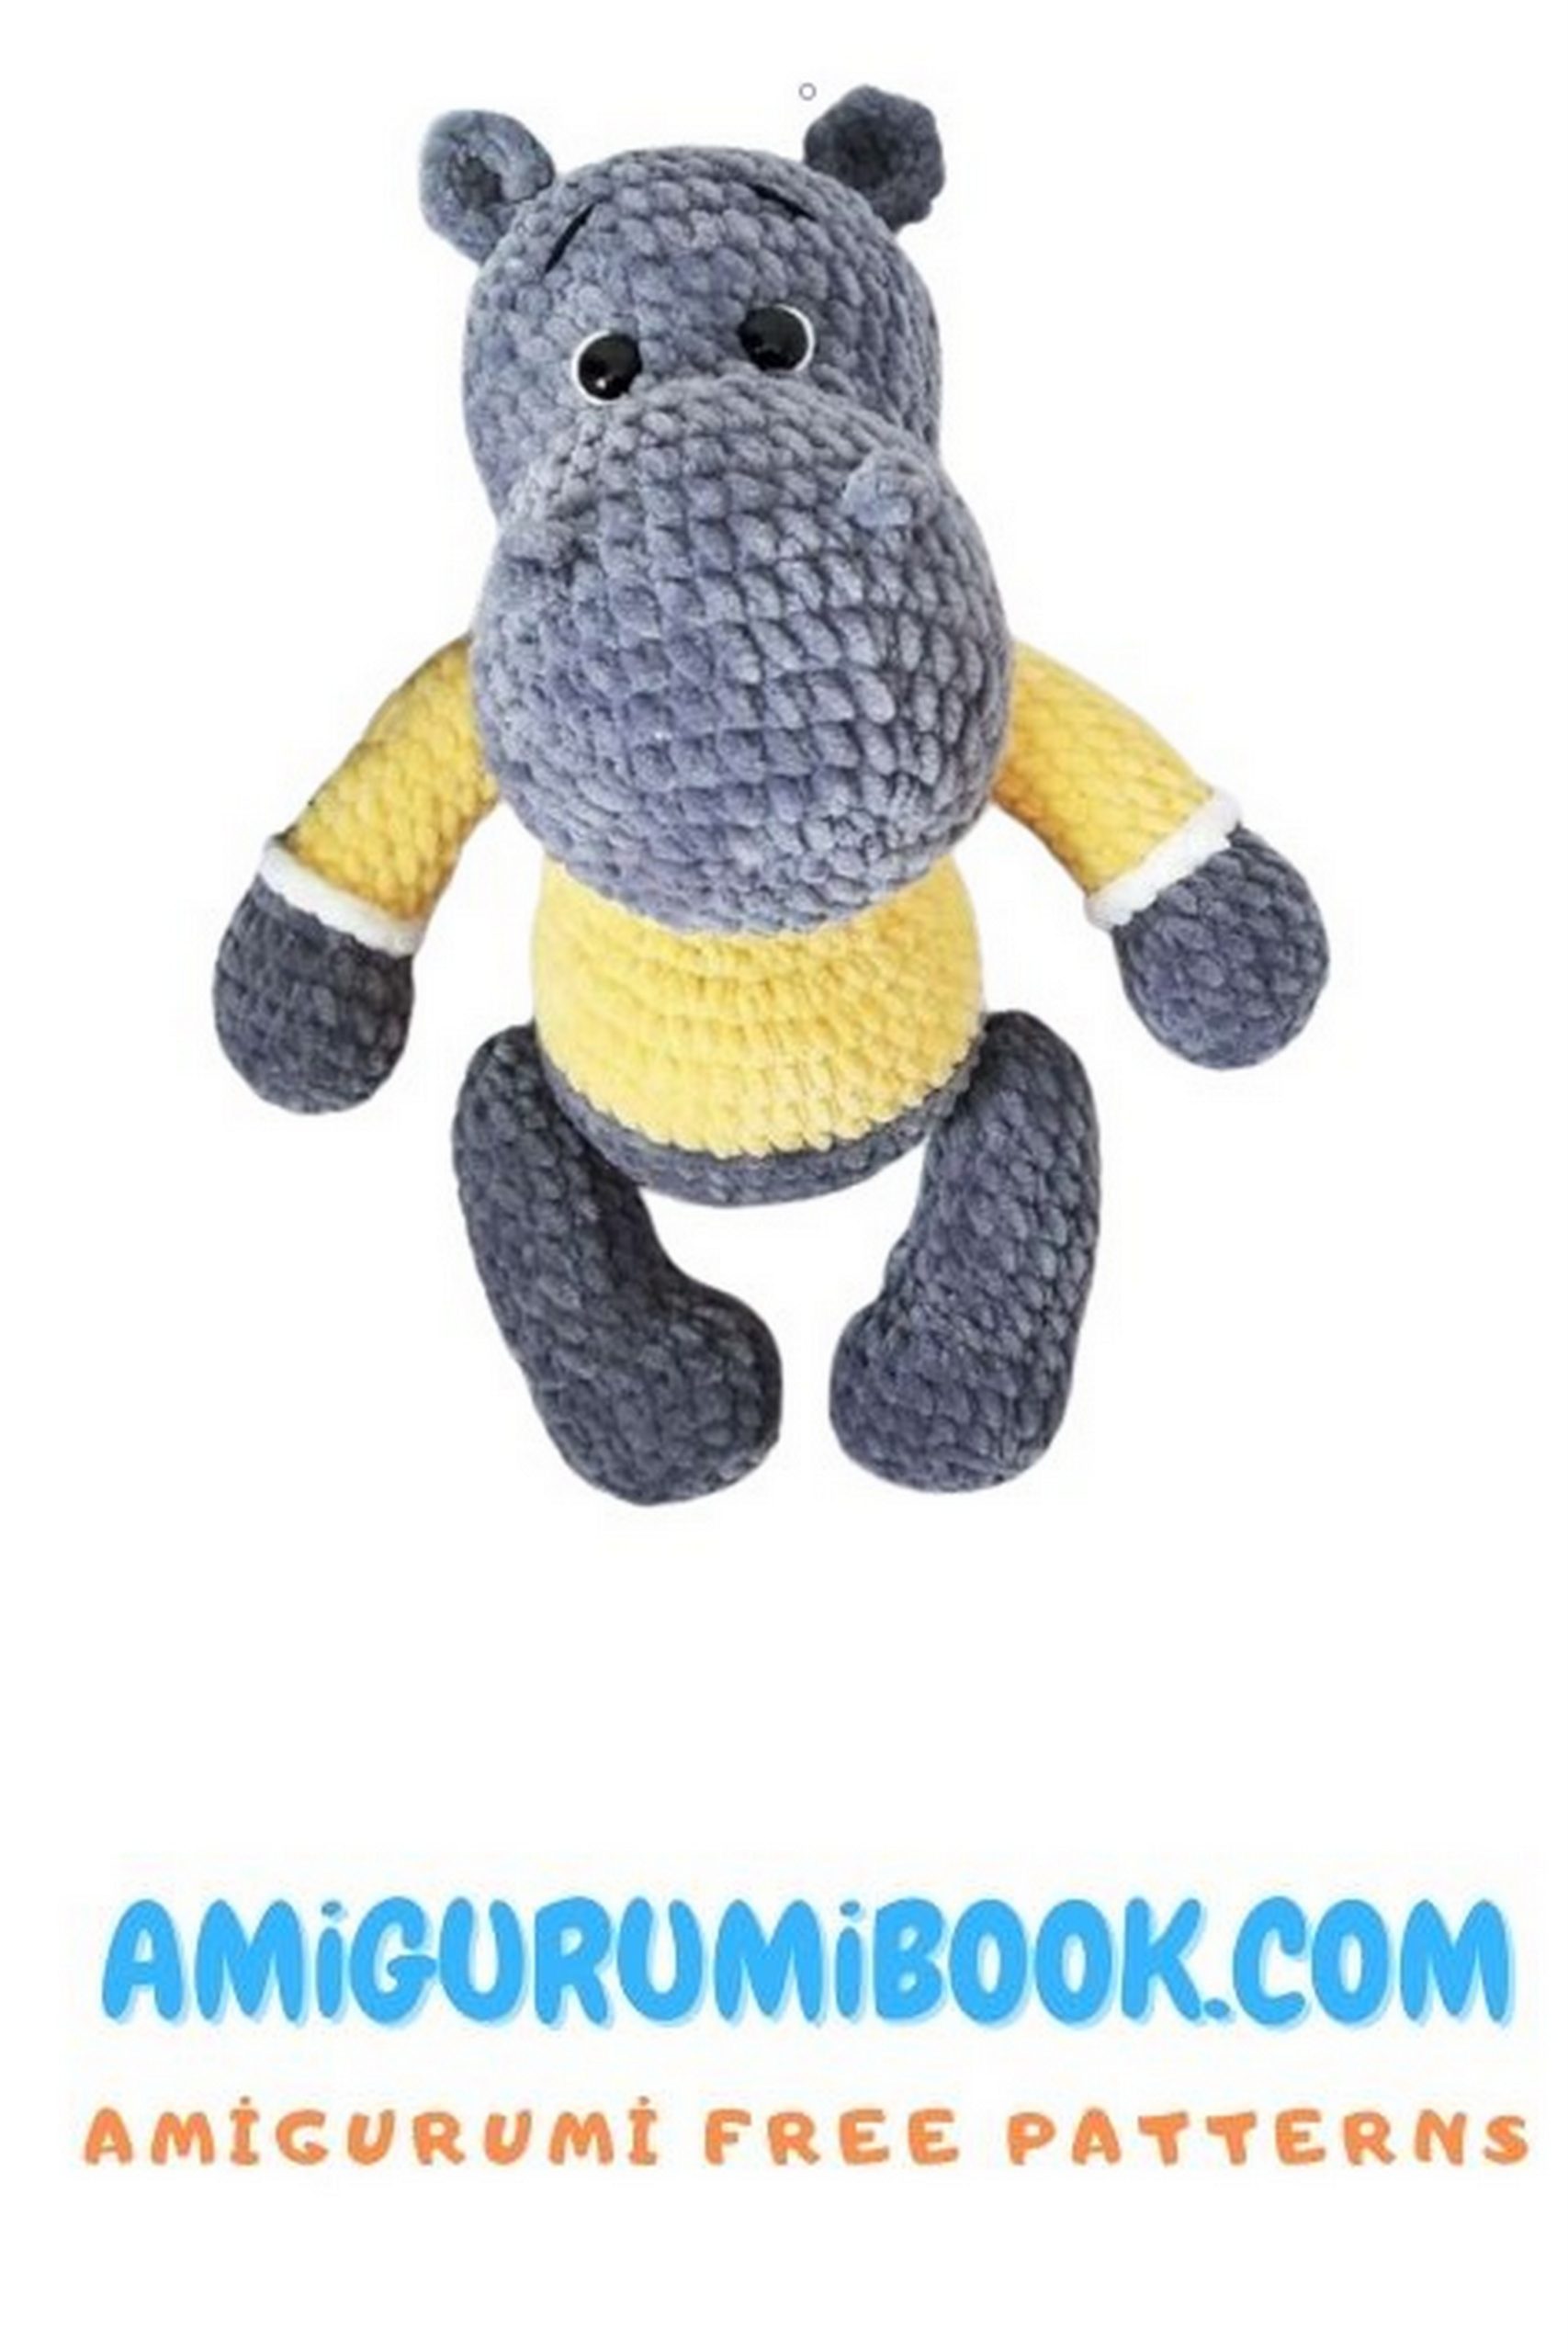
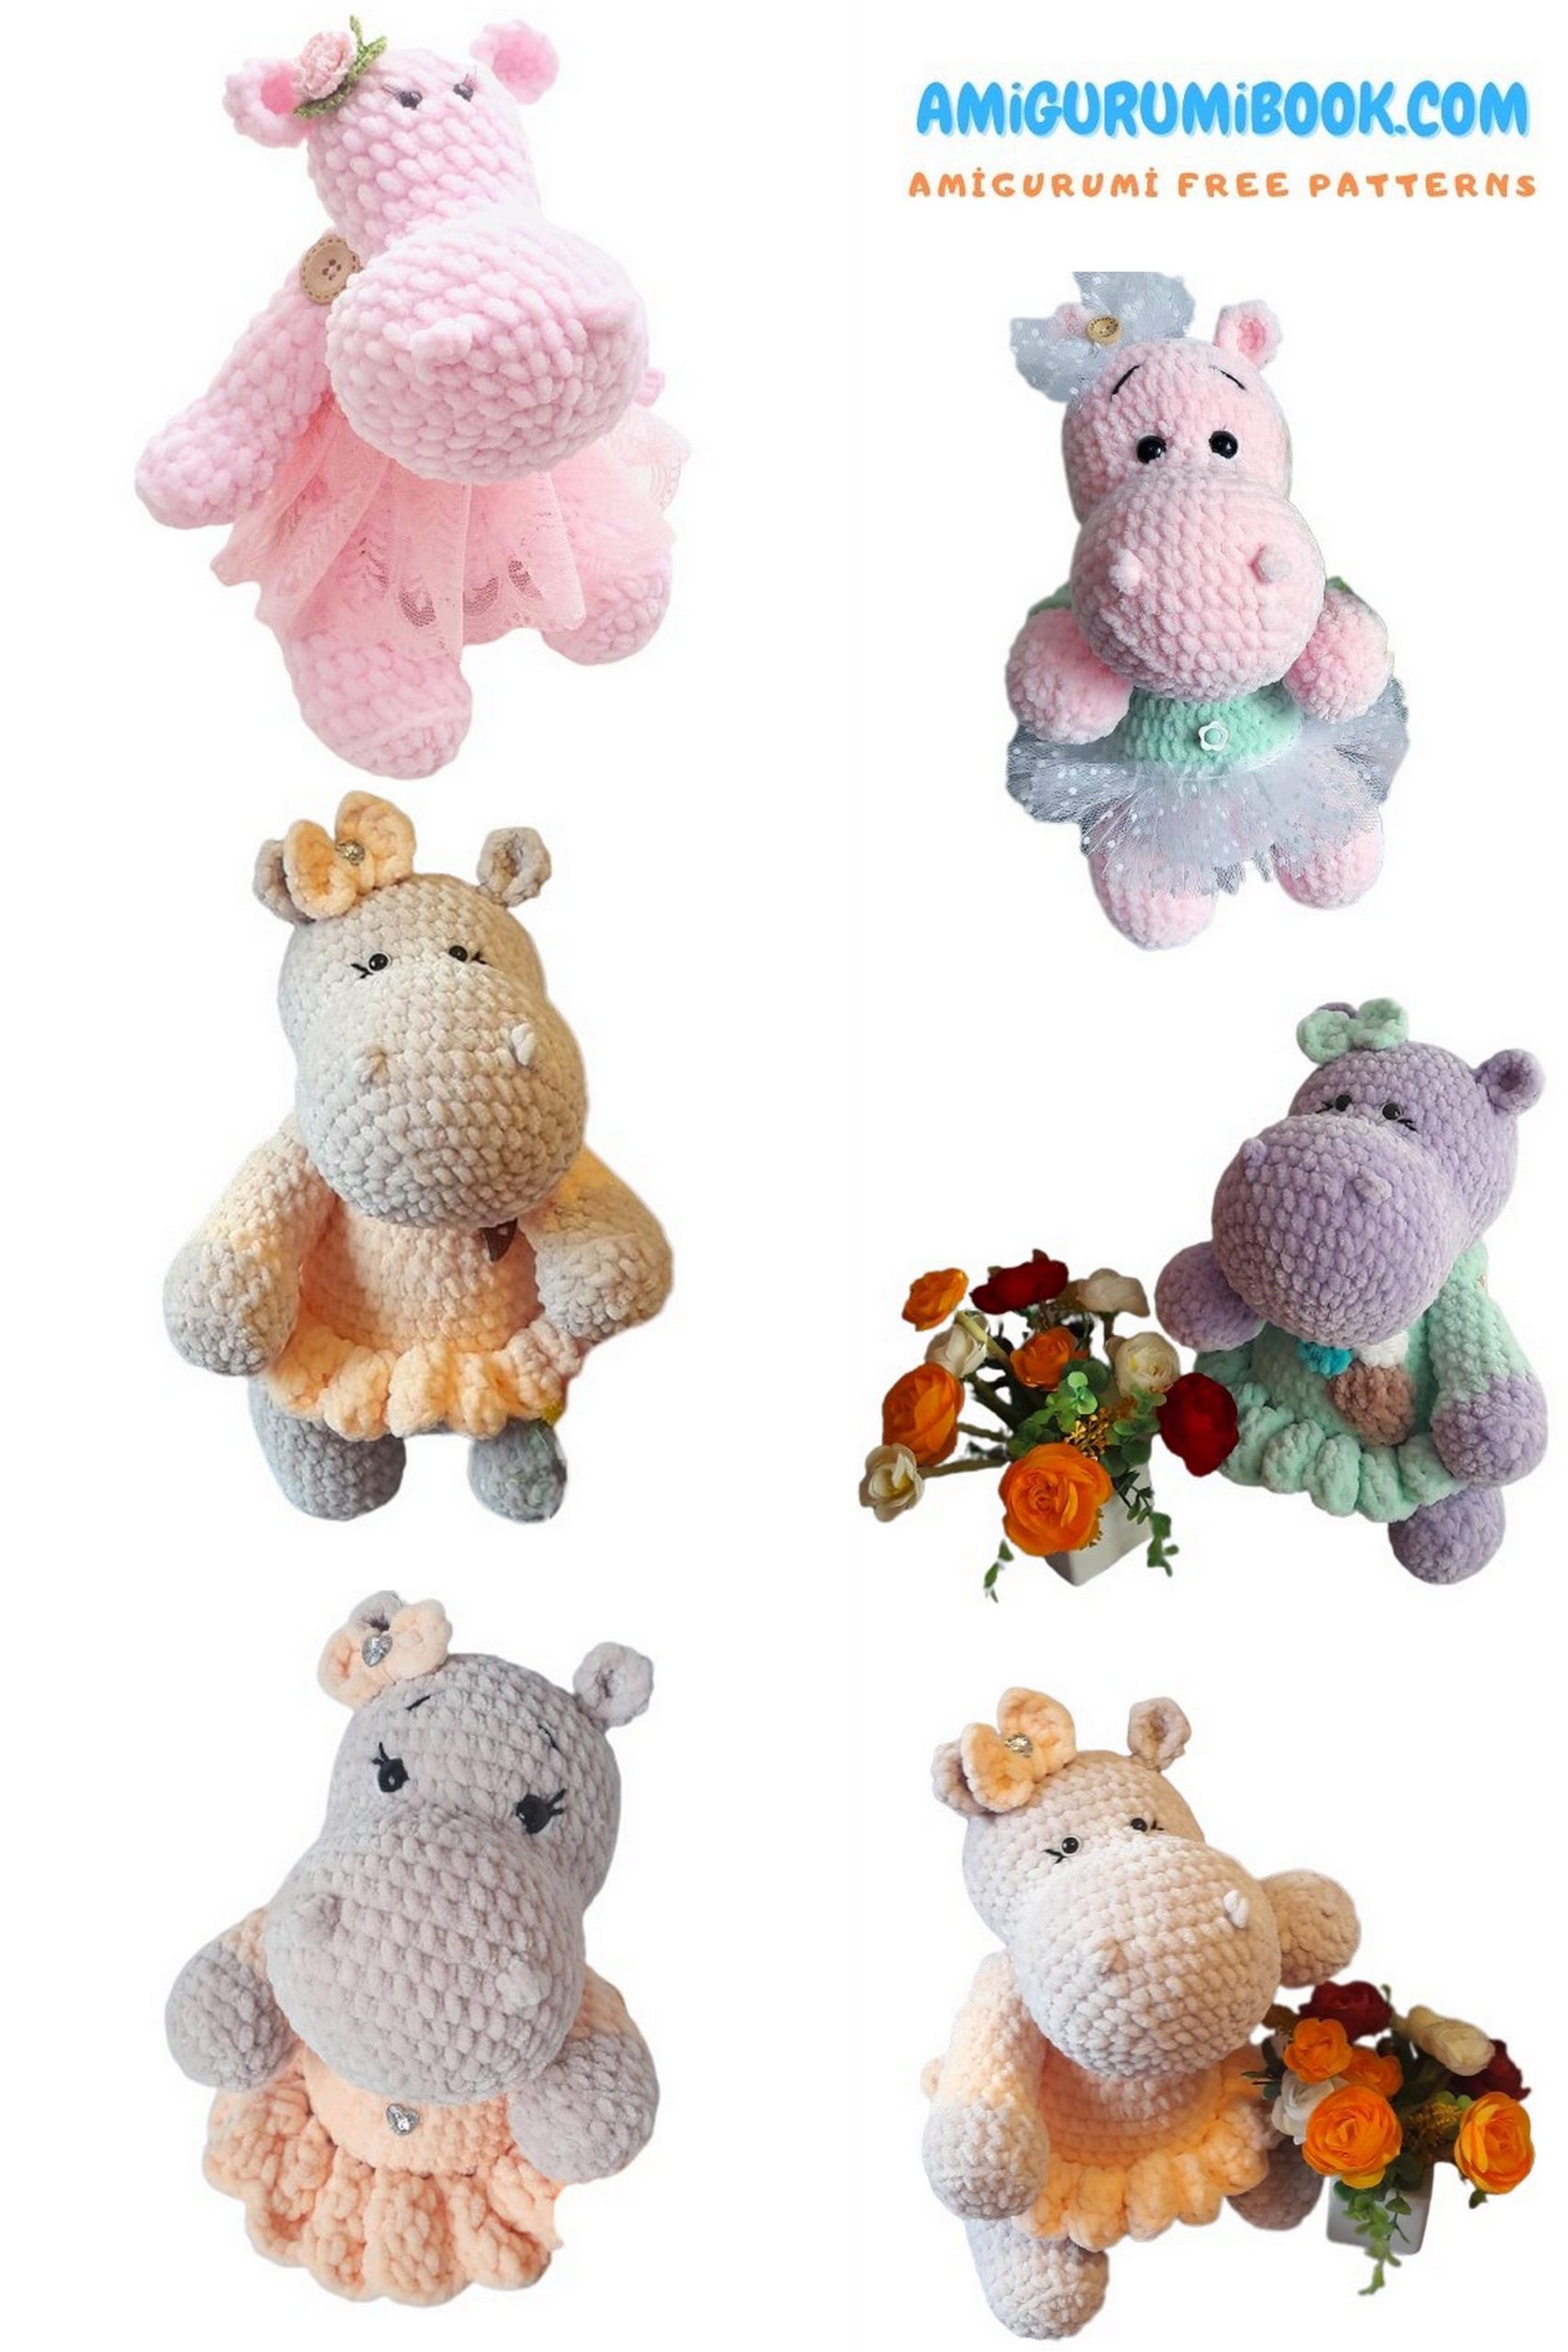
Explore the world of amigurumi with our adorable free pattern for creating a charming Lady Hippo! Whether you’re a crochet enthusiast or just starting out, this amigurumi project is perfect for all skill levels. Dive into the joy of crafting your very own huggable amigurumi hippo companion with our step-by-step guide. Let’s embark on a delightful crochet journey together!
If you want to access 1000+ free amigurumi patterns, you can download our application from this link!
Materials Used:
Plush yarn (such as Himalaya Dolphin Baby or equivalents) 1 skein of main color and 0.3 skein of additional color.
Embroidery floss or iris thread matching the yarn color for sewing details.
Bead eyes, sewn, diameter 13mm.
Hooks of a suitable size for your yarn. I use a 3.5mm hook.
Large, long needle with a big eye for attaching details.
Scissors.
Stitch marker.
Buttons 4 pcs. – 20mm (optional, if not used, there will be indentations at the attachment points).
Filling (polyfill, polyester fiber).
Ribbon, tape, bow, tulle, button for decoration.
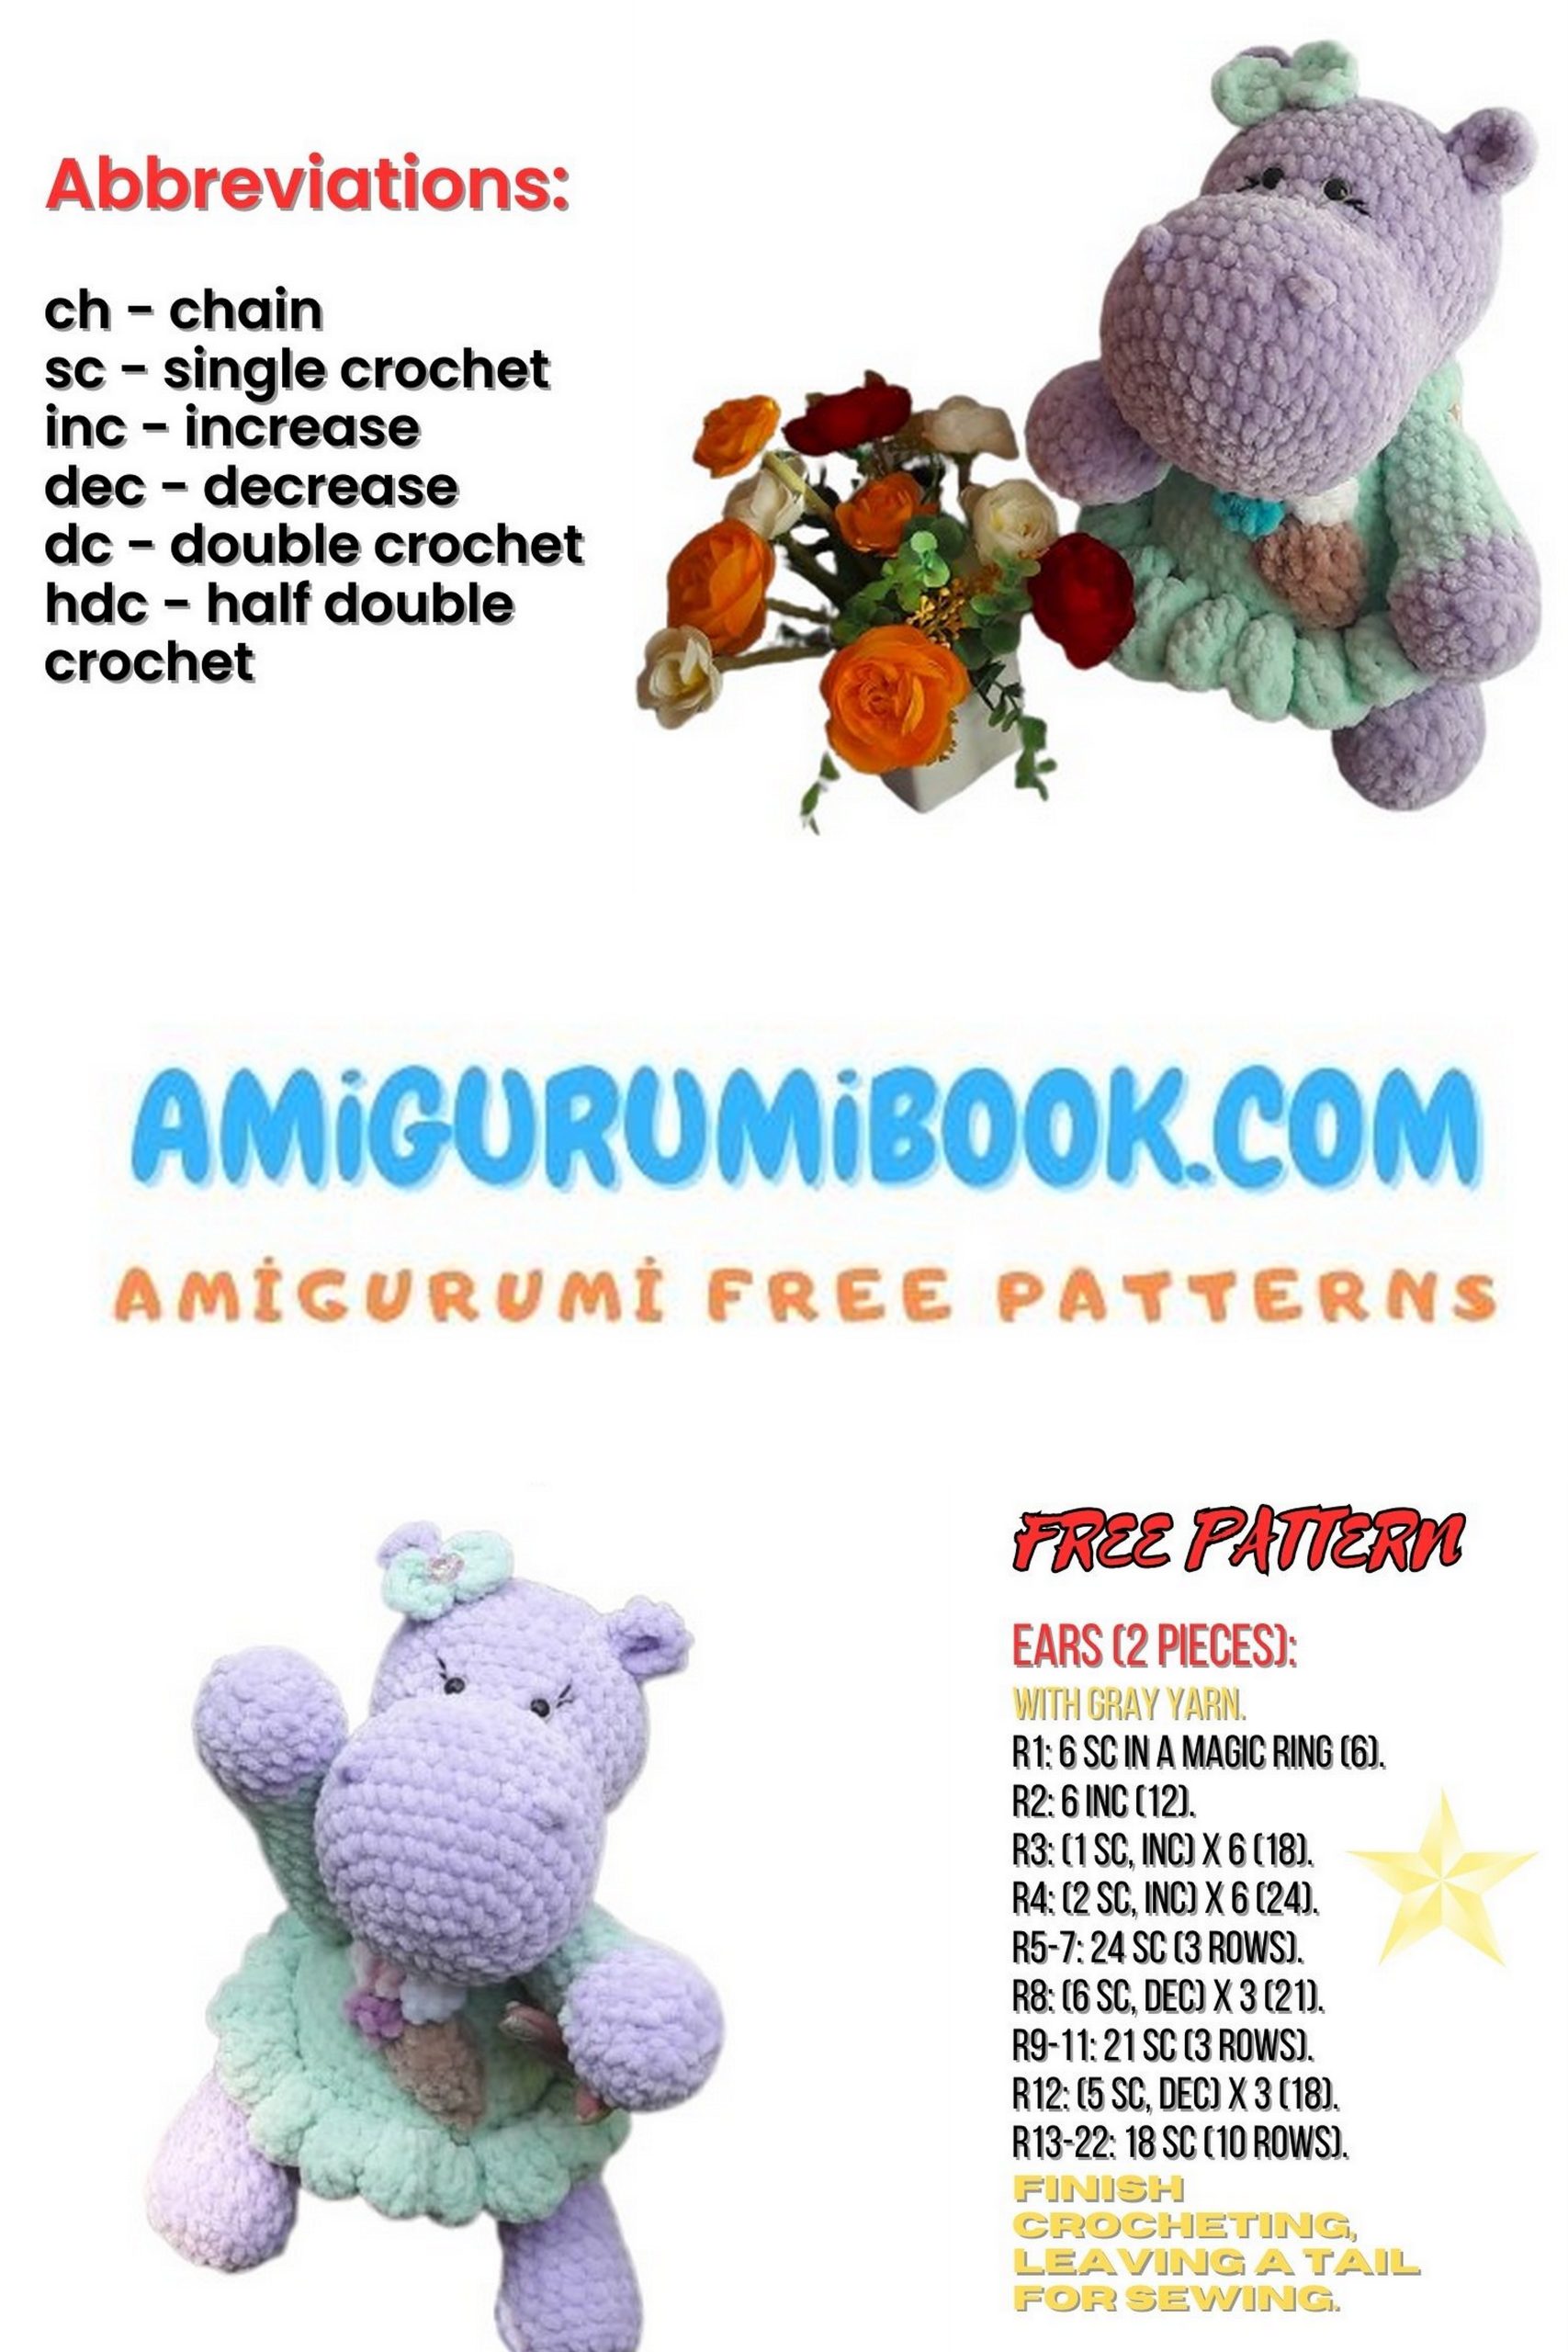
Abbreviations:
MR – Magic Ring
CH – chain
SC – single crochet
INC – increase (2 SC in one stitch)
DEC – decrease (single crochet two stitches together)
(12) – number of stitches in the round
(sc, inc) x6 – repeat what is in parentheses 6 times
Work in a spiral, don’t forget to mark the beginning of the round with a marker.
Even stitches and good mood!!!
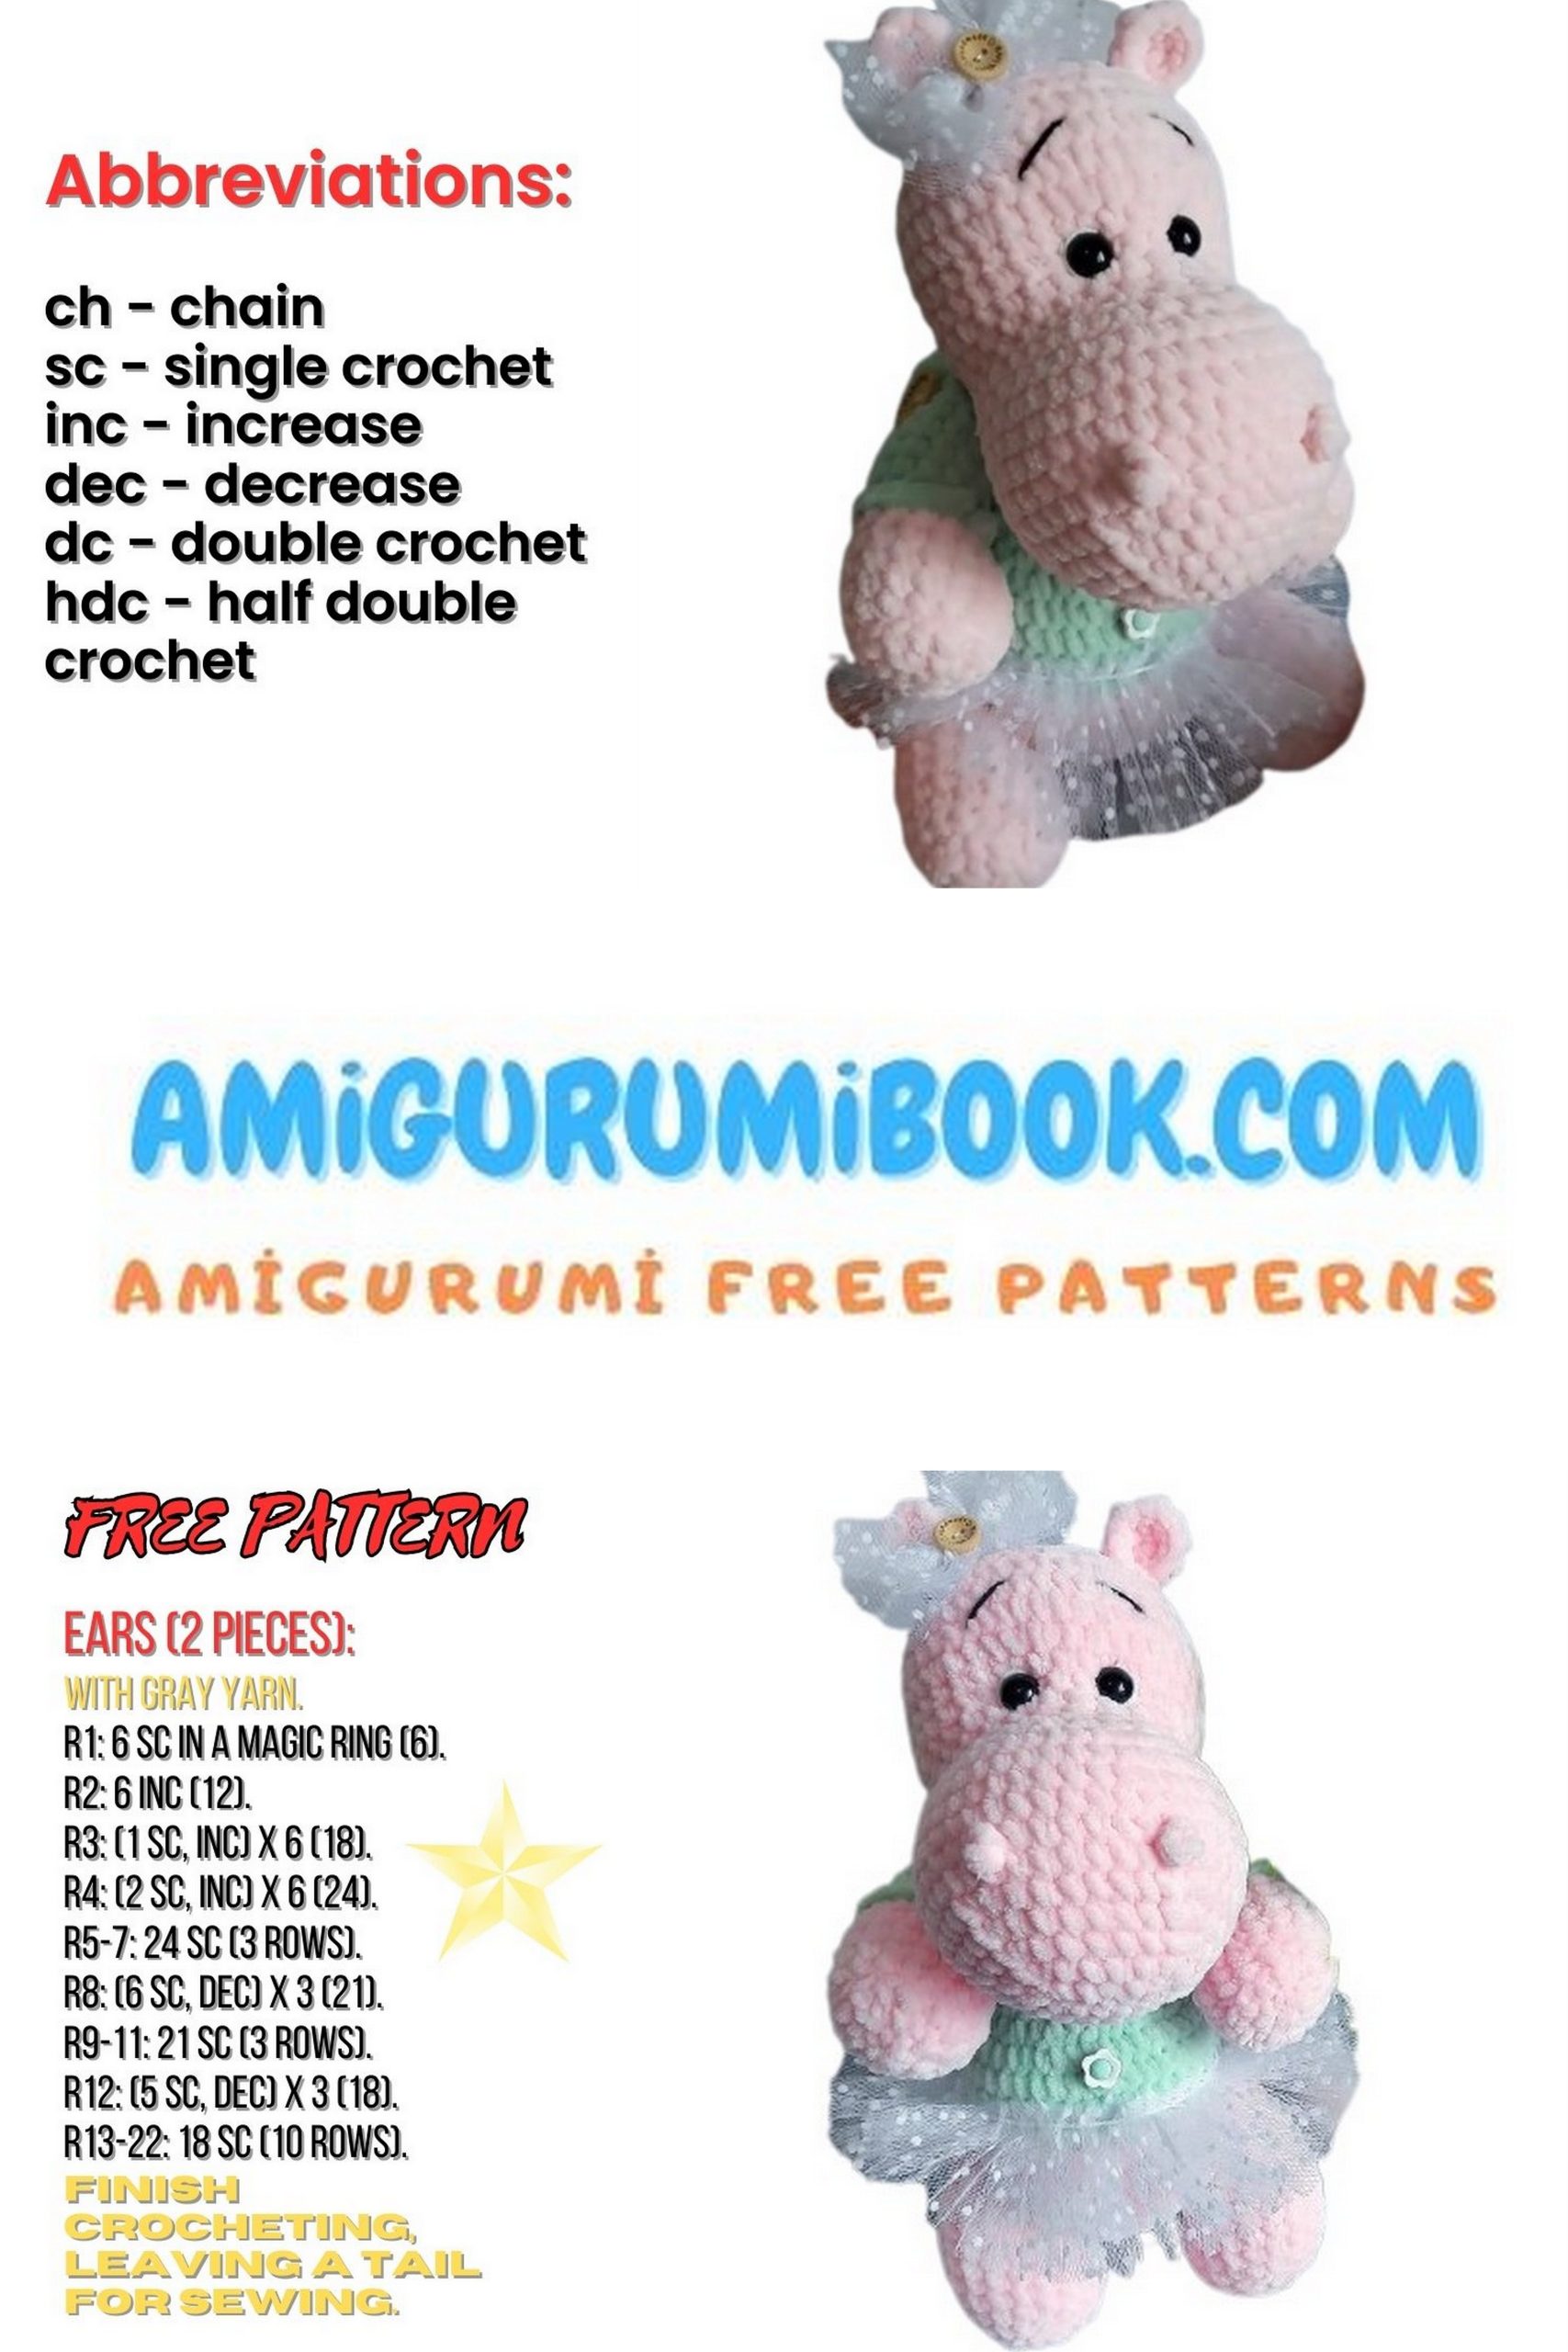
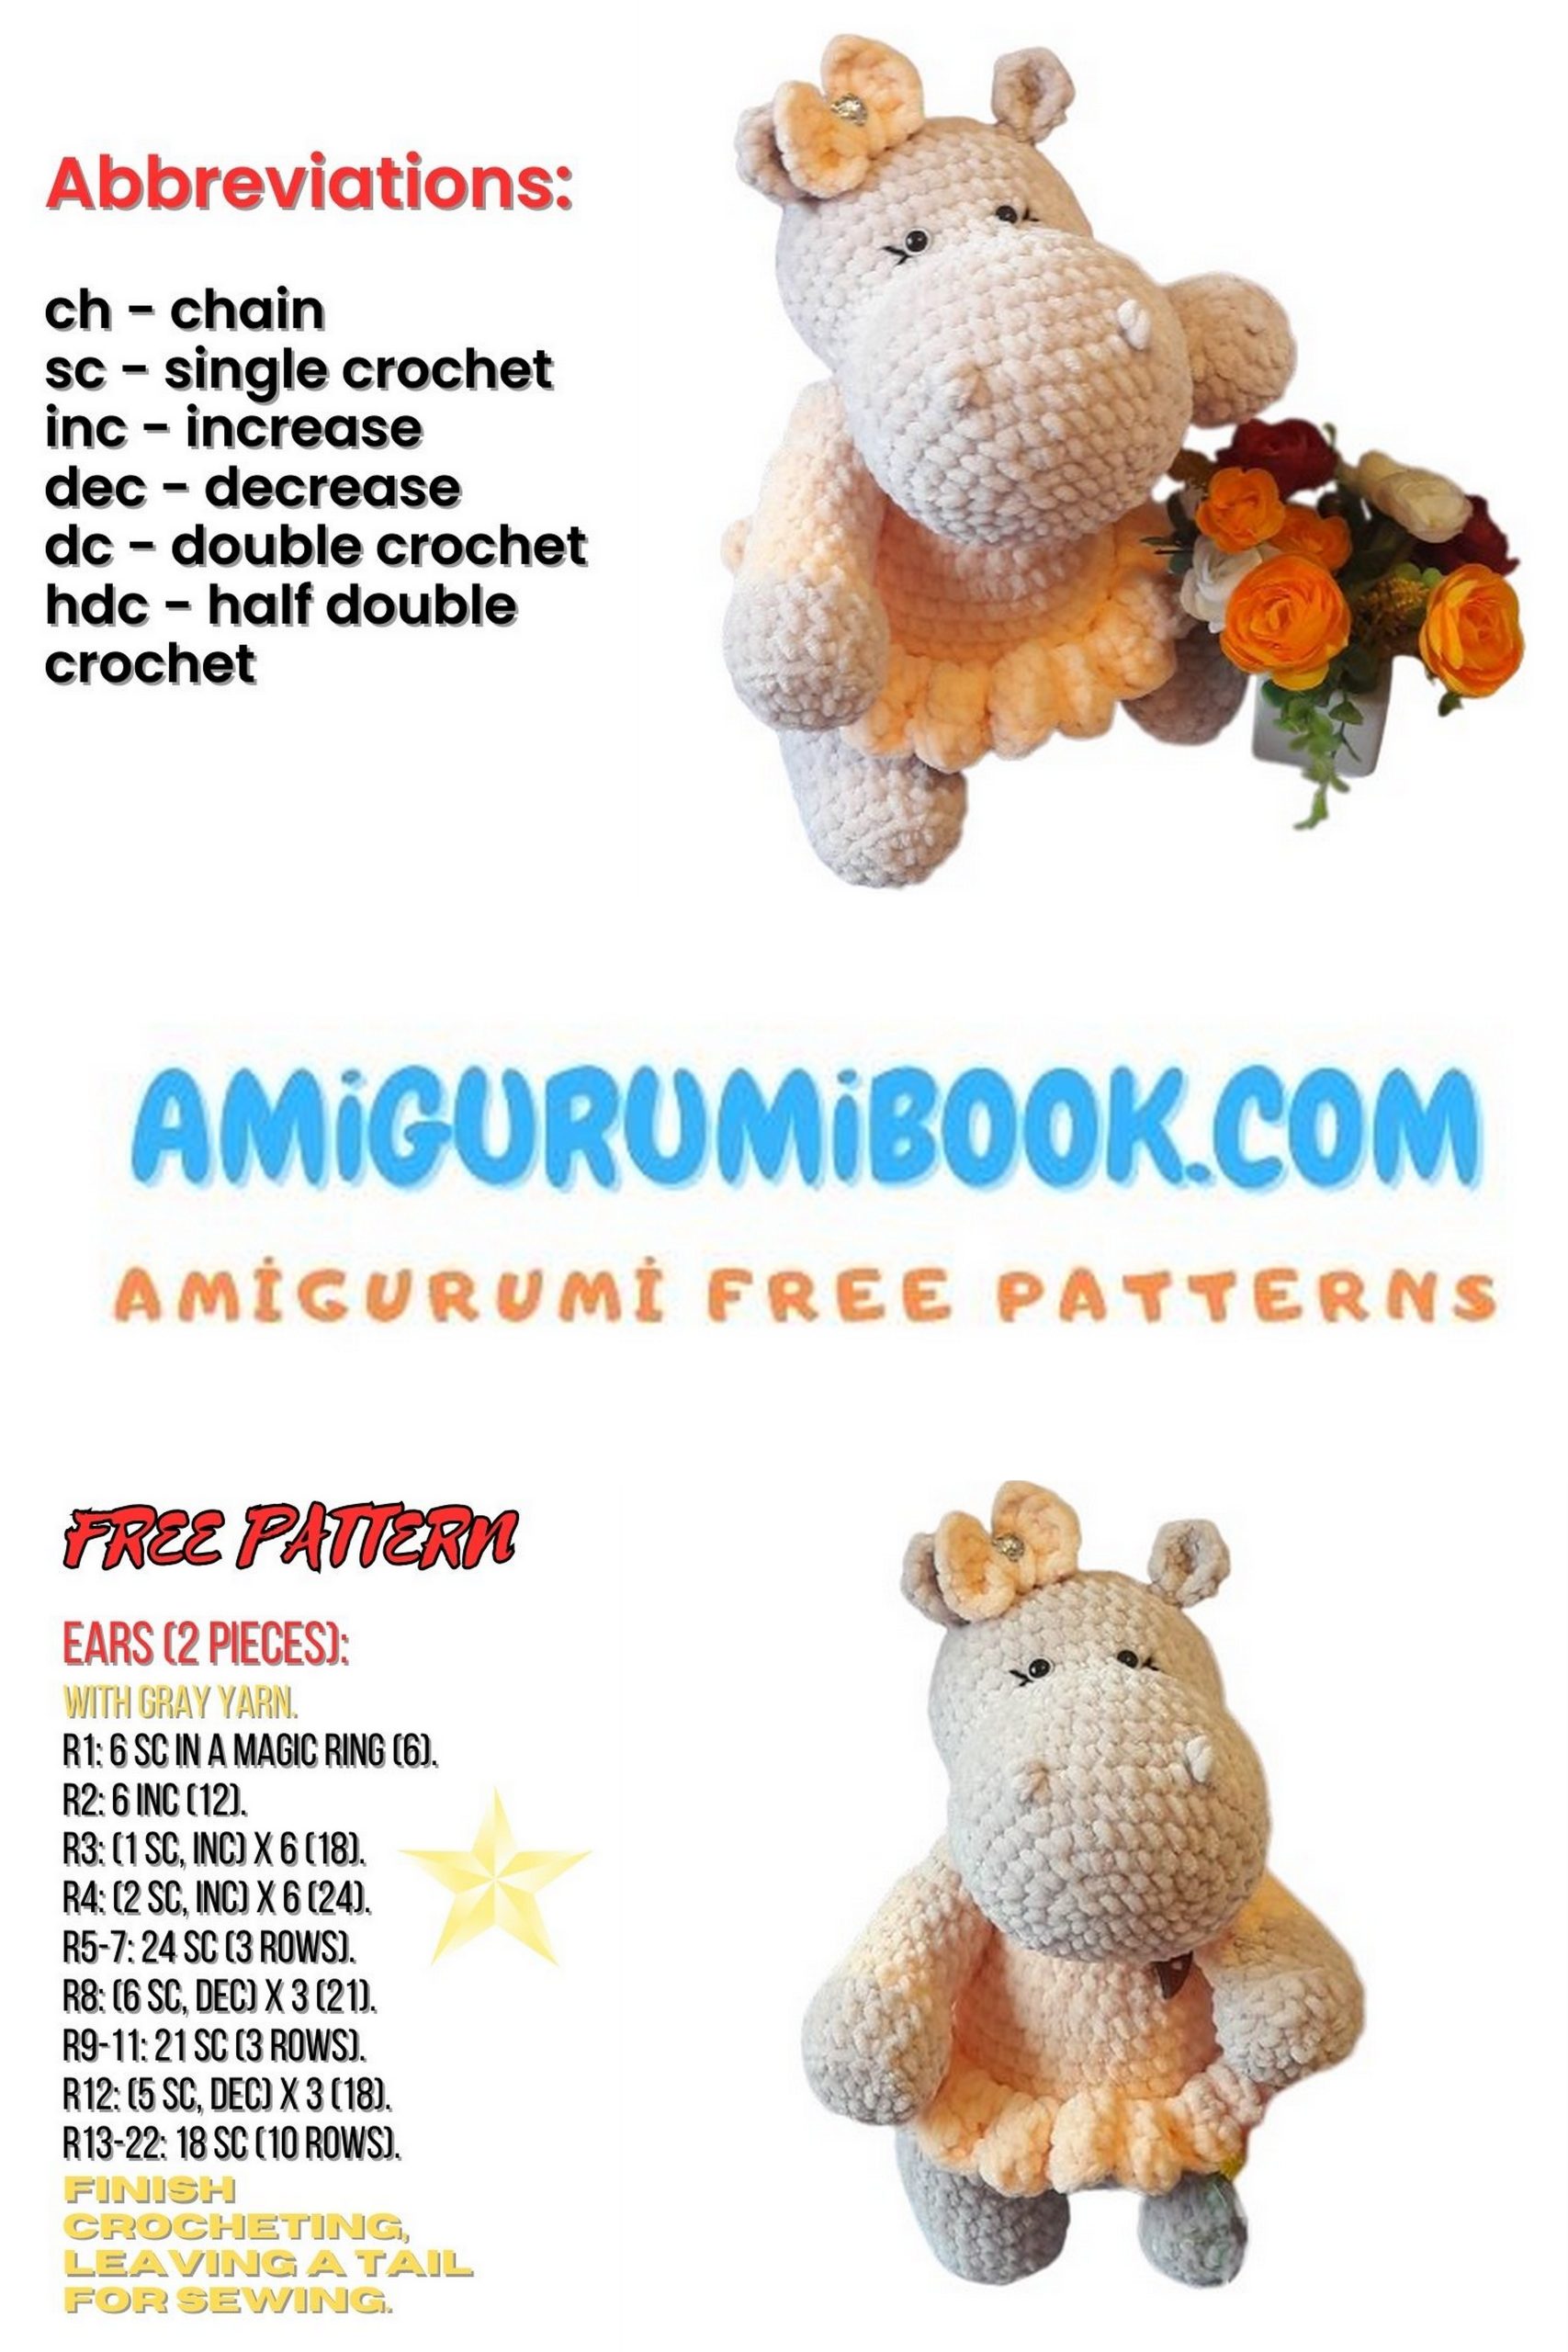
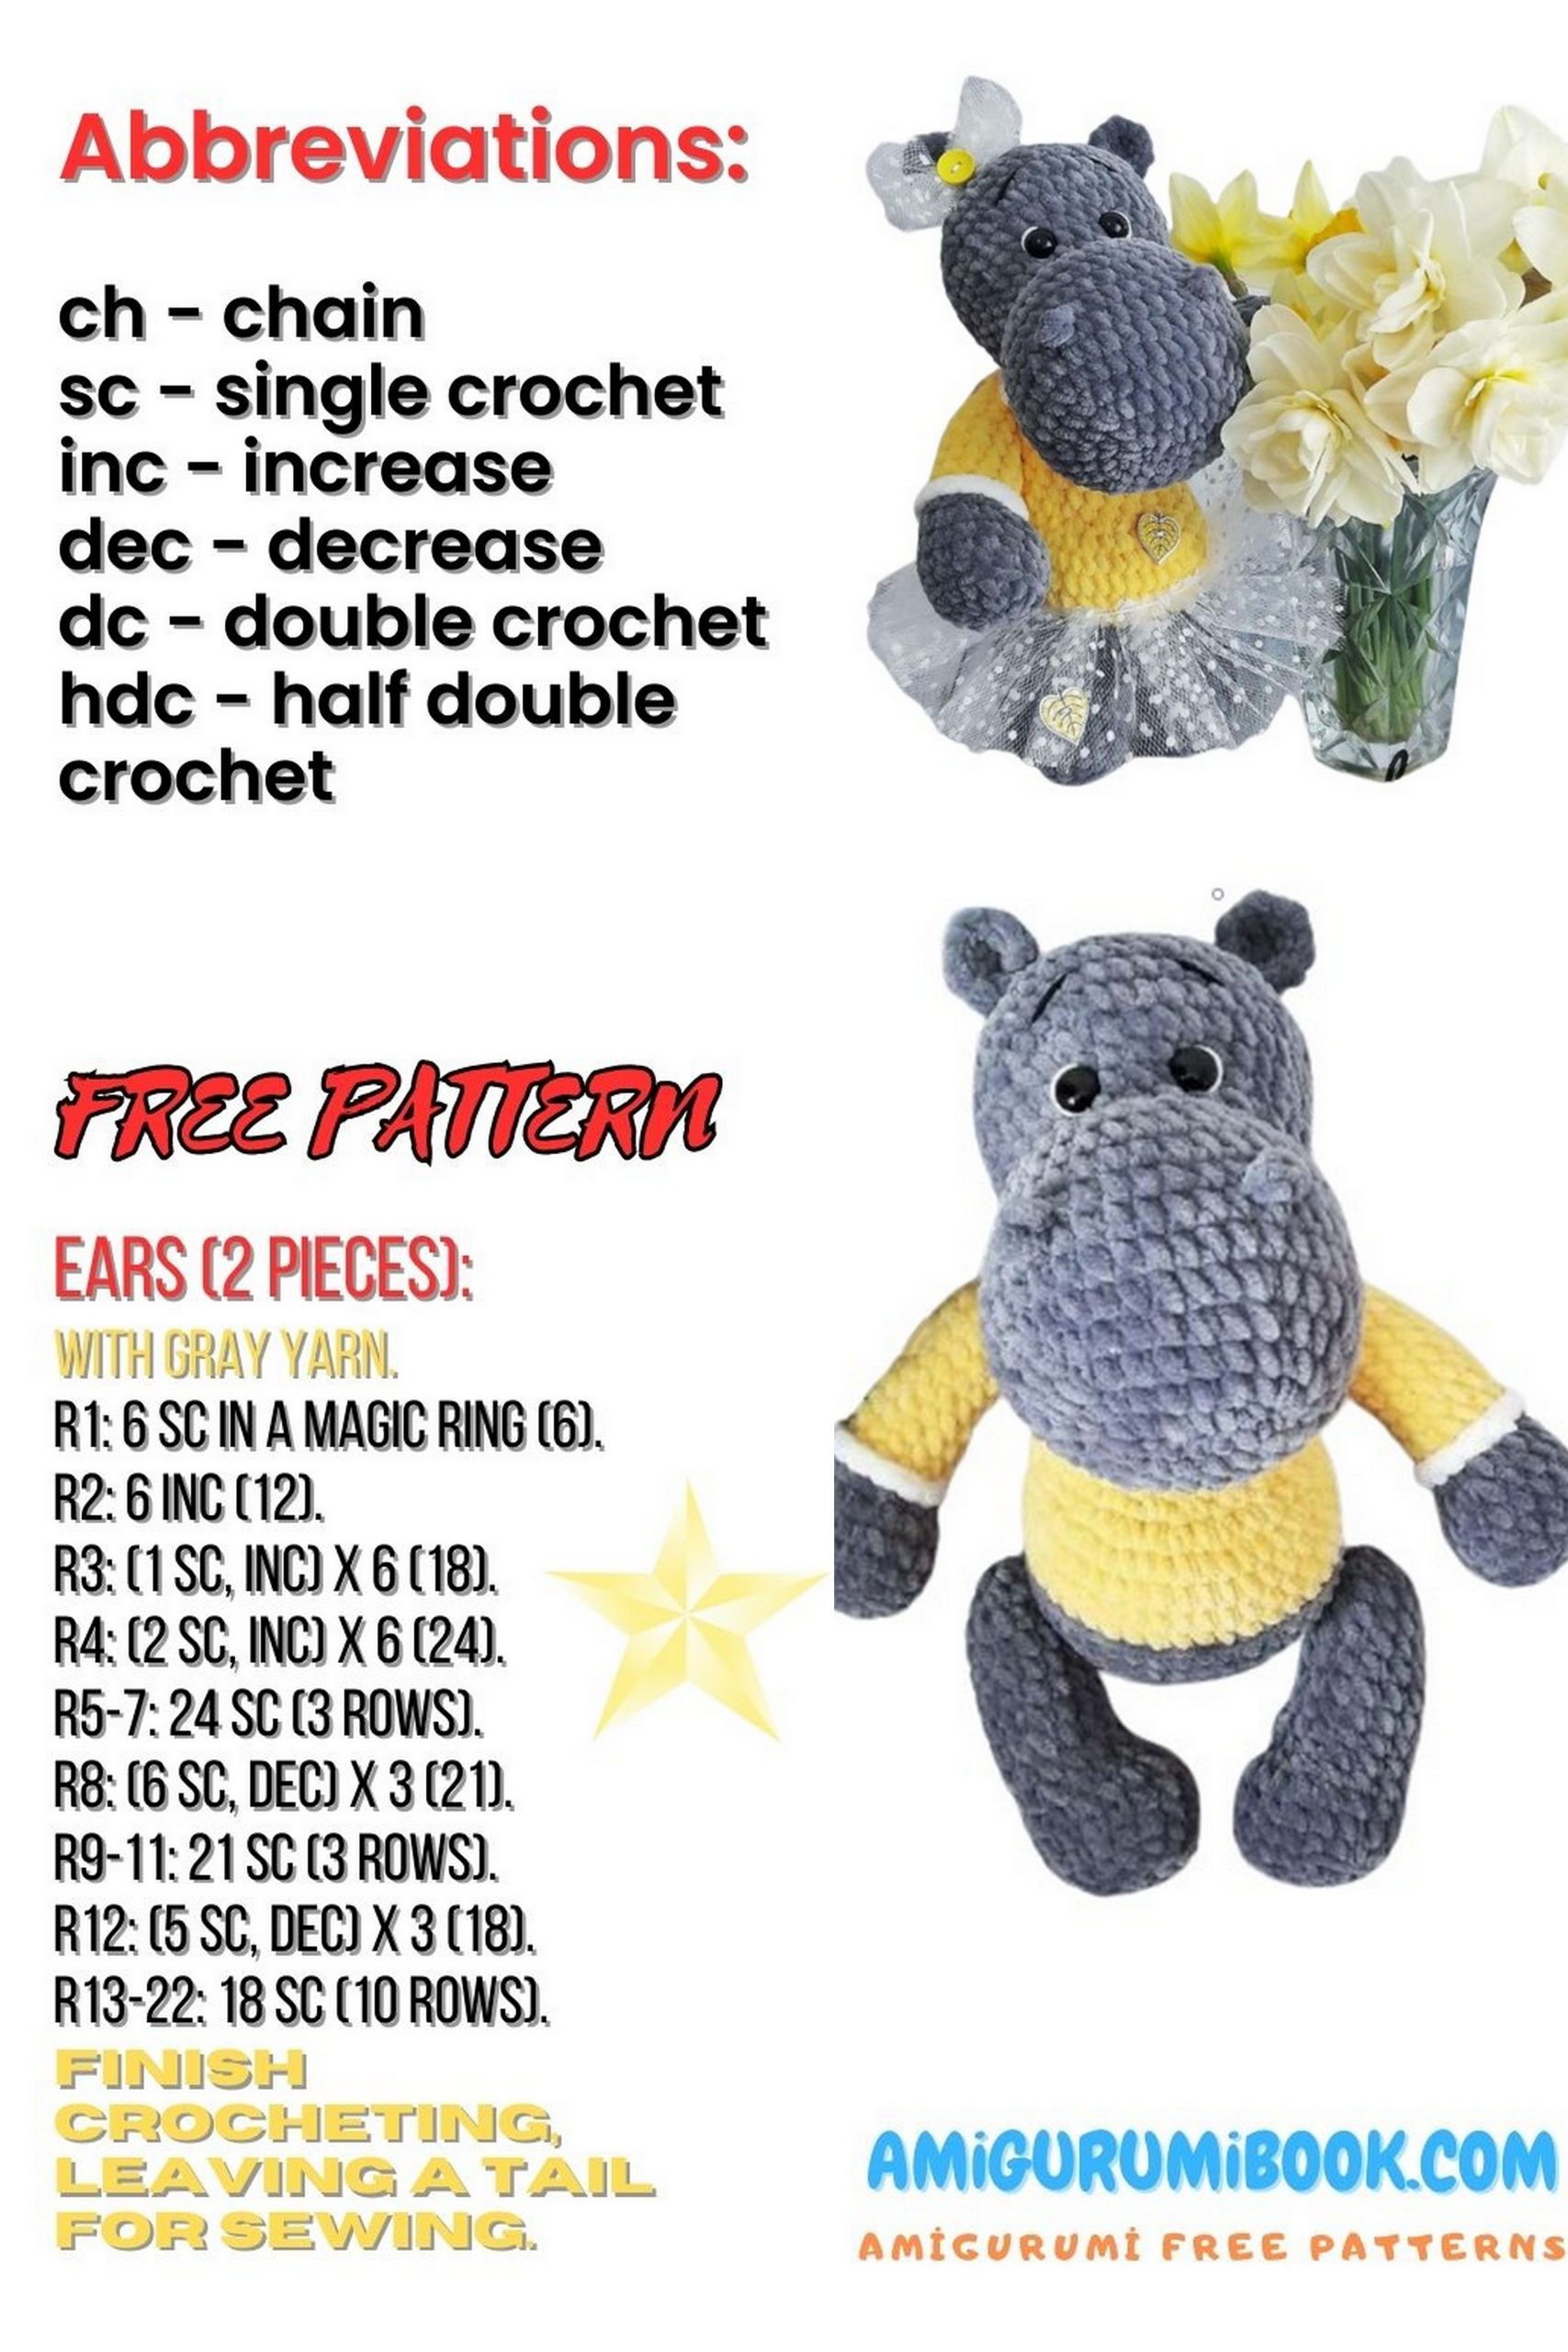
Lady Hippo PATTERN
Head: Lady Hippo
Start with 7 chains, and from the second chain from the hook, crochet:
1: 5 SC, 3 SC in one stitch, turn the work, continue on the other side with 4 SC, INC (14)
2: INC, 4 SC, 3 INC, 4 SC, 2 INC (20)
3: 1 SC, INC, 4 SC, (1 SC, INC) x3, 4 SC, (1 SC, INC) x2 (26)
4: 2 SC, INC, 4 SC, (2 SC, INC) x3, 4 SC, (2 SC, INC) x2 (32)
5: 3 SC, INC, 4 SC, (3 SC, INC) x3, 4 SC, (3 SC, INC) x2 (38)
6-11: No changes, 38 SC each.
12: 22 SC, 5 DEC, 6 SC (33, decreases are in the center)
13: 20 SC, 5 DEC, 3 SC (28)
14: No changes, 28 SC.
15: (4 SC, INC) x5, 3 SC (33)
16: (4 SC, INC) x6, 3 SC (39)
17: No changes, 39 SC.
Insert eyes between rows 16 and 17, with a distance between 3-4 SC.
18: 32 SC, 3 INC, 4 SC (42)
19-21: No changes, 42 SC.
22: (5 SC, DEC) x6 (36)
Start stuffing the head tightly!
23: (4 SC, DEC) x6 (30)
24: (3 SC, DEC) x6 (24)
25: (2 SC, DEC) x6 (18)
26: (1 SC, DEC) x6 (12)
27: Decrease until closed. Cut the thread, hide the end.
Ears (2 pieces): Lady Hippo
1: 6 SC in MR
2: 6 INC (12)
Fold in half and crochet through both walls 1 SC.
Cut the thread, leaving an end for sewing.
Embroider nostrils between rows 7-8: At the point where the nostril will be, attach the thread and crochet 2 CH, crochet 1 SC into the base, make a knot and hide the end. Distance is 7-8 SC. Alternatively, you can sew 2 small buttons.
Sew the ears between rows 21-22 with a distance of 7-8 SC.
Embroider eyebrows. Optionally, you can embroider eyelashes with thread.
Arms (2 pieces):
1: 6 SC in MR
2: 6 INC (12)
3: (2 SC, INC) x4 (16)
4: Crochet 16 SC through the back loop of the stitches
5-7: No changes, 16 SC.
8: 3 DEC, 10 SC (13)
Change the thread. Stuff as you go (bottom tightly, top moderately).
9-17: No changes, 13 SC.
18: (1 SC, DEC) x4, 1 SC (9)
Decrease until closed, cut the thread, and hide in the work. Next, tie the joint where the thread is attached. For this, take a contrasting thread (or matching) and crochet around the front half of the stitch in a circle with SC. Cut the thread, hide the end.
Legs (2 pieces): Lady Hippo
1: 6 SC in MR
2: 6 INC (12)
3: (1 SC, INC) x6 (18)
4: Crochet 18 SC through the back loop of the stitches
5-7: No changes, 18 SC.
8: 3 DEC, 12 SC (15)
Stuff as you go (bottom tightly, top moderately).
9-15: No changes, 15 SC.
16: (1 SC, DEC) x5 (10)
Decrease until closed, cut the thread, and hide in the work.
Body: Lady Hippo
Start with 6 chains, and from the second chain from the hook, crochet:
1: 4 SC, 3 SC in one stitch, turn the work, continue on the other side with 3 SC, INC (12)
2: INC, 3 SC, 3 INC, 3 SC, 2 INC (18)
3: 1 SC, INC, 3 SC, (1 SC, INC) x3, 3 SC, (1 SC, INC) x2 (24)
4: 2 SC, INC, 3 SC, (2 SC, INC) x3, 3 SC, (2 SC, INC) x2 (30)
5: 3 SC, INC, 3 SC, (3 SC, INC) x3, 3 SC, (3 SC, INC) x2 (36)
6: 4 SC, INC, 3 SC, (4 SC, INC) x3, 3 SC, (4 SC, INC) x2 (42)
7-9: No changes, 42 SC each.
Change the color and continue crocheting:
10-13: No changes, 42 SC each.
14: 20 SC, (1 SC, DEC) x6, 4 SC (36)
15: 20 SC, 6 DEC, 4 SC (30)
16-18: No changes, 30 SC each.
19: (3 SC, DEC) x6 (24)
20-22: No changes, 24 SC each.
Start stuffing with fiberfill, tightly!
Change the color to the main one and continue crocheting:
23: (2 SC, DEC) x6 (18)
24: No changes, 18 SC.
Cut the thread, hide the ends. Stuff the neck tightly!!!
Next, tie the joint where the thread is attached. For this, take a contrasting thread (or matching) and crochet around the front half of the stitch in a circle with SC. Cut the thread, hide the end.
Sew the head to the body. Attach the limbs.
Button Attachment for Paws:
You will need a large tapestry needle, strong threads (I used Iris), and buttons with two holes. Thread the needle with four strands of thread folded so that it doesn’t break when tightened. Fit the paws to the body and determine the attachment point. Pierce the body all the way through, leaving a long end of the thread. Pierce the paw and thread the button, then pierce the needle again through the paw. Then pierce the body in the opposite direction, bringing the needle to the side where you started. Continue with the second paw, thread the button, and return. Tighten the thread ends and tie securely with two or three knots. Hide the thread ends neatly inside the toy.
Important!!! Do not tighten too much, and tie it so that the paws do not hang. On a toy made of Dolphin Baby yarn, it is essential to attach the limbs with buttons. With thread attachment or sewing, fluffy yarn fibers may come off, forming holes in the toy.
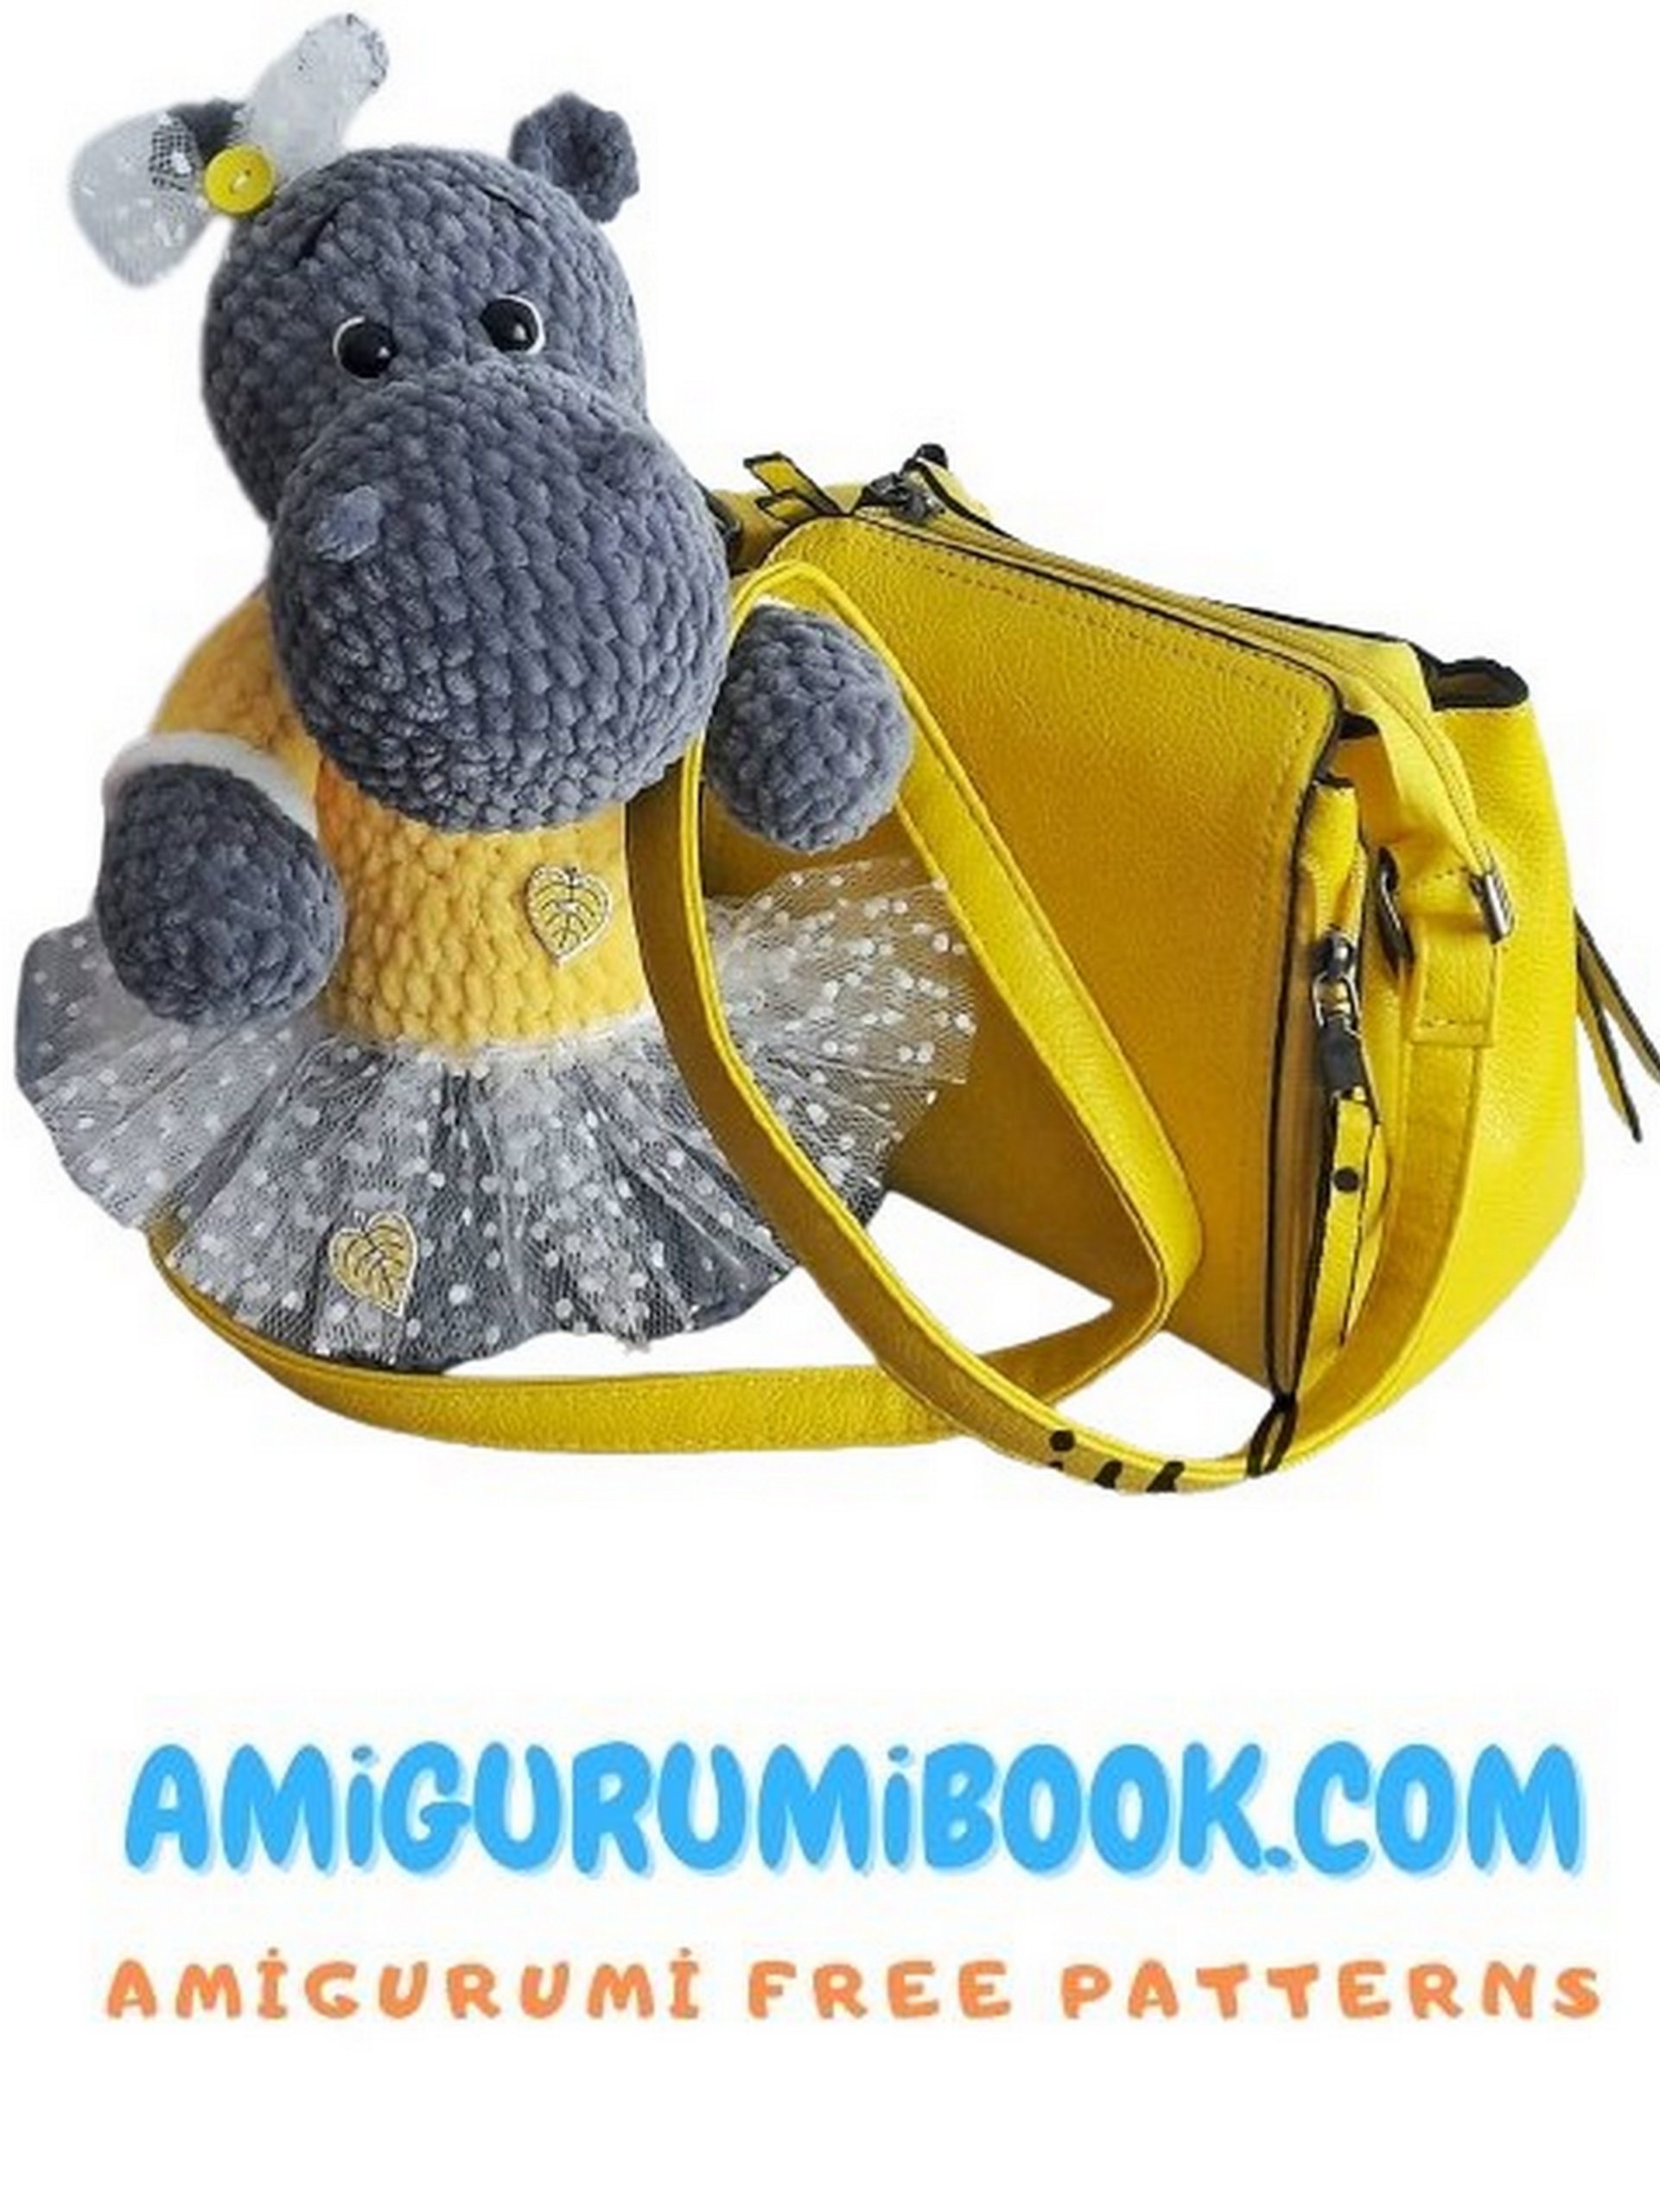
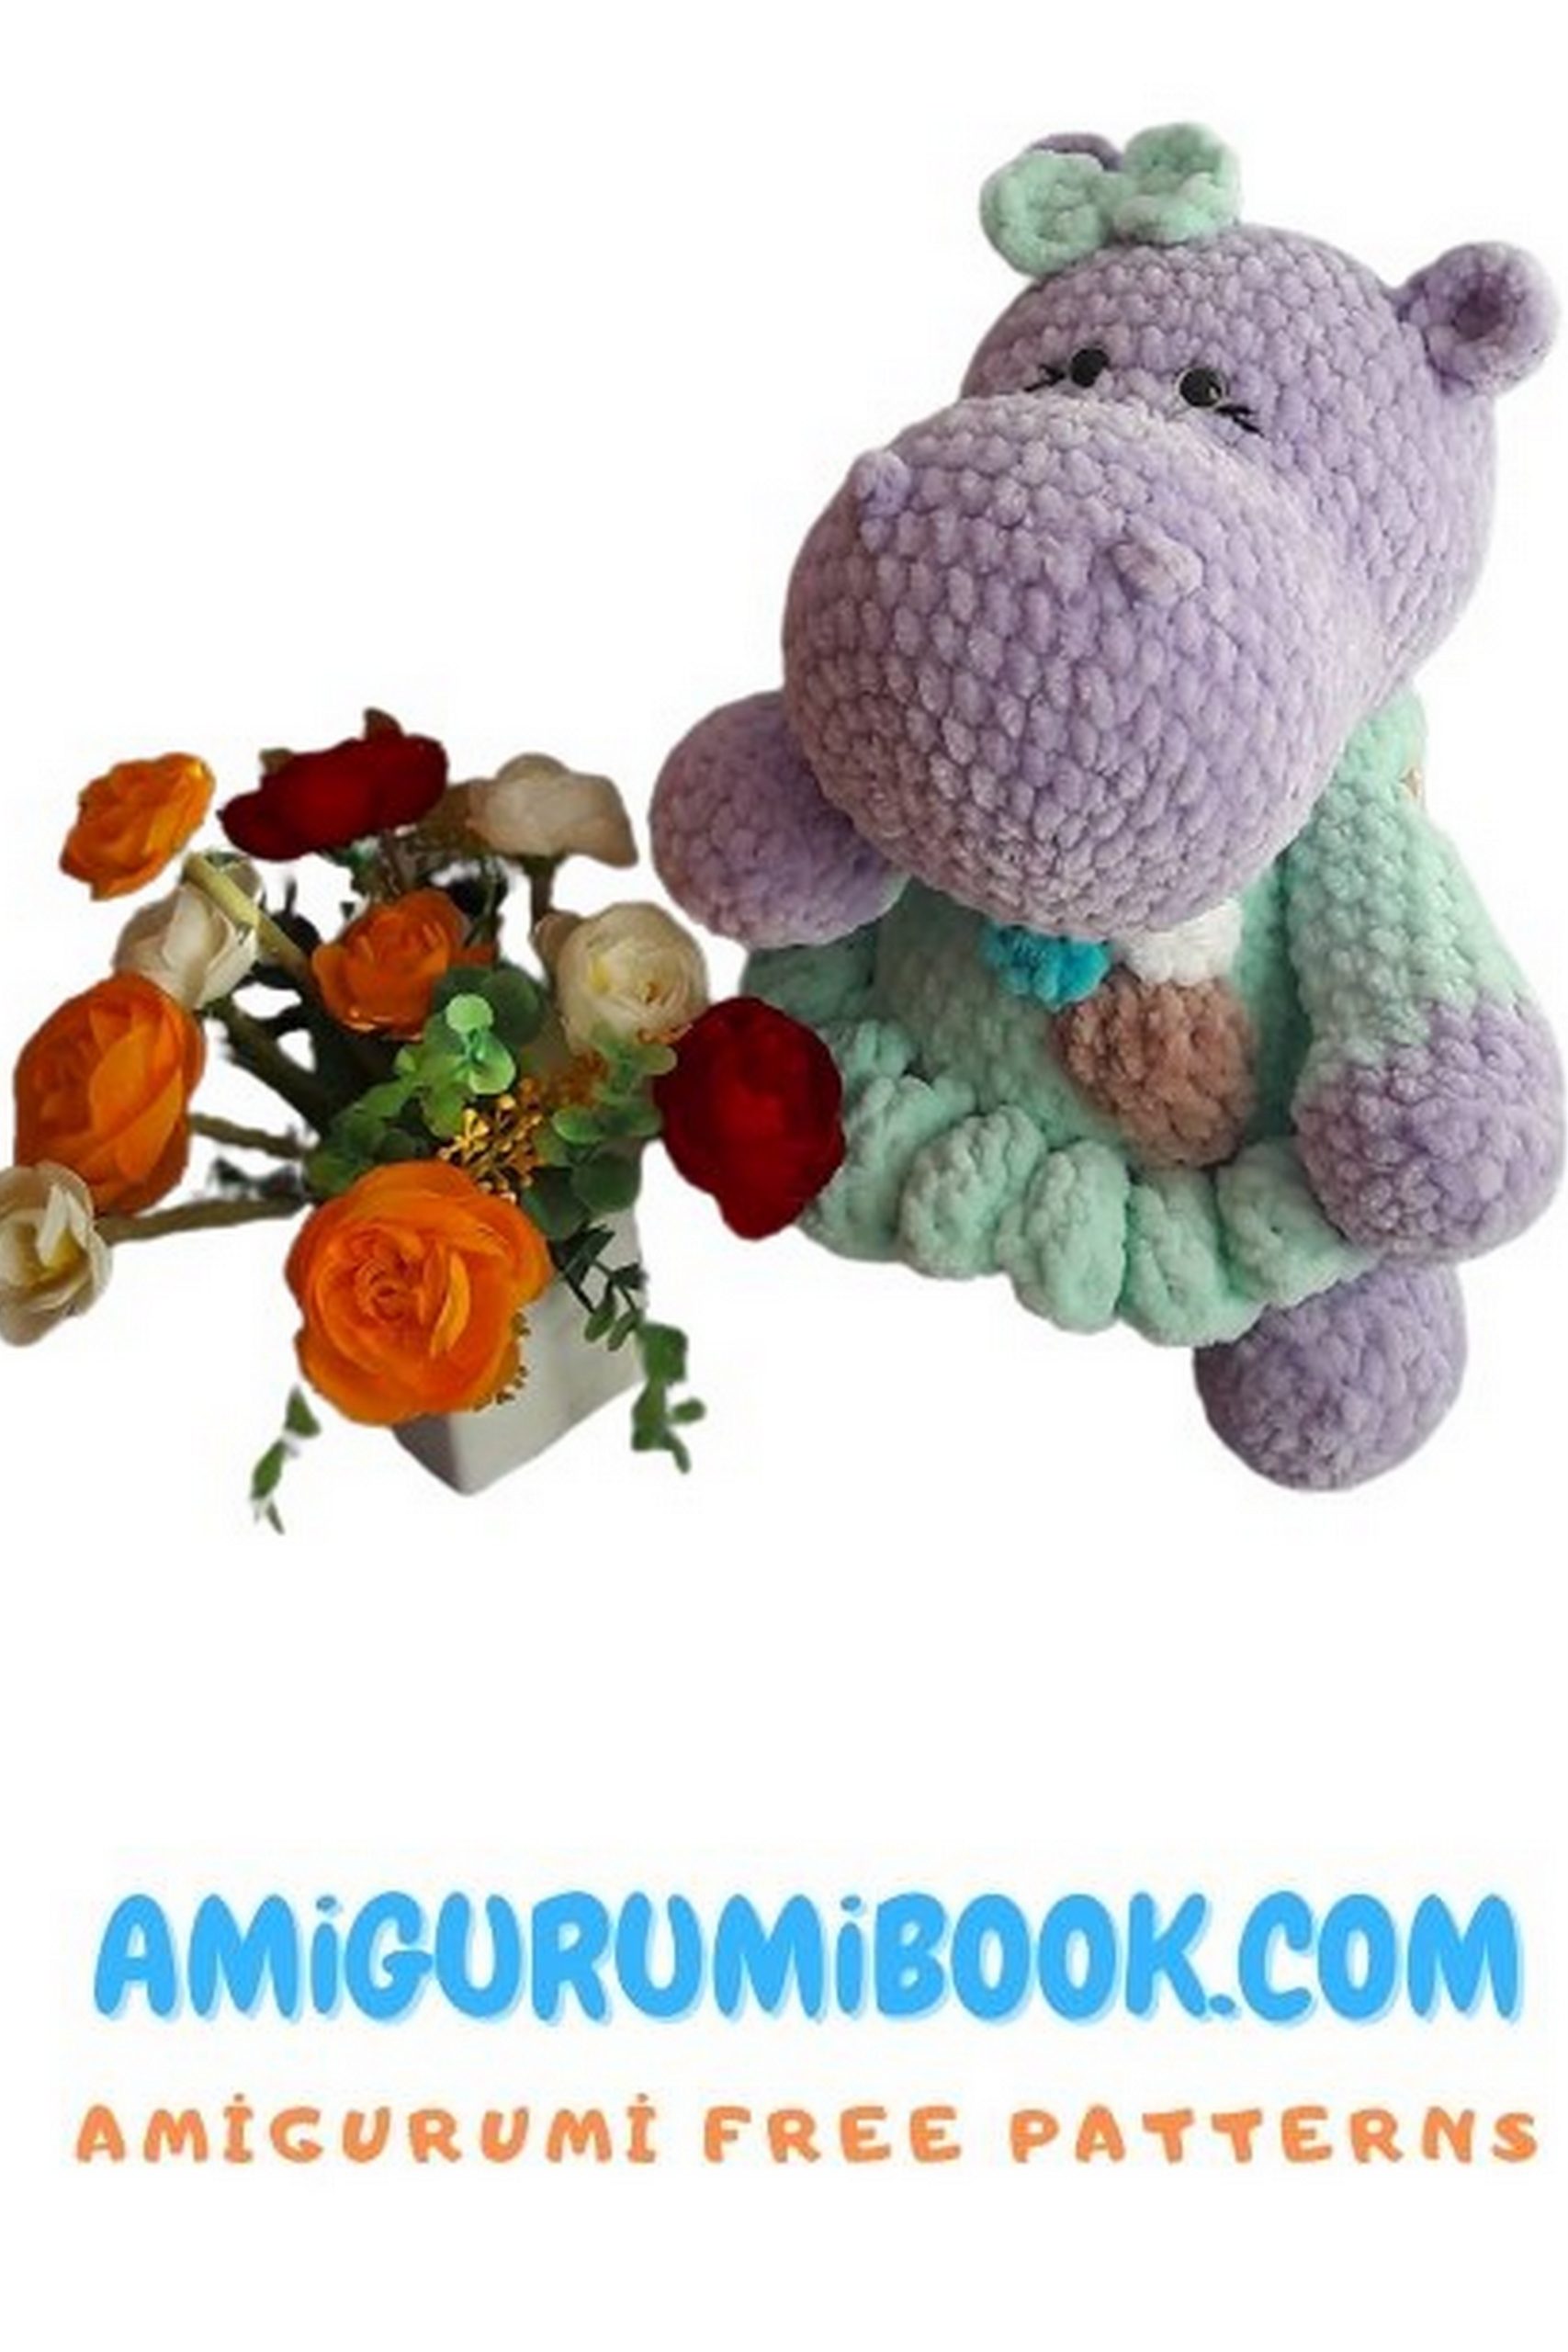
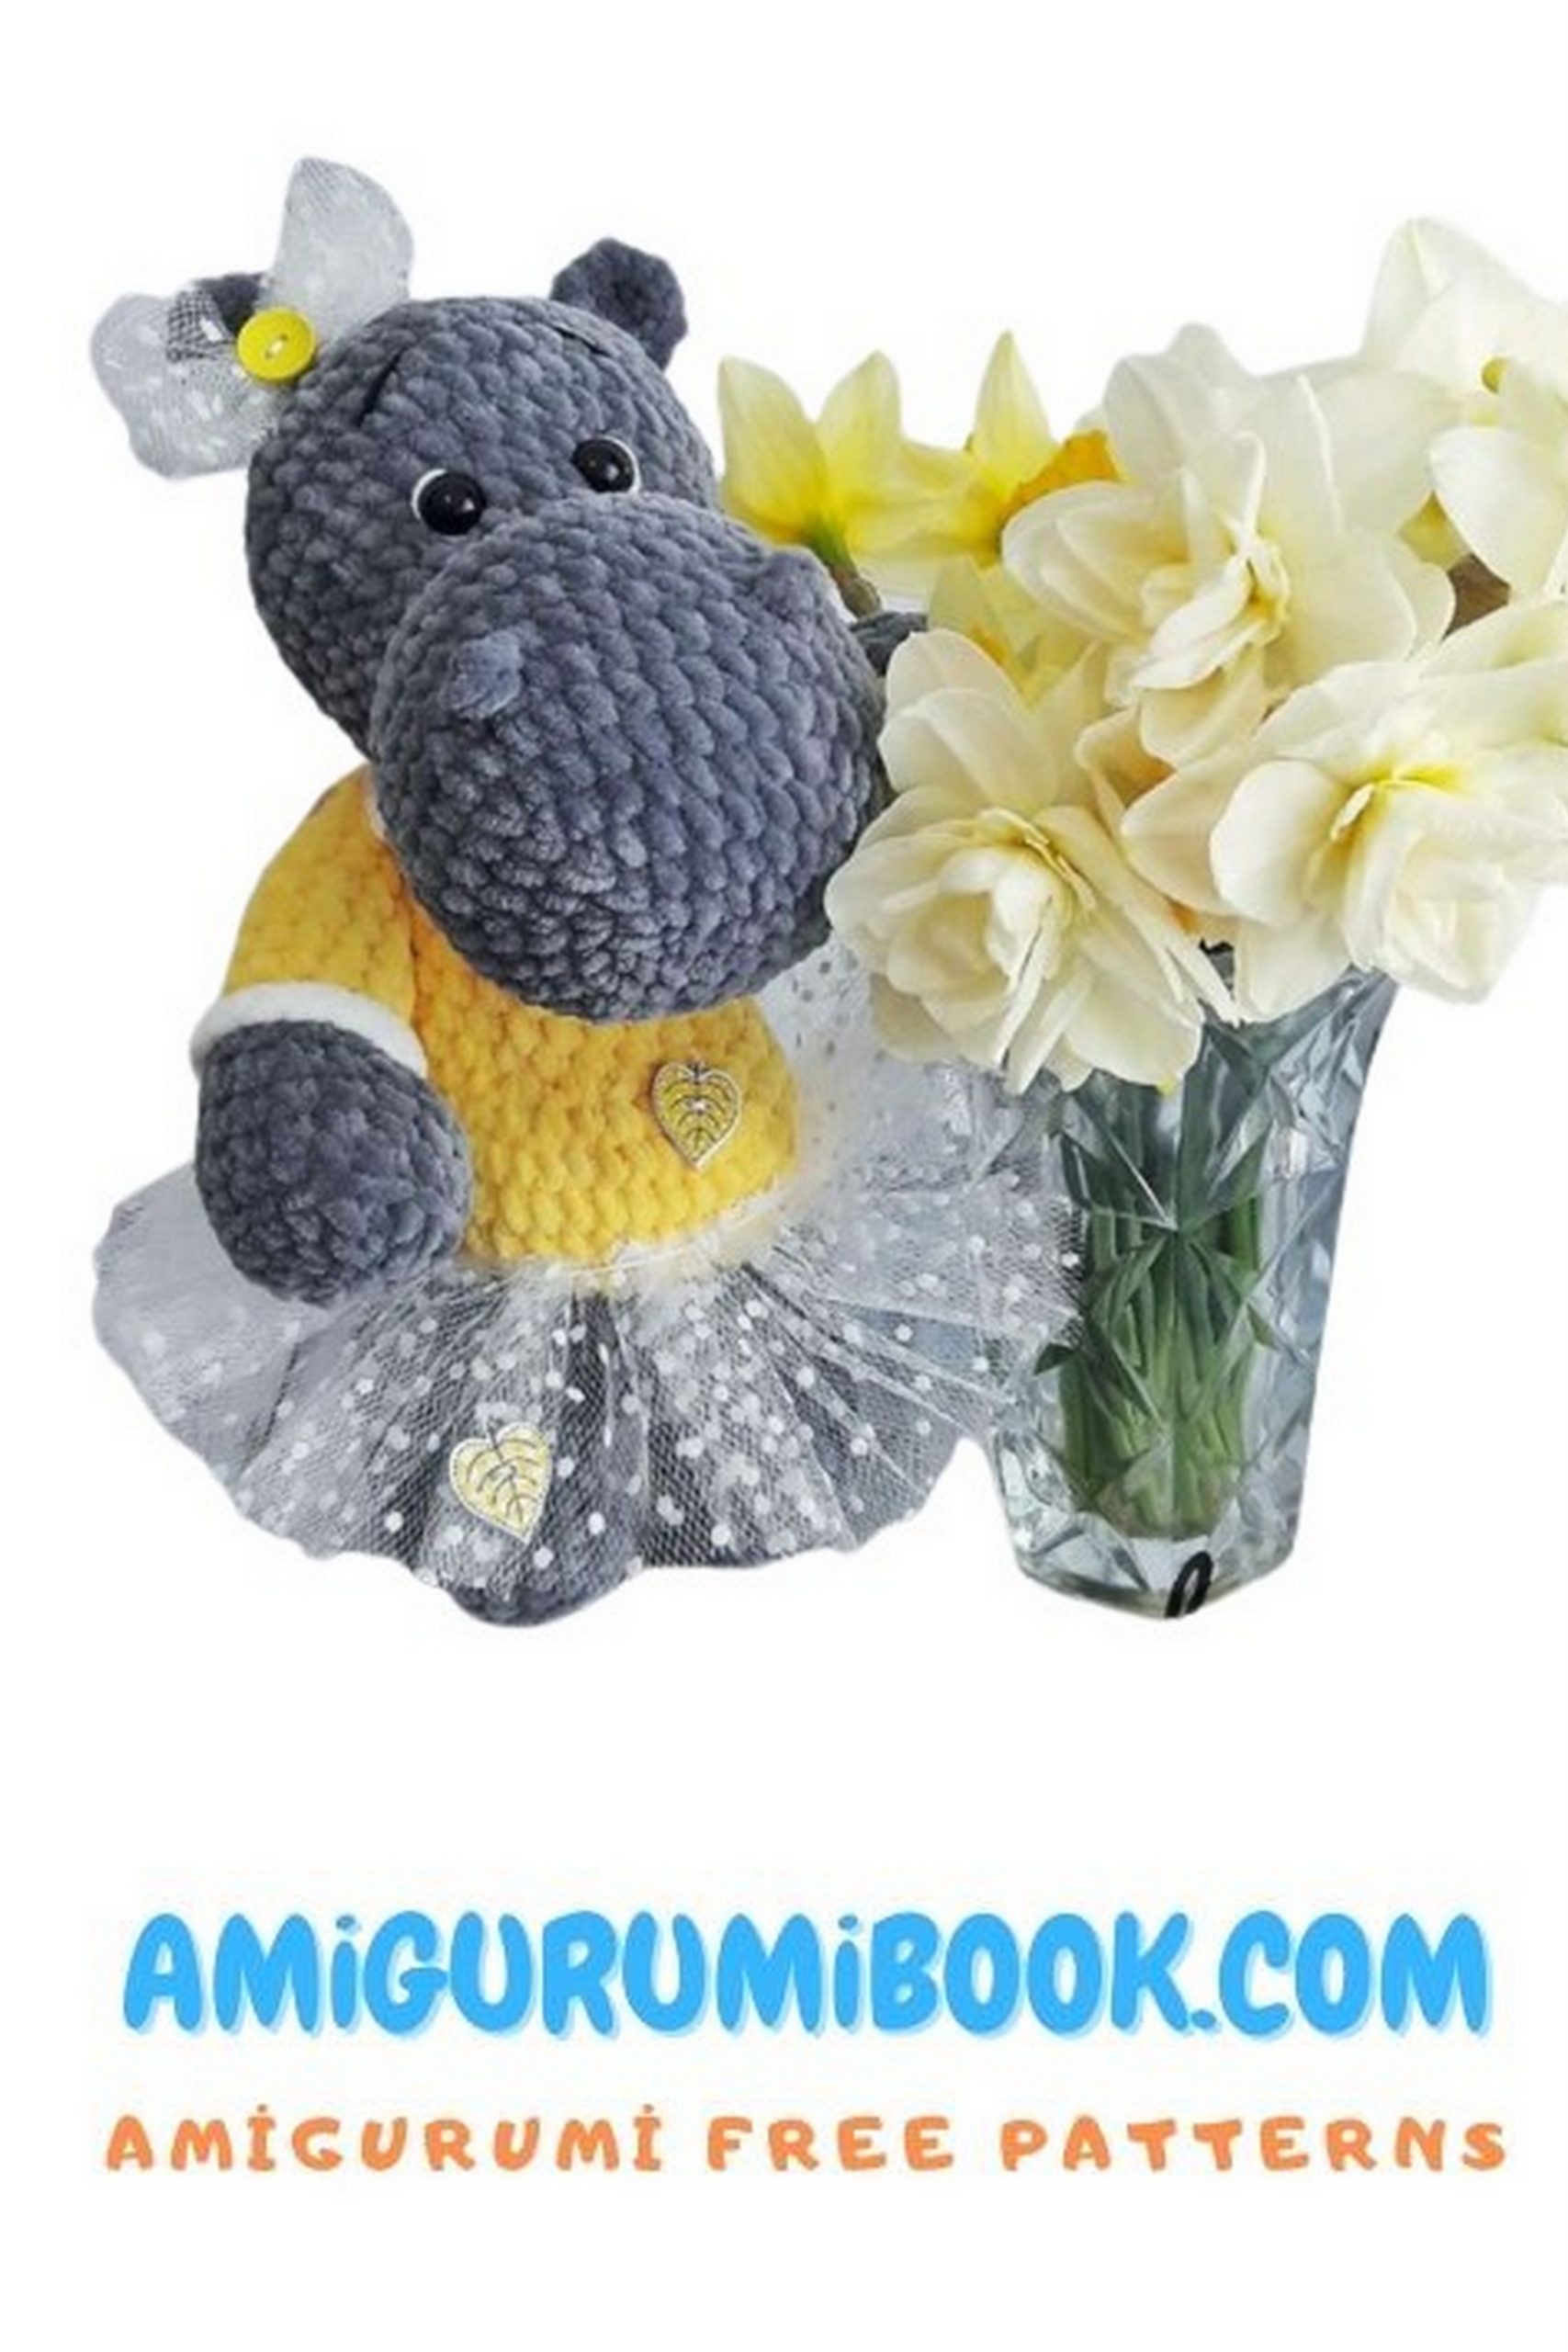
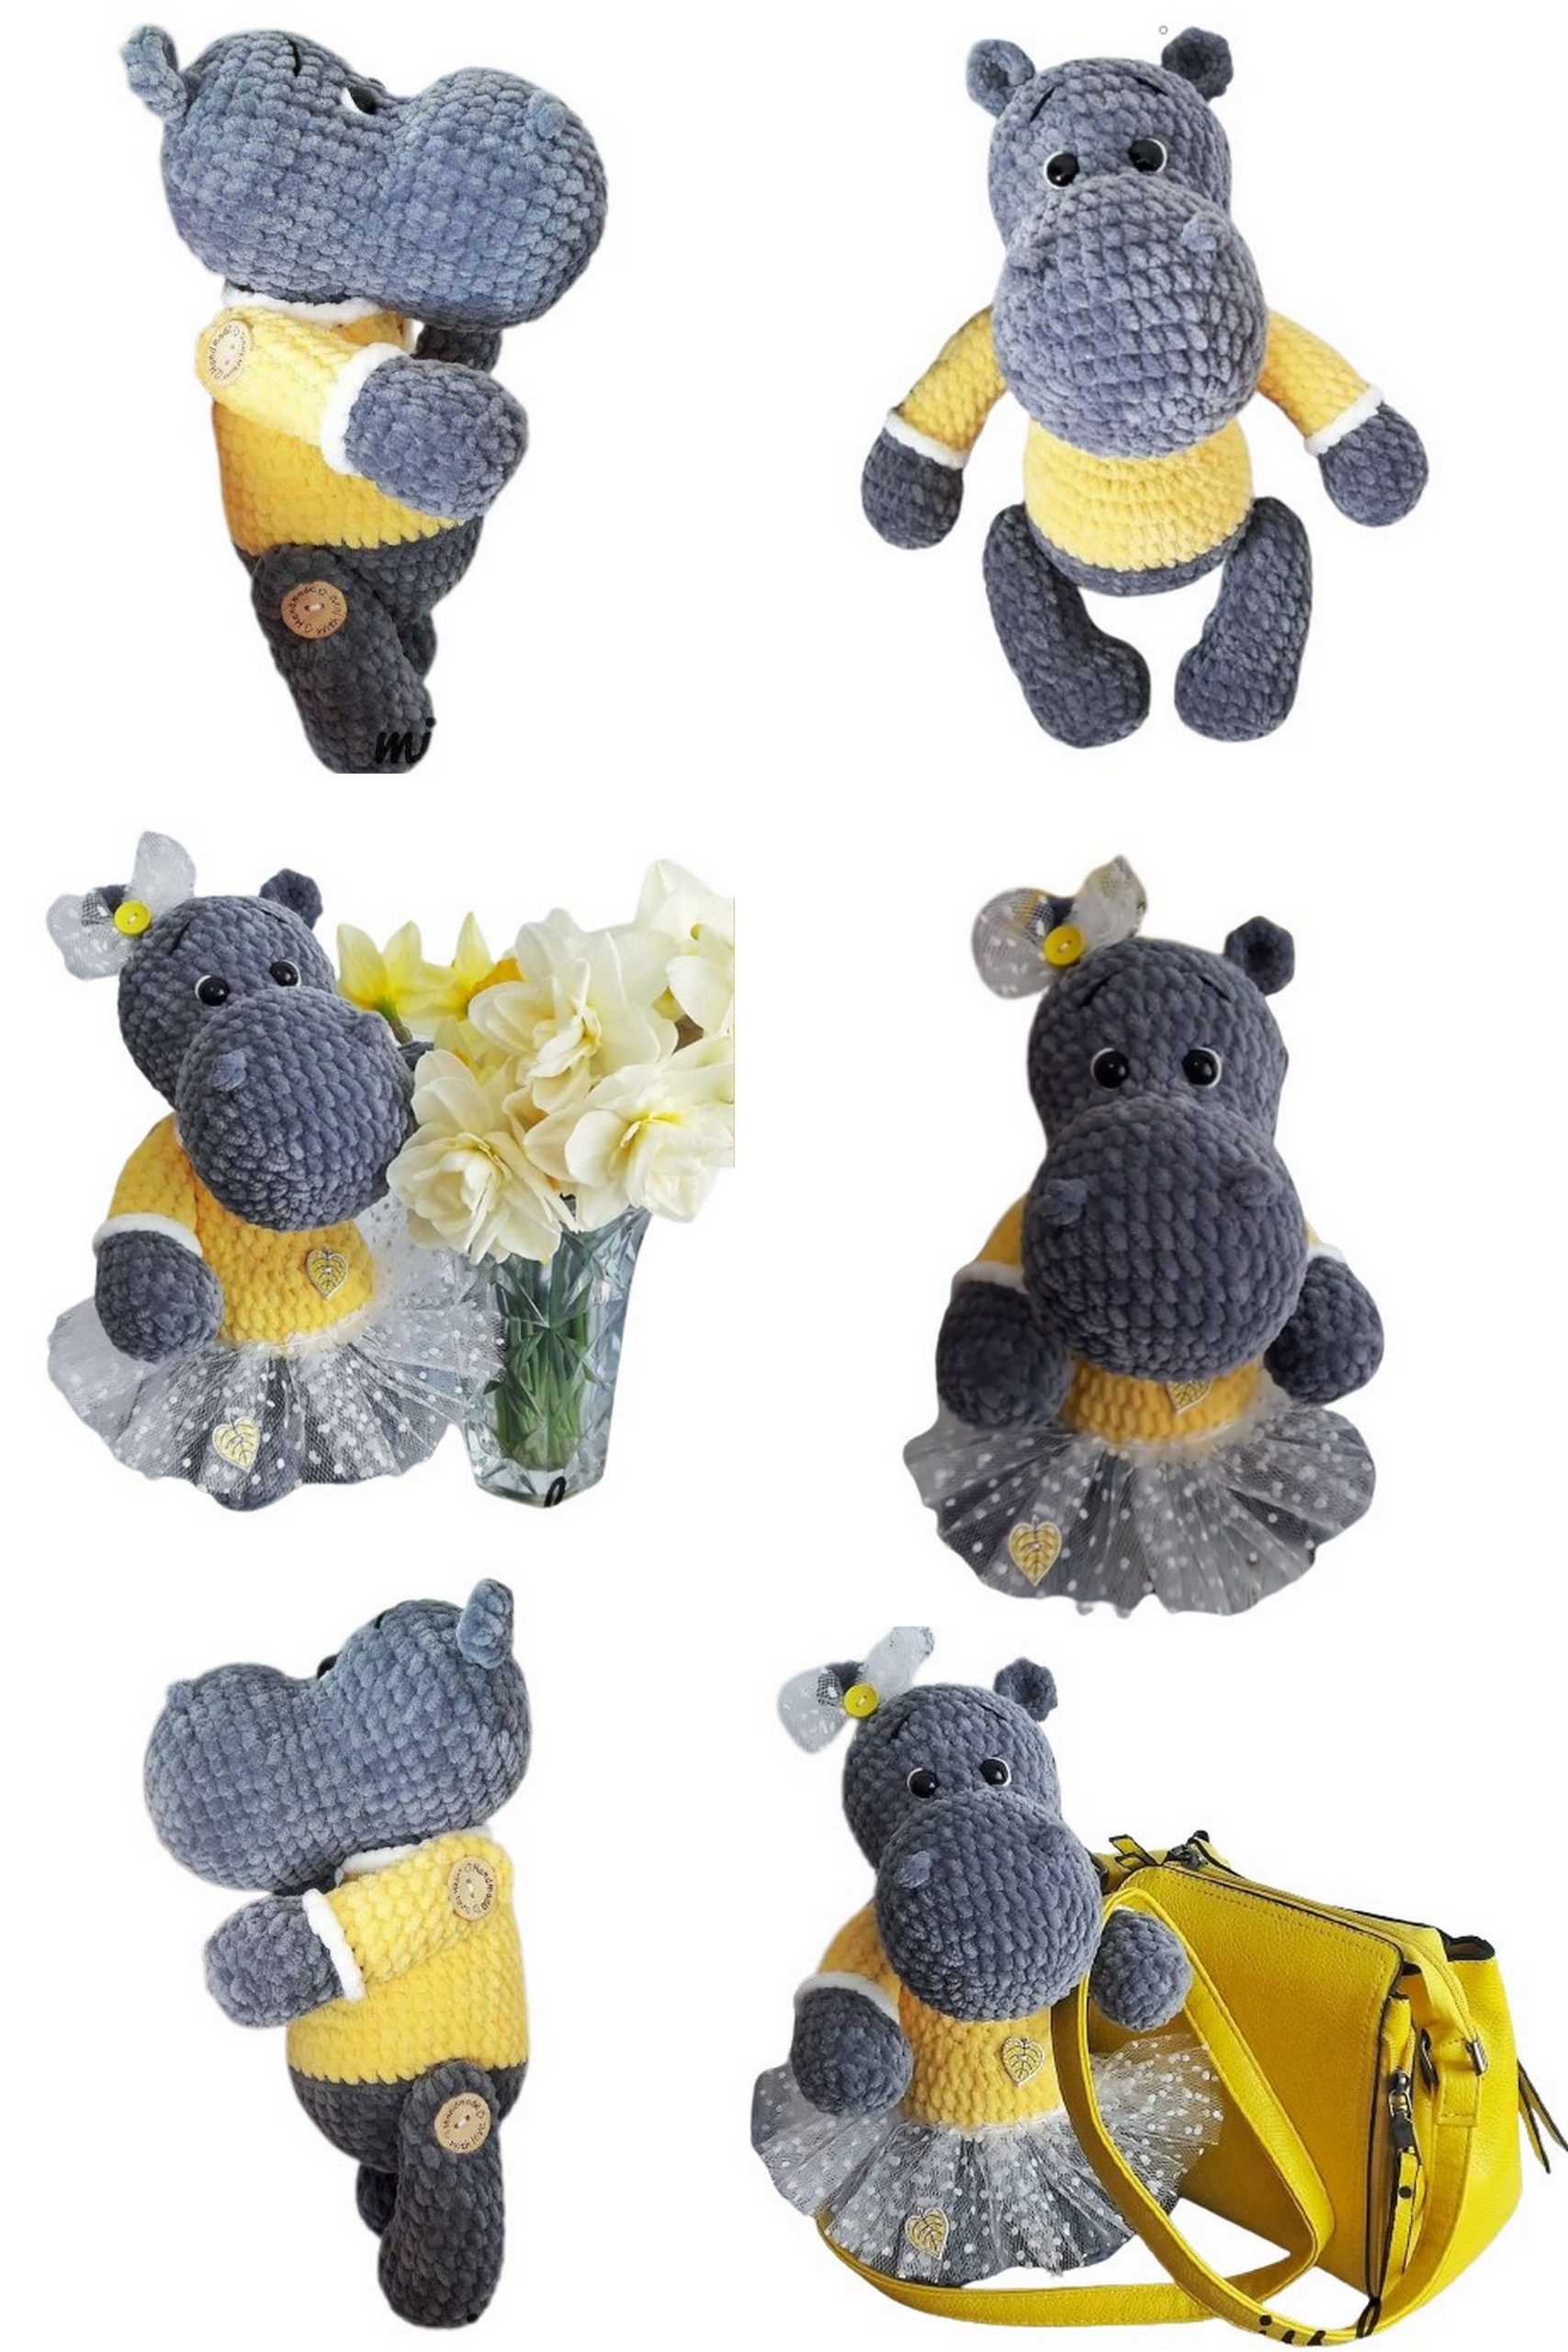
You can make a bow and get a little hippo boy))) But we have a girl, so let’s continue and make a skirt.
For the skirt, take tulle: 5-6 cm wide, 2 meters or more in length. The longer, the fuller the skirt will be. I have 2.5 strips of 6*150cm. Then thread the yarn matching the skirt color (I used Iris in 4 folds) into the needle. Gather the tulle along the edge with the needle, leaving threads along the edge of the skirt. Tie knots at the ends and fasten the skirt on our Bonya. Optionally, you can make a bow and sew it to the ear.
That’s it, your Bonya is ready! Praise yourself) You can love it, play with it, hug it in your sleep!