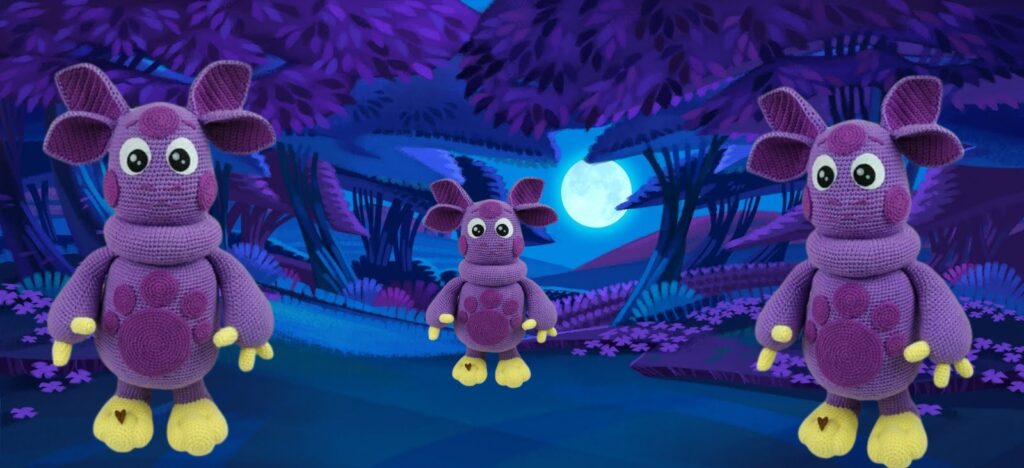
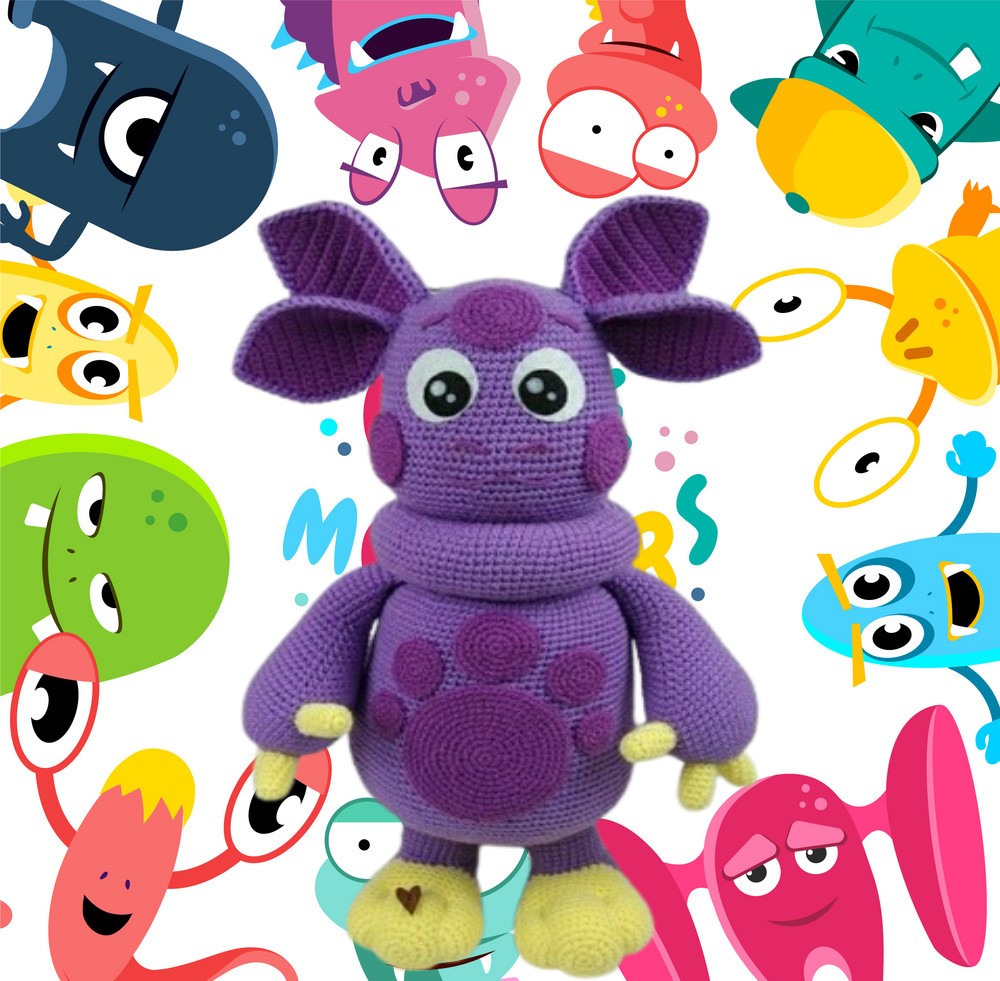
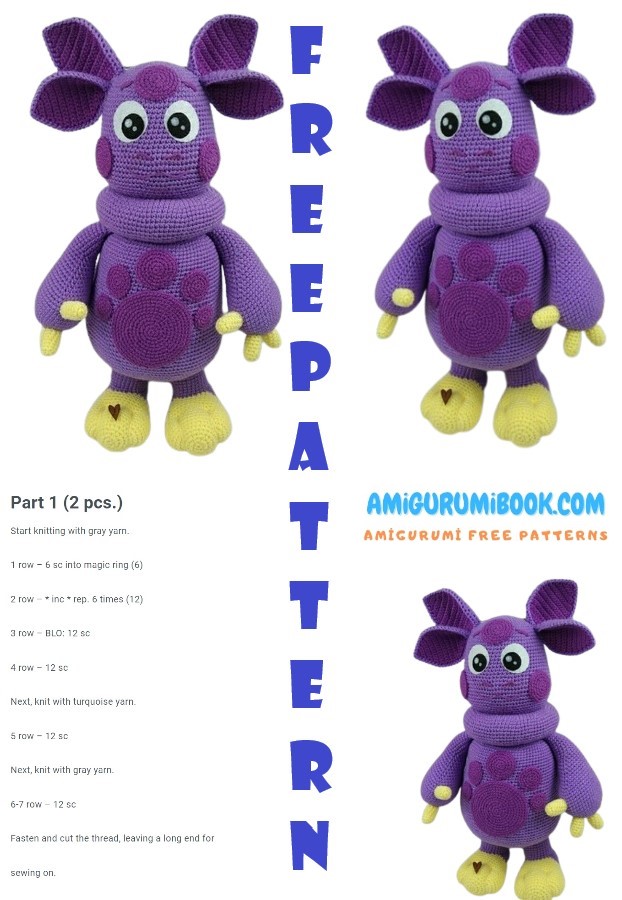
If you’re looking to add a touch of whimsy to your crochet collection, a cute monster amigurumi is the perfect project. This free pattern offers simple steps to create an adorable, handmade monster that’s sure to bring smiles to all ages. free crochet patterns
You may also like more amigurumi patterns.
Free amigurumi patterns are on this site for you. In this article, I shared the amigurumi cute monster pattern for you.
You will need:
1.YarnArtBaby yarn color 635 – 2 skeins of 50 g each (160 m) and color 560 – 1 skein 50 g
(160 m), white or milk yarn 25 gr.
2. Hook number 2
3.Needle with a large eye for sewing on parts
4.Filler
5.Felt for the face (white, brown, red)
6.Sewing threads in the color of felt and needle
7. Black thread for outlining the eyelet, nose, mouth
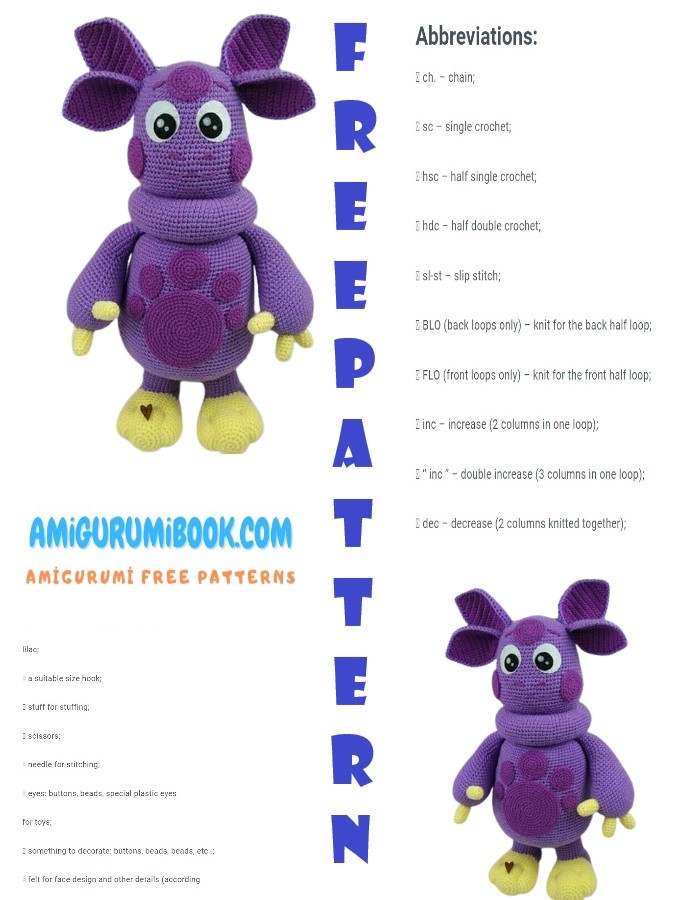
Abbreviations:
Sc – single crochet
Inc – incraise (from 1 sc, knit 2 sc)
Dec – decrease (from 2 sc knit 1 sc)
Working process:
Let’s start with the most difficult and crucial moment. Head-neck and body, I knit in one piece, it will not be very convenient to start knitting the body from a tight neck. BUT!
There are a lot of pluses, you don’t need to sew all this separately later, the details are very tight, the head does not dangle from side to side. So, let’s begin.
PATTERN
Head-Neck-Body:
1 p: in ring 6 sc (6 sc)
2 p: inc * 6 (12 sc)
3 p: (1 sc, inc) * 6 (18 sc)
4 R: (2 sc, inc) * 6 (24 sc)
5 p: (3 sc, inc) * 6 (30 sc)
6 p: (4 sc, inc) * 6 (36 sc)
7 p: (5 sc, inc) * 6 (42 sc)
8 p: (6 sc, inc) * 6 (48 sc)
9 p: (7 sc, inc) * 6 (54 sc)
10 p: (8 sc, inc) * 6 (60 sc)
11 p: (9 sc, inc) * 6 (66 sc)
12 p: (10 sc, inc) * 6 (72 sc)
R13-22: 10 rows unchanged (72 sc)
23 p: (11 sc, inc) * 6 (78 sc)
24 p: (12 sc, inc) * 6 (84 sc)
24 p: (13 sc, inc) * 6 (90 sc)
25 p: (14 sc, inc) * 6 (96 sc)
26-29 R: 4 rows unchanged (96 sc)
30 p: (dec, 14 sc) * 6 (90 sc)
31 p: (dec, 13 sc) * 6 (84 sc)
32 p: (dec, 12 sc) * 6 (78 sc)
33 p: (dec, 11 sc) * 6 (72 sc)
34 p: (dec, 10 sc) * 6 (66 sc)
35 p: (dec, 9 sc) * 6 (60 sc)
36 p: (dec, 8 sc) * 6 (54 sc)
37 p: (dec, 7 sc) * 6 (48 sc)
38 p: (dec, 6 sc) * 6 (42 sc)
39 p: (dec, 5 sc) * 6 (36 sc)
Moving on to the neck.
40 r: we knit 36 sc for the front wall.
41 p: (5 sc, inc) * 6 (42 sc)
42 p: (6 sc, inc) * 6 (48 sc)
43 p: (7 sc, inc) * 6 (54 sc)
44 p: (8 sc, inc) * 6 (60 sc)
45 p: (9 sc, inc) * 6 (66 sc)
45 p: (10 sc, inc) * 6 (72 sc)
47 p: (11 sc, inc) * 6 (78 sc)
48 p: (12 sc, inc) * 6 (84 sc)
49 p: (13 sc, inc) * 6 (90 sc)
50 p: (14 sc, inc) * 6 (96 sc)
51-55 R: 5 rows unchanged (96 sc)
56 p: (dec, 14 sc) * 6 (90 sc)
57 p: (dec, 13 sc) * 6 (84 sc)
58 p: (dec, 12 sc) * 6 (78 sc)
59 p: (dec, 11 sc) * 6 (72 sc)
60 p: (dec, 10 sc) * 6 (66 sc)
R 61: (dec, 9 sc) * 6 (60 sc)
62 p: (dec, 8 sc) * 6 (54 sc)
63 p: (dec, 7 sc) * 6 (48 sc)
64 p: (dec, 6 sc) * 6 (42 sc)
65 p: (dec, 5 sc) * 6 (36 sc)
66 p: connect the neck with 40 p. For the back walls of the hinges. Leave a little space, fill in the neck and knit the rest of the loops. WE DO NOT TAKE A HEAD!
We begin to knit the body.
67 p: (5 sc, inc) * 6 (42 sc)
68 p: (6 sc, inc) * 6 (48 sc)
69 p: (7 sc, inc) * 6 (54 sc)
70 p: (8 sc, inc) * 6 (60 sc)
71 p: (9 sc, inc) * 6 (66 sc)
72 p: (10 sc, inc) * 6 (72 sc)
73 p: (11 sc, inc) * 6 (78 sc)
74 p: (12 sc, inc) * 6 (84 sc)
R 75-86: 12 rows unchanged (84 sc)
R 87: (13 sc, inc) * 6 (90 sc)
88-93 R: 6 rows unchanged (90 sc)
94 p: (14 sc, inc) * 6 (96 sc)
R 95-102: 8 rows unchanged (96 sc)
103 p: (15 sc, inc) * 6 (102 sc)
104 p: (16 sc, inc) * 6 (108 sc)
105 p: (17 sc, inc) * 6 (114 sc)
106 p: (18 sc, inc) * 6 (120 sc)
107-110 p: 4 rows unchanged (120 sc) – fill the head tightly.
111 p: (dec, 18 sc) * 6 (114 sc)
112 p: (dec, 17 sc) * 6 (108 sc)
113 p: (dec, 16 sc) * 6 (102 sc)
114 p: (dec, 15 sc) * 6 (96 sc)
115 p: (dec, 14 sc) * 6 (90 sc)
116 p: (dec, 13 sc) * 6 (84 sc)
117 R: (dec, 12 sc) * 6 (78 sc)
118 p: (dec, 11 sc) * 6 (72 sc)
R 119: (dec, 10 sc) * 6 (66 sc)
120 R: (dec, 9 sc) * 6 (60 sc)
121 R: (dec, 8 sc) * 6 (54 sc)
122 p: (dec, 7 sc) * 6 (48 sc)
123 p: (dec, 6 sc) * 6 (42 sc)
124 p: (dec, 5 sc) * 6 (36 sc)
125 p: (dec, 4 sc) * 6 (30 sc)
126 p: (dec, 3 sc) * 6 (24 sc) – fill tightly.
127 p: (dec, 2 sc) * 6 (18 sc)
R 128: (dec, 1 sc) * 6 (12 sc)
129 p: dec * 6 (6 sc)
130 p: pull off all loops, fasten the thread and hide.
An ear.
Luntik has 4 ears, each consisting of 1 half of light threads and 1 half of dark threads:
We knit 4 dark and 4 light ones, we connect them together with single crochet columns, we tie them. We knit the ears not in a circle and back and forth. WE KNIT AS I WRITE, so that the edges are smooth.
2 ch., In 1 loop 3 sc (3 sc)
1 p: inc, sc, inc (5 sc)
2 p: inc, 2 sc, inc, 1 sc (7 sc)
3 p: inc, 4 sc, inc, 1 sc (9 sc)
4 p: inc, 6 sc, inc, 1 sc (11 sc)
5 p: inc, 8 sc, inc, 1 sc (13 sc)
6 p: inc, 10 sc, inc, 1 sc (15 sc)
7-14 p: 8 rows unchanged (15 sc)
15 p: dec, 10 sc, dec, 1 sc (13 sc)
16 p: dec, 8 sc, dec, 1 sc (11 sc)
17 p: dec, 6 sc, dec, 1 sc (9 sc)
18 p: dec, 4 sc, dec, 1 sc (7 sc)
19 p: dec, 2 sc, dec, 1 sc (5 sc)
We knit all the ears and connect them slightly at the top of the bend, be guided by the photo. On one, on each side, we leave the thread for sewing.
Handles (2 parts):
We knit the way it is written for me, without changing anything:
1 p: in ring 6 sc (6 sc)
2 p: inc * 6 (12 sc)
3 p: (1 sc, inc) * 6 (18 sc)
4 R: (2 sc, inc) * 6 (24 sc)
5 p: (3 sc, inc) * 6 (30 sc)
6 p: (4 sc, inc) * 6 (36 sc)
7 p: (5 sc, inc) * 6 (42 sc)
8-12 p: 5 rows unchanged (42 sc)
13 p: 40 sc, dec (41 sc)
14 p: 39 sc, dec (40 sc)
15 p: 38 sc, dec (39 sc)
16 p: 37 sc, dec (38 sc)
17 p: 36 sc, dec (37 sc)
18 p: dec, 33 sc, dec (35 sc)
19 p: dec, 31 sc, dec (33 sc)
20 p: dec, 29 sc, dec (31 sc)
21 p: dec, 27 sc, dec (29 sc)
22 p: dec, 25 sc, dec (27 sc)
23 p: dec, 23 sc, dec (25 sc)
24 p: dec, 21 sc, dec (23 sc)
25 p: dec, 19 sc, dec (21 sc)
26 p: dec, 17 sc, dec (19 sc) – fill and shape.
R 27-36: 10 rows unchanged (19 sc)
Join the edges and tie sc, leave the thread for sewing. Similarly we knit the second handle.
Fingers (8 pcs):
1 p: in ring 5 sc (5 sc)
2 p: inc * 5 (10 sc)
3-10 p: 8 rows unchanged (10 sc)
Fasten the thread, leave for sewing. Fill tightly.
Sew 4 fingers to the hand (if you wish, you can make 5 fingers).
Legs (2 parts):
1 p: in ring 6 sc (6 sc)
2 p: inc * 6 (12 sc)
3 p: (1 sc, inc) * 6 (18 sc)
4 R: (2 sc, inc) * 6 (24 sc)
5 p: (3 sc, inc) * 6 (30 sc)
6 p: (4 sc, inc) * 6 (36 sc)
7 p: (5 sc, inc) * 6 (42 sc)
8-11 p: 4 rows unchanged (42 sc)
12 p: dec, 19 sc, dec, 19 sc (40 sc)
13 p: 1 row unchanged (40 sc)
14 p: dec, 18 sc, dec, 18 sc (38 sc)
15 p: 1 row unchanged (38 sc)
16 p: dec, 17 sc, dec, 17 sc (36 sc)
17 p: 1 row unchanged (36 sc)
18 p: dec, 16 sc, dec, 16 sc (34 sc)
19 p: 1 row unchanged – change the thread to dark (34 sc)
20 p: dec, 15 sc, dec, 15 sc (32 sc)
21 p: dec, 14 sc, dec, 14 sc (30 sc)
R 22-26: 5 rows unchanged (30 sc)
27 p: (dec, 3 sc) * 6 (24 sc) – fill tightly and shape.
28 p: 1 row unchanged (24 sc)
29 p: (dec, 2 sc) * 6 (18 sc)
30 p: (dec, 1 sc) * 6 (12 sc)
31 p: dec * 6 (6 sc)
32 p: pull off all loops, hide the thread.
We knit the second foot in the same way.
Mark a circle with a diameter of 4 cm from above, cast on 32 sc in a circle and knit them 10 rows without changes. Fasten the thread and leave for sewing. With the thread, form fingers, 2 ties on each foot. Hide the threads.
Spots:
1 large:
1 p: in ring 6 sc (6 sc)
2 p: inc * 6 (12 sc)
3 p: (1 sc, inc) * 6 (18 sc)
4 R: (2 sc, inc) * 6 (24 sc)
5 p: (3 sc, inc) * 6 (30 sc)
6 p: (4 sc, inc) * 6 (36 sc)
7 p: (5 sc, inc) * 6 (42 sc)
8 p: (6 sc, inc) * 6 (48 sc)
9 p: (7 sc, inc) * 6 (54 sc)
10 p: (8 sc, inc) * 6 (60 sc)
11 p: (9 sc, inc) * 6 (66 sc)
Fasten the thread, leave for sewing.
4 medium – 3 per head and 1 per belly:
1 p: in ring 6 sc (6 sc)
2 p: inc * 6 (12 sc)
3 p: (1 sc, inc) * 6 (18 sc)
4 R: (2 sc, inc) * 6 (24 sc)
5 p: (3 sc, inc) * 6 (30 sc)
Fasten the thread, leave for sewing.
2 smaller per belly:
1 p: in ring 6 sc (6 sc)
2 p: inc * 6 (12 sc)
3 p: (1 sc, inc) * 6 (18 sc)
4 R: (2 sc, inc) * 6 (24 sc)
Fasten the thread, leave for sewing.
2 small ones per belly:
1 p: in ring 6 sc (6 sc)
2 p: inc * 6 (12 sc)
3 p: (1 sc, inc) * 6 (18 sc)
Fasten the thread, leave for sewing.
At this stage, everything is ready for assembly))))
I think that sewing on ears, arms and legs should not be difficult, everything is simple there. We outline all the spots:
Sew clockwise, for each column:
The height of our Luntik is 40 cm:
Now the main thing is the muzzle. I understand that the word “felting” causes some terrible feelings in you, so we tie the eyes, and the mouth can be cut out of felt (red and black, you can buy it in stationery, sold 1 leaf each) and sew on.
Eyes base (2 parts):
With a white thread, we collect 5 ch., We begin to knit from 2 loops from the hook:
1.4 sc, 1 ch. (for a reversal, we end each row like this)
2.4 sc, 3 sc in 1 loop, 3 sc, 1 ch.
3.3 sc, inc * 3 times, 4 sc, 1 ch.
4.4 sc, inc, 1 sc, inc, 1 sc, inc, 4 sc, 1 ch.
5.5 sc, inc, 2 sc, inc, 2 sc, inc, 4 sc, 1 ch.
6.5 sc, inc, 3 sc, inc, 3 sc, inc, 5 sc, 1 ch.
7.5 sc, inc, 4 sc, inc, 4 sc, inc, 6 sc, 1 ch.
We tie the bottom sc, leave the thread for sewing:
Pupil (2 parts)
Cast on 4 ch with black thread. close in a ring:
1.3 ch. and in the ring we knit 12 dc, sl-st (12 dc)
2.1 ch. in each dc, knit 2 sc (24 sc)
Leave thread for sewing:
Flare (2 parts):
Cast on 4 ch. With white yarn, close in a ring and tie 11 sc into it, leave the thread for sewing:
We collect the eyes into a single whole, focusing on the picture, we make small highlights with 3 stitches:
Sew the eyes into place, also clockwise for each column:
We outline the eyebrows like a tilted rectangle and embroider it with a dark thread:
We embroider the nose:
We draw a mouth on a piece of paper, cut it out, apply it, if you like it, then cut it out of felt and sew it on: