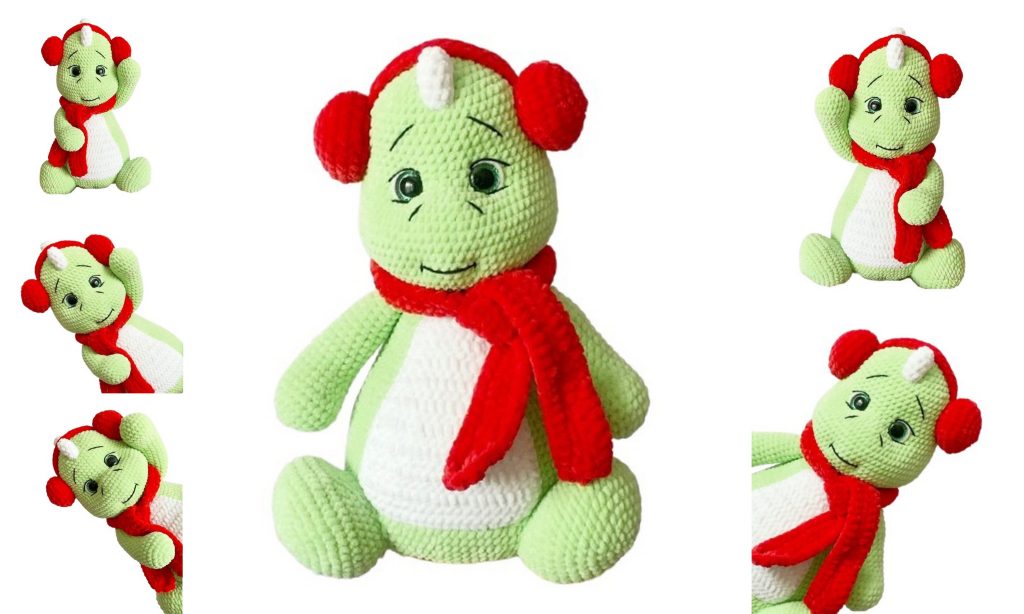
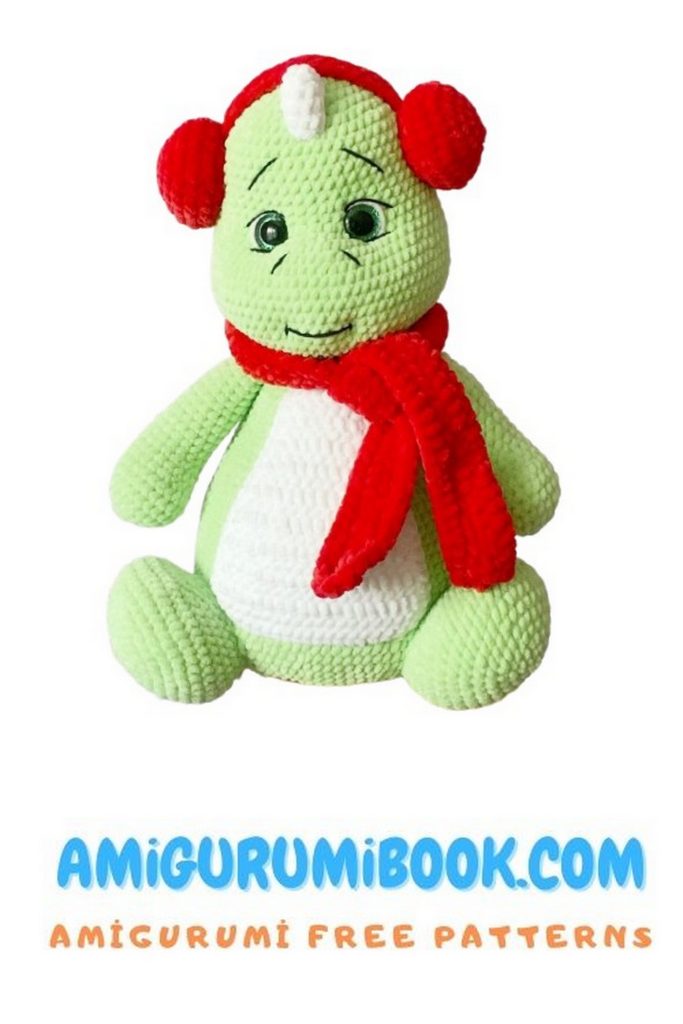
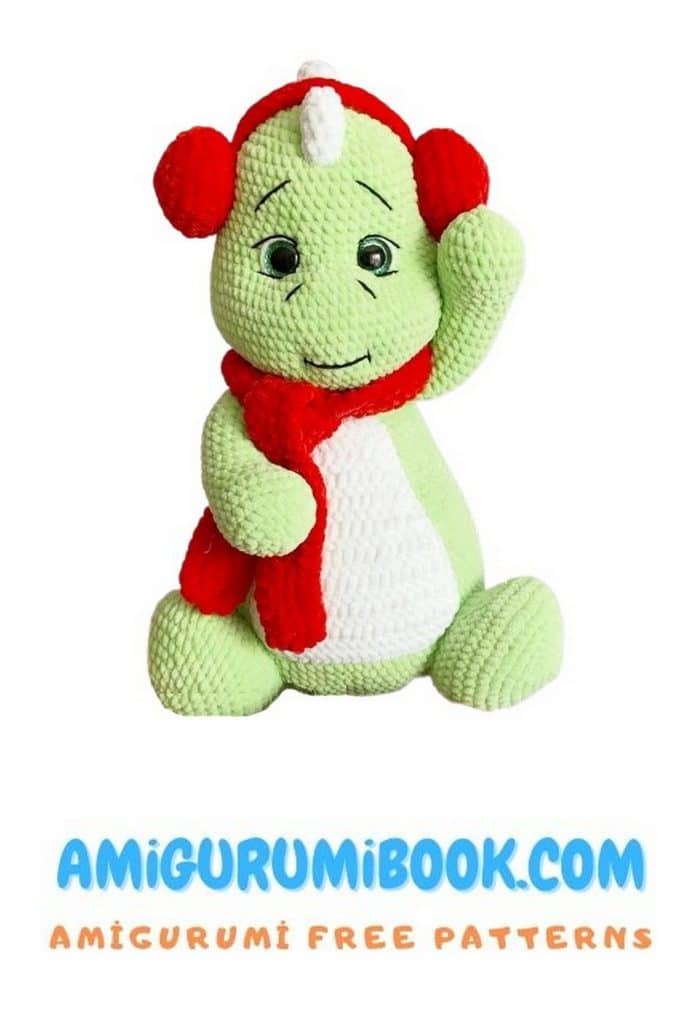
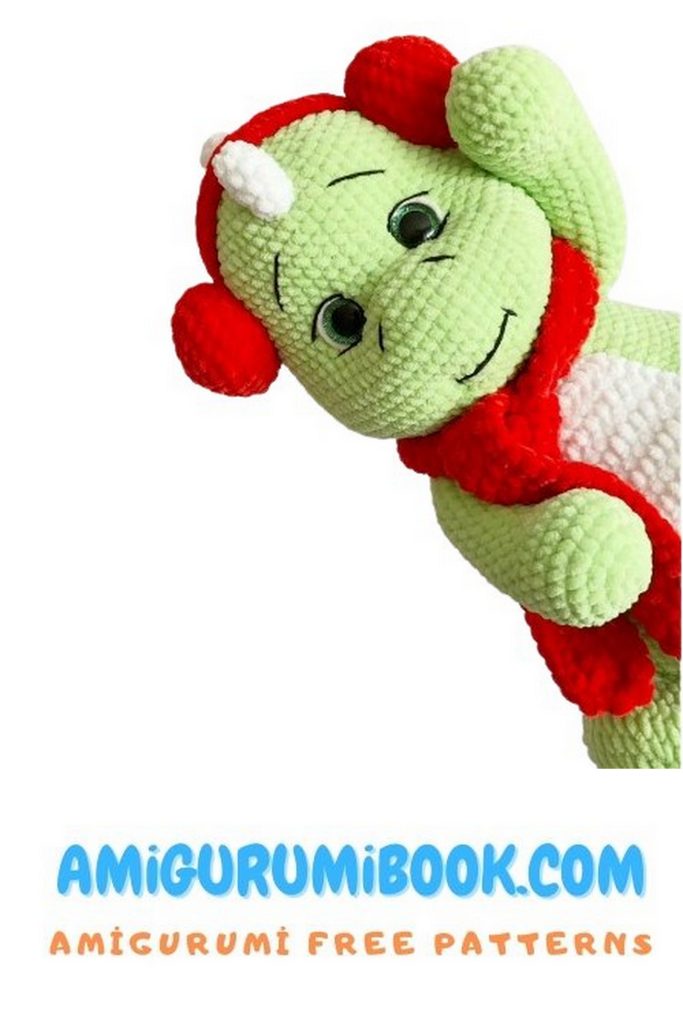
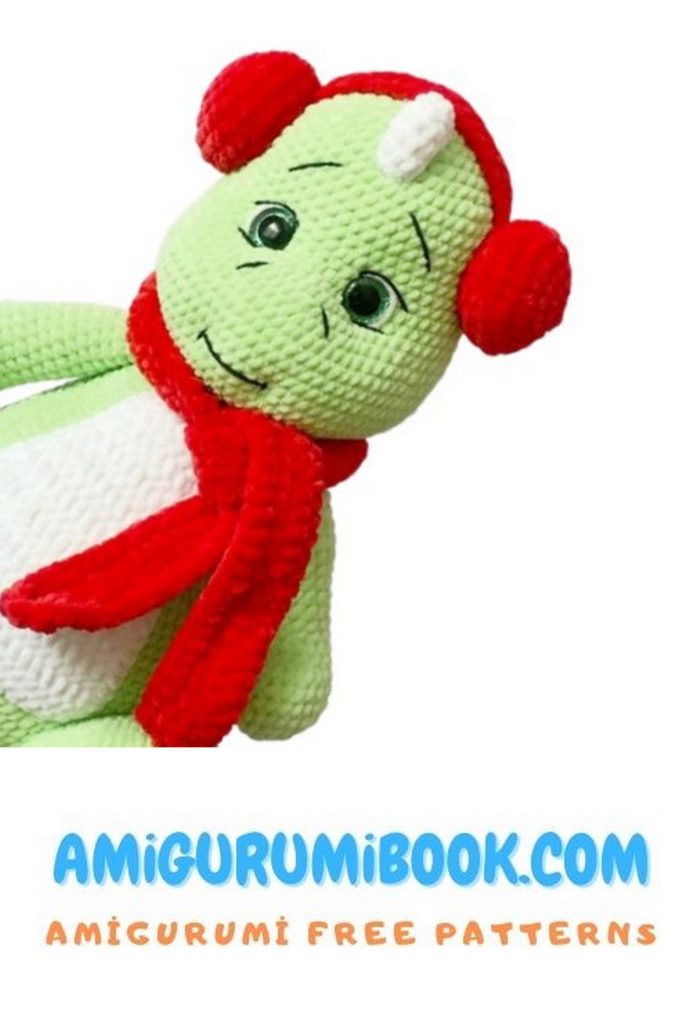
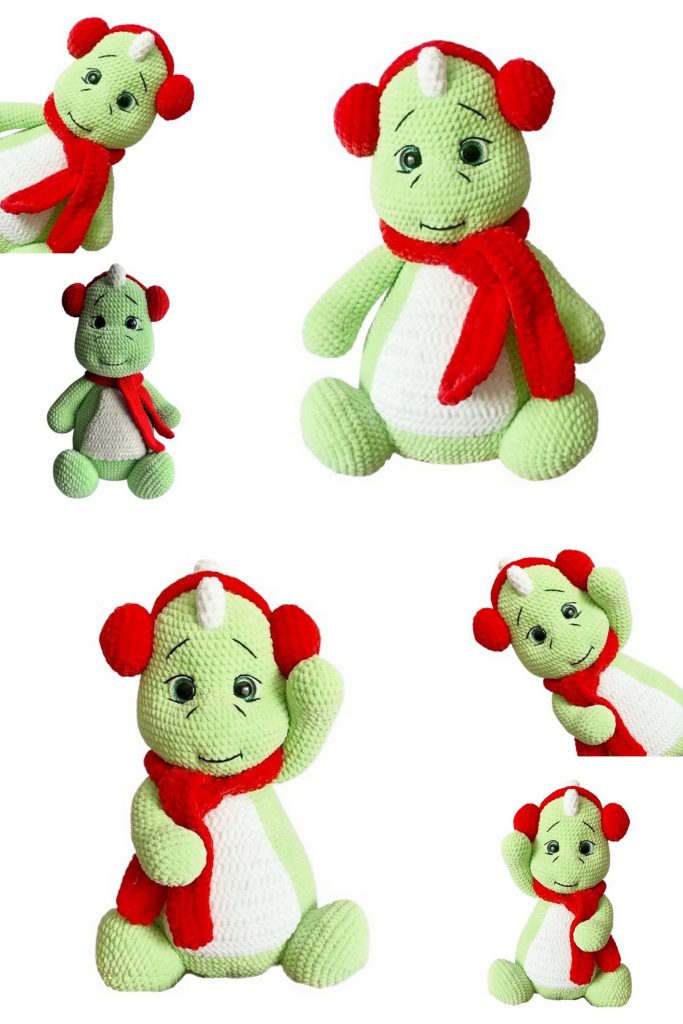
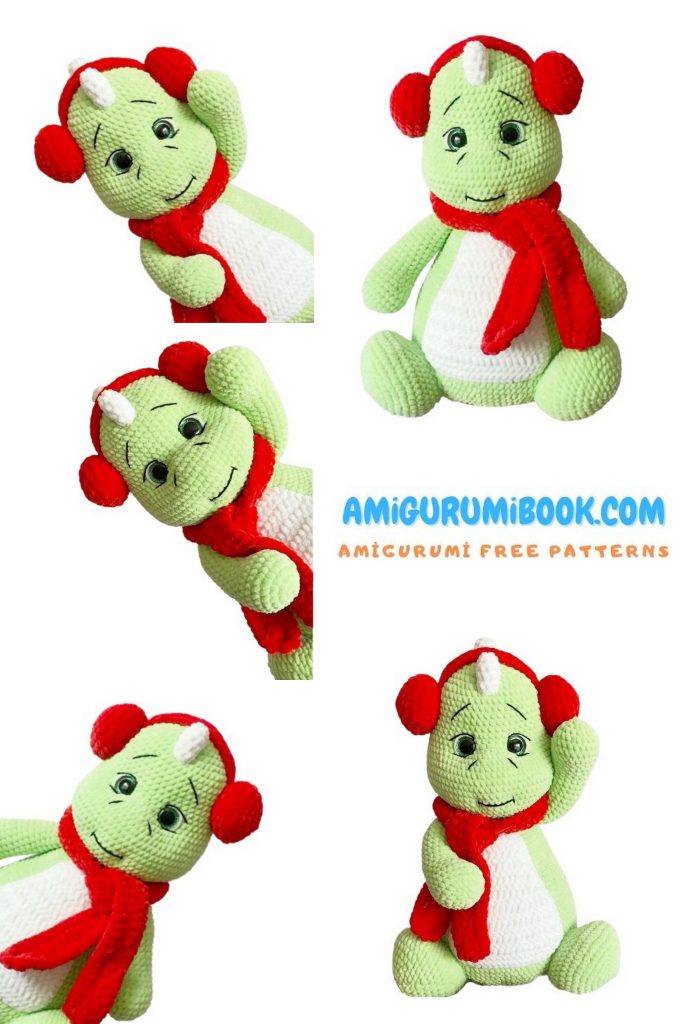
Get ready to groove with the coolest creature in the crochet world – the DJ Dragon Amigurumi! This free amigurumi dragon pattern is perfect for anyone who wants to add some rhythm and personality to their handmade toy collection. Featuring headphones, a playful tail, and bold dragon features, DJ Dragon is a fun and creative project for crocheters of all levels. The detailed step-by-step tutorial ensures an easy and enjoyable crafting experience. Bring the beats to life and crochet your very own musical dragon today!
If you want to access 1000+ free amigurumi patterns, you can download our application from this link!
REQUIRED MATERIALS:
1.Plush yarn (e.g. Himalaya Dolphin Baby, Wolans Bunny Baby 100g/120m or equivalents):
3 to 4 skeins of the main color,
Half a skein of white and any additional color.
Cotton blend yarn (e.g. YarnArt Jeans 50g/160m) – black for the facial features.
2.Hook size: 4 mm
3.Safety eyes: 18–20 mm
4.Sewing pins – for positioning small parts before sewing.
5.Polyester stuffing (fiberfill)
6.Yarn needle with a wide eye – for sewing pieces together.
7.Stitch marker or contrasting yarn – to mark the beginning of rounds.
8.Scissors
9.Any thin knitting needles – to help fix pieces in place before sewing.
Finished dragon height: 39–40 cm
⚠️ NOTE: The height and yarn consumption may vary depending on your crochet style and tension.
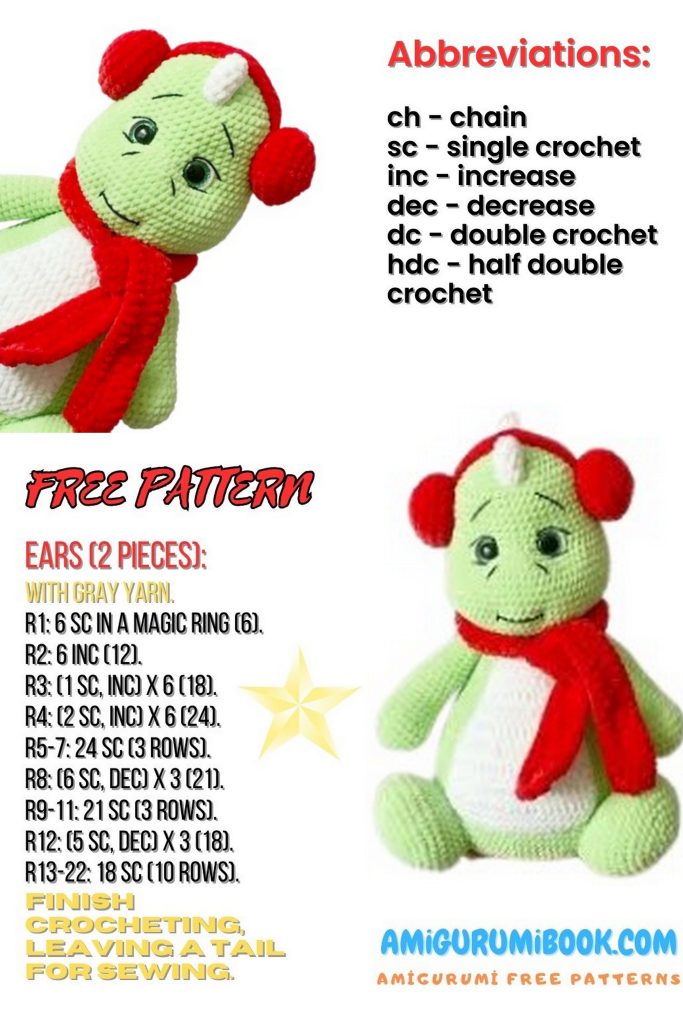
ABBREVIATIONS (US Terminology):
MR – magic ring
inc – increase
dec – decrease
sc – single crochet
ch – chain
sl st – slip stitch
(…) * 6 – repeat the instructions in parentheses 6 times
Happy crocheting and even stitches!
PATTERN – Amigurumi Dragon
HEAD – Amigurumi Dragon:
1: 6 sc in MR
2: inc x6 (12)
3: (1 sc, inc) *6 (18)
4: 1 sc, inc, (2 sc, inc) *5, 1 sc (24)
5: (3 sc, inc) *6 (30)
6: 2 sc, inc, (4 sc, inc) *5, 2 sc (36)
7: (5 sc, inc) *6 (42)
8: 3 sc, inc, (6 sc, inc) *5, 3 sc (48)
9: (7 sc, inc) *6 (54)
10–14: 54 sc (5 rounds)
15: (8 sc, inc) *6 (60)
16: 60 sc
17: 27 sc, inc x6, 27 sc (66)
18: 66 sc
19: 28 sc, (1 sc, inc) *6, 26 sc (72)
20–21: 72 sc (2 rounds)
22: (11 sc, inc) *6 (78)
23–27: 78 sc (5 rounds)
👁 Insert safety eyes at this stage:
Locate round 17 where you made 6 increases. Place the eyes 1 sc away from the first and last of the 6 increases. Check for symmetry. If not even, adjust the placement by 1–2 stitches.
28: (11 sc, dec) *6 (72)
29: 5 sc, dec, (10 sc, dec) *5, 5 sc (66)
30: (9 sc, dec) *6 (60)
31: 4 sc, dec, (8 sc, dec) *5, 4 sc (54)
32: (7 sc, dec) *6 (48)
33: 3 sc, dec, (6 sc, dec) *5, 3 sc (42)
34: (5 sc, dec) *6 (36)
35: 2 sc, dec, (4 sc, dec) *5, 2 sc (30)
🧸 Stuff the head well at this point, shaping the cheeks slightly.
36: (3 sc, dec) *6 (24)
37: 1 sc, dec, (2 sc, dec) *5, 1 sc (18)
38: (1 sc, dec) *6 (12)
39: dec x6
ARMS – Amigurumi Dragon:
1: 6 sc in MR
2: inc x6 (12)
3: (1 sc, inc) *6 (18)
4: 1 sc, inc, (2 sc, inc) *5, 1 sc (24)
5–7: 24 sc (3 rounds)
8: 8 sc, dec x4, 8 sc (20)
9: 20 sc
10: 8 sc, dec x2, 8 sc (18)
11–12: 18 sc (2 rounds)
13: 16 sc, dec (17)
14: 17 sc
15: dec, 15 sc (16)
16–17: 16 sc (2 rounds)
18: 14 sc, dec (15)
19: 15 sc
20: dec, 13 sc (14)
21–23: 14 sc (3 rounds)
🧸 Stuff the arms up to around round 19–20.
Crochet 1 extra sc. Fold the opening in half and crochet 7 sc across both edges.
Fasten off and leave a tail for sewing.
HEADPHONES – Amigurumi Dragon:
1: 6 sc in MR
2: inc x6 (12)
3: (1 sc, inc) *6 (18)
4: (2 sc, inc) *6 (24)
5: (3 sc, inc) *6 (30)
6: 30 sc
7: (3 sc, dec) *6 (24)
8: (2 sc, dec) *6 (18)
Crochet 1 more sc, then sl st.
Fasten off and leave a long tail for sewing.
Stuff the earpiece.
🔁 Make a second piece the same way.
Then:
Chain 22. Starting from the 2nd chain from hook, crochet 21 sc.
Fasten off and leave a long tail.
Legs – Amigurumi Dragon:
1: 6 sc in MR
2: 6 inc (12)
3: (1 sc, inc)*6 (18)
4: 1 sc, inc, (2 sc, inc)*5, 1 sc (24)
5: (3 sc, inc)*6 (30)
6: 2 sc, inc, (4 sc, inc)*5, 2 sc (36)
7: (5 sc, inc)*6 (42)
8: 3 sc, inc, (6 sc, inc)*5, 3 sc (48)
9-10: 48 sc (2 rounds)
11: 15 sc, (1 sc, dec)*6, 15 sc (42)
12: 15 sc, 6 dec, 15 sc (36)
13: (4 sc, dec)*6 (30)
14: (3 sc, dec)*6 (24)
Stuff the legs firmly.
Fasten off with a sl st. Leave a long tail for sewing to the body.
Tail – Amigurumi Dragon:
1: 6 sc in MR
2: 6 sc
3: 6 inc (12)
4-5: 12 sc (2 rounds)
6: (1 sc, inc)*6 (18)
7-9: 18 sc (3 rounds)
10: (2 sc, inc)*6 (24)
11-12: 24 sc (2 rounds)
13: (3 sc, inc)*6 (30)
14-15: 30 sc (2 rounds)
16: (4 sc, inc)*6 (36)
17-19: 36 sc (3 rounds)
20: (5 sc, inc)*6 (42)
21: 42 sc
22: (6 sc, inc)*6 (48)
23: 48 sc
24: (7 sc, inc)*6 (54)
25-26: 54 sc (2 rounds)
Fasten off with a sl st. Leave a long tail for sewing to the body.
Stuff the tail firmly.


Body – Amigurumi Dragon:
1: 6 sc in MR
2: 6 inc (12)
3: (1 sc, inc)*6 (18)
4: 1 sc, inc, (2 sc, inc)*5, 1 sc (24)
5: (3 sc, inc)*6 (30)
6: 2 sc, inc, (4 sc, inc)*5, 2 sc (36)
7: (5 sc, inc)*6 (42)
8: 3 sc, inc, (6 sc, inc)*5, 3 sc (48)
9: (7 sc, inc)*6 (54)
10: 4 sc, inc, (8 sc, inc)*5, 4 sc (60)
11: (9 sc, inc)*6 (66)
12: 5 sc, inc, (10 sc, inc)*5, 5 sc (72)
13: (11 sc, inc)*6 (78)
14: 6 sc, inc, (12 sc, inc)*5, 6 sc (84)
15: (13 sc, inc)*6 (90)
16-18: 90 sc (3 rounds)
19: (13 sc, dec)*6 (84)
20-21: 84 sc (2 rounds)
22: (12 sc, dec)*6 (78)
23-25: 78 sc (3 rounds)
26: (11 sc, dec)*6 (72)
27-30: 72 sc (4 rounds)
Start shaping the belly.
Place the marker along the back.
31: 21 sc, (3 sc, dec)*6, 21 sc (66)
32: 66 sc
33: 21 sc, (2 sc, dec)*6, 21 sc (60)
34-35: 60 sc (2 rounds)
36: (8 sc, dec)*6 (54)
37: 54 sc
38: (7 sc, dec)*6 (48)
39-40: 48 sc (2 rounds)
41: (6 sc, dec)*6 (42)
42-43: 42 sc (2 rounds)
Stuff the body firmly and shape the belly.
44: (5 sc, dec)*6 (36)
45: 36 sc
Start crocheting in the arms:
46: 12 sc, 7 sc (arm), 8 sc, 7 sc (arm), 2 sc
Check if the arms are aligned. If not, adjust one arm by moving it 1 or 2 stitches. Crochet 3 more sc.
Fasten off and cut the yarn, leaving a long tail for sewing the head to the body.
Tummy (Belly) – Amigurumi Dragon:
Chain 8, starting from the 2nd chain from the hook, crochet in turning rows:
1: 7 sc, ch 1
2: 7 sc, ch 1
3: inc, 5 sc, inc, ch 1 (9)
4: 9 sc, ch 1
5: 9 sc, ch 1
6: inc, 7 sc, inc, ch 1 (11)
7: 11 sc, ch 1
8: inc, 9 sc, inc, ch 1 (13)
9: 13 sc, ch 1
10: inc, 11 sc, inc, ch 1 (15)
11: inc, 13 sc, inc, ch 1 (17)
12: 17 sc, ch 1
13: 17 sc, ch 1
14: 17 sc, ch 1
15: inc, 15 sc, inc, ch 1 (19)
16: 19 sc
17: inc, 17 sc, inc, ch 1 (21)
18: 21 sc
Then crochet around the entire piece. Fasten off and leave a long tail for sewing to the body.
Spikes – Amigurumi Dragon:
1: 5 sc into magic ring
2: 5 inc (10)
3: (1 sc, inc) x5 (15)
4: 15 sc
Do not close the edges together.
Fasten off and leave a long tail for sewing.
Crochet 9–10 more spikes in the same way.
You may need to make more spikes depending on the size of your toy. Be sure to try them on the toy before sewing.
Scarf:
Chain 101, starting from the 2nd chain from the hook, crochet in turning rows:
1: 100 sc, ch 1, turn
2: 100 sc
Crochet around the edges. Fasten off and neatly weave in the end.
Assembly and Finishing:
Start with the head details.
Eye shaping:
1.Insert the needle between rounds 38–39. Bring it out near the right eye, then insert it between rounds 17–18. Bring the needle back out at the very first insertion point. Leave a 10 cm tail.
2.Skip 1 sc and repeat the same for the left eye. Again, leave a 10 cm tail.
3.Take both loose ends and pull them tightly.
4.Carefully look at the face to ensure the eyes are even!
5.If satisfied, knot the threads and pull the ends inside.
6.Nose shaping is done similarly between rounds 17–18.
Smile shaping:
1.Use pins to mark between rounds 26–27, centered between the eyes, with a 6 sc gap. Insert the needle one round below the original eye-shaping point. Bring the needle out 1 sc from your pinned smile point, then insert it where the pin is. Finally, bring the needle back to where you first inserted it. Leave a 10 cm tail.
2.Repeat the same on the other side of the smile. Tighten, check alignment, knot the threads, and hide them inside the head.
3.Decorate the eyes using white plush yarn.
4.Embroider eyelashes, smile, eyebrows (between rounds 11–13), and nostrils (between rounds 20–21).
5.Attach the head to the body using thin knitting needles to secure its position. Firmly stuff the neck area to ensure the head doesn’t wobble.
6.Sew the legs between rounds 11–20 of the body.
7.Sew the belly between rounds 18 and 42. Try it on first and secure with pins before sewing.
8.Sew on the headphones: first attach the band (strip of 21 sc), then sew the two headphone pieces on each side.
9.Sew on the tail. Place your dragon on a flat surface and test tail placement.
10.Attach the tail so your dragon can stand stably.
Finally, sew on the spikes. I used 11 spikes, from the head down to the tail.