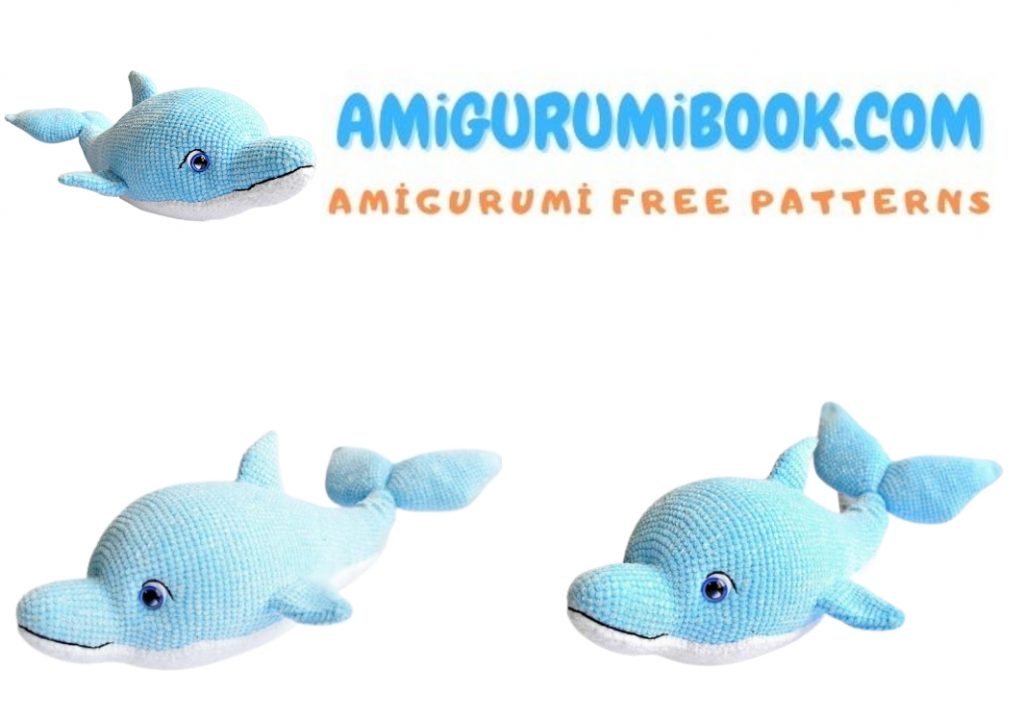
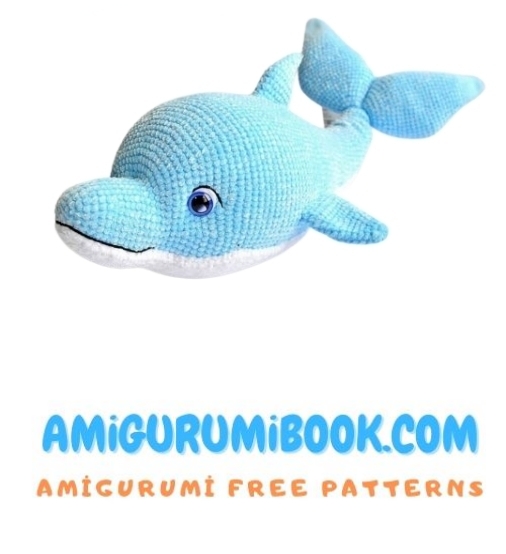
Looking for a fun and ocean-themed crochet project?
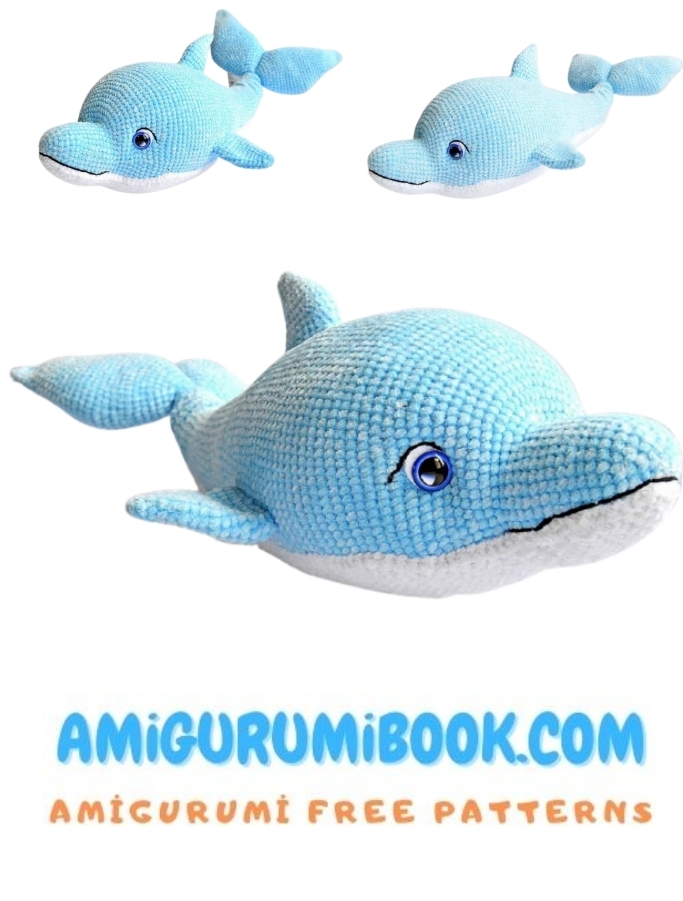
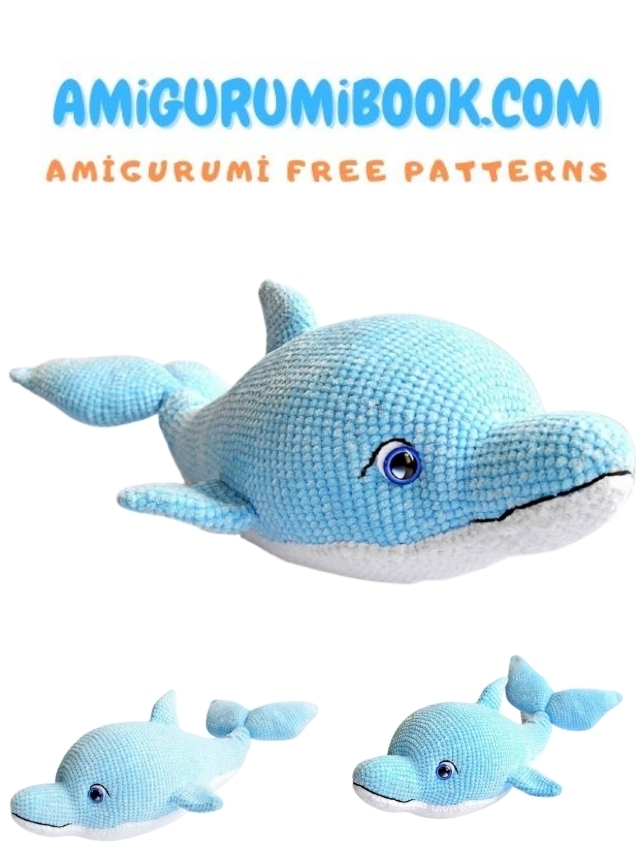
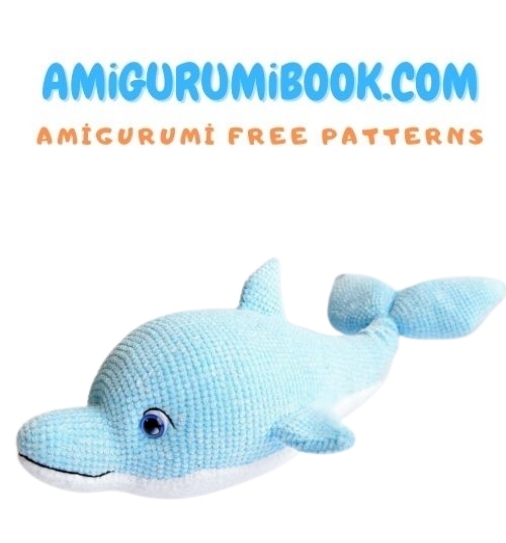
This Dolphin Amigurumi Free Crochet Pattern is a cute and playful handmade toy, perfect for sea-life lovers, children’s gifts, or nursery decor. With its smooth shape and friendly dolphin design, this pattern is an enjoyable project for crocheters who love making animal amigurumi.
The pattern is written in US crochet terms and includes clear, step-by-step instructions, making it suitable for confident beginners and intermediate crocheters. Once finished, this crochet dolphin makes a lovely decorative piece or a soft handmade gift.
If you want to access 1000+ free amigurumi patterns, you can download our application from this link!
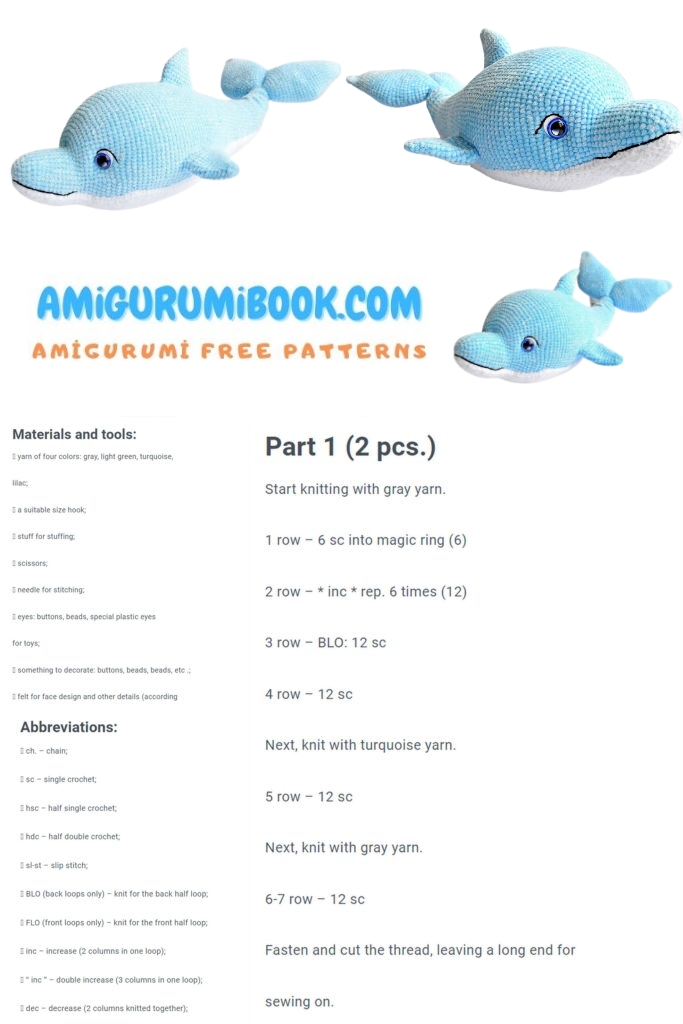
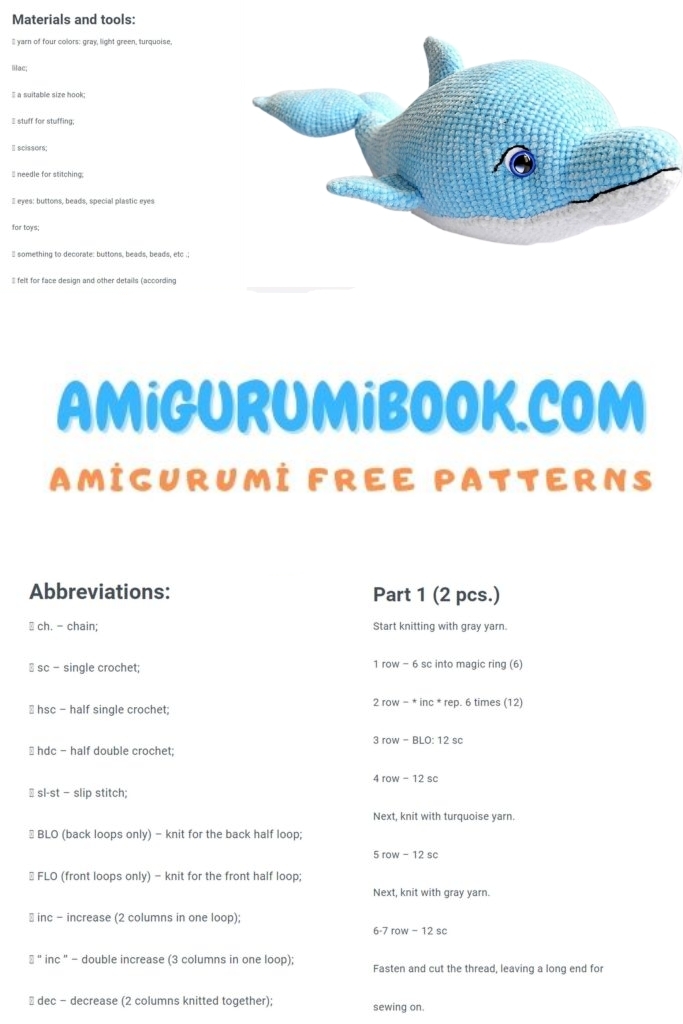
Abbrevations – Materials
SC – single crochet
INC – increase
DEC – decrease
Yarn Yarn art Velor No. 851 (blue) – 2 skeins
Yarn Yarn art Velor No. 840 (white) – 1 skein
Eyes for toys 18mm
Felt white
Threads to match the base yarn (for sewing on parts)
Yarn art jeans 53 (black) – 30-40 cm
Filler
Glue moment
Sewing needle
Scissors
Body
1.6 into magic ring
2.inc * 6 (12)
3. (sc, inc) * 6 (18)
4. (2 sc, inc) * 6 (24)
5. (3 sc, inc) * 6 (30)
6-8. 30 sc
9.2 sc, inc, (4 sc, inc) * 5, 2 sc (36)
10-14. 36 sc
15.6 sc, inc * 6, 24 sc (42)
16.42 sc
17.5 sc, (inc, 2 sc) * 2, inc, inc, (2 sc, inc) * 2, 23 sc (48)
18. (7sc, inc) * 6 (54)
19.4 sc, inc, (8 sc, inc) * 5, 4 sc (60)
20.60 sc
21. (9 sc, inc) * 6 (66)
22.5 sc, inc, (10 sc, inc) * 5, 5 sc (72)
23. (11 sc, inc) * 6 (78)
24.6 sc, inc, (12 sc, inc) * 5.6 sc (84)
25. (13 sc, inc) * 6 (90)
26.7 sc, (14 sc, inc) * 5.7 sc (96)
27.96 sc
28. (6 sc, inc, 9 sc, inc) * 3, 45 sc (102)
29-40. 102 sc
41. (15 sc, dec) * 6 (96)
42-44. 96 sc
45.7 sc, dec, (14 sc, dec) * 5.7 sc (90)
46-49. 90 sc
50. (13 sc, dec) * 6 (84)
51.84 sc
52.6 sc, dec, (12 sc, dec) * 5, 6 sc (78)
53-54. 78 sc
55. (11 sc, dec) * 6 (72)
56.5 sc, dec, (10 sc, dec) * 5, 5 sc (66)
57-58. 66 sc
59. (9 sc, dec) * 6 (60)
60-61. 60 sc
62.4 sc, dec, (8 sc, dec) * 5, 4 sc (54)
63-65. 54 sc
66. (7 sc, dec) * 6 (48)
67-71. 48 sc
72.3 sc, dec, (6 sc, dec) * 5, 3 sc (42)
73-76. 42 sc
77. (5 sc, dec) * 6 (36)
78-79. 36 sc
80.14 sc, inc * 2, 15 sc, dec * 2, sc (36)
81.36 sc
82.2 sc, dec, (4 sc, dec) * 5, 2 sc (30)
83. (move the marker forward to sc) 30 sc
84.14 sc, inc * 2, 11 sc, dec * 2 (30)
85.30 sc
86. (3 sc, dec) * 6 (24)
87.24 sc
88.dec, 10 sc, inc * 2, 8 sc, dec (24)
89.24 sc
90. (2 sc, dec) * 6 (18)
91.18 sc
92.dec, 7 sc, inc * 2, 5 sc, dec (12)
93.18 sc (move the marker to sc forward)
94. sc, dec * 6 (12)
At the end, we divide the tail into 2 parts and start

Knit Fin
Divide knitting into 2 parts, 6 sc each.
Insert the hook at 7 sc and start to knit in a spiral, 6 sc from the left until we touch
1.inc * 6 (12)
2. (sc, inc) * 6 (18)
3. (2 sc, inc) * 6 (24)
4. (3 sc, inc) * 6 (30)
5.30 sc
6. (4 sc, inc) * 6 (36)
7. (5 sc, inc) * 6 (42)
8.42 sc
9. (6 sc, inc) * 6 (48)
10.dec * 2, 21 sc, inc * 2, 21 sc (48)
11.48 sc
12.dec * 2, 21 sc, inc * 2, 21 sc (48)
13-14. 48 sc
15. (6 sc, dec) * 6 (42)
16.42 sc
17. (5 sc, dec) * 6 (36)
18.36 sc
19. (4 sc, dec) * 6 (30)
First fin starting from here, 7th sc
20-21. 30 sc
22. (3 sc, dec) * 6 (24)
23-24. 24 sc
25. (2 sc, dec) * 6 (18)
26-27. 18 sc
28. (sc, dec) * 6 (12)
29-30. 12 sc
31.dec * 6 (6)
Cut off the thread. We fix and hide. We connect the thread to the second part of the tail and knit in the same way.
We connect the thread to 1 sc and start knitting according to the pattern.
Belly
We knit with white thread, turning rows.
3 ch + 1 lifting loop
1.3 sc
2.inc, sc, inc (5)
3.5 sc
4.inc, 3 sc, inc (7)
5.inc, 5 sc, inc (9)
6.inc, 7 sc, inc (11)
7-14. 11 sc
15.inc, 9 sc, inc (13)
16.inc, 11 sc, inc (15)
17.inc, 13 sc, inc (17)
18.17 sc
19.inc, 15 sc, inc (19)
20.inc, 17 sc, inc (21)
21. inc, 19 sc, inc (23)
22.inc, 21 sc, inc (25)
23. inc, 23 sc, inc (27)
24-44. 27 sc
45 dec, 23 sc, dec (25)
46 dec, 21 sc, dec (23)
47-56. 23 sc
57.dec, 19 sc, dec (21)
58-59. 21 sc
60.dec, 17 sc, dec (19)
61-63. 19 sc
64.dec, 15 sc, dec (17)
65.17 sc
66.dec, 13 sc, dec (15)
67-68. 15 sc
69.dec, 11 sc, dec (13)
70.13 sc
71.dec, 9 sc, dec (11)
72.dec, 7 sc, dec (9)
73-75. 9 sc
76.dec, 5 sc, dec (7)
77.dec, 3 sc, dec (5)
78-86. 5 sc
We knit the edges sc, fasten the thread and cut.
Sew the belly to the body with a thread to match.
Back fin
1.6 into magic ring
2.6 sc
3.inc * 6 (12)
4.12 sc
5. (inc, sc) * 6 (18)
6.18 sc
7. (inc, 2 sc) * 6 (24)
8.24 sc
9.inc * 2, 9 sc, dec * 2, 9 sc (24)
10.24 sc
We fix the thread, cut it off and hide it.
Sew on the back, lightly filling it with a thread of the same color.
We knit 2 identical parts
1.6 into magic ring
2.6 sc
3.inc * 6 (12)
4.12 sc
5. (inc, sc) * 6 (18)
6.18 sc
7.inc * 2, 6 sc, dec * 2, 6 sc (18)
8. (inc, 2 sc) * 6 (24)
9.24 sc
10.inc * 2, 9 sc, dec * 2, 9 sc (24)
11.24 sc
12. (inc, 3 sc) * 6 (30)
13.inc * 2, 12 sc, dec * 2, 12 sc (30)
14.30 sc
15. (dec, 3 sc) * 6 (24)
We fix the thread, cut it off and hide it.
Sew on the sides with a thread of the same color.
Fins
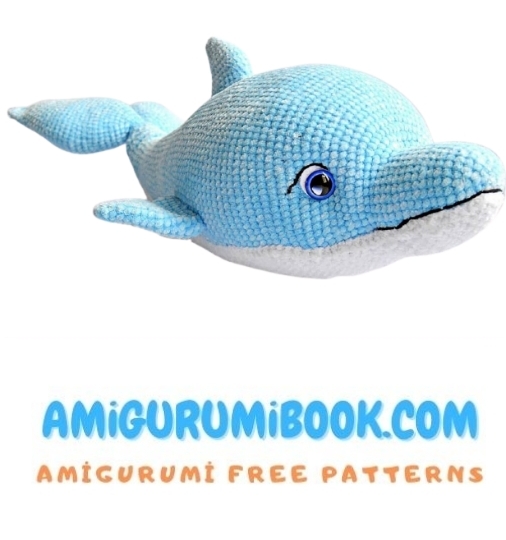
We make a tightening, raise the tail and sew the formed folds, from top to bottom – from bottom to top. Cut out 2 ovals with a diameter of 2 cm from white felt, glue the eyes on them, and glue the felt with an eye to the head on the sides, about 24th row.
Sew on eyes with black thread. Insert the needle on the right side just above the middle of the eyes, and draw it out on the left side 2 sc further.
Secure the yarn with a black sewing thread so that no loose ends remain visible.
Next, create the mouth by inserting the black yarn on one side and bringing it out on the opposite side. Fix the mouth in place with a thin thread, as indicated by the arrows in the photo.
Create the eye tightening.
Insert the needle at the point shown in the photo and bring it out near the left eye, slightly below the center.
Insert the needle back into the stitch directly above the exit point.
Then bring the needle out just below the center of the right eye, insert it into the stitch above, and finally bring it out at the point where the tightening began.
introduce
We fix the thread and draw it out with a needle from below (belly)
Cut off the thread
The dolphin is ready 😉