Looking for a fun and quick amigurumi penguin project? This Easy Little Penguin Amigurumi Free Pattern is perfect for beginners and experienced crocheters alike! With its adorable design and simple step-by-step instructions, you can create your own tiny penguin in no time. Whether you’re making a cute winter gift or adding to your amigurumi animal collection, this little penguin will surely bring a smile to anyone’s face. Keep reading for the full free pattern and tips on how to make your amigurumi penguin extra special!
If you want to access 1000+ free amigurumi patterns, you can download our application from this link!
List of materials
LaVita Velur yarn
Hollofiber
Eyes on a safe fastening 8 mm (for a toy height of 9 cm)
Hook 3.5
Marker
Scissors
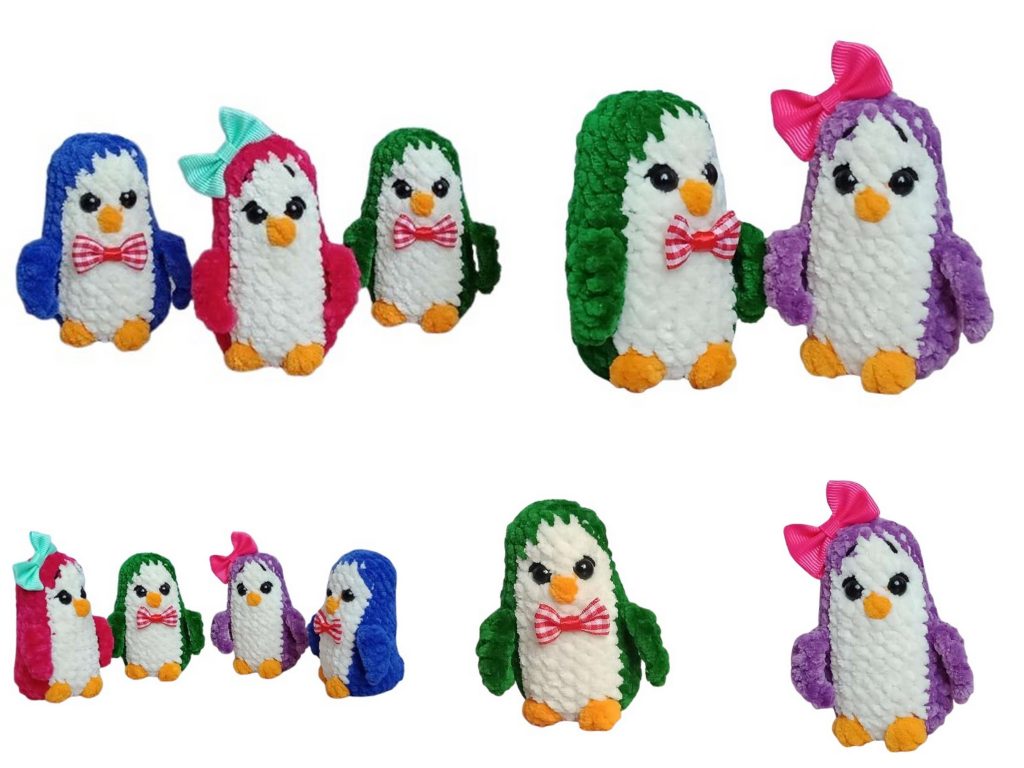
When using these materials, the height of the Penguins is 9 cm.
The height of your toy may be different, it all depends on the knitting density, the selected materials and the hook.
Abbreviations:
VP – air loop
SC – single crochet
SL-ST – slip stitch
INC – increase
DEC – decrease
HDC – half double crochet
DC – double crochet
Puff st. – lush column
(…) – number of knitted loops
a)We stuff the toy with filler as we knit. I stuff it tightly.
b)We stuff the lower part so that it is not convex.
c)We fasten the threads of the additional color as we knit.
d)We dial 6 VP and knit from the second loop from the hook.

Amigurumi Penguin Pattern
1: Inc, 3 sc, 4 sc in one loop, 3 sc, inc (14)
2: 2inc, 3 sc, 4inc, 3 sc, 2inc (22)
In the third row we knit the legs and will form the tail.
Further in the text “B 3 sc” – we knit with white yarn the specified number of loops.
3: 5 sc, inc. from 3 HDC (this will be the tail), 8 sc, knit a fluffy st. from 4 DC with one vertex (paw), B 3 sc, paw (we knit similarly), 3 sc (24)
4: 5 sc, 3 HDC (tail), 7 sc, B 7 sc, 2 sc (24)
5: 5 sc, dec from 3 HDC (I knit in the usual way, see photo), 7 sc, B 7 sc, 2 sc (22)
6-8: 13 sc, B 7 sc, 2 sc (22) 3 rows In the ninth row we knit wings.
9: 12 sc, wing (cast on 7 VP and from the second loop from the hook along the chain knit: 1 SL-ST, 1 sc, 1 hdc, 3 DC), 1 sc, B 7 sc, 1 sc, wing (knit in the same way), 1 sc (22)
10-11: 13 sc, B 7 sc, 2 sc (22) 2 rows In the 12th row we will knit the beak.
12: 13 sc, B 3 sc, lush st. from 2 HDC (beak), B 3 sc, 1 sc (21) the row is not complete, we transfer the marker The decreases in the 13th row should be located as shown in the photo.
13: dec, 9 sc, dec, 1 sc, B 7 sc, 1 sc (20)
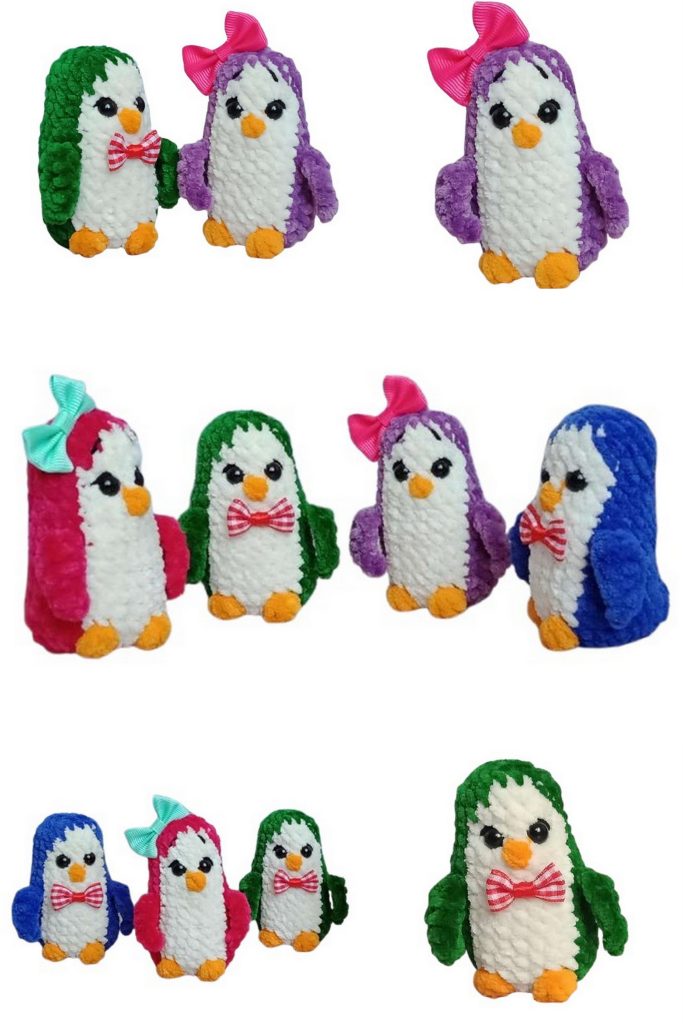
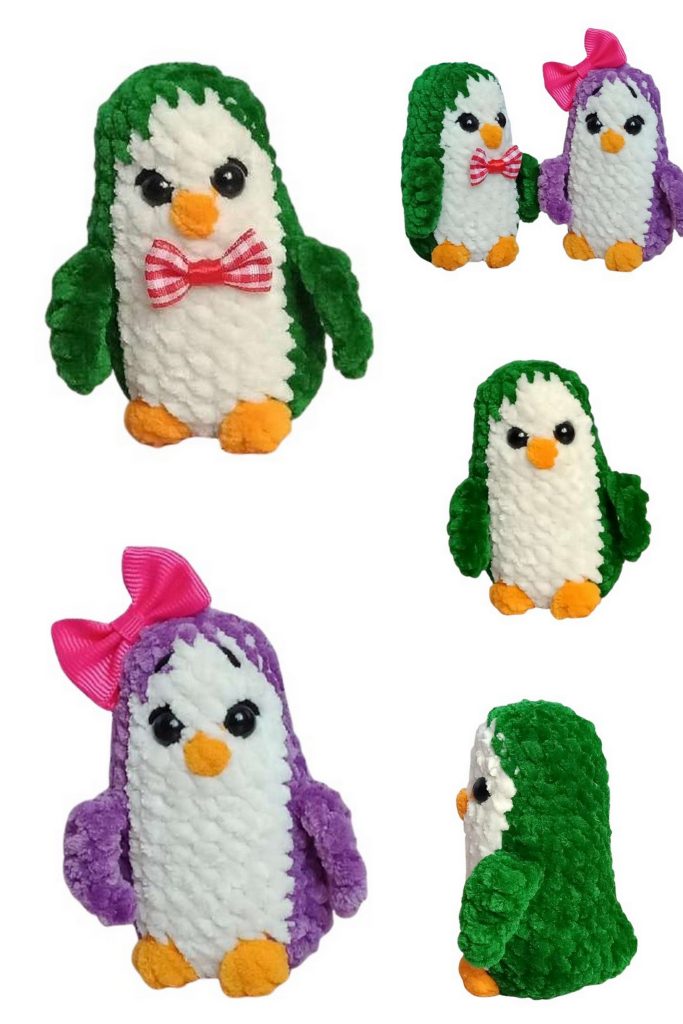
Put the eyes between rows 13-14 at a distance of 3 sc (between the eye stems)
14: 12 sc, B 7 sc, 1 sc (20)
15: 13 sc, B 5 sc, 2 sc (20)
16: 14 sc, B 3 sc, 3 sc (20)
17: (3 sc, dec)*4 times (16)
18: 8 dec (8)
Stuff the toy to the end. Close the head. Using a needle or knitting needle, pull the stuffing to the tail area (make it convex) and adjust the beak.
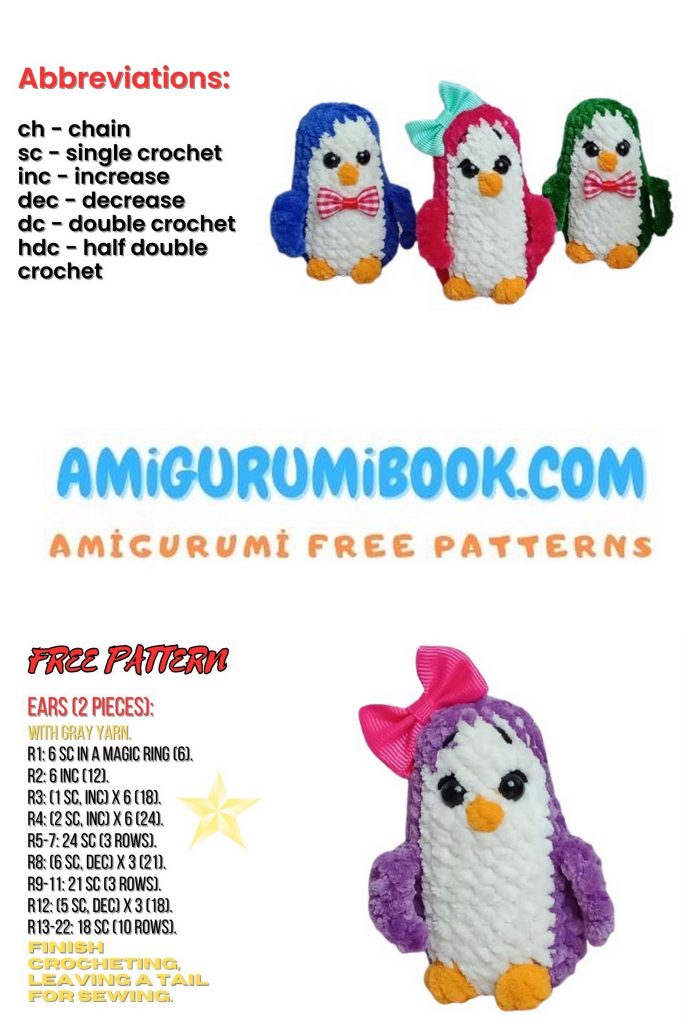
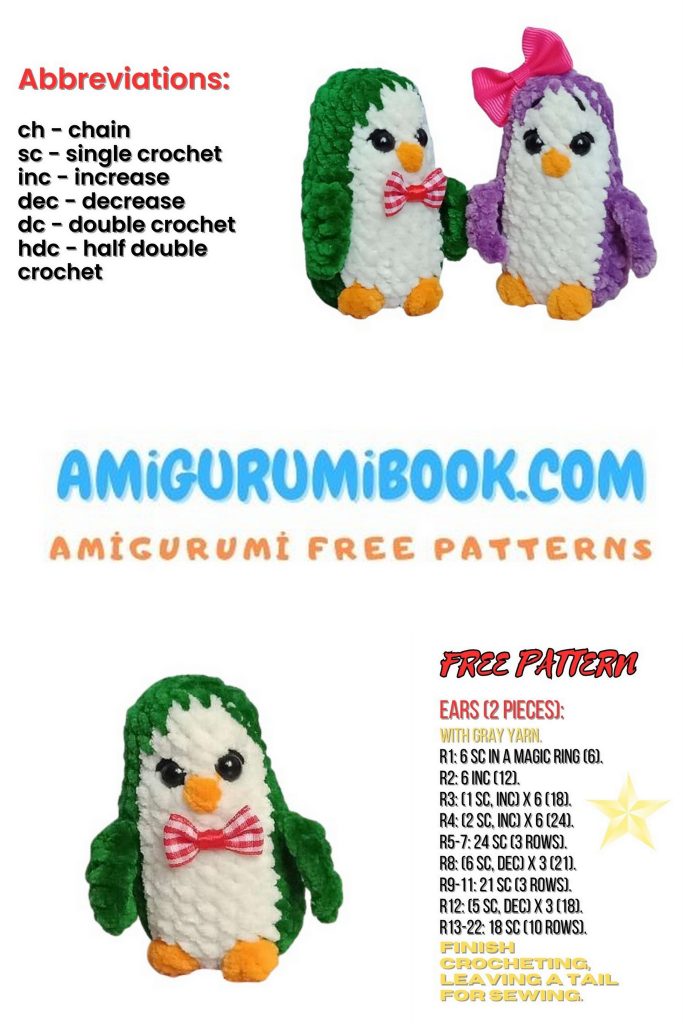
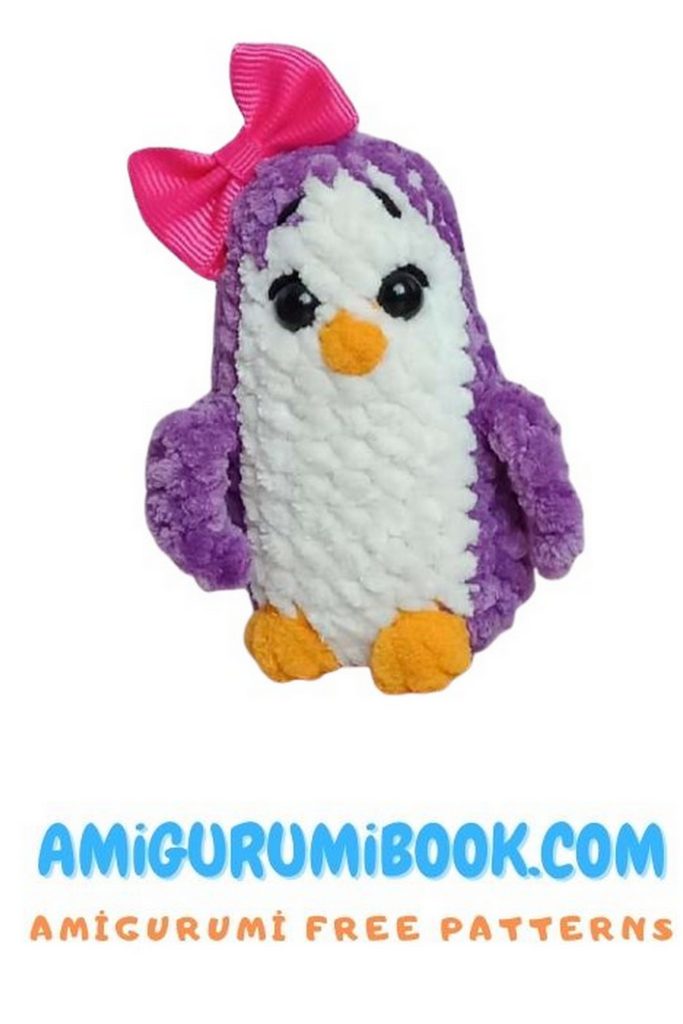
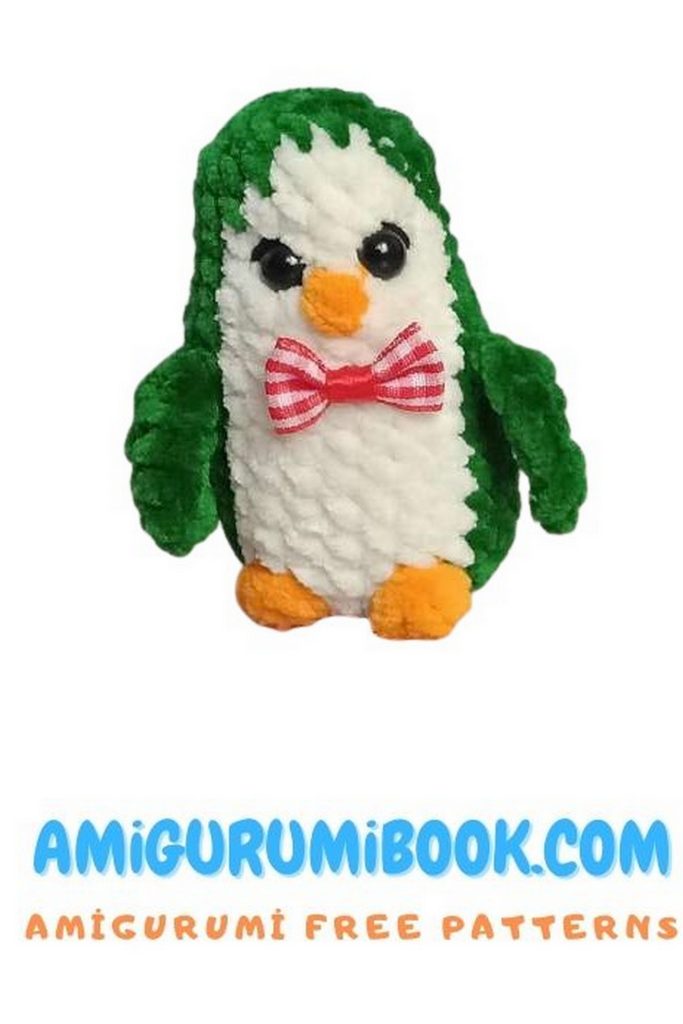
Decorate the penguin to the end at your discretion.
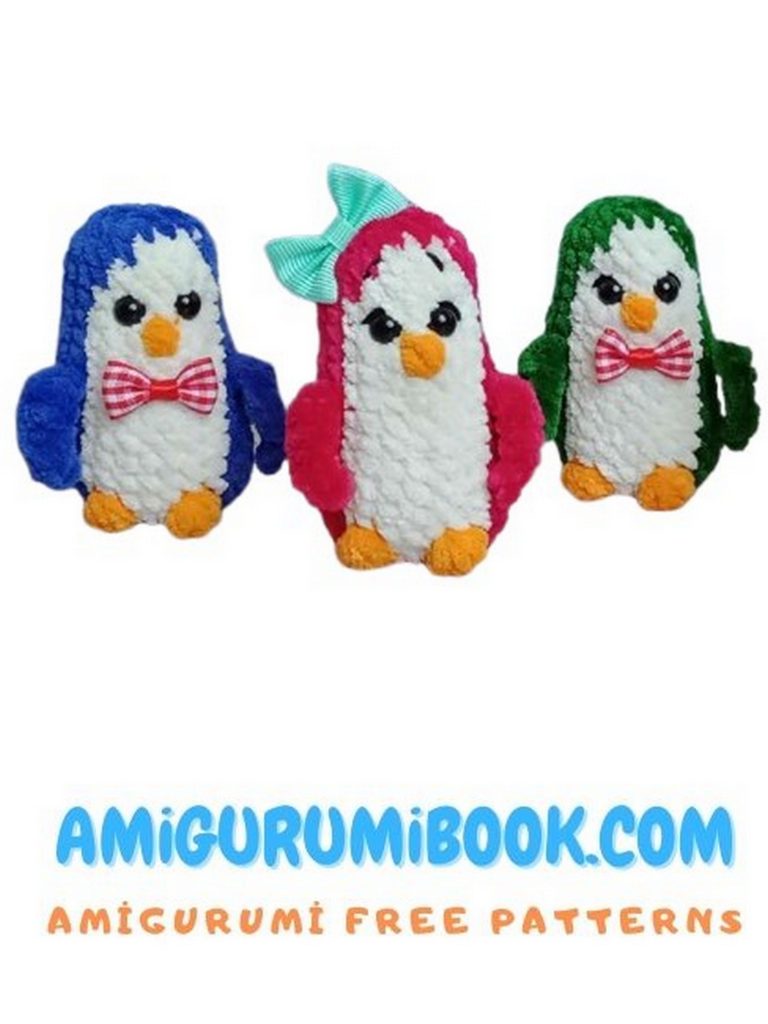
I used YarnArt Jeans yarn to highlight the eyes and embroider the eyebrows. If desired, glue on a bow.
Your Little Penguins are ready!