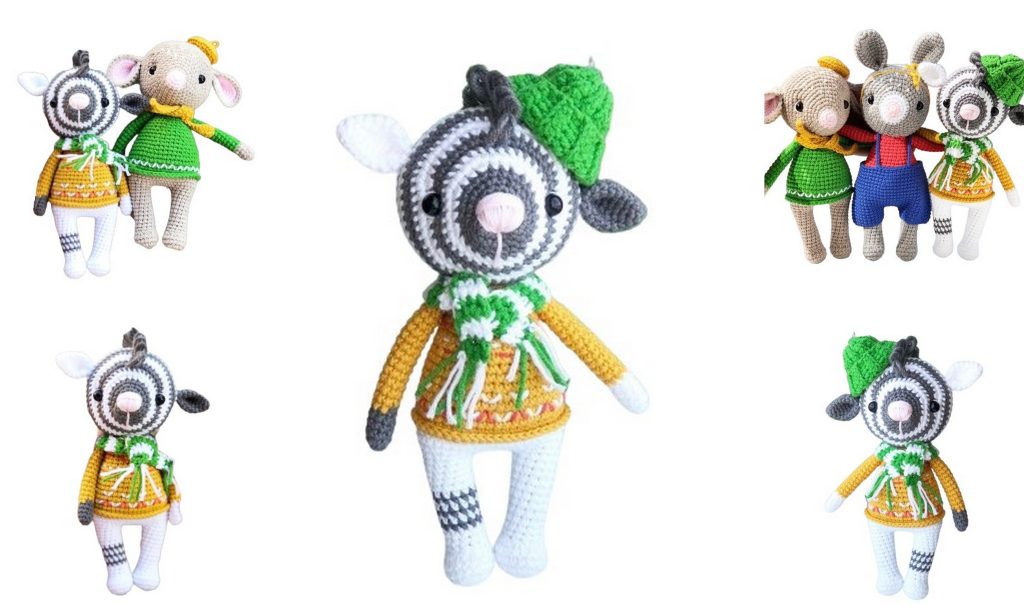
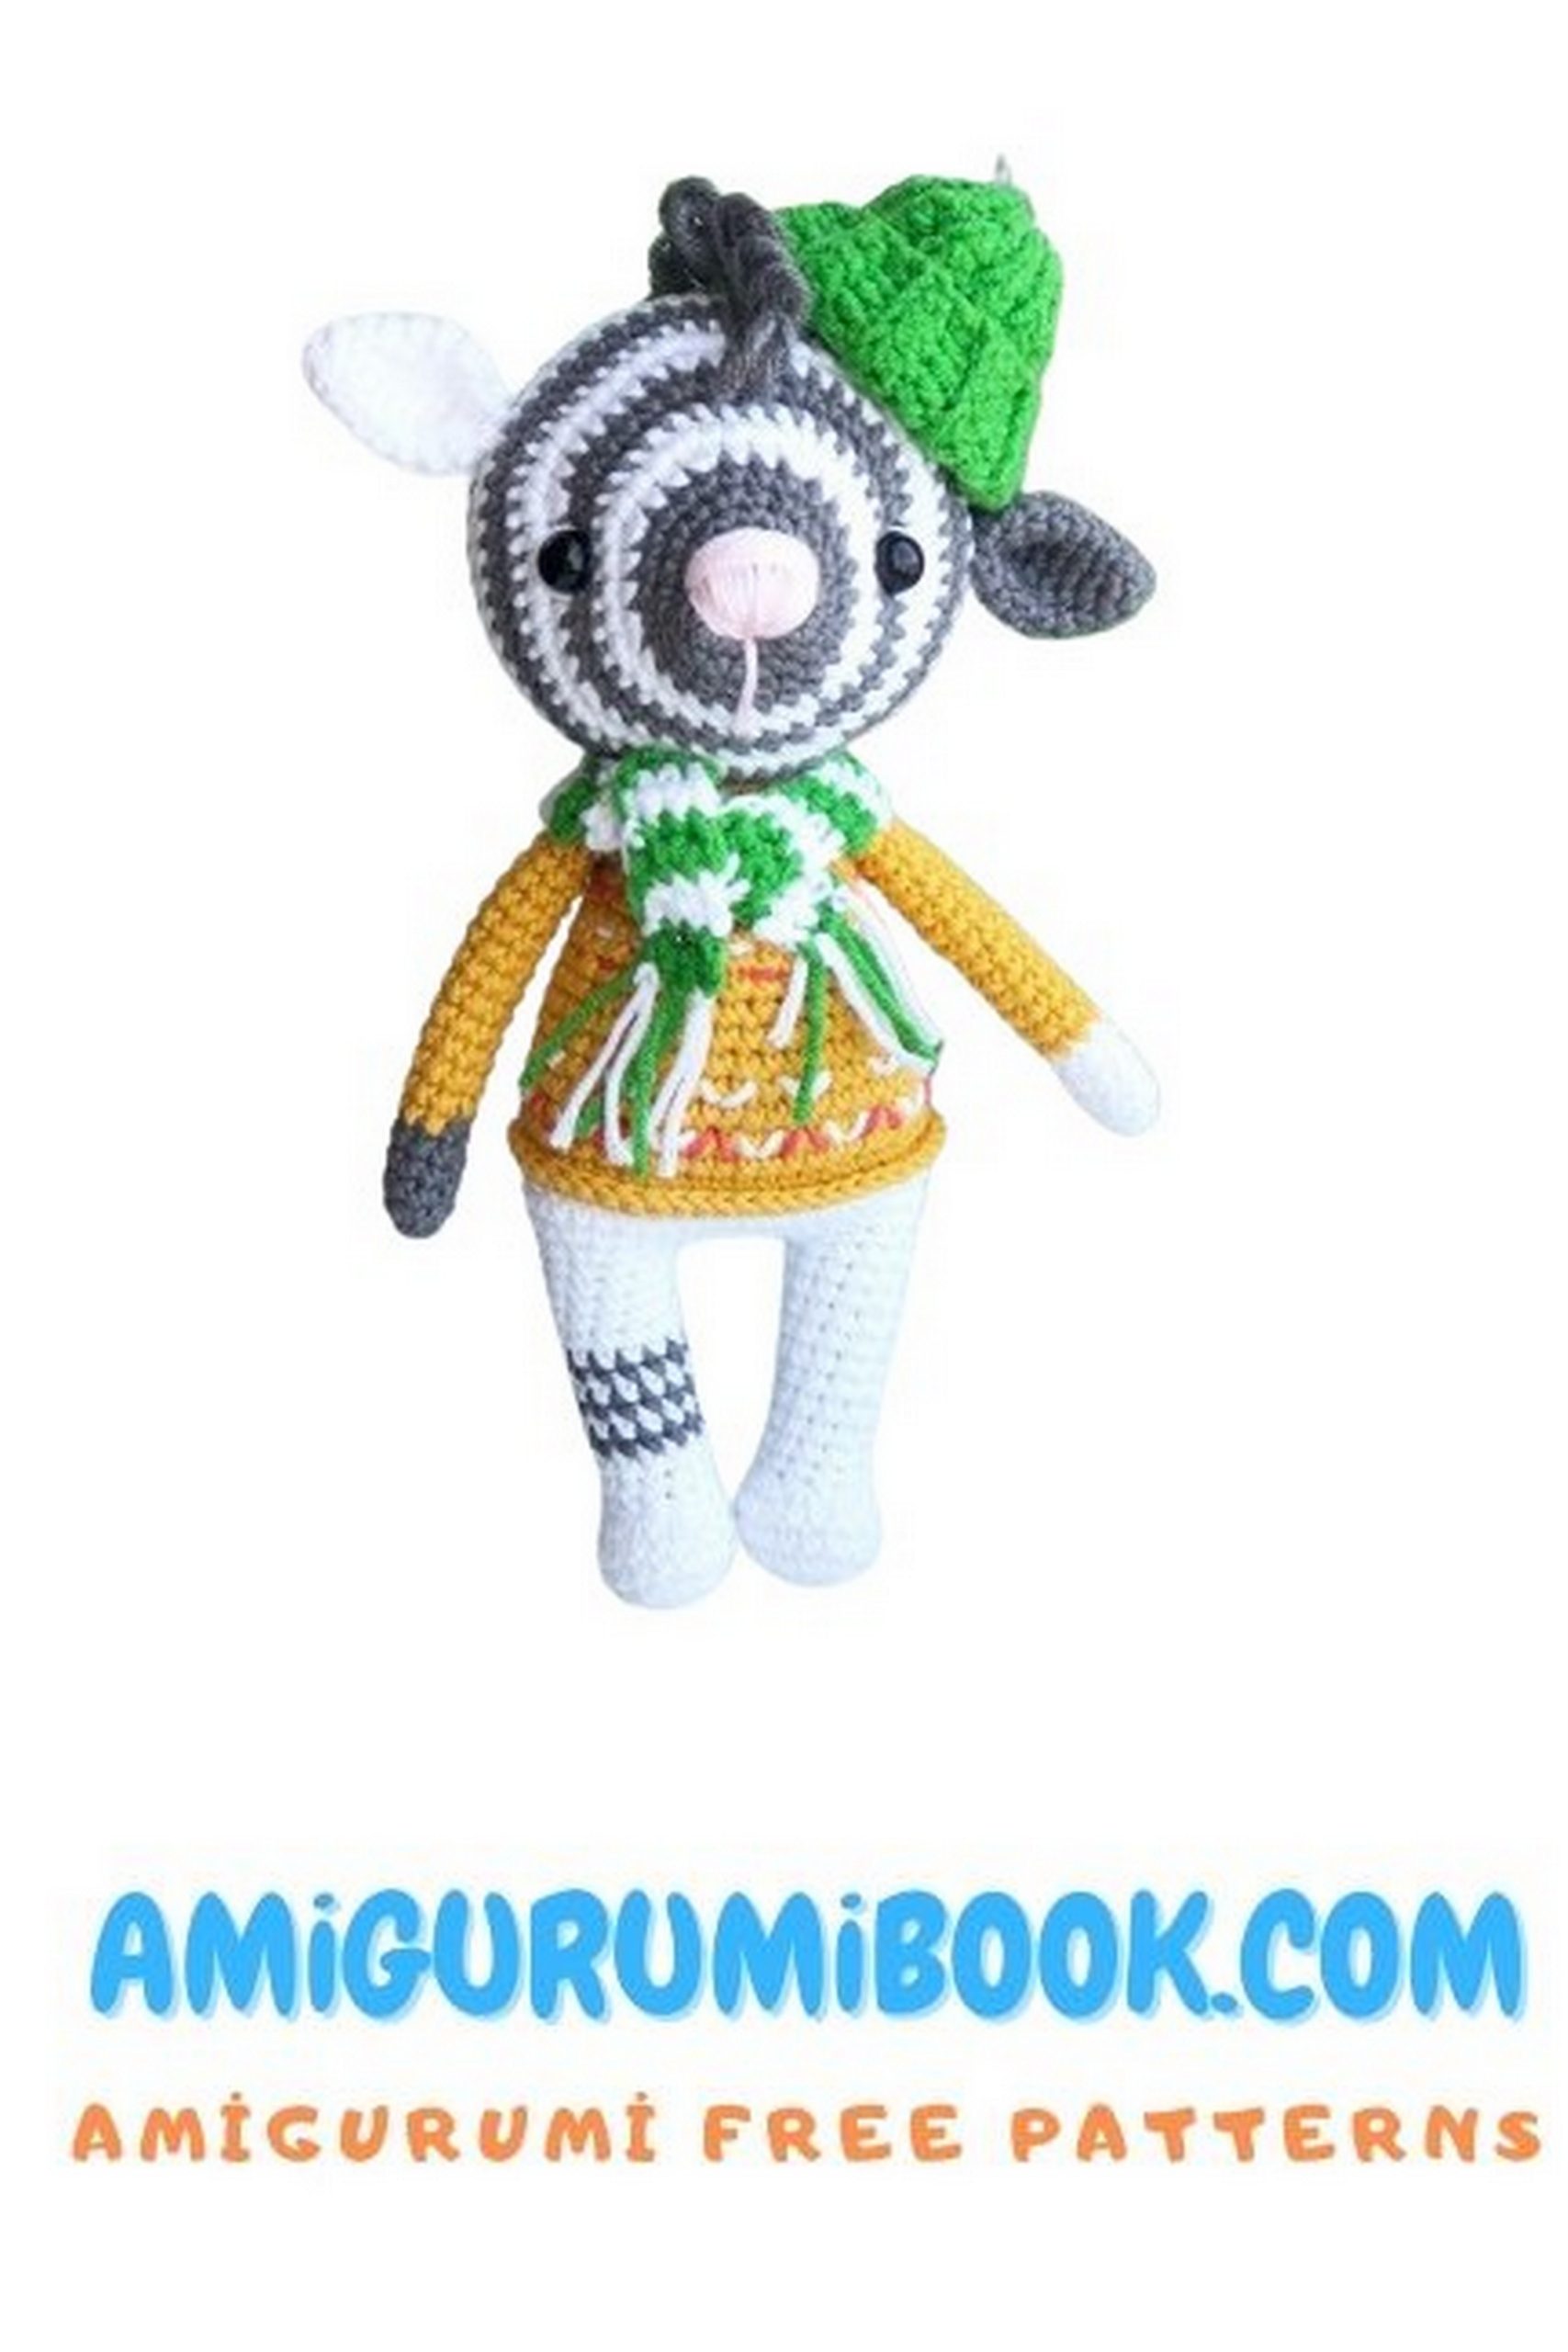
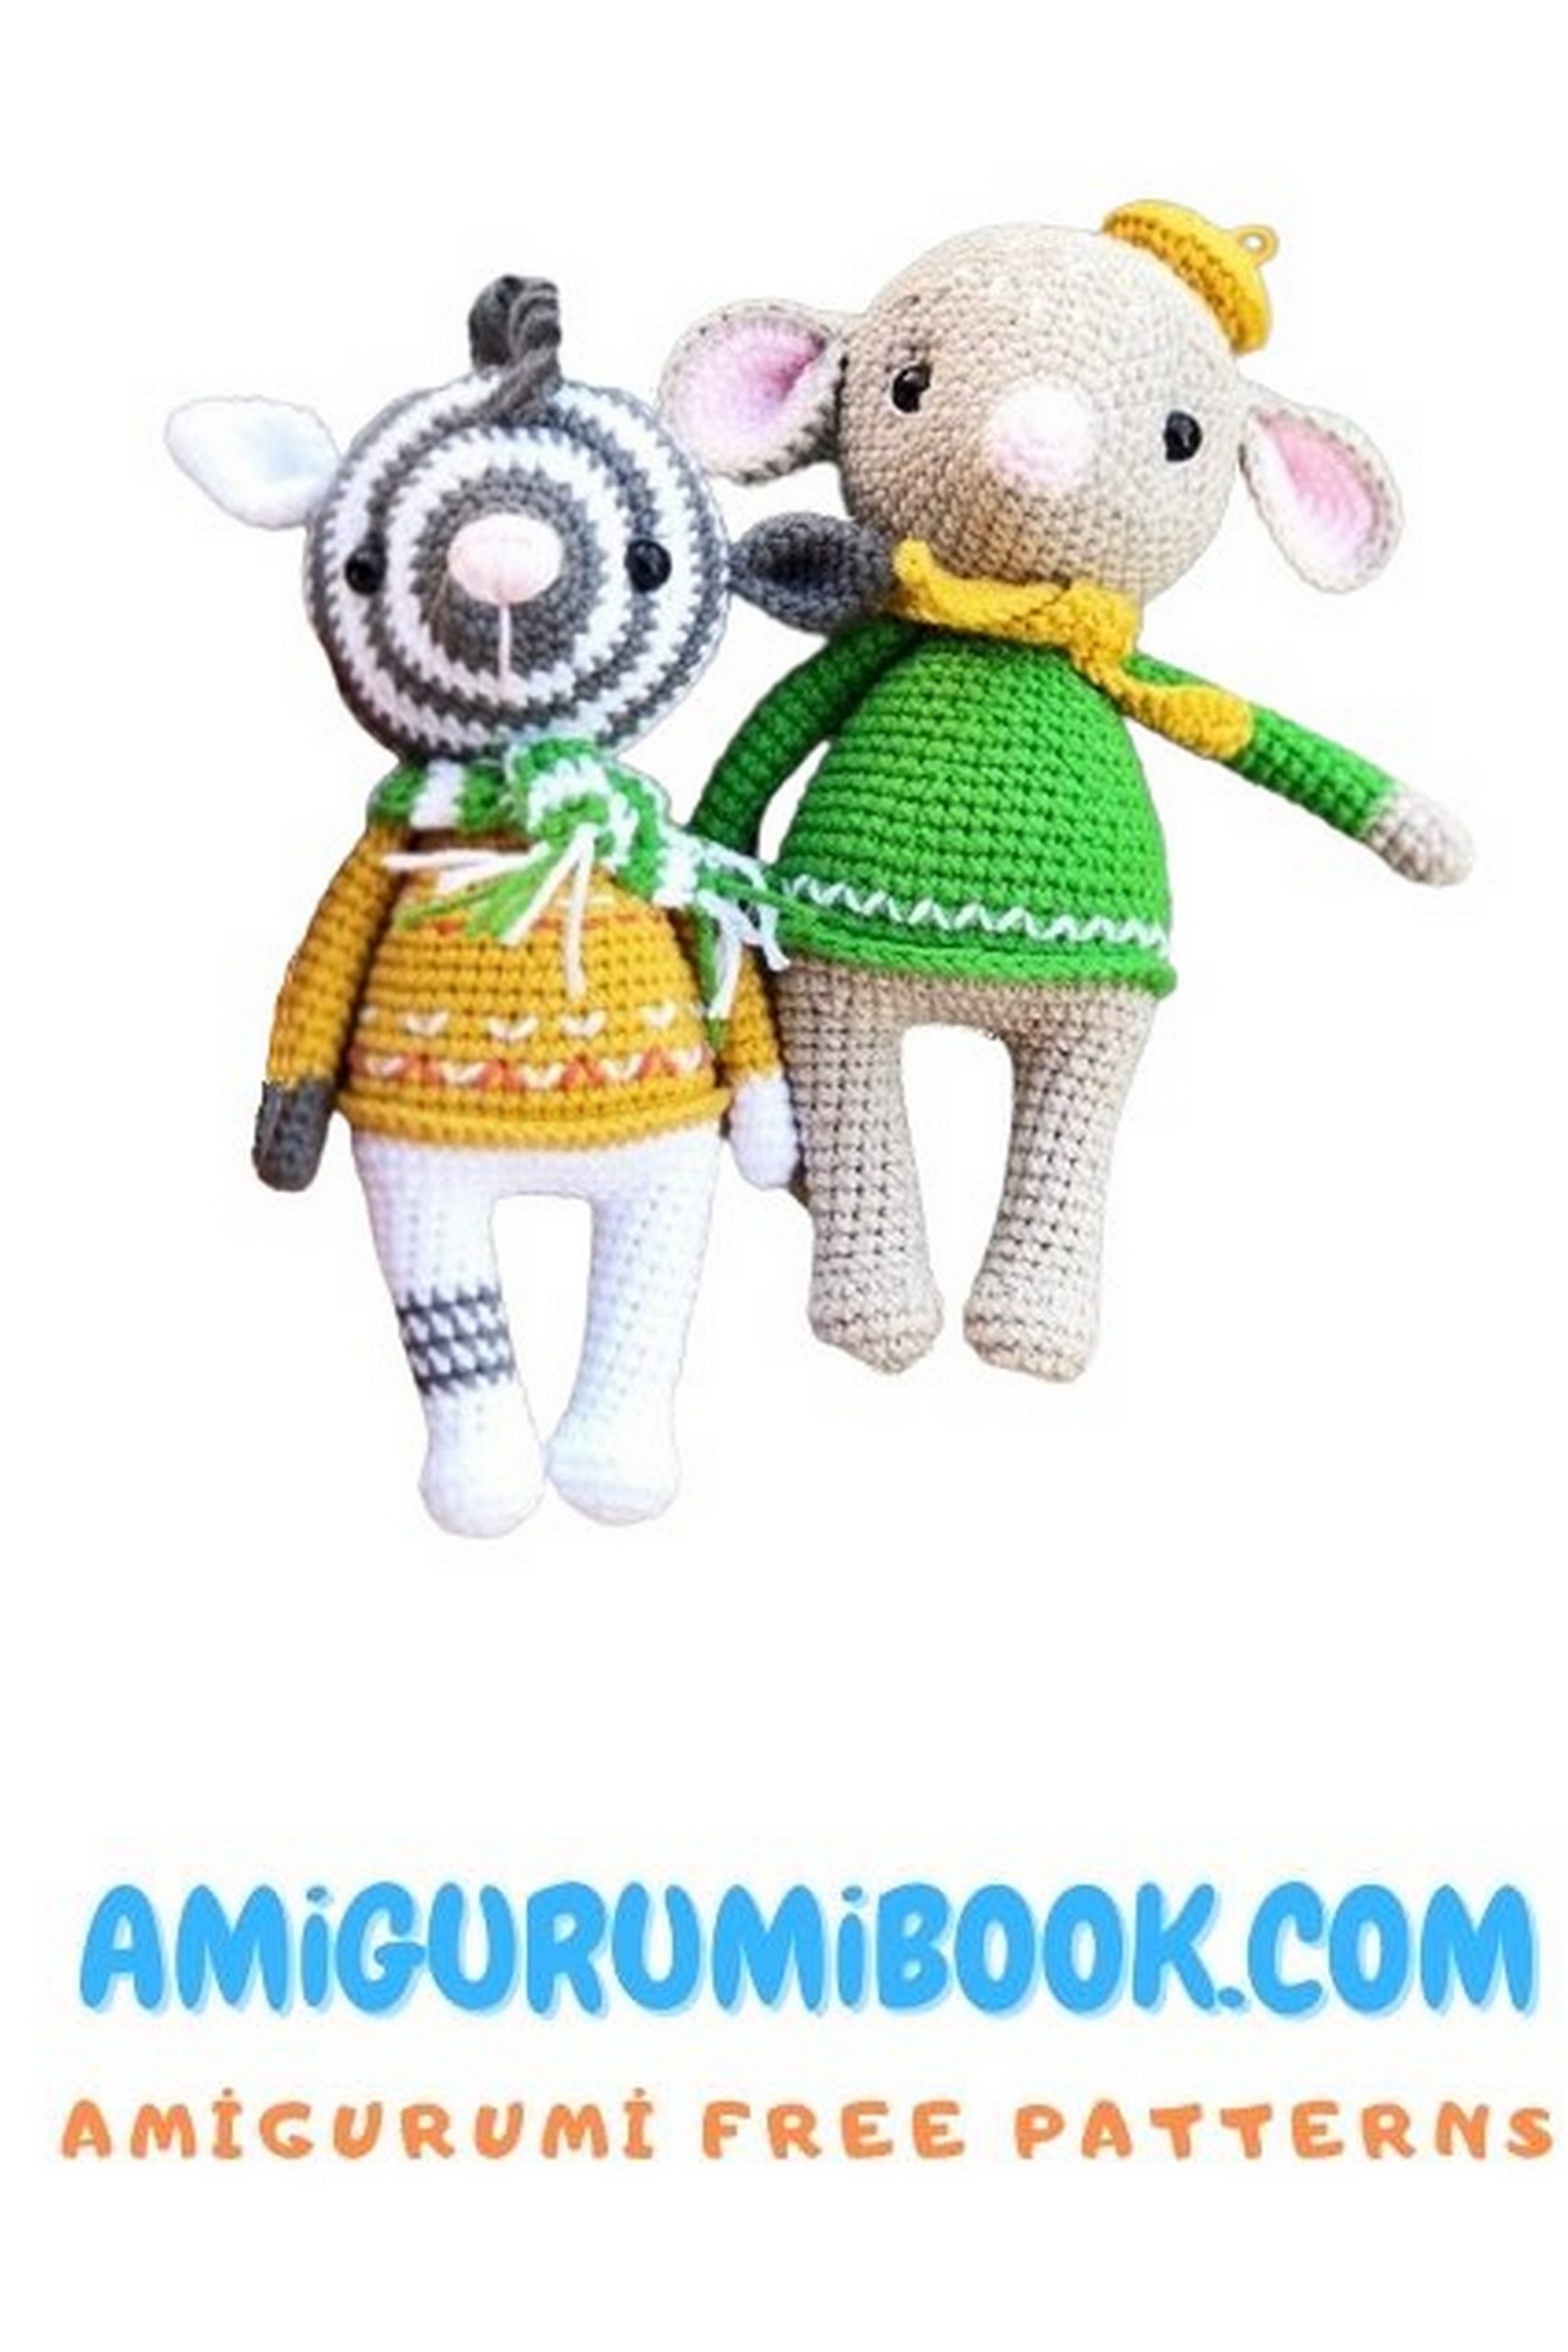
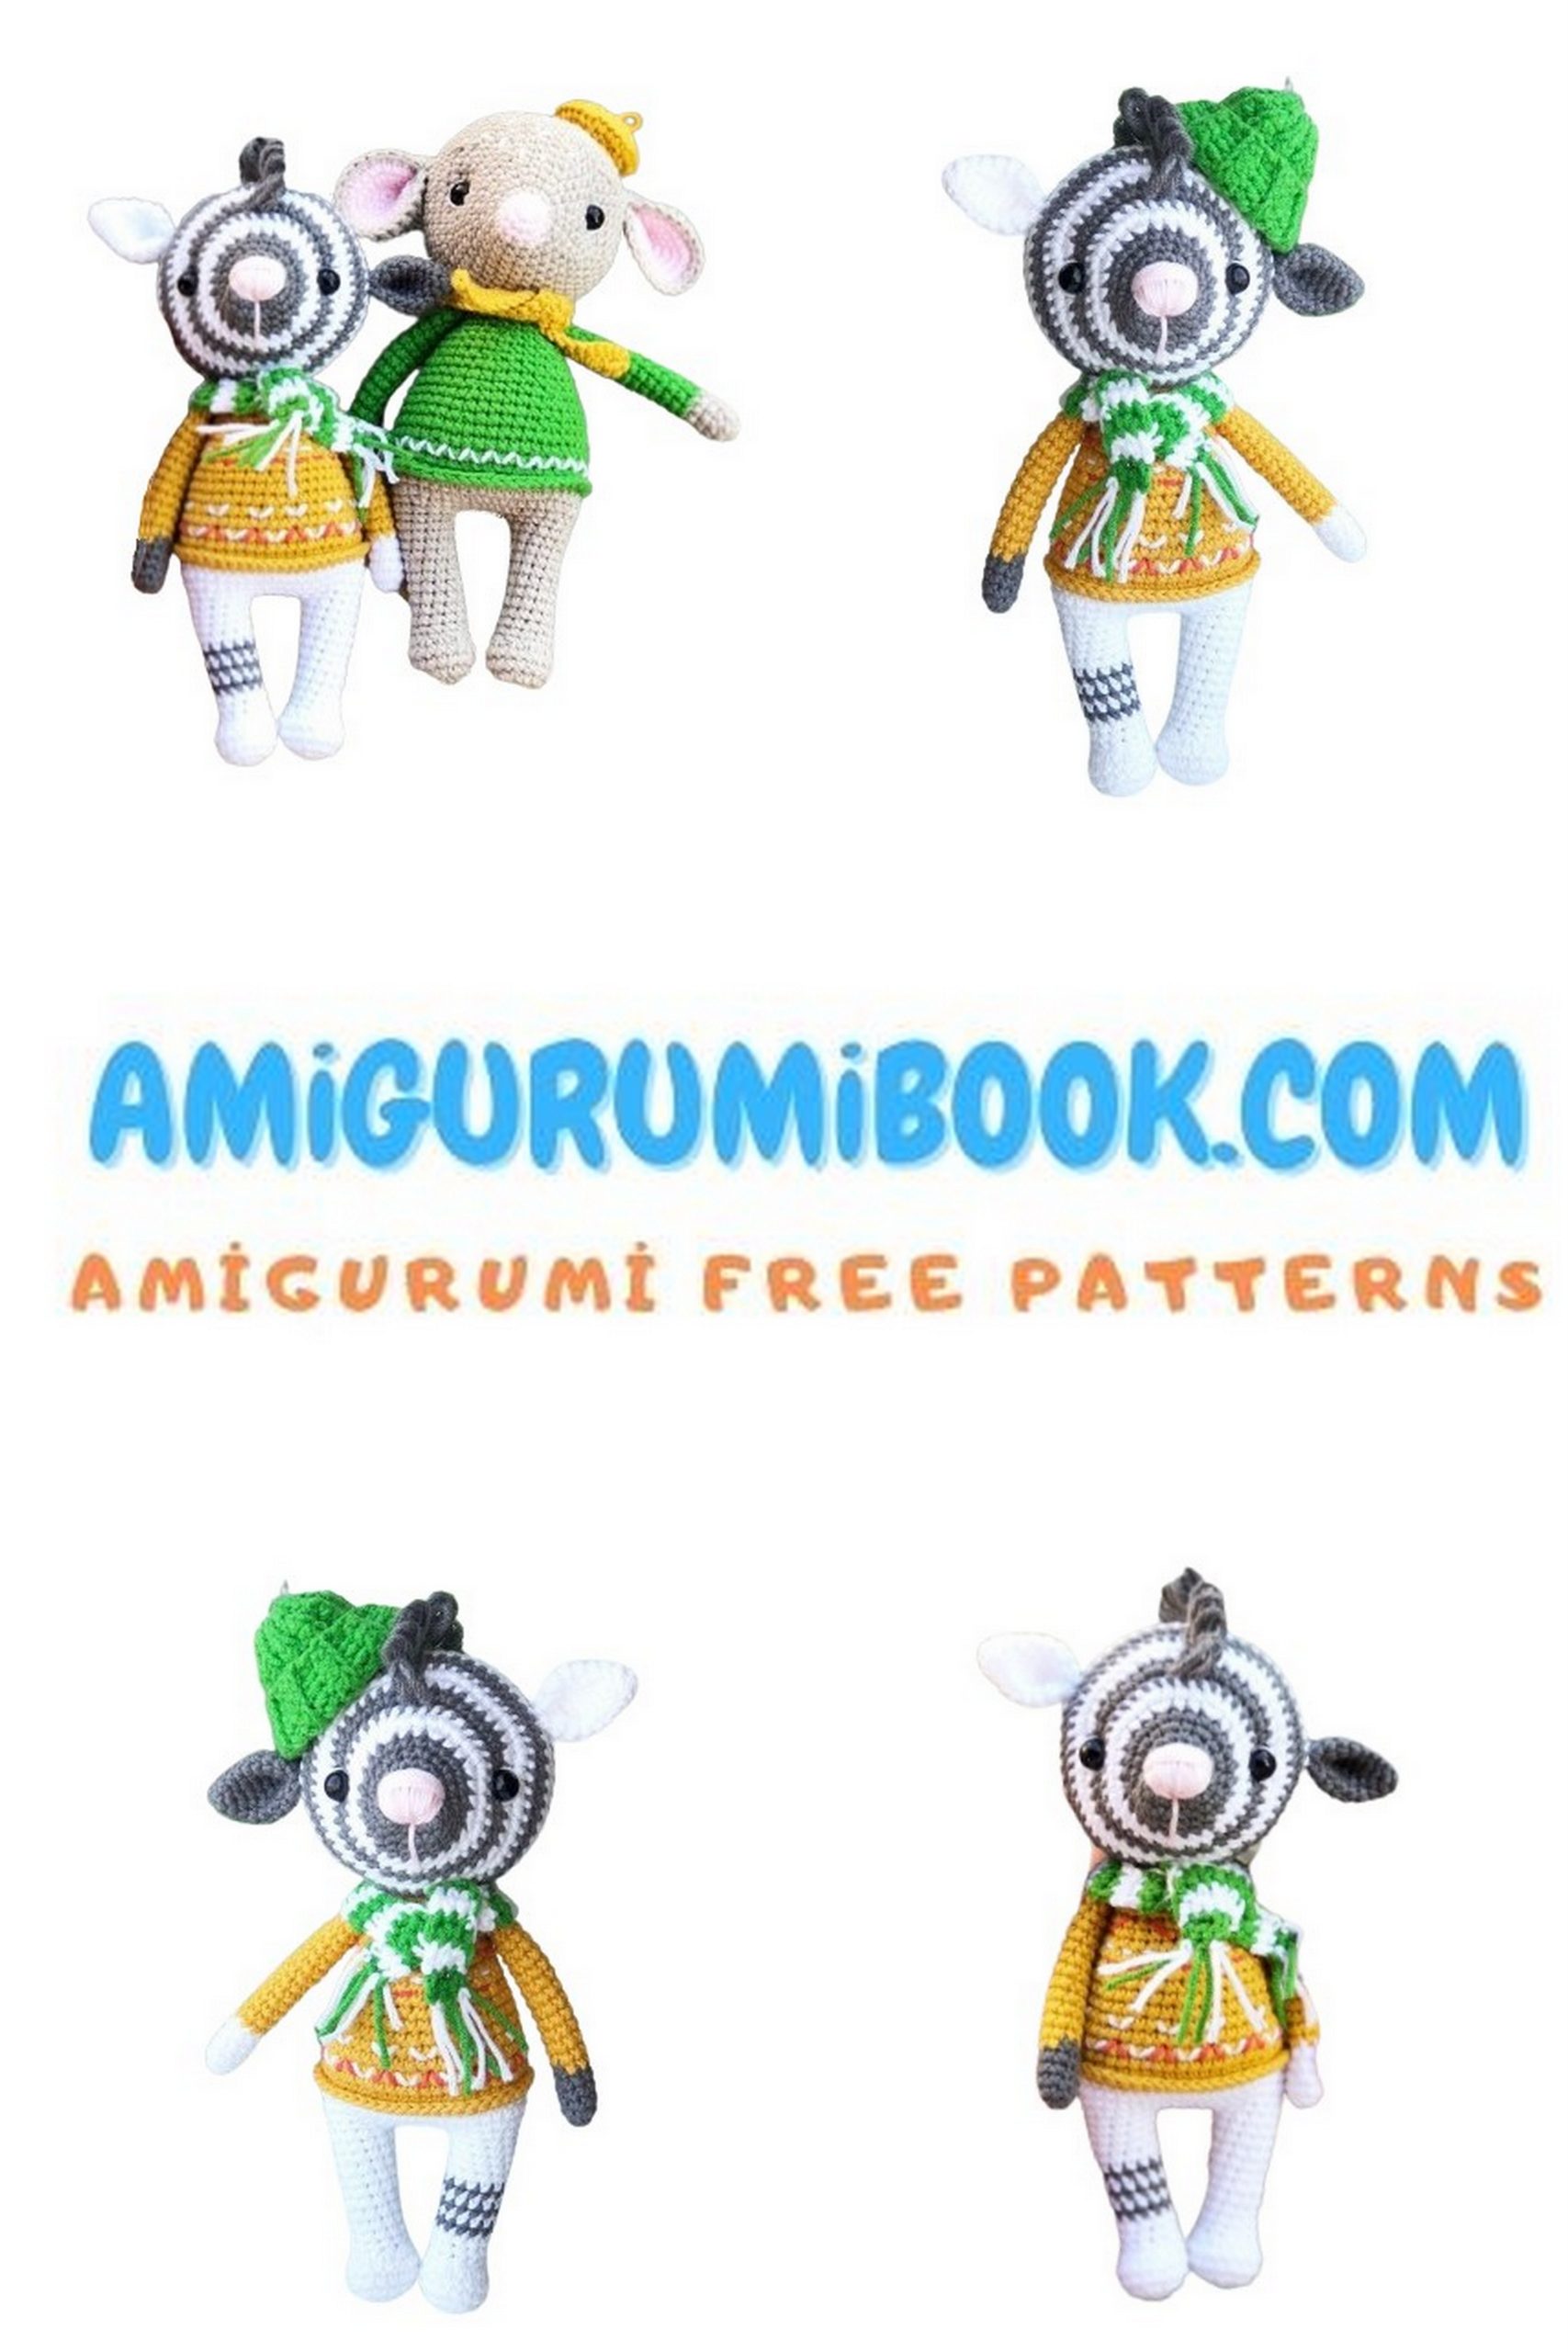
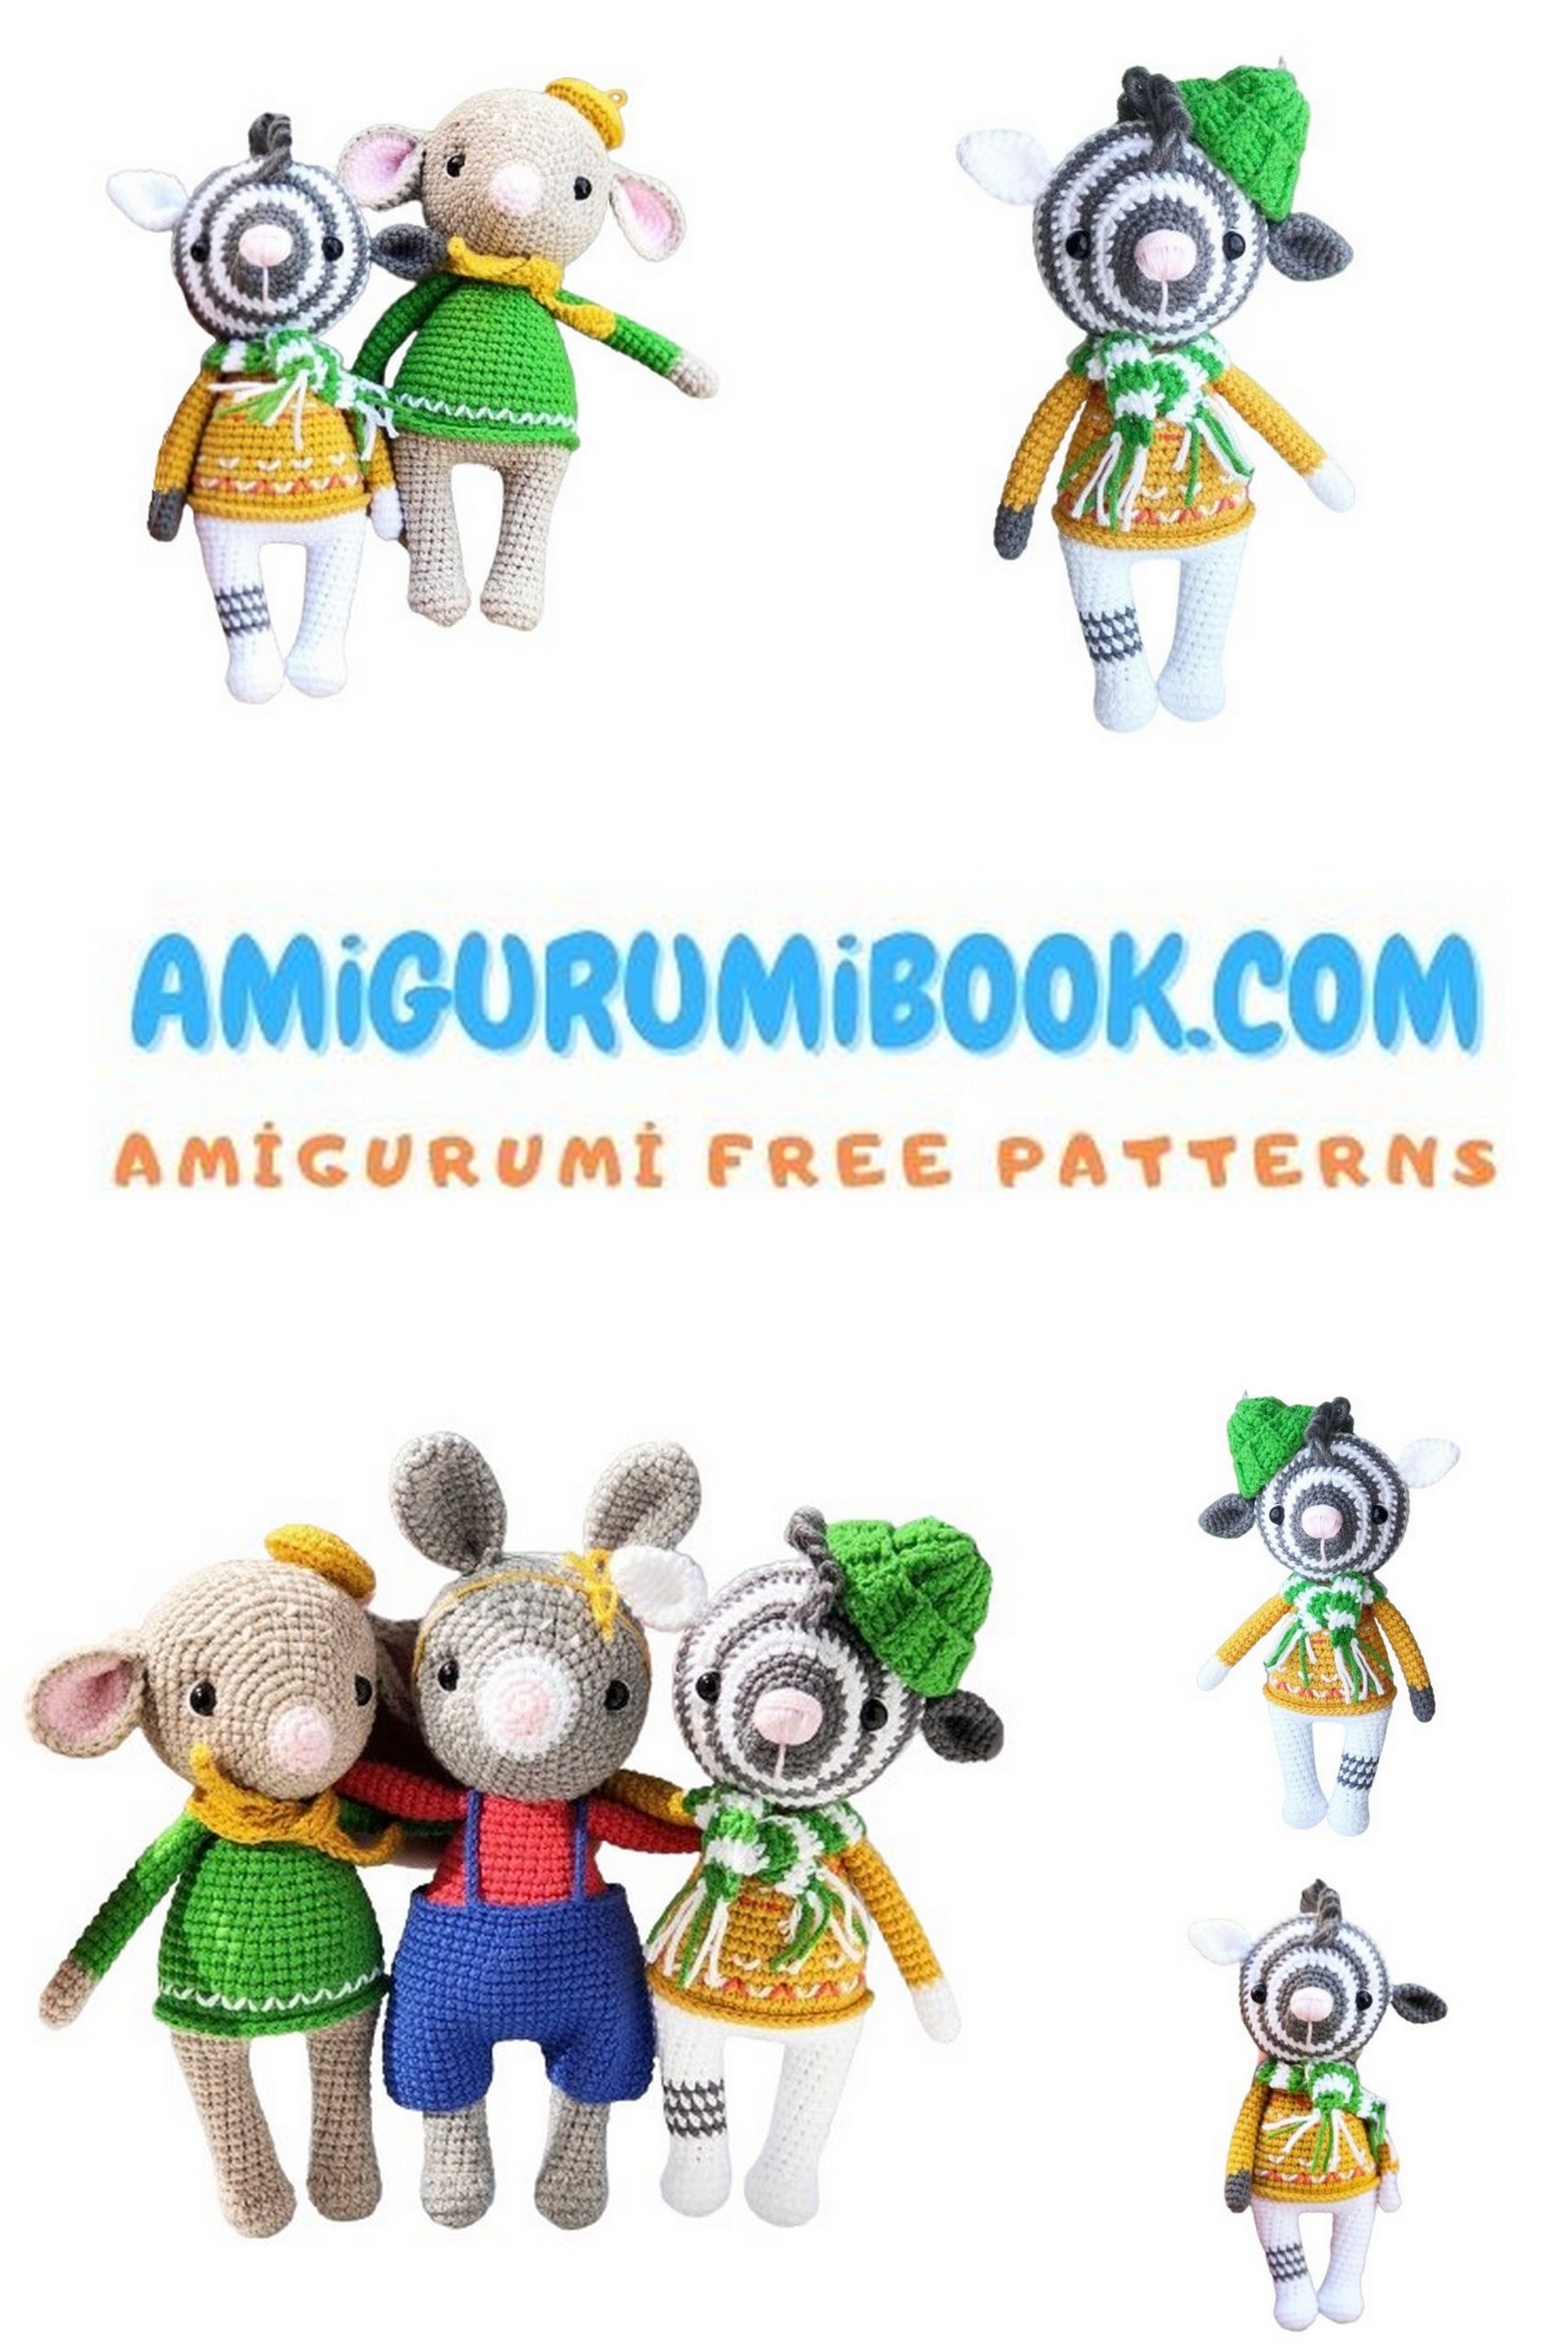
Explore the world of crochet with our free cute zebra amigurumi pattern! Whether you’re a seasoned crocheter or just starting out, this delightful project is perfect for you. Our step-by-step tutorial makes it easy to create your own adorable zebra, complete with sweet details that will capture your heart. From its striped mane to its endearing expression, this amigurumi zebra is sure to become a beloved addition to your collection or a cherished gift for someone special. Grab your crochet hook and let your creativity run wild! Now let’s make amigurumi zebra.
Materials List:
1: Yarn
a)Alize Cotton Gold – 55 white (for zebra)
b)Alize Cotton Gold – 126 green grass
c)Alize Cotton Gold – 161 powder
d)Gazzal Baby Cotton – 3447 mustard
e)Gazzal Baby Cotton – 3450 light grey
2: Scissors
3: 7mm Safety Eyes (or regular eyes)
4: Stuffing
5: 2mm Crochet Hook
6: Sewing Needle
7: Crystal Moment Glue
Abbreviations:
MR – Magic Ring
SC – Single Crochet
Inc – Increase
Dec – Decrease
BLO – Back Loop Only

PATTERN
Head
Start crocheting with dark grey yarn:
1: 6 SC in MR
2: Inc in each st (12)
3: (Inc, SC) x 6, 6 SC (18)
4: 18 SC
5: (1 SC, Inc) x 6, 6 SC (30)
6: 24 SC
7: Join white yarn: (2 SC, Inc) x 6, 6 SC (30)
8: (3 SC, Inc) x 6, 6 SC (36)
9: Join light grey yarn: 36 SC
10: 3 SC, (3 SC, Inc) x 6, 9 SC (42)
11: Join white yarn: (6 SC, Inc) x 6 (48)
12: (7 SC, Inc) x 6 (54)
13: Join light grey yarn: 54 SC
14: 54 SC
15-16: Join white yarn: 54 SC
17-18: Join light grey yarn: 54 SC
19-20: Join white yarn: 54 SC
21: (7 SC, Dec) x 6 (48)
22: (6 SC, Dec) x 6 (42)
Start stuffing
23: (5 SC, Dec) x 6 (36)
24: (4 SC, Dec) x 6 (30)
25: (3 SC, Dec) x 6 (24)
26: (2 SC, Dec) x 6 (18)
Finish stuffing
27: (1 SC, Dec) x 6 (12)
28: Dec around (6)
Do not close the hole
Fasten off leaving a long tail
Attach eyes approximately 3 SC away from the light grey “muzzle”
Between the eyes, approximately between rounds 16-17
If using safety eyes, attach them between rounds 10-11
Close the zebra’s eyes using the same method as for the mouse.
Amigurumi zebra’s mane (turning rows) with light grey yarn:
1: Chain 36
2: SC in 2nd ch from hook and across (35)
3: Using your left thumb, pull the working yarn back as shown in the 2nd photo
4: Insert hook into the next st as shown in the 3rd photo
5: Yarn over and pull up a loop, leaving 2 loops on the hook (4th photo)
6: Yarn over and pull through both loops on the hook
Continue this across the entire chain
Fasten off, leaving a tail for sewing
Arms
Make one arm in the body color (light grey) and one in white
1: 6 SC in MR
2: (1 SC, Inc) x 3 (9)
3-5: 3 rows of 9 SC
Attach mustard yarn
6-20: 15 rows of 9 SC
Leave a long tail for sewing
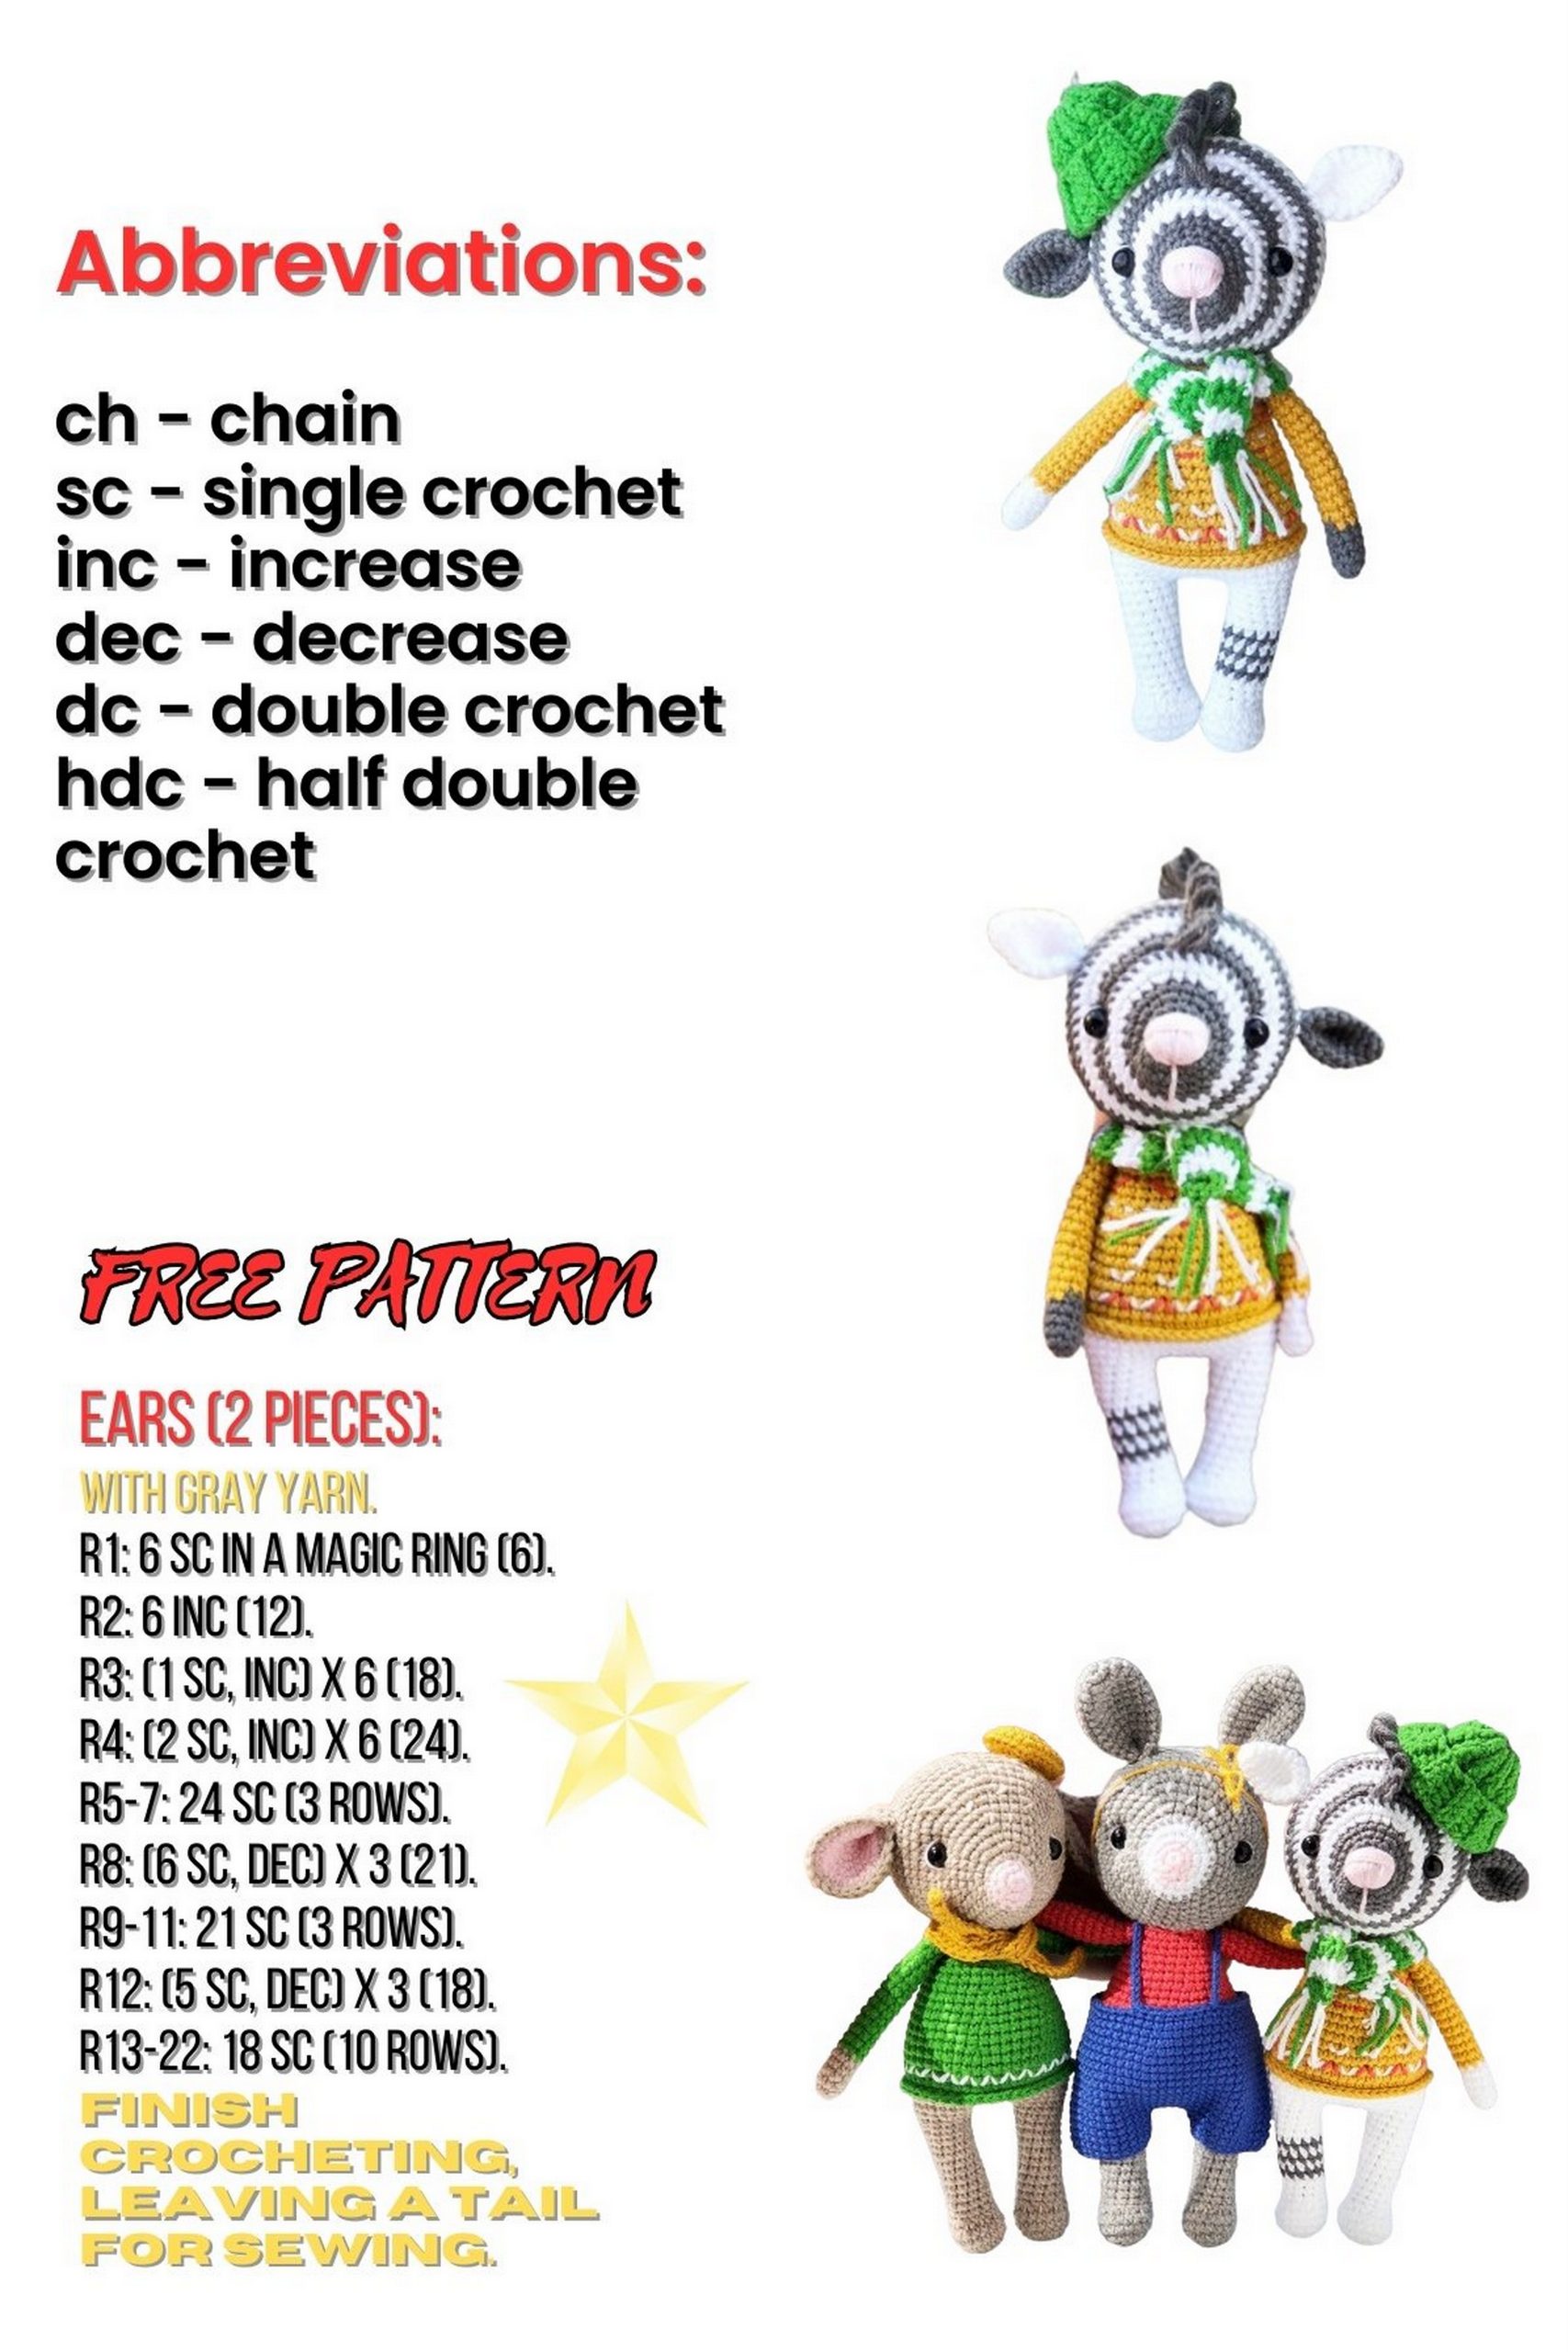
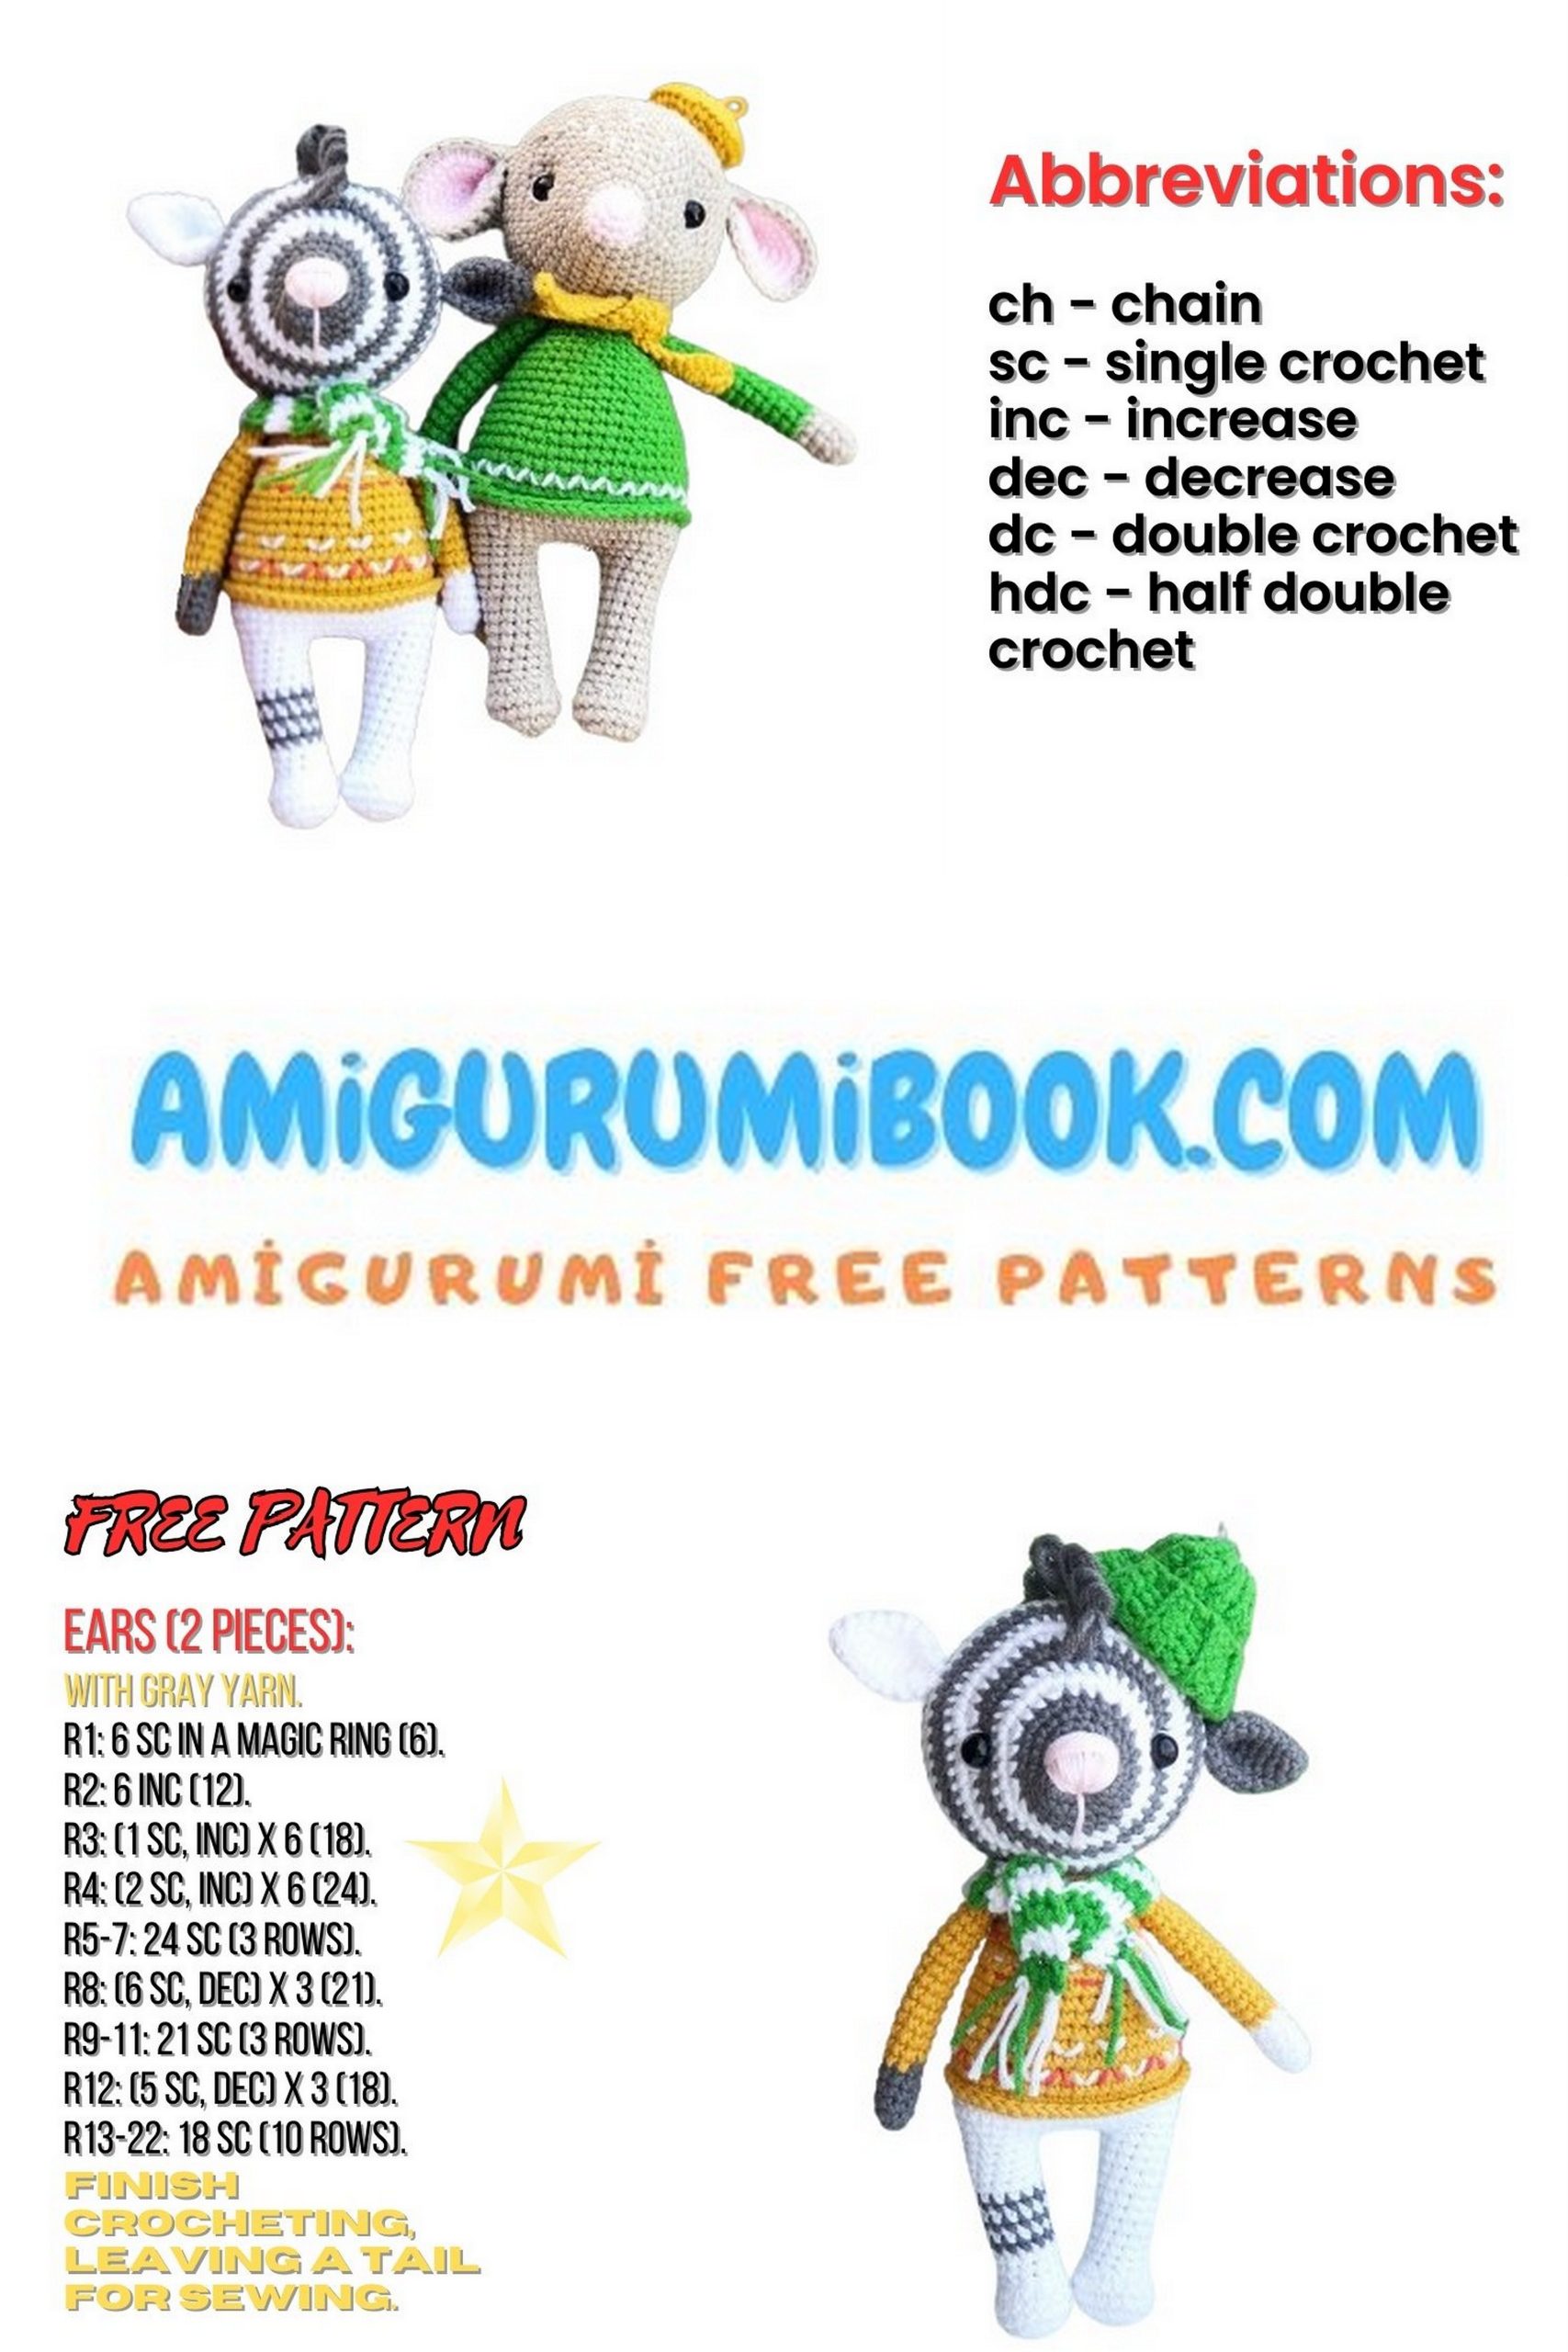
Ears for amigurumi zebra
Make one ear in white and one in light grey
1: 6 SC in MR
2: (1 SC, Inc) x 3 (9)
3: 9 SC
4: (2 SC, Inc) x 3 (12)
5: (3 SC, Inc) x 3 (15)
6: (4 SC, Inc) x 3 (18)
7-9: 3 rows of 18 SC
Leave a long tail for sewing
Legs (x2)
Start with white yarn:
1: 6 SC in MR
2: 6 Inc (12)
3: 3 Inc, 3 SC, 3 Inc, 3 SC (18)
4-5: 18 SC
6: 6 Dec, 6 SC (12)
7: 12 SC
Stuff the leg
Move the marker to the center at the back (crochet the shifting loops)
8: Change yarn to light grey: 12 SC
9: Change yarn to white: 12 SC
10: Change yarn to light grey: 12 SC
11: Change yarn to white: 12 SC
12: Change yarn to light grey: 12 SC
13: Change yarn to white: 12 SC
14-16: 3 rows of 12 SC
Fasten off and cut yarn
For the second leg, do not cut the yarn and continue crocheting the amigurumi zebra body:
1: Chain 6 and join with the first leg
2: 12 SC around the first leg, 6 SC in the chain, 12 SC around the second leg, 6 SC in the chain (36)
3: For ease, move the marker back if it’s in front: (5 SC, Inc) x 6 (42)
4: (6 SC, Inc) x 6 (48)
5: 48 SC
6: Join mustard yarn: 48 SC
7: BLO 48 SC
8-10: 3 rows of 48 SC
11: (6 SC, Dec) x 6 (42)
12-13: 42 SC
14: (5 SC, Dec) x 6 (36)
15-16: 36 SC
17: (4 SC, Dec) x 6 (30)
18-19: 30 SC
Start stuffing
20: (3 SC, Dec) x 6 (24)
21-22: 24 SC
23: (2 SC, Dec) x 6 (18)
Finish stuffing
Amigurumi Zebra Tail
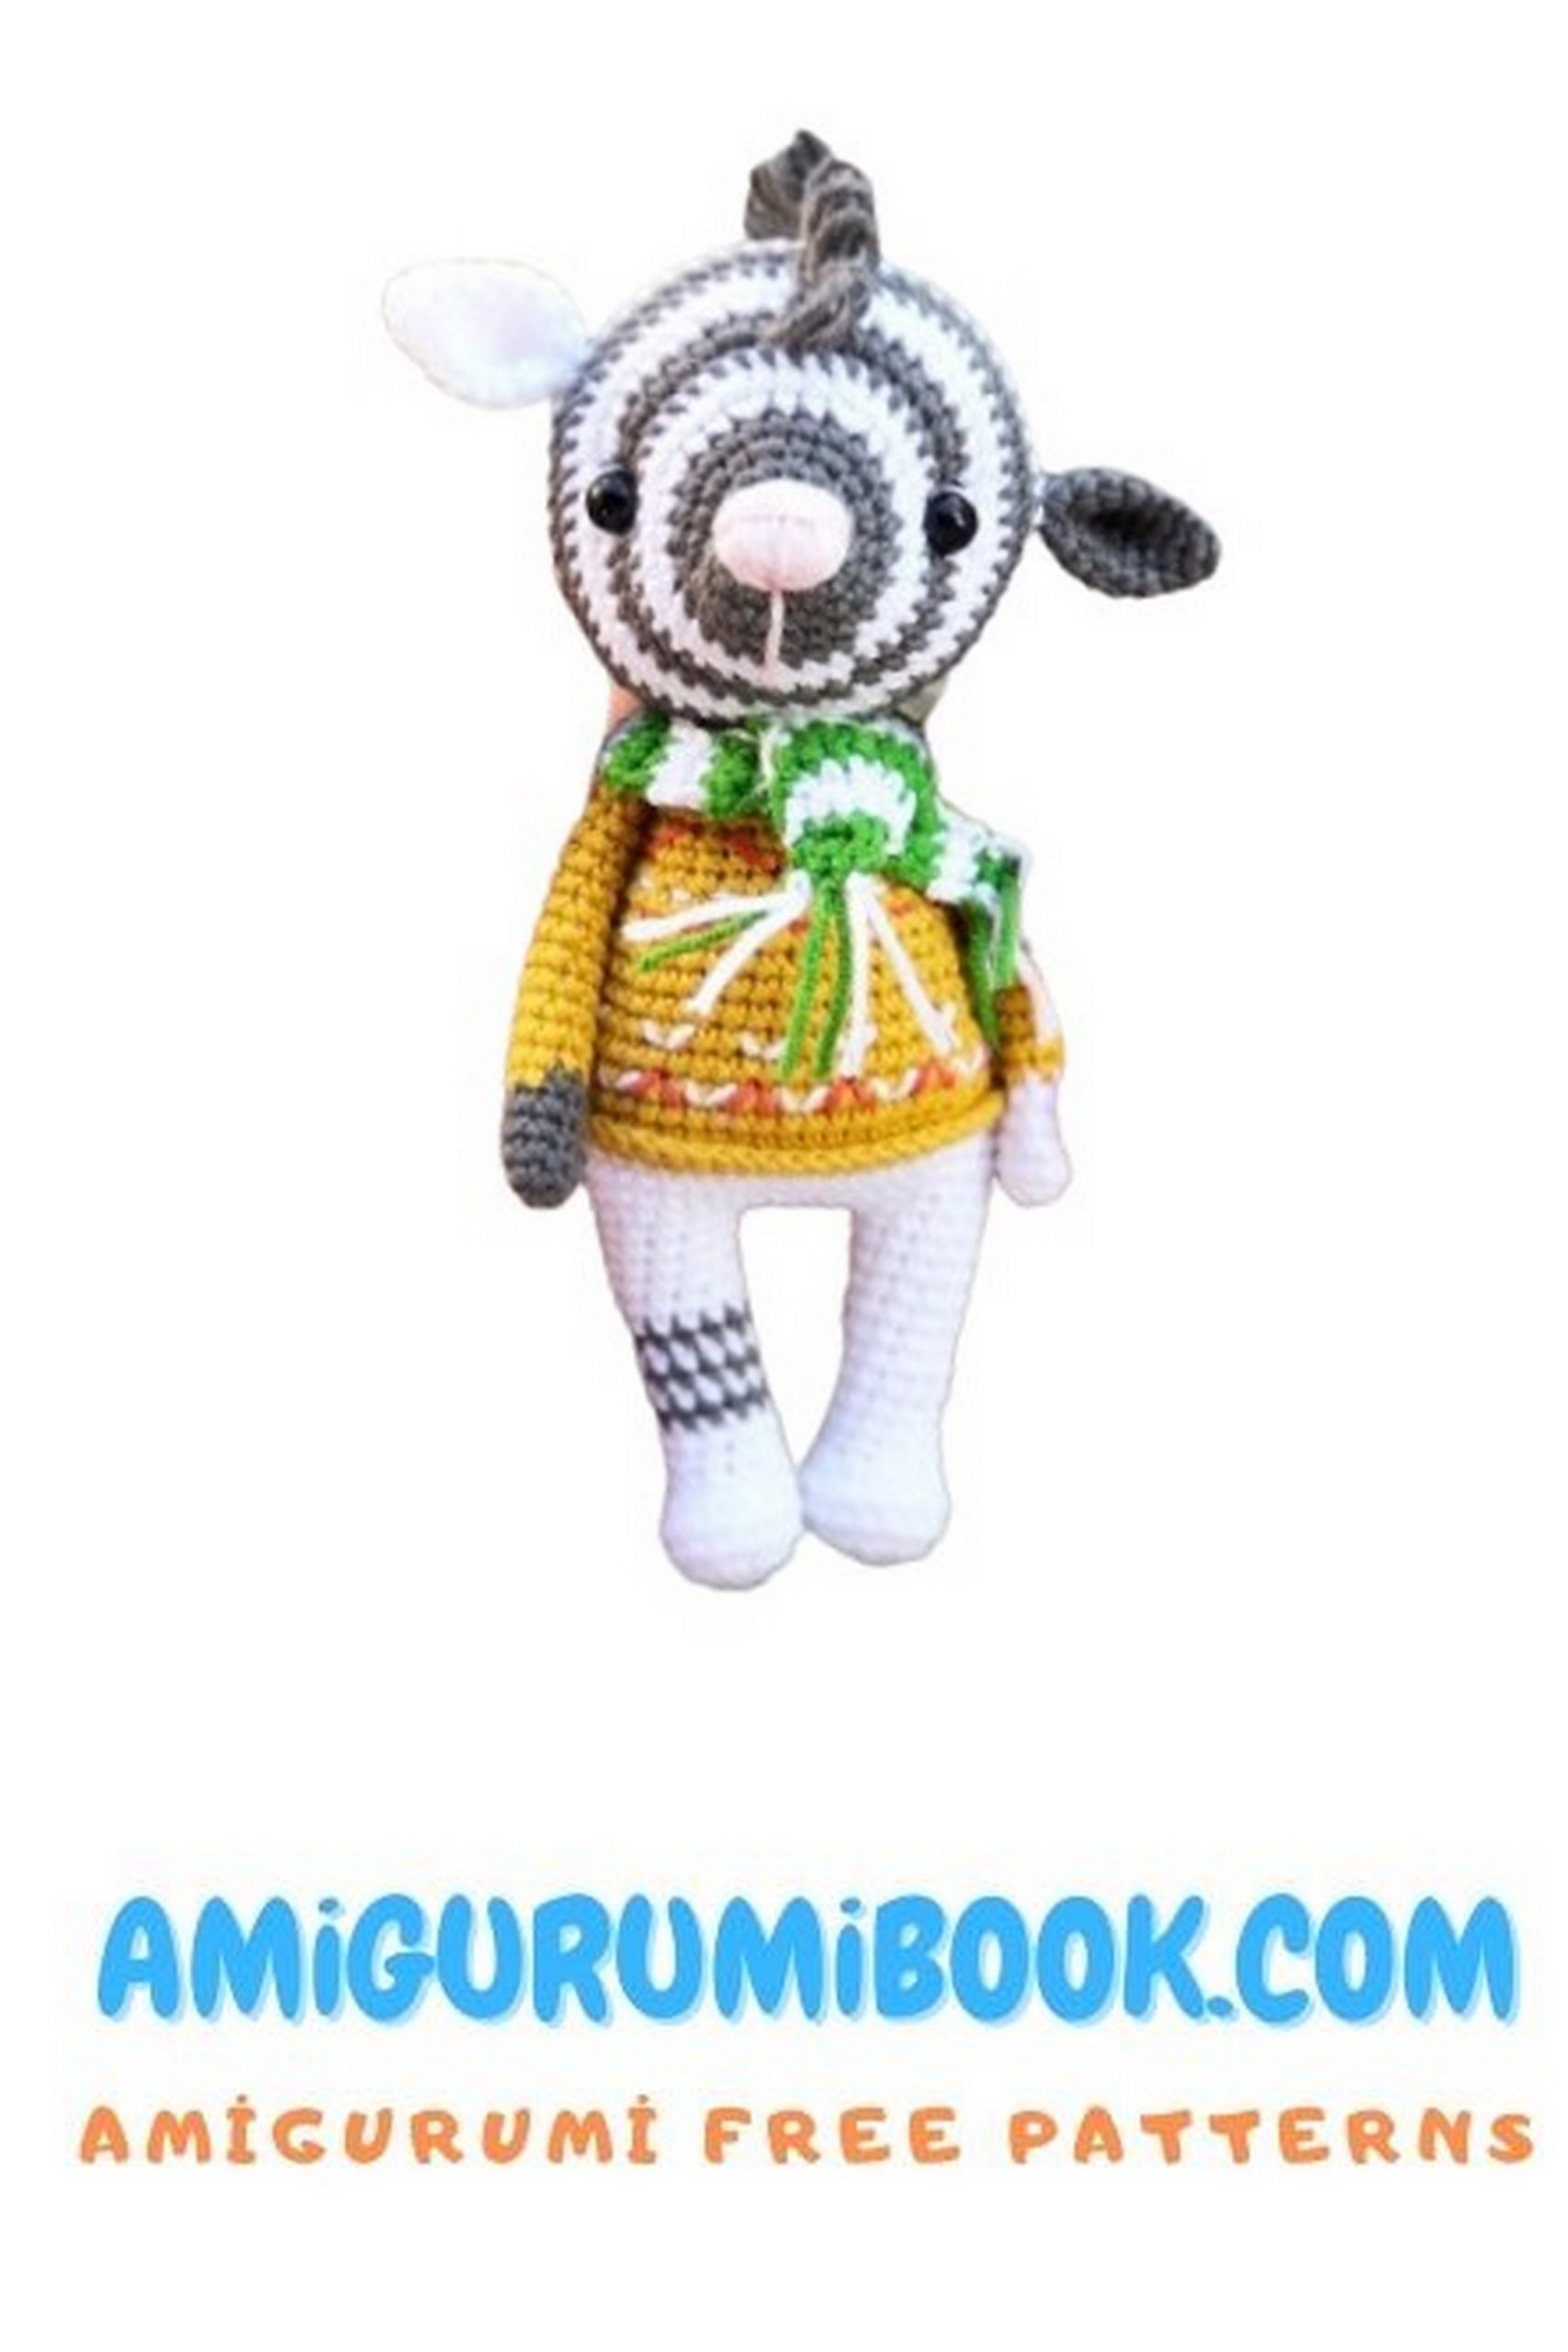
Begin shaping the face
1: Use pink yarn to embroider the nose and mouth
2: Attach ears so that the light grey ear is approximately level with the eye (leaving space between the ear and mane for the hat)
3: Attach the white ear slightly higher
4: Attach the mane
5: Attach the head to the body
6: Attach the arms to the torso
Hat
Crochet in turning rows:
1: Chain 19
2: 18 SC
All following rows are worked in BLO
3: 1 chain, 5 slip stitches, 13 single crochets
4: 1 chain, 13 single crochets, 5 slip stitches
Repeat rows 3 and 4 a total of 10 times!
Crocheting should end at the bottom of the hat
Fold the hat in half and crochet the edges together.
Do not cut the yarn, instead, insert the needle into this end.
Tighten the top of the hat well! Fold and the hat is ready.
Amigurumi Zebra Scarf
Crochet in turning rows
Start crochet with white yarn:
1: Chain 3
2-3: 3 SC
Change yarn color to green:
4-5: 3 SC
Alternate these two colors for a total of 24 rows (12 white stripes and 12 green stripes)
Fasten off and cut yarn
Attach tassels to the edges of the scarf
Pom-pom:
1: 6 SC in MR
2: 6 Inc (12)
3-5: 12 SC
6: Stuff, then 6 Dec
Pull tight and leave a tail for sewing
Attach the pom-pom to the hat
Sew the hat to the head
Embroider sweater patterns as shown in the photo (coral and white colors)