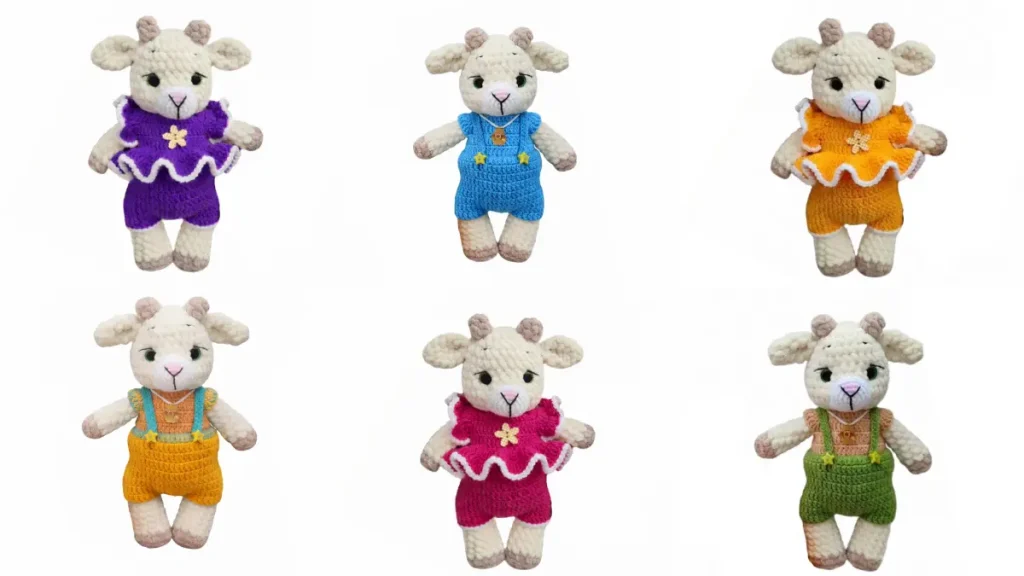
If you are looking for a free goat kids amigurumi crochet pattern, this adorable girl and boy set is perfect for your next handmade project. Designed with plush yarn and detailed clothing, these cute goat dolls make wonderful nursery decor or heartfelt gifts.
The pattern includes step-by-step instructions for crocheting the body, head, horns, muzzle, and ears as one piece, along with separate outfit instructions for both versions. From the cozy cardigan to the tiny suspenders and bell detail, every element is carefully explained.
Whether you are an experienced crocheter or ready to try a more detailed project, this goat kids amigurumi pattern will guide you through each stage with clear construction and shaping techniques.
If you want to access 1000+ free amigurumi patterns, you can download our application from this link!
Difficulty: Intermediate
Construction: Legs + Body + Head crocheted as one piece
🧵 Materials
YarnArt Dolce (plush yarn)
- 745 Milky – main color
- 771 Beige – hooves & horns
YarnArt Jeans (cotton yarn)
- 69 Green
- 35 Yellow
- 62 White
Hook sizes:
- 3.5 mm (Dolce)
- 2.0 mm (Jeans)
Other:
- 12 mm safety eyes
- Black embroidery floss
- Small bells
- Buttons (9 pcs total)
- Fiberfill
✂️ Abbreviations
MR – Magic Ring
SC – Single Crochet
INC – Increase
DEC – Decrease
HDC – Half Double Crochet
DC – Double Crochet
CH – Chain
SLST – Slip Stitch
BLO – Back Loop Only
🐐 Arms (Make 2)
Start beige:
1: 8 SC in MR
2: BLO 8 SC
Change to milky:
3–10: 8 SC
Stuff halfway.
Fold and close with 4 SC.
🐐 Legs (Make 2)
Start beige:
1: 7 SC in MR
2: 7 INC (14)
3: BLO 14 SC
Change to milky:
4: (1 DEC, 5 SC) ×2 (12)
5–9: 12 SC
10: (1 DEC, 4 SC) ×2 (10)
11–12: 10 SC
Stuff halfway.
Fold and close with 5 SC.


🐐 Body
1: 6 SC in MR
2: 6 INC (12)
3: (1 SC, 1 INC) ×6 (18)
4: (2 SC, 1 INC) ×6 (24)
5: (3 SC, 1 INC) ×6 (30)
6: 5 SC, attach first leg (5 SC together), 10 SC, attach second leg (5 SC together), 5 SC (30)
7–9: 30 SC
10: (8 SC, 1 DEC) ×3 (27)
11: (7 SC, 1 DEC) ×3 (24)
12: 24 SC
13: (6 SC, 1 DEC) ×3 (21)
14: (5 SC, 1 DEC) ×3 (18)
15: 5 SC, attach first arm (4 SC together), 5 SC, attach second arm (4 SC together) (18)
16: (1 SC, 1 DEC) ×6 (12)
🐐 Head (Continue)
17: 12 INC (24)
18: (3 SC, 1 INC) ×6 (30)
19: (9 SC, 1 INC) ×3 (33)
20–22: 33 SC
Insert eyes between 20–21 (5 stitches apart).
23: (9 SC, 1 DEC) ×3 (30)
24–25: 30 SC
26: (3 SC, 1 DEC) ×6 (24)
27: (2 SC, 1 DEC) ×6 (18)
28: (1 SC, 1 DEC) ×6 (12)
29: 6 DEC (6)
Stuff firmly and close.
🐐 Muzzle
1: 6 SC in MR
2: 6 INC (12)
3: (1 SC, 1 INC) ×6 (18)
4: (2 SC, 1 INC) ×6 (24)
5: (7 SC, 1 INC) ×3 (27)
6: 27 SC
Lightly stuff and sew to head.
Embroider nose & mouth.
🐐 Horns (Make 2)
1: 4 SC in MR
2: INC, 1 SC, INC, 1 SC (6)
3: 6 SC
Do not stuff. Sew to head.
🐐 Ears (Make 2)
1: 6 SC in MR
2: 6 SC
3: (1 SC, 1 INC) ×3 (9)
4: (2 SC, 1 INC) ×3 (12)
5: 12 SC
Fold and close with 6 SC.
Sew between rounds 23–24.
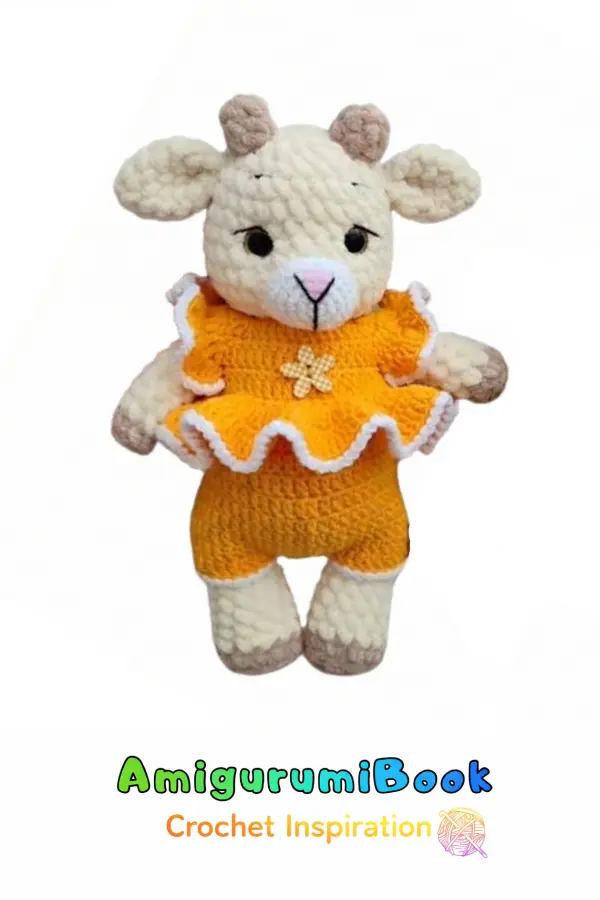
👗 Girl Cardigan
1: CH 42, work DC pattern across (48)
2: SC row (56)
3: DC row (64)
4: Form armholes
5–9: Continue body with increases to 156 stitches
Finish with white edging in BLO.
Add 4 buttons.
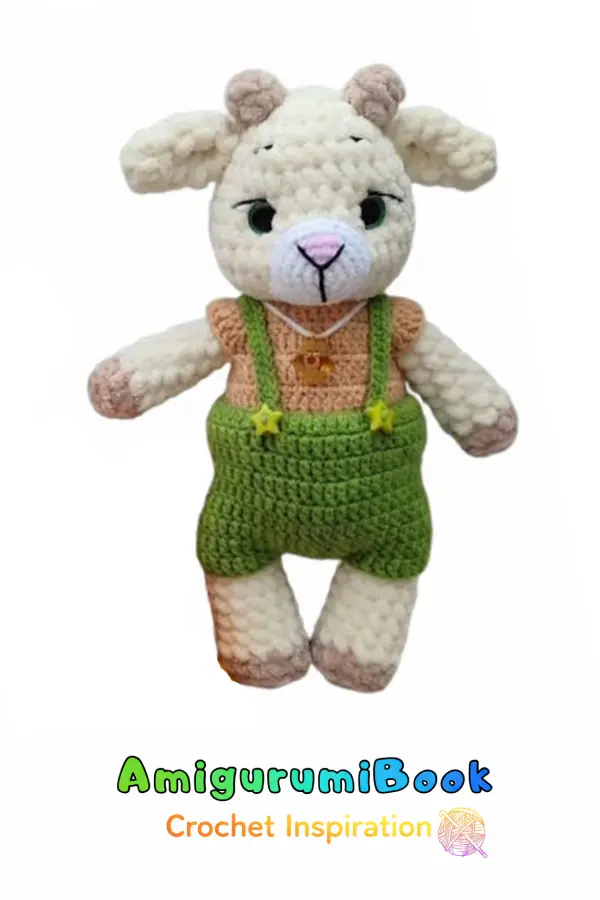
🧥 Boy Cardigan
Color: Green
Work in rows (aynı temel yapı girl cardigan gibi ama farklı bitiş).
1–6: Girl cardigan Rows 1–6 ile aynı ilerlenir.
(Armholes dahil aynı mantık)
7: DC evenly across (NO increases).
8: DC evenly across.
9: SC evenly across.
Bottom edge:
White ile değil, ana renk ile bitirilir.
Ruffle yapılmaz.
Front edging:
Neckline ve ön kenar boyunca SC çalışılır.
Left side: 3 button loops yapılır (CH 5, SLST).
🩳 Shorts
Color: Beige / preferred color.
1: CH 36, join carefully (do not twist).
2–5: 36 SC (4 rounds total)
Divide work into 18 + 18.
First leg:
6–8: 18 SC (3 rounds)
Fasten off.
Attach yarn to remaining stitches.
6–8: 18 SC (3 rounds)
Fasten off and hide yarn.
🎀 Suspenders
Attach yarn to back waistband (center back).
1: CH long enough to go over shoulder to front waistband.
2: SLST to front waistband.
3: Turn and work SLST or SC back along chain for firmness.
Repeat for second suspender symmetrically.
🔔 Bell Placement
Bell is sewn directly to cardigan neckline,
NOT to the body.
Place it centered under chin.
Secure tightly with multiple stitches.
👀 Eye Sculpting
- Insert needle at back of head.
- Exit near first eye.
- Pass under eye, re-enter slightly lower.
- Exit at back of head.
- Repeat for second eye.
- Pull both threads evenly to create symmetrical indent.
- Tie securely inside head.
🧵 Final Assembly Order
- Sew muzzle
- Embroider face
- Sculpt eyes
- Sew horns
- Sew ears
- Attach head
- Dress goat
- Attach bell