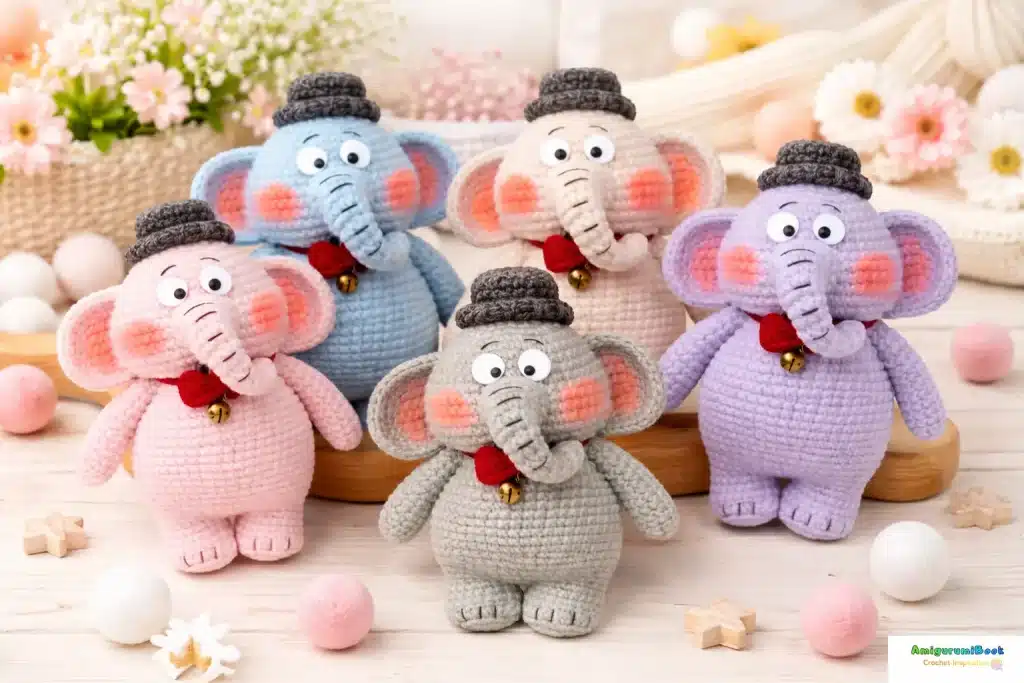
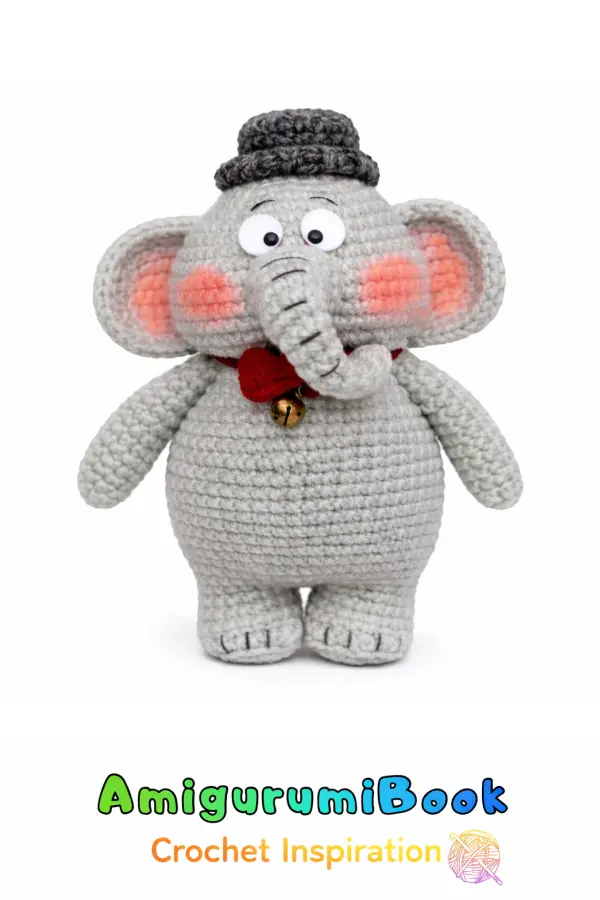
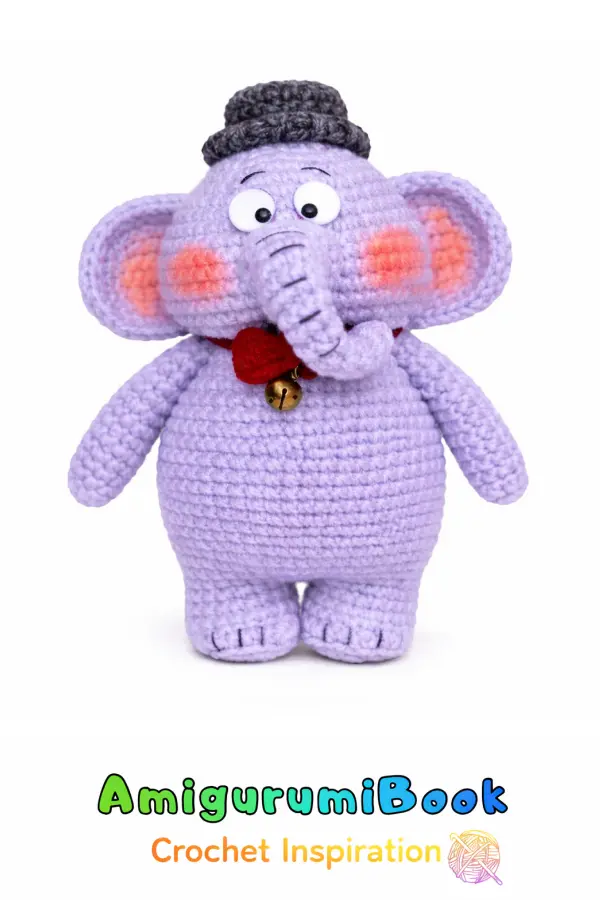
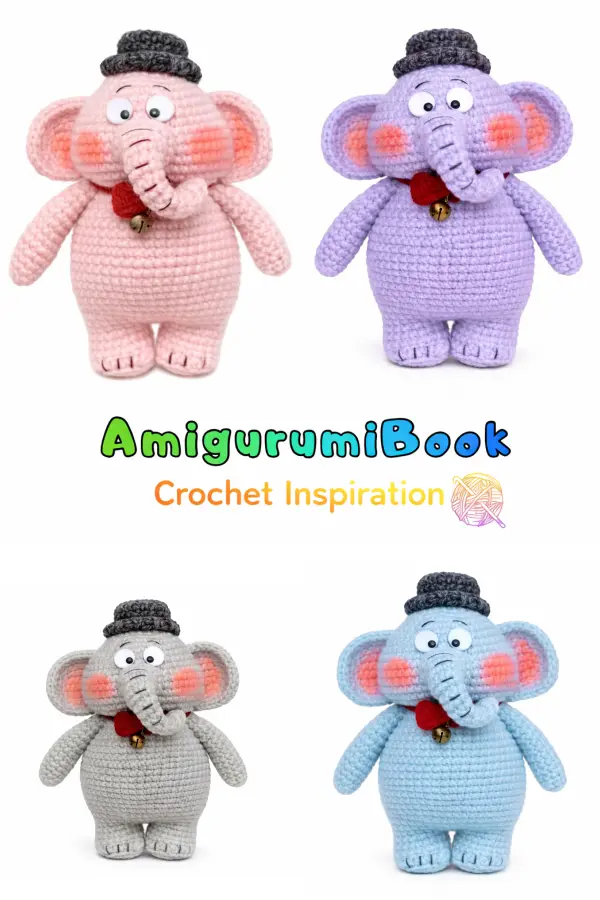
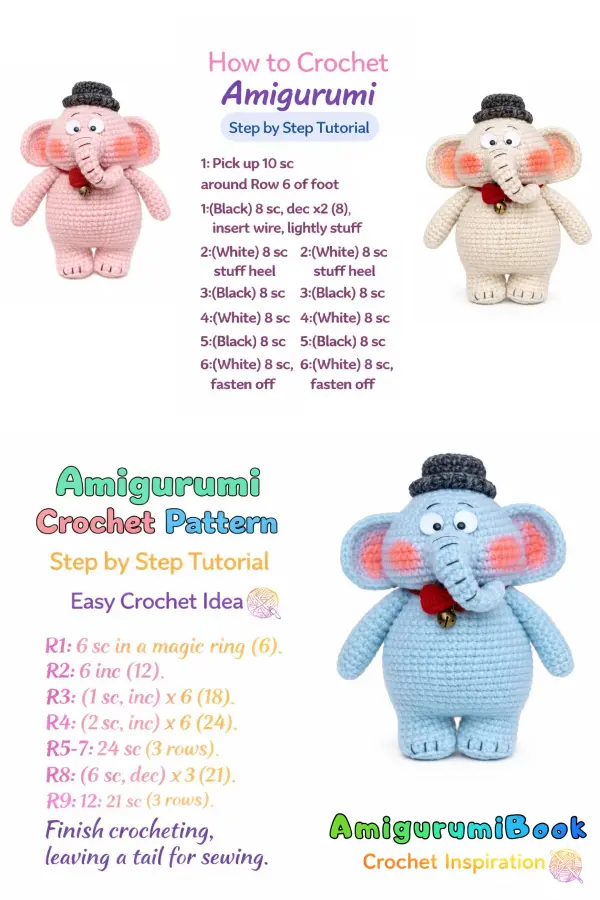
If you are looking for a free standing elephant amigurumi pattern, this adorable design is perfect for you. This crochet pattern features a cute elephant with a stylish hat and bow, making it a charming handmade gift or nursery decoration.
The pattern includes detailed step-by-step instructions for the head, ears, arms, legs, body, hat, and bow. Designed with simple shaping and clear construction, it is suitable for confident beginners as well as experienced crocheters.
Customize the colors to match your style and enjoy creating your own sweet elephant friend. Follow the instructions carefully and bring this lovable character to life.
🧵 Materials
- Yarn: YarnArt Jeans
- 28 – Pink (main color)
- 240 – White
- 18 – Dark Red (bow)
- 42 – Dark Grey (hat)
- 8 mm safety eyes
- Crochet hook 2–2.5 mm
- Fiberfill
- Thin wire (optional, for arms)
- Sewing needle
✂️ Abbreviations
- MR – Magic Ring
- SC – Single Crochet
- INC – Increase (2 SC in one stitch)
- DEC – Decrease (SC2tog)
- HDC – Half Double Crochet
- DC – Double Crochet
- CH – Chain
- SLST – Slip Stitch
- R – Round
🐘 Head
1: 7 SC in MR (7)
2: 7 INC (14)
3: (1 SC, 1 INC) ×7 (21)
4: (1 SC, 1 INC, 1 SC) ×7 (28)
5: 28 SC
6: (3 SC, 1 INC) ×7 (35)
7: 35 SC
8: (2 SC, 1 INC, 2 SC) ×7 (42)
9–11: 42 SC
12: 7 SC, 6 (1 SC, 1 INC), 4 SC, 6 (1 INC, 1 SC), 7 SC (54)
13–17: 54 SC
18: 7 SC, 6 (1 SC, 1 DEC), 4 SC, 6 (1 DEC, 1 SC), 7 SC
19: (2 SC, 1 DEC, 2 SC) ×7
20: (3 SC, 1 DEC) ×6
Stuff firmly before closing.
Fasten off leaving a long tail.
Place safety eyes between Rounds 8–11.
🐘 Ears (Make 2)
1: 6 SC in MR (6)
2: 6 INC (12), turn
3: (1 SC, 1 INC) ×6 (18), turn
Left ear: 12 HDC, 6 SC
Right ear: 6 SC, 12 HDC
Fasten off and leave long tail for sewing.
Trunk
1: 6 SC in MR (6)
2: (1 SC, 1 INC) ×3 (9)
3–8: 9 SC (6 rounds)
9: (1 SC, 1 DEC) ×3 (6)
Lightly stuff and sew between Rounds 9–13 of head.
🐘 Arms (Make 2)
1: 6 SC in MR (6)
2: (1 SC, 1 INC) ×3 (9)
3: (1 SC, 1 INC, 1 SC) ×3 (12)
4: 5 SC, 2 INC, 5 SC (14)
5–12: 14 SC
13: 5 SC, 2 DEC, 5 SC (12)
14: 12 SC
15: (1 SC, 1 DEC, 1 SC) ×3 (9)
Do not stuff firmly.
Insert wire if desired.
🎩 Hat
Crown
1: 6 SC in MR (6)
2: 6 INC (12)
3: (1 SC, 1 INC) ×6 (18)
4: (1 SC, 1 INC, 1 SC) ×6 (24)
5: BLO 24 SC
6–8: 24 SC
Change to white:
9: 24 SC
Change back to dark grey.
Brim
10: CH 2, turn, 24 HDC in inner loops
11: 24 HDC
Join R11 to R10 to form double brim layer.
Leave long tail for sewing.
🦵 Legs (Make 2)
1: 8 SC in MR (8)
2: 8 INC (16)
3: (1 SC, 1 INC) ×8 (24)
4: 24 HDC
5: (3 SC, 1 DEC) ×3, 6 SC, (1 DEC, 3 SC) ×3
6: 6 SC, 1 INC, 4 SC, 1 INC, 6 SC
7: 8 SC, 2 DEC, 8 SC
Make two legs.
🧍 Body
Fasten off first leg. Continue on second leg.
Work 4 SC more, then join to first leg.
You should have 32 stitches around.
Continue:
10: Increase evenly to 54 stitches
11–12: 54 SC
13: 3 SC, 2 (1 SC, 1 DEC, 1 SC), 43 SC
14–16: 52 SC
17: 25 SC, 4 (1 SC, 1 INC, 1 SC), 15 SC
18–20: 56 SC
21: 7 (3 SC, 1 DEC, 3 SC)
22–23: 49 SC
24: 7 (5 SC, 1 DEC)
25–26: 42 SC
27: 7 (2 SC, 1 DEC, 2 SC)
28: 35 SC
29: 7 (3 SC, 1 DEC)
Fasten off.
🎀 Bow
In MR:
CH 3, 3 DC, CH 3, SLST
Repeat once more in same ring.
Pull tight and sew to neck.
🧵 Assembly
- Sew head to body
- Attach ears between Rounds 9–18
- Attach arms
- Sew hat securely
- Attach bow
- Embroider facial details