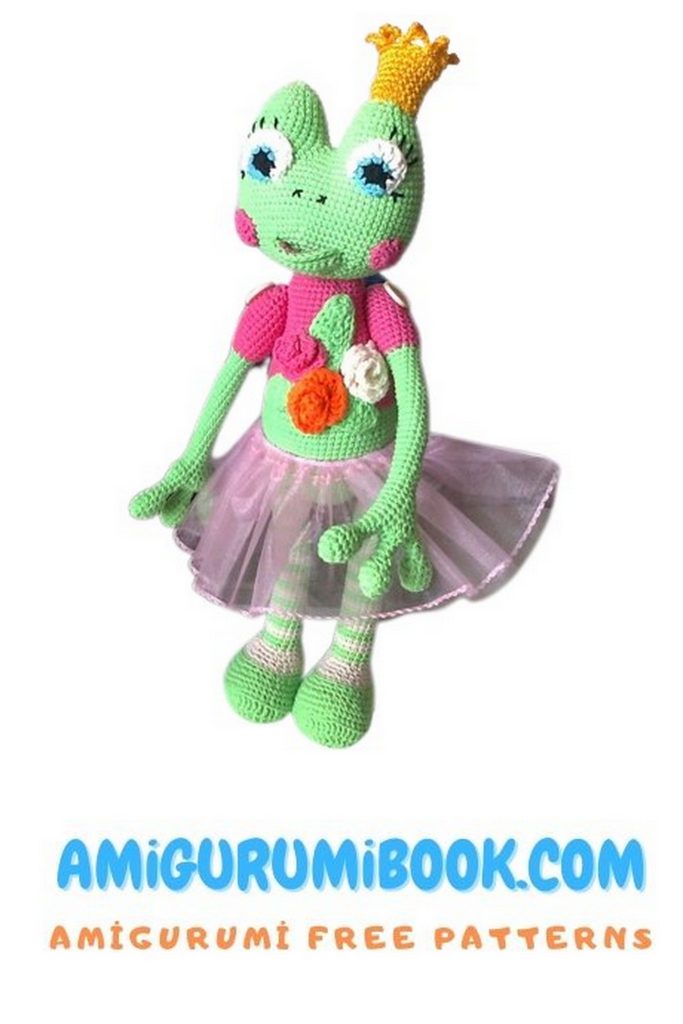
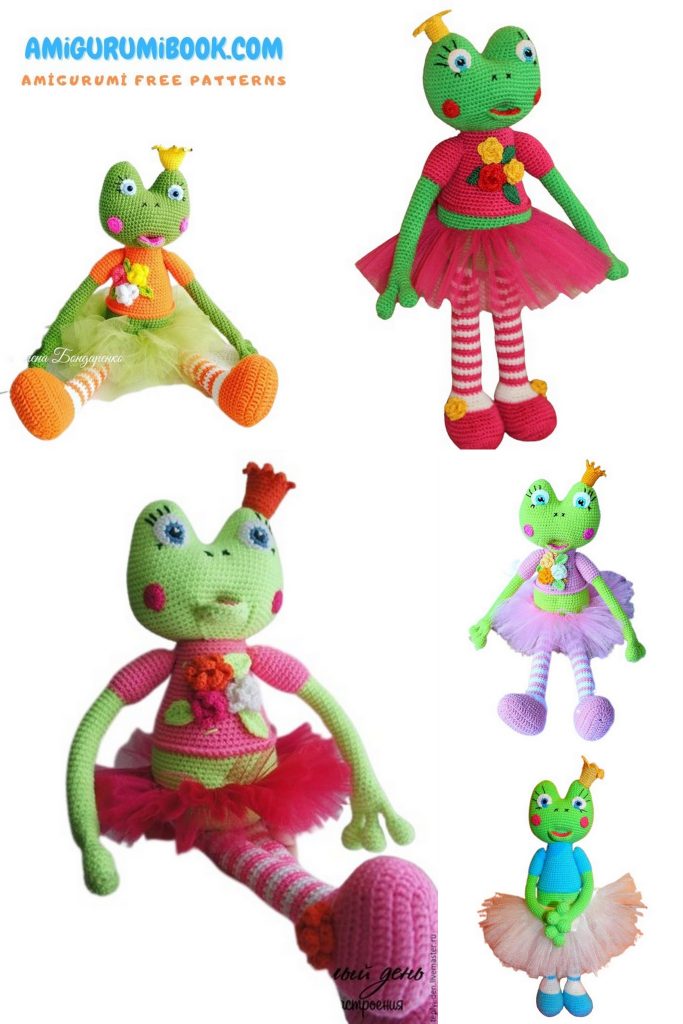
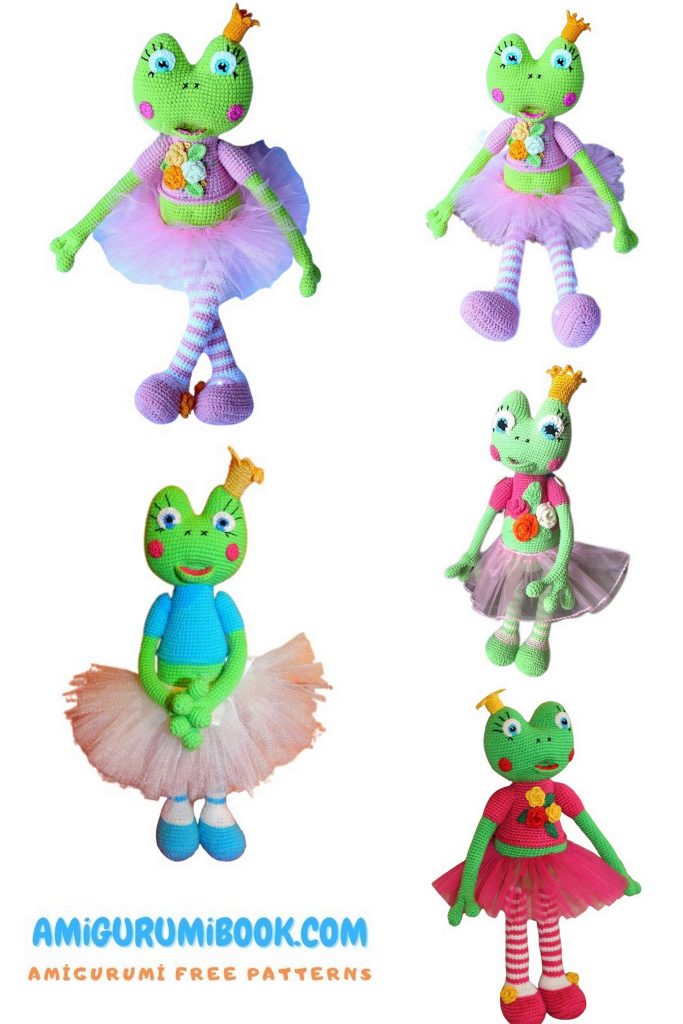
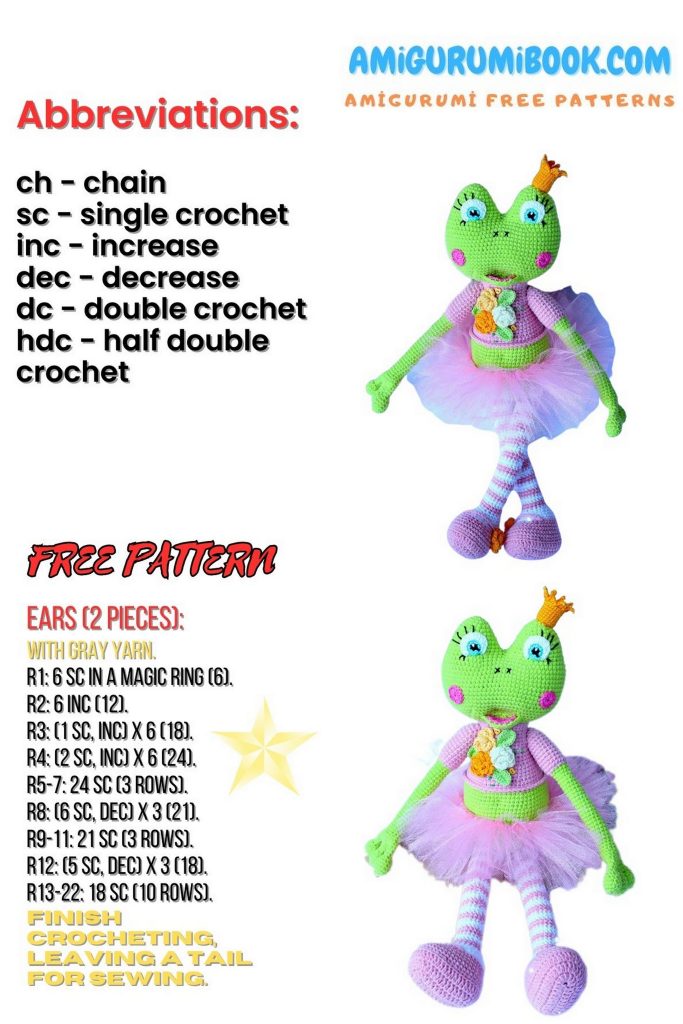
Step into a fairy-tale world with this Princess Frog Amigurumi Free Pattern 🐸👑
This charming crochet project combines cute details, elegant accessories, and a whimsical design that’s perfect for amigurumi lovers of all levels. From her delicate crown and rosy cheeks to her lovely dress and expressive eyes, this princess frog is a joyful handmade toy and a beautiful decorative piece. Follow the step-by-step instructions below to bring this magical frog to life using simple crochet techniques and colorful yarns.
If you want to access 1000+ free amigurumi patterns, you can download our application from this link!
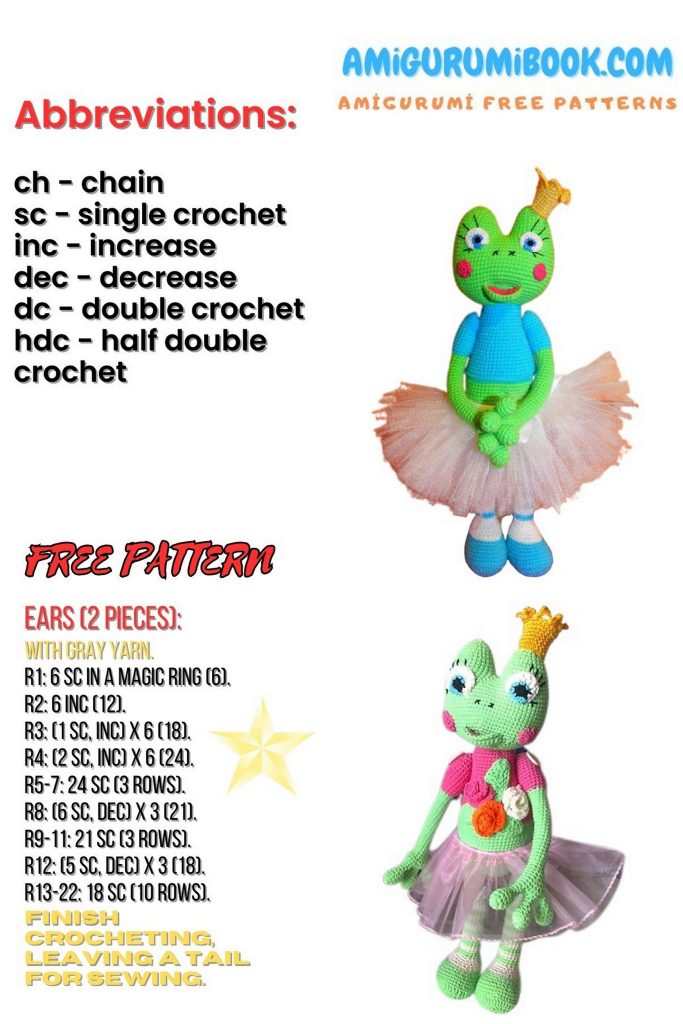
Abbreviations
- ch – chain
- sc – single crochet
- dc – double crochet
- inc – increase (2 sc in one stitch)
- dec – decrease (2 sc together)
Materials & Tools
Yarn
- Alize Cotton Gold
- Green No. 612 (body)
- Bright Pink No. 33 (dress & details)
- White No. 55
- YarnArt Begonia (flowers, crown, eyes): yellow, lemon, white, black, turquoise, pink
Extras
Crochet hook: 2–3 mm
Tulle fabric for skirt
Elastic band
Beads (for crown)
Stuffing (polyester fiberfill)
Thick sewing needle
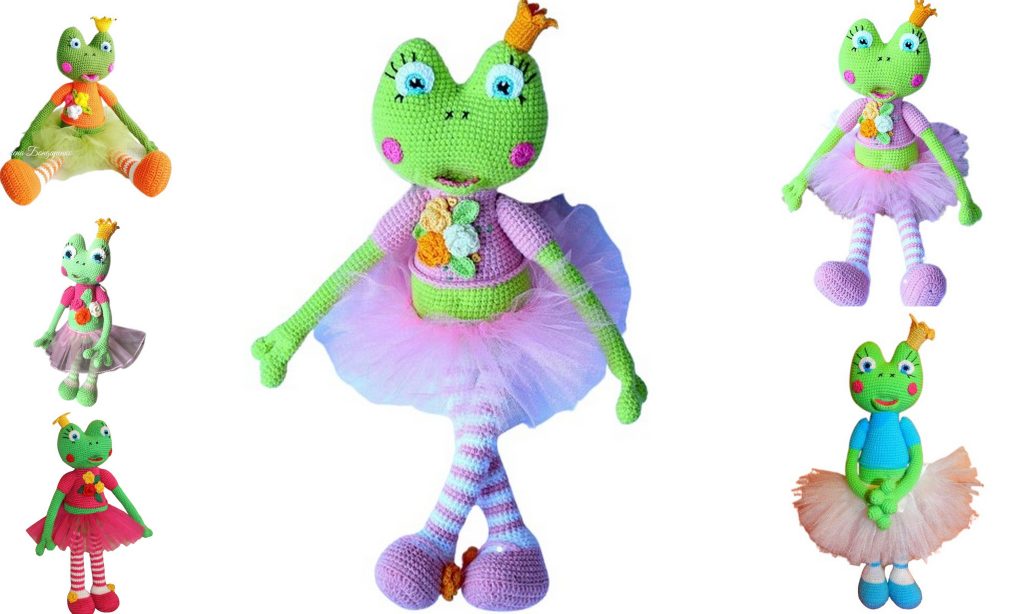
Stage 1: Head
Yarn: Green
Stuff firmly as you crochet.
The head is made from two identical parts, then joined.
Part A & Part B (make 2):
1: 6 SC in MR
2: INC ×6 (12)
3: (1 SC, INC) ×6 (18)
4: 18 SC
5: (2 SC, INC) ×6 (24)
6: 24 SC
7: (3 SC, INC) ×6 (30)
8–10: 30 SC
Joining the Head Parts
11: Join both pieces together and continue crocheting in the round — 60 SC
Place a marker and continue in a spiral.
12: (9 SC, INC) ×6 (66)
13: (10 SC, INC) ×6 (72)
14: (11 SC, INC) ×6 (78)
15–24: 78 SC
Shaping the Head
25: (11 SC, DEC) ×6 (72)
26: (10 SC, DEC) ×6 (66)
27: (9 SC, DEC) ×6 (60)
28: (8 SC, DEC) ×6 (54)
29: (7 SC, DEC) ×6 (48)
30: (6 SC, DEC) ×6 (42)
31: (5 SC, DEC) ×6 (36)
32: (4 SC, DEC) ×6 (30)
33: (3 SC, DEC) ×6 (24)
34: (2 SC, DEC) ×6 (18)
35: (1 SC, DEC) ×6 (12)
Fasten off.
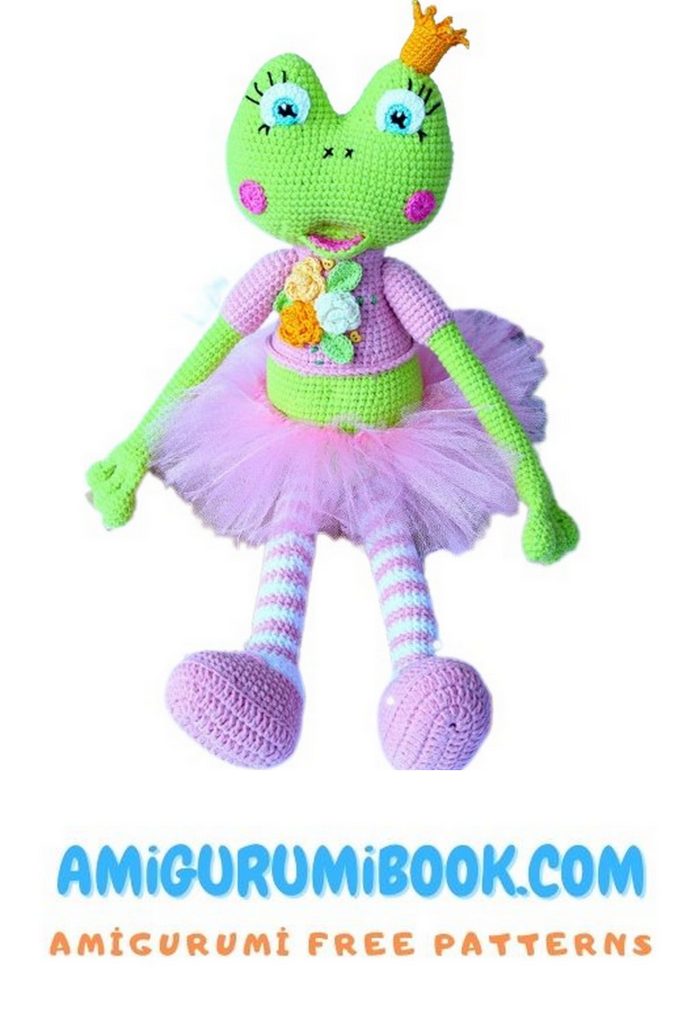
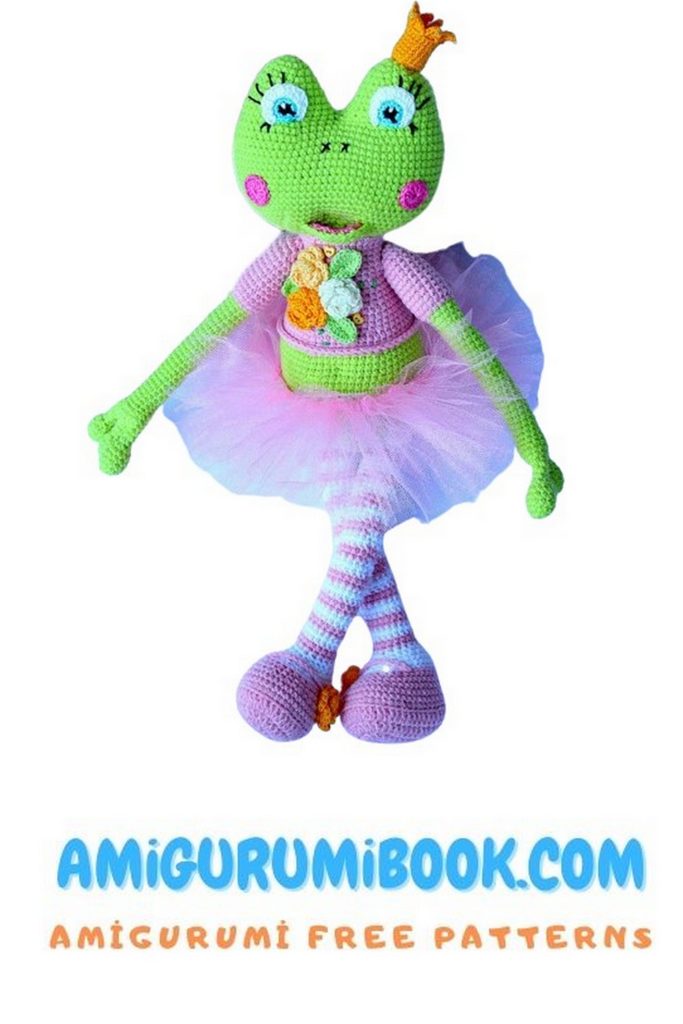
Create a small tightening at the bottom of the head to shape the mouth.
Mouth
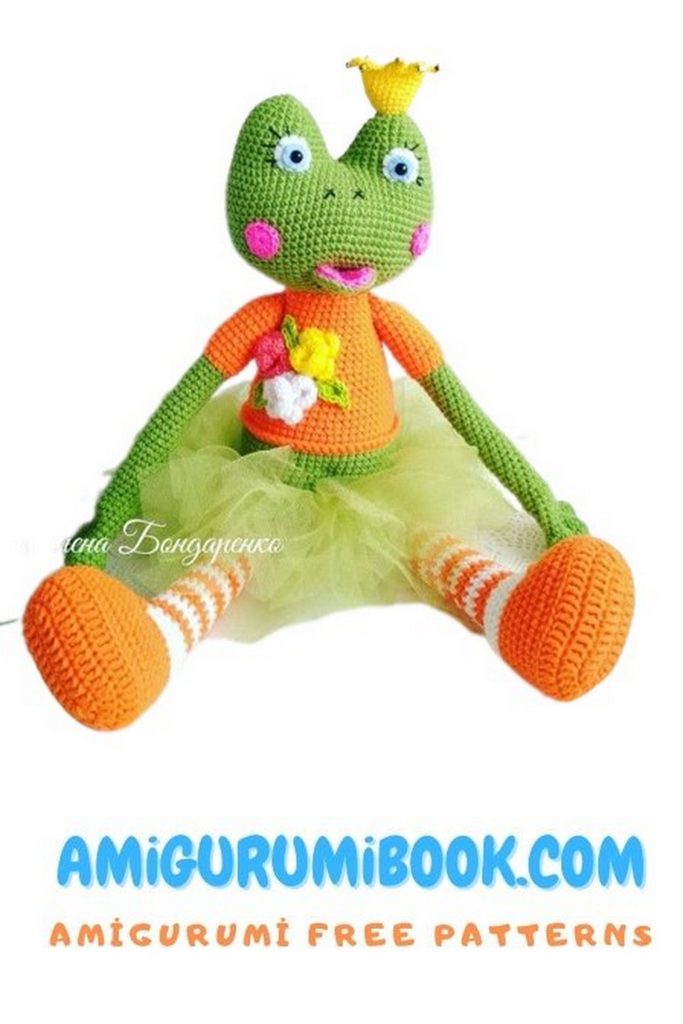
The mouth is made of two parts:
• one in green (same yarn as head)
• one in pink (thinner yarn, e.g. YarnArt Begonia)
Work in turned rows.
Mouth Piece (make 2)
1: Ch 6, INC in 2nd ch from hook, 3 SC, INC in last ch, ch 1, turn
2: 7 SC, ch 1, turn
3: INC, 5 SC, INC, ch 1, turn
4: 9 SC
Fasten off.
Crochet around the piece evenly with SC.
Make the second piece the same way using thinner pink yarn.
Sew both parts together.
Stage 2: Body
Yarn: Green
Stuff firmly as you crochet.
1: 6 SC in MR
2: INC ×6 (12)
3: (1 SC, INC) ×6 (18)
4: (2 SC, INC) ×6 (24)
5: (3 SC, INC) ×6 (30)
6: (4 SC, INC) ×6 (36)
7: (5 SC, INC) ×6 (42)
8: (6 SC, INC) ×6 (48)
9: (7 SC, INC) ×6 (54)
10: (8 SC, INC) ×6 (60)
11: (9 SC, INC) ×6 (66)
12–20: 66 SC
21: (9 SC, DEC) ×6 (60)
22–24: 60 SC
Skirt Base
Change to pink yarn.
25: 60 SC
26: 60 SC in BLO
27: 60 SC
28: (8 SC, DEC) ×6 (54)
29–31: 54 SC
32: (7 SC, DEC) ×6 (48)
33–35: 48 SC
36: (6 SC, DEC) ×6 (42)
37–39: 42 SC
40: (5 SC, DEC) ×6 (36)
41–46: 36 SC
Fasten off, leave a long tail for sewing.
👉 Crochet the remaining front loops of Round 26 with pink yarn.
👉 Add a slight belly tightening around Round 22.
Stage 2: Hind Legs
Shoe (Pink Yarn)
Crochet in the round.
1: Ch 10, ch 3 for turning, INC with SC in 4th ch from hook, 8 SC,
6 SC in last ch, continue on opposite side of the chain, 8 SC,
INC with SC, SL ST to close round
2: Ch 3, INC, 1 SC, INC, 6 SC, INC, 1 SC,
5 INC, 1 SC, INC, 6 SC, INC, 1 SC, INC, SL ST
3: INC, 2 SC, INC, 10 SC, INC, 2 SC,
3 INC, 2 SC, INC, 10 SC, INC, 2 SC, 2 INC, SL ST (48)
4: 48 SC in BLO
5–6: 48 SC
7: 15 SC, (1 SC, DEC) ×6, 15 SC (42)
8: 42 SC
9: 12 SC, (1 SC, DEC) ×6, 12 SC (36)
Leg (Make 2)
Change to white yarn.
(You may alternate colors every 2 rounds if desired.)
10: 36 SC in BLO
11: 12 SC, 6 DEC, 12 SC (30)
12: 30 SC
13: (3 SC, DEC) ×6 (24)
14: (2 SC, DEC) ×6 (18)
15–52: 18 SC (38 rounds)
53: (1 SC, DEC) ×6 (12)
54: 12 SC
55: 6 DEC
Fasten off, leave a long tail for sewing.
Stage 3: Front Paws
Yarn: Green
Each paw is made of three fingers, then joined.
Fingers (Make 3 per paw)
1: 6 SC in MR
2: INC ×6 (12)
3–5: 12 SC
6: DEC ×6 (6)
7–9: 6 SC
Do not fasten off the last finger.
Joining Fingers
10: Join all three fingers — 18 SC total
Place marker and continue in the round.
11–12: 18 SC
13: (1 SC, DEC) ×6 (12)
14–38: 12 SC (25 rounds)
Change to pink yarn, stuff lightly.
39: (1 SC, INC) ×6 (18)
40–49: 18 SC
50: (1 SC, DEC) ×6 (12)
51: 12 SC
52: 6 DEC
Pull tight, close opening, fasten off, leave tail for sewing.
Stage 4: Eyes
Use thin yarn (e.g. YarnArt Begonia).
1: With black yarn, 6 SC in MR
2: Change to blue, INC ×6 (12)
3: Change to white:
INC with SC,
INC with HDC,
5 INC with DC,
INC with HDC,
INC with SC
Attach eyes to head.
Embroider eyelashes and nostrils if desired.
Cheeks: 12 SC in MR, sew to face.
Stage 5: Crown
Yarn: Thin yellow
1: Ch 18, join into a ring
2: Ch 1, 18 SC, SL ST
3–5: Ch 1, 18 SC, SL ST
6: Ch 1, (2 SC, INC) ×6, SL ST (24)
7: Ch 1, 24 SC, SL ST
Crown Points (8 total)
For each point:
- SL ST into next base stitch
- Ch 5
- SL ST in 2nd ch from hook
- SC, HDC, 5 DC, HDC, SC
- SL ST ×2 into base
Sew crown to head.
Decorate with yellow beads if desired.
Stage 6: Finishing & Assembly
• Sew head to body
• Attach front paws and hind legs
• Hind legs can be attached with buttons so the doll can sit
• Crochet and attach rose appliqués
• Make a gathered skirt from tulle and elastic
🎉 Princess Frog Amigurumi is complete!