
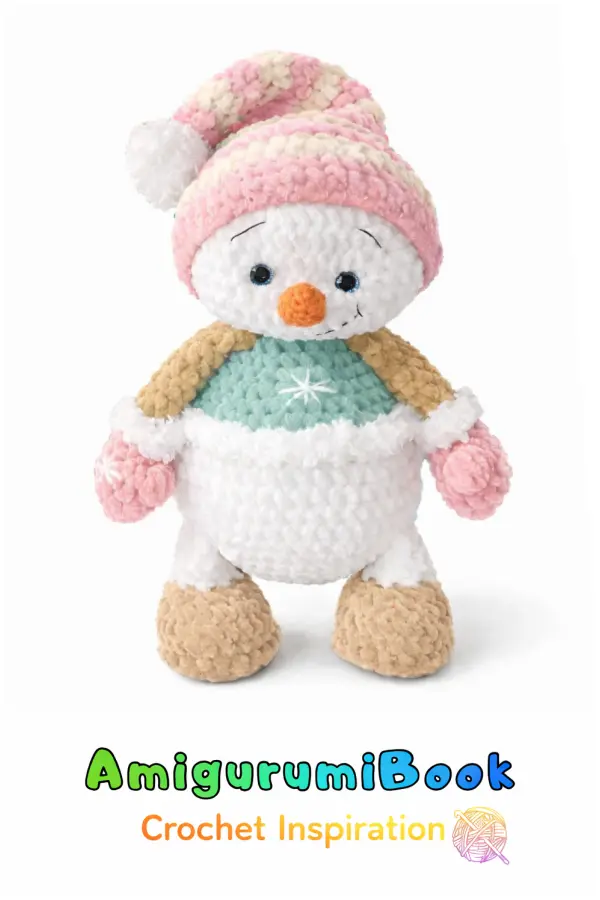
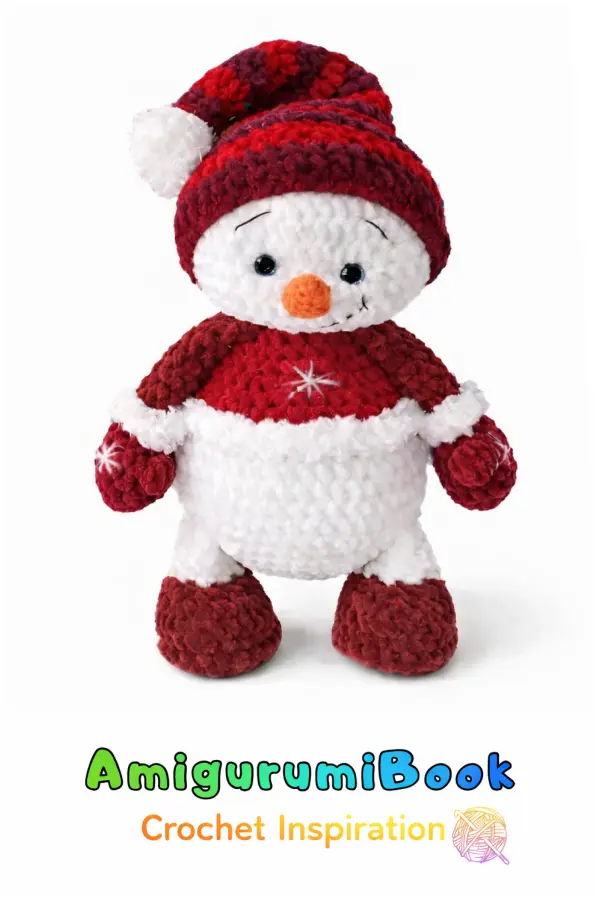
Soft plush yarn, cheerful rainbow colors, and an instantly lovable snowman shape — this rainbow snowman amigurumi brings pure joy at first glance.
Designed with smooth shaping and clear construction, this rainbow snowman amigurumi crochet pattern walks you step by step through each part, from the head and body to the arms, legs, hat, and finishing details. The pattern focuses on clean results without unnecessary complexity, making the process enjoyable and satisfying.
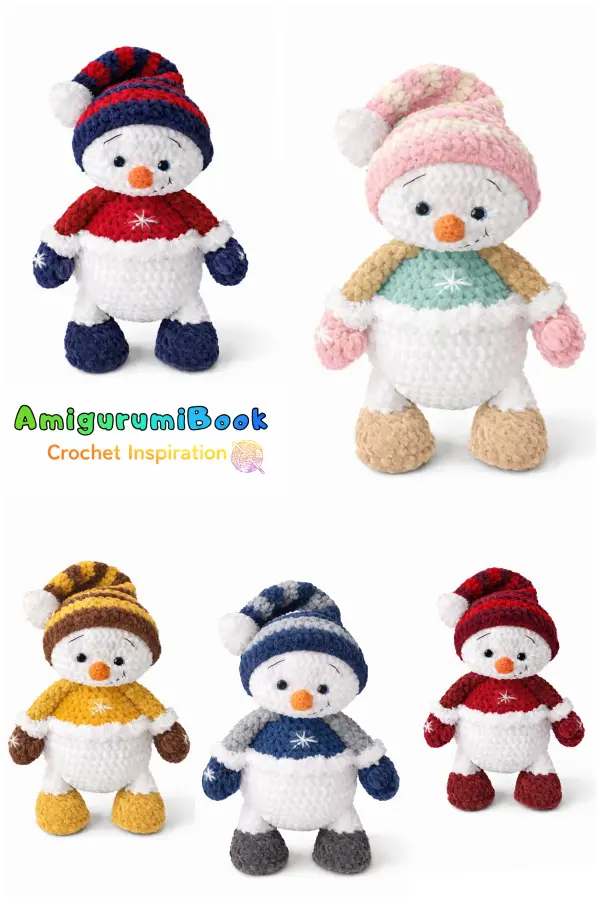
Perfect for handmade winter gifts, festive decor, or adding a colorful touch to your amigurumi collection, this snowman works up beautifully with plush yarn and allows plenty of room for creative color choices.
🧶 MATERIALS
- Plush yarn in rainbow colors (used in sequence for body and head)
- Small amount of orange yarn (nose)
- Black yarn or safety eyes for eyes
- Crochet hook suitable for plush yarn
- Fiberfill stuffing
- Yarn needle
- Scissors
- Stitch marker
Note:
The color order follows the rainbow sequence shown in the photos.
Change colors exactly where indicated in the pattern.
🧵 ABBREVIATIONS (US TERMS)
- MR: magic ring
- ch: chain
- sc: single crochet
- inc: increase (2 sc in one stitch)
- dec: decrease
- sl st: slip stitch
- (…) × n: repeat instructions in brackets n times
- ( ) = stitch count at the end of the round
🦵 LEGS (make 2)
1: 6 sc in MR (6)
2: inc × 6 (12)
3: (1 sc, inc) × 6 (18)
4: (2 sc, inc) × 6 (24)
5: 24 sc
6: 24 sc
7: 24 sc
8: 24 sc
Fasten off the first leg.
Make the second leg without cutting the yarn.
9: Join both legs. Crochet 2 ch, attach to the first leg, continue crocheting around both legs – 48 sc
🧍 BODY
(color changes follow the rainbow sequence exactly)
10: 48 sc
11: (7 sc, inc) × 6 (54)
12: 54 sc
13: 54 sc
14: 54 sc
15: (7 sc, dec) × 6 (48)
16: 48 sc
17: (6 sc, dec) × 6 (42)
18: 42 sc
19: (5 sc, dec) × 6 (36)
20: 36 sc
21: 36 sc
22: 36 sc
Stuff the body firmly at this stage.
23: (4 sc, dec) × 6 (30)
24: (3 sc, dec) × 6 (24)
Do not fasten off. Continue directly to the head.

🧠 HEAD
(continue from the body; color changes follow the same rainbow order as in the photos)
25: (2 sc, inc) × 8 (32)
26: (3 sc, inc) × 8 (40)
27: (4 sc, inc) × 8 (48)
28: 48 sc
29: 48 sc
30: 48 sc
31: 48 sc
Insert eyes between rows 29–30.
Leave 7–8 stitches between the eyes.
Adjust slightly if you prefer a wider or narrower expression.
32: 48 sc
33: (4 sc, dec) × 8 (40)
34: (3 sc, dec) × 8 (32)
Stuff the head firmly and shape it evenly before continuing.
35: (2 sc, dec) × 8 (24)
36: (1 sc, dec) × 8 (16)
37: dec × 8 (8)
Fasten off. Close the opening tightly and hide the yarn tail inside the head.
💪 ARMS (make 2)
1: 6 sc in MR (6)
2: inc × 6 (12)
3: 12 sc
4: 12 sc
5: 12 sc
6: 12 sc
Lightly stuff the arm.
7: Fold the piece in half and crochet 6 sc through both layers to close.
Fasten off, leaving a long tail for sewing.
🥕 NOSE
Color: Orange
1: 4 sc in MR (4)
2: (1 sc, inc) × 2 (6)
3: 6 sc
4: 6 sc
Lightly stuff the nose.
Sew it centered between the eyes, slightly below them.
🎩 HAT
1: 6 sc in MR (6)
2: inc × 6 (12)
3: (1 sc, inc) × 6 (18)
4: (2 sc, inc) × 6 (24)
5: 24 sc
6: 24 sc
7: 24 sc
8: 24 sc
Fasten off.
Do not stuff the hat.
🧶 POMPOM
Wrap yarn several times around two fingers.
Tie tightly in the center, remove from fingers, and cut loops.
Trim evenly to form a round pompom.
Sew the pompom to the top of the hat.
🧵 ASSEMBLY
1: Sew the arms to the sides of the body, just below the head.
2: Attach the nose between the eyes.
3: Embroider a small smile with black yarn.
4: Place the hat on the head and secure it with a few stitches if needed.
5: Adjust stuffing and shape the snowman gently by hand.
✅ FINAL NOTES
- Change colors strictly following the rainbow sequence shown in the photos
- Stuff firmly but do not overstretch stitches
- Tight stitches give the best plush result
- All parts are sewn symmetrically for a balanced look