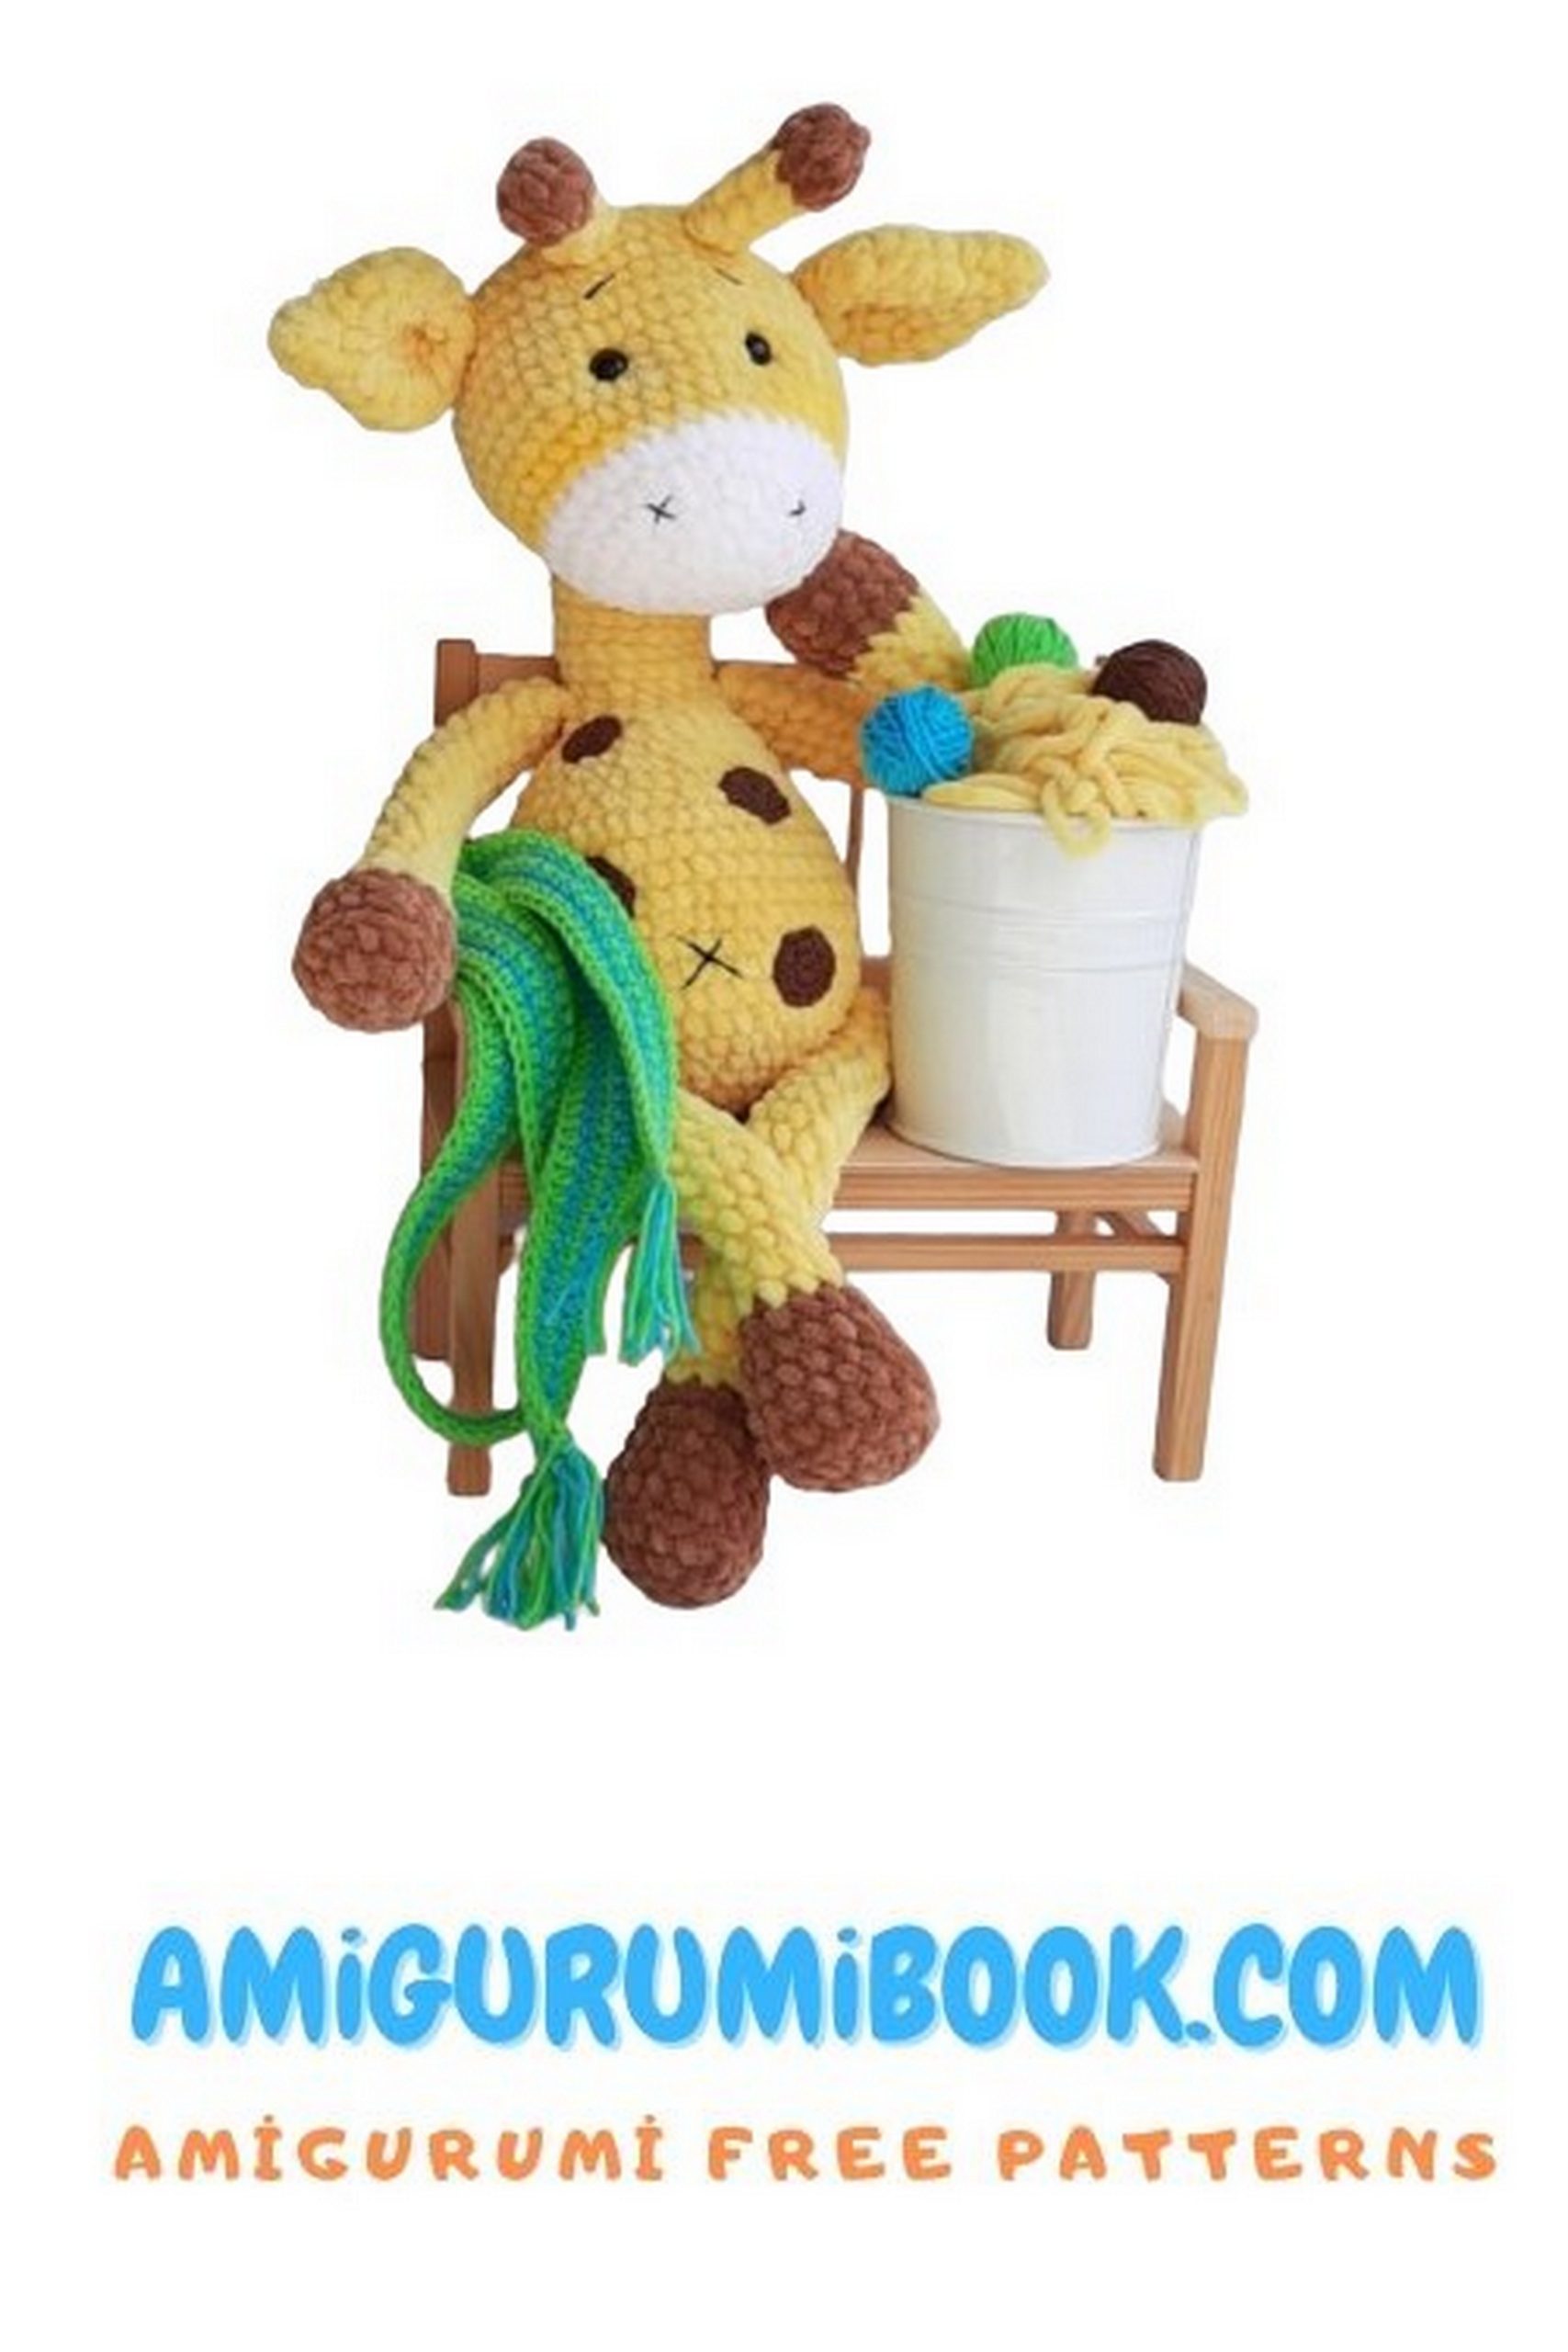
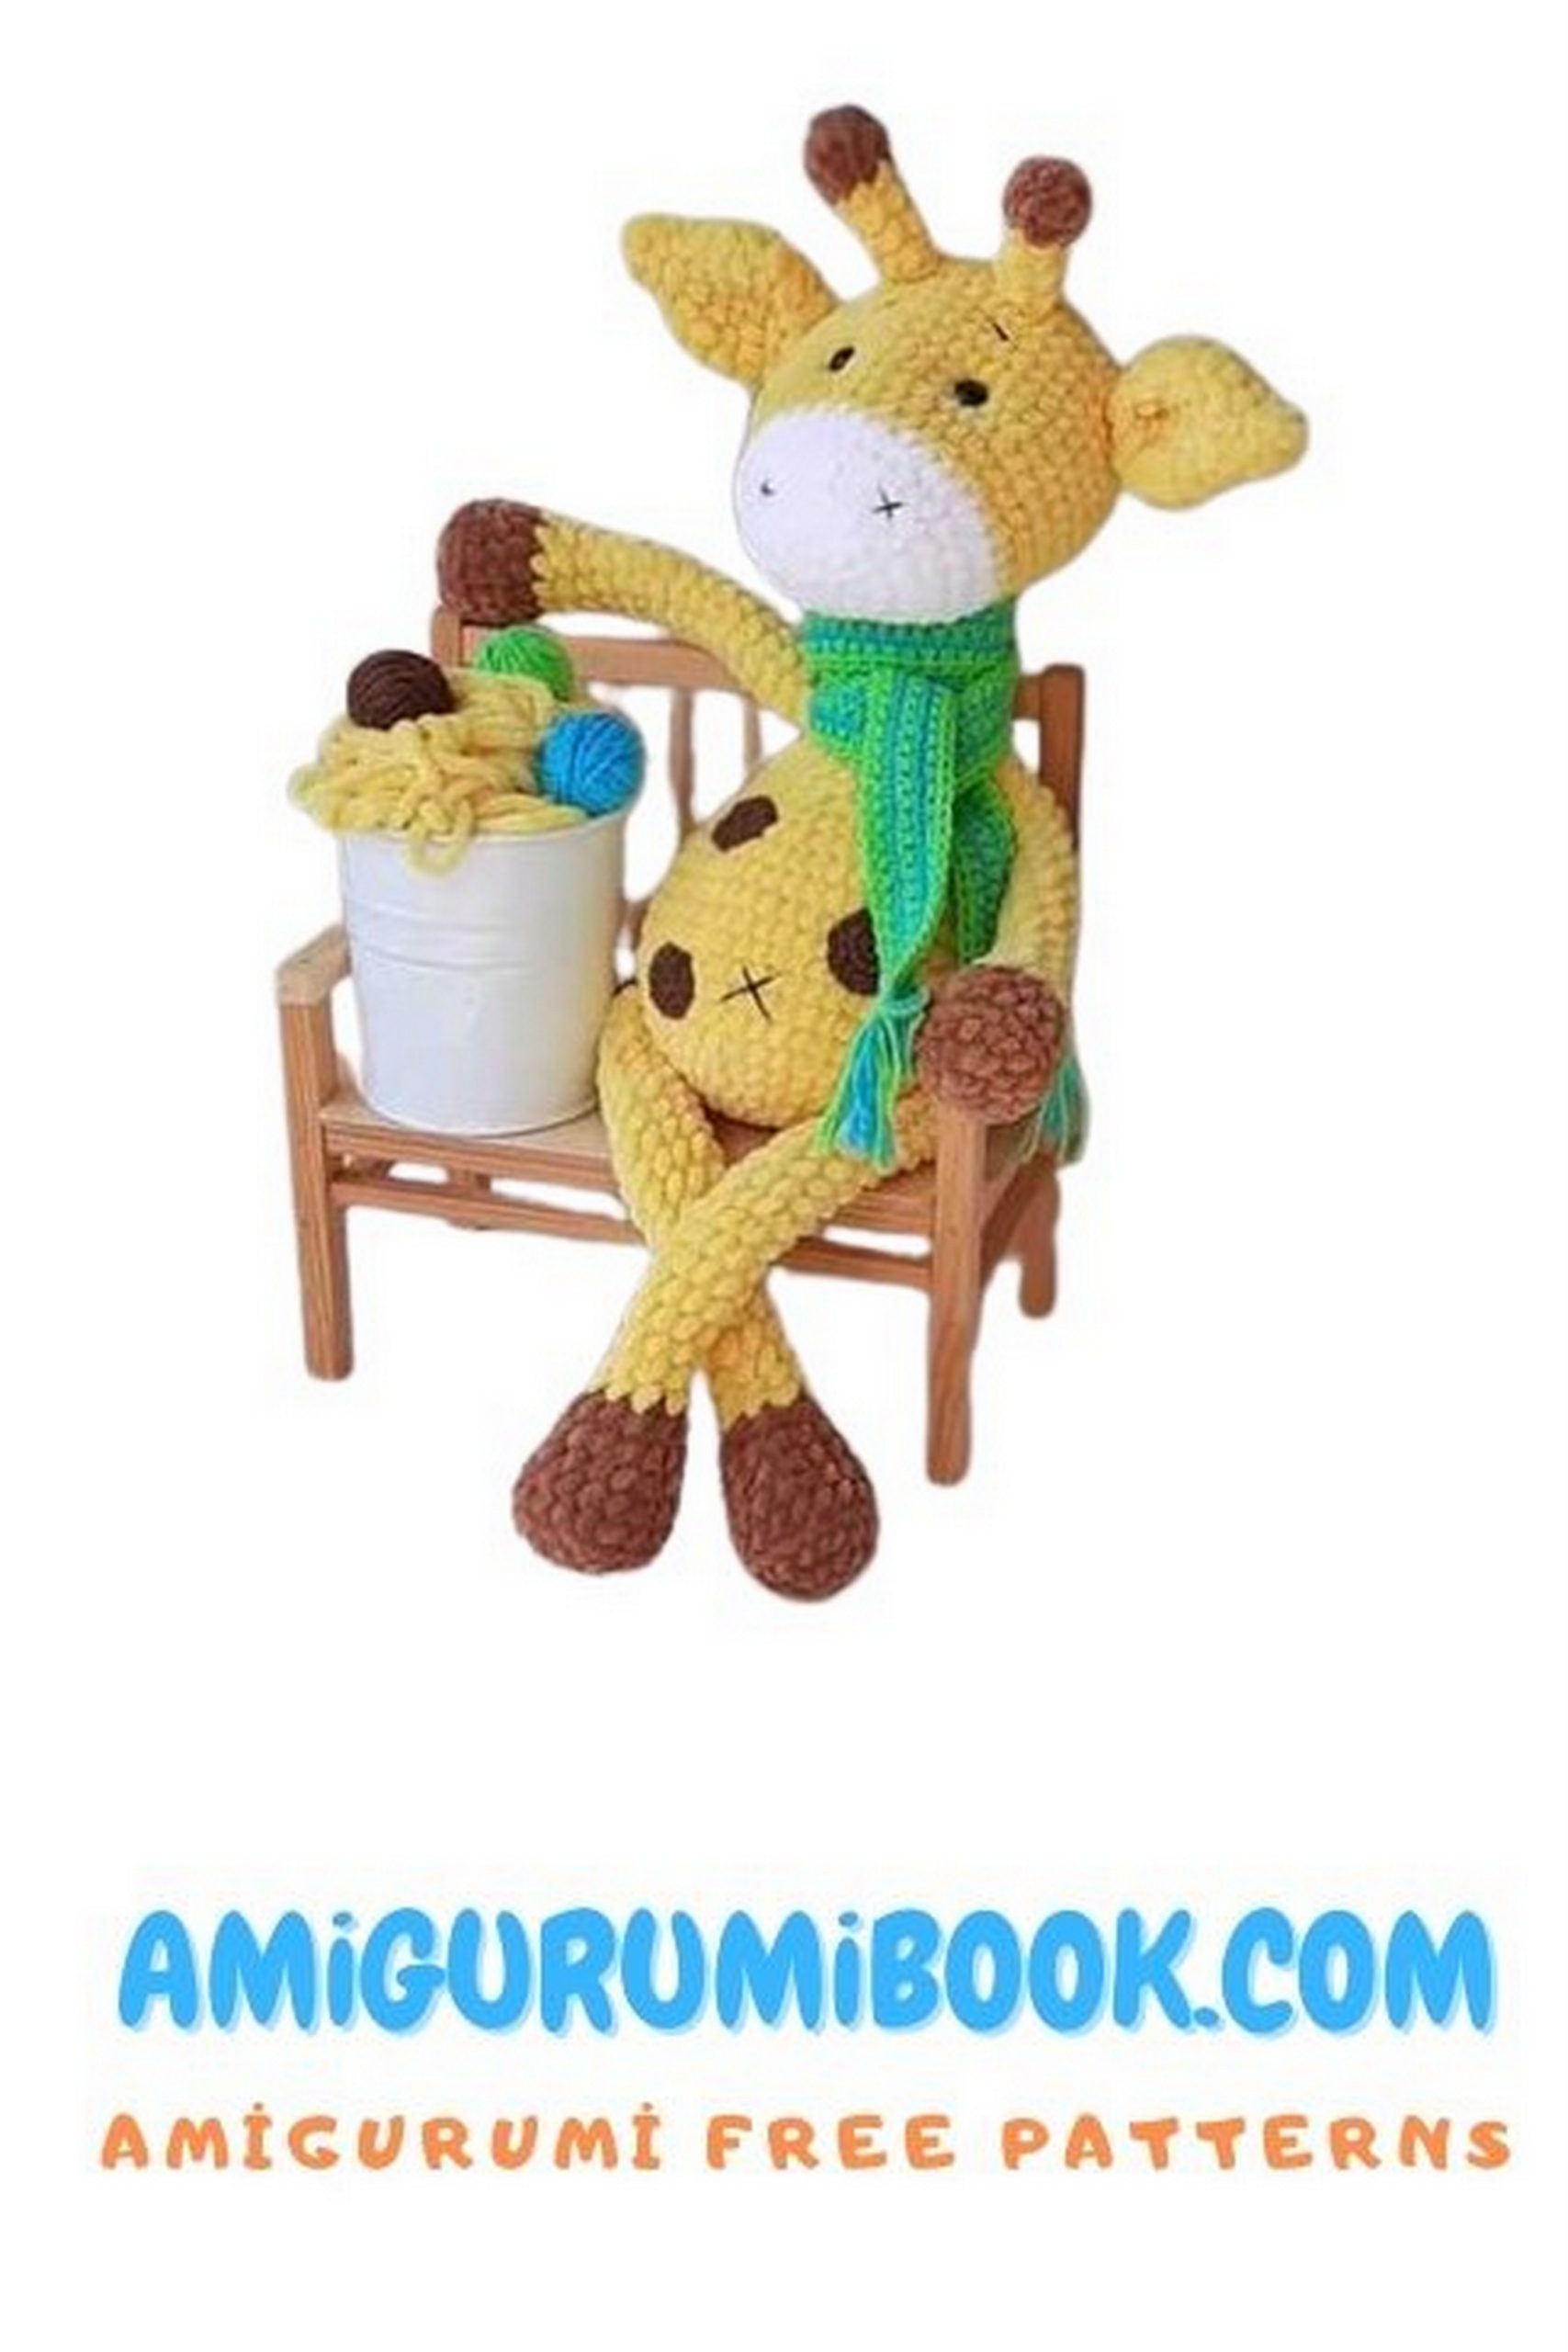
Discover the joy of creating a charming Scarf Giraffe Amigurumi with this easy-to-follow crochet tutorial. Perfect for both beginners and experienced crafters, this free pattern guides you step-by-step to make an adorable handmade giraffe accessory. free crochet patterns
You may also like more amigurumi patterns.
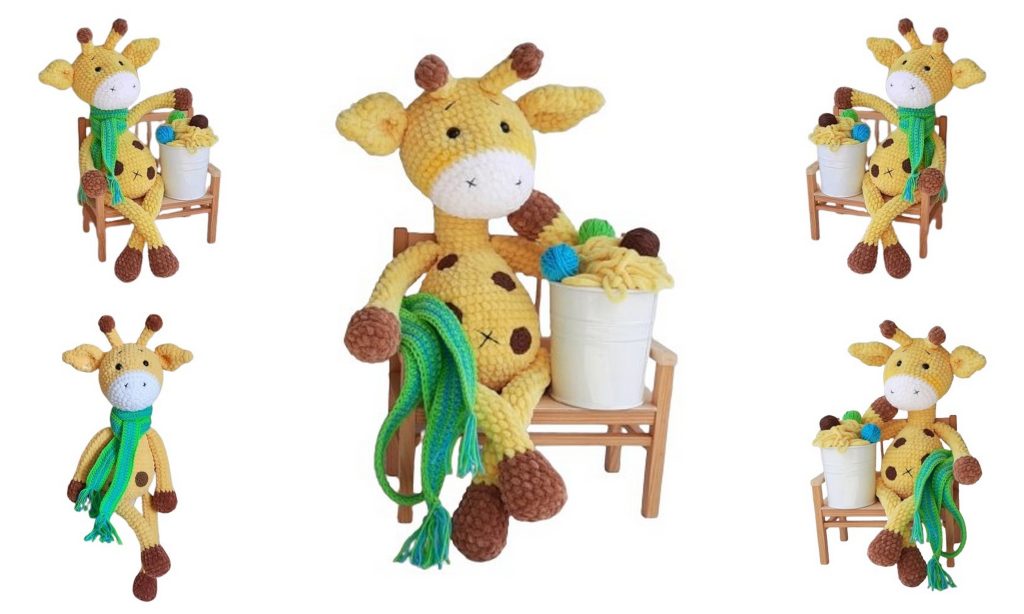
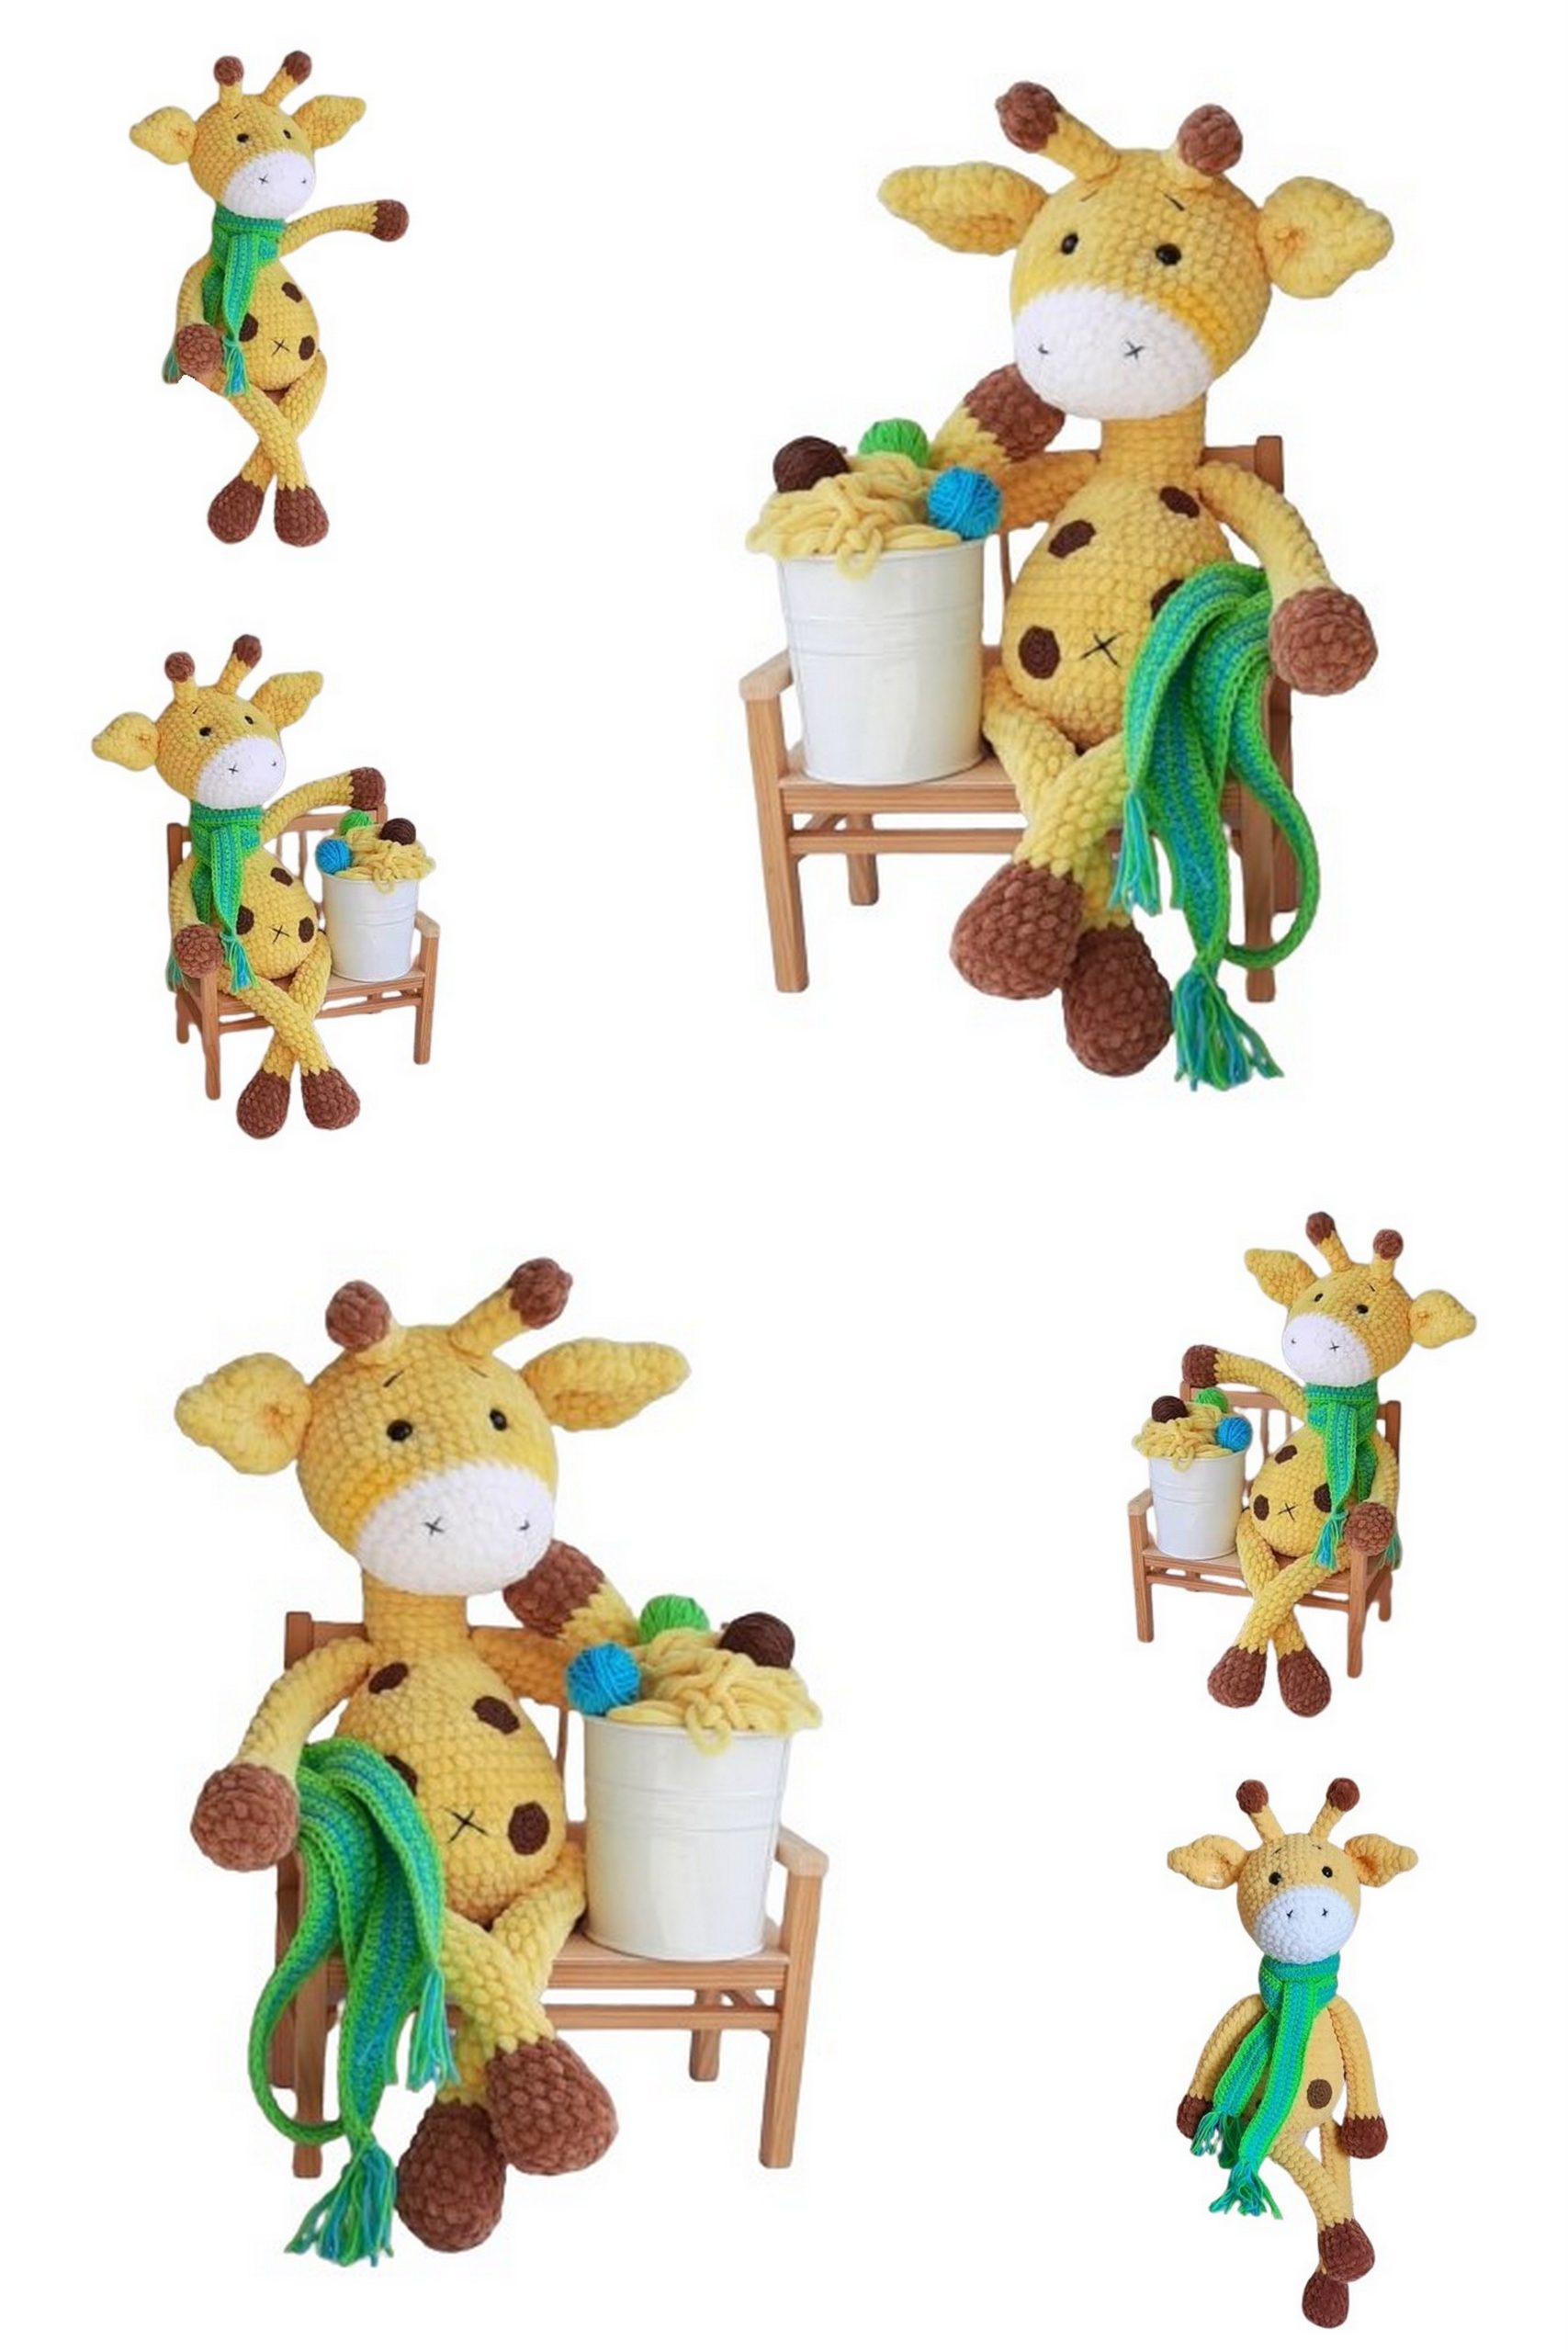
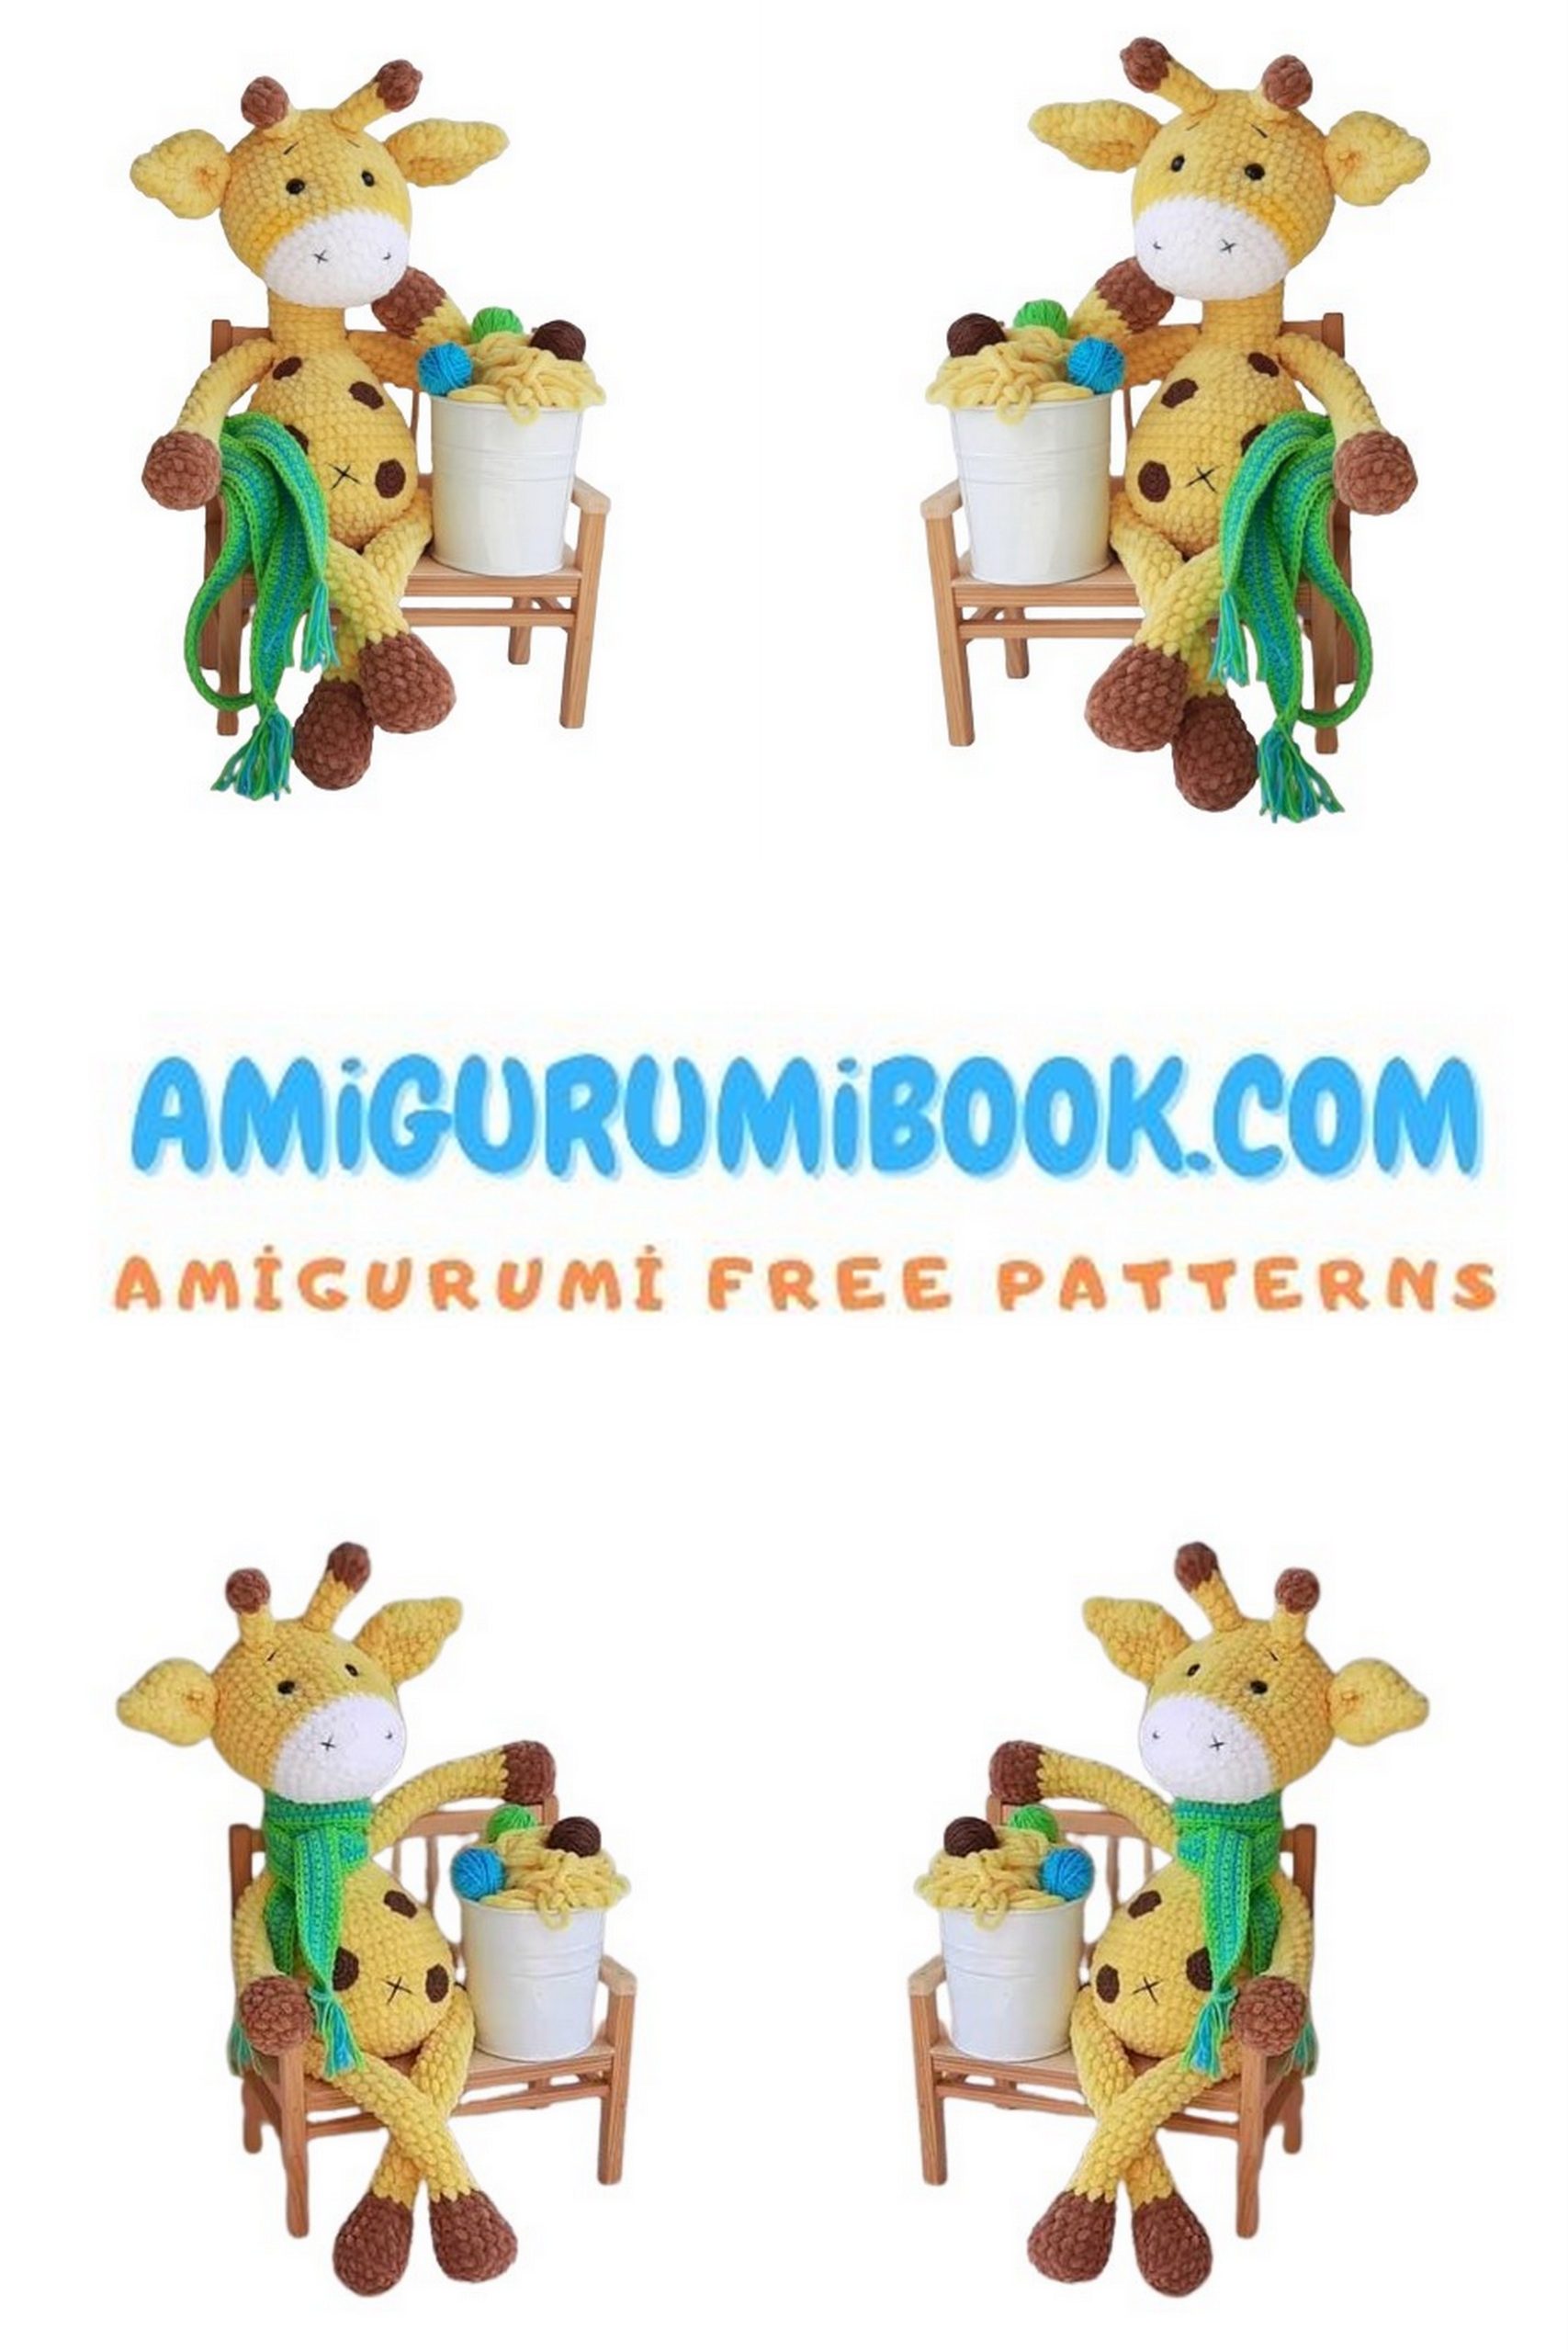
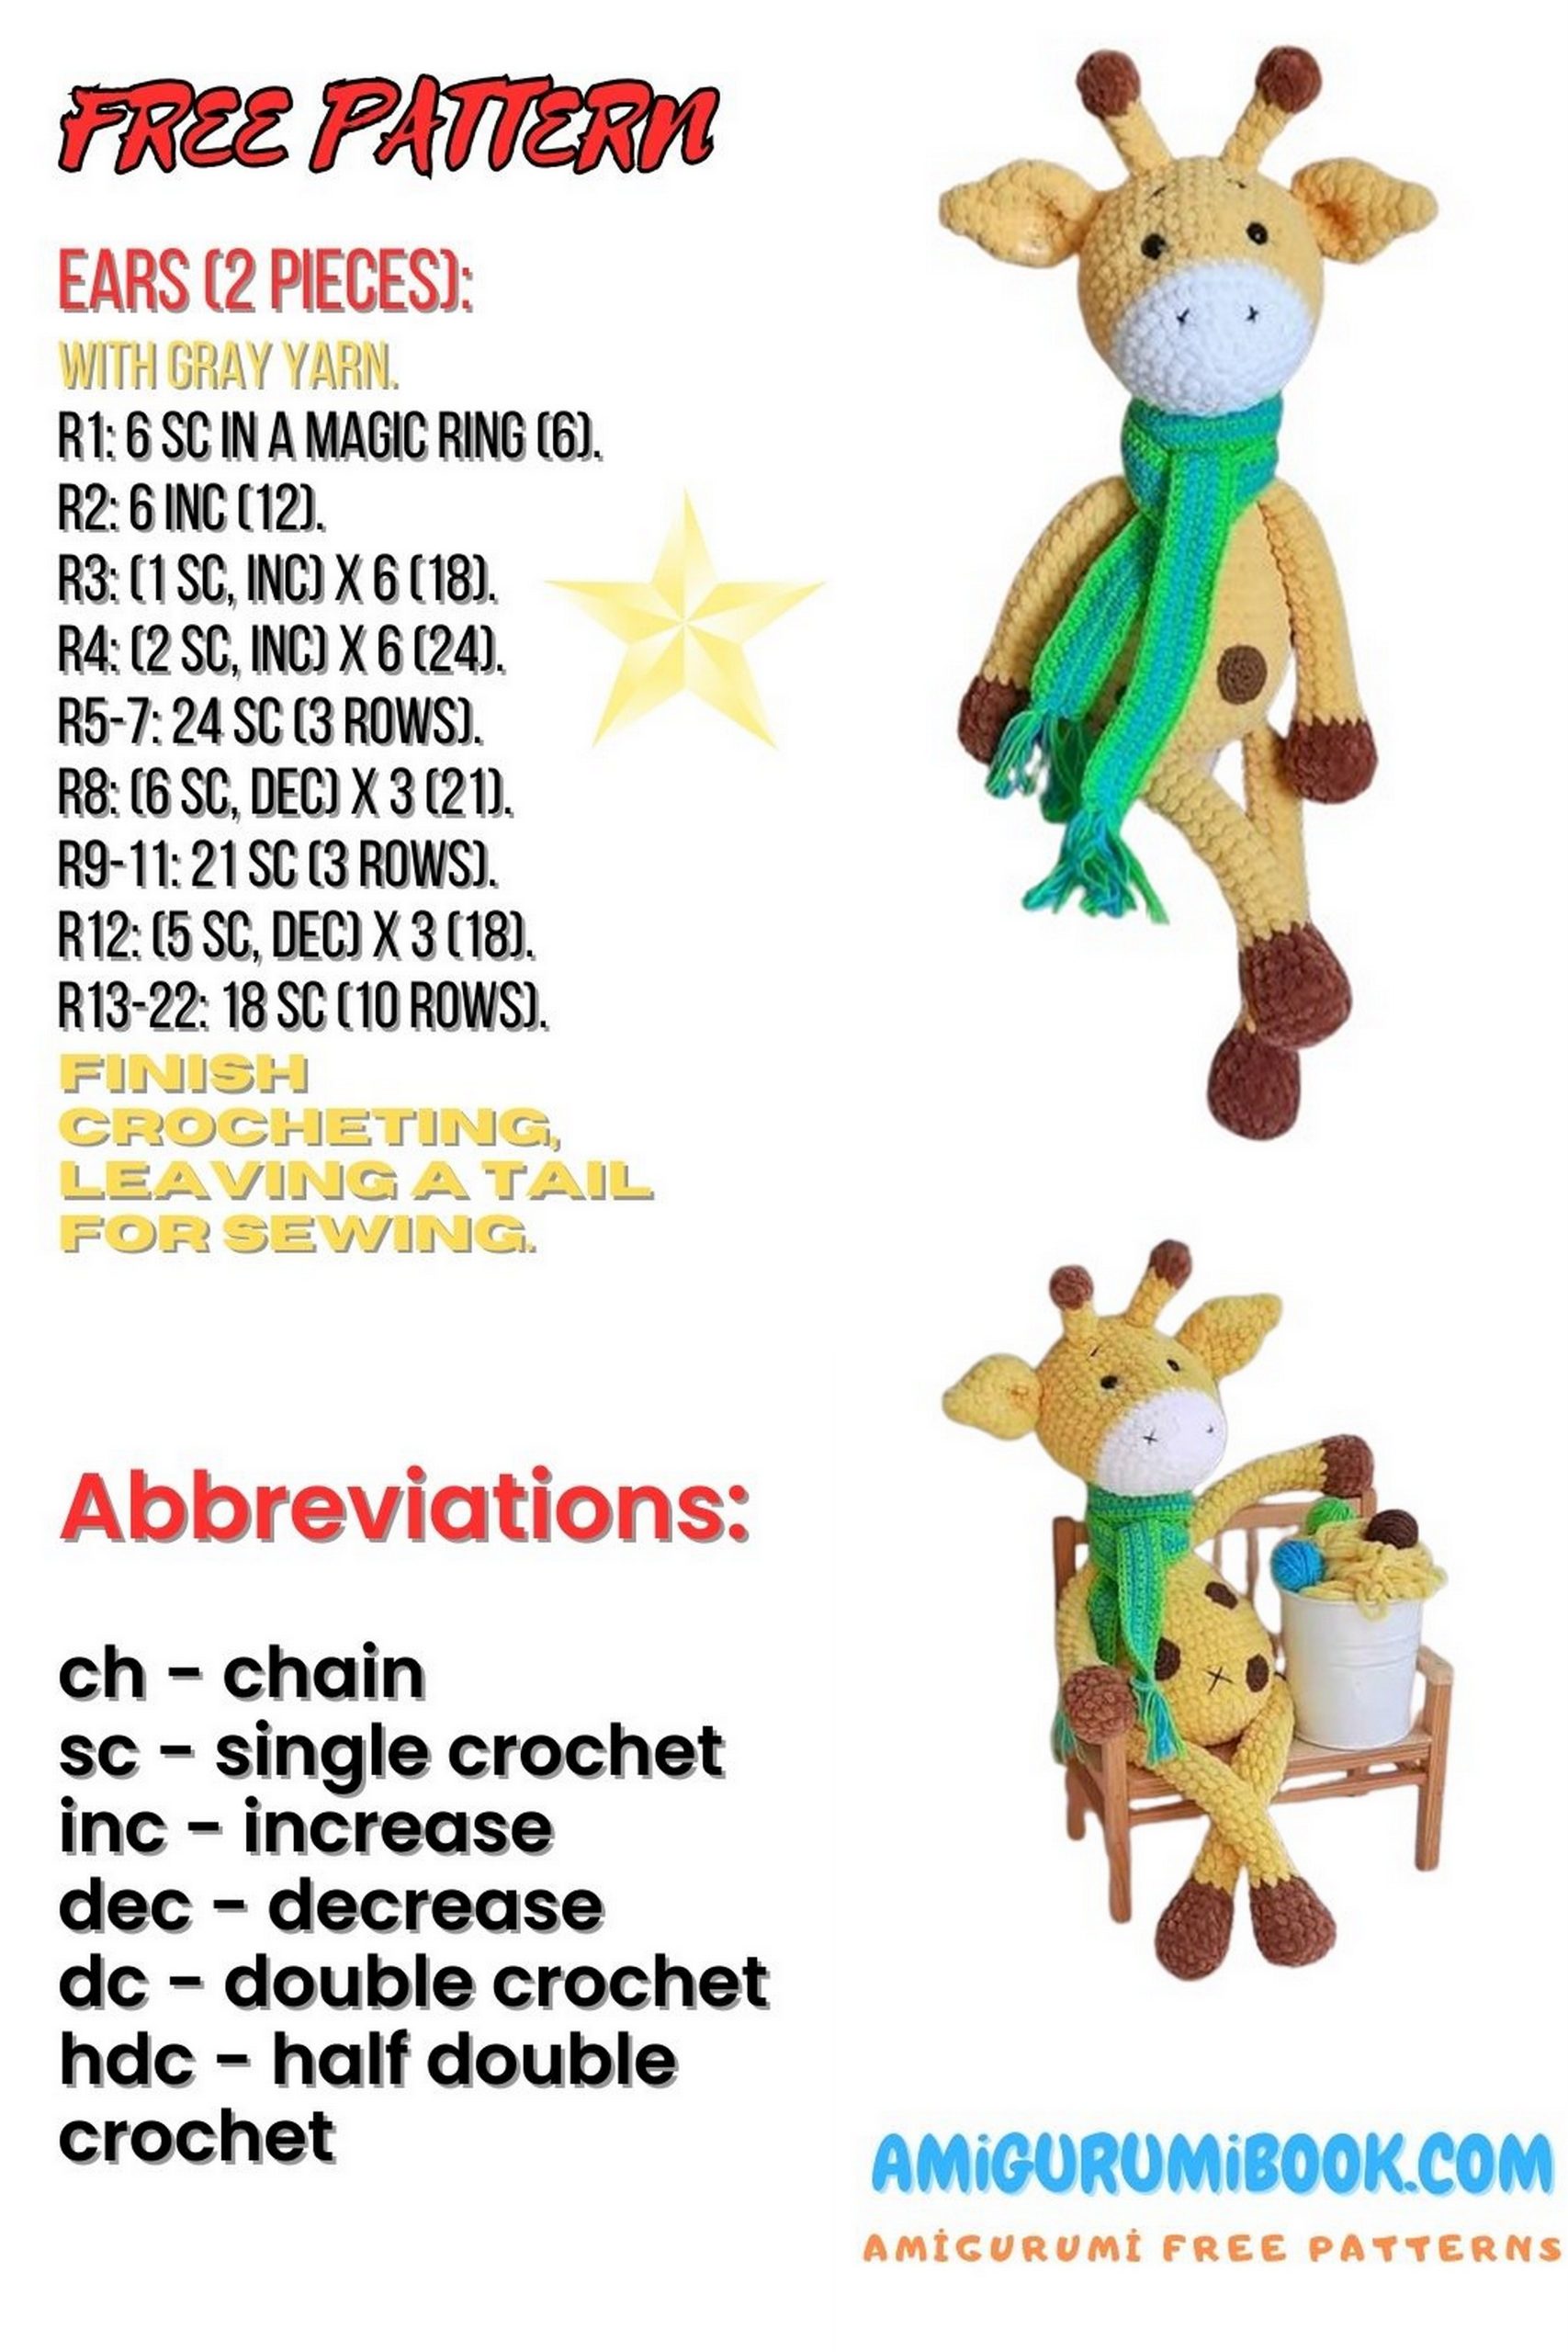
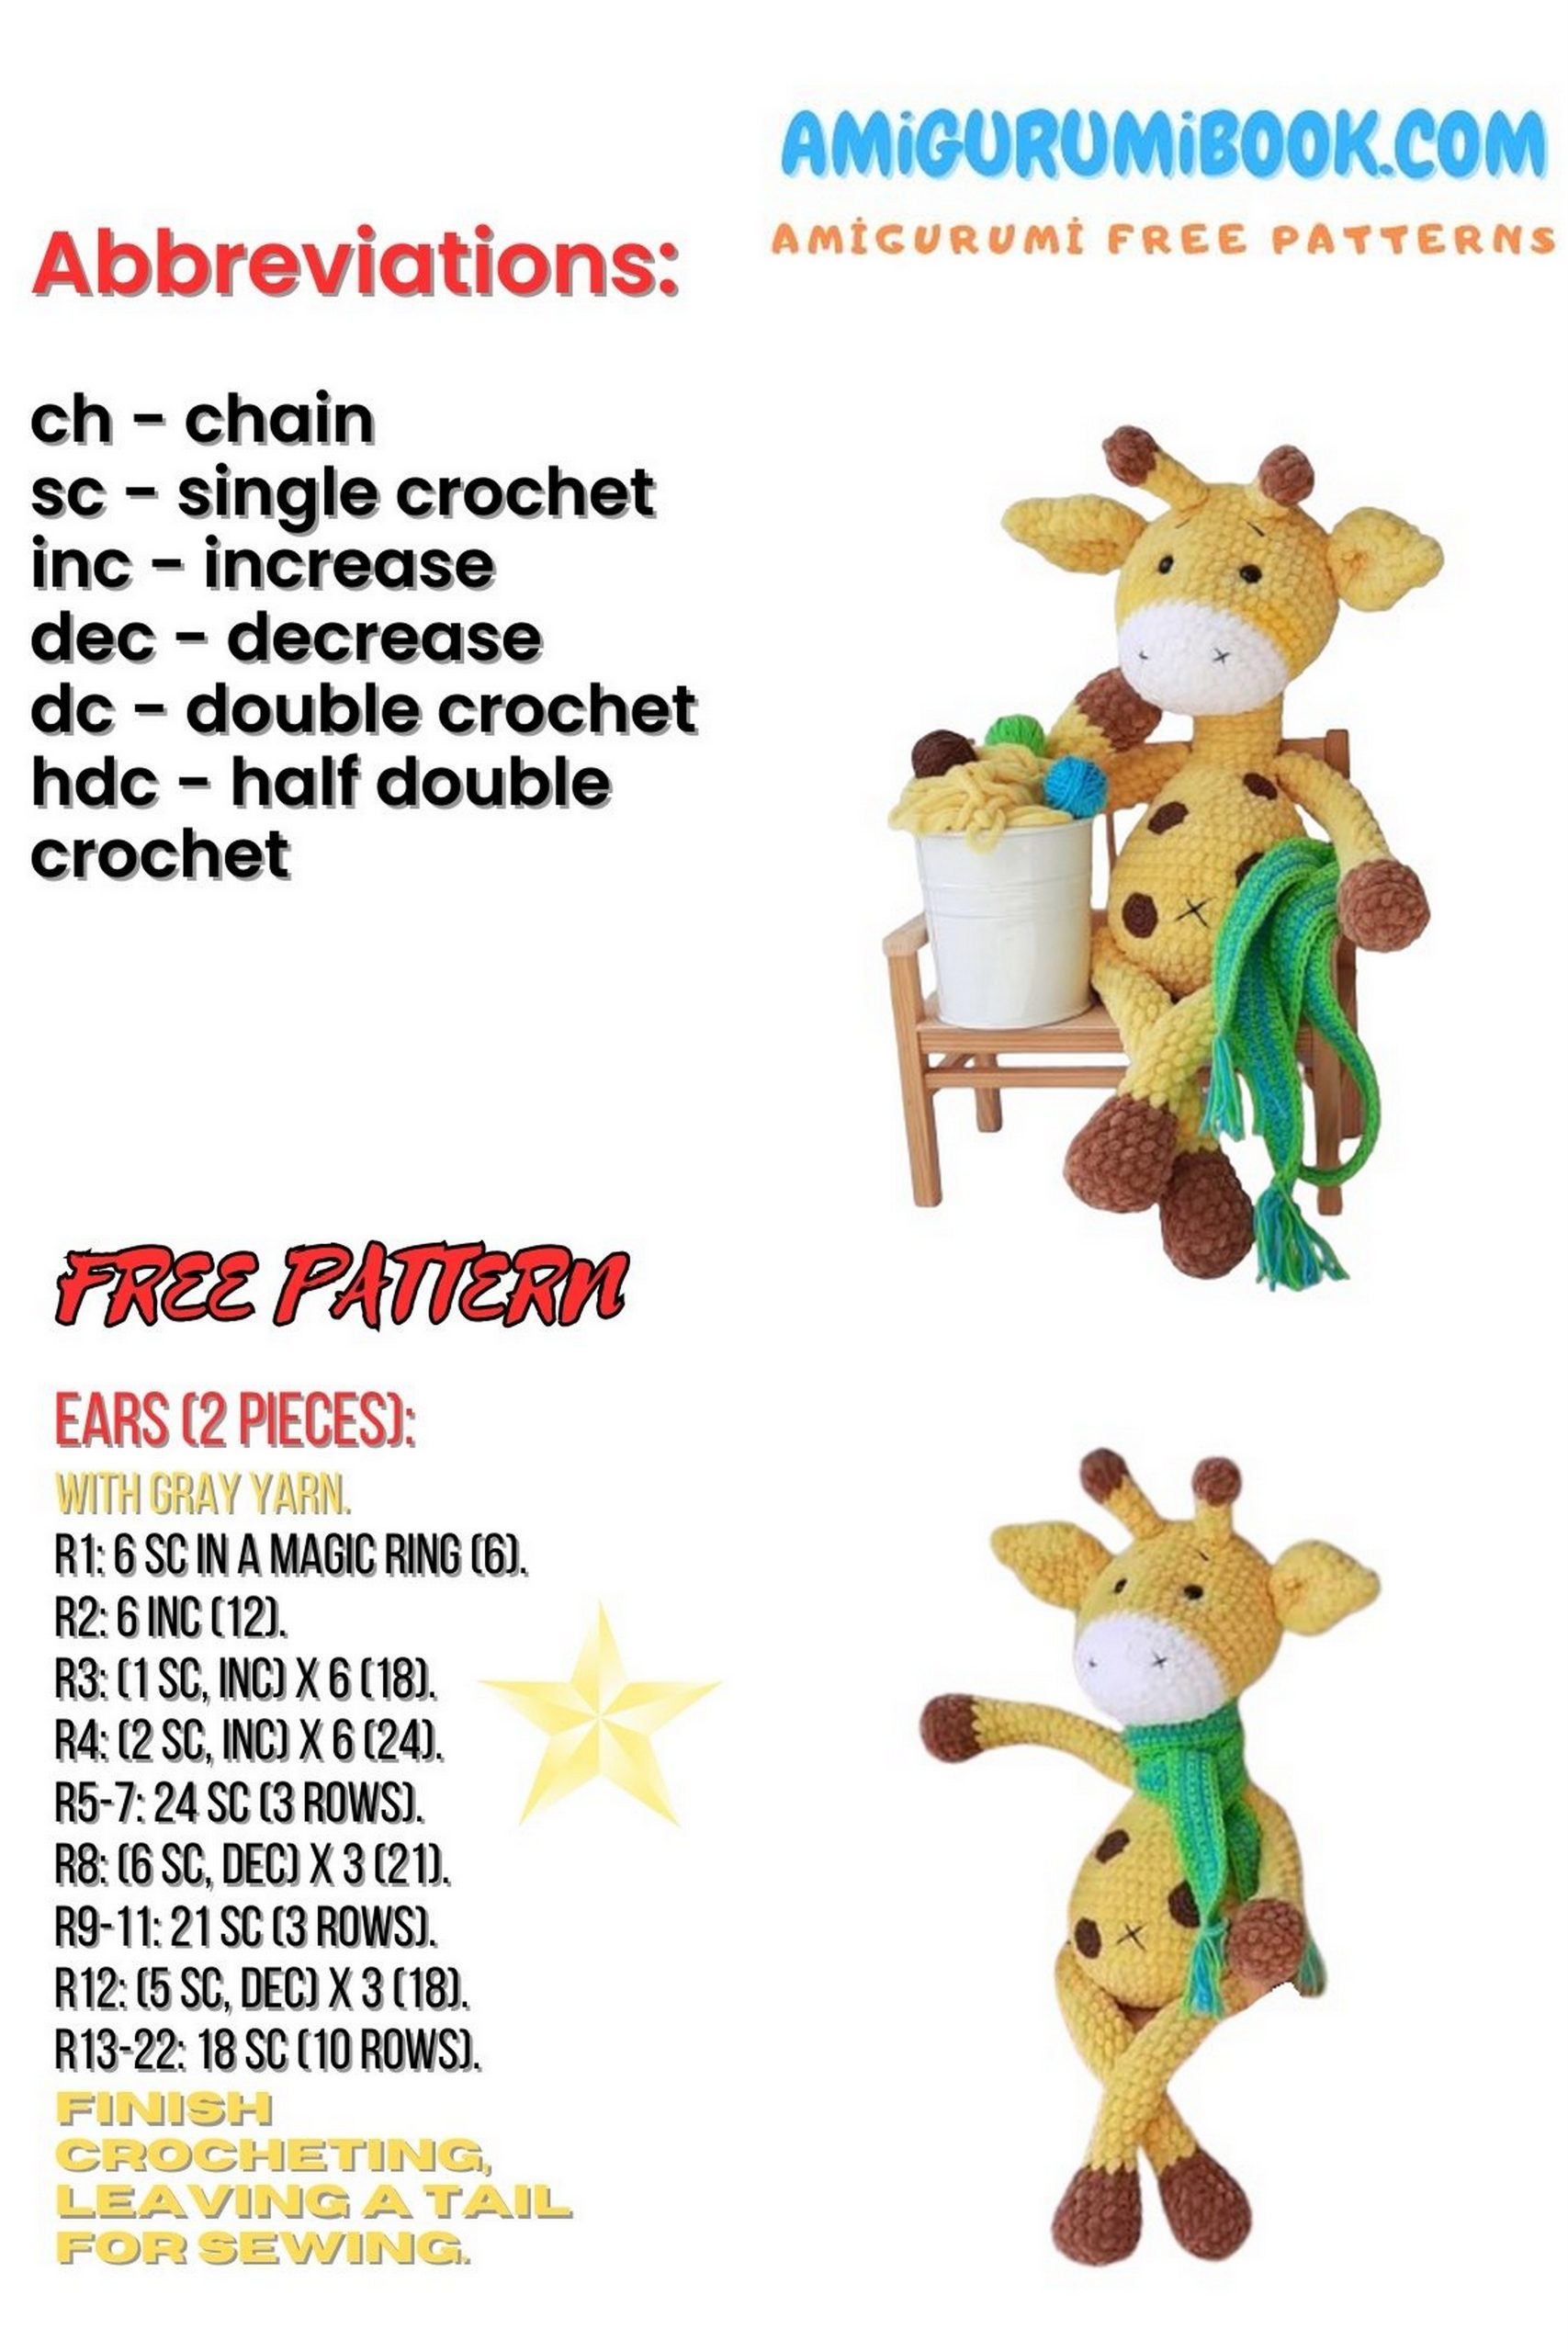
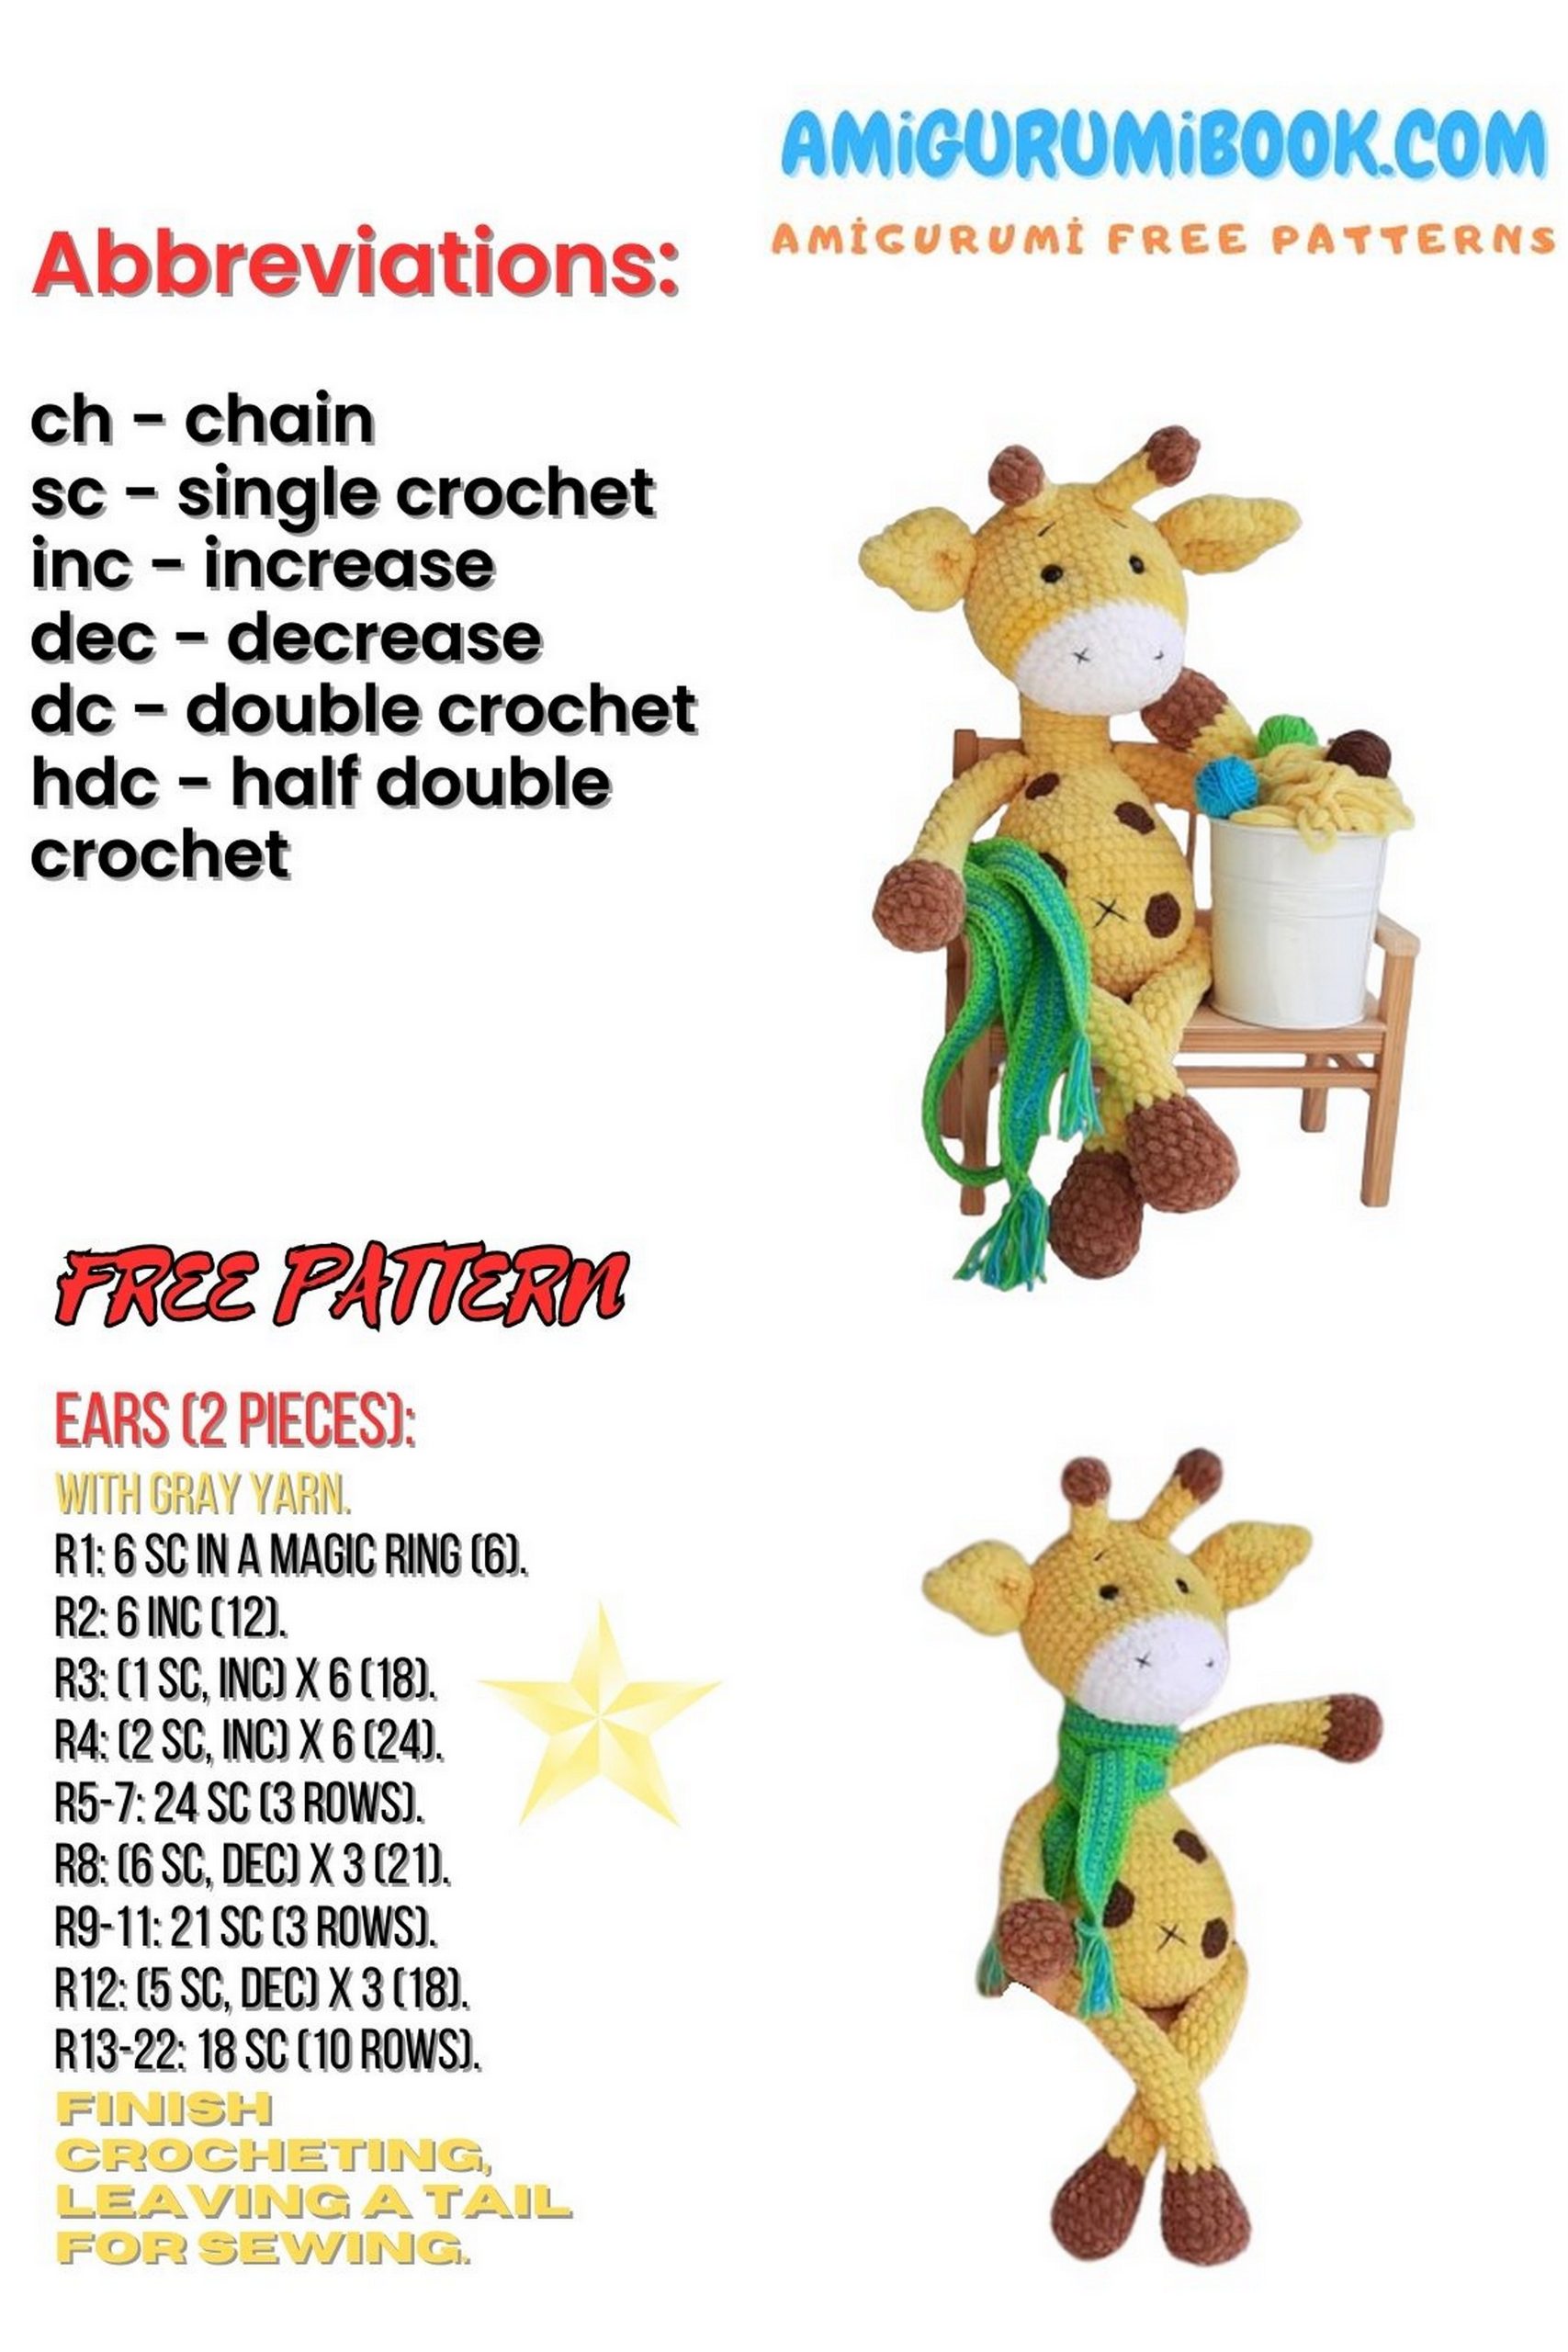
Explore the whimsical world of crochet with our free Scarf Giraffe Amigurumi pattern and crochet tutorial.
Whether you’re a novice or an experienced crocheter, this comprehensive guide provides step-by-step instructions and clear photos to help you craft an adorable amigurumi giraffe wearing a cozy scarf.
Perfect for animal lovers or as a charming addition to your amigurumi collection, this project combines creativity with cuddly charm.
Start your Scarf Giraffe Amigurumi project today and bring a smile to your crafting journey!
If you want to access 1000+ free amigurumi patterns, you can download our application from this link!
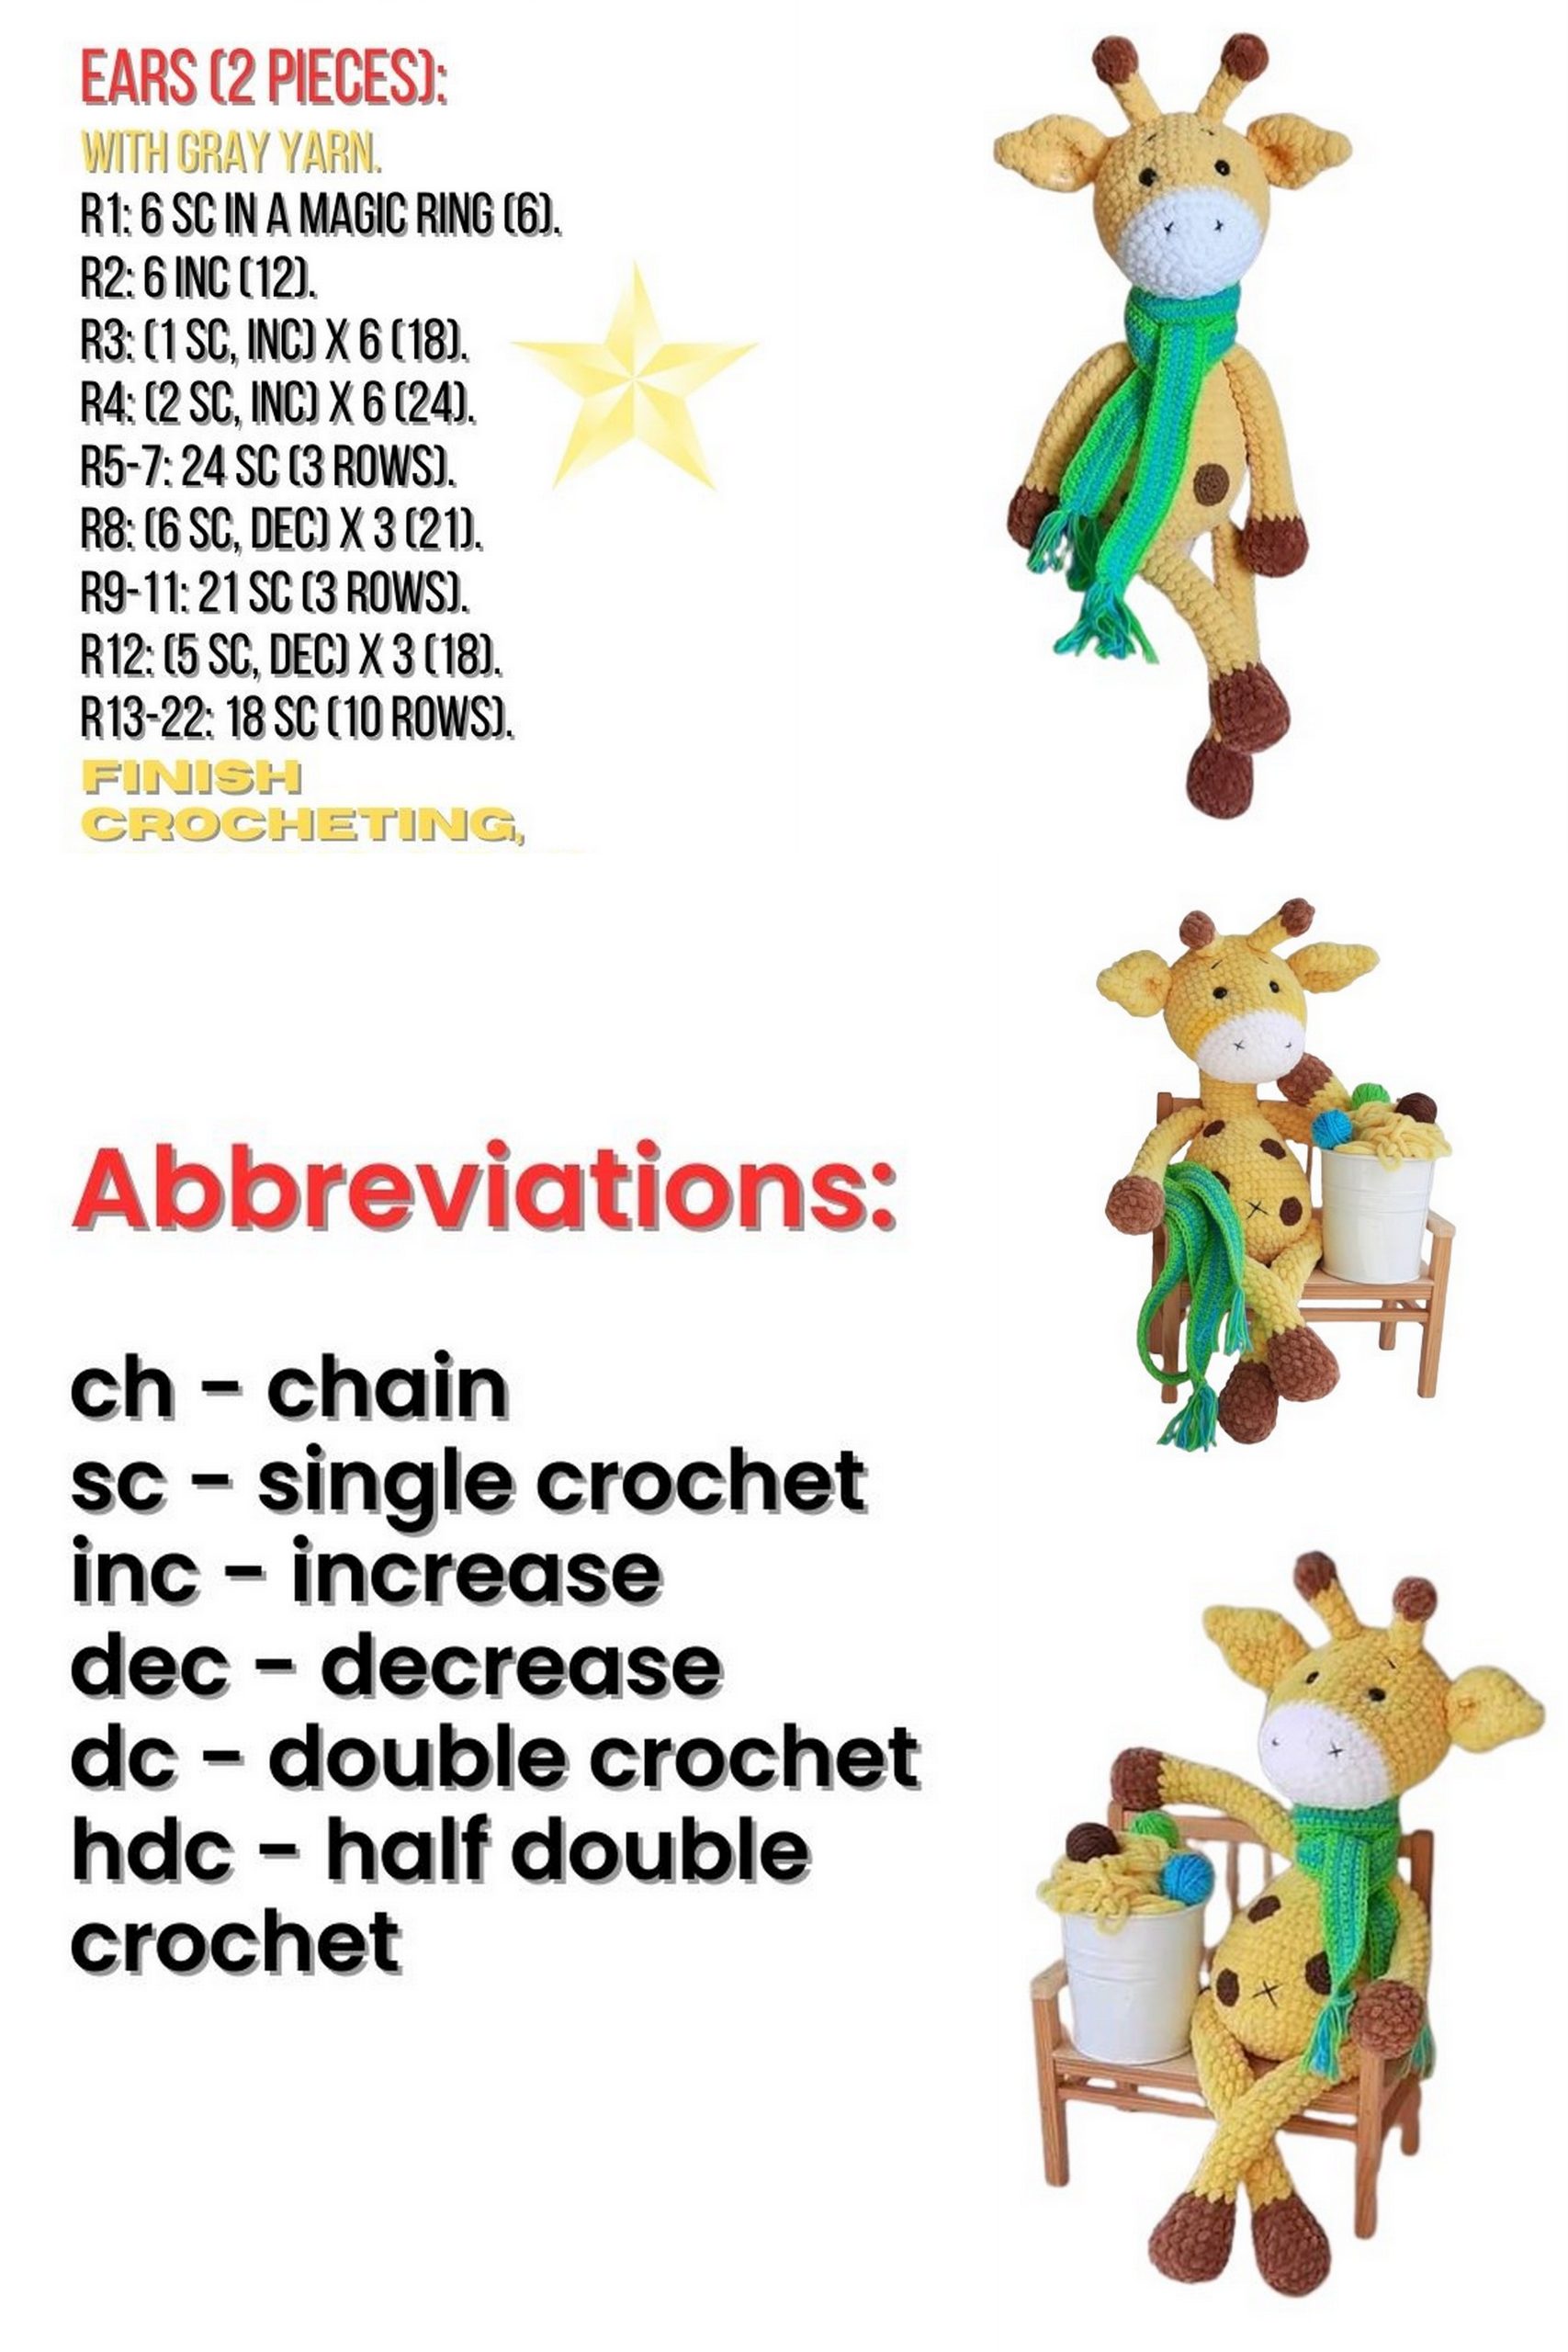
Abbreviations
sc – single crochet
ch – chain stitch (ch)
inc – increase (2 sc in the same stitch from the previous row)
dec – decrease (sc 2 together)
Sl st – slip stitch
hdc – half double crochet
(…+…)*n – repeat what is in brackets n times
(…) – the number of stitches in this row
Materials Needed
Plush yarn:
Filler (I use synthetic fiberfill)
Black thin yarn for the face details – a little
Brown yarn for the tail and spots (I use YarnArt Jeans) – a little
Green and blue yarn for the scarf (I use YarnArt Jeans) – a little
Strong thread for tightening and sewing parts
Hook No. 4, 2.5
Black eyes, 12mm
Thread and plastic markers
Tailor pins with a ball head
Scissors
Long needle for tightening and a needle with a wide eye for sewing (I use Himalaya Dolphin Baby 100g – 120m)
Main color 80313 – yellow – almost 1.5 skeins
Brown 80337 – about 1/3 skein
White 80301 – a little
(I use YarnArt Begonia 50g – 169g)
(I use regular white sewing thread doubled)
(Safety eyes on screw attachment)
Scarf Giraffe Pattern

LOWER LEGS – Scarf Giraffe
2 Pieces
Stuff only the first 10 rows of the leg.
Start crocheting with brown yarn.
1: Make a magic ring with 6 sc (6)
2: 6 increases (12)
3: (1 sc + 1 increase)*6 (18)
4: 18 sc in back loop only (18)
5: 18 sc (18)
6: (4 sc + 1 decrease)*3 (15)
7: 15 sc (15)
8: (3 sc + 1 decrease)*3 (12)
Finish with 1 slip stitch and change yarn to yellow
9: 1 slip stitch + 1 sc + 1 increase + (2 sc + 1 increase)*2 (9)
10-28: 9 sc – 19 rows (9)
Finish with 1 slip stitch.
Fold in half and make 4 sc.
Cut the yarn, leaving a small tail.
UPPER LEGS – Scarf Giraffe
2 Pieces
Stuff only the first 8 rows.
Start crocheting with brown yarn.
1: Make a magic ring with 6 sc (6)
2: 6 increases (12)
3: (1 sc + 1 increase)*6 (18)
4: 18 sc in back loop only (18)
5: (4 sc + 1 decrease)*3 (15)
6: 15 sc (15)
7: Finish with 1 slip stitch and change yarn to yellow + 2 sc + 1 decrease + (3 sc + 1 decrease)*2 (12)
8: (2 sc + 1 decrease)*3 (9)
9-22: 9 sc – 14 rows (9)
Finish with 1 slip stitch. Fold in half and make 4 sc.
Cut the yarn, leaving a small tail.
TAIL – Scarf Giraffe
Make 1 piece. Do not stuff. Crochet with yellow yarn.
1: Make a magic ring with 6 sc (6)
2-9: 6 sc – 8 rows (6)
Fold in half and make 3 sc.
Make a tassel with brown yarn for spots. See the “decoration” section.
EARS – Scarf Giraffe
Make 2 pieces. Do not stuff.
Crochet with the main color – yellow.
1: Make a magic ring with 6 sc (6)
2: 6 sc (6)
3: (2 sc + 1 increase)*2 (8)
4: (1 sc + 1 increase)*4 (12)
5: (1 sc + 1 increase)*6 (18)
6-8: 8 sc – 3 rows (18)
9: (1 sc + 1 decrease)*6 (12)
10: 12 sc (12)
Finish with 1 slip stitch. Fold in half and join two sides with 1 slip stitch.
Fold once more and make 3 sc through all 4 loops. Cut the yarn, leaving a tail and hide it inside the ear.
HORNS – Scarf Giraffe
Make 2 pieces. You can leave them unstuffed.
Start crocheting with brown yarn.
1: Make a magic ring with 6 sc (6)
2: 6 increases (12)
3: 6 decreases (6)
Finish with 1 slip stitch. Change yarn to yellow.
4: 1 slip stitch + 5 sc (6)
5-7: 6 sc – 3 rows (6)
Cut the yarn, leaving a tail and hide it inside the part.
HEAD – Scarf Giraffe
Make 1 piece.
Start crocheting with white yarn.
1: Make a magic ring with 6 sc (6)
2: 6 increases (12)
3: (1 sc + 1 increase)*6 (18)
4: (2 sc + 1 increase)*6 (24)
5: (3 sc + 1 increase)*6 (30)
6: (1 increase + 4 sc)*6 (36)
7: 35 sc + 1 slip stitch (36)
Change to yellow.
8: 1 slip stitch + 35 sc (36)
9: (5 sc + 1 increase)*6 (42)
10: 42 sc (42)
11: (6 sc + 1 increase)*6 (48)
12-16: 48 sc – 5 rows (48)
17: This row will include ears and horns: 13 sc + 2 sc (for ear) + 5 sc + 2 sc (for horn) + 4 sc (center) + 2 sc (for second horn) + 5 sc + 2 sc (for second ear) + 13 sc (48)
If you prefer, you can sew the ears and horns in place after finishing the head.
Insert eyes between the 11th and 12th rows of the head, with a 7-stitch interval between them.
Stuff as you go.
18: (6 sc + 1 decrease)*6 (42)
19: (5 sc + 1 decrease)*6 (36)
20: (4 sc + 1 decrease)*6 (30)
21: (3 sc + 1 decrease)*6 (24)
22: (2 sc + 1 decrease)*6 (18)
23: (1 sc + 1 decrease)*6 (12)
24: 6 decreases (6)
25: Cut the yarn, leaving a tail long enough to close the remaining opening. Tighten the opening and hide the end inside the head.
SPOTS – Scarf Giraffe
Crochet with YarnArt Jeans (brown) and a 2.5 hook.
Make any number and size of spots as you like.
I sew them with regular thin thread matching the spot color. You can use the yarn ends left from the spots if you prefer, just leave longer ends.
Small Spot
1: Make a magic ring with 6 sc (6)
2: 6 increases (12)
Finish with 1 slip stitch. Cut the yarn, leaving a tail.
Medium Spot
1: Make a magic ring with 8 sc (8)
2: 8 increases (16)
Finish with 1 slip stitch. Cut the yarn, leaving a tail.
Large Spot
1: Make a magic ring with 6 sc (6)
2: 6 increases (12)
3: (1 sc + 1 increase)*6 (18)
Finish with 1 slip stitch. Cut the yarn, leaving a tail.
BODY – Scarf Giraffe
Make 1 piece. Crochet with yellow yarn.
Stuff as you go.
1: Make a magic ring with 6 sc (6)
2: 6 increases (12)
3: (1 sc + 1 increase)*6 (18)
4: (1 increase + 2 sc)*6 (24)
5: (3 sc + 1 increase)*6 (30)
6: (4 sc + 1 increase)*6 (36)
7: (1 increase + 5 sc)*6 (42)
8: Attach the lower legs: 6 sc + 5 sc (attach leg) + 20 sc + 5 sc (attach second leg) + 6 sc (42)
9: (6 sc + 1 increase)*6 (48)
10: 48 sc (48)
11: Attach the tail in 3 stitches: 2 sc (left side of tail) + 45 sc + 1 sc (right side of tail) (48)
12-16: 48 sc – 5 rows (48)
17: 12 sc + (2 sc + 1 decrease)*6 + 12 sc (42)
18: 42 sc (42)
19: 12 sc + (1 sc + 1 decrease)*6 + 12 sc (36)
20: 36 sc (36)
21: (4 sc + 1 decrease)*6 (30)
22: (1 decrease + 3 sc)*6 (24)
23: (2 sc + 1 decrease)*6 (18)
24: Attach the upper legs: 2 sc + 5 sc (attach leg) + 5 sc (center) + 5 sc (attach leg) + 1 sc (18)
25-32: 18 sc – 8 rows (18)
Finish with 1 slip stitch. Cut the yarn, leaving a tail for sewing.
ASSEMBLY AND DECORATION
Sew the head to the body.
Sew the spots to the body, head, and legs.
Embroider the nostrils, mouth, and eyebrows using black yarn.
Crochet a scarf (optional) using green and blue yarn.
If you need more details or have any questions about the pattern, feel free to ask!