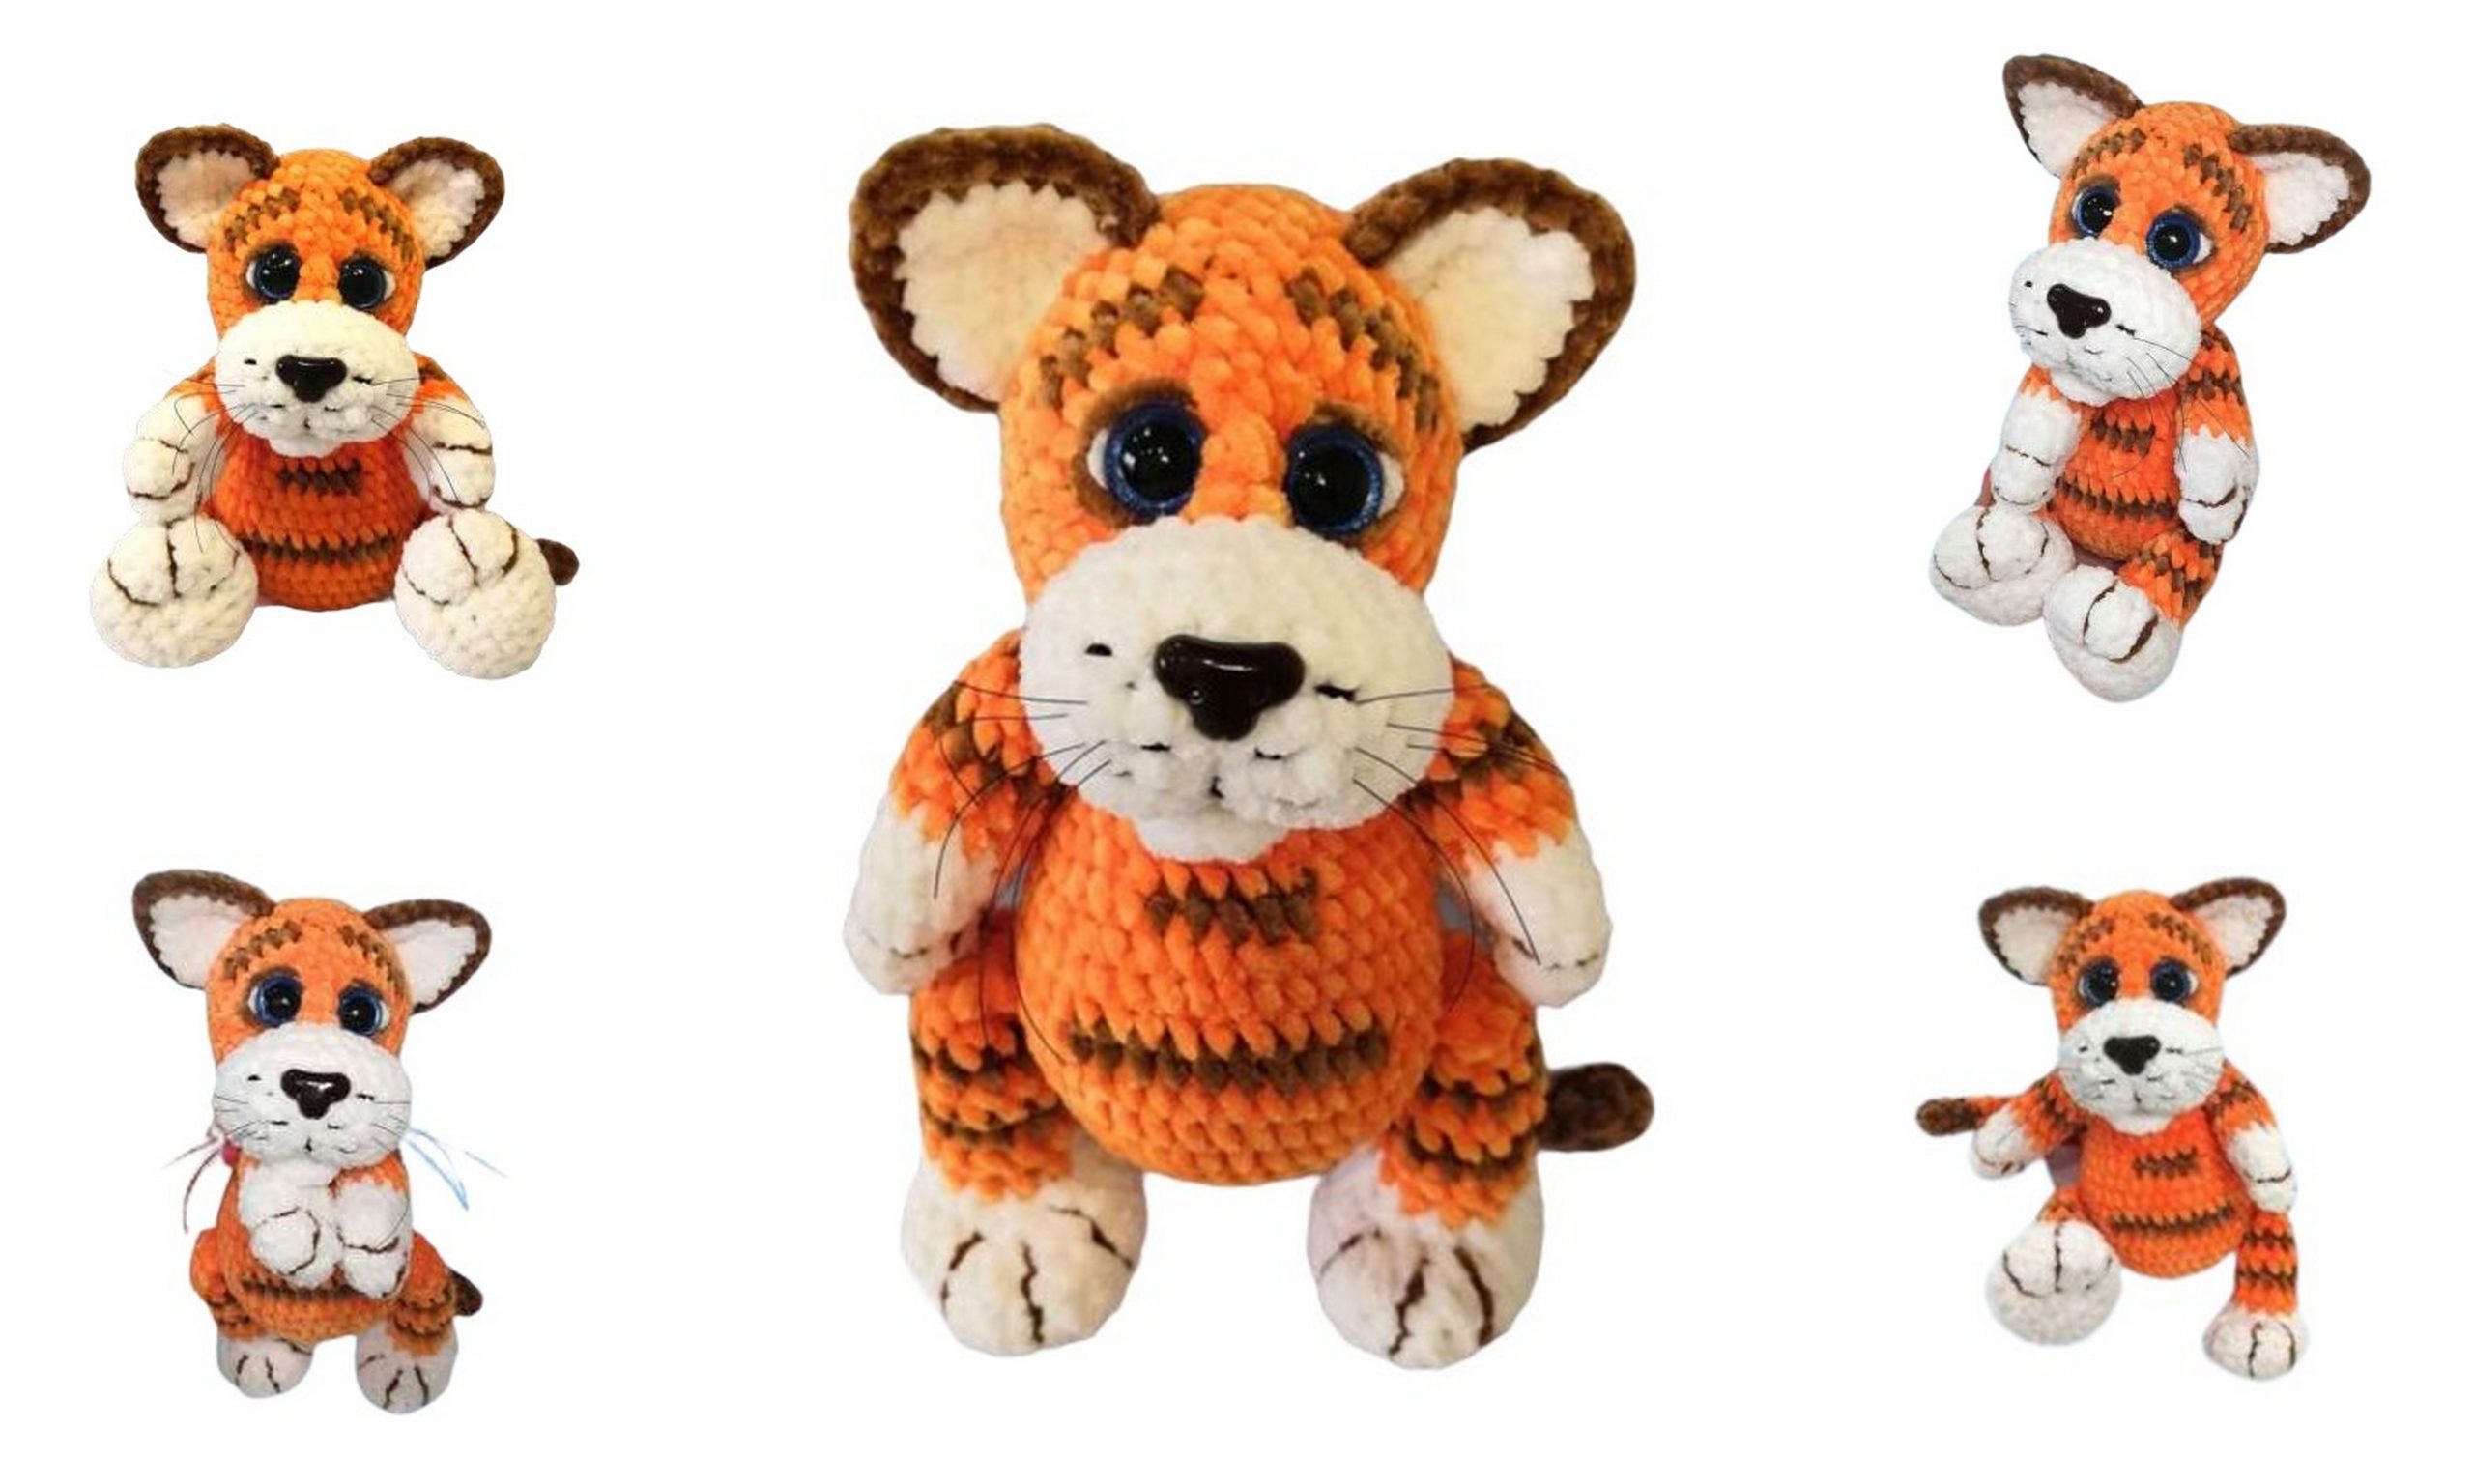
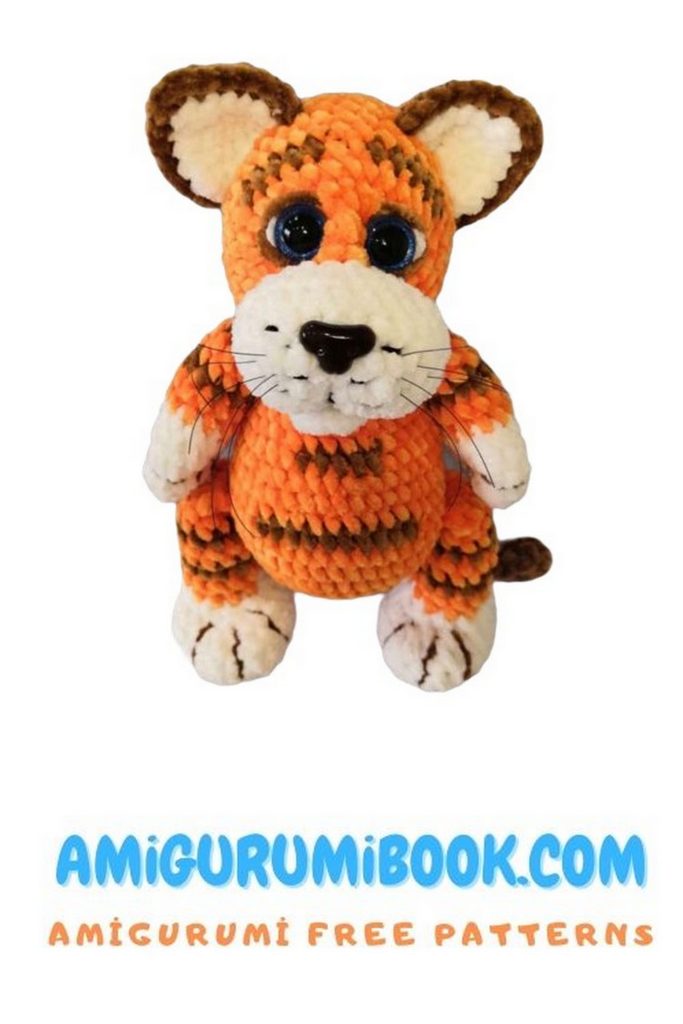
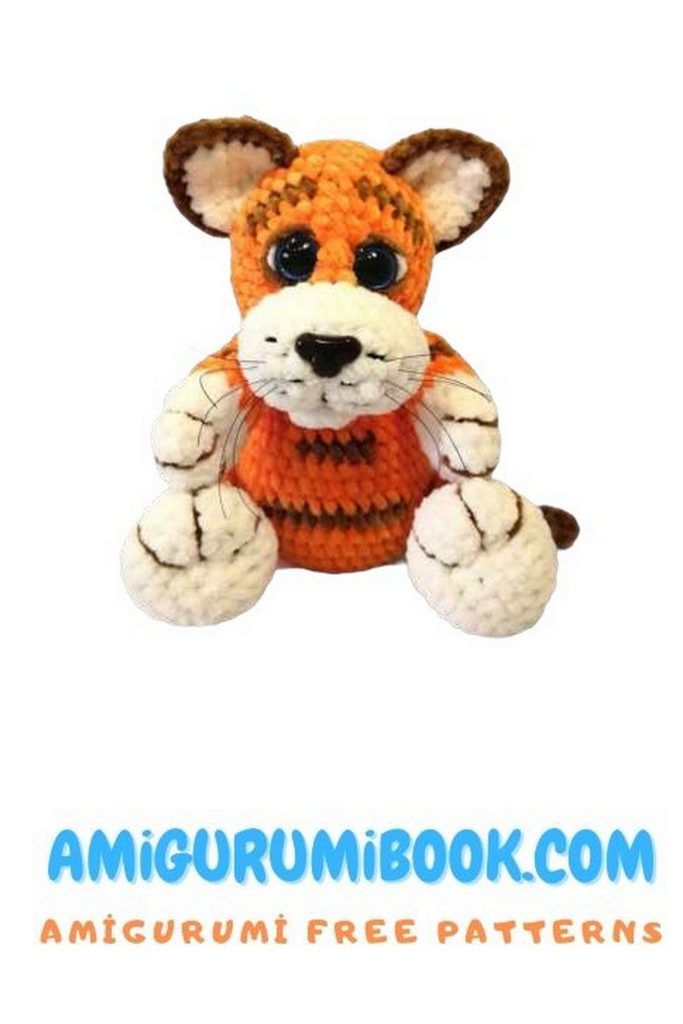
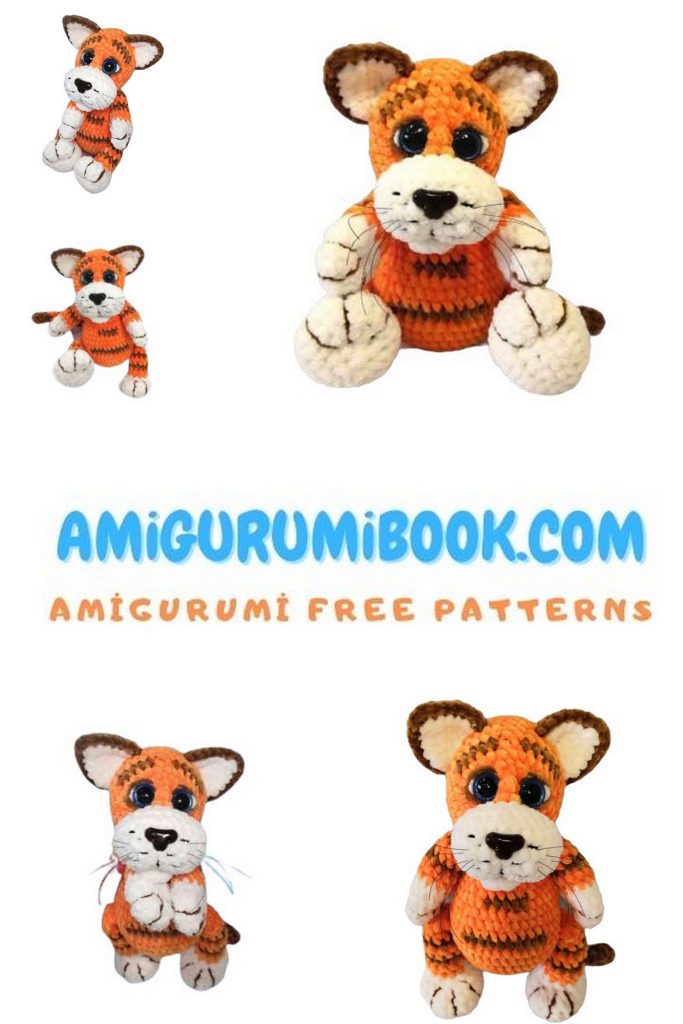
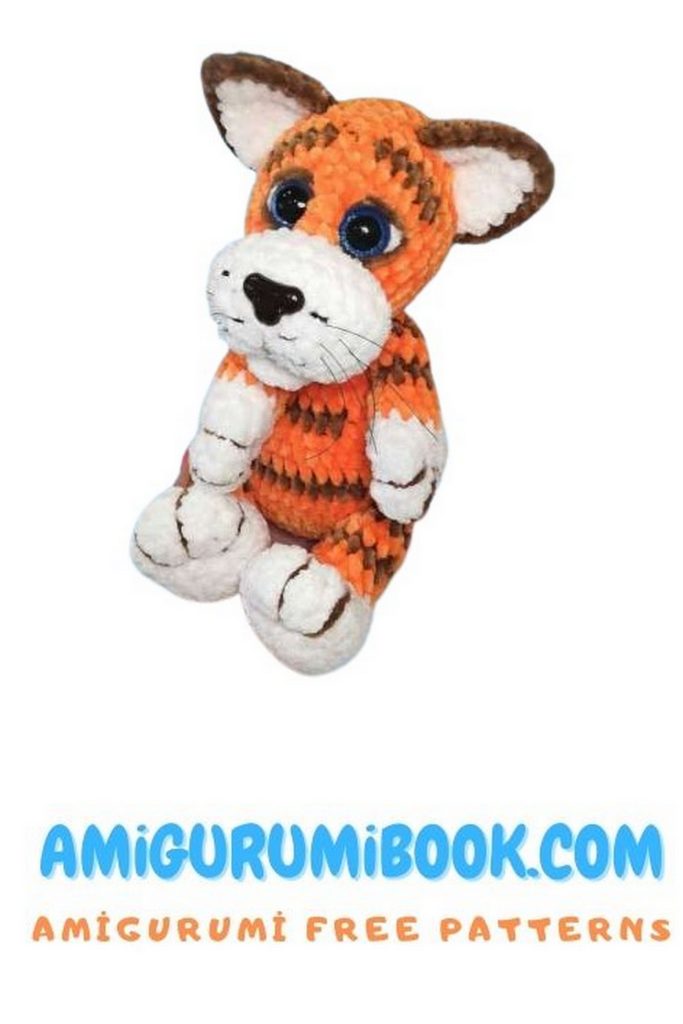
Discover the joy of creating your own adorable Tiger Jack amigurumi with this easy-to-follow crochet tutorial. Perfect for beginners and experienced crafters alike, this free pattern guides you step-by-step to bring this charming tiger to life. free crochet patterns
You may also like more amigurumi patterns.
Embrace your crochet adventure with our free Tiger Jack Amigurumi pattern and crochet tutorial. Ideal for both beginners and seasoned crocheters, this comprehensive guide offers step-by-step instructions and clear photos to help you create a charming tiger named Jack.
Perfect for wildlife enthusiasts or as a striking addition to your amigurumi collection, this project combines creativity with the allure of the wild.
Start your Amigurumi Tiger Jack project today and bring a touch of jungle magic to your crafting!
If you want to access 1000+ free amigurumi patterns, you can download our application from this link!
The height of the toy is 27 cm, sitting is 21 cm.
Materials and Tools
Yarn: Himalaya Velvet No. 016 main color (orange) – 1 skein, No. 001 (white) – 0.5 skein, No. 037 (brown) – 0.5 skein
Any strong thread for tightening the muzzle
A bit of black thread for embroidery on the muzzle
Crochet hook No. 4
Safety eyes 20 mm
Safety nose 20/15 mm
Black fishing line for whiskers
Needle with a large eye
Any stuffing for toys
Colored pins
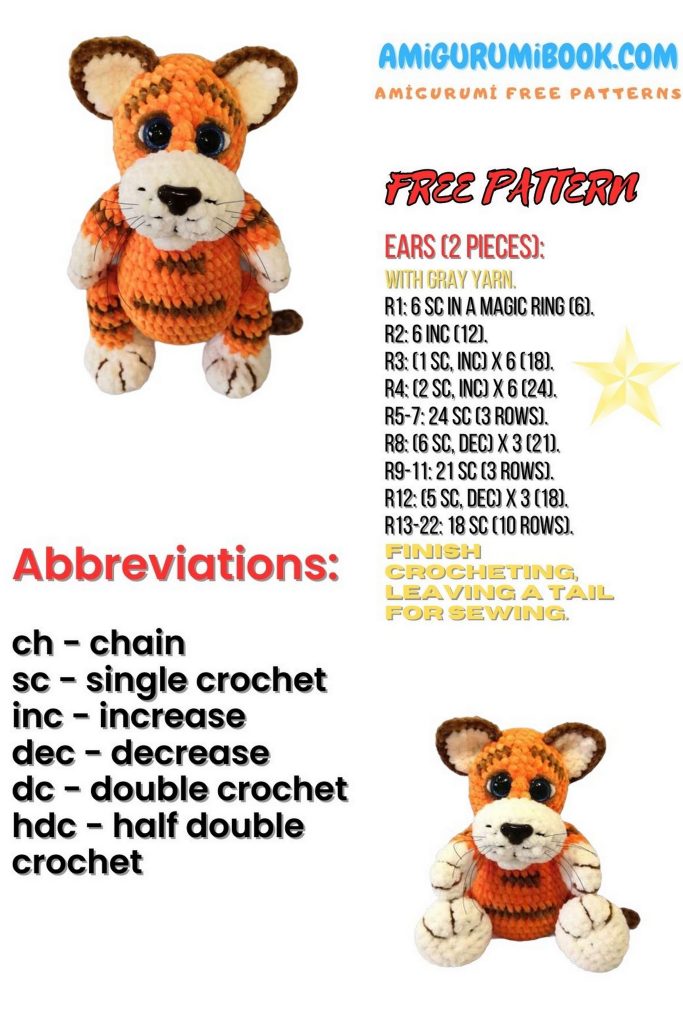
Abbreviations
KA – amigurumi ring
Ch – chain stitch
Sc – single crochet
Hdc – half double crochet
Inc – increase
Dec – decrease
Sl st – slip stitch
Dinc – double increase (3 sc in one stitch)
Tiger Jack Pattern
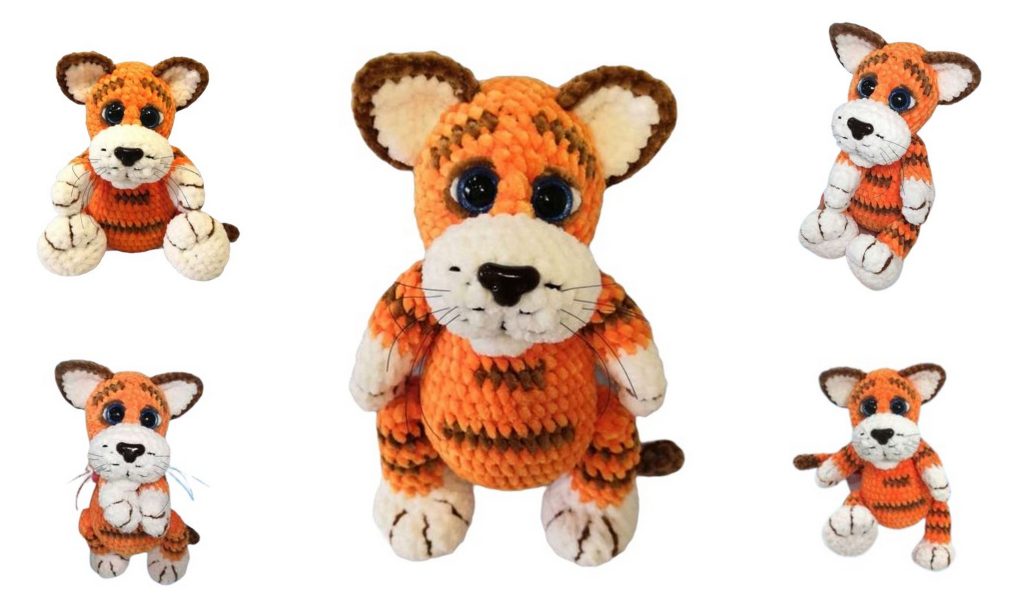
Lower Legs (2 pcs) – Tiger Jack
With white yarn, chain 5, starting from the 2nd chain from the hook:
1st round – Dinc; 2 sc; Dinc; 2 sc (10)
2nd round – (Inc) x3; 2 sc; (Inc) x3; 2 sc (16)
3rd round – (Inc; 1 sc) x3; 2 sc; (Inc; 1 sc) x3; 2 sc (22)
4th-5th rounds – 22 sc (2 rounds)
6th round – Dec; 2 sc; (Dec) x2; 2 sc; (Dec) x2; 6 sc; Dec (16)
7th round – (Dec) x4; 8 sc (12)
Change to orange yarn.
8th-9th rounds – 12 sc (2 rounds). Stuff the foot, shaping it. From the 10th round, crochet with brown yarn:
10th round – 12 sc
11th-12th rounds – 12 sc (2 rounds)
13th round – Dec; 10 sc (11)
14th round – 11 sc
15th round – 9 sc; Dec (10)
16th round – 10 sc
Now, ensure that the tail is centered on the back of the leg. If necessary, make an offset stitch or skip one stitch.
Stuff the leg, but not all the way to the top. Fold it in half and crochet through both layers with 5 sc. Secure the yarn. Note that the tail should now be centered on the front of the leg.
Make indentations to form the toes. Insert colored pins into the leg 1 stitch apart, on both sides.
Sew according to the following scheme:
1: Insert into green; exit into red. Leave a tail.
2: Insert into green; exit into blue.
3: Insert into pink; exit into yellow.
4: Insert into white; exit into green.
Make several knots and hide the ends inside the leg.
Upper Legs (2 pcs) – Tiger Jack
Start with white yarn:
1st round – 6 sc in KA (6)
2nd round – (Inc) x6 (12)
3rd round – (Inc; 2) x4 (16)
4th-5th rounds – 16 sc (2 rounds)
6th round – (Dec; 2) x4 (12)
Change to orange yarn:
7th-8th rounds – 12 sc (2 rounds)
Join brown yarn:
9th round – (Dec; 4) x2 (10)
Switch to orange yarn:
10th-11th rounds – 10 sc (2 rounds)
Join brown yarn:
12th round – (Dec; 3) x2 (8)
Switch to orange yarn:
13th round – 8 sc (8)
Stuff the leg. Then fold the arm in half and crochet through both layers with 4 sc.
Make indentations on the legs to form the toes. Insert colored pins into the leg 1 stitch apart, on both sides.
Sew according to the following scheme:
Insert into green; exit into red. Leave a tail.
1: Insert into green; exit into blue.
2: Insert into pink; exit into yellow.
3: Insert into white; exit into green.
Make several knots and hide the ends inside the leg.
Tail – Tiger Jack
Brown yarn:
1st round – 6 sc in KA (6)
2nd-4th rounds – 6 sc (3 rounds)
Change to orange yarn:
5th-8th rounds – 6 sc (4 rounds)
Change to brown yarn:
9th round – 6 sc
Switch to orange yarn:
10th-13th rounds – 6 sc (4 rounds)
Change to brown yarn:
14th round – 6 sc
Switch to orange yarn:
15th round – 6 sc
16th round – Inc; 5 sc (7)
17th-18th rounds – 7 sc (2 rounds)
Change to brown yarn:
19th round – 7 sc
Switch to orange yarn:
20th round – 7 sc
21st round – Inc; 6 sc (8)
22nd-24th rounds – 8 sc (3 rounds)
Body – Tiger Jack
Crochet with orange yarn.
1st round – 6 sc in KA (6)
2nd round – (Inc) x6 (12)
3rd round – (1 sc; Inc) x6 (18)
4th round – (2 sc; Inc) x6 (24)
5th round – (3 sc; Inc) x6 (30)
6th round – (4 sc; Inc) x6 (36)
7th round – (5 sc; Inc) x6 (42). In the 8th round, incorporate 4 stitches from the tail.
8th round – 32 sc; 4 sc incorporating the 4 tail stitches; 6 sc (42)
In the 9th round, incorporate the lower legs and the remaining 4 tail stitches:
9th round – 5 sc incorporating the stitches from the first leg; 16 sc; 5 sc incorporating the 2nd leg; 6 sc; 4 sc incorporating the remaining tail stitches; 6 sc (42)
Next, we will work on the stripes. I cut the yarn each time, tying the tails together. This method prevents the toy from being drawn in when stuffing it later.
10th round – 8 sc; 10 sc (brown); 11 sc; 10 sc (brown); 3 sc (42)
11th-12th rounds – 42 sc (2 rounds)
13th round – (5 sc; Dec) x6 (36)
14th round – 10 sc; 5 sc (brown); 13 sc; 5 sc (brown); 3 sc (36)
15th round – (4 sc; Dec) x6 (30)
16th-17th rounds – 30 sc (2 rounds)
18th round – (3 sc; Dec) x6 (24)
19th round – (2 sc; Dec) x6
Incorporating the Arms:
20th round – 1 sc; 4 sc incorporating the first arm; 5 sc; 4 sc incorporating the second arm; 4 sc (18)
21st round – (1 sc; Dec) x6 (12)
Secure the yarn and leave a tail for sewing.

Head – Tiger Jack
Mouth – Tiger Jack
1st round – 3 ch in KA (3), turn
2nd round – (Inc) x3 (6). Secure the yarn and cut it.
You should have 5 stitches at the bottom of the mouth, which we will incorporate into the muzzle.
Muzzle – Tiger Jack
With white yarn, chain 7, starting from the 2nd chain from the hook:
1st round – (Dinc; 4 sc) x2 (14)
2nd round – ((Inc) x3; 4 sc) x2 (20)
3rd round – ((Inc; 1 sc) x3); 4 sc) x2 (26)
4th round – 22 sc; 4 sc incorporating the 4 stitches from the mouth (26)
5th round – 1 sc incorporating a stitch from the mouth; 25 sc (26)
6th round – 3 sc; (Dec) x3; 7 sc; (Dec) x3; 4 sc (20)
Change to orange yarn:
7th round – 20 sl st (20)
8th round – 8 sc; (Inc from Hdc) x4; 8 sc (24)
9th round – (3 sc; Inc) x2; (3 Hdc; Inc Hdc) x2; (3 sc; Inc) x2 (30)
10th round – (4 sc; Inc) x2; (3 Hdc; Inc Hdc) x2; (3 sc; Inc) x2 (36)
11th round – 36 sc. Starting from the 12th round, we will crochet stripes.
12th round – 13 sc; 5 sc (brown); 2 sc; 5 sc (brown); 11 sc (36)
13th round – 3 sc; 6 sc (brown); 20 sc; 6 sc (brown); 1 sc (36)
14th-17th rounds – 36 sc (4 rounds)
At this stage, insert the eyes (between the 9th and 10th rounds, about 5 stitches apart) and the nose (between the 2nd and 3rd rounds). You can also do a bit of stuffing.
18th round – (Dec; 4 sc) x5; Dec; 4 sc (brown) (30)
19th round – brown – Dec; 3 sc
orange – Dec; 3 sc; Dec; 1 sc
brown – 2 sc; Dec; 3 sc; Dec
orange – 3 sc; Dec; 3 sc (24)
20th round – (Dec; 2 sc) x6 (18). Stuff.
21st round – (Dec; 1 sc) x6 (12)
22nd round – (Dec) x6 (6). Pull the ring tight, secure the yarn, and hide the end inside the head.
Shaping – Tiger Jack
Take a long needle with strong thread (I used black from YarnArt Jeans), insert it into the middle of the mouth, leaving a tail, and bring it out at the bottom outer corner of one eye. Insert into the bottom inner corner of the eye, and bring it out at the bottom inner corner of the other eye. Insert into the bottom outer corner of the eye and bring it out in the middle of the mouth. Pull tight and make several knots. You can leave the thread to make additional indentations.
Insert the needle into the middle of the mouth, bring it out at the inner lower corner of one eye. Insert into the upper inner corner of the eye, and bring it out at the upper inner corner of the other eye.
Tiger amigurumi – Insert into the inner lower corner of the eye and bring it out in the mouth. Pull tight and make several knots. Do not cut the thread.
Then, insert the needle into the bottom edge of the nose and bring it out in the mouth, pulling tight. If it’s not tight enough, you can repeat the process.
With the same thread (if it’s black), you can embroider the nostrils on the muzzle.
Embroidering the Eyeballs and Eye Contour
Take a needle with white yarn, insert it into the middle of the spot where the head will be attached to the body (I recommend fitting it first). Leaving a tail, bring the needle out at the outer edge of the eye (at the bottom). Move up approximately 1-2 rounds, insert the needle, and bring it out at the other eye on the opposite side. Do the same, moving 1-2 rounds down, and bring it out in the middle of the head. If necessary, repeat the process for a pronounced eyeball. Make several knots and cut the yarn.
Next, take a needle with brown yarn, insert it into the same spot (middle of the head). Bring the needle out at the upper inner part of the eye, insert it 1 stitch to the side of the white yarn. Bring the needle out at the other eye and do the same. Then, bring the needle out at the lower inner part of the eye, insert it next to the white yarn at the edge of the brown yarn. Bring the needle out at the lower part of the other eye, and do the same. Bring the needle out in the middle of the head, make several knots, and cut the yarn.
Whiskers
I recommend marking with pins where you would like the whiskers to be placed. I didn’t mark them, so I will refer to them as points A and B. Insert the needle with fishing line into point A, leaving a tail of about 5 cm. Bring it out on the opposite side, at point B. Shift 1 stitch to the side, insert the needle, and bring it out at point A. Shift 1 stitch from point A, insert the needle, and bring it out at point B. Cut the fishing line, leaving a length of about 5 cm. Repeat the process for the other whiskers.
Ears (2 pcs) – Tiger Jack
The ear consists of 2 parts, white and orange. Crochet all parts in turning rows, the same way.
Chain 2, starting from the 2nd chain from the hook:
1st round – 5 sc, ch, turn (5)
2nd round – 2 sc; Dinc; 2 sc; ch; turn (7)
3rd round – 3 sc; Dinc; 3 sc; ch; turn (9)
4th round – 4 sc; (Hdc; Dc; Hdc) in one stitch; 4 sc (11)
Secure the yarn and cut it. Join the 2 parts (orange and white) so that the white (inner) part of the ear faces you. Join the brown yarn, and crochet through both layers of the ear parts: 10 sc; 3 sc in one stitch (top); 10 sc. Secure the yarn, cut it, leaving a tail for sewing. Crochet the second ear.
Sew the ears onto the head.
Sew the head onto the body.
