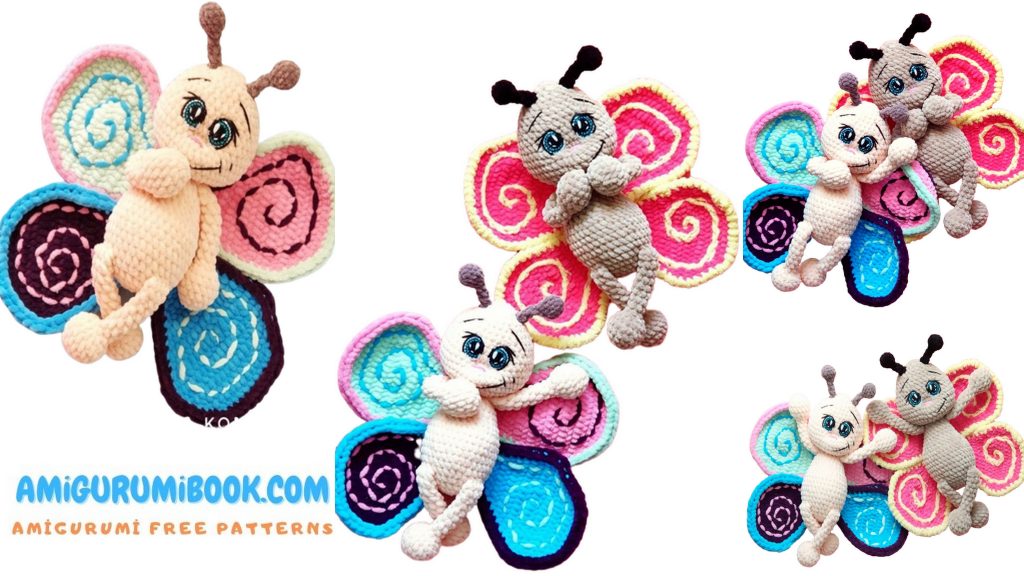
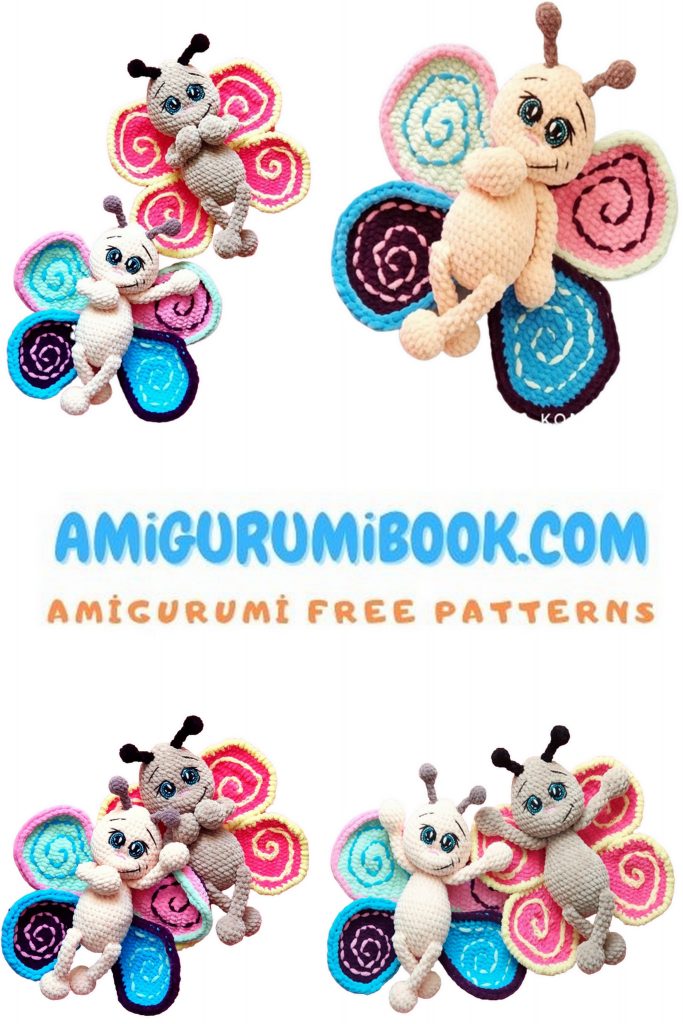
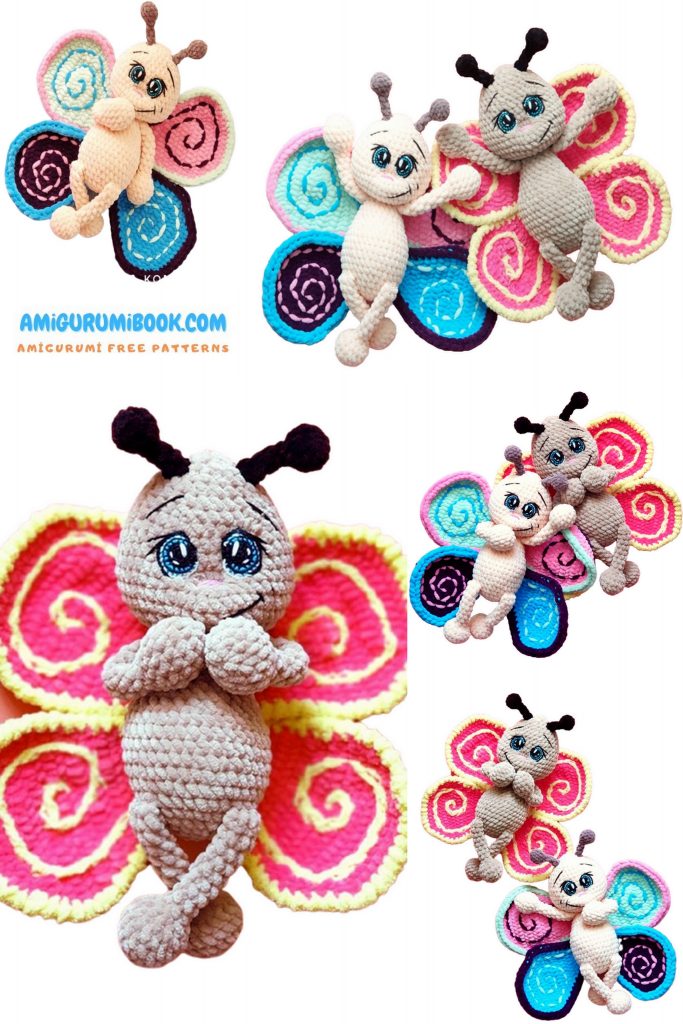
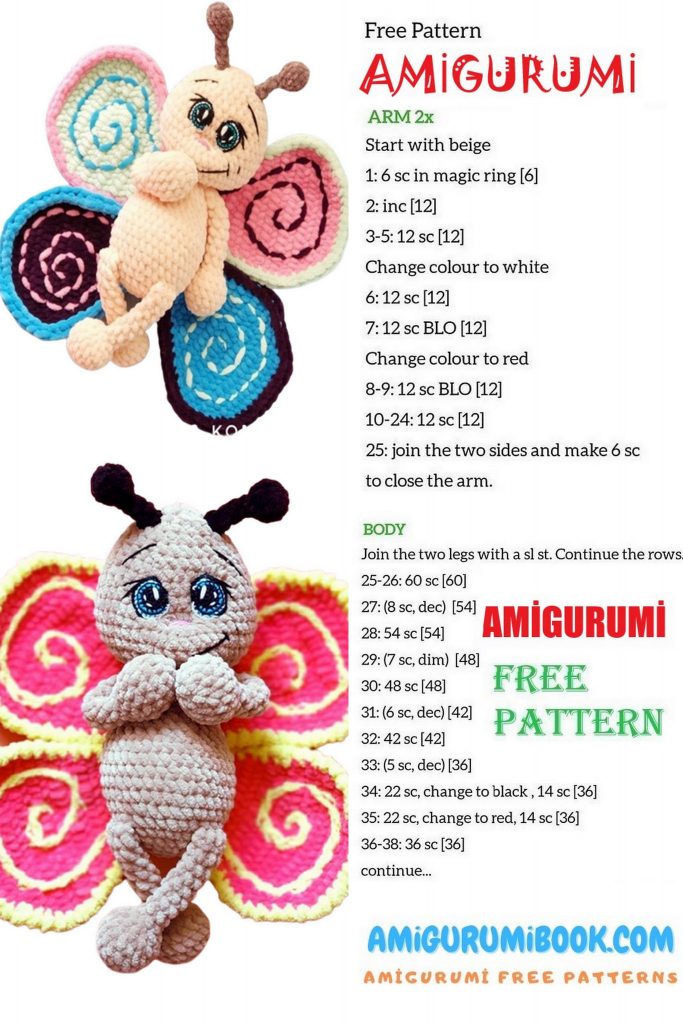
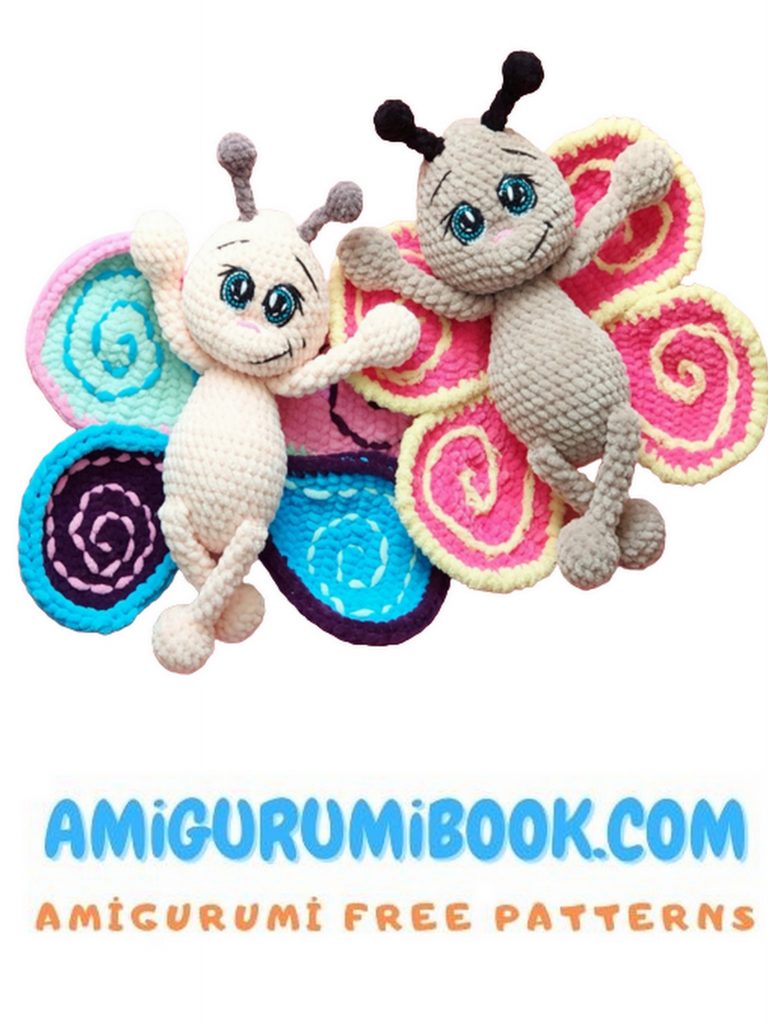
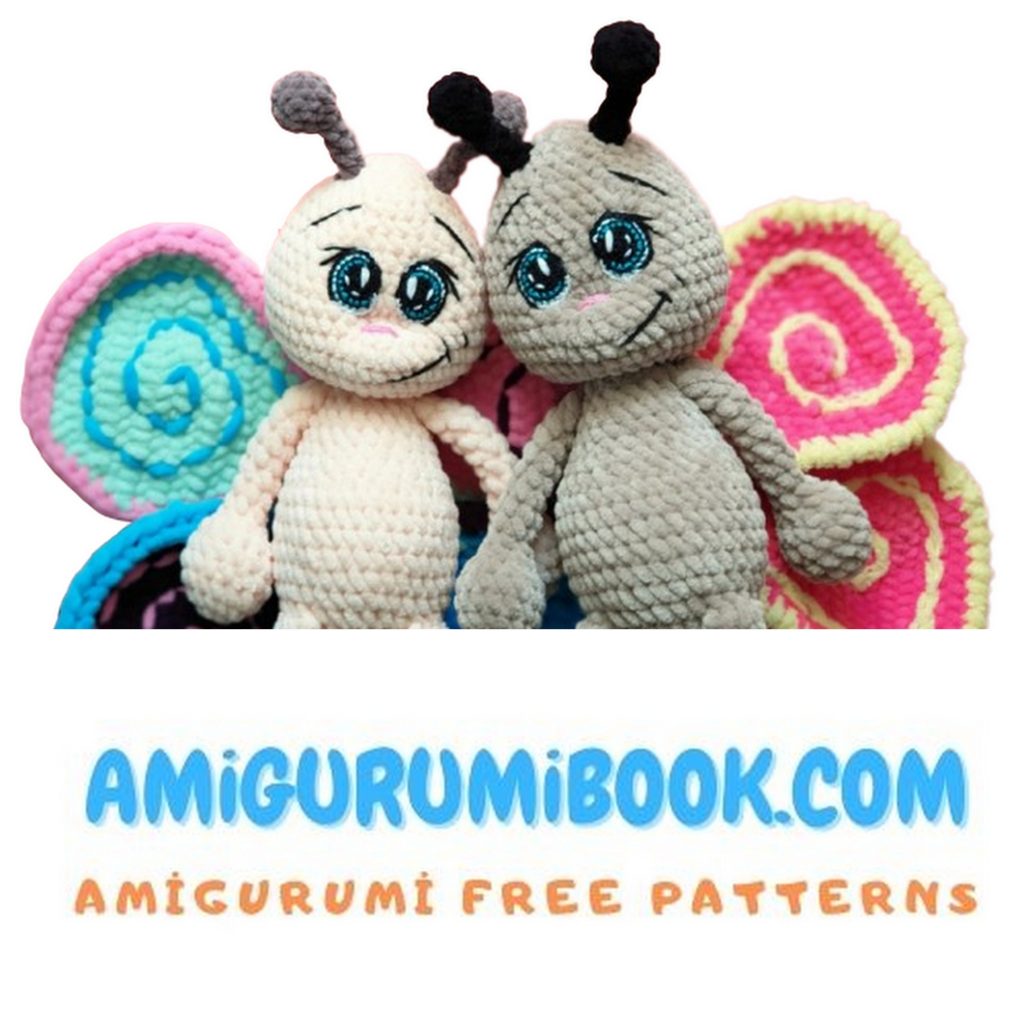
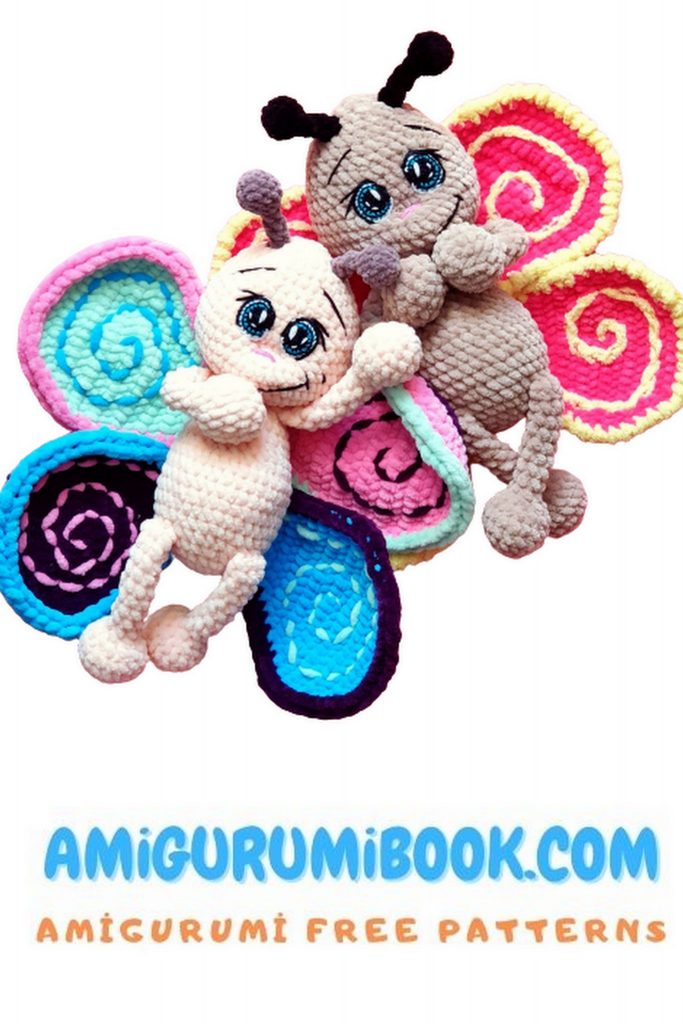
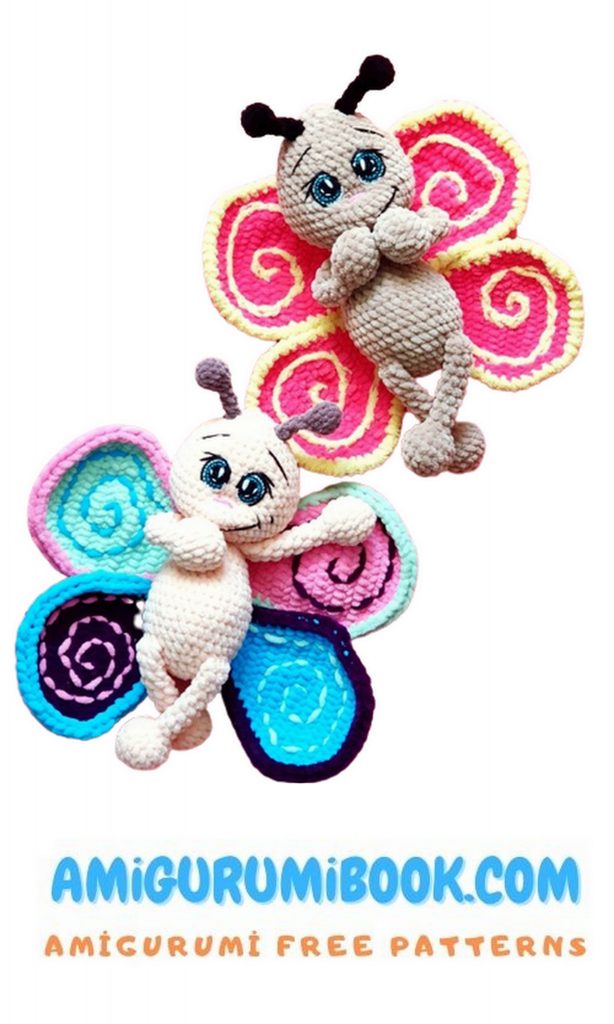
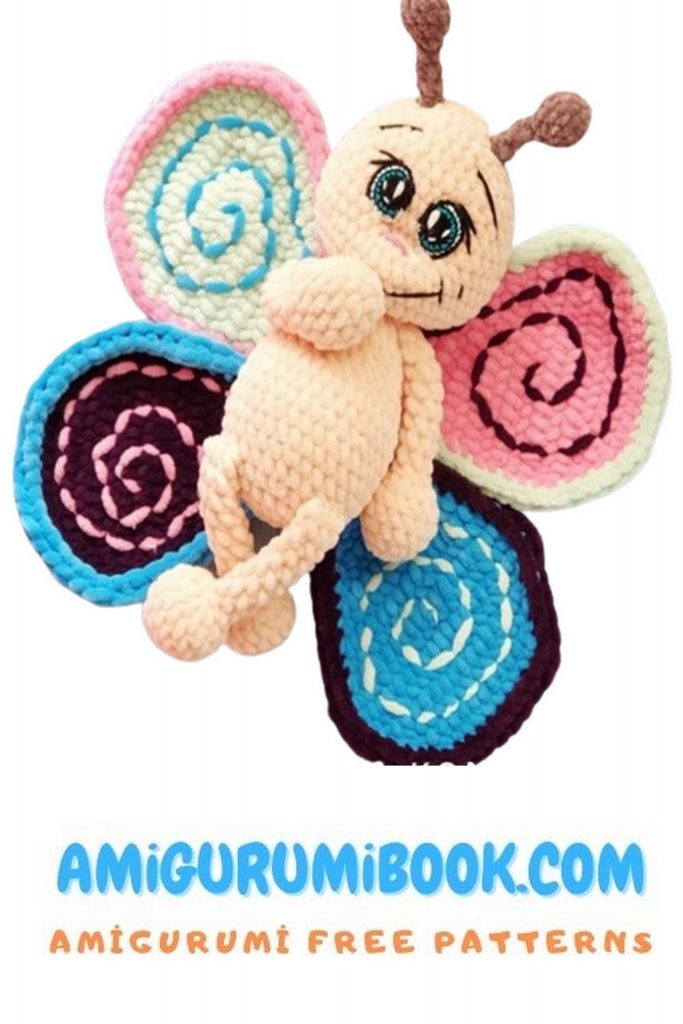
The Velvet Rainbow Butterfly Amigurumi is a charming and colorful crochet project perfect for both beginners and experienced crafters. This free pattern guides you step-by-step to create a soft, vibrant butterfly that makes a delightful gift or decorative piece. free crochet patterns
You may also like more amigurumi patterns.
We continue to bring together the most beautiful amigurumi patterns related to Amigurumi. In this article you are waiting for a of amigurumi velvet rainbow butterfly free pattern.
“Plush Butterfly”
ABBREVIATIONS:
•Mr: Magic ring,
• sc: single crochet,
•İnc: increase,
•DEC decrease,
• x: repeat.
•BLO: Back Loop only,
•FLO: Front Loop only,
•DC: Double crochet.
This master class is for those who already know how to knit, as the basics of knitting
Materials:
-plush yarn “Dolphin Baby” “Himalayas” – one hank
primary color and a little extra (you can use
any other according to your desire, any colors);
– yarn “Alize” “Softi” (for strapping wings), the color of your
discretion (if you do not have such yarn, you can make a binding
wings contrasting color “Dolphin Baby” “Himalayas”);
-hook number 3 (for knitting horns), number 4 (for knitting paws,
body, head, wings) and hook number 1.25 (for knitting eyes);
– Yarn “Vita” “CoCo” or its analogue (for eyes, stitching parts,
face design);
– holofiber or sintepuh for stuffing;
– needles, scissors.
Butterfly height 28 cm (excluding wings). Subject to use
hook number 4 on the body of the butterfly will need 1 hank of the main color.
PATTERN
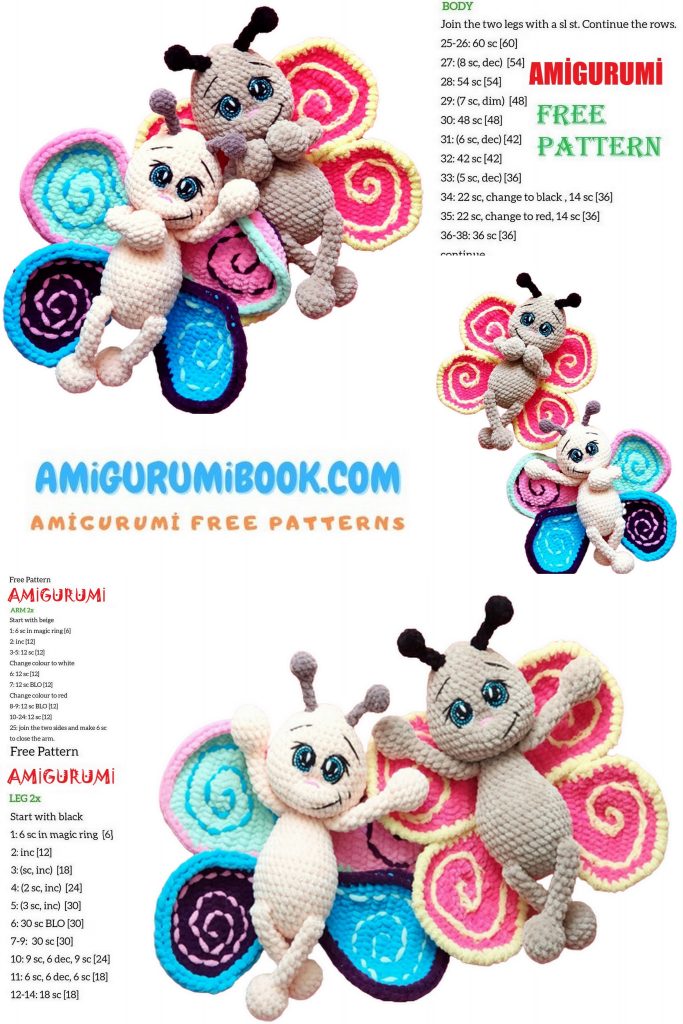
Lower paws: 2 pcs.
1) 6 sc into magic ring
2) 6 inc (12)
3) (1 sc, inc) * 6 (18)
4) -5) 18 sc (2 rows)
6) (1 sc, dec) * 6 (12), fill the bottom of the foot not very tightly
7) 6 dec (6)
8) -16) 6 sc (9 rows) Next, we sew 3 sc for both walls, cut the thread, fix it.
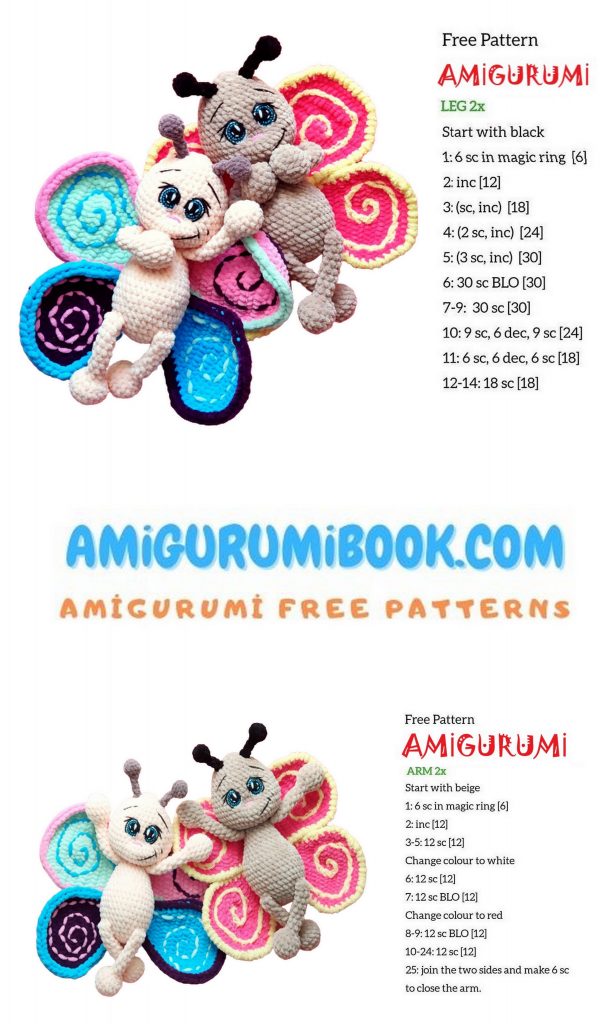
Upper legs: 2 pcs.
1) 6 sc into magic ring
2) 6 inc (12)
3) (3 sc, inc) * 3 (15)
4) -5) 15 sc (2 rows)
6) (3 sc, dec) * 3 (12), fill the bottom of the foot not very tightly
7) 6 dec (6)
8) -16) 6 sc (9 rows) Next, we sew 3 sc for both walls, cut the thread, fix it.
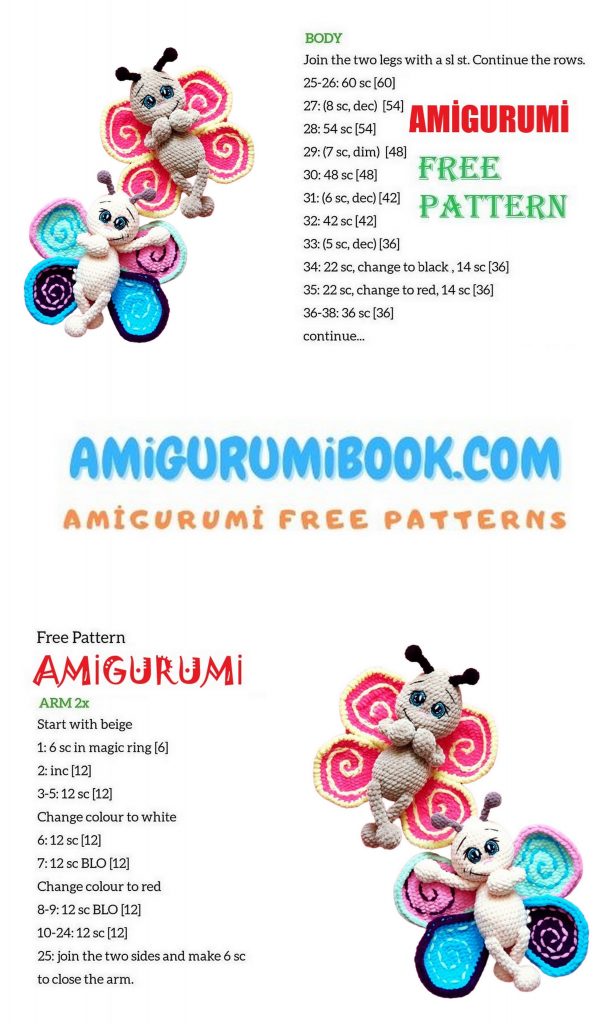
Body-head (knit in one piece, knit paws, see description):
1) 6 sc into magic
2) 6 inc (12)
3) (1sc, inc) * 6 (18)
4) (2 sc, inc) * 6 (24)
5) (3 sc, inc) * 6 (30)
6) 9 sc, knit the lower foot of 3 sc, 6 sc, knit the second lower foot of 3 sc, 9 sc (30)
7) (4 sc, inc) * 6 (36)
8) – 12) 36 sc (5 rows)
13) 9 sc, (1 sc, dec) * 6, 9 sc (30)
14) 30 sc
15) (3 sc, dec) * 6 (24)
16) -17) 24 sc (2 rows)
18) (2sc, dec) * 6 (18)
PAY ATTENTION TO UPPER Paws:
THEY SHOULD BE SYMMETRICALLY LOCATED WITH RESPECT TO THE LOWER Paws.
MY DESCRIPTION IS MADE UNDER MY KNITTING DENSITY AND UNDER HOOK NUMBER 4. IF KNITTING DOES NOT KNIFE TO YOU, THEN CORRECT YOURSELF.
19) 6 sc, knit the upper foot 3 sc, 5 sc, knit the second upper foot 3 sc, 1 sc (18), fill the body.
20) (1 sc, dec) * 6 (12)
Next we knit head:
21) 12 inc (24)
22) (3 sc, inc) * 6 (30)
23) 2 sc, inc, (4 sc, inc) * 5, 2 sc (36)
24) (5 sc, inc) * 6 (42)
25) 3 sc, inc, (6 sc, inc) * 5, 3 sc (48)
26) -28) 48 sc (3 rows)
29) (6 sc, dec) * 6 (42)
30) 42 sc
31) (5 sc, dec) * 6 (36)
32) 36 sc
33) (4 sc, dec) * 6 (30)
34) 30 sc
35) (3 sc, dec) * 6 (24)
36) 24 sc
37) (2 sc, dec) * 6 (18)
38) (1 sc, dec) * 6 (12)
39) 6 dec, cut the thread, fasten, tighten the hole, hide the thread in a toy.
Horns: 2 pcs.
(I crocheted number 3 with black yarn)
1) 4 sc in spacecraft
2) 4 inc (8)
3) (1 sc, inc) * 4 (12)
4) (1 sc, dec) * 4 (8)
5) 4 dec (4)
6) -9) 4 sc (4 rows), sl-st, cut the thread, fix
Wings: 4 pieces (see diagram)
We knit in rotary rows, at the beginning of each row of CH lifting. We collect a chain of 6 CH
1) We knit 5 sc from the second loop
2) inc, 4 sc (6)
3) 5 sc, inc (7)
4) inc, 6 sc (8)
5) 7 sc, inc (9)
6) inc, 8 sc (10)
7) inc, 8 sc, inc (12)
8) inc, 11 sc (13)
9) inc, 11 sc, inc (15)
10) inc, 14 sc (16)
11) inc, 14 sc, inc (18)
12) inc, 17 sc (19)
13) inc, 18 sc (20)
14) 20 sc
15) dec, 16 sc, dec (18)
16) dec, 14 sc, dec (16)
17) dec, 12 sc, dec (14)
18) dec, 10 sc, dec (12)
19) dec, 8 sc, dec (10), fasten thread, cut
Eyes:
1) We start knitting with black yarn:
6 sc into magic ring
2) 6 inc (12)
3) (1 sc, inc) * 6 (18), change the thread to
blue
4) (2 sc, inc) * 4, 1 sc, change the thread
to white
5) we transfer the thread up, behind the eye, stepping back from the blue 2 loops, pull the white thread through it, continue to knit in a circle, insert the hook immediately into the next loop and knit:
(3 sc, inc) * 4, 2 sc, sl-st, thread
pull, fasten, cut, leaving the end for sewing.
Eye Design:
Left eye knit 15 sl-st black
thread “Vita” “Coco”, starting
above the black edge; when
make another sl-st, a little thread
Pull out so the eye does not tighten.
Next, thread the black thread into the needle and
neat about flashing over blue
colors with ordinary stripes stitches.
On the right eye, we make sl-st with black thread,
starting from the white edge, counting 6 loops along the white edge from the bottom, and knit 15 sl-st to black, we also sew with stitches a black thread over blue.
For sewing, leave the threads of black and white colors, the remaining threads can be tied under the eye to a knot and trimmed.
Design and assembly of toys
We insert pins between the 12th and 13th rows, if you count from the top of the head.
To do this, mentally draw a straight line from the top of the neck to the neck, dividing your head in half, find the center between 12 and 13 side by side, and step back from it on both sides by 2 loops, insert pins (there are 4 loops between them).
We begin to make a tightening: we introduce a needle for 21 rows (in which we knit 12 increases), in the center of the neck, then we bring the needle to the first pin, then we insert the needle into the second pin, stretching the thread over the product, and bring the needle to the place
which initially introduced the needle, retreating 1 loop to the side, tighten, tie the threads into a couple of knots, cut, hide in the head.
We embroider a nose
(I embroider with a pink thread “Vita” “Coco” in 2 additions).
Sew on the eyes, directly above the hook, the distance between the eyes is about 1-2 loops.
We embroider cilia and eyebrows (black thread “Vita” “Coco” in 2 additions).
We embroider a mouth (black thread “Vita” “Coco” in 2 additions).
Sew horns (on the crown of the head).
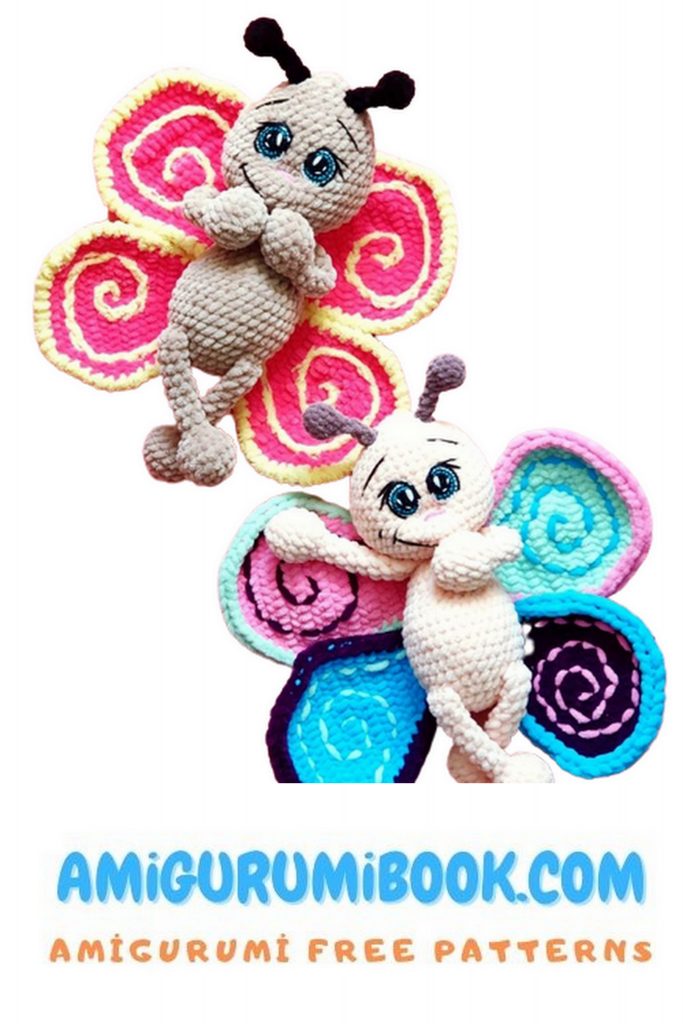
The design of the wings:
We put the wings in such a way that the edges, which are visually more straight, look at each other.
We sew the wings (the cross shows how exactly we sew).
Next, we tie the wings around the perimeter with Alize yarn Softi in 2 two threads.
I pulled a loop (as we usually do, planning to knit a single crochet, we have 2 loops on the hook), looped a working thread around the hook (see photo), pulled a working thread on top of these 2 loops and knitted sc.
On the front side (in the place where I sewed the wings) I tied the wings in pairs sl-st several loops with the same yellow thread that they tied the wings, stretching each column slightly so that the canvas does not stretch.
Next, we decorate the wings at our discretion =) I embroidered a pattern on the sl-st wings, pulling the thread a little so that the wings did not tighten, and did it so symmetrically on both sides of the wings (see video in detail in the MK video).
When the wings of the butterfly are ready, we sew them to the back with a seam to the back, I sewed in an oval, (see photo).