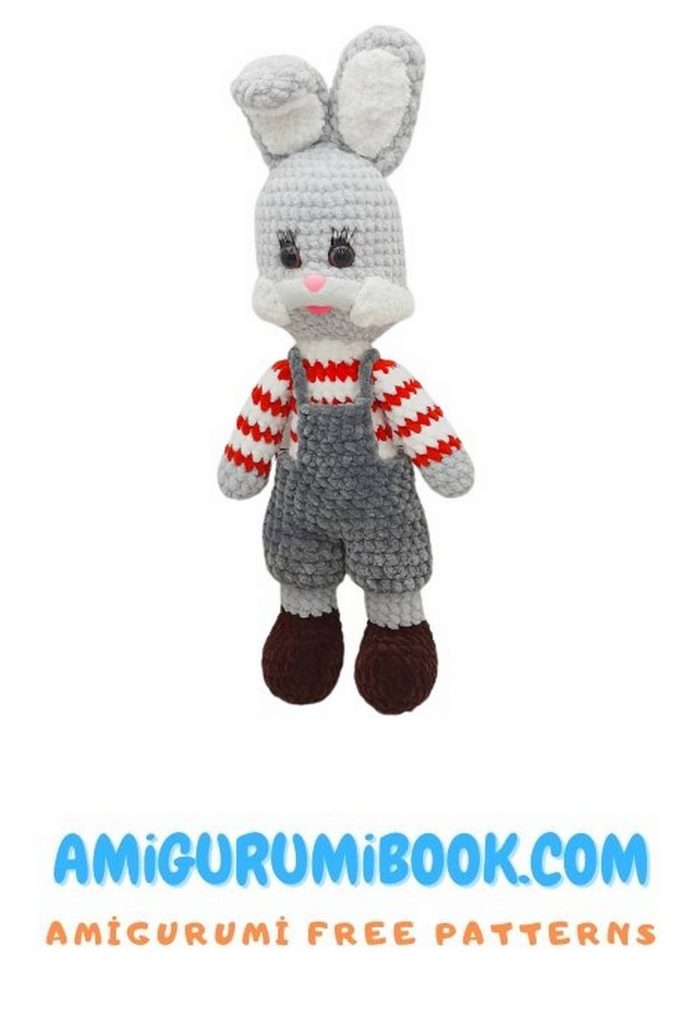
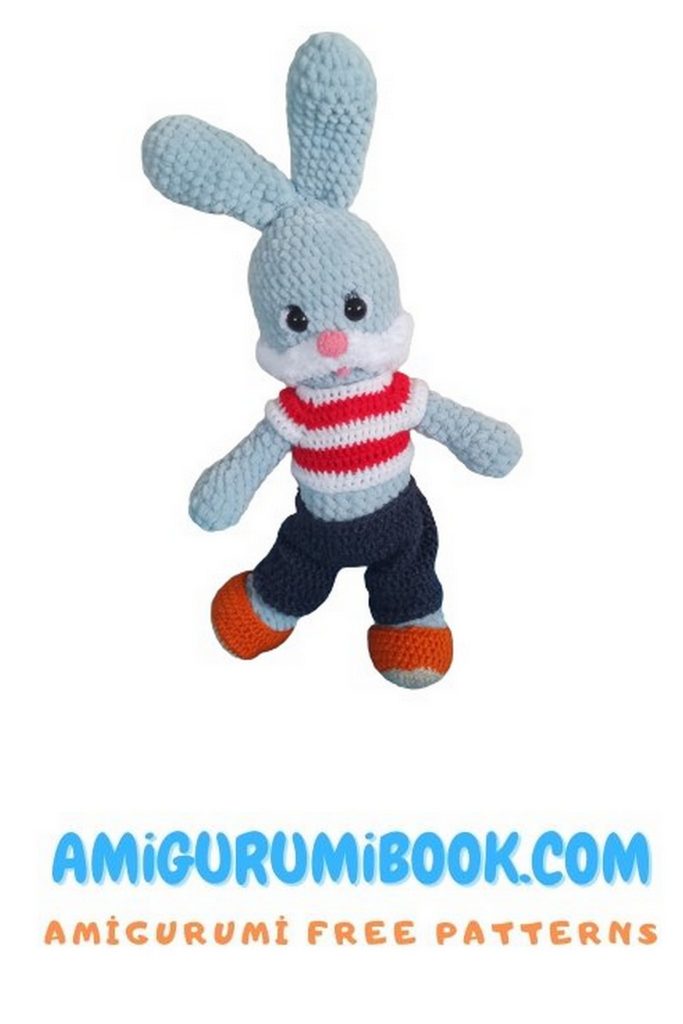
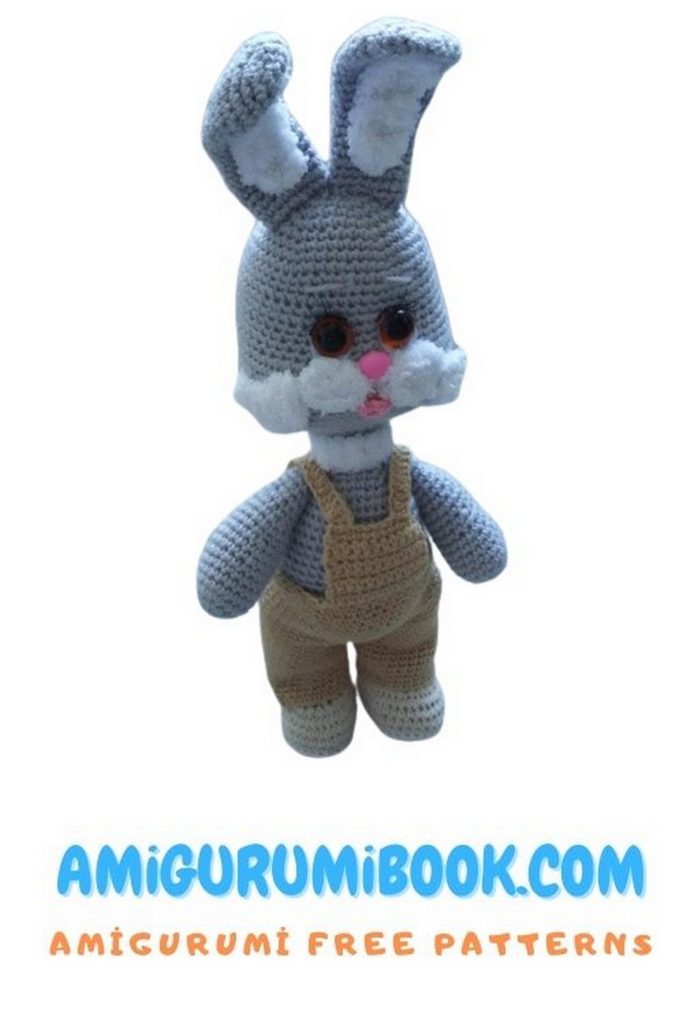
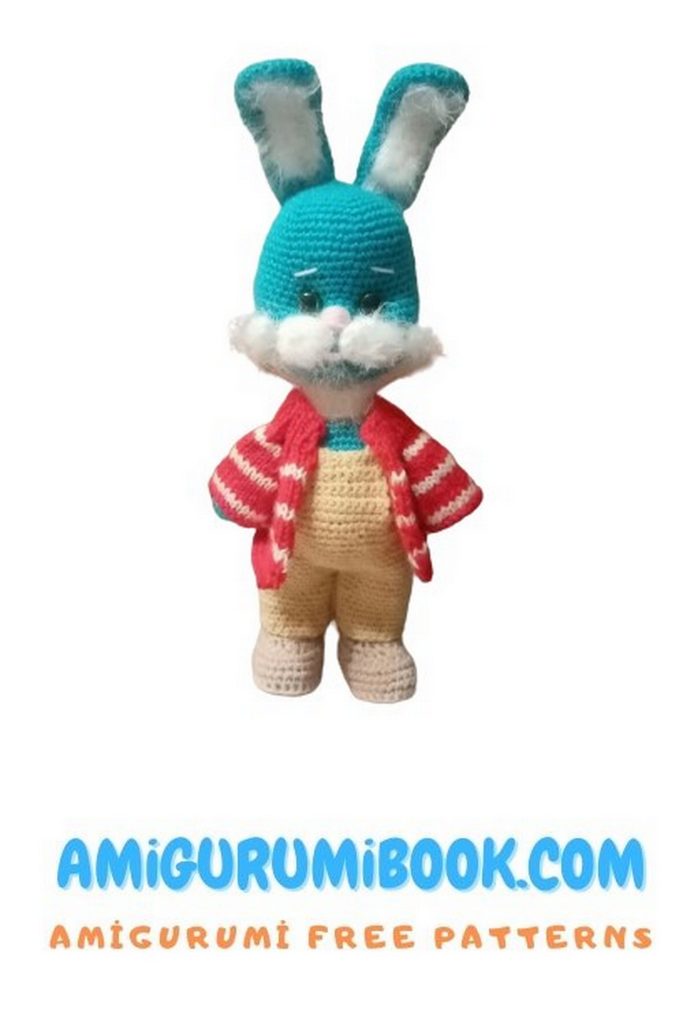
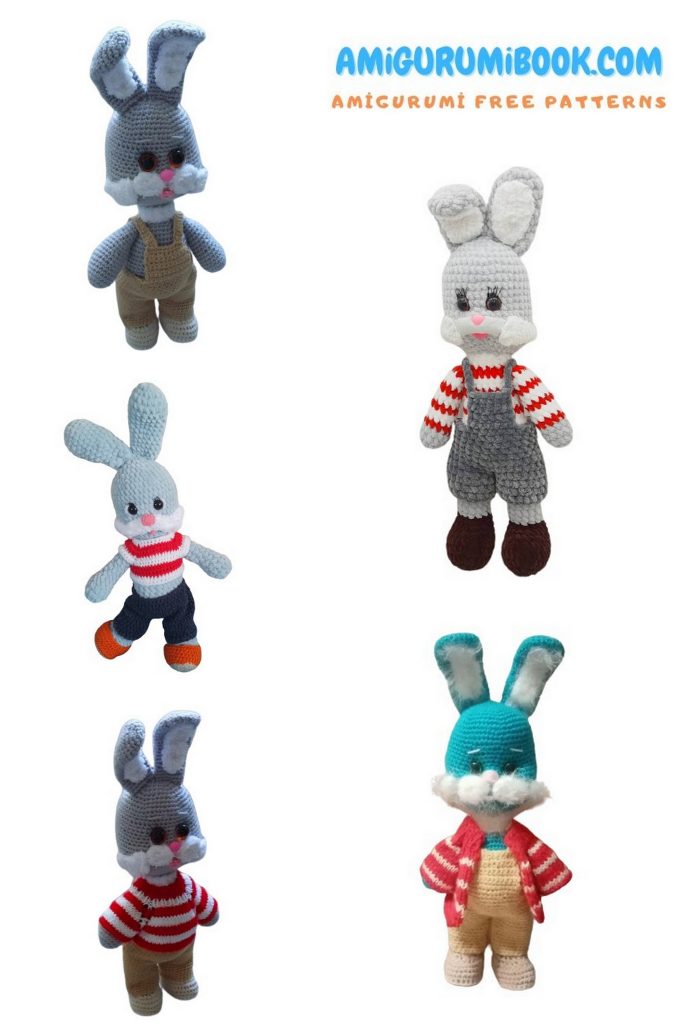
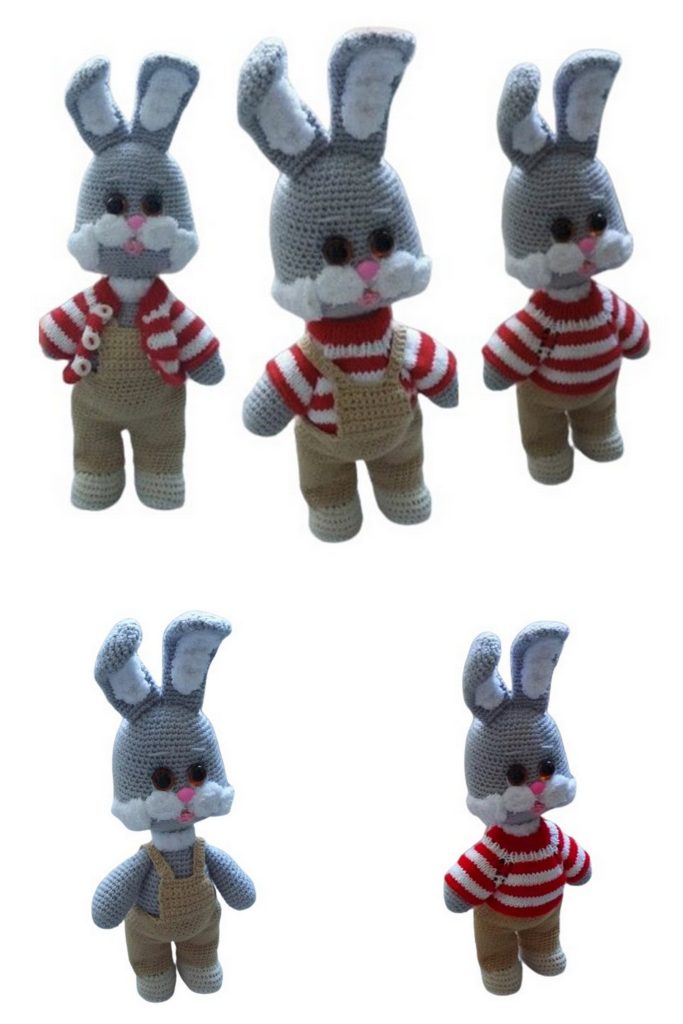
Discover the joy of crafting with the Free Bunny Steffan Amigurumi Pattern, perfect for creating your own charming crochet bunny toy. This easy-to-follow pattern is ideal for both beginners and experienced crocheters looking to add a cute handmade companion to their collection. free crochet patterns
You may also like more amigurumi patterns.
Welcome to our Bunny Steffan Amigurumi Free Pattern tutorial! If you’re a fan of crochet and adorable stuffed animals, you’re in for a treat. In this guide, we’ll walk you through the steps to create your very own Bunny Steffan Amigurumi, a charming bunny toy that will delight kids and adults alike.
Crocheting your own amigurumi toy can be a fun and rewarding experience. It allows you to unleash your creativity, play with colors, and make a special gift for someone you love. Plus, the satisfaction of seeing your creation come to life is unbeatable.
Our free pattern is designed with both beginners and experienced crocheters in mind. Whether you’re just starting your crochet journey or you’re a seasoned pro, you’ll find this pattern easy to follow. We’ve included clear instructions and helpful tips to ensure your Amigurumi Bunny Steffan turns out perfect.
So, grab your crochet hook, select your favorite yarn colors, and let’s get started on this delightful Bunny Steffan Amigurumi adventure. Before you know it, you’ll have a charming bunny companion to brighten your day or give as a heartwarming gift. Let’s dive in!
The entire toy and pants are crocheted, and the sweater is knitted with needles. The finished work measures 35 cm, including the ears.
Abbreviations:
ch – chain
sc – single crochet
inc – increase
dec – decrease
dc – double crochet
hdc – half double crochet
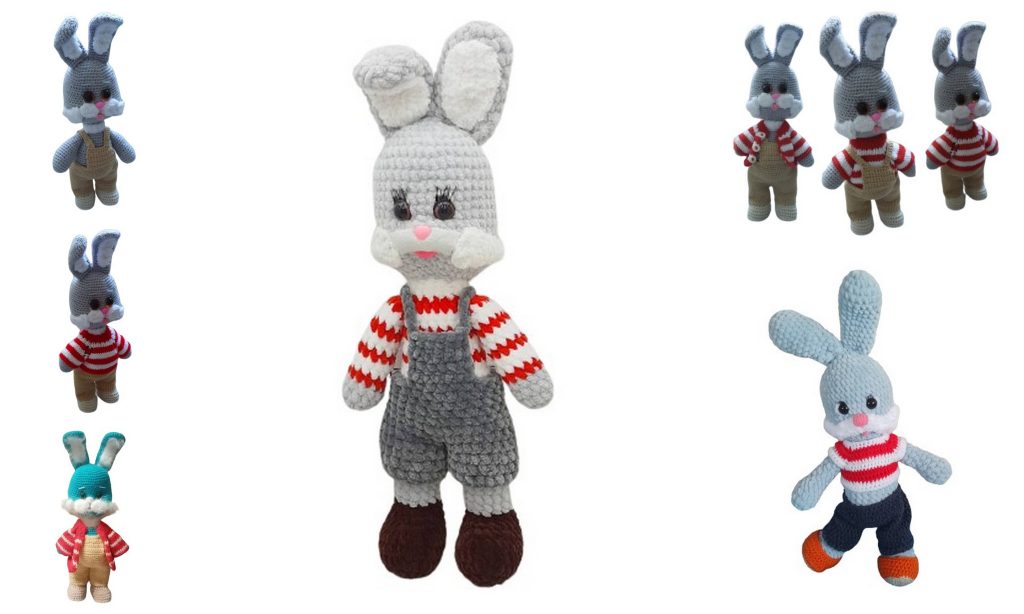
Materials:
Gray yarn (e.g., Bambino by Kamtex or any other similar yarn)
White yarn (for the face, e.g., Puf by Lanoso)
Brown safety eyes
Pink yarn (for the nose and mouth)
Gel glue (e.g., Moment)
Cocktail straw for head stability
Stuffing material (polyester fiberfill)
Ears (2 pieces):
With gray yarn.
R1: 6 sc in a magic ring (6).
R2: 6 inc (12).
R3: (1 sc, inc) x 6 (18).
R4: (2 sc, inc) x 6 (24).
R5-7: 24 sc (3 rows).
R8: (6 sc, dec) x 3 (21).
R9-11: 21 sc (3 rows).
R12: (5 sc, dec) x 3 (18).
R13-22: 18 sc (10 rows).
Finish crocheting, leaving a tail for sewing.
Ear Fluff (2 pieces):
With white yarn.
Ch 8, turn.
R1: Starting from the 2nd ch from the hook, 2 sc, 4 hdc, 4 sc, 2 inc.
Finish, leaving a tail for sewing.
Assembly of Ears:
Sew the white ear fluff onto the gray ears.
Attach the ears to the head when the head is ready.
Mouth and Facial Features:
Mouth: Crochet with pink yarn.
R1: 6 sc in a magic ring (6).
R2: Work back along the previous row, evenly increasing to make 10 sc.
Secure the yarn, cut it, and fold the mouth in half. Sew it below the eyes at rows 23-24, under the cheeks.
Cheeks (2 pieces):
Crochet with white yarn.
R1: 6 sc in a magic ring (6).
Secure the yarn and leave a tail for sewing.
Cheek Fluff (2 pieces): Crochet with white yarn.
Ch 8, turn.
R1: Starting from the 2nd ch from the hook, 2 sc, 4 hdc, 4 sc, 2 inc.
Finish, leaving a tail for sewing.
Attach the cheeks to the face.
Eyes: Attach the brown safety eyes around row 16, creating indentations for them.
Neck Collar:
Crochet with white yarn.
Ch 13.
R1: Starting from the 2nd ch from the hook, 12 sl st.
Finish crocheting and sew it around the neck when the head and neck are ready.
Body and Head:
Crochet the body and head as one piece.
R30: (4 sc, dec) x 6 (30).
R31: (3 sc, dec) x 6 (24).
Start stuffing the head with polyester fiberfill at this point. Then, shape the face and sew on the ears.
Continue crocheting the head and neck, hiding all the threads used for shaping the face.
R32: (2 sc, dec) x 6 (18).
R33: (sc, inc) x 6 (12).
R33-35: 12 sc (3 rows).
Insert a cocktail straw for head stability.
Continue stuffing the neck with polyester fiberfill.
Sew the collar around the neck when the head and neck are complete.
Body (continued):
R36: (2 sc, inc) x 6 (18).
R37: (3 sc, inc) x 6 (24).
R38: (4 sc, inc) x 6 (30).
R39: (5 sc, inc) x 6 (36).
R40: (6 sc, dec) x 6 (42).
R41-49: 42 sc (9 rows).
R50: (2 sc, dec) x 6, 24 sc (48).
R51-52: 48 sc (2 rows).
R53: (6 sc, dec) x 6 (42).
R54: (5 sc, dec) x 6 (36).
Eyes (continued):
Start with gray yarn.
R1: 6 sc in a magic ring (6).
R2: 6 inc (12).
R3: (1 sc, inc) x 6 (18).
R4: (2 sc, inc) x 6 (24).
R5: (3 sc, inc) x 6 (30).
R6: (4 sc, inc) x 6 (36).
R7: (5 sc, inc) x 6 (42).
R8: (6 sc, inc) x 6 (48).
R9: (7 sc, inc) x 6 (54).
R10-19: 54 sc (10 rows).
R20: 18 sc, 6 inc, 6 sc, 6 inc, 18 sc (66).
R21-24: 66 sc (4 rows).
R25: (9 sc, dec) x 6 (60).
R26: (8 sc, dec) x 6 (54).
R27: (7 sc, dec) x 6 (48).
R28: (6 sc, dec) x 6 (42).
R29: (5 sc, dec) x 6 (36).
R55: (4 sc, dec) x 6 (30).
R56: (3 sc, dec) x 6 (24).
R57: (2 sc, dec) x 6 (18).
Stuff the body with polyester fiberfill.
R58: (sc, dec) x 6 (12).
R59: (dec) x 6 (6).
Tail:
Crochet with white yarn.
R1: 6 sc in a magic ring (6).
R2: (sc, dec) x 6 (12).
R3: 12 sc.
Secure the yarn and sew the tail to the body around rows 50-54.
Front Legs (2 pieces):
Crochet with gray yarn.
R1: 6 sc in a magic ring (6).
R2: 6 inc (12).
R3: (1 sc, inc) x 6 (18).
R4: (5 sc, inc) x 3 (21).
R5-10: 21 sc (6 rows).
R11: (5 sc, dec) x 3 (18).
R12-13: 18 sc (2 rows).
R14: (4 sc, dec) x 3 (15).
R15-16: 15 sc (2 rows).
R17: (3 sc, dec) x 3 (12).
R18-19: 12 sc (2 rows).
R20: (dec) x 6 (6).
Leave a tail for sewing.
Legs (2 pieces):
Start with white yarn for shoes and change to beige yarn.
Start stuffing the legs during the process.
Ch 8, starting from the 2nd ch from the hook: 2 sc, 4 hdc, 4 sc, 2 inc.
Finish, leaving a tail for sewing.
Sew the legs to the body.
Pants:
Start with beige yarn for the front square of the pants.
Ch 12 + 1 ch.
R1: 12 sc, turn.
R2-9: 1 ch, 12 sc, turn (should actually have 11 sc to maintain 12 stitches).
R10-12: 12 sc (3 rows).
R13-30: 52 sc.
Start crocheting the first pant leg.
R31: 10 sc, skip 26 stitches, move the marker – 10 sc.
R32-40: 26 sc.
Crochet the second pant leg over the skipped stitches.
R31-40: 26 sc.
If needed, close the gap between the pant legs.
Straps (2 pieces):
Ch 26, starting from the 2nd chain from the hook, crochet 25 sl st.
Finish, leaving a tail for sewing.
Sweater:
Alternate between red and white yarn, working 4 rows for each color.
Raglan increases are done with yarn overs (yo), followed by a knit stitch (k).
Start with red yarn.
Ch 40 and crochet 8 rows of 1×1 ribbing.
R9: 5 k, yo, 9 k, yo, 9 k, yo, 9 k, yo, 4 k.
R10: Work all purl rows.
R11: 6 k, yo, 11 k, yo, 11 k, yo, 11 k, yo, 5 k.
R13: 7 k, yo, 13 k, yo, 13 k, yo, 13 k, yo, 6 k.
R15: 8 k, yo, 15 k, yo, 15 k, yo, 15 k, yo, 7 k.
R17: 9 k, yo, 17 k, yo, 17 k, yo, 17 k, yo, 8 k.
R19: 10 k, yo, 19 k, yo, 19 k, yo, 19 k, yo, 9 k.
R21: 11 k, yo, 21 k, yo, 21 k, yo, 21 k, yo, 10 k.
R23: 12 k, yo, 23 k, yo, 23 k, yo, 23 k, yo, 11 k.
R25: 13 k, yo, 25 k, yo, 25 k, yo, 25 k, yo, 12 k.
R27: 13 k, bind off 25 stitches (for sleeves), connect these stitches to form the sleeves, continue crocheting for 12 stitches. Crochet the following row in reverse, then bind off.
Shape as desired; for example, you can add three buttonholes on the back by crocheting 5 ch loops and sewing on buttons.
Your rabbit is now complete!
