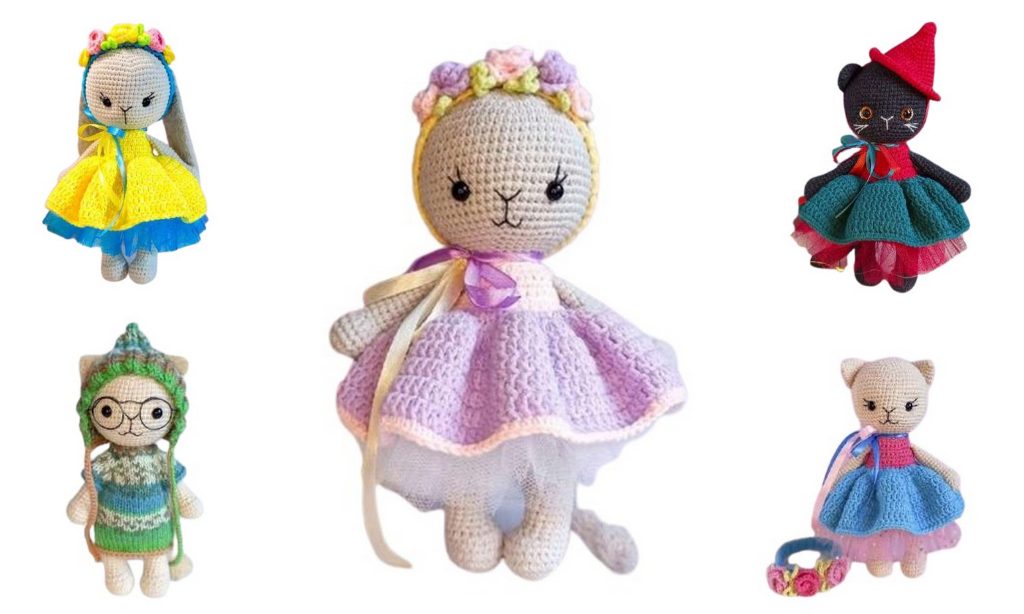
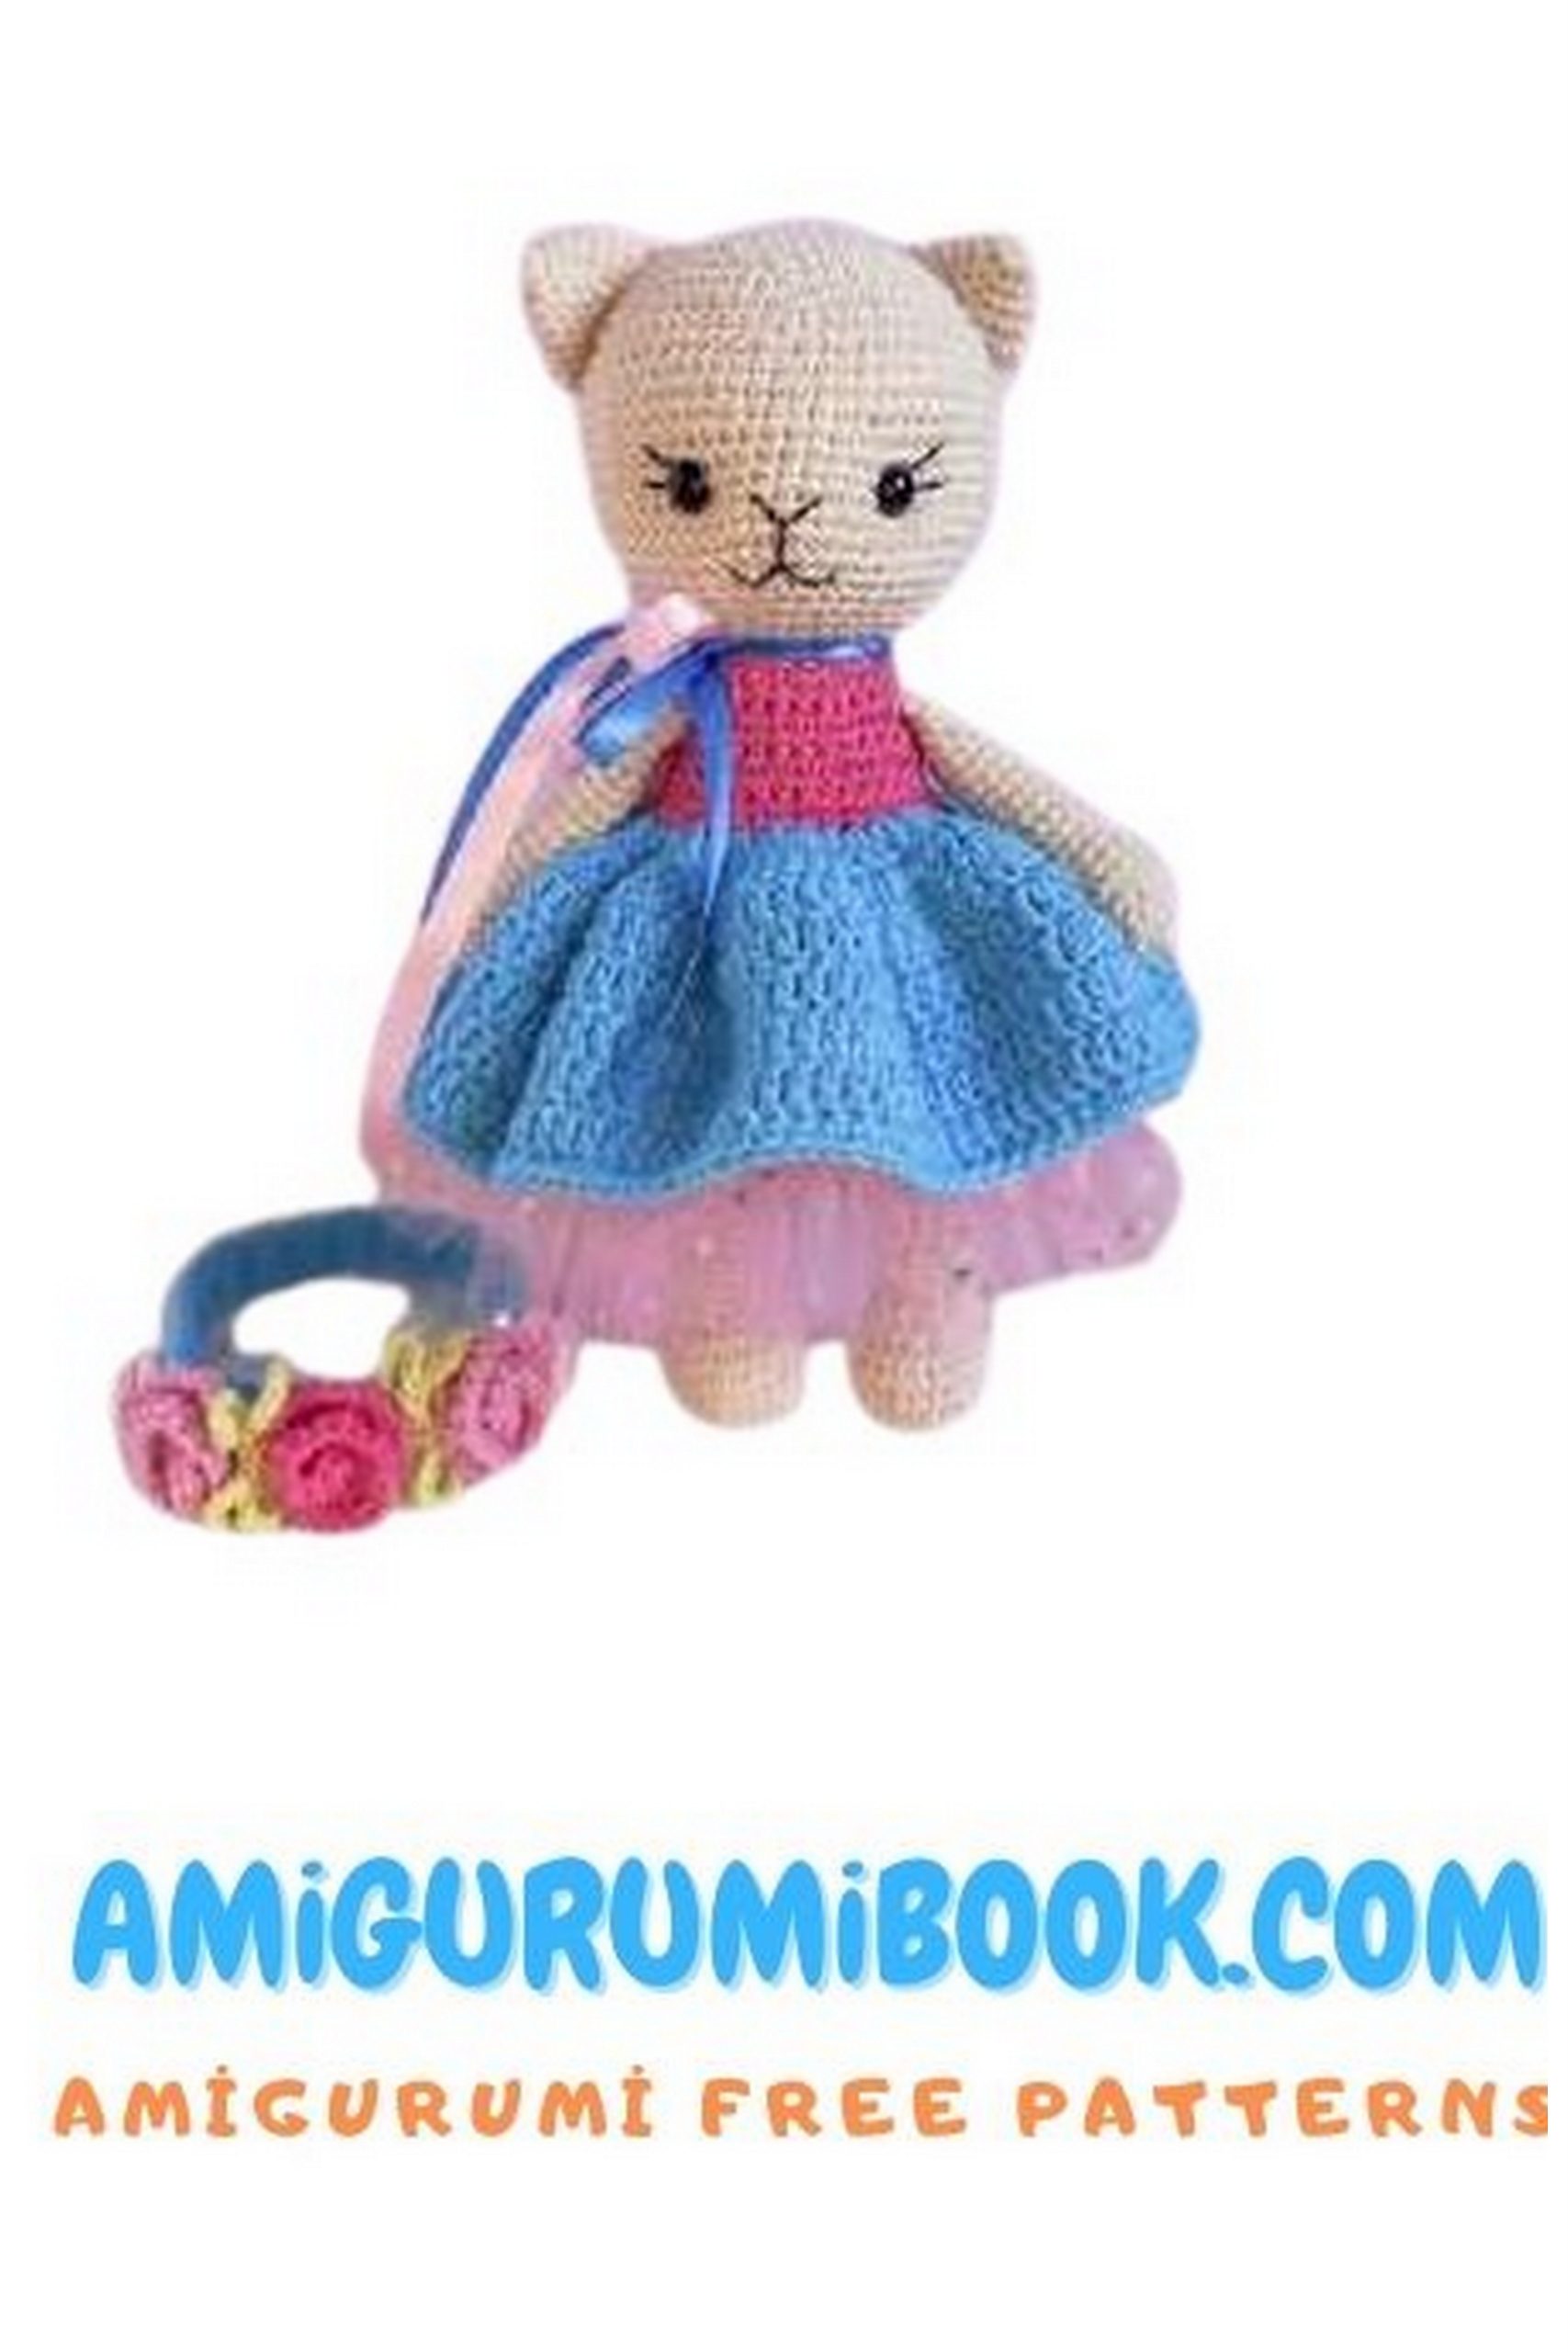
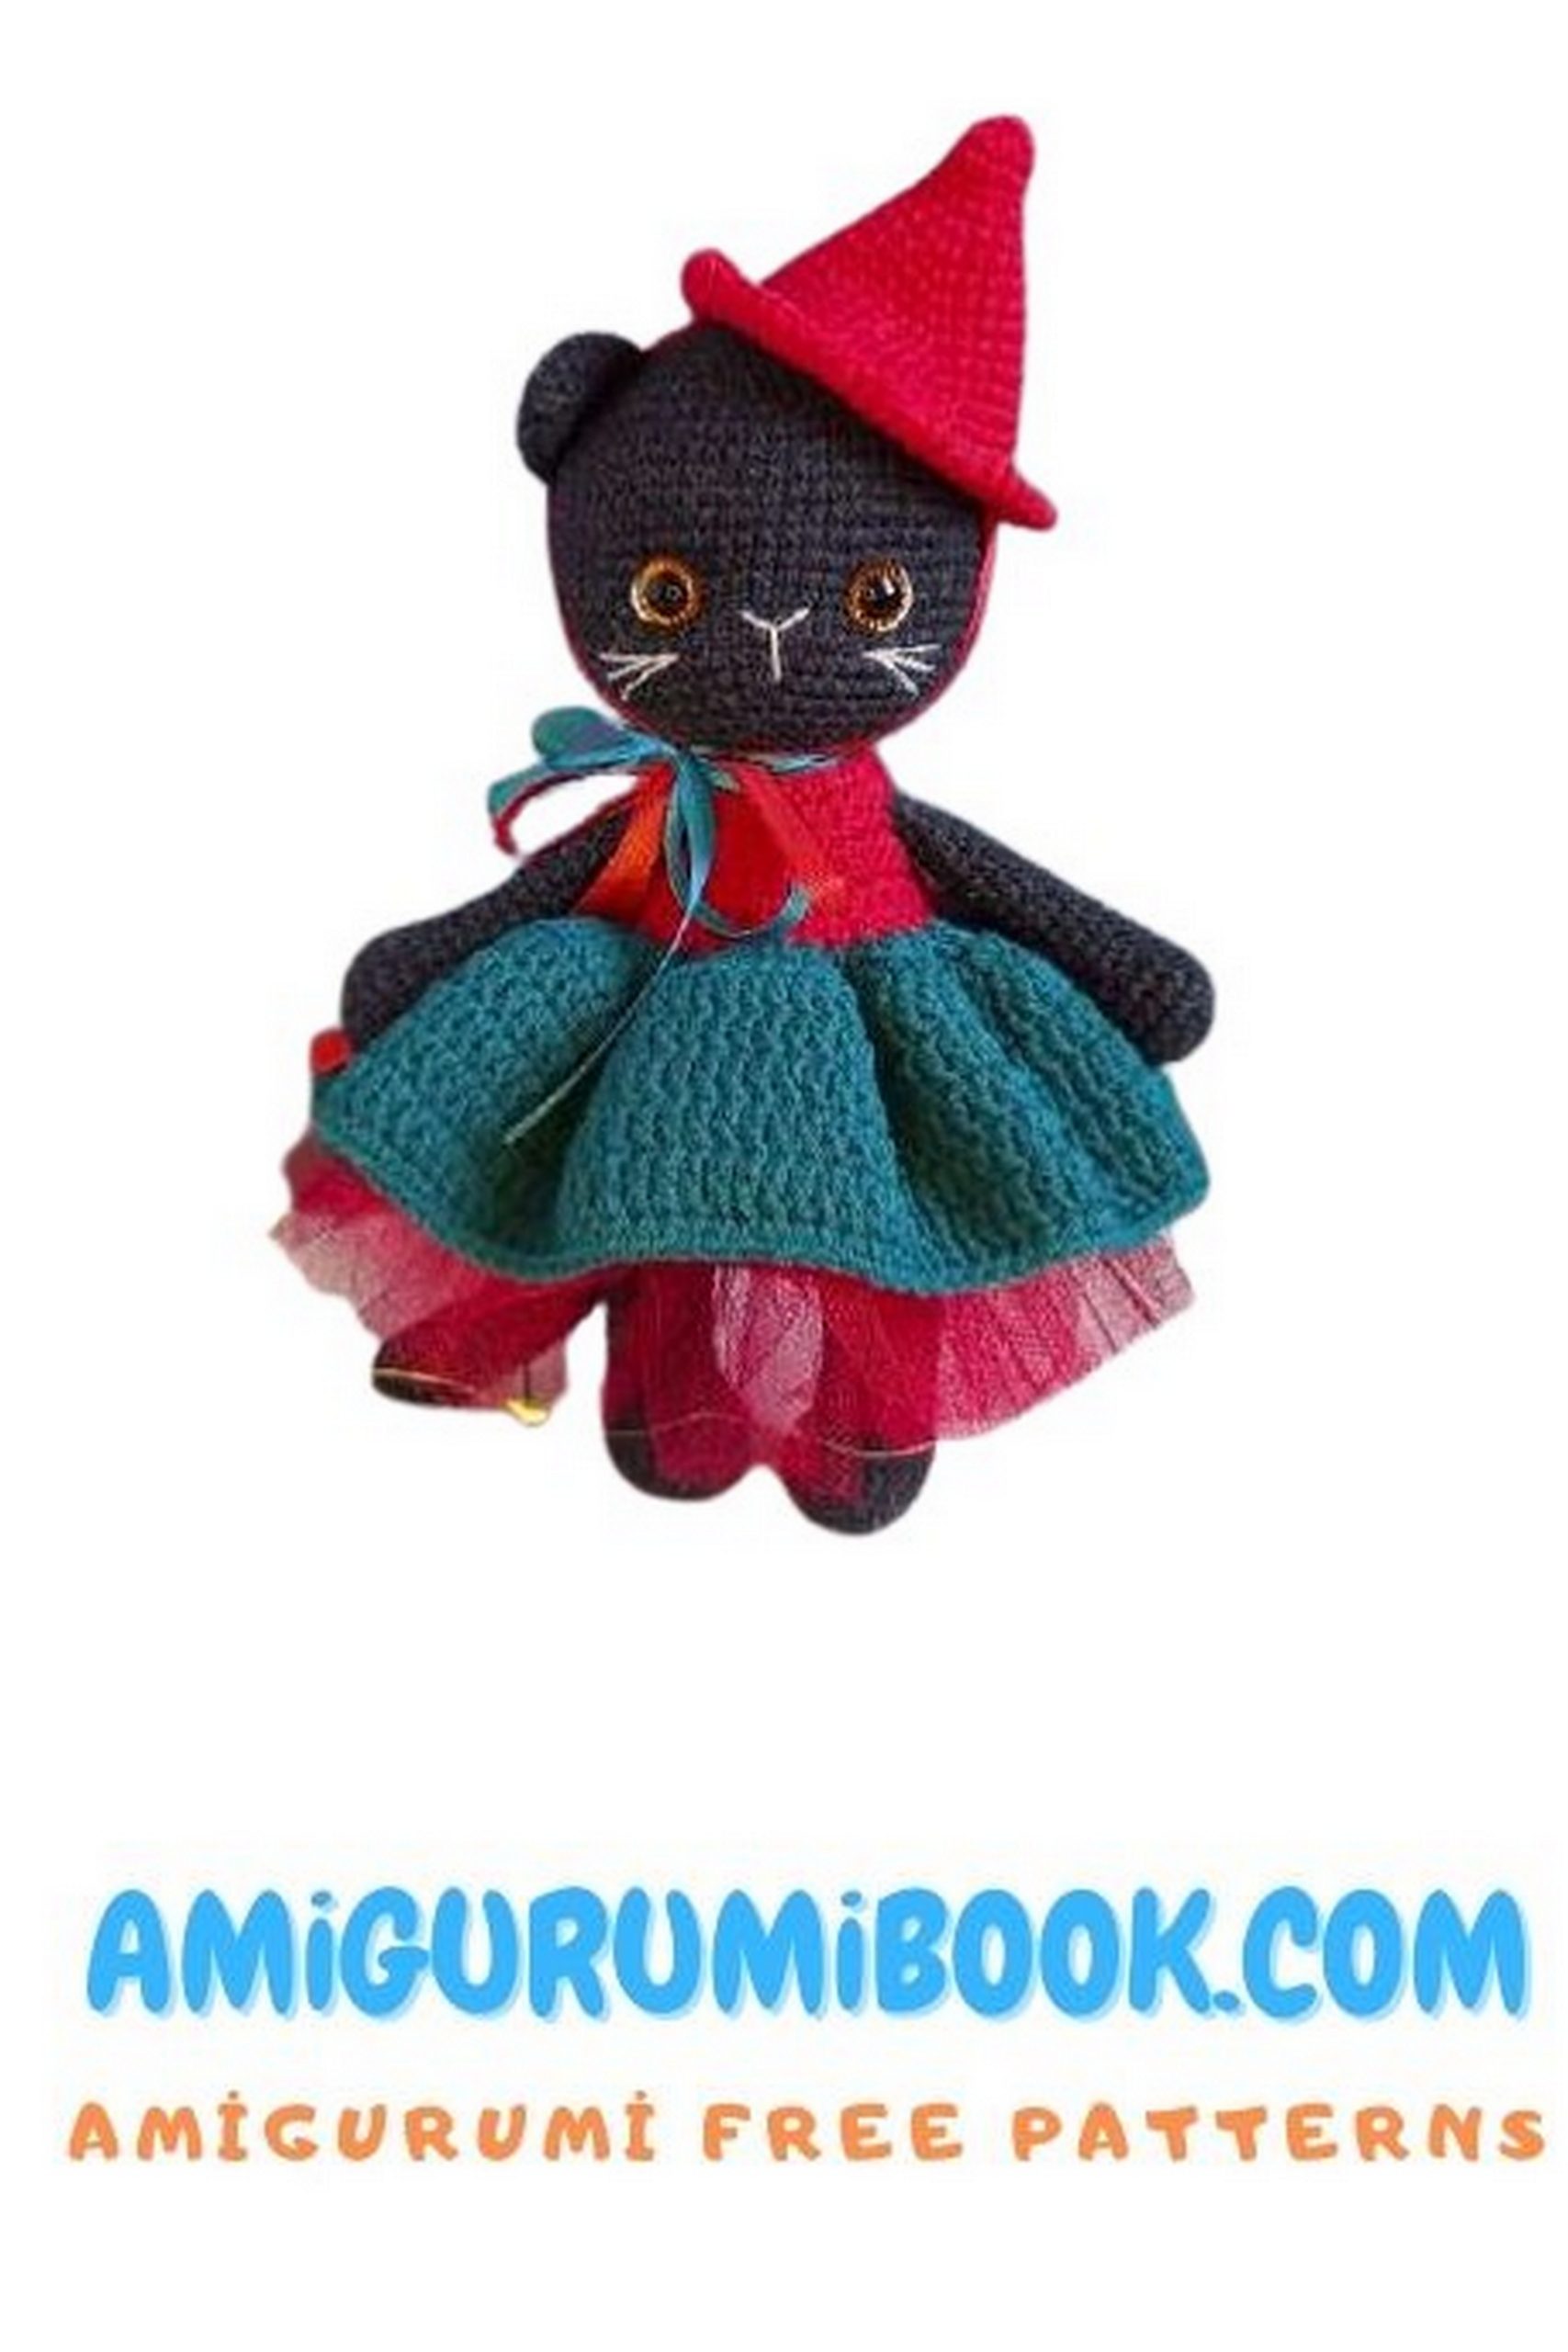
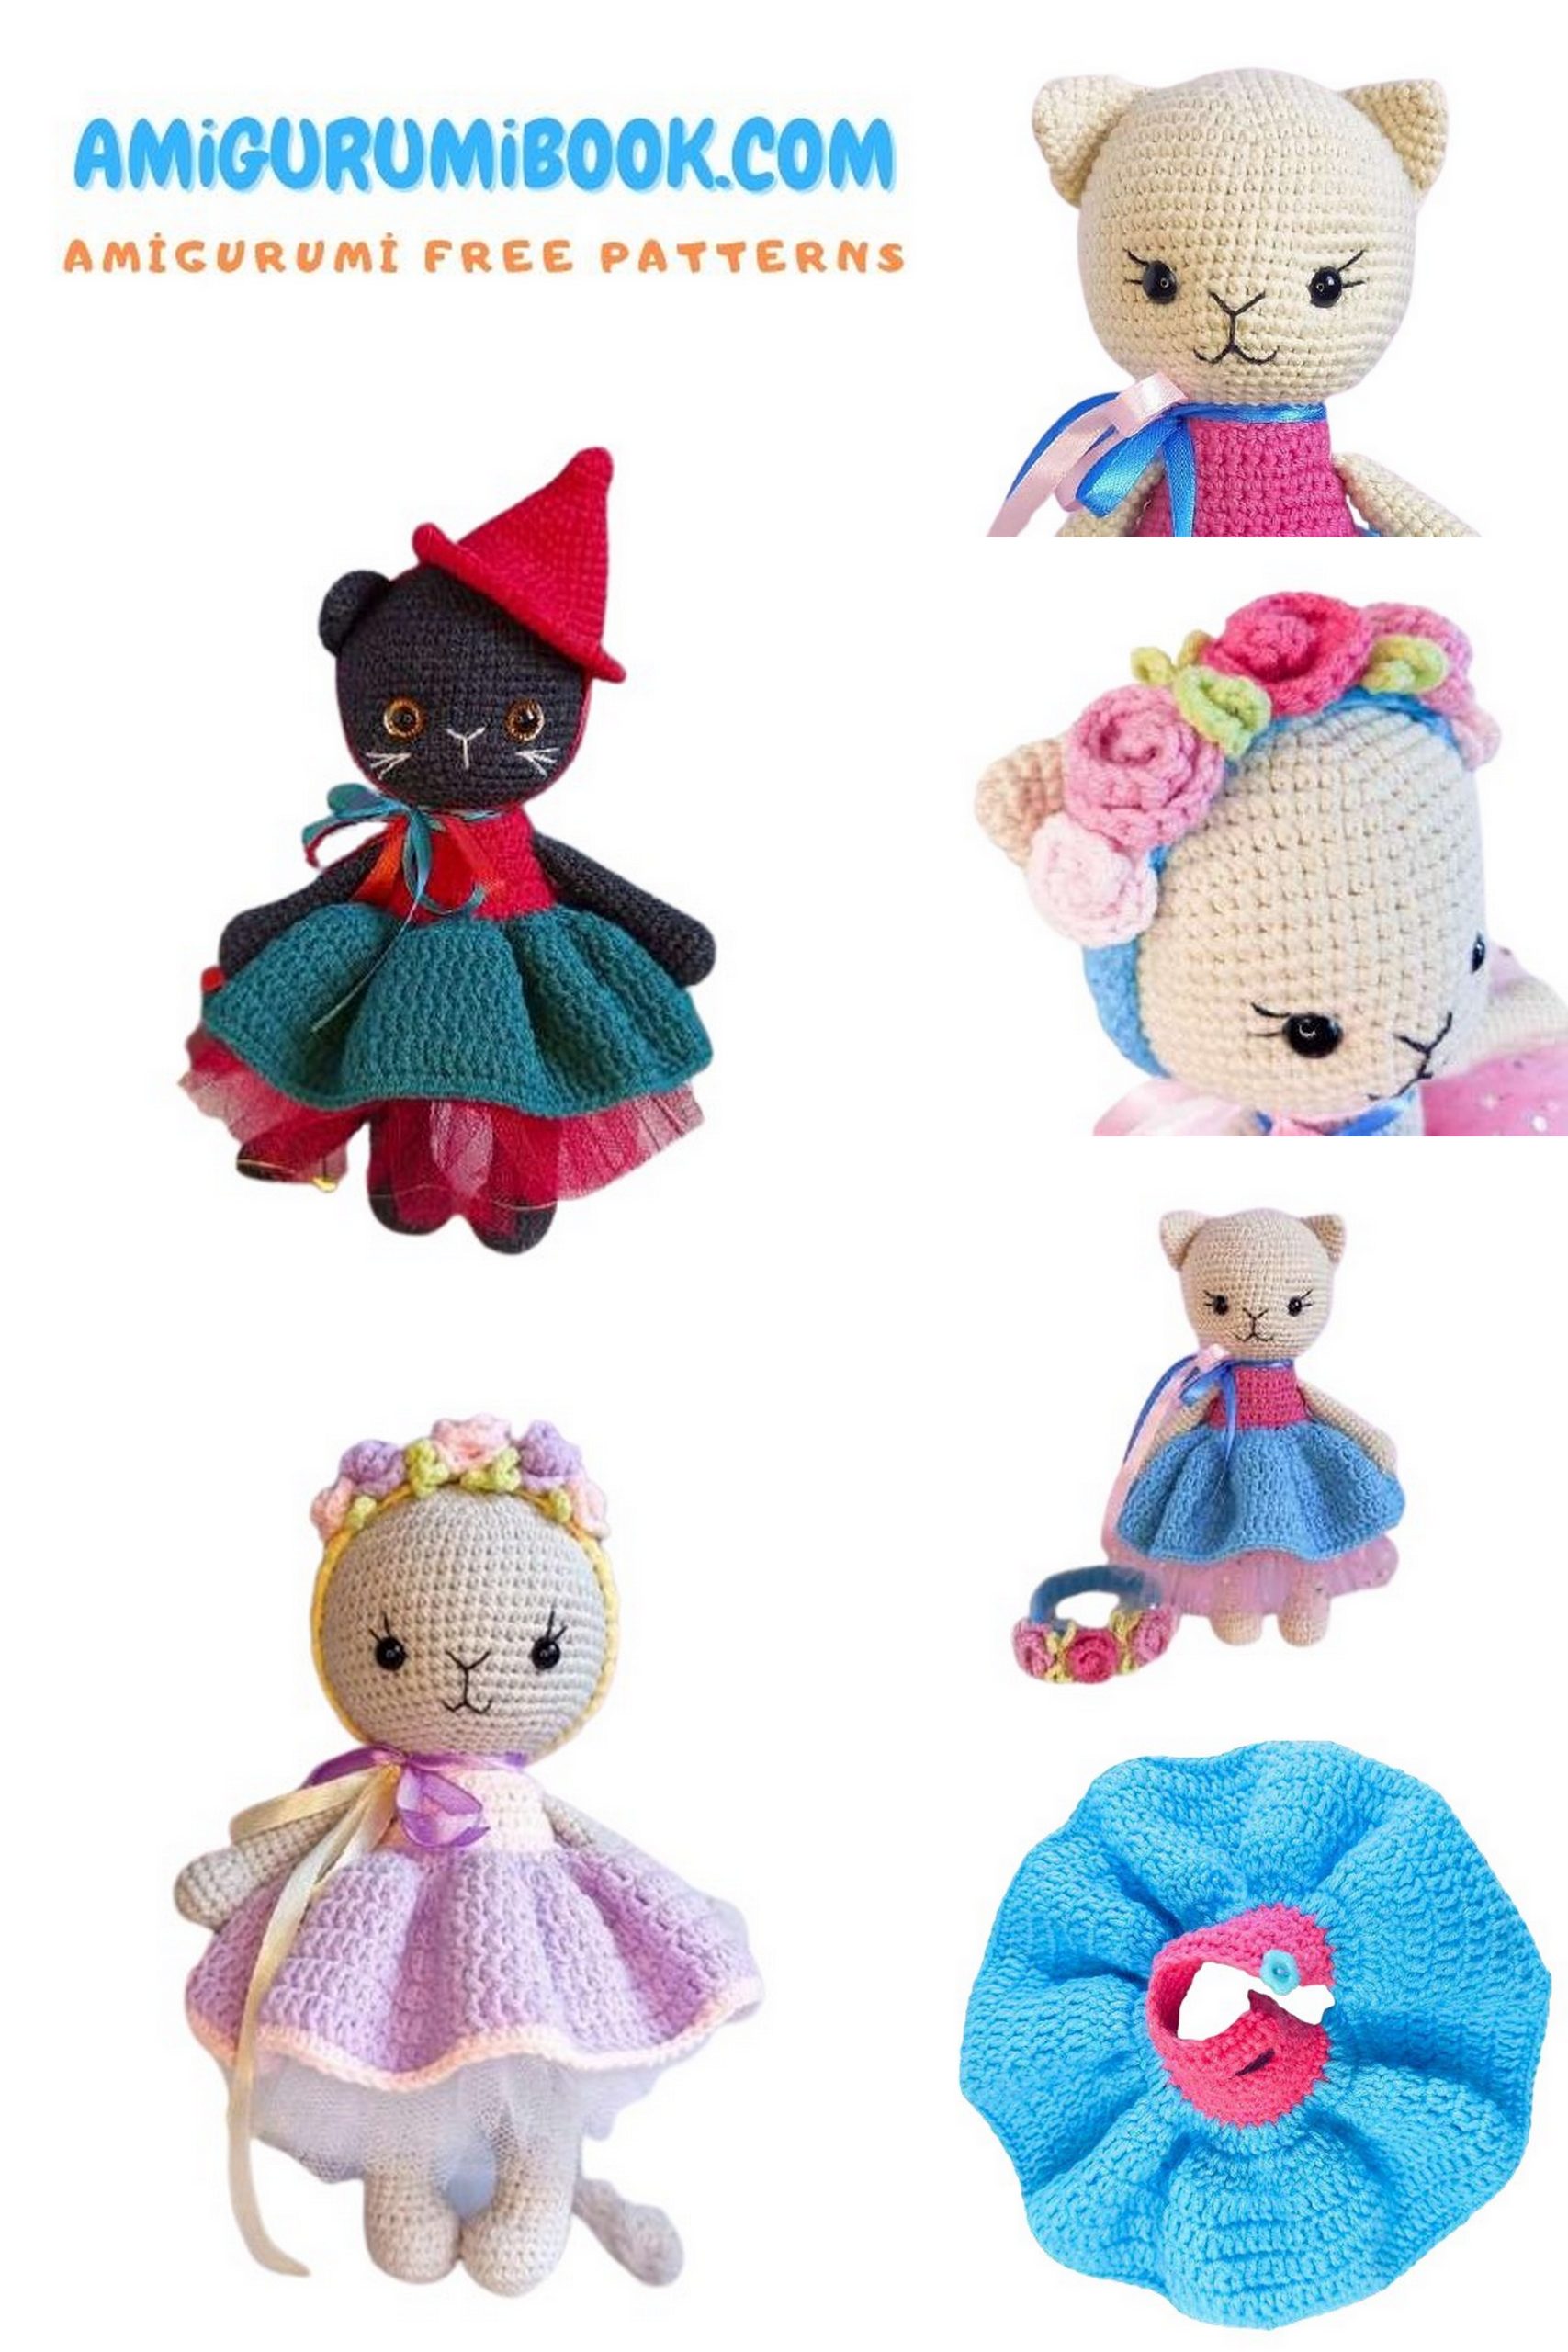
The Kitty Inga Amigurumi Free Pattern is a delightful crochet project perfect for both beginners and experienced crafters. This tutorial guides you step-by-step to create an adorable handmade kitty that makes a charming gift or a cute addition to your collection. free crochet patterns
You may also like more amigurumi patterns.
Explore the delightful world of crochet with our free Kitty Inga Amigurumi pattern and tutorial.
This easy-to-follow guide is perfect for both beginners and experienced crocheters, providing detailed instructions and clear photos to help you create your own adorable Amigurumi Kitty Inga.
Whether you’re making it as a gift or adding it to your amigurumi collection, this charming kitty is sure to bring joy and satisfaction to your crafting journey. Start your Kitty Inga – Amigurumi cat project today!
1000+ Free Amigurumi Patterns – Download App
You should see amigurumi cat amineko as a suggestion for your amigurumi cat collection.
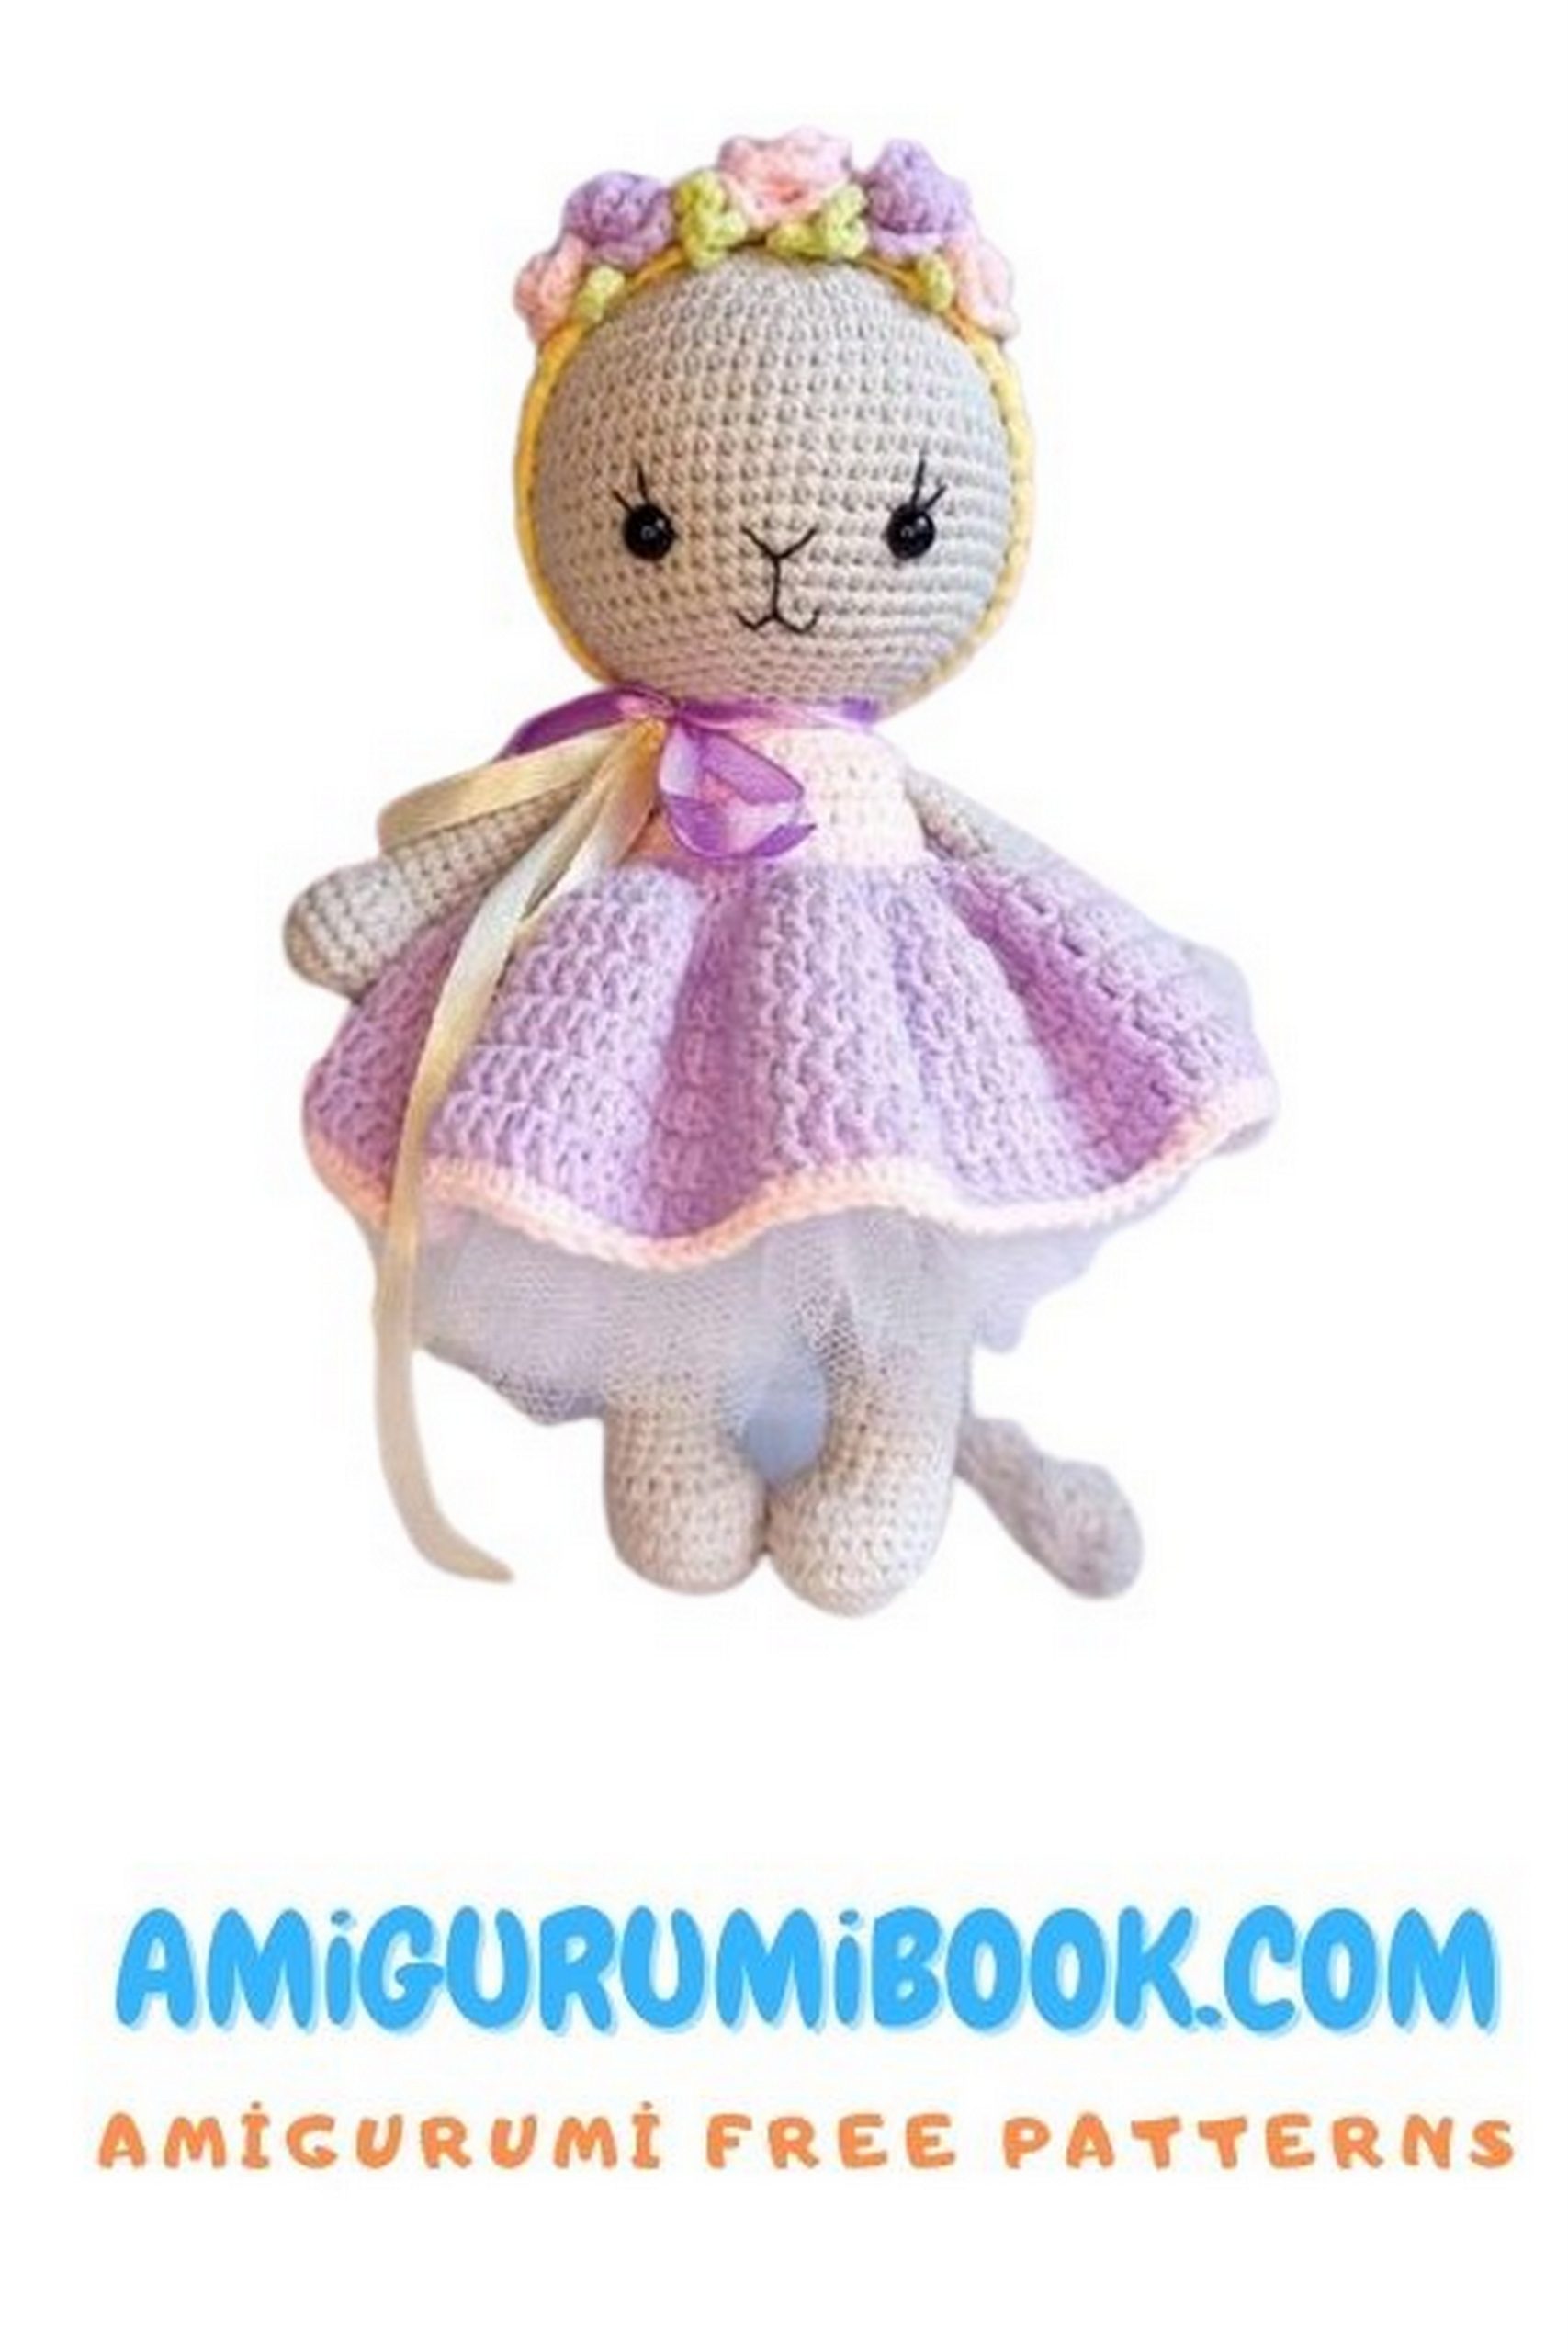
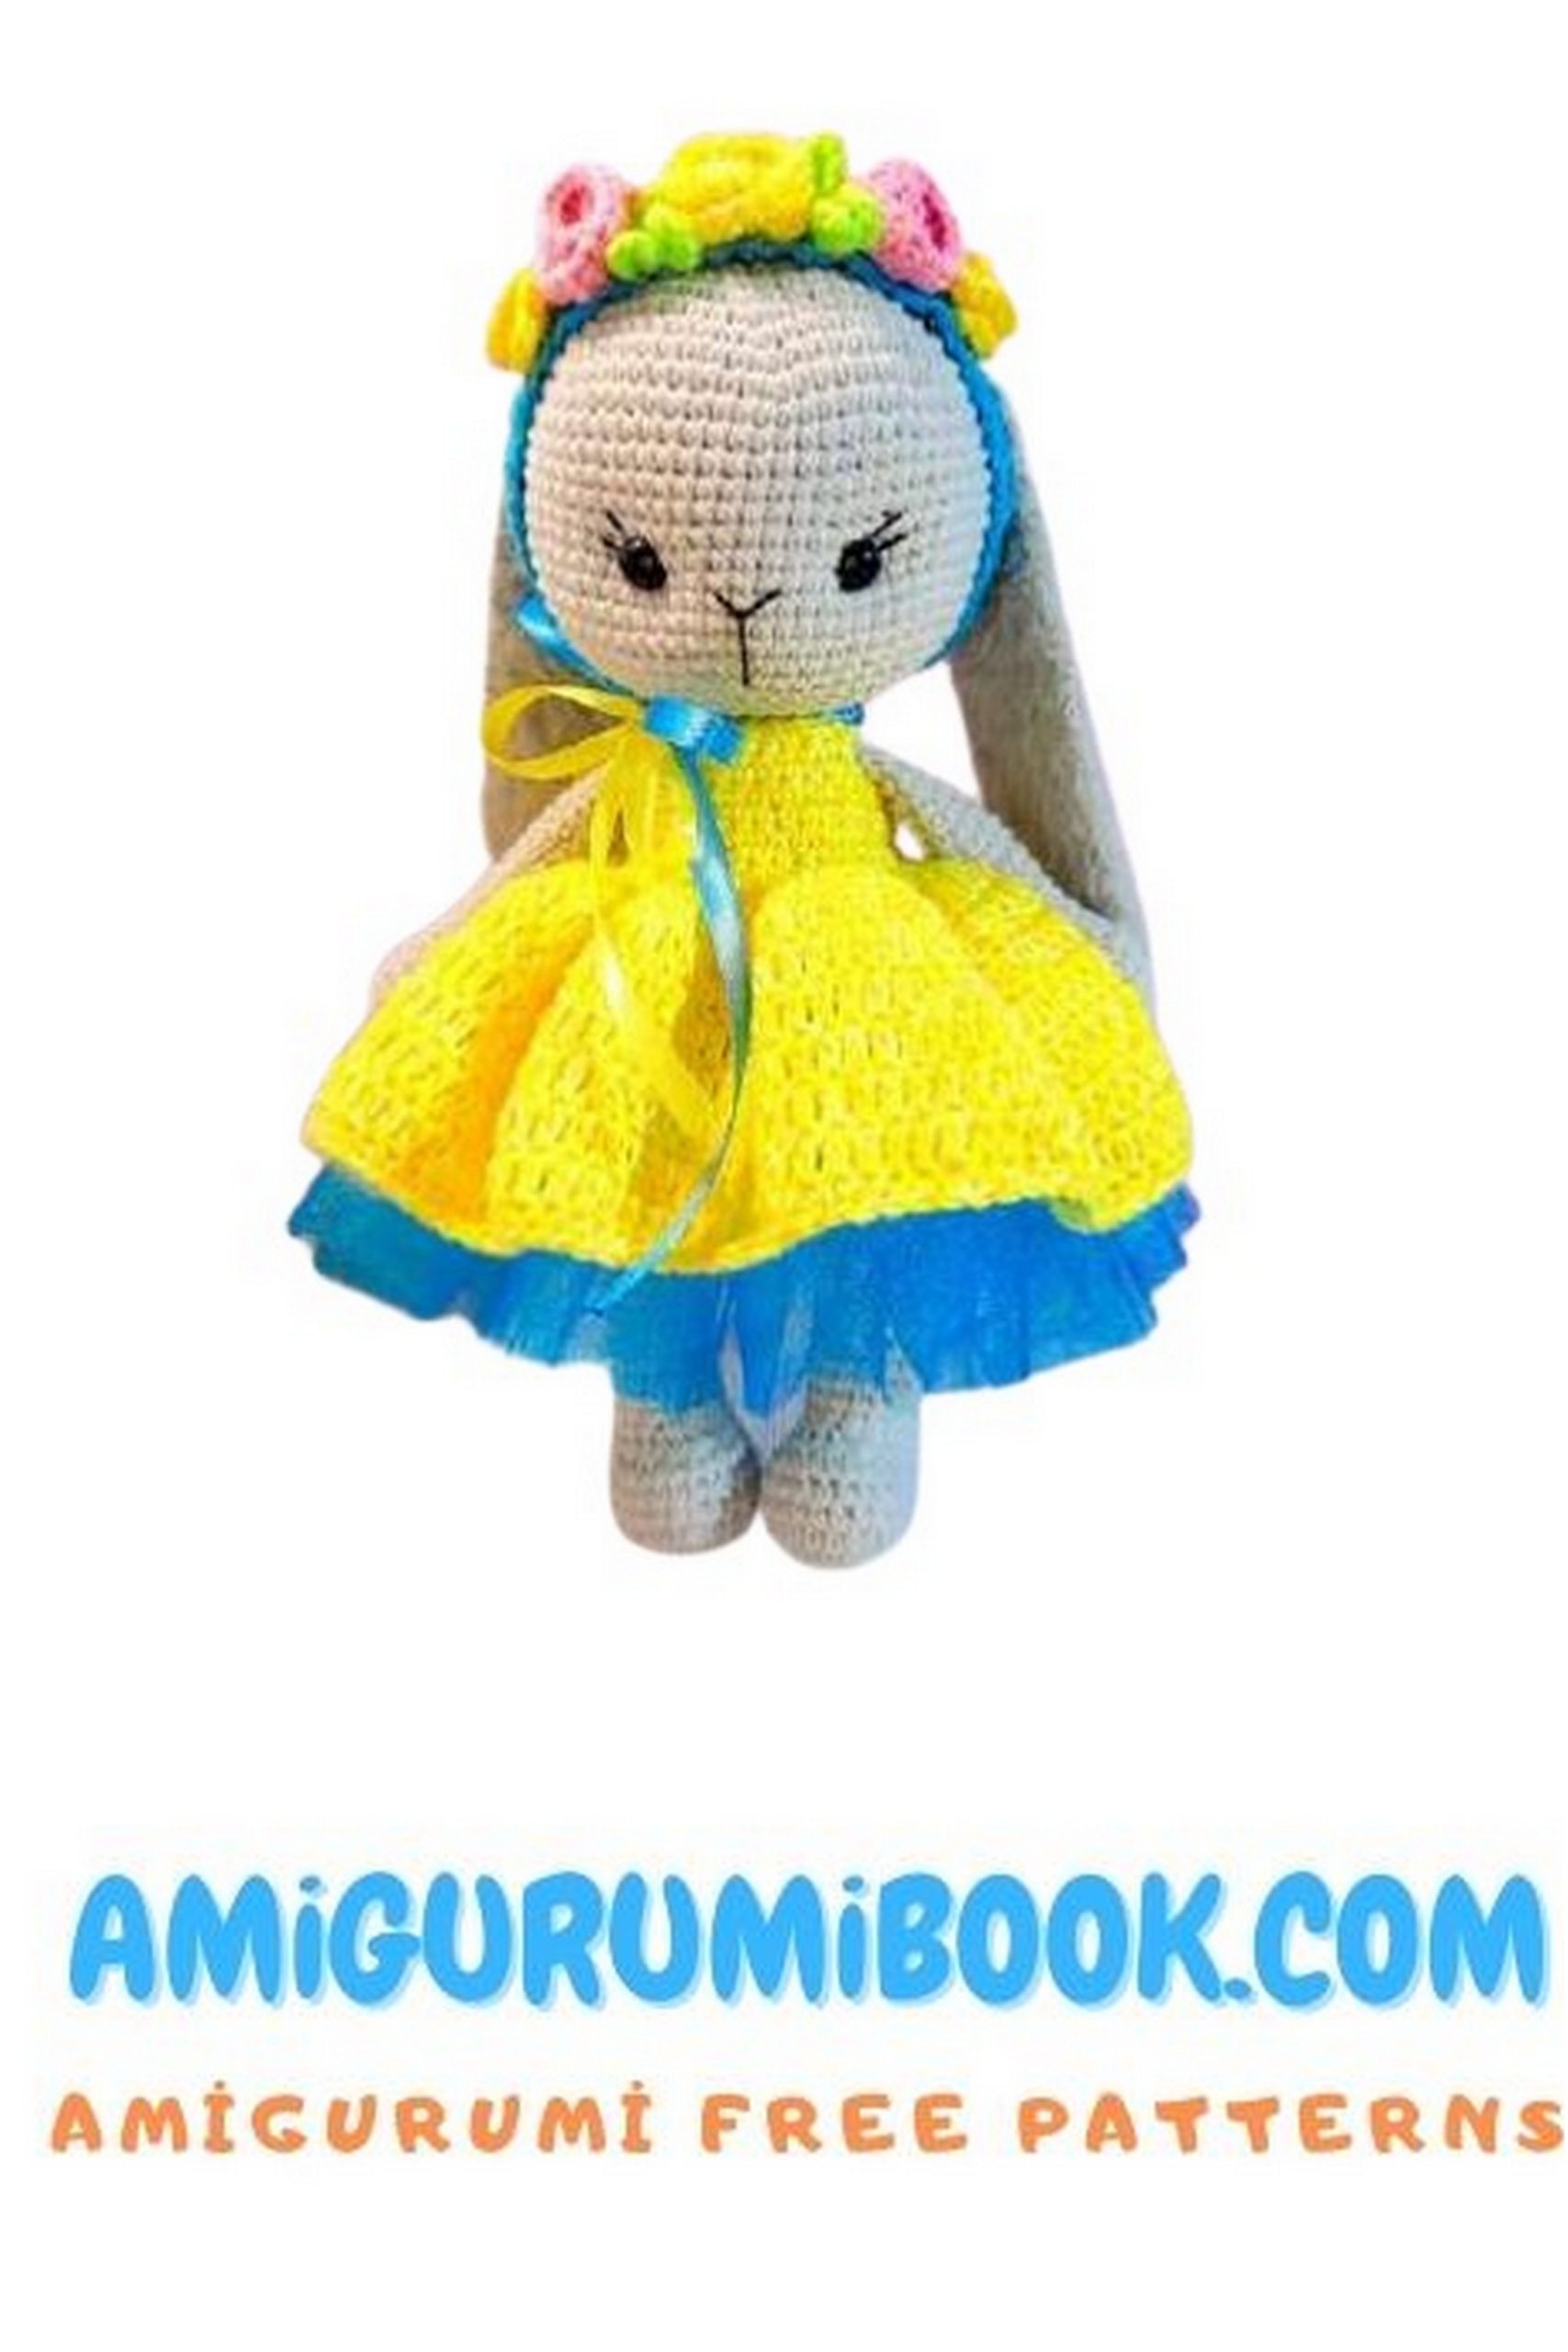
Using the specified materials, the height of the finished toy is about 18-20 cm.
Materials and tools needed:
A hook suitable for your yarn.
YarnArt JEANS yarn of any color of your choice for the body.
For the ears and tail, you can use any textured yarn of a suitable or contrasting color. I crocheted the ears and tail from Kamtex cotton grass and YarnArt JEANS. You can use Alize Softy, Adelia Sofia, etc.
Stuffing.
Safety eyes (I use 8 or 9 mm) or sew-on eyes (beads, half-beads – your choice).
A bit of black thread for embroidering the face.
Sewing needle, scissors, pins, crochet marker.
Abbreviations:
КА – amigurumi ring
sc – single crochet
dc – double crochet
ch – chain
inc – increase
dec – decrease
sl st – slip stitch
(…) * X – repeat X times as specified in the brackets
number after = indicates the number of stitches in the row
Kitty Inga Pattern

EARS (2 pieces) – Kitty Inga
From textured yarn:
Crochet in rows, single crochet.
In the 2nd and 3rd rows, increases are made at the sides (on each side, in the first and last stitches):
Chain 3 ch + 1 ch for turning.
1: 3 sc, 1 ch, turn
2: 5 sc, 1 ch, turn
3: 7 sc, 1 ch, turn
If you want longer ears, crochet another row of 7 sc. Leave the thread for sewing.
From YarnArt JEANS:
1: 6 sc in KA
2: (1 sc, inc) * 3 = 9
3: (2 sc, inc) * 3 = 12
4: (3 sc, inc) * 3 = 15
5: (4 sc, inc) * 3 = 18
Fold in half and crochet together, through both loops, 9 sc.
UPPER LEGS (2 pieces) – Kitty Inga
Stuff lightly, only the lower part.
1: 6 sc in KA
2: 6 inc = 12
3: (1 sc, inc) * 6 = 18
4-6: 18 sc
7: 3 sc, 6 dec, 3 sc = 12
8-20: 12 sc
Fold in half and crochet together, through both loops, 6 sc.
TAIL – Kitty Inga
Stuff very lightly during crocheting. (I crochet the tail from textured yarn with a 2.5 mm hook.)
From textured yarn:
1: 6 sc in KA
2: 6 inc = 12
3-27: 12 sc
Fold in half and crochet together, through both loops, 6 sc.
From YarnArt JEANS:
1: 6 sc in KA
2: 6 inc = 12
3-33: 12 sc
Fold in half and crochet together, through both loops, 6 sc.
HEAD – Kitty Inga
Eyes are set between rows 18 and 19. There are 11 sc between the eyes.
1: 6 sc in KA
2: 6 inc = 12
3: (1 sc, inc) * 6 = 18
4: (2 sc, inc) * 6 = 24
5: (3 sc, inc) * 6 = 30
6: (4 sc, inc) * 6 = 36
7: (5 sc, inc) * 6 = 42
8: (6 sc, inc) * 6 = 48
9: (7 sc, inc) * 6 = 54
10: (8 sc, inc) * 6 = 60
11: (9 sc, inc) * 6 = 66
12-22: 66 sc
23: (9 sc, dec) * 6 = 60
24: (8 sc, dec) * 6 = 54
25: (7 sc, dec) * 6 = 48
26: (6 sc, dec) * 6 = 42
27: (5 sc, dec) * 6 = 36
28: (4 sc, dec) * 6 = 30
29: (3 sc, dec) * 6 = 24
30: (2 sc, dec) * 6 = 18
Stuff tightly, leave a thread for sewing.
LEGS, BODY – Kitty Inga
Stuff tightly while crocheting. Start with the legs:
1: 6 sc in KA
2: 6 inc
3: (1 sc, inc) * 6 = 18
4: (2 sc, inc) * 6 = 24
5-7: 24 sc
8: 6 sc, 6 dec, 6 sc = 18
9: 6 sc, 3 dec, 6 sc = 15
10-19: 15 sc
On the first leg, crochet the last stitch with a slip stitch, fasten and cut the thread.
On the second leg, crochet a few more sc to align both legs parallel.
If you want inward-turned legs, connect them by turning the decreases on the soles towards each other. Determine the degree of “inward-turned” as you wish.
Do not cut the thread, continue crocheting.
Chain 6 ch, attach the second leg.
20: 15 sc on one leg, 6 sc on the chain, 15 sc on the second leg, 6 sc on the chain = 42 sc
21: 42 sc
22: (6 sc, inc) * 6 = 48
23-29: 48 sc
The tail is crocheted in row 27.
30: (6 sc, dec) * 6 = 42
31-33: 42 sc
34: (5 sc, dec) * 6 = 36
35-37: 36 sc
38: (4 sc, dec) * 6 = 30
39-48: 30 sc
In row 47, crochet the upper legs. The legs are crocheted parallel to the lower ones (6 sc with the legs, 9 sc between them). Ensure the indentations on the legs are at the front.
49: (3 sc, dec) * 6 = 24
50: (2 sc, dec) * 6 = 18
51: 18 sc
Cut the thread, leaving enough length for sewing.
Optionally, after sewing the head, you can create dimples. In the picture, the needle entry and exit points are approximately marked.
Insert the needle at point 1, exit at point 2, insert at point 3, exit at point 1 (through 1 stitch to the back of the head). Pull tight, ensuring the thread goes under the eye. Tie tightly. For reliability, gently glue the knot. Hide the thread ends inside the head.
DRESS
Crochet in rows, not tightly.
Chain 24 ch + 1 ch for turning.
1: 24 sc; 1 ch for turning
2: (3 sc, inc) * 6 = 30; 1 ch for turning
3: inc, 3 sc, skip 6 sc, crochet a chain of 6 ch above them, 10 sc, skip 6 sc, crochet a chain of 6 ch above them, 3 sc, inc. = 32; 1 ch for turning
4: 4 sc, inc, 6 sc on the chain, inc, 8 sc, inc, 6 sc on the chain, inc, 4 sc = 36; 1 ch for turning
5-7: 36 sc
Start crocheting the skirt.
8: 2 ch for turning, 1 dc in the first stitch, then 2 dc in each stitch = 72 dc; 2 ch for turning
9: 1 dc in the first stitch, then 2 dc in each stitch = 144 dc; 2 ch for turning
10: 144 dc
11: join the skirt with sl st, continue crocheting in the round; 2 ch for turning, 143 dc
12-15: 2 ch for turning, 143 dc
16: 1 ch for turning, 143 sc
Try it on. If you are not adding a tulle skirt or if the length is not sufficient for your taste, crochet 1-2 more rows of dc.
Instead of sc, the hem of the skirt can be edged with “crab stitch” or made lacy. It all depends on your desire.
For the lower skirt, I use about 100-120 cm of tulle 15 cm wide, folded in half lengthwise, and gathered on a clear elastic band (insert the elastic band into the needle). Tie the ends of the elastic with a tailor’s knot and cut off the excess ends.
HEADBAND
Crochet the headband in rows of 5 sc in back loops only. After reaching the desired length, join into a ring. Cover the joining place with roses.
For the large rose, chain 12 ch, return along the chain with 3 dc in each stitch.
For the small rose, chain 10 ch, return along the chain with 3 sc in each stitch. Roll the flowers, sew with a needle, and attach to the headband.
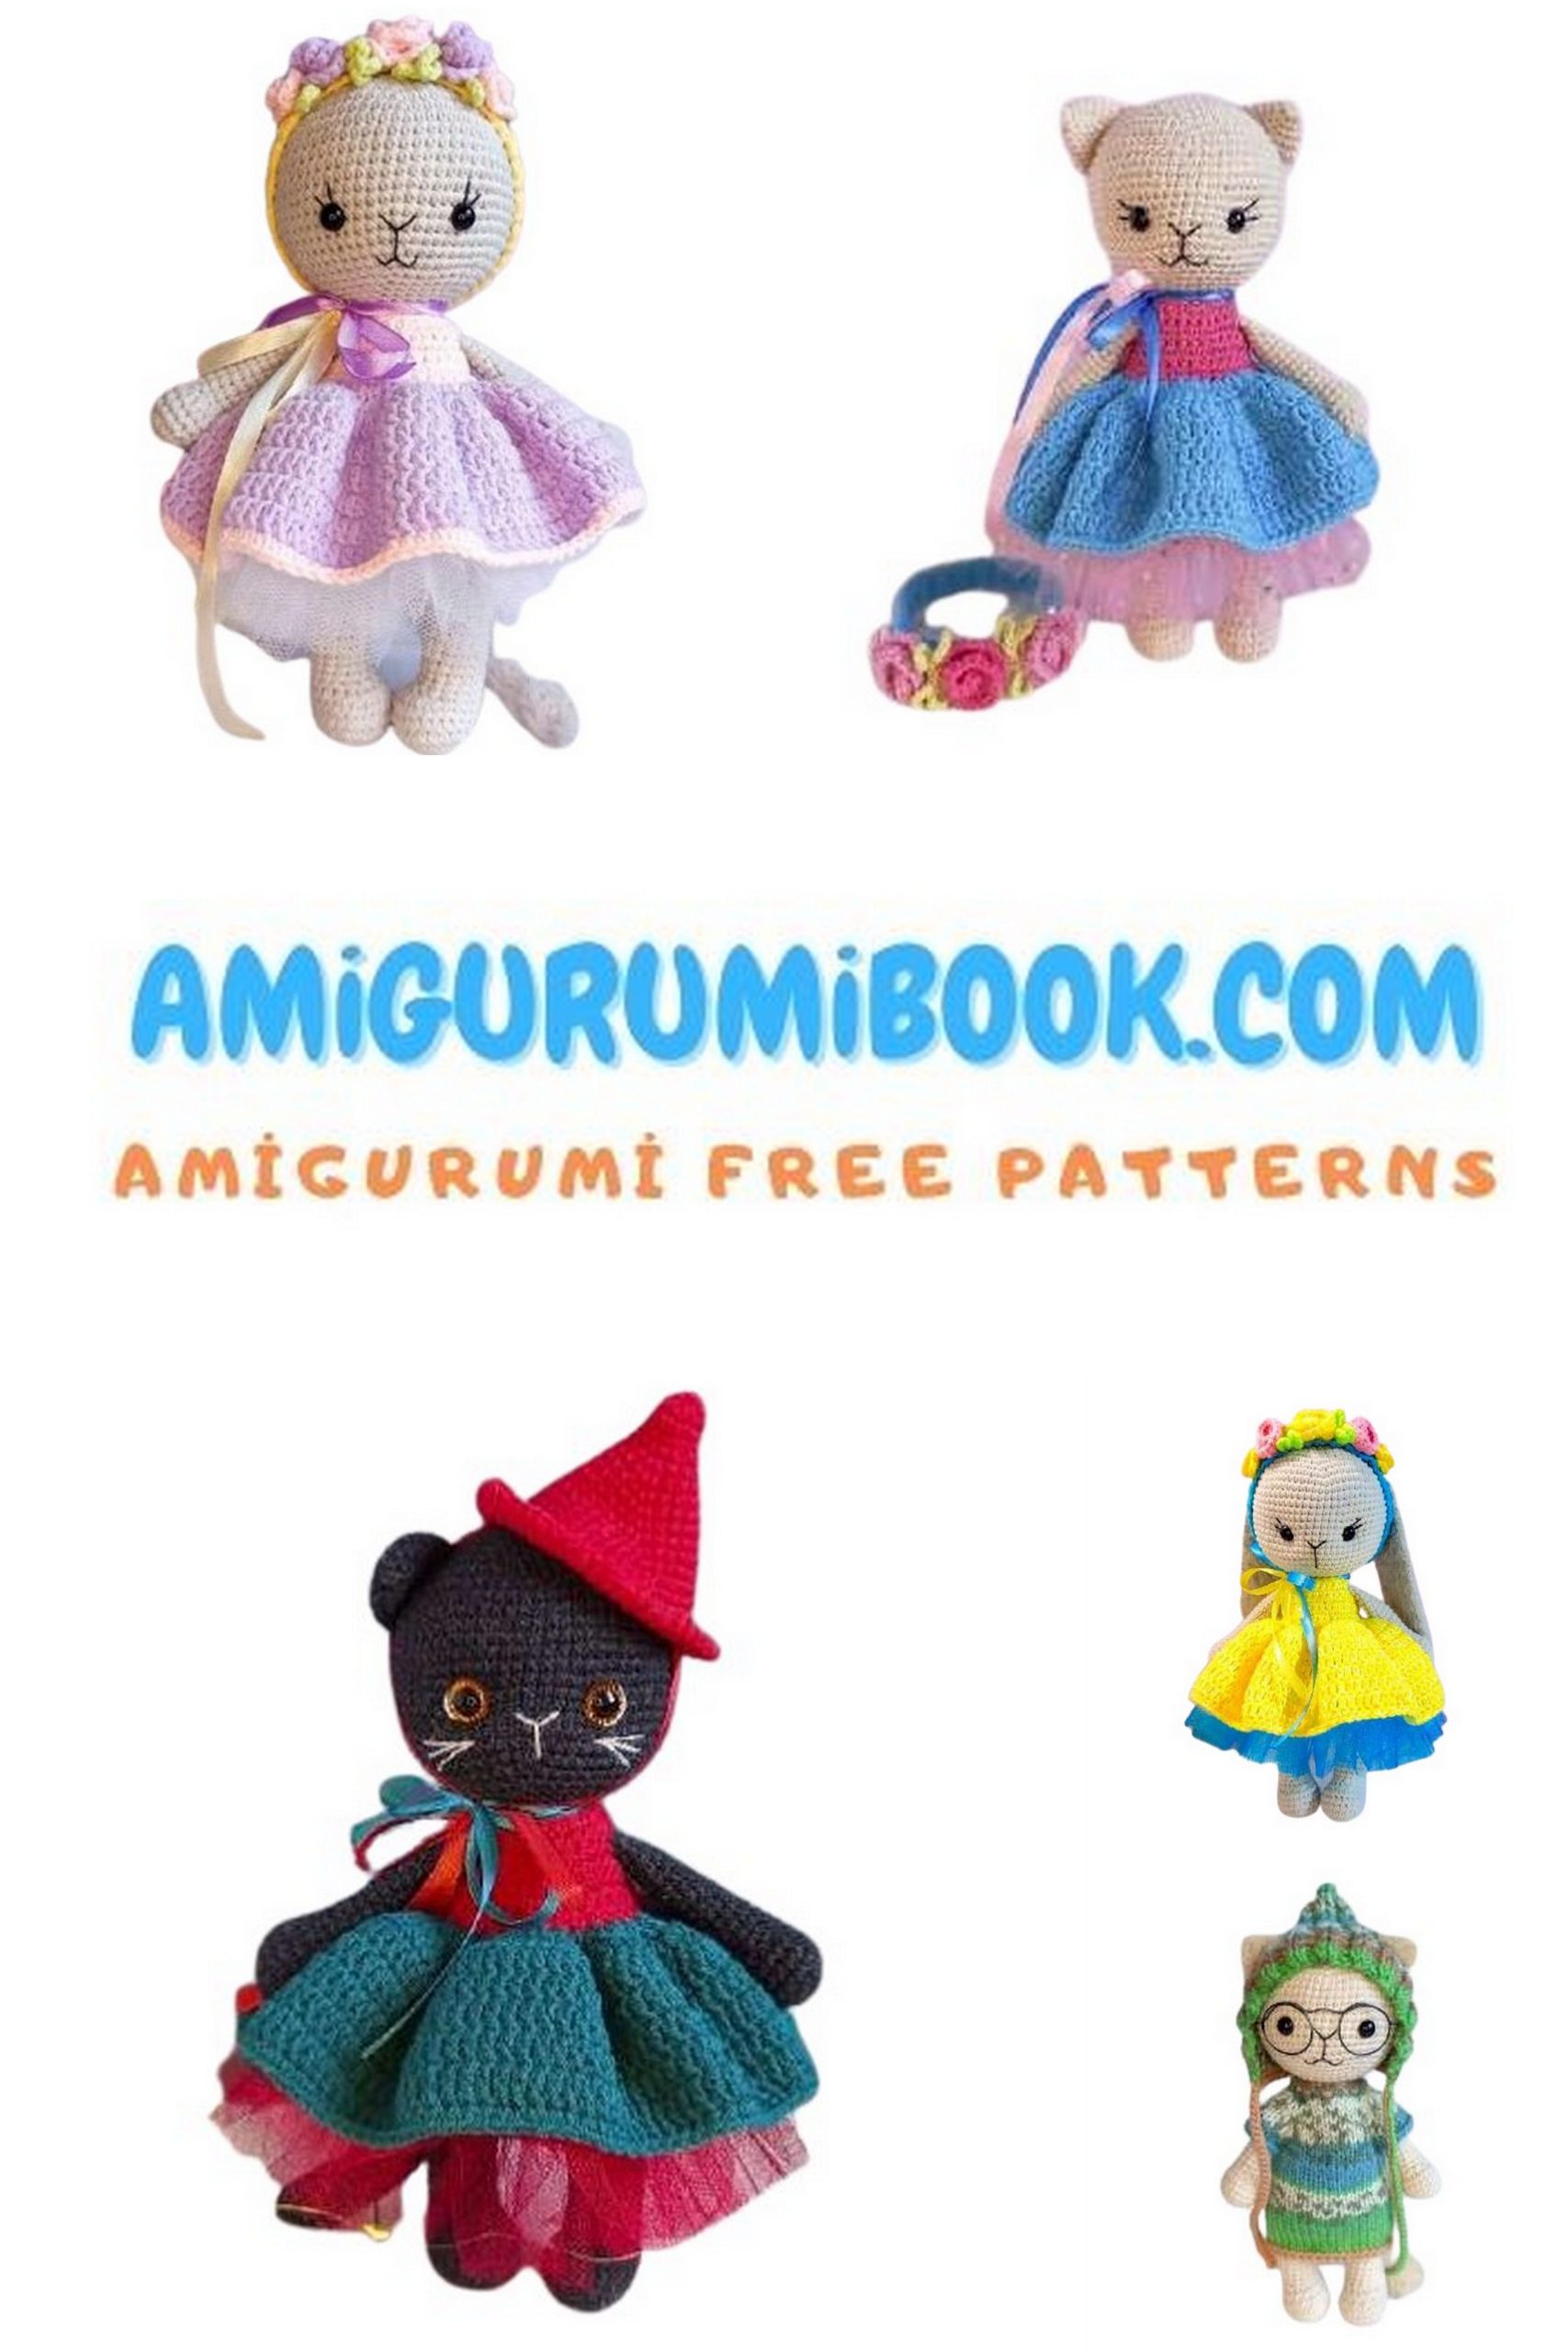
Your cat is ready. Based on this simple description, you can create various looks by choosing unusual color schemes, different textures, yarn compositions, etc.
And if you crochet longer ears, you’ll get a cute bunny.