
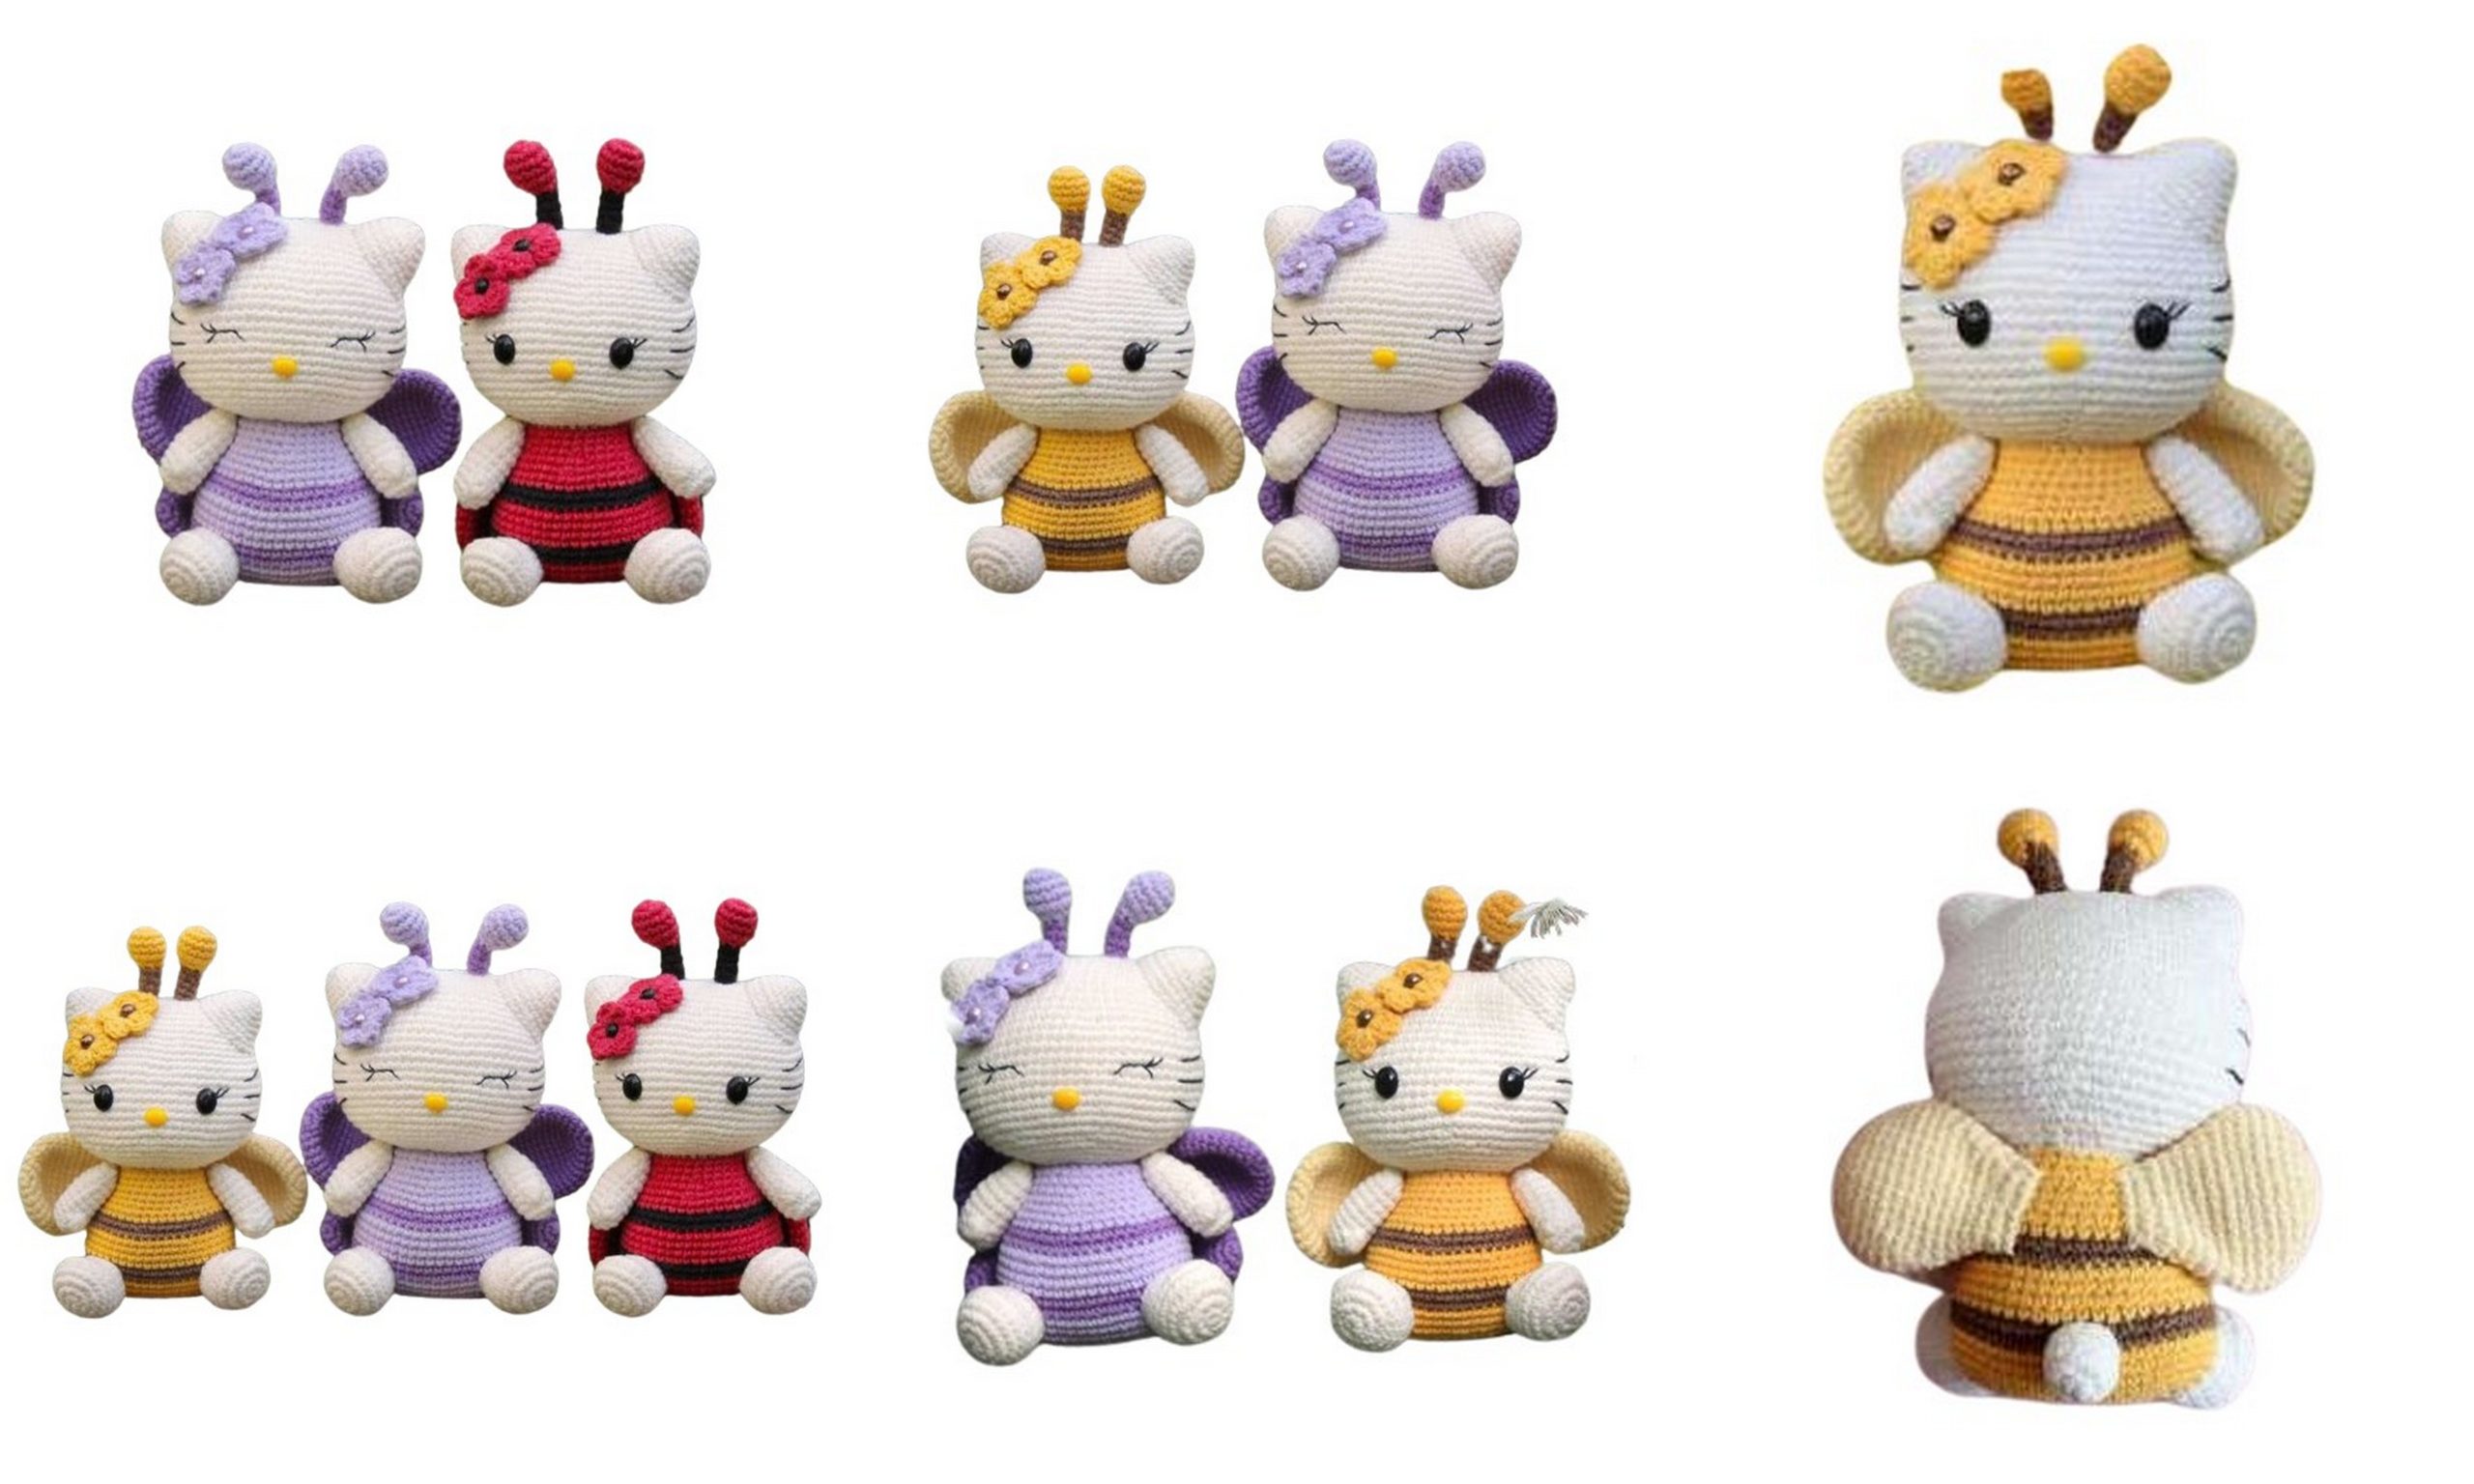
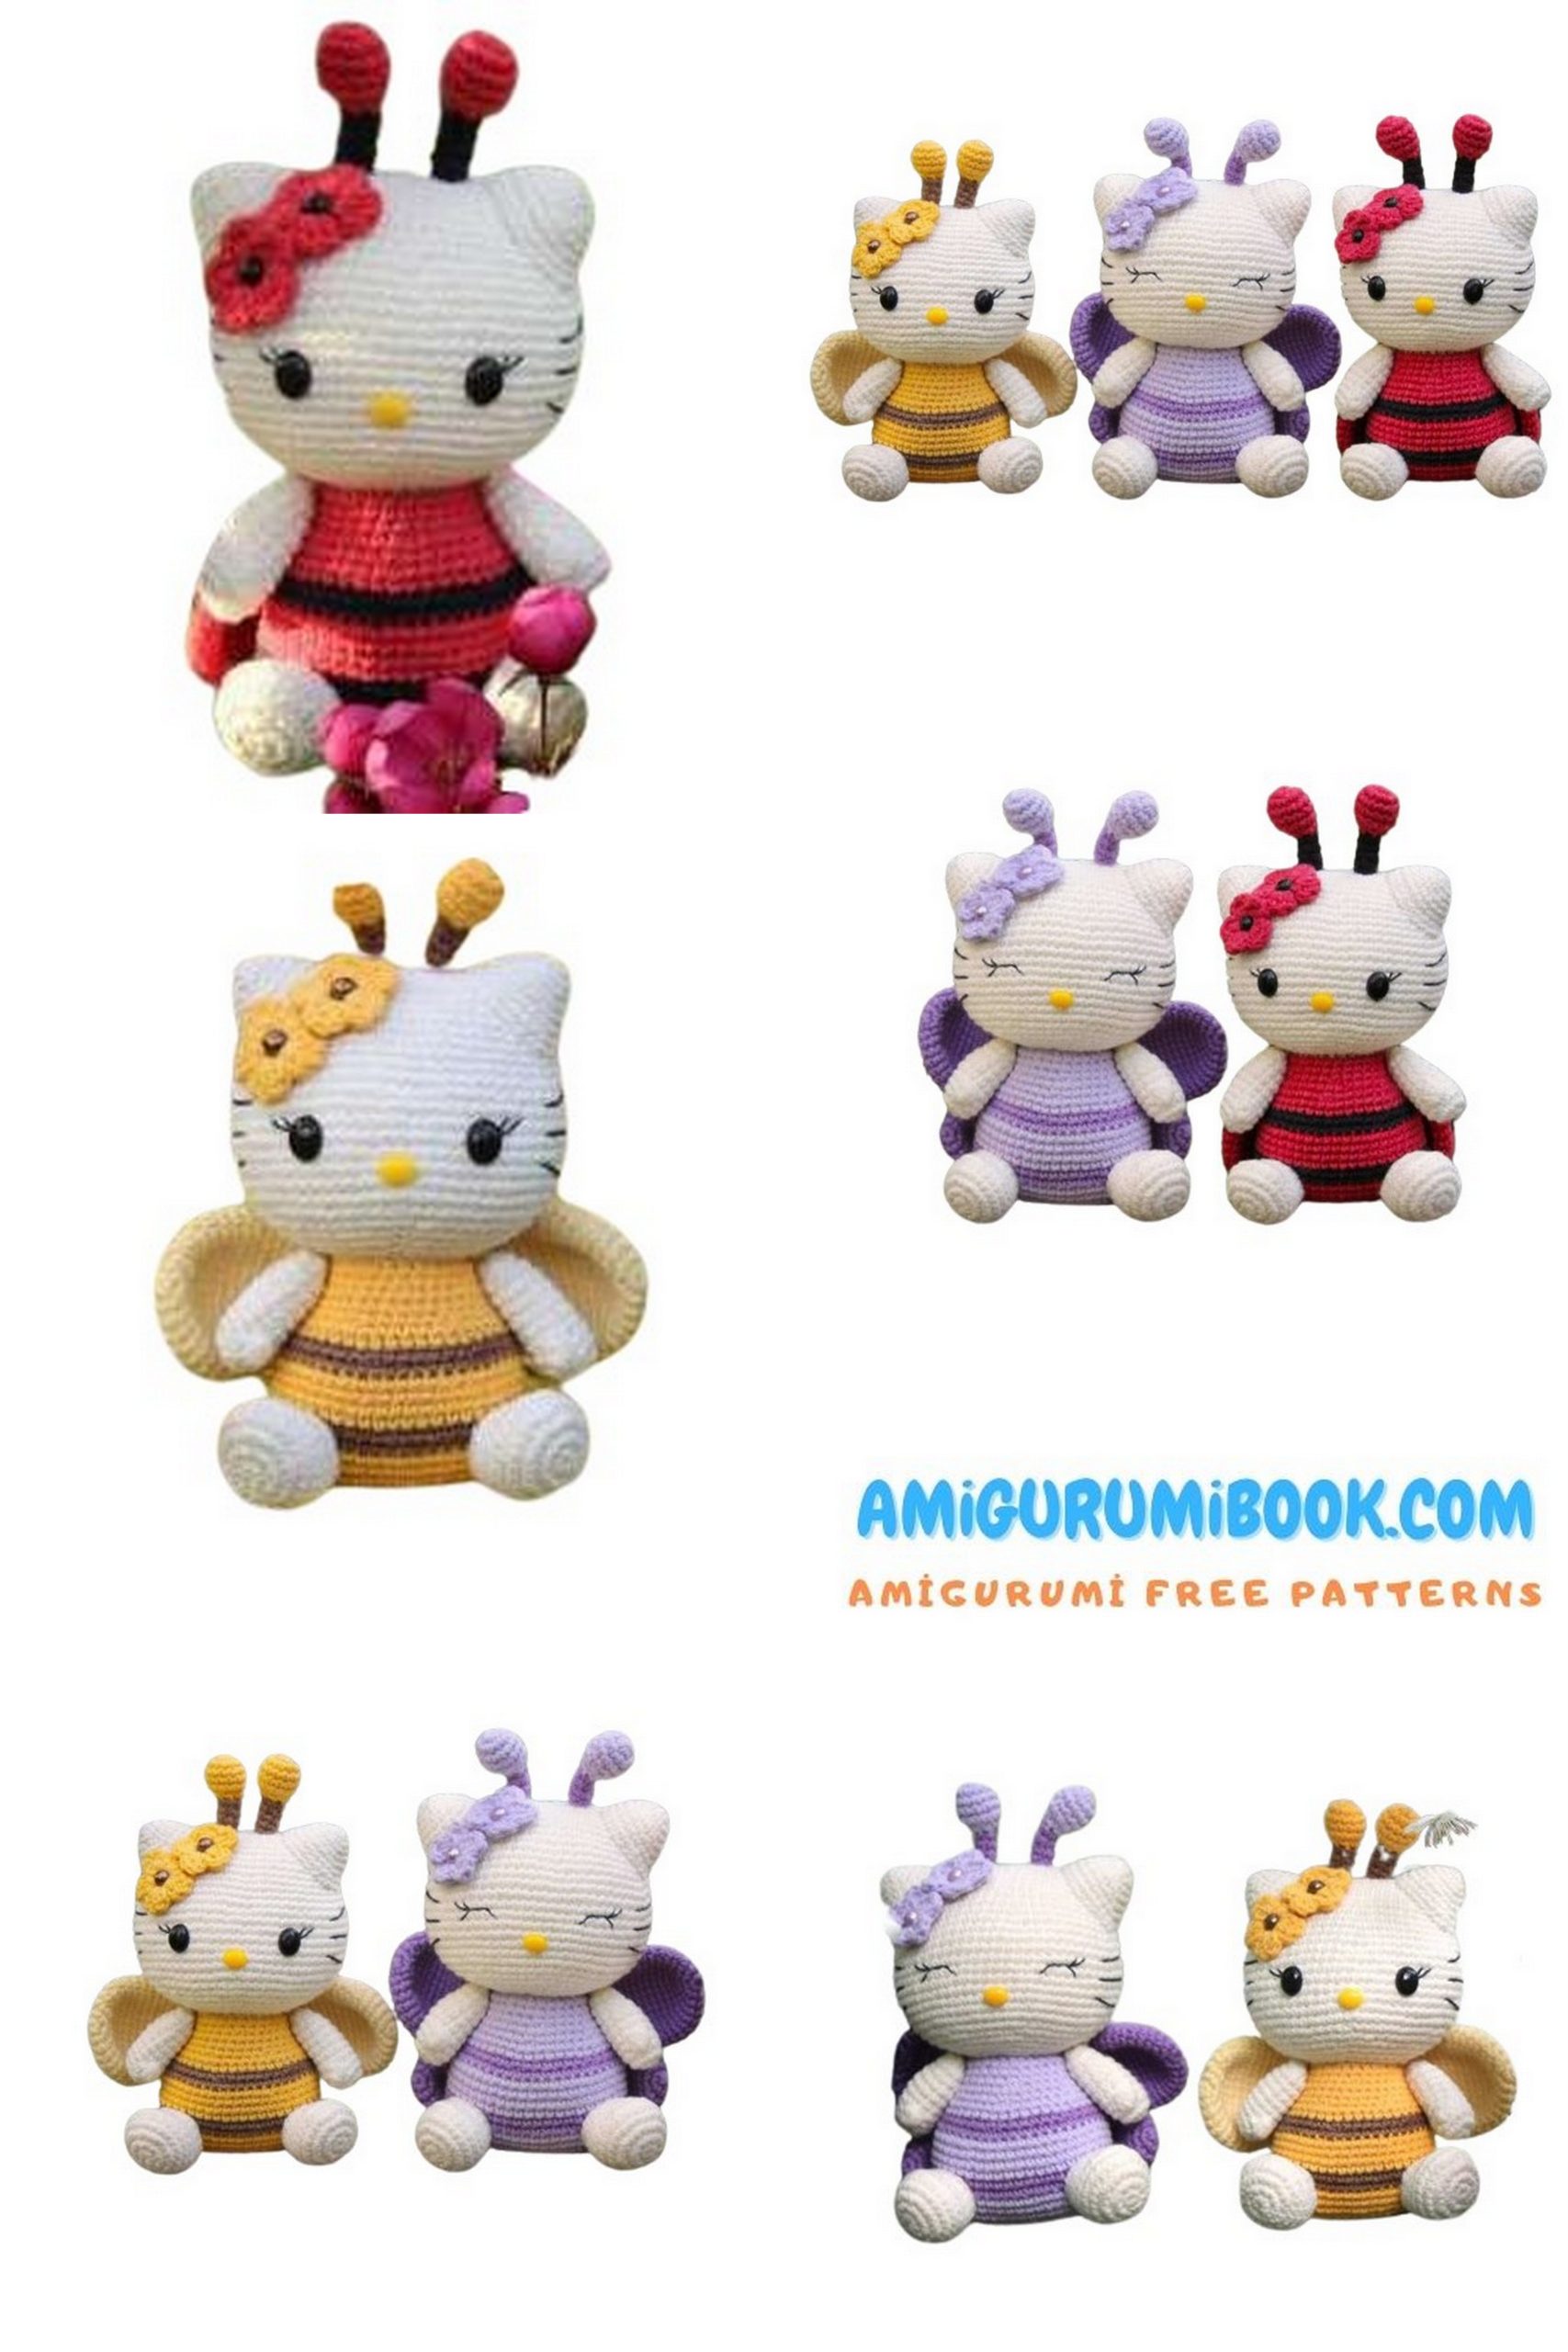
Dive into the world of crochet with our free Hello Kitty in Costumed Amigurumi pattern and tutorial. Whether you’re a beginner or a seasoned crocheter, this delightful project provides step-by-step instructions and clear photos to help you create an adorable Hello Kitty in a charming costume. Perfect as a gift or a unique addition to your amigurumi collection, this project will bring joy to both crafters and Hello Kitty fans alike. Start your Hello Kitty in Costumed Amigurumi today and enjoy the creative journey!
If you want to access 1000+ free amigurumi patterns, you can download our application from this link!
Materials and Tools
Yarn: “YarnArt Jeans”
No. 03 – milk (main color for Kitty).
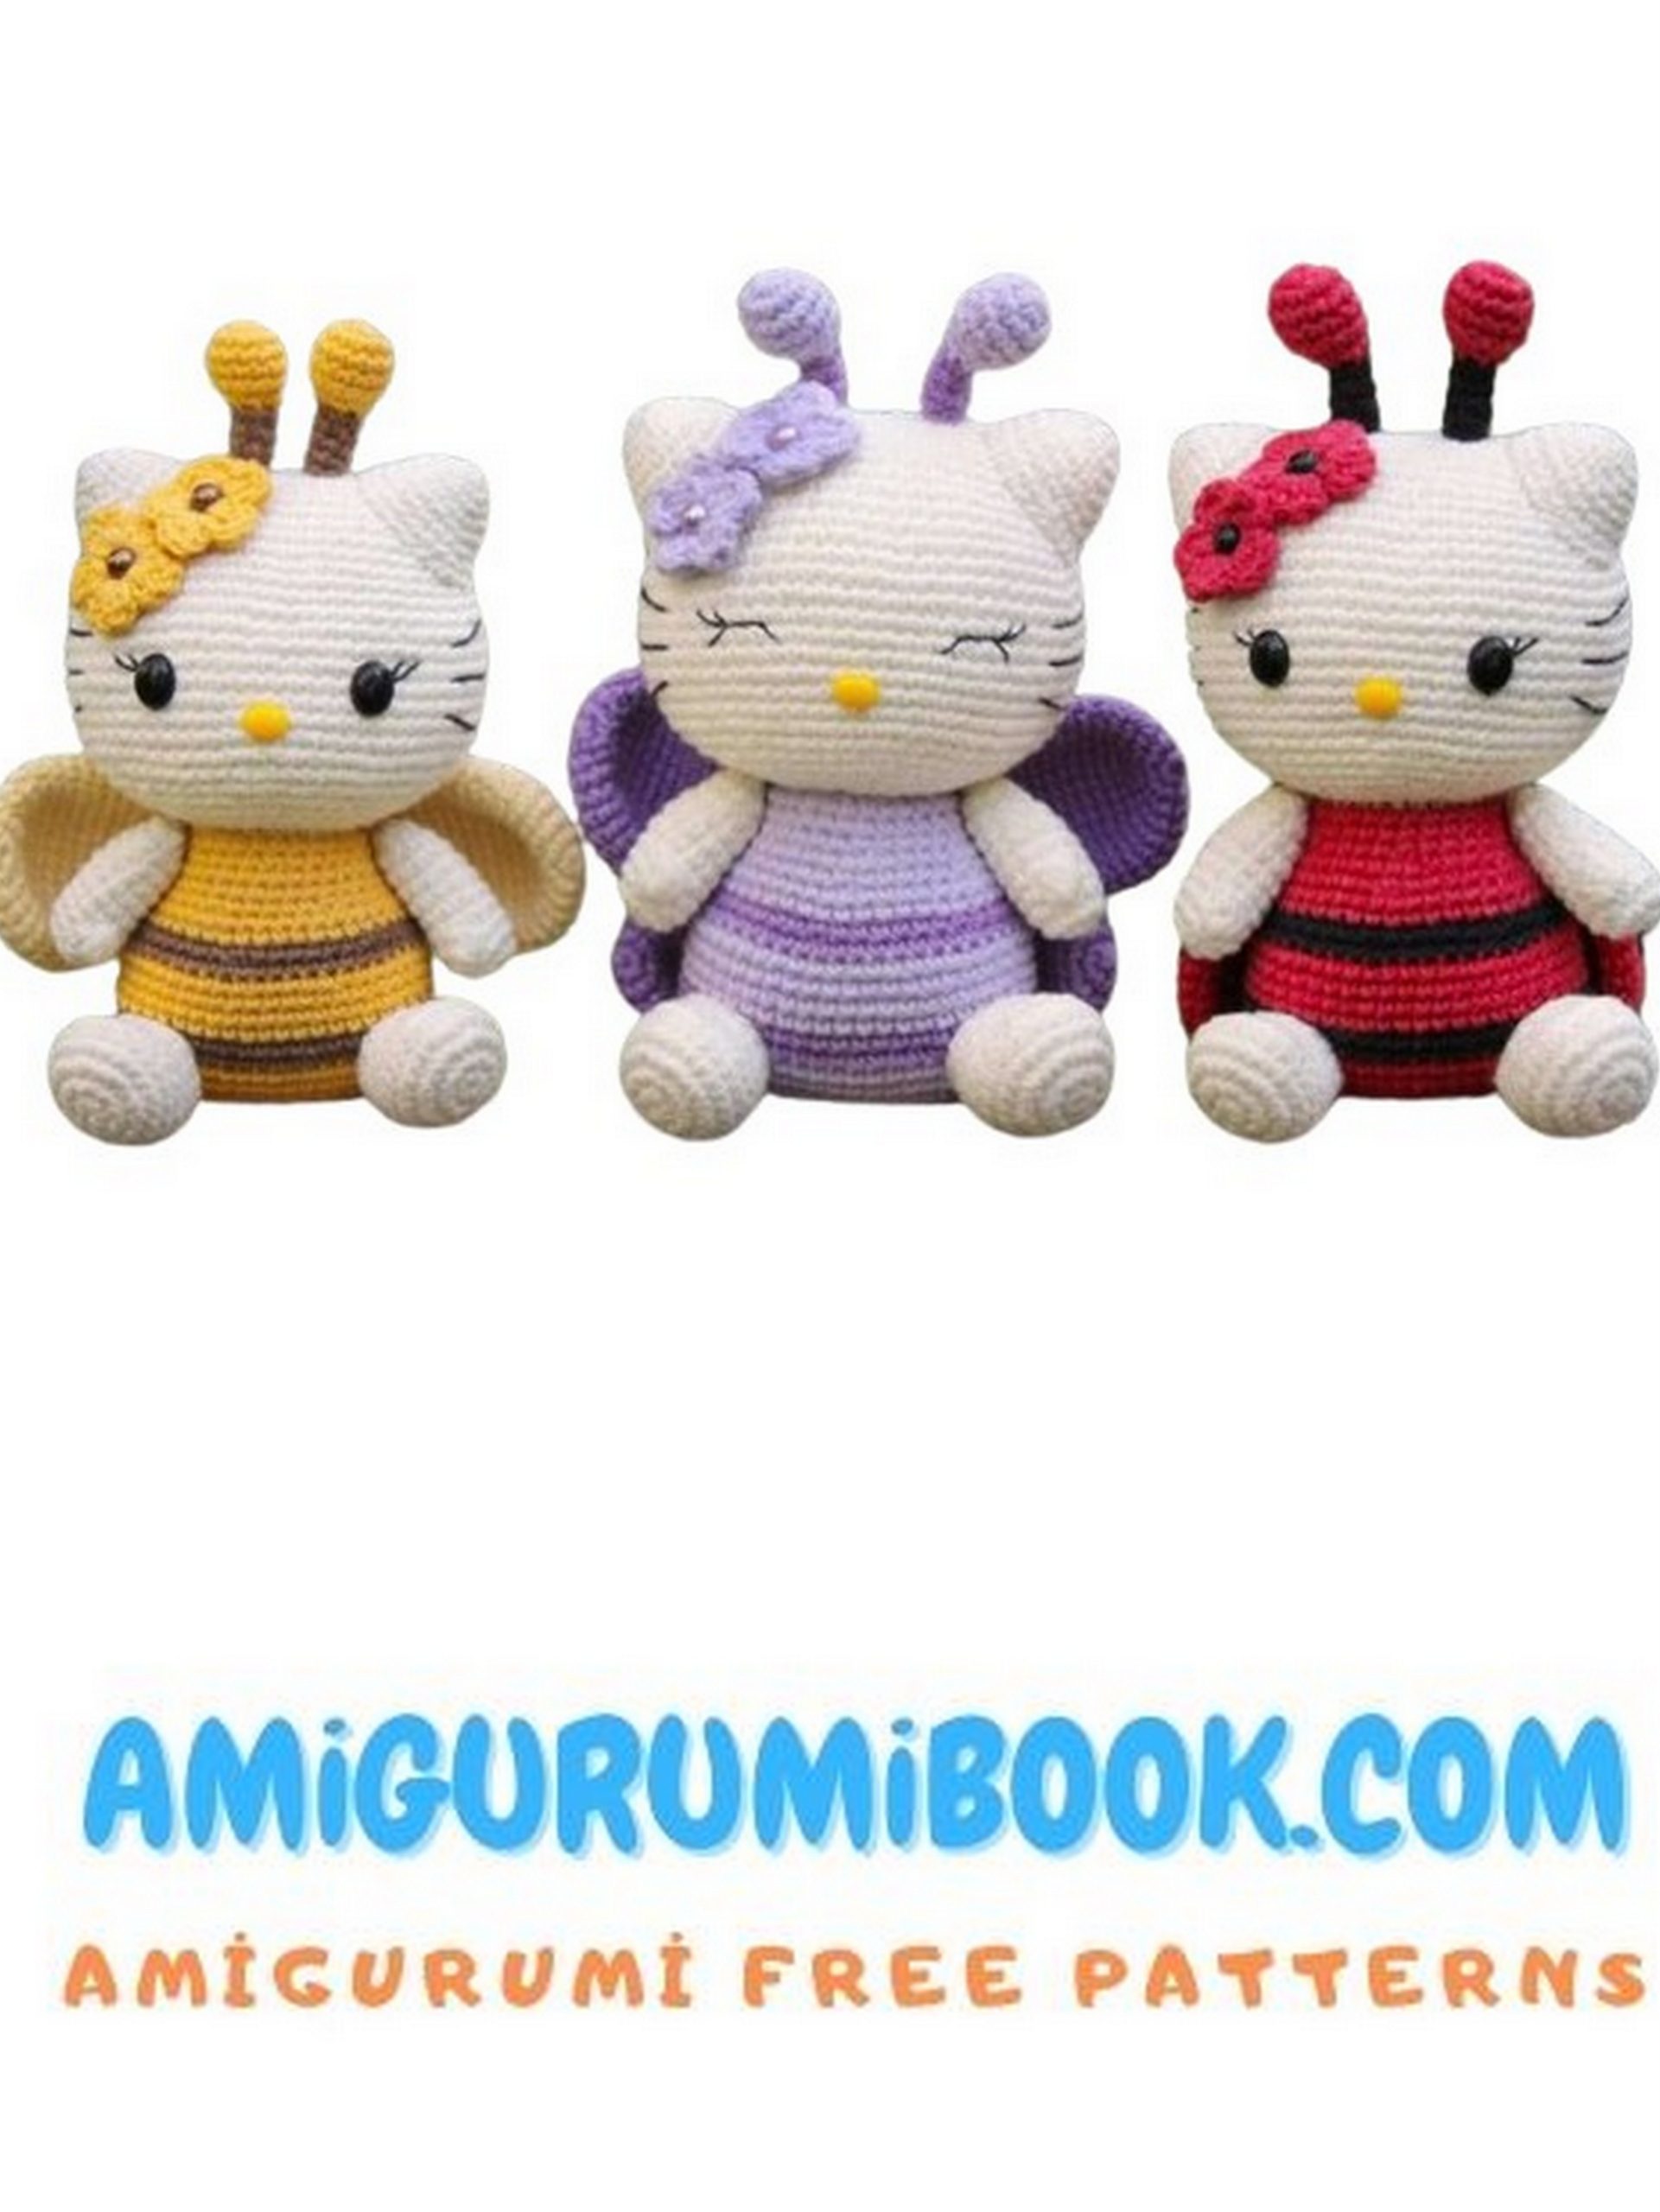
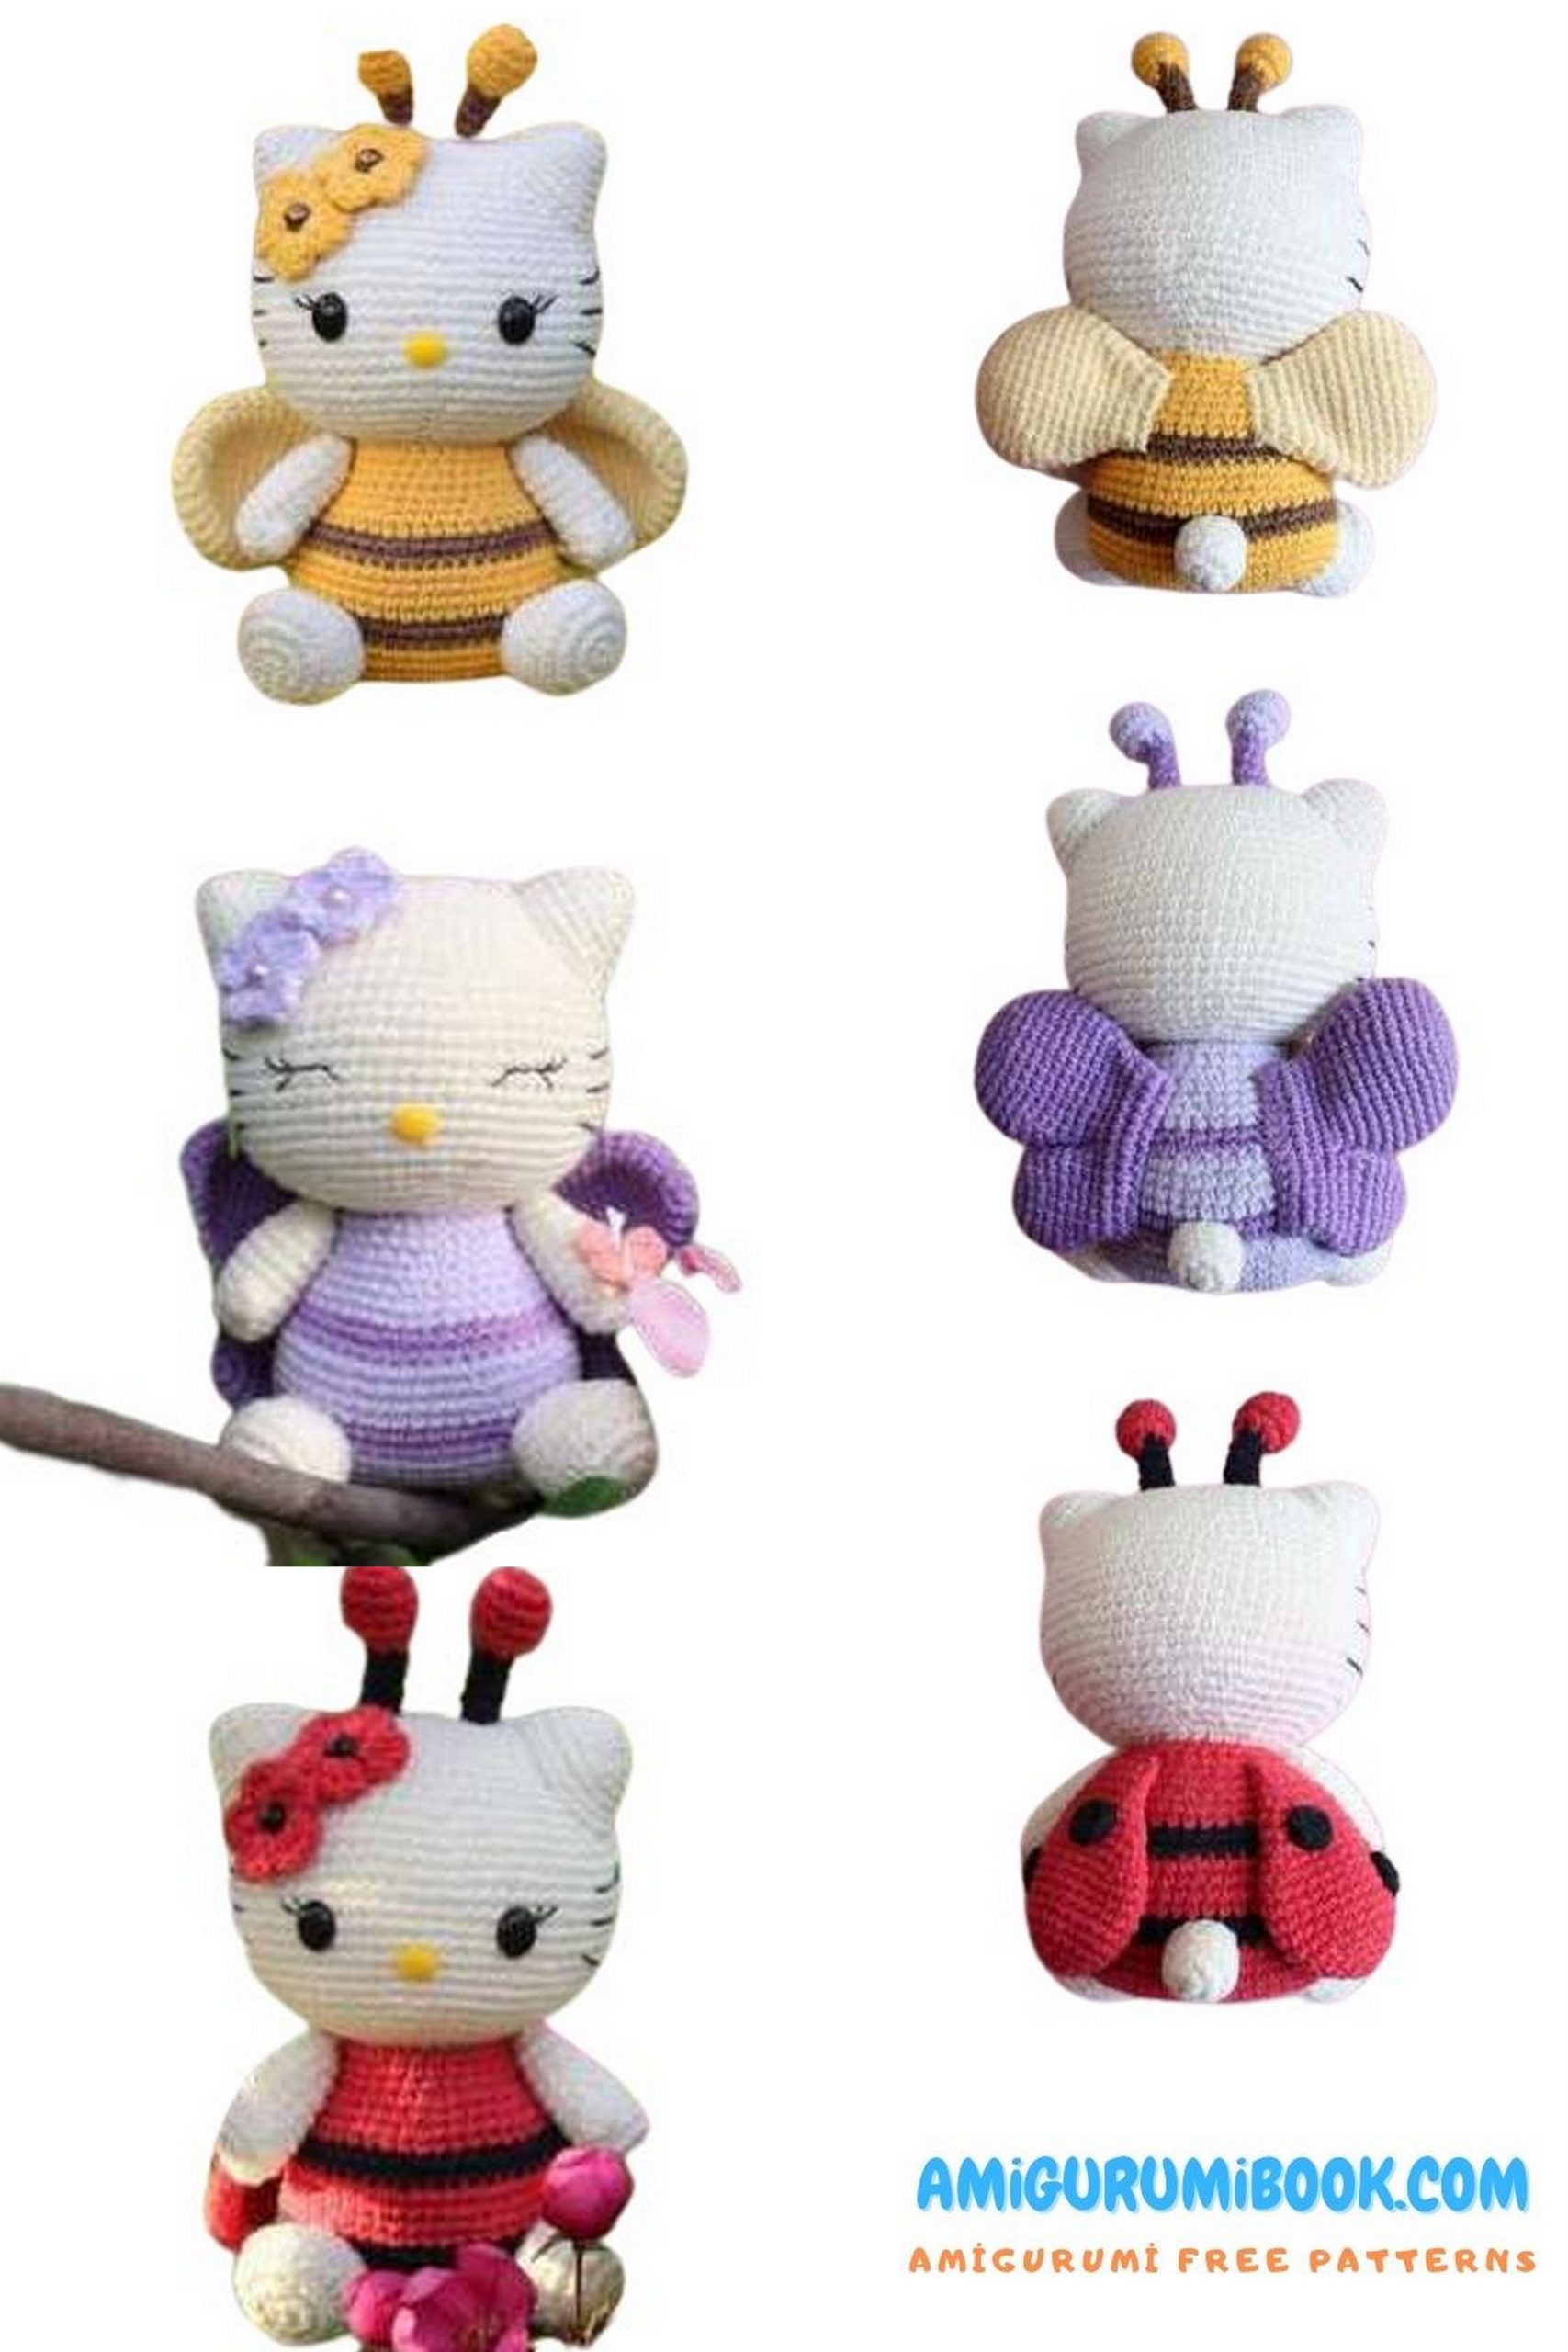
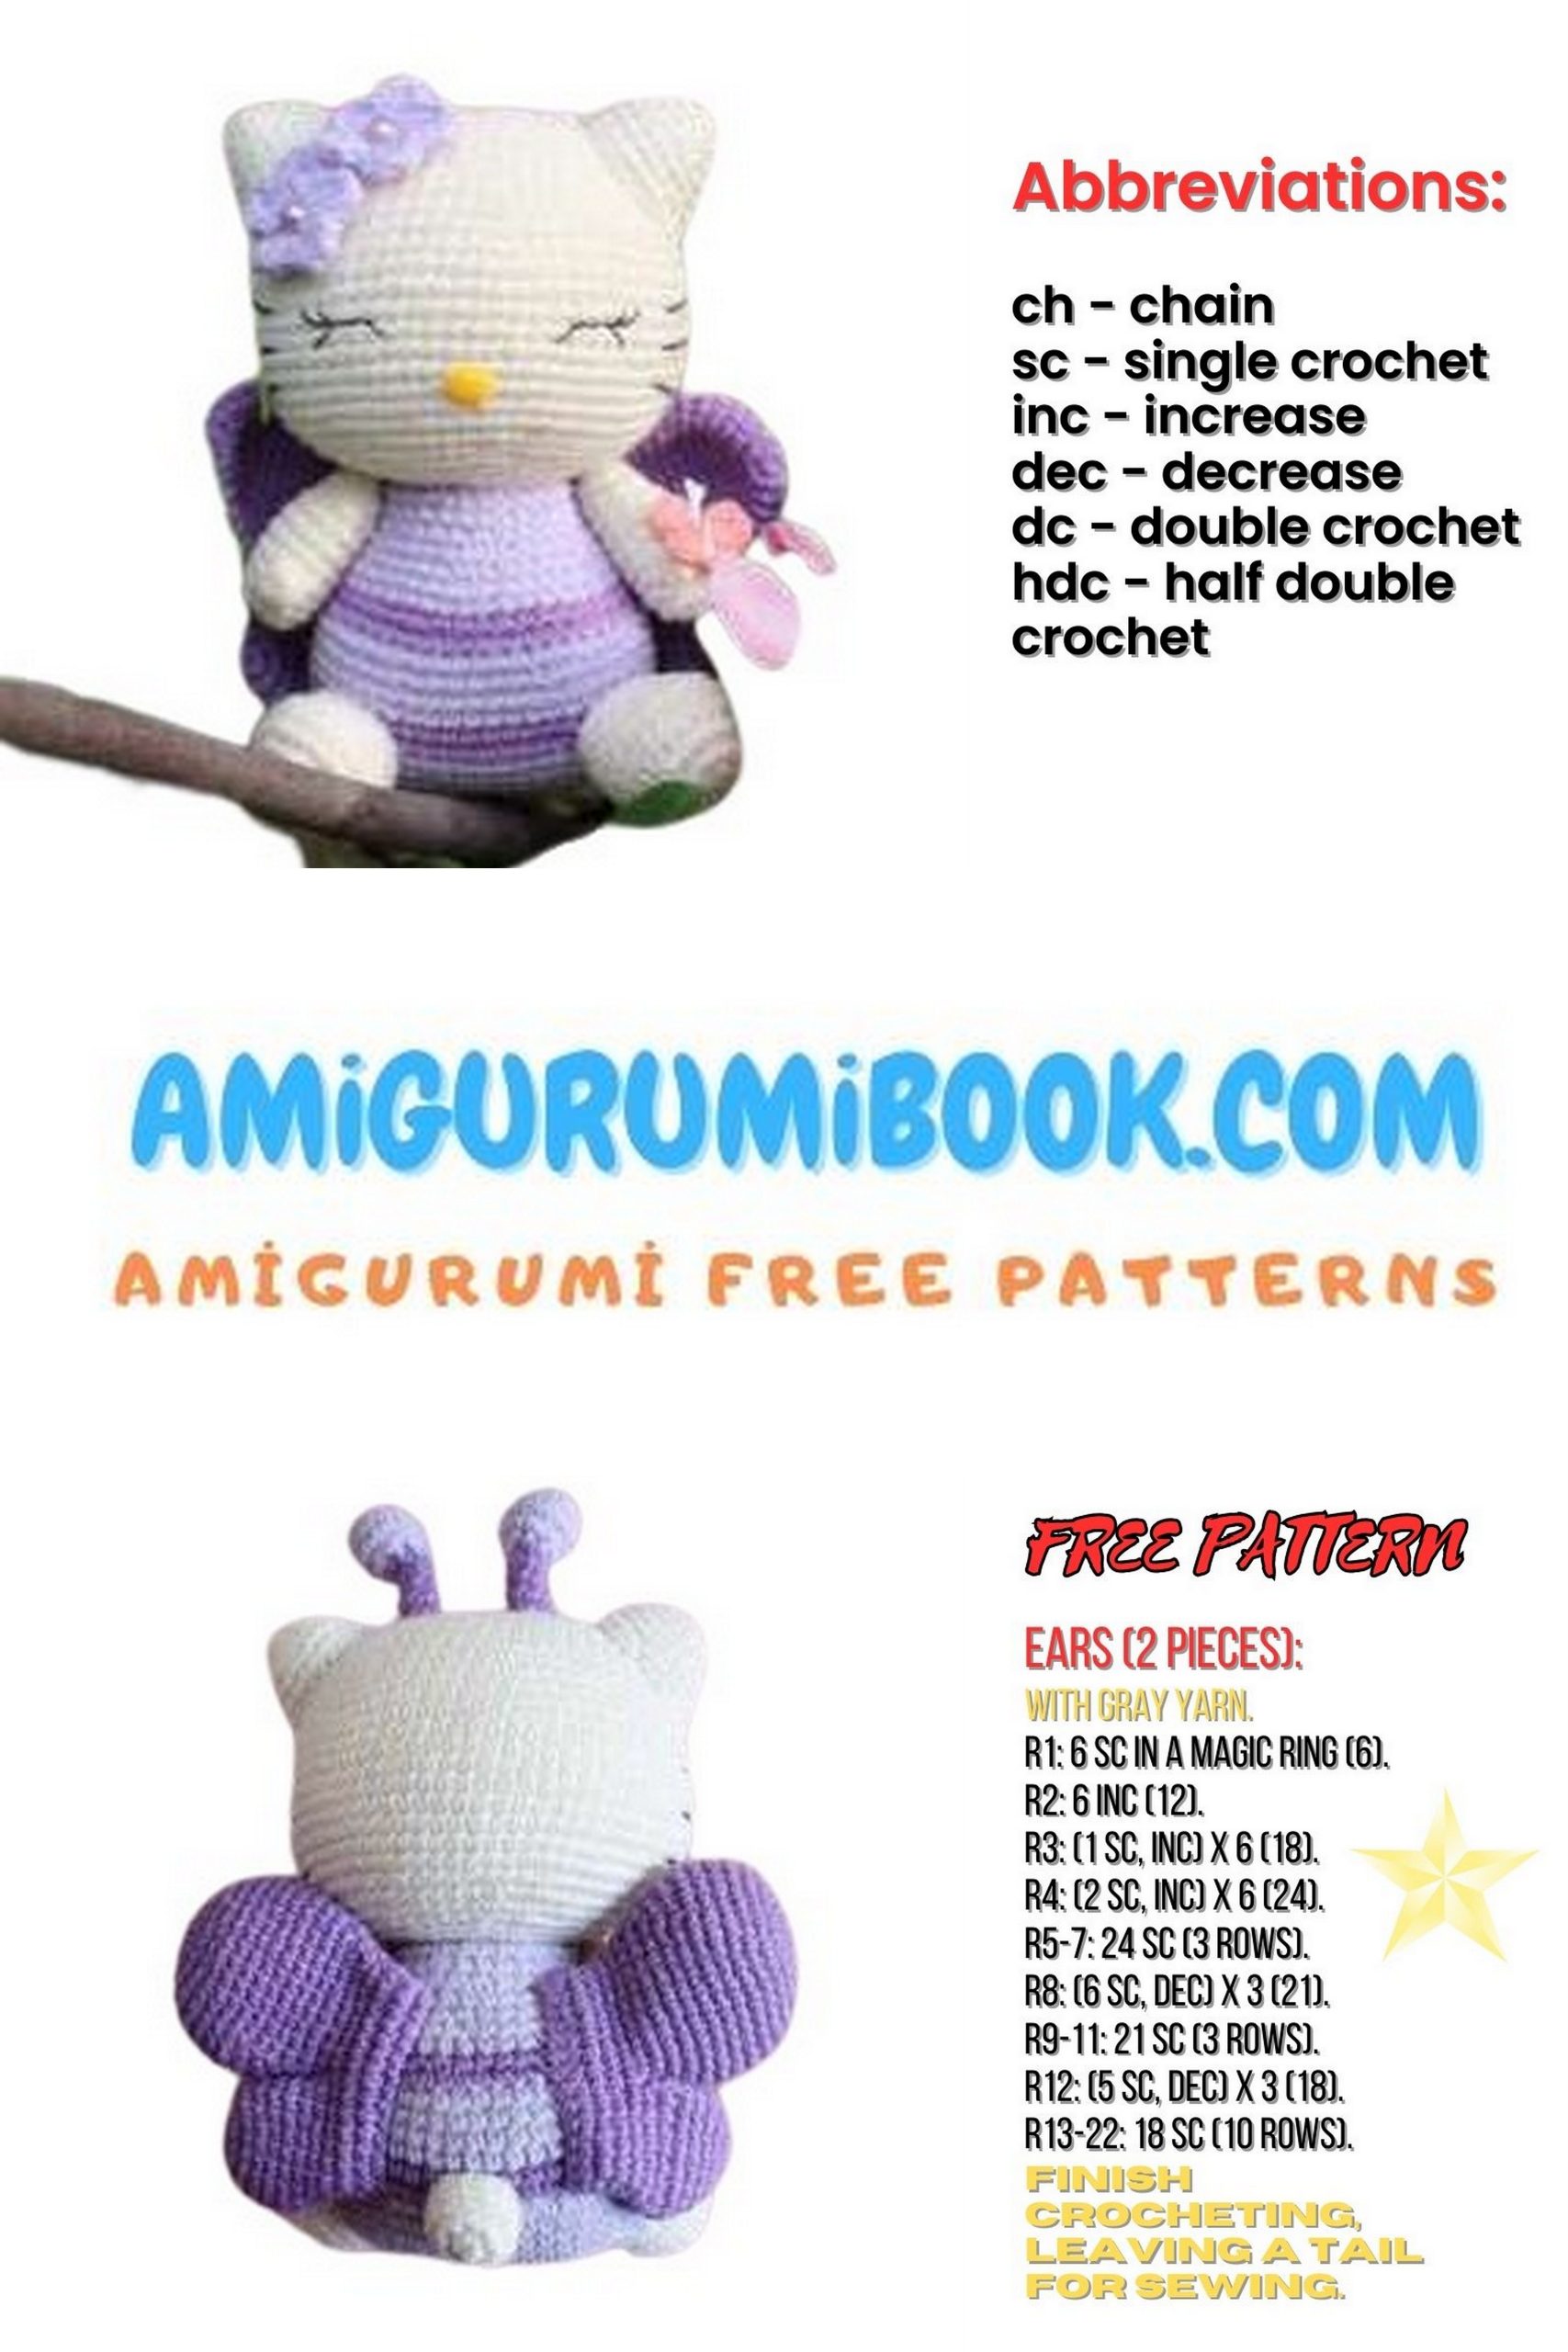
Additional colors and wing type vary depending on the toy’s outfit. This master class demonstrates the butterfly outfit. Choose one main color and one or several additional colors for the costume.
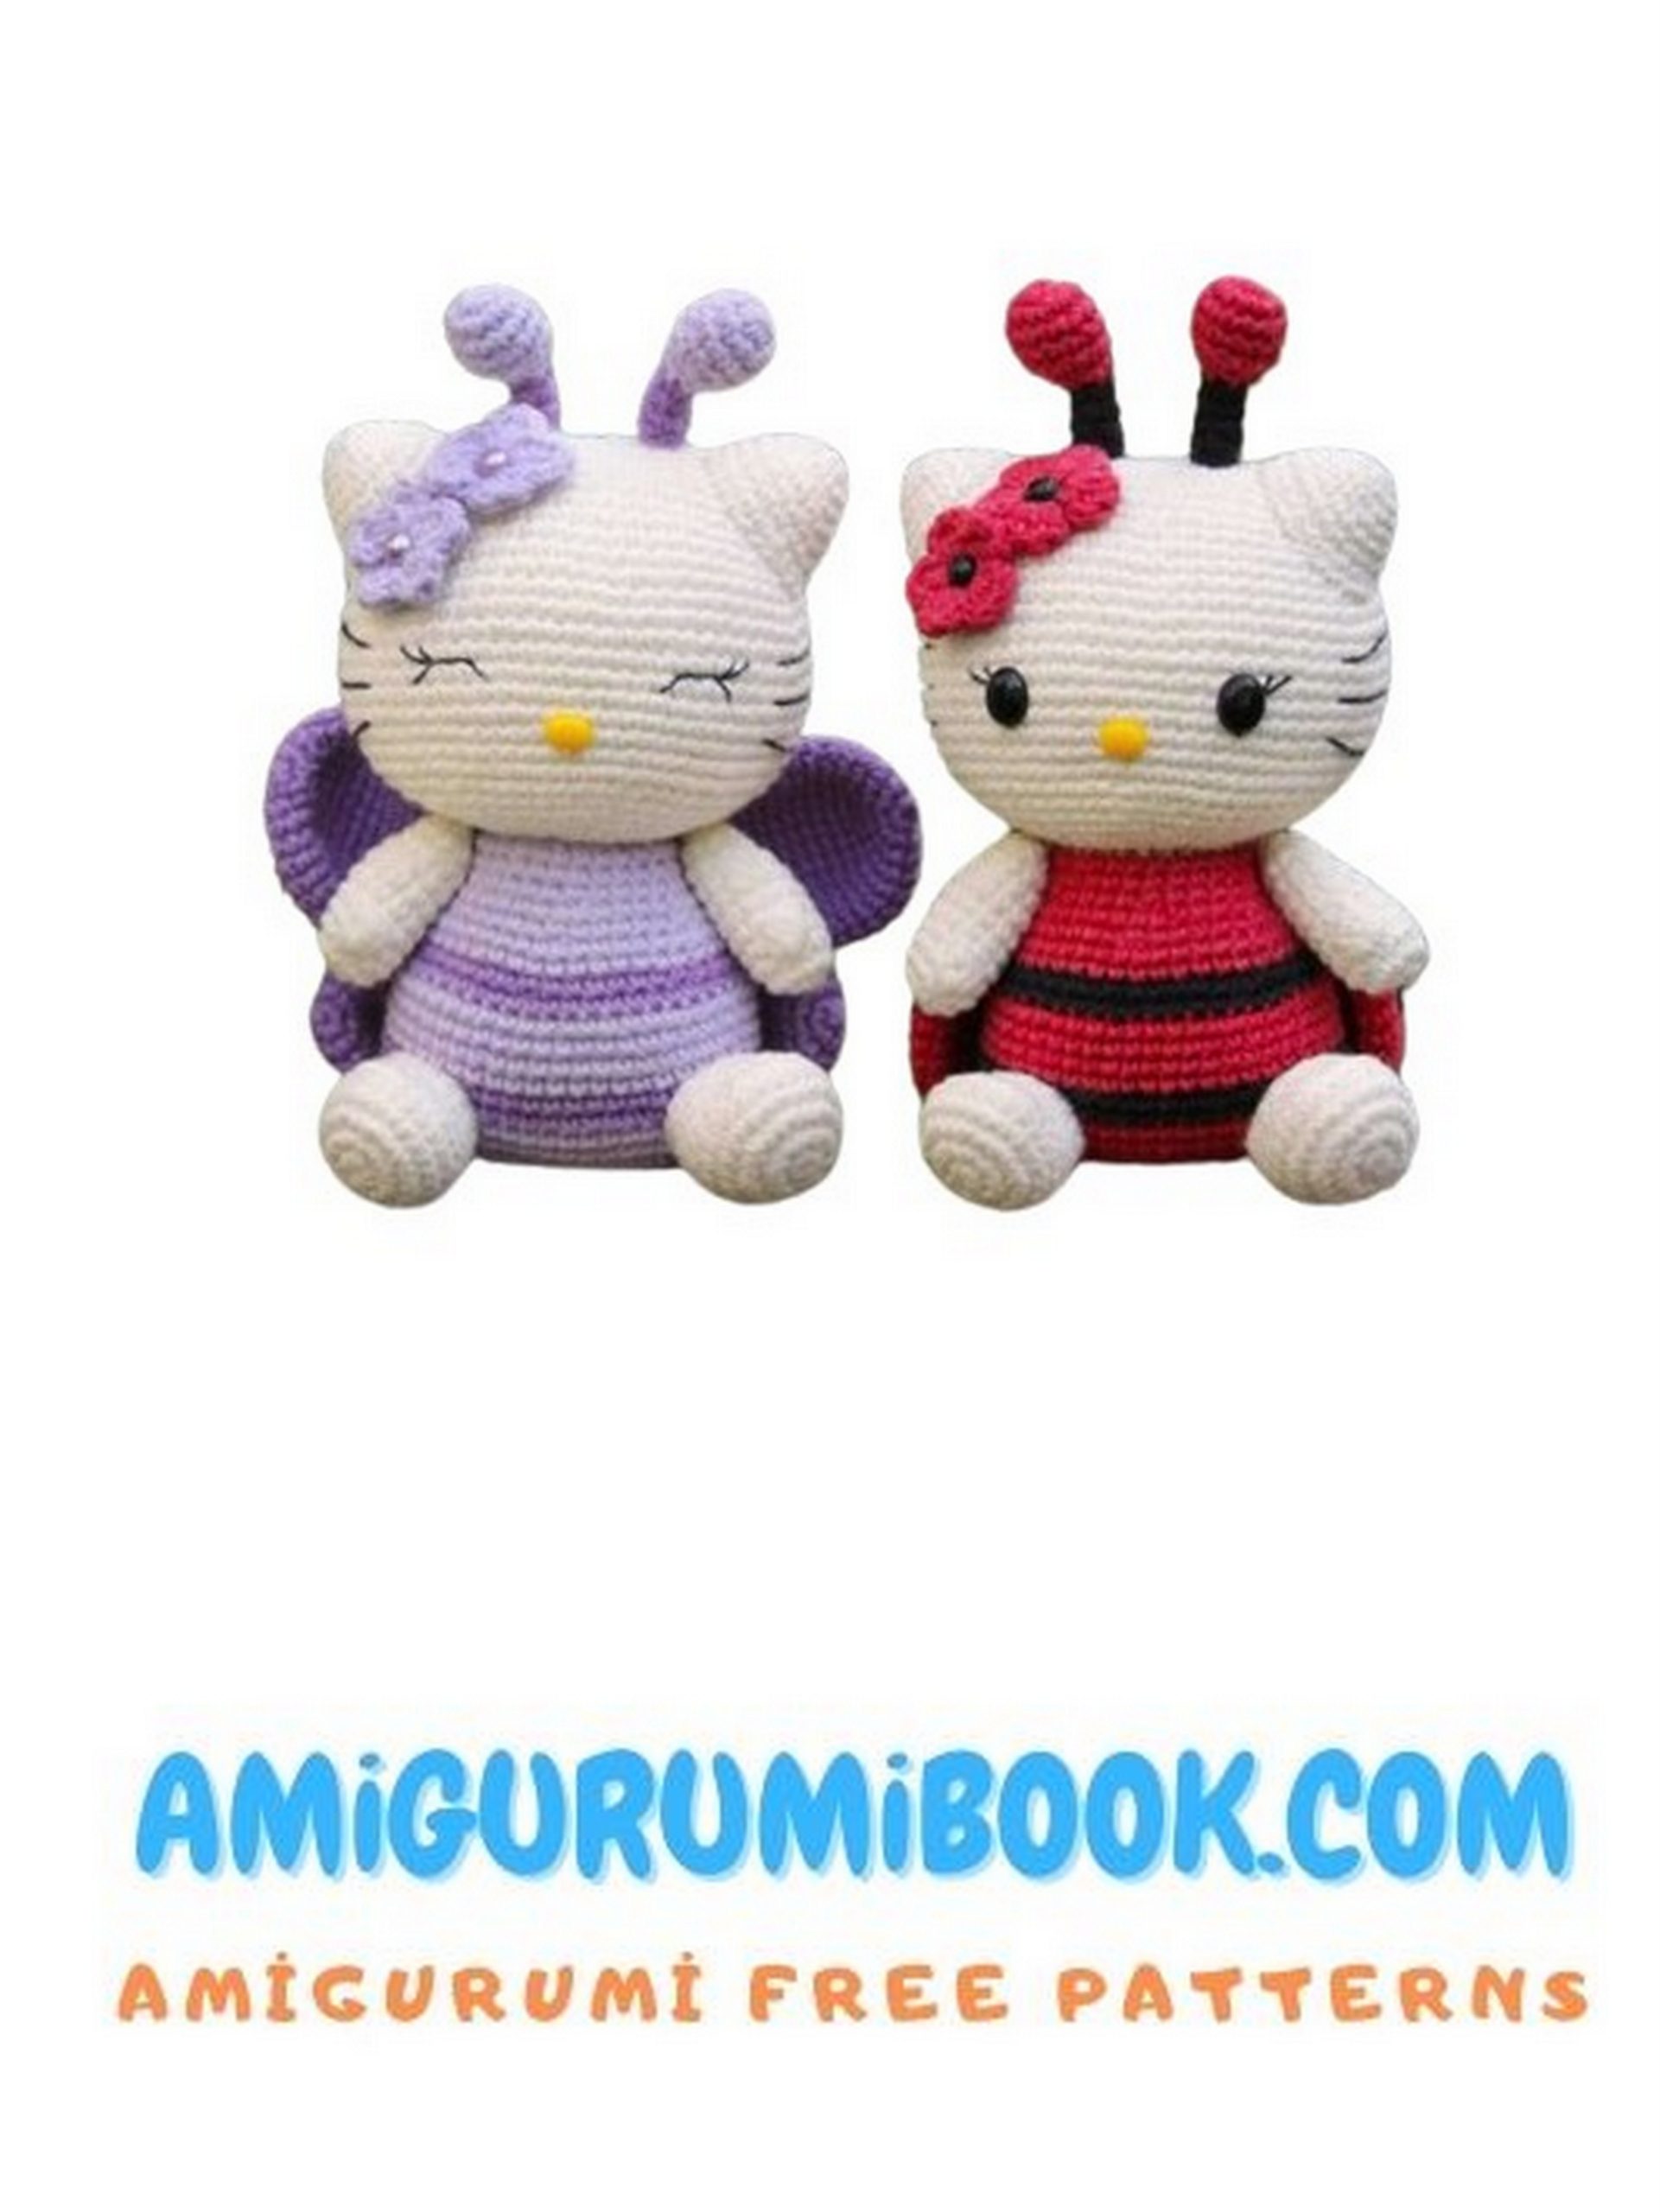
For the Butterfly:
1: No. 89 – light lilac;
2: No. 72 – purple.
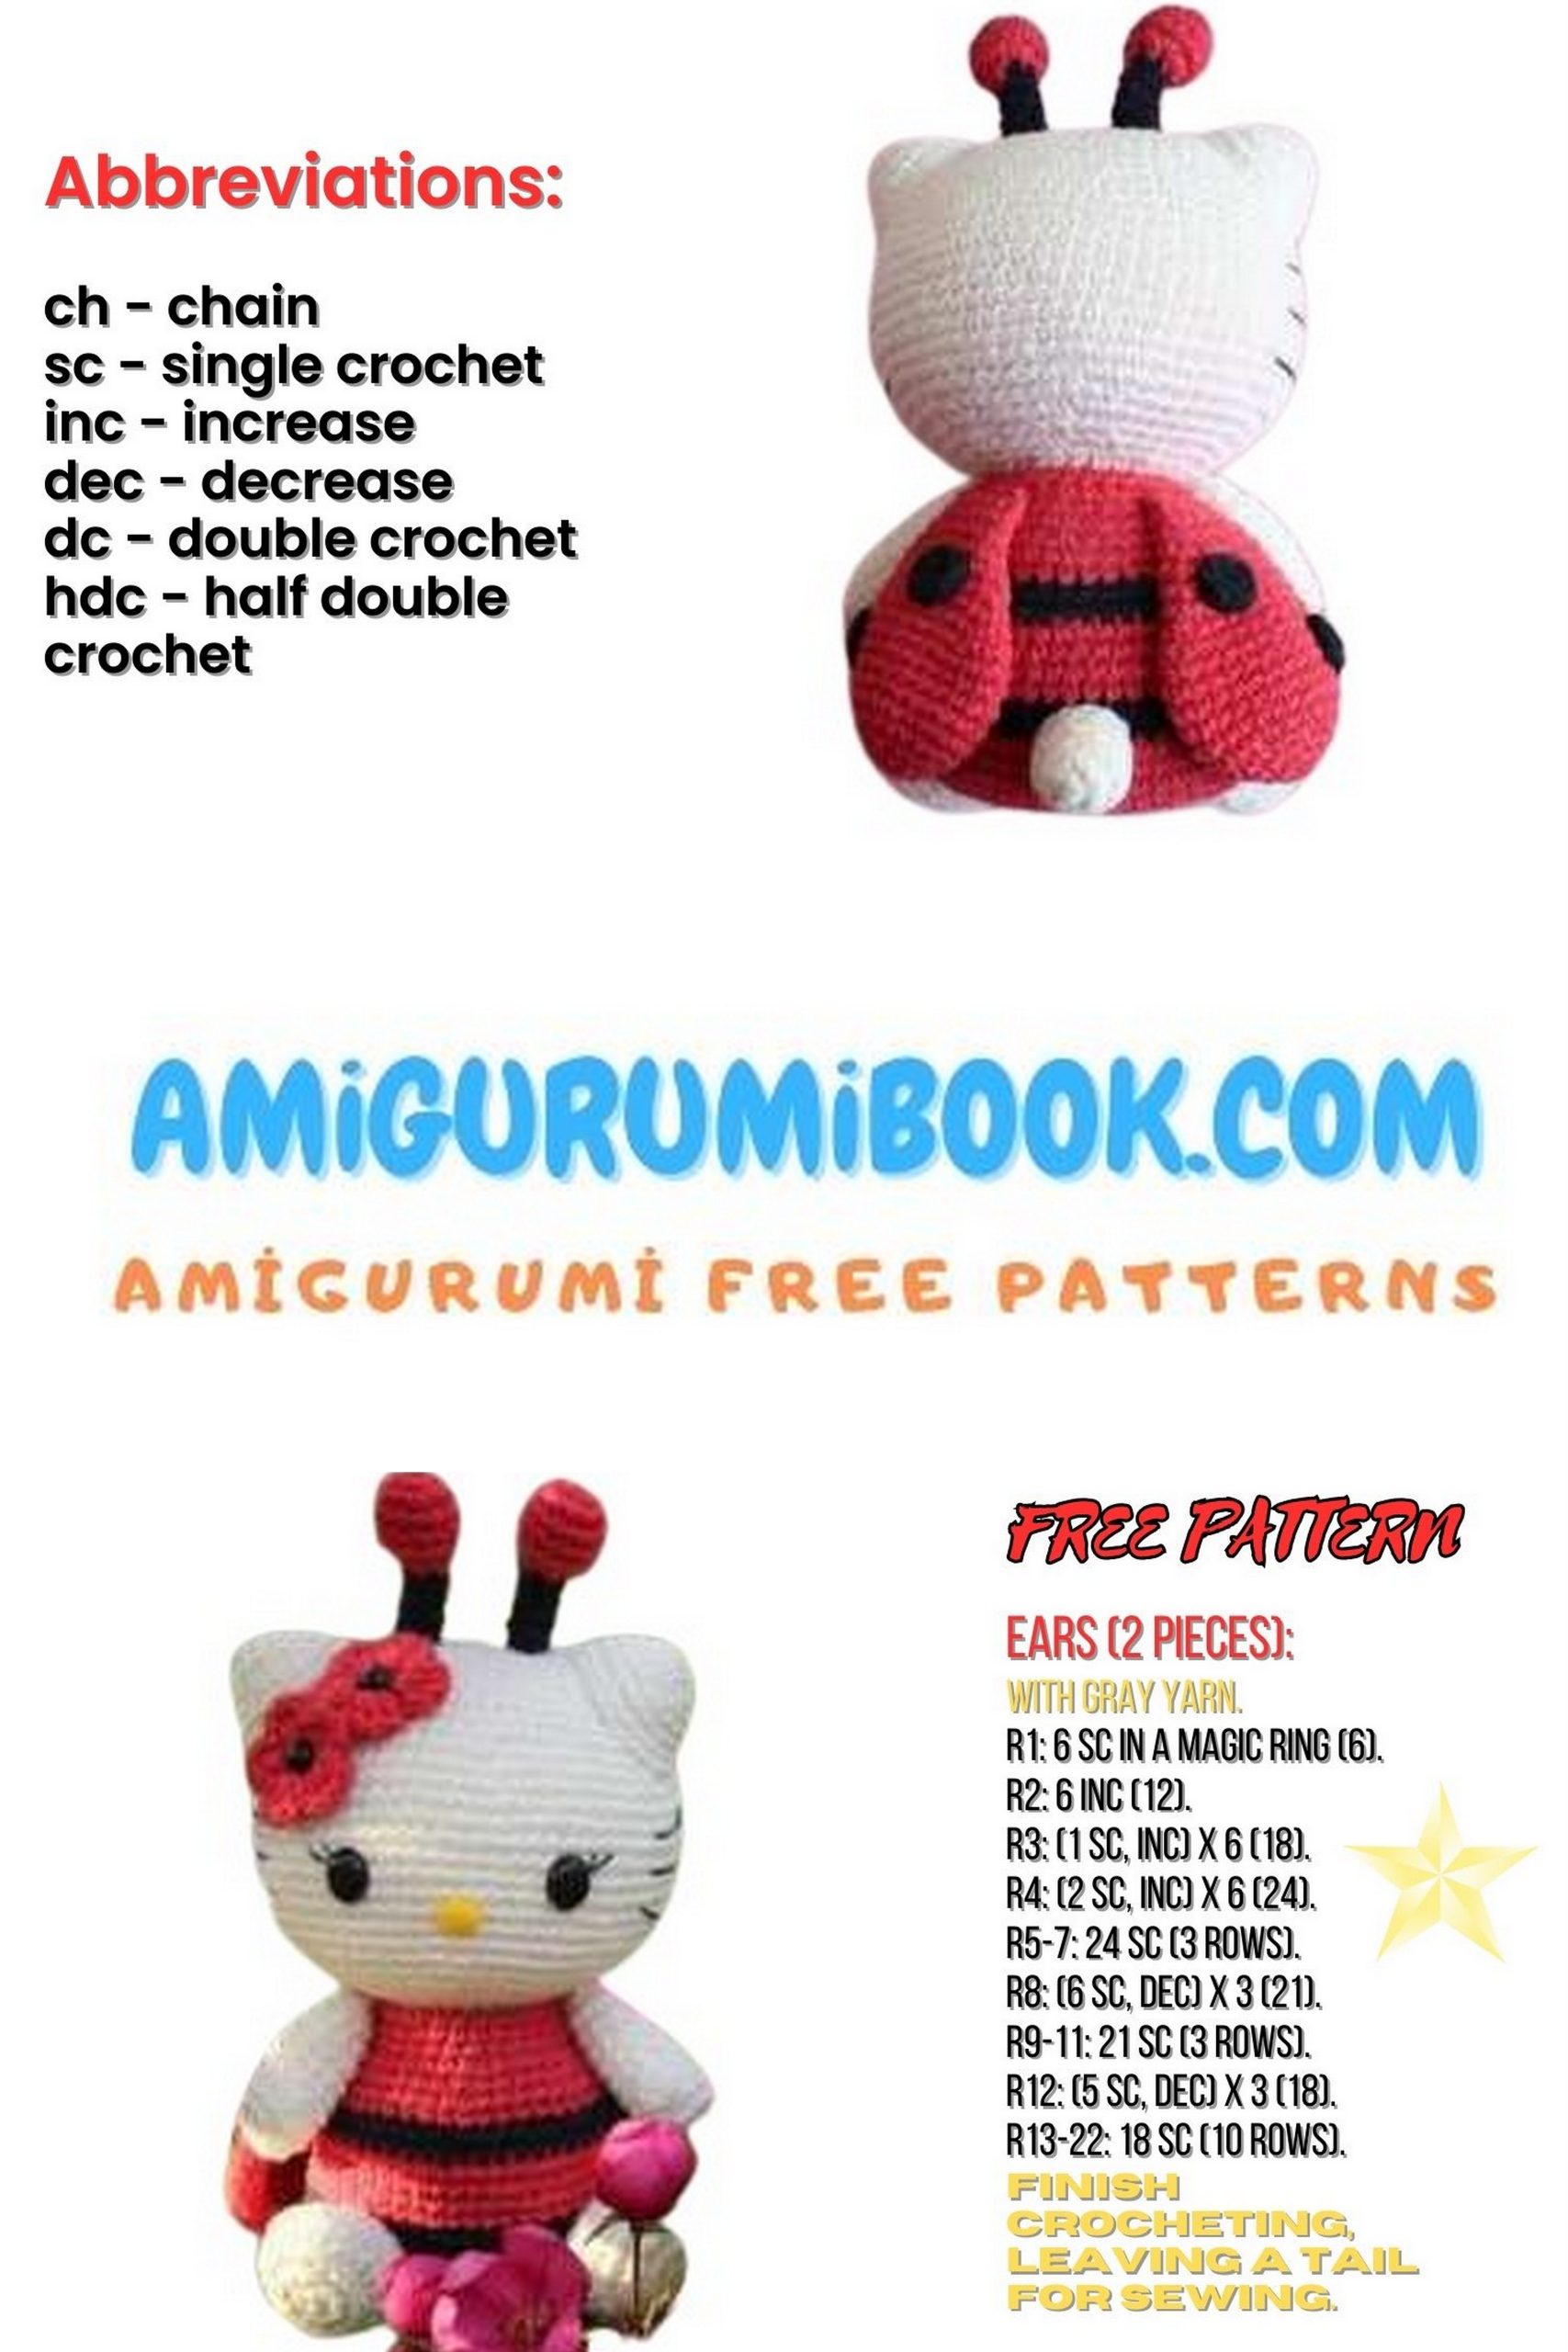
For the Ladybug:
1: No. 26 – red;
2: No. 53 – black.
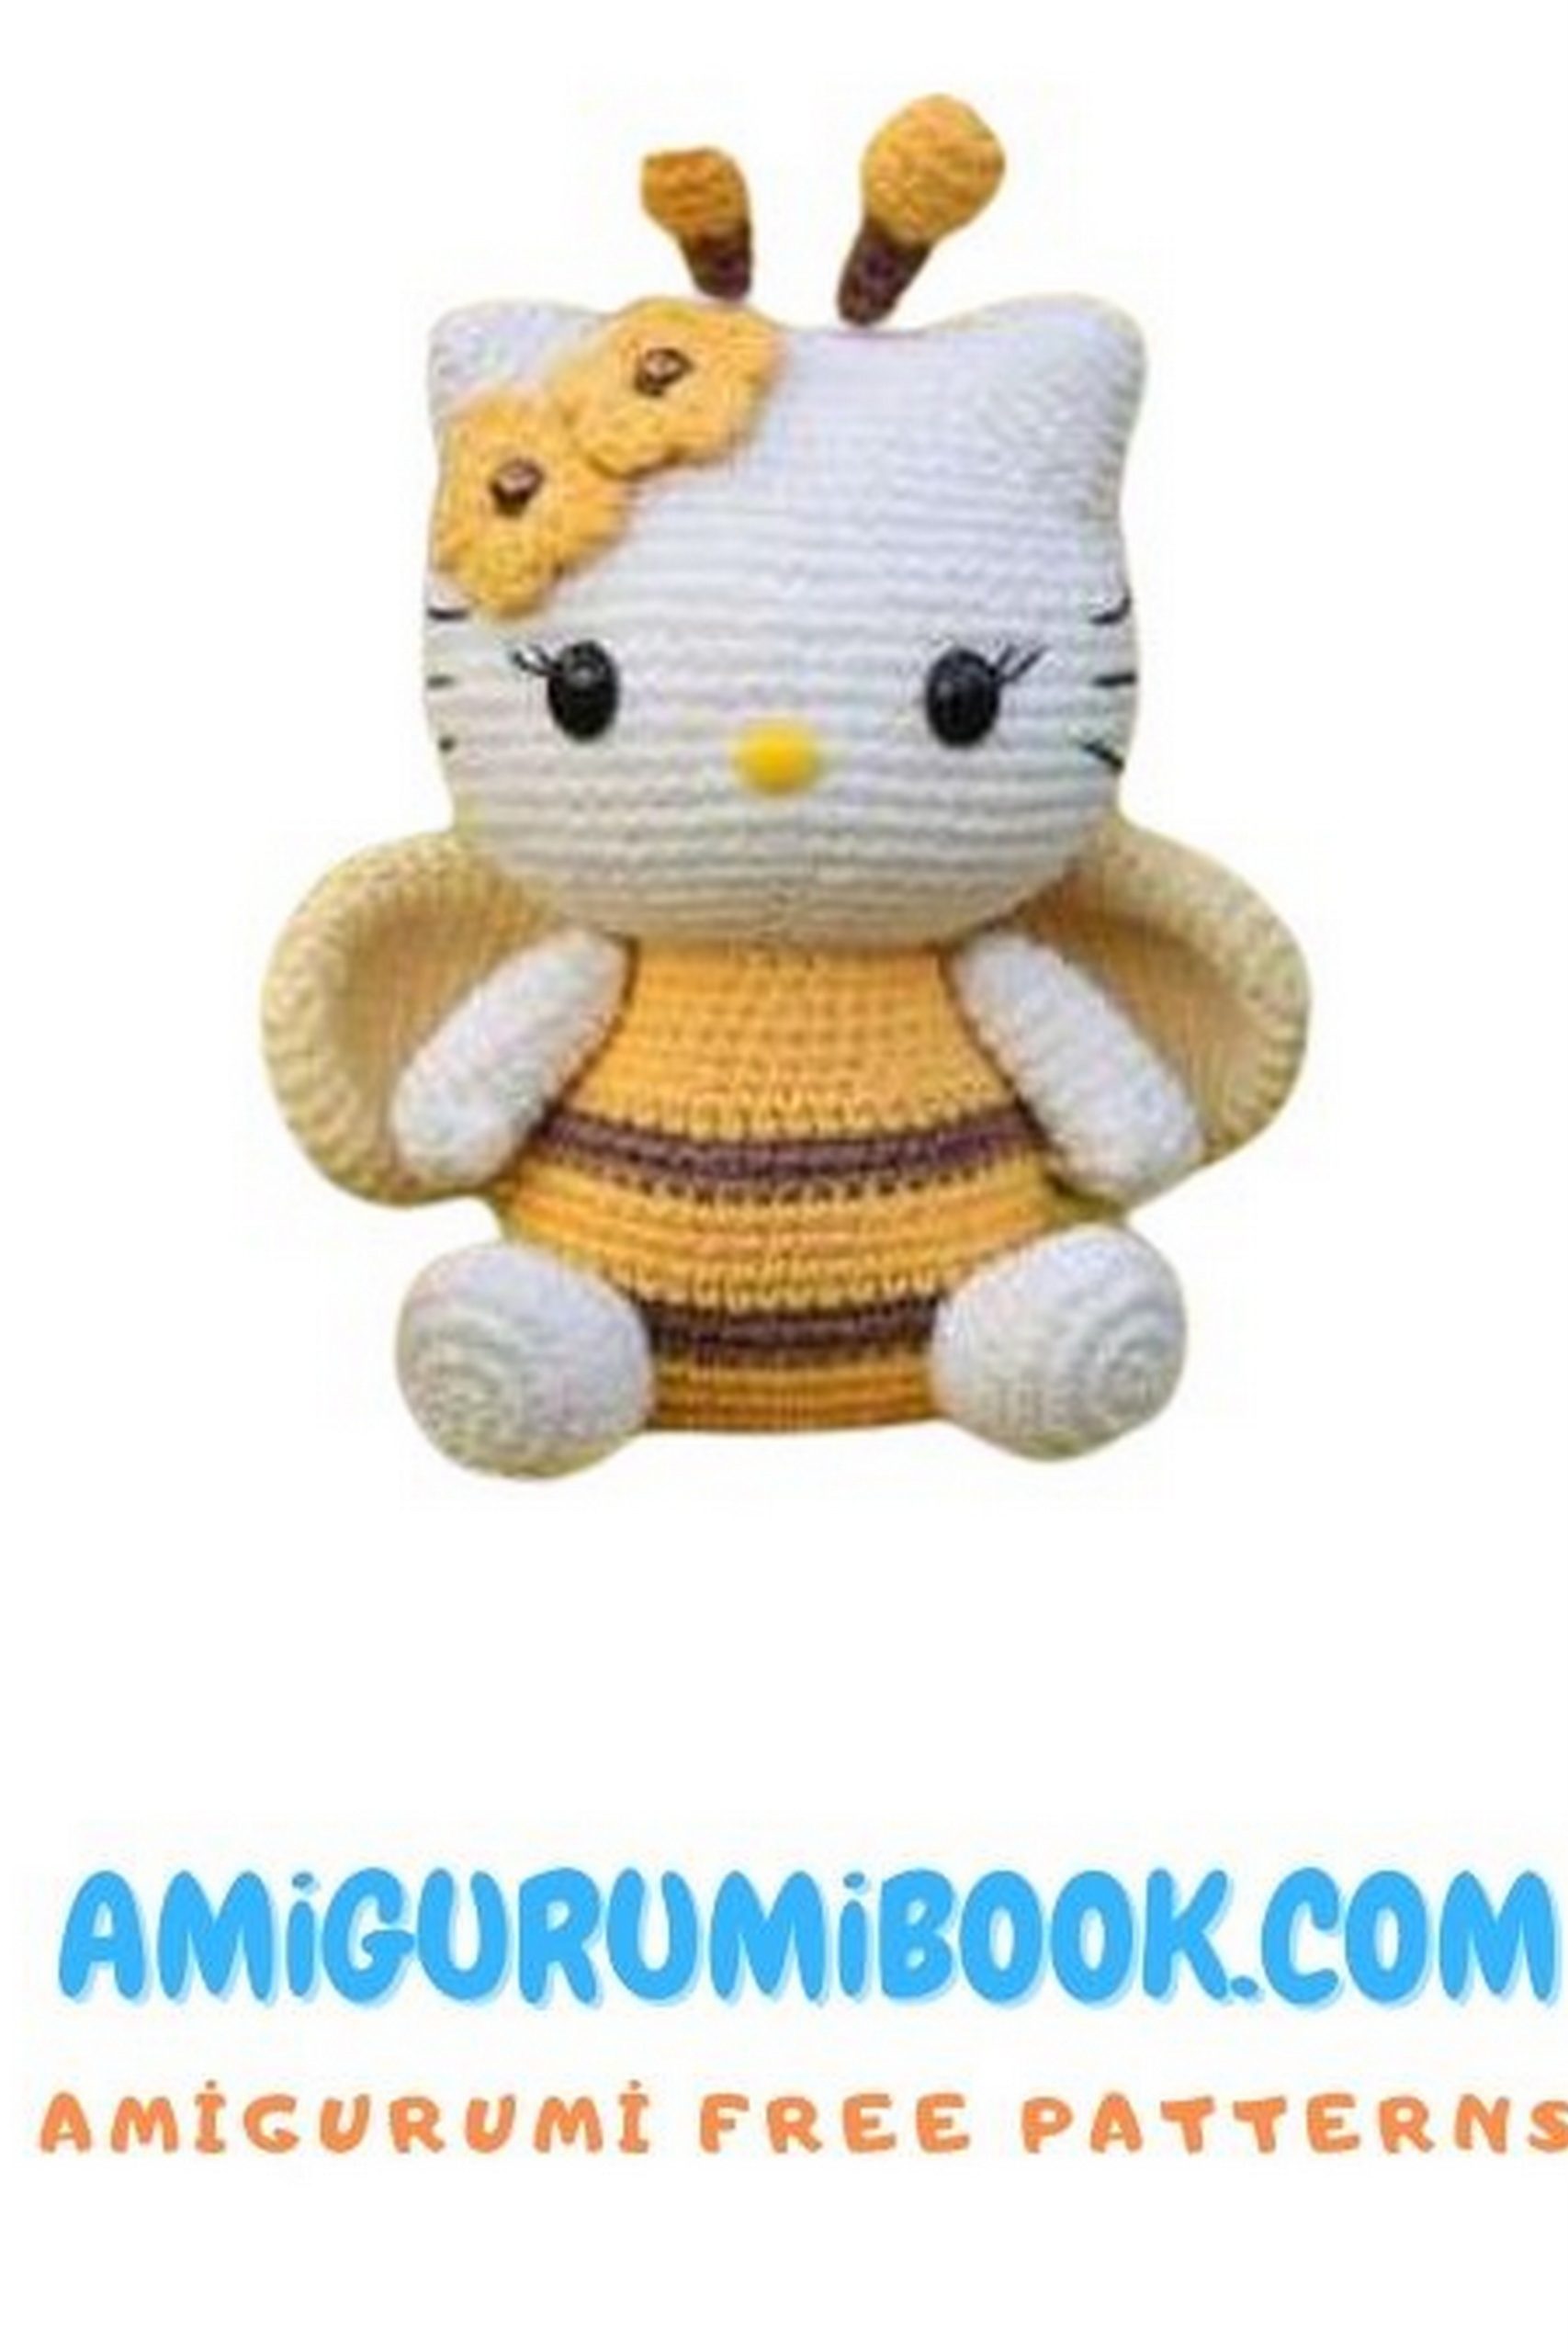
For the Bee:
1: No. 35 – yellow;
2: No. 70 – chocolate;
3: No. 88 – light yellow.
Hello Kitty – Materials:
Black embroidery thread for the face;
Strong cotton thread (e.g., “Iris”) for attaching arms;
Stitch markers;
Toy stuffing (hollow fiber);
Crochet hook No. 2;
Sewing pins;
A wide-eye needle and a fine sewing needle;
Oval black beads for eyes (810 mm) and yellow for the nose (68 mm), or pieces of felt in corresponding colors and sizes or embroidery thread for eyes and nose;
Scissors;
A small piece of wire for antennae.
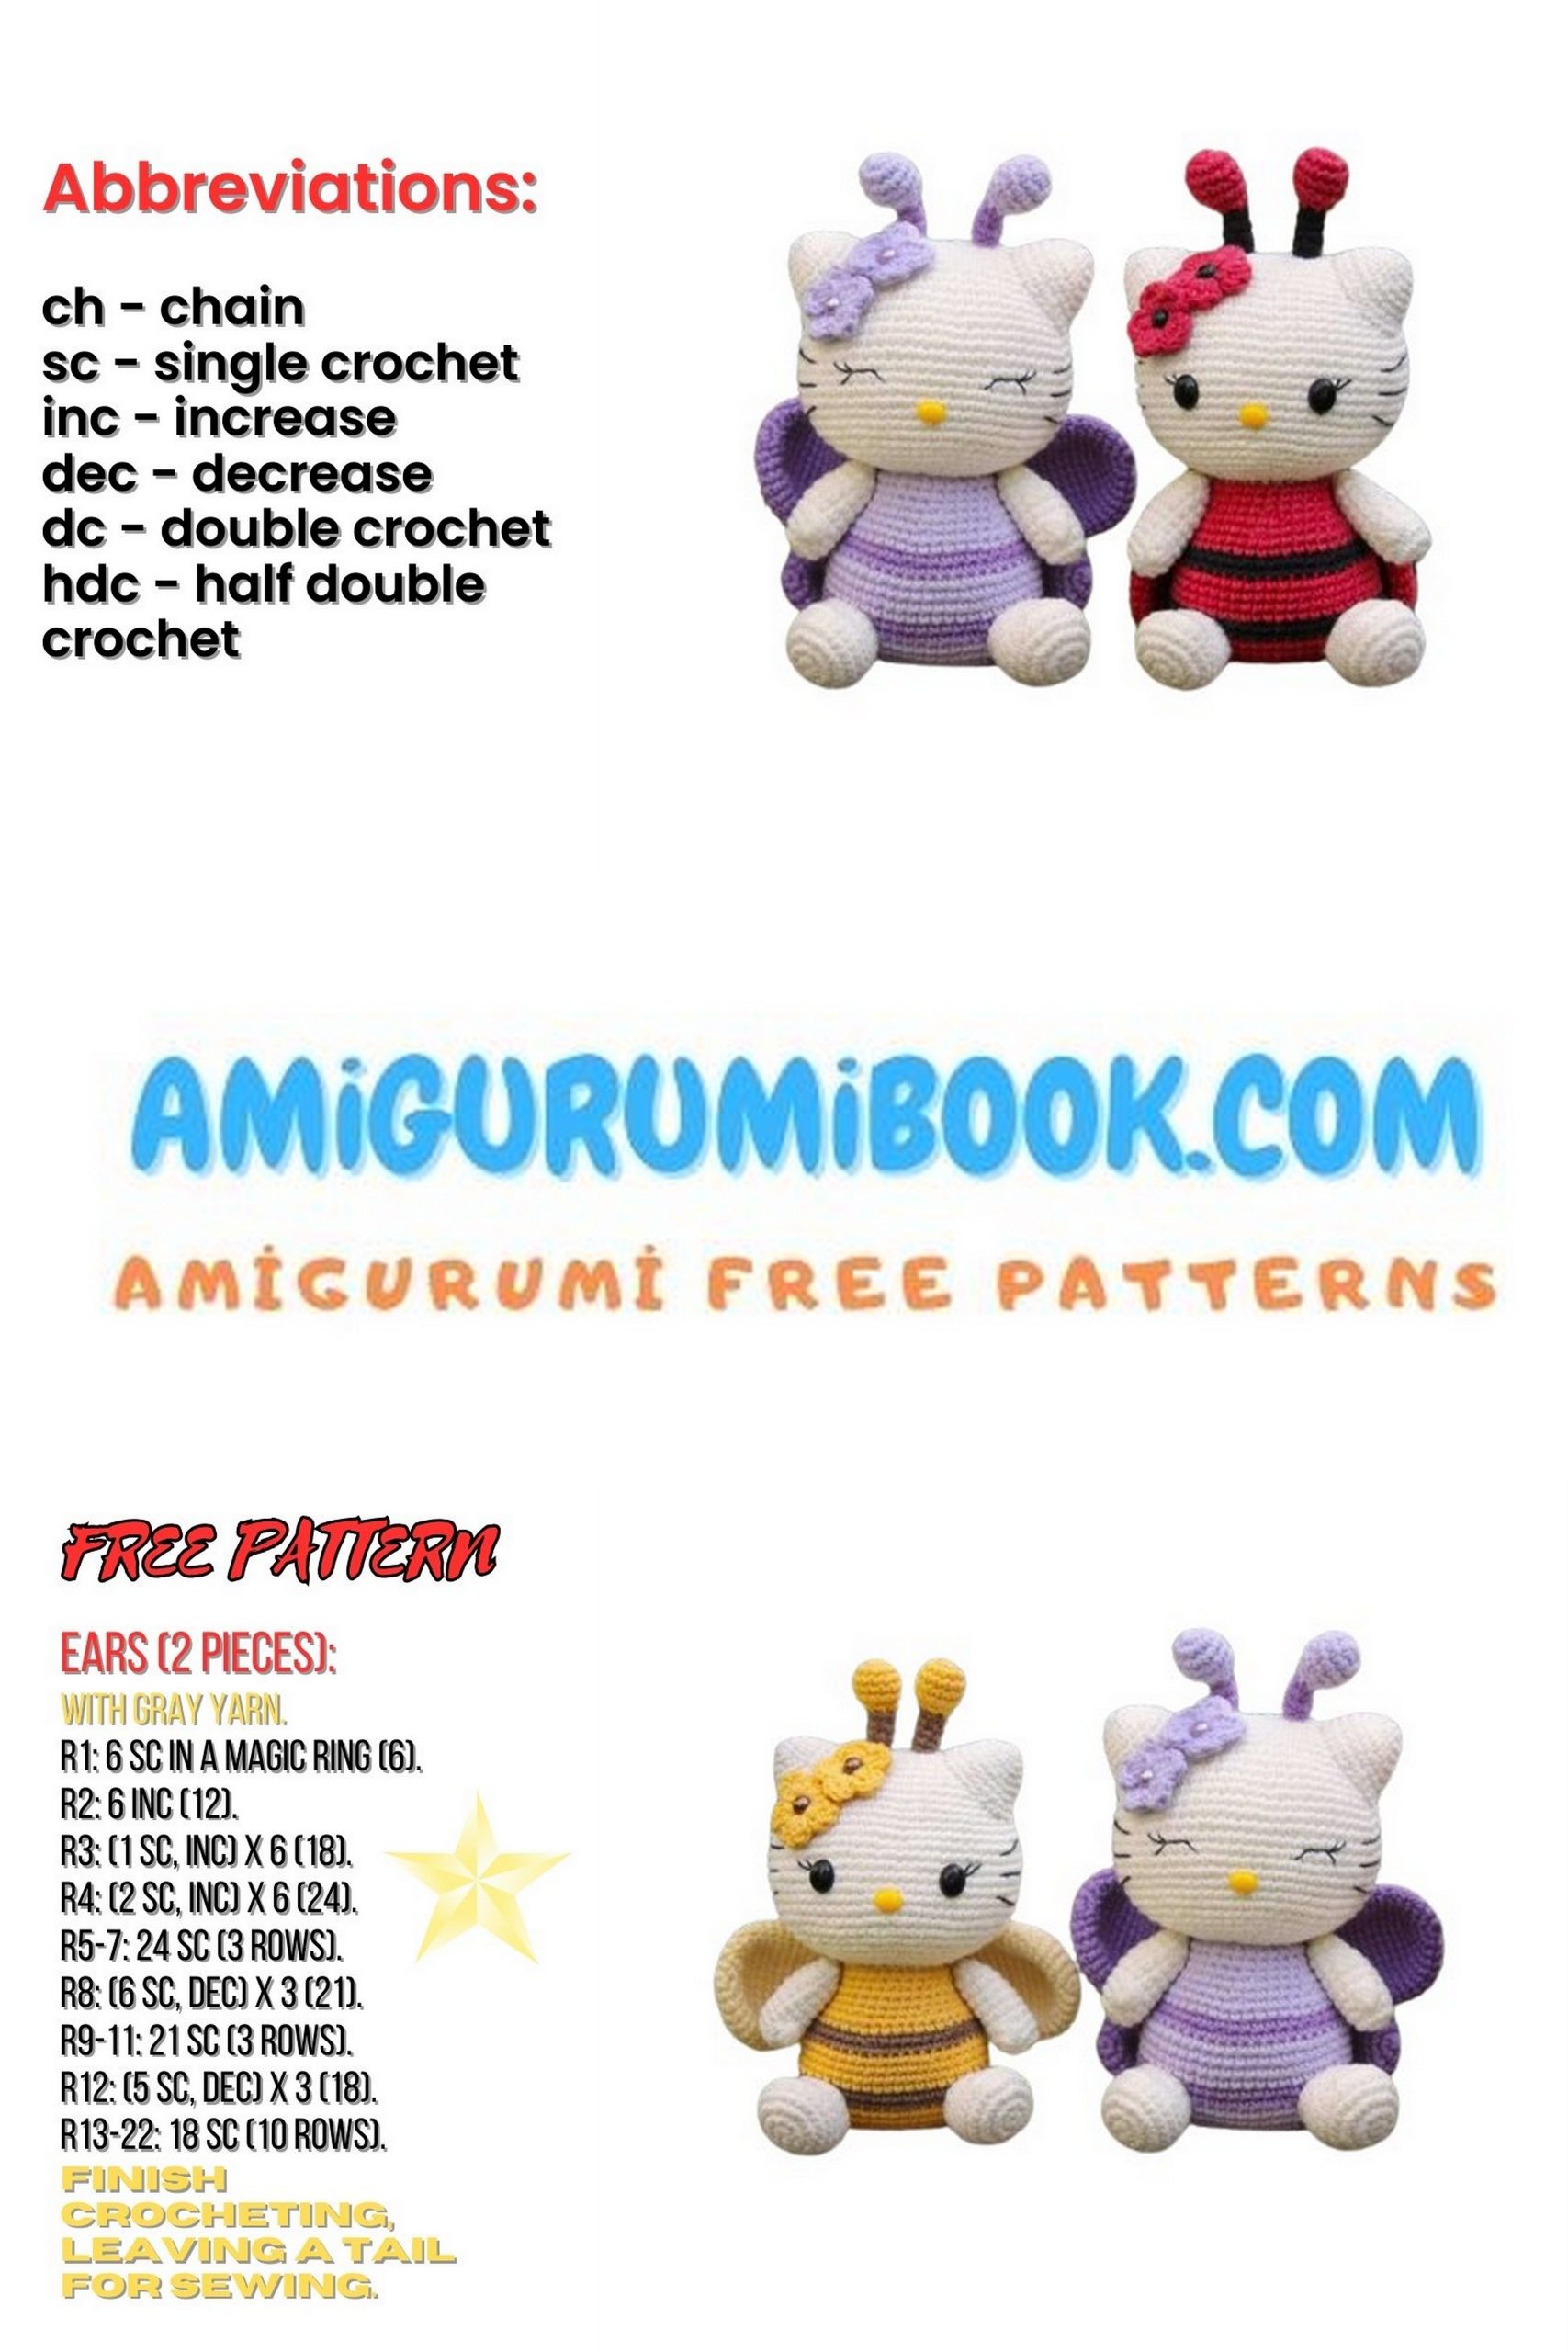
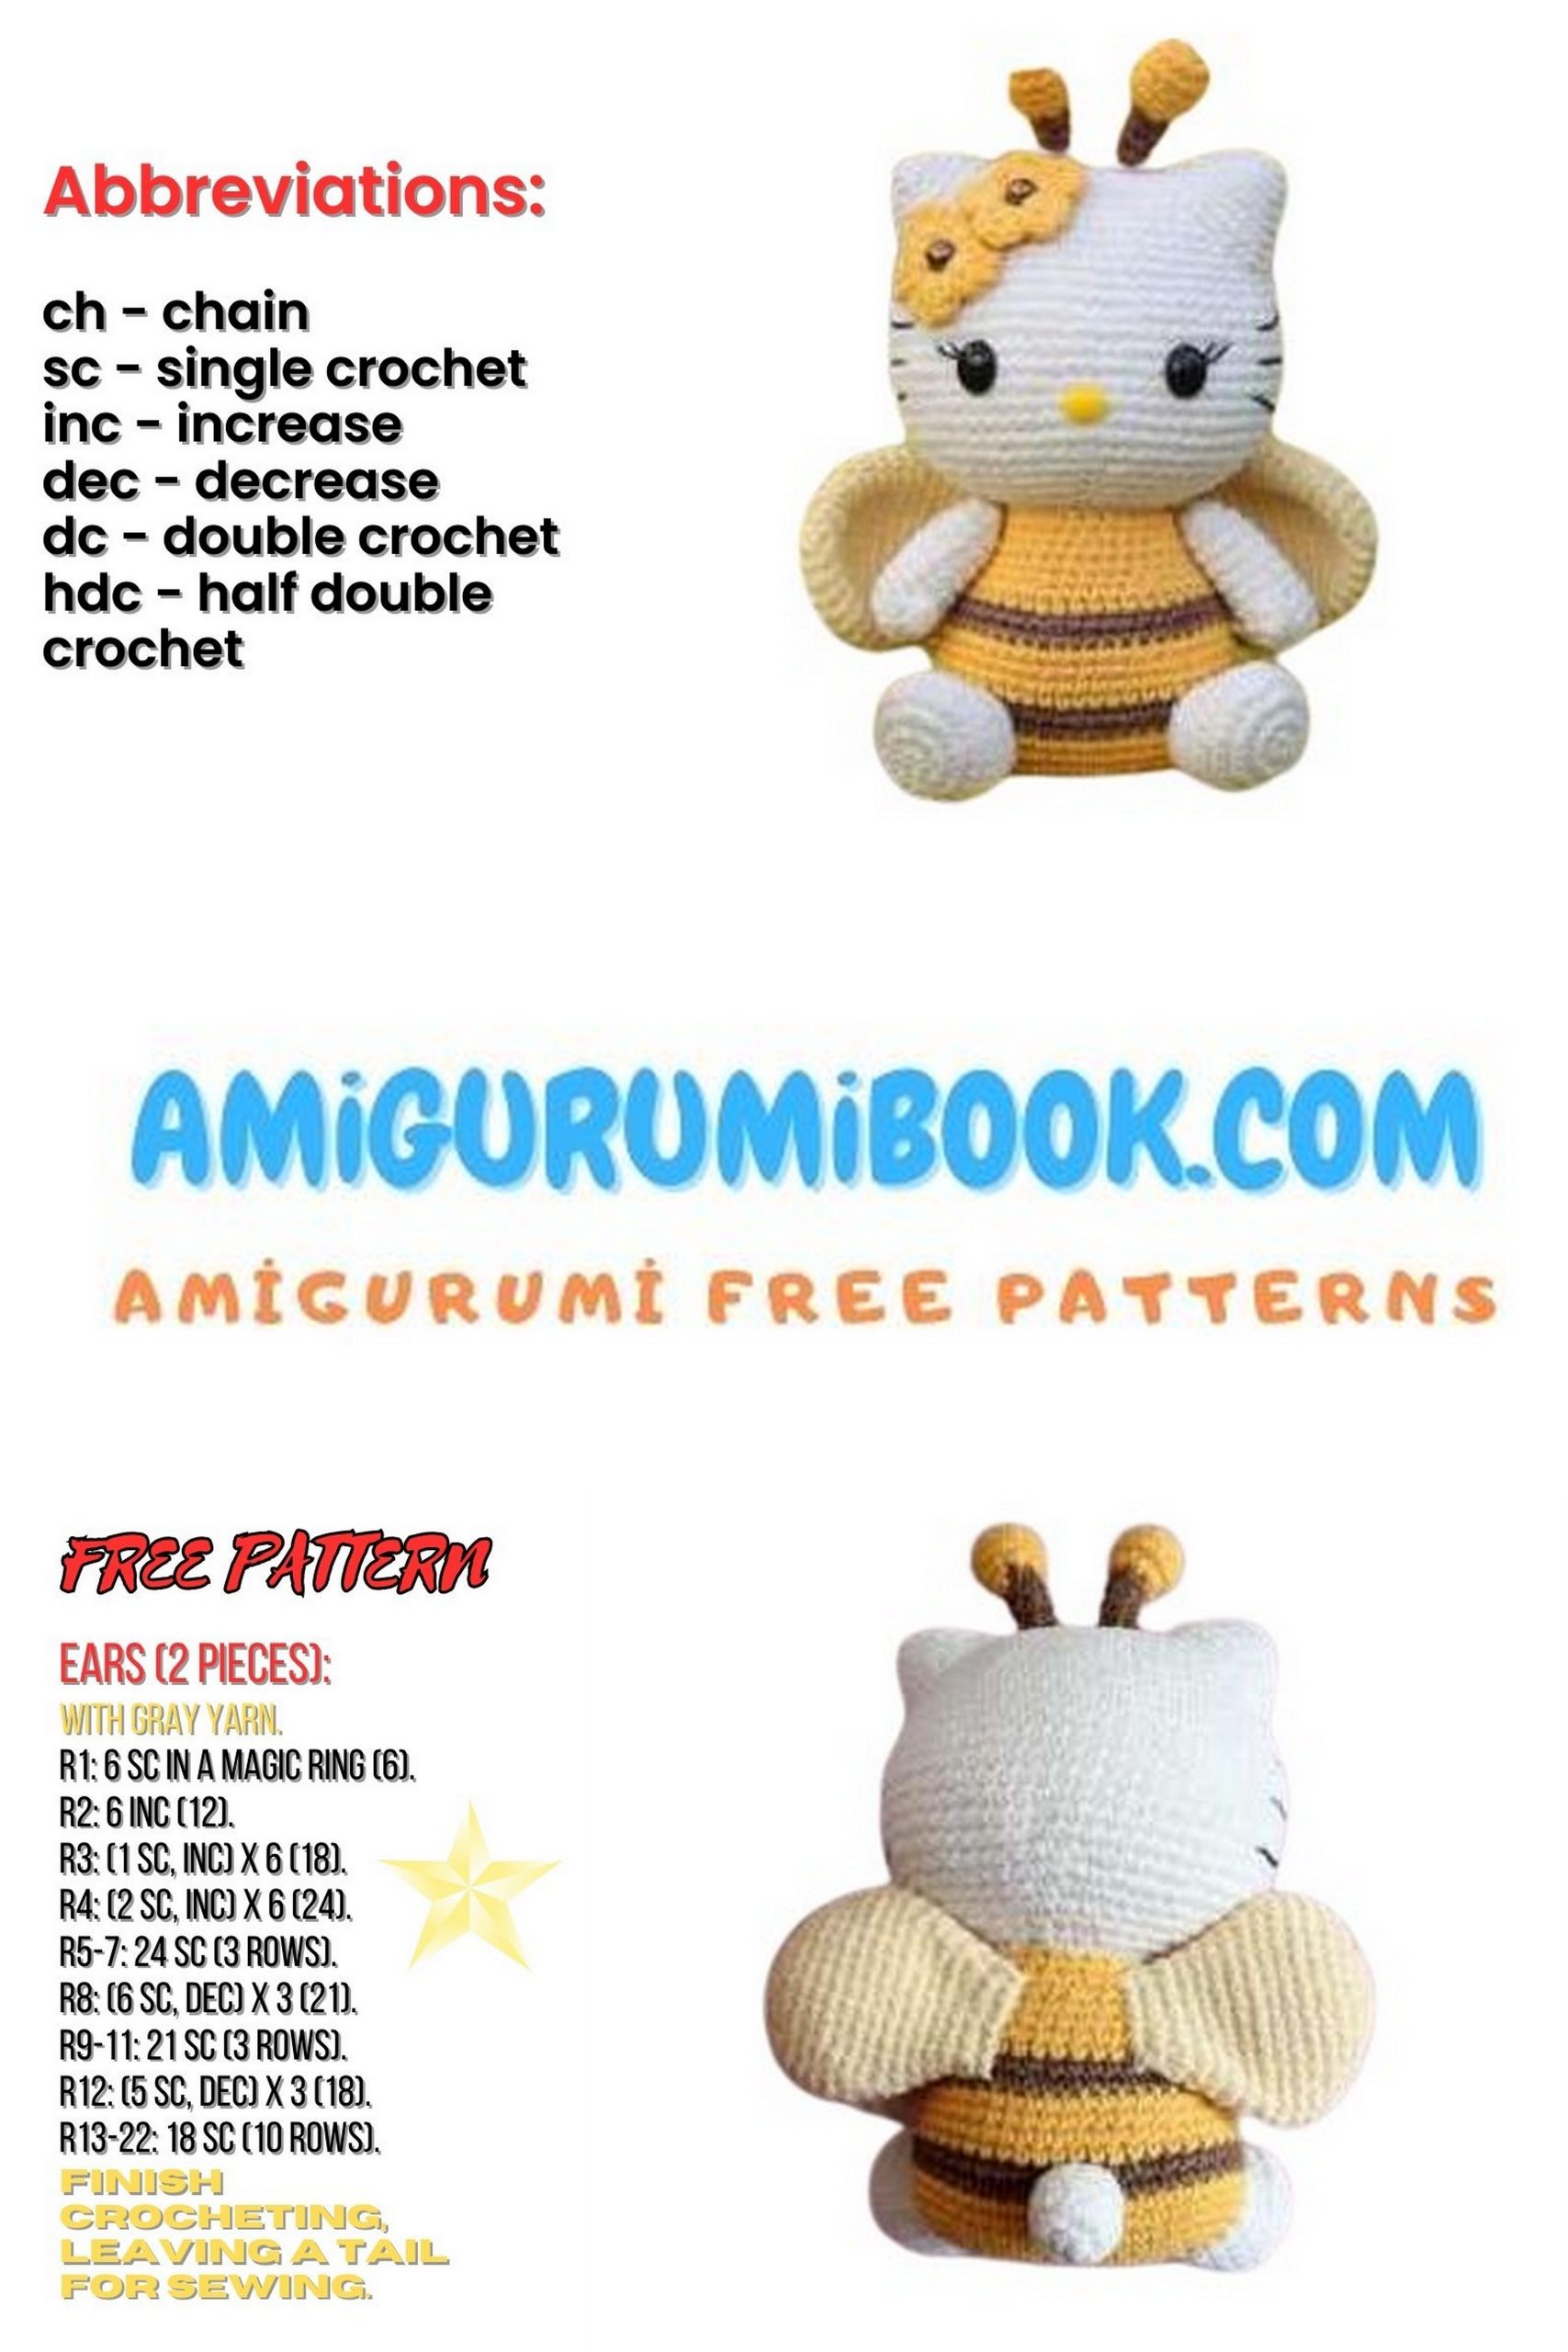
Abbreviations
MR – Magic ring
sc – single crochet
inc – increase (two single crochets in one stitch)
dec – decrease (two single crochets together)
sl st – slip stitch
hdc – half double crochet
dc – double crochet
ch – chain
ps – puff stitch (4 dc with a common top, crocheted in one stitch)
(…) * n – repeat the instructions within the parentheses n times
(…) – numbers in parentheses indicate the final stitch count for the row
Notes
All parts of the toy are crocheted in a spiral without slip stitches between rows and without turning chains. Use a marker for easier row counting. Using the materials specified, the toy is approximately 12 cm tall, excluding the antennae. You can use any other yarn that matches in texture and color. Choose a crochet hook suitable for the thickness of the yarn and your crochet tension.
Hello Kitty Pattern
Arms (x2)
1st row: 6 sc in MR (6)
2nd row: 6 inc (12)
3rd row: 12 sc (12)
4th row: 6 sc, 1 ps, 5 sc (12)
5th – 10th row: 12 sc (12)
Stuff the arms, less densely towards the end.
11th row: 6 dec (6)
Pull and cut the yarn, leaving a small tail. Use the needle to close the hole by threading the yarn through the front loops of the last row. Hide the yarn end inside the part.
Legs (x2) – Hello Kitty
1st row: 8 sc in MR (8)
2nd row: 8 inc (16)
3rd row: (1 sc, inc) * 8 (24)
4th – 6th row: 24 sc (24)
7th row: 8 sc, 4 dec, 8 sc (20)
8th row: 8 sc, 2 dec, 8 sc (18)
9th row: 18 sc (18)
Pull and cut the yarn, leaving a tail for sewing. Stuff the leg.

Ears (x2) – Hello Kitty
1st row: 6 sc in MR (6)
2nd row: (1 sc, inc) * 3 (9)
3rd row: (2 sc, inc) * 3 (12)
4th row: (3 sc, inc) * 3 (15)
5th row: (4 sc, inc) * 3 (18)
6th row: (5 sc, inc) * 3 (21)
7th row: 3 sc, inc, (6 sc, inc) * 2, 3 sc (24)
Pull and cut the yarn, leaving a tail for sewing. Stuff the ears.
Tail – Hello Kitty
1st row: 6 sc in MR (6)
2nd row: 6 inc (12)
3rd – 5th row: 12 sc (12)
Pull and cut the yarn, leaving a tail for sewing. Stuff the tail.
Flowers (x2) – Hello Kitty
1st row: 5 sc in MR (5)
Change yarn to a contrasting color, cut the previous one.
2nd row: (sl st, hdc, 3 dc, hdc) * 5 (30)
Pull and cut the yarn, leaving a tail for sewing.
Antennae (x2) – Hello Kitty
1st row: 6 sc in MR (6)
2nd row: 6 inc (12)
3rd – 5th row: 12 sc (12)
6th row: 6 dec (6)
Stuff the part. Change to a contrasting color.
7th – 10th row: 6 sc (6)
Pull and cut the yarn, leaving a tail for sewing. Insert a piece of wire inside the antenna base for stability.
Head – Hello Kitty
Chain 14, start in the 2nd chain from the hook:
1st row: inc, 11 sc, 2 inc in the last stitch, on the other side of the chain: 11 sc, inc (30)
2nd row: 2 inc, 11 sc, 3 inc, 13 sc, inc (36)
3rd row: inc, 1 sc, inc, 13 sc, inc, 1 sc, inc, 1 sc, inc, 13 sc, inc, 1 sc (42)
4th row: 42 sc (42)
5th row: 1 sc, inc, 2 sc, inc, 14 sc, inc, 2 sc, inc, 2 sc, inc, 14 sc, inc, 1 sc (48)
6th row: 48 sc (48)
7th row: (7 sc, inc) * 6 (54)
8th row: 54 sc (54)
9th row: (8 sc, inc) * 6 (60)
10th row: 60 sc (60)
11th row: (9 sc, inc) * 6 (66)
12th – 20th row: 66 sc (66)
21st row: (9 sc, dec) * 6 (60)
22nd row: 1 sc, dec, (8 sc, dec) * 5, 7 sc (54)
23rd row: (7 sc, dec) * 6 (48)
24th row: 1 sc, dec, (6 sc, dec) * 5, 5 sc (42)
25th row: (5 sc, dec) * 6 (36)
26th row: 1 sc, dec, (4 sc, dec) * 5, 3 sc (30)
Move the yarn to the start of the 27th row where the marker was left. Start stuffing the part.
27th row: (3 sc, dec) * 6 (24)
Mark the start of the 27th row with a marker!
28th row: 1 sc, dec, (2 sc, dec) * 5, 1 sc (18)
29th row: (1 sc, dec) * 6 (12)
30th row: 6 dec (6)
Add more stuffing and distribute it evenly inside the part. Pull and cut the yarn, leaving a long tail for sewing. Use the needle to close the hole.
Body – Hello Kitty
Chain 15, starting from the 2nd chain from the hook:
1st row: inc, 12 sc, 2 inc in the last stitch, on the other side of the chain: 12 sc, inc (32)
2nd row: 2 inc, 12 sc, 4 inc, 12 sc, 2 inc (40)
3rd row: (inc, 1 sc) * 2, 12 sc, (inc, 1 sc) * 4, 12 sc, (inc, 1 sc) * 2 (48)
4th – 6th row: 48 sc (48)
Without cutting the main yarn, join the contrasting color yarn and crochet the next 2 rows.
7th – 8th row: 48 sc (48)
Change back to the main color yarn and crochet the next 4 rows.
9th – 12th row: 48 sc (48)
Use the contrasting color yarn for the next 2 rows.
13th row: 48 sc (48)
14th row: (6 sc, dec) * 6 (42)
You can cut the contrasting yarn now, and continue with the main color yarn.
15th – 16th row: 42 sc (42)
17th row: (5 sc, dec) * 6 (36)
18th row: 36 sc (36)
19th row: (4 sc, dec) * 6 (30)
20th – 21st row: 30 sc (30)
Crochet an additional 2 sc to ensure the row ends exactly on the side of the body. Pull and cut the yarn, hide the end inside the piece, and stuff the body firmly.
Wings for Bee and Ladybug (make 2)
1st row: 6 sc in a magic ring (6)
2nd row: 6 inc (12)
3rd row: (1 sc, inc) * 6 (18)
4th row: (2 sc, inc) * 6 (24)
5th row: (3 sc, inc) * 6 (30)
6th – 9th row: 30 sc (30)
10th row: (13 sc, dec) * 2 (28)
11th row: (12 sc, dec) * 2 (26)
12th row: (11 sc, dec) * 2 (24)
13th row: (10 sc, dec) * 2 (22)
14th row: (9 sc, dec) * 2 (20)
15th row: (8 sc, dec) * 2 (18)
16th row: (7 sc, dec) * 2 (16)
17th row: (6 sc, dec) * 2 (14)
Crochet 2 additional sc to even out the row, fold the piece in half, and crochet 7 sc, capturing both edges. Pull and cut the yarn, leaving a tail for sewing. Do not stuff the piece.
Spots for Ladybug (make 4)
1st row: 6 sc in a magic ring, sl st (6)
Pull and cut the yarn, leaving a long tail for sewing. Place the spots symmetrically on both wings and sew them on.
Butterfly Wings (make 2)
The butterfly wing consists of an upper and lower part, which are then joined together.
Lower Part of the Wing (Part 1):
1st row: 6 sc in a magic ring (6)
2nd row: 6 inc (12)
3rd row: (1 sc, inc) * 6 (18)
4th – 7th row: 18 sc (18)
8th row: (7 sc, dec) * 2 (16)
Pull and cut the yarn, leaving a small tail.
Upper Part of the Wing (Part 2):
1st row: 6 sc in a magic ring (6)
2nd row: 6 inc (12)
3rd row: (1 sc, inc) * 6 (18)
4th row: (2 sc, inc) * 6 (24)
5th row: (3 sc, inc) * 6 (30)
6th – 9th row: 30 sc (30)
10th row: (13 sc, dec) * 2 (28)
11th row: (12 sc, dec) * 2 (26)
12th row: (11 sc, dec) * 2 (24)
13th row: (10 sc, dec) * 2 (22)
14th row: (9 sc, dec) * 2 (20)
15th row: (8 sc, dec) * 2 (18)
Starting from the next row, we will join both parts together. Do not cut the working yarn.
16th row: Without removing part 2 from the hook, insert it into the 1st sc of the last row of part 1 and crochet a sc. Continue crocheting along part 1: 5 sc, dec, 8 sc, move to part 2: 7 sc, dec, 9 sc (32)
This way, we have joined the parts of the wing and now continue to crochet in the round. If there is a gap in the corner, sew it with the tail left from part 1.
17th row: 5 sc, dec, 14 sc, dec, 9 sc (30)
18th row: 4 sc, dec, 13 sc, dec, 9 sc (28)
Crochet an additional 6 sc to finish the row at the bottom of the piece. Fold the wing in half and crochet 14 sc, capturing the stitches of both sides. Pull and cut the yarn, leaving a tail for sewing.
Assembly and Finishing – Hello Kitty
Join the head and body. Align the last row of the body with the 27th row of the head, which we previously marked with a stitch marker. Pin the parts together. Ensure the head is straight (align with the starting chain of the head, which should be parallel to the body). Begin sewing the head, alternately capturing the single crochet stitches of each part. Add stuffing between the neck and head during sewing.
Pin the ears at the level of the 2nd to 10th row of the head and sew them on.
Glue or embroider the nose in the center of the face between the 9th and 10th rows, counting from the bottom of the head. Then create the eyes with embroidery or by gluing ready-made ones (it’s easier to embroider the eyelashes before gluing the eyes). After this, embroider the whiskers with black yarn – three lines on each side.
For easy placement of all facial elements, refer to the diagrams. You may adjust the positions based on your crochet tension.
Attach the arms to the body using thread joints. For this, you will need a long needle and strong cotton thread doubled (preferably white, dark thread used for visibility).
Insert the needle into any point on the back and bring it out on the side of the body between the 17th and 18th rows, leaving a medium-length tail.
Then, thread the needle through the inside of the arm to the outside (1).
Next, insert the needle into the same point from where the thread is coming out (2) and bring it out from the inside of the arm, stepping back 2 sc from the first hole (3).
After this, thread the needle through the same point on the side of the body where the thread is coming out (4) and bring it out symmetrically on the opposite side of the body (5).
Attach the second arm in the same manner. For secure fastening, you can pass the thread a second time.
Once both arms are attached, bring the thread to the back and tie a knot, hide the ends inside the piece.
Sew the antennae to the top of the head.
Sew the flowers under one of the ears, leaving the petals free. The centers can be additionally decorated with beads.
Fix the legs at the level of the 3rd to 7th row of the body at a distance of 9 sc from each other. The placement of the legs may vary slightly; adjust them so that the toy sits stably. Sew the legs, trying to keep their round shape.
Sew the wings to the back of the toy. They can be positioned either raised or folded depending on the costume. If the wings are too loose, fix them with additional stitches.
Fix the tail at the level of the 5th to 8th row of the body and sew it on. The tail will also serve as an additional support for the toy when sitting.