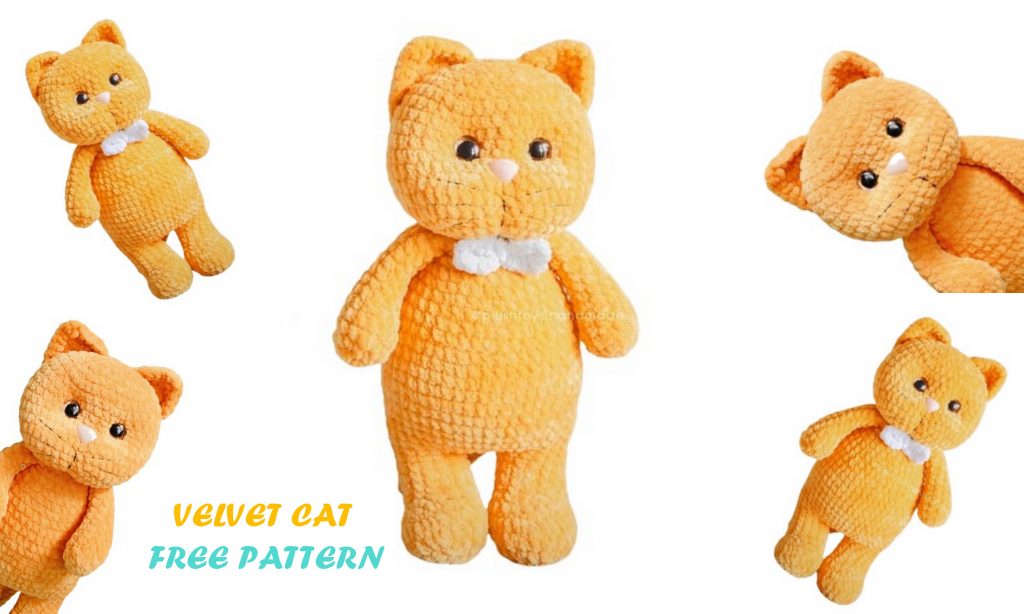
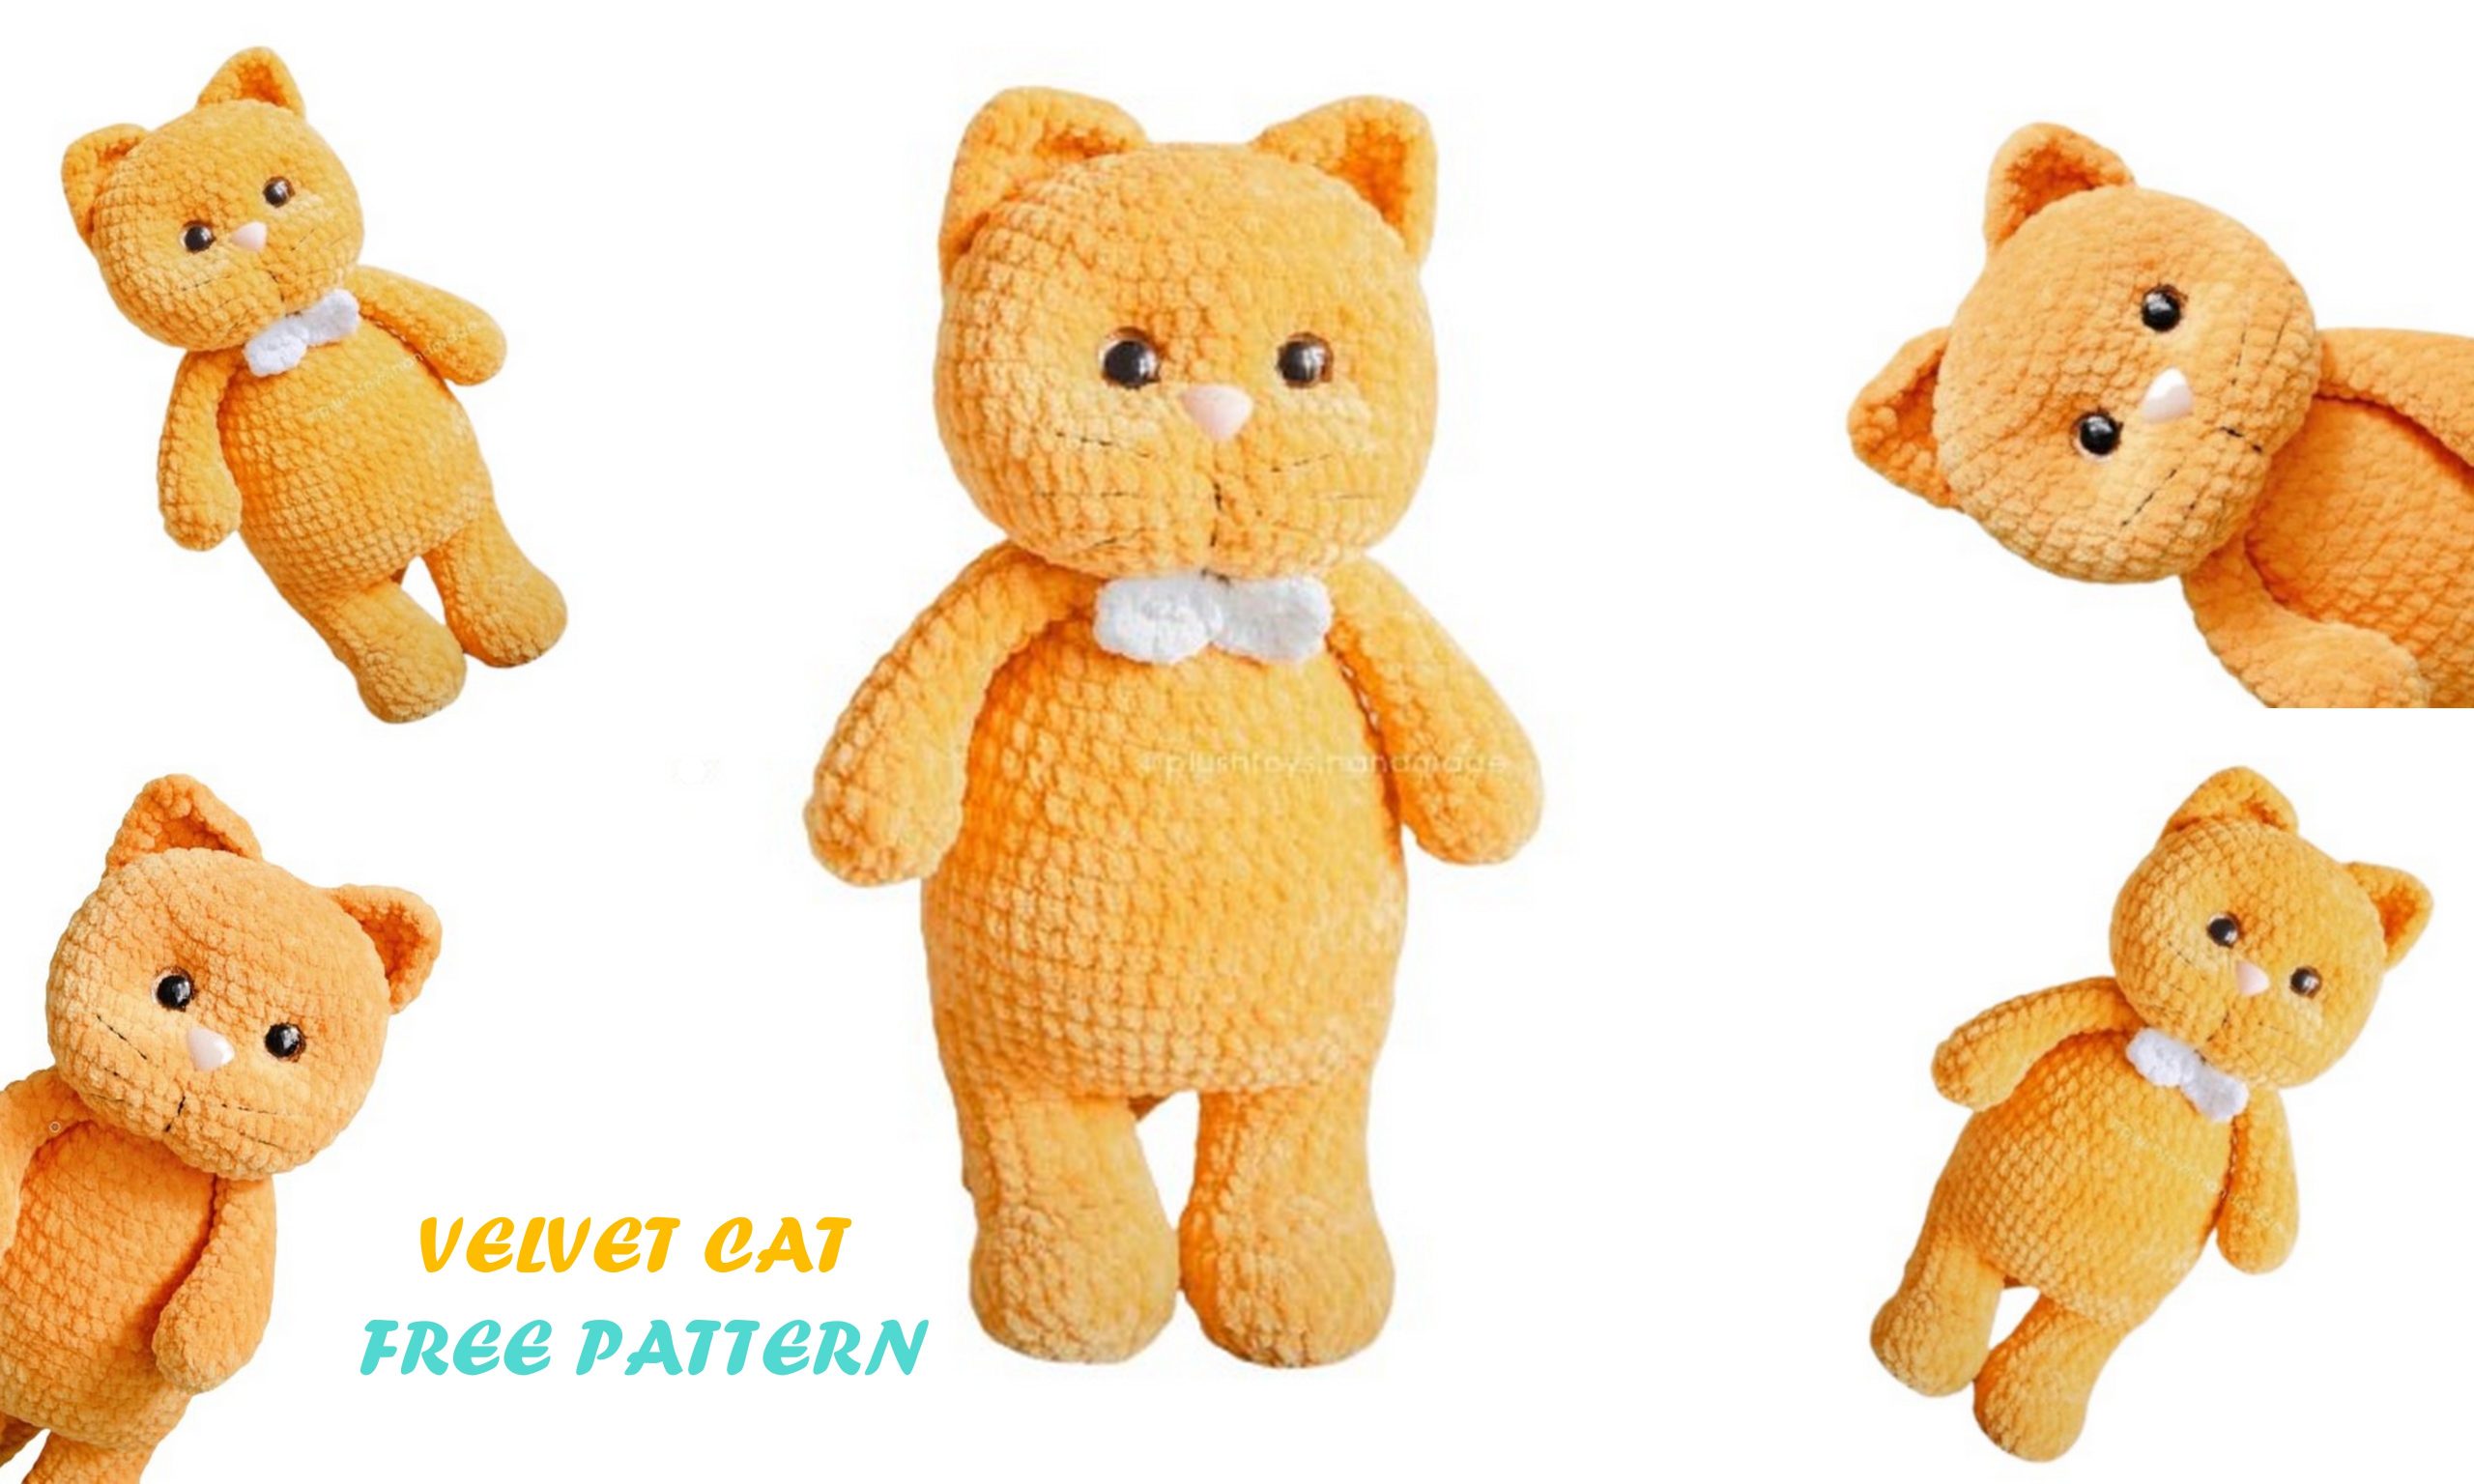
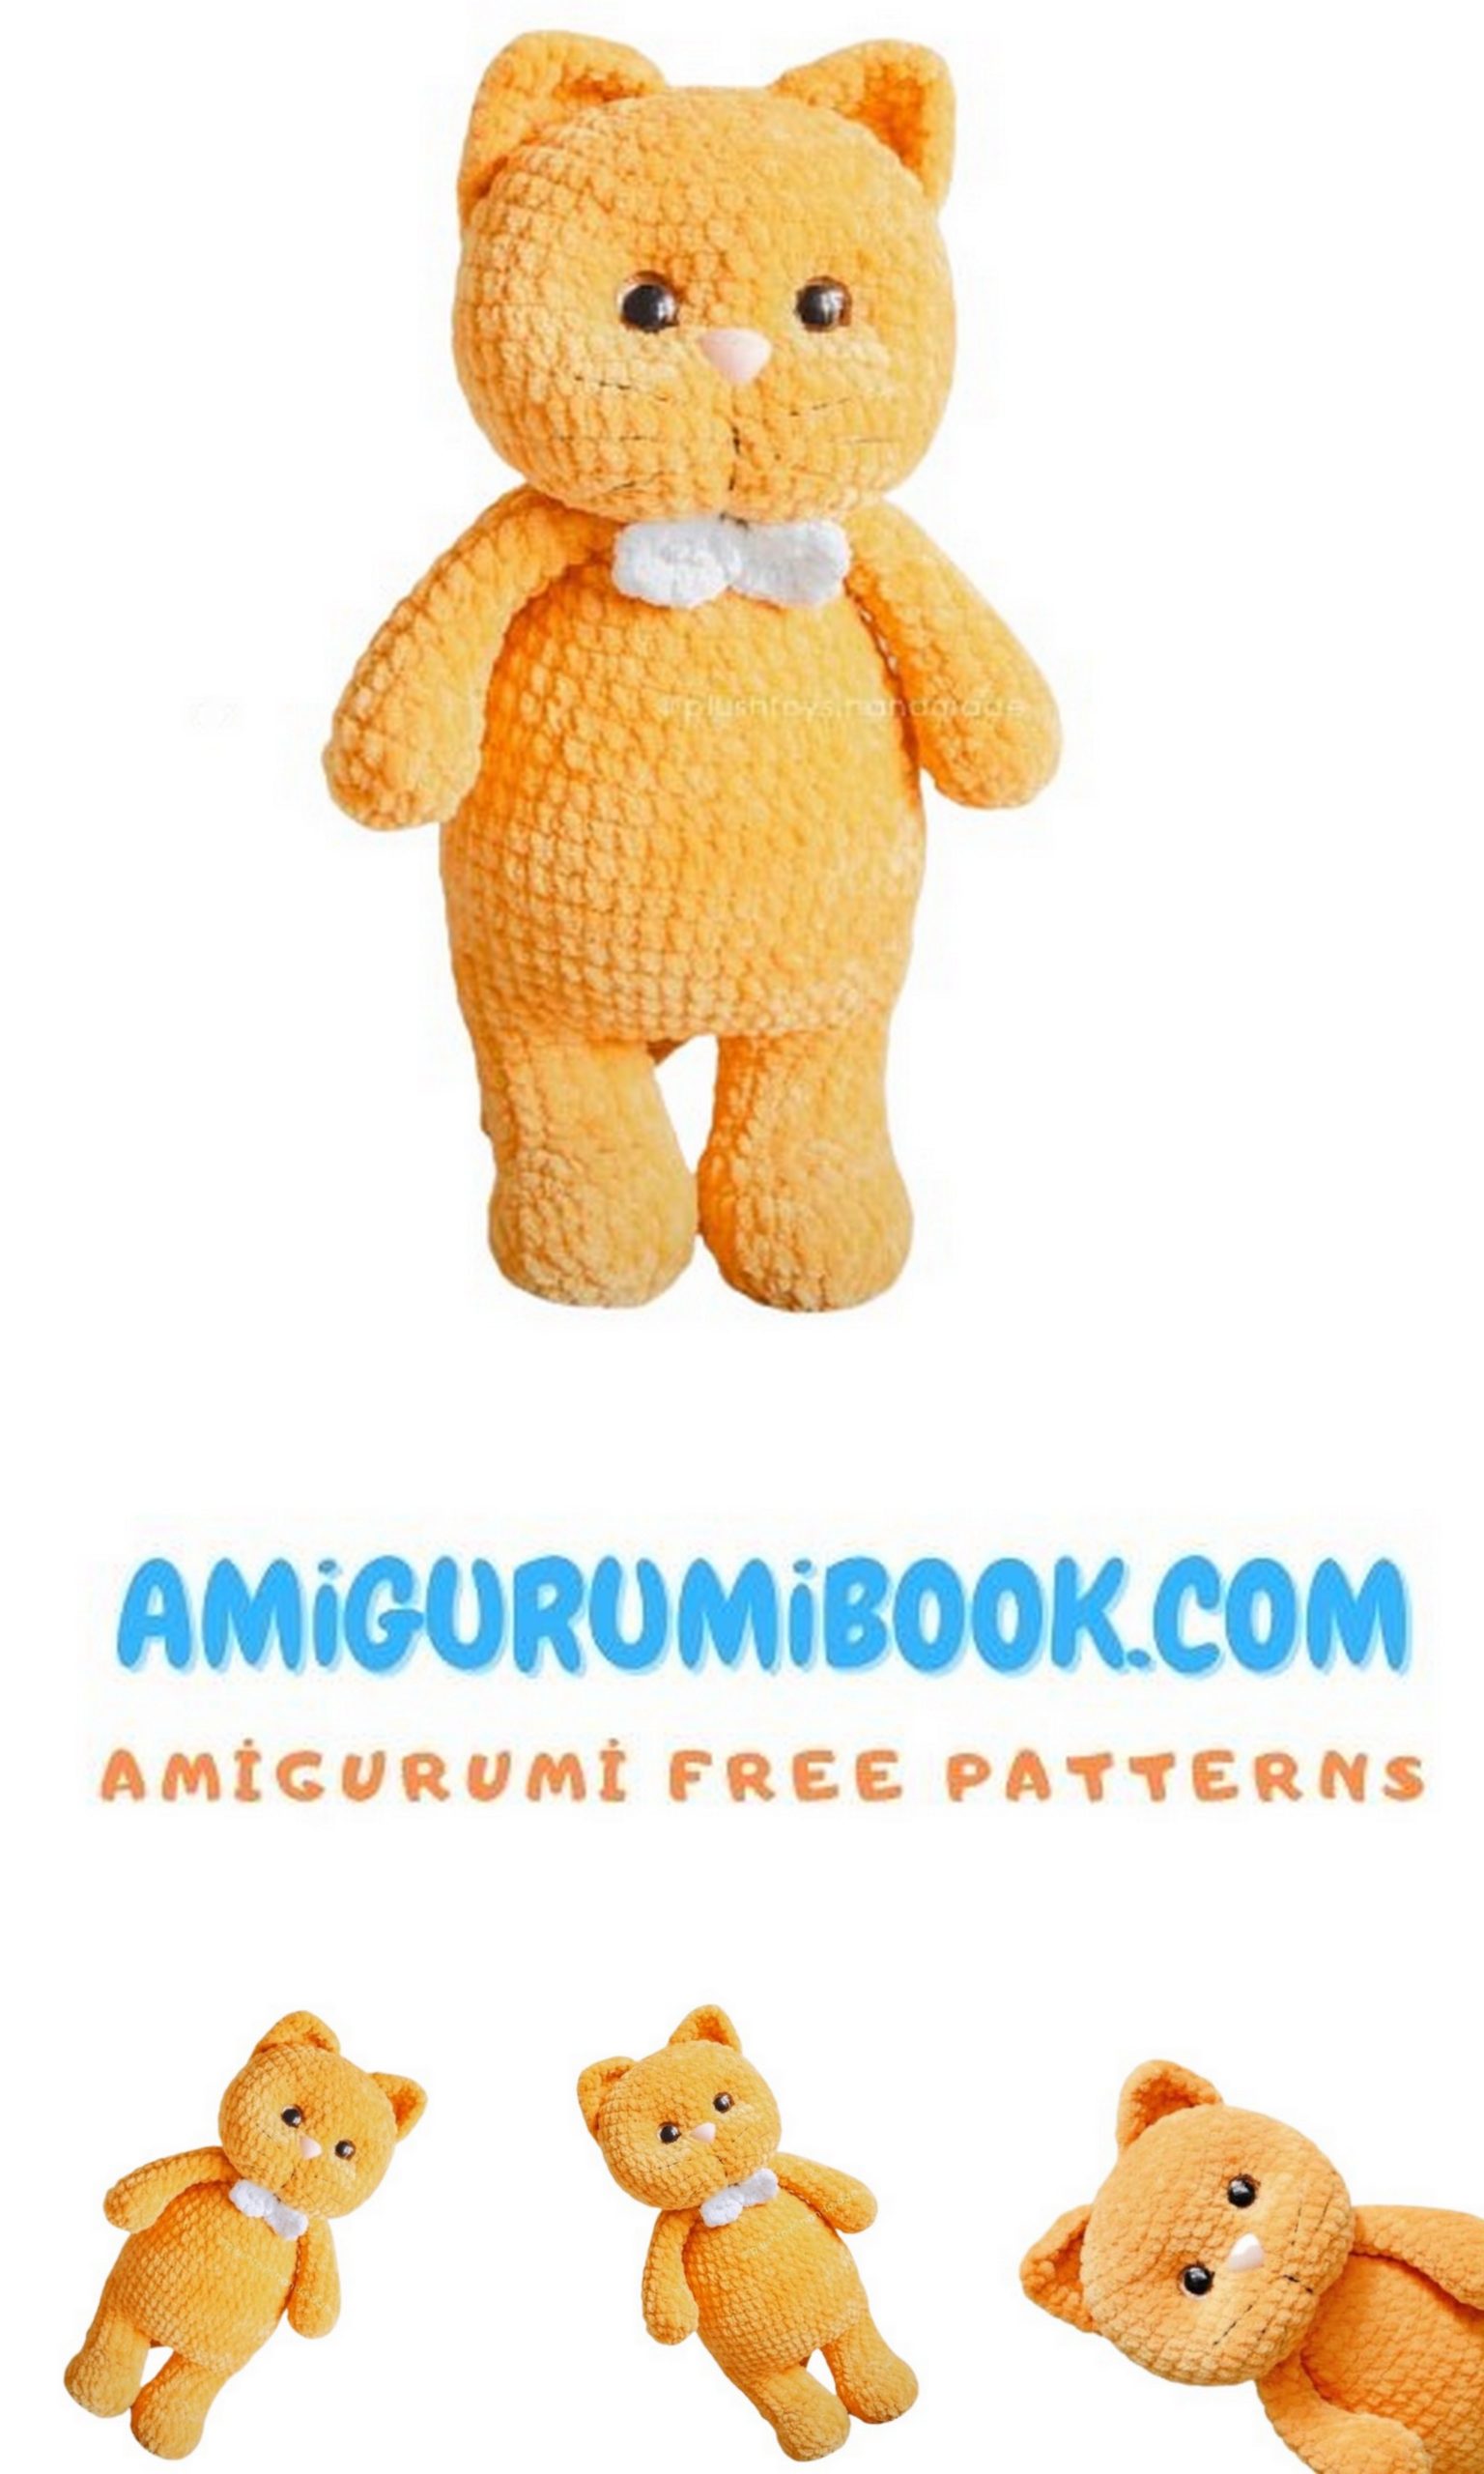
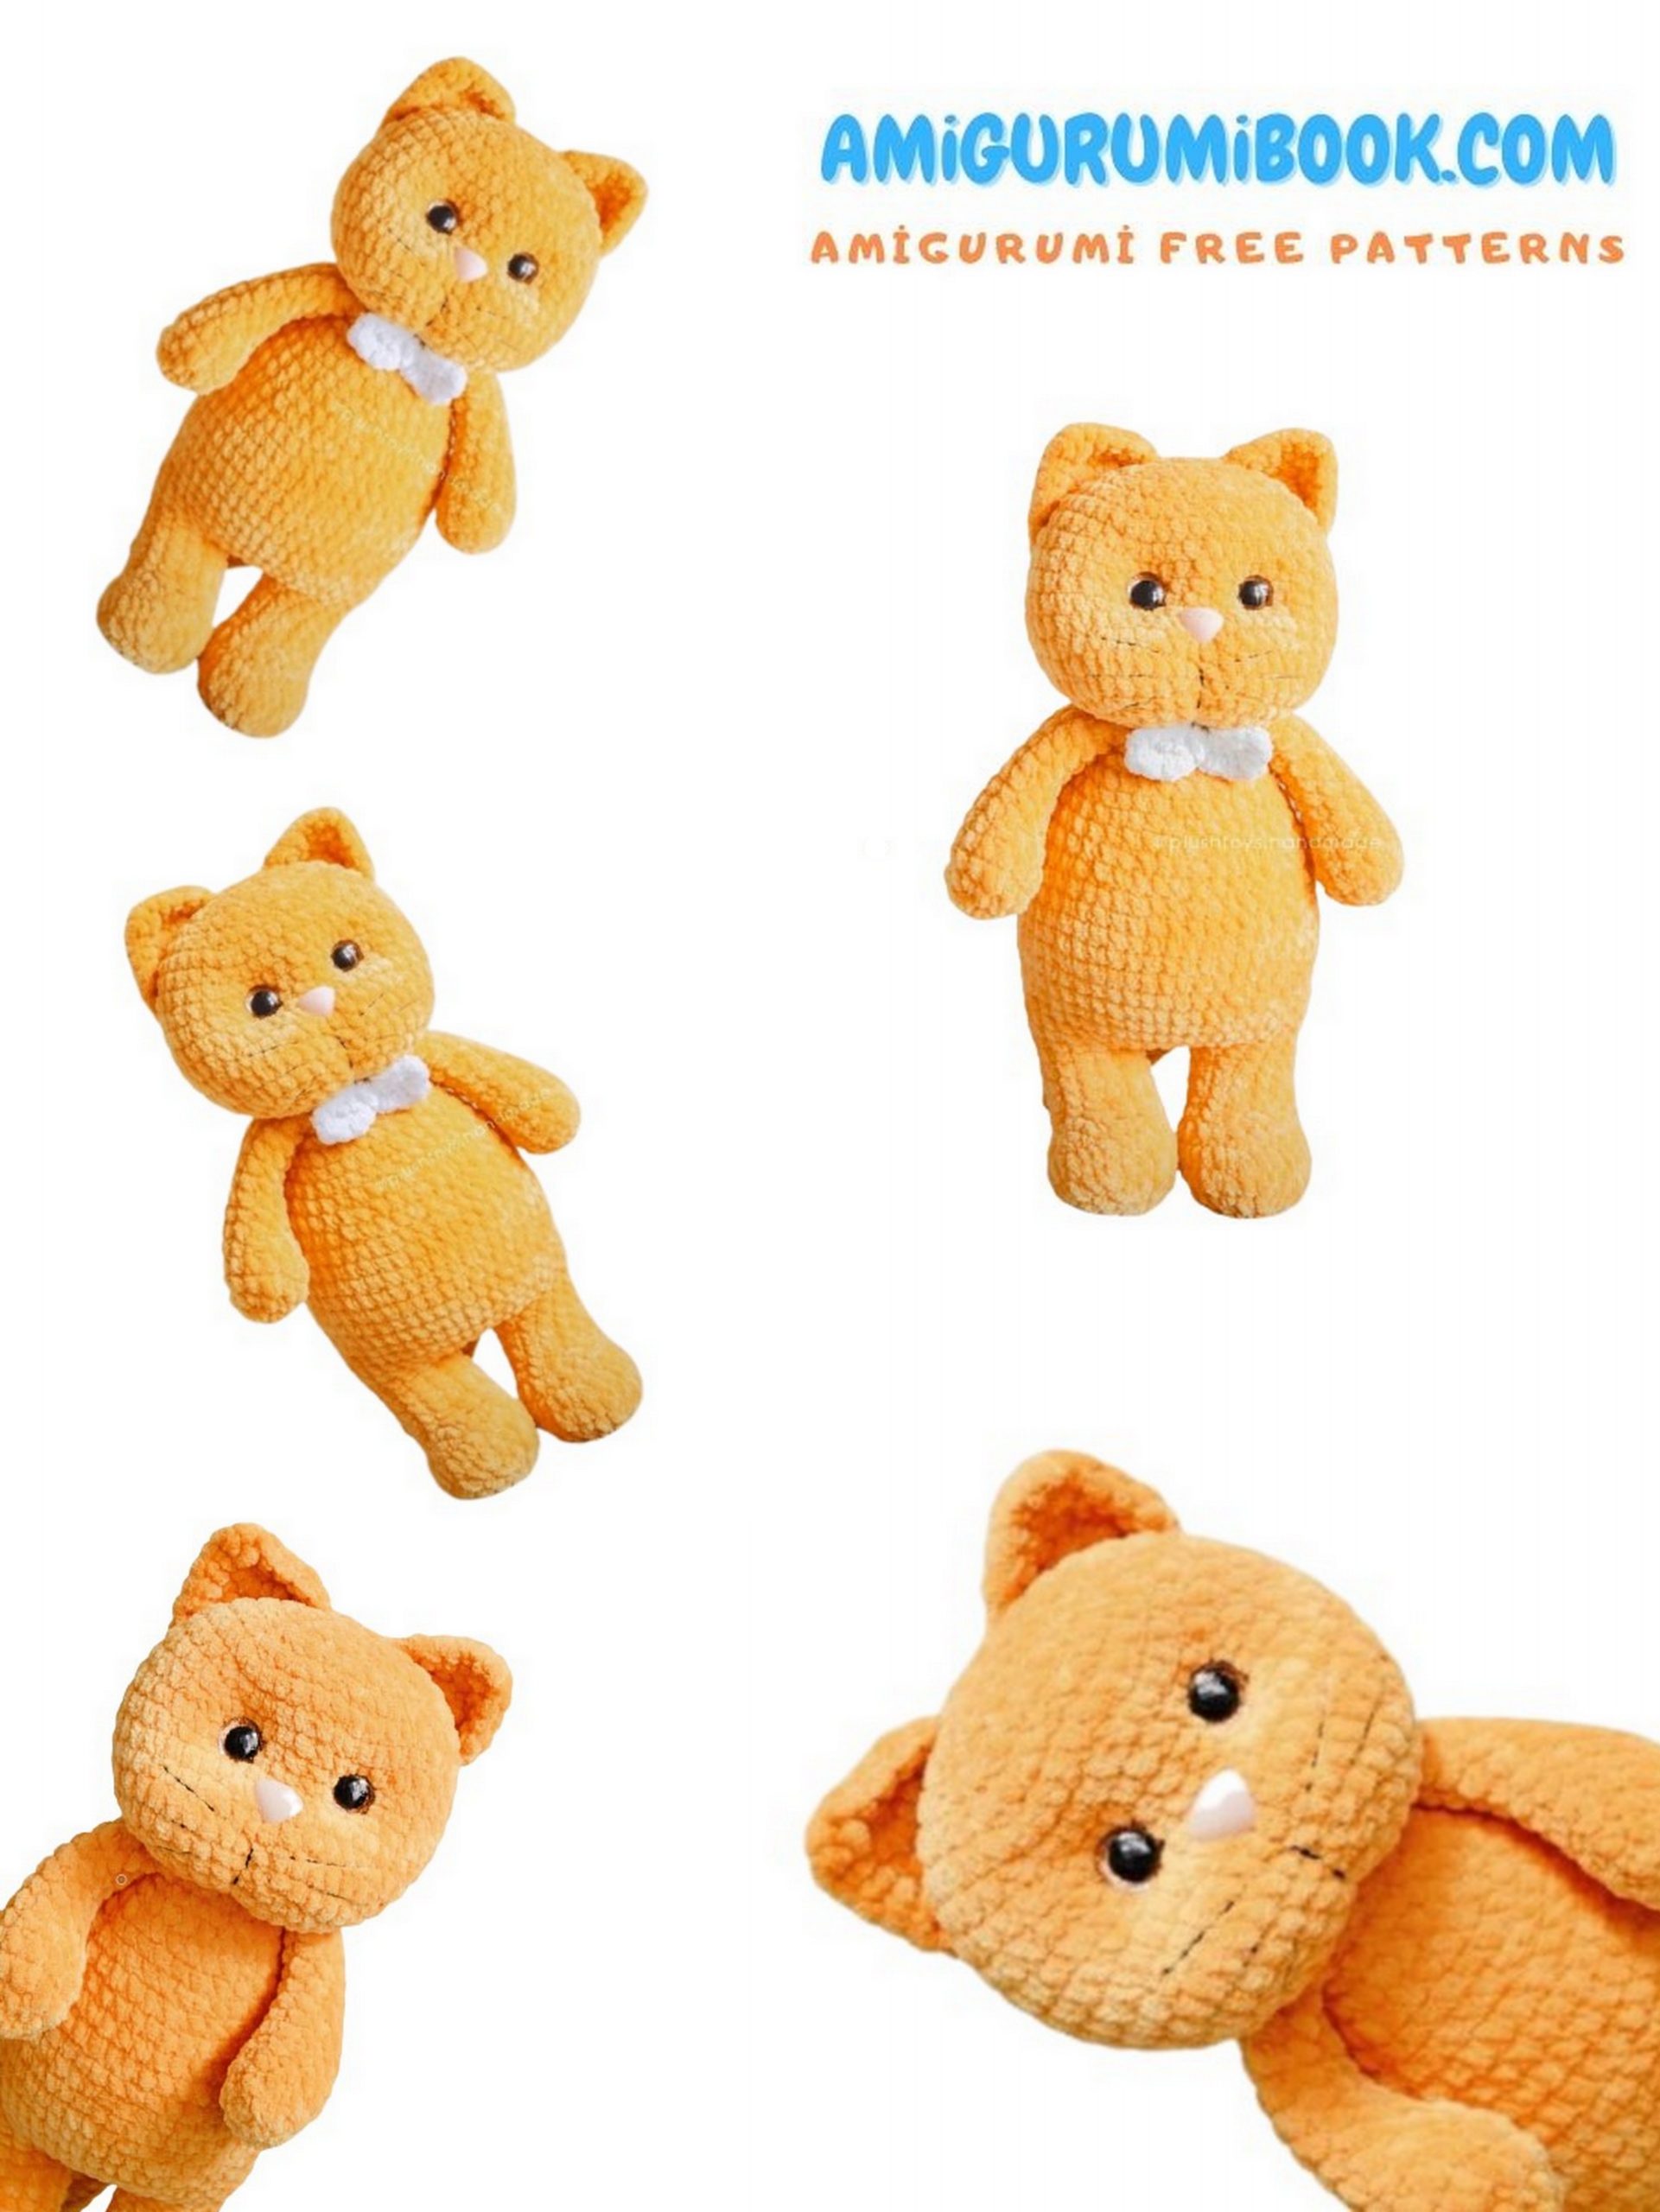
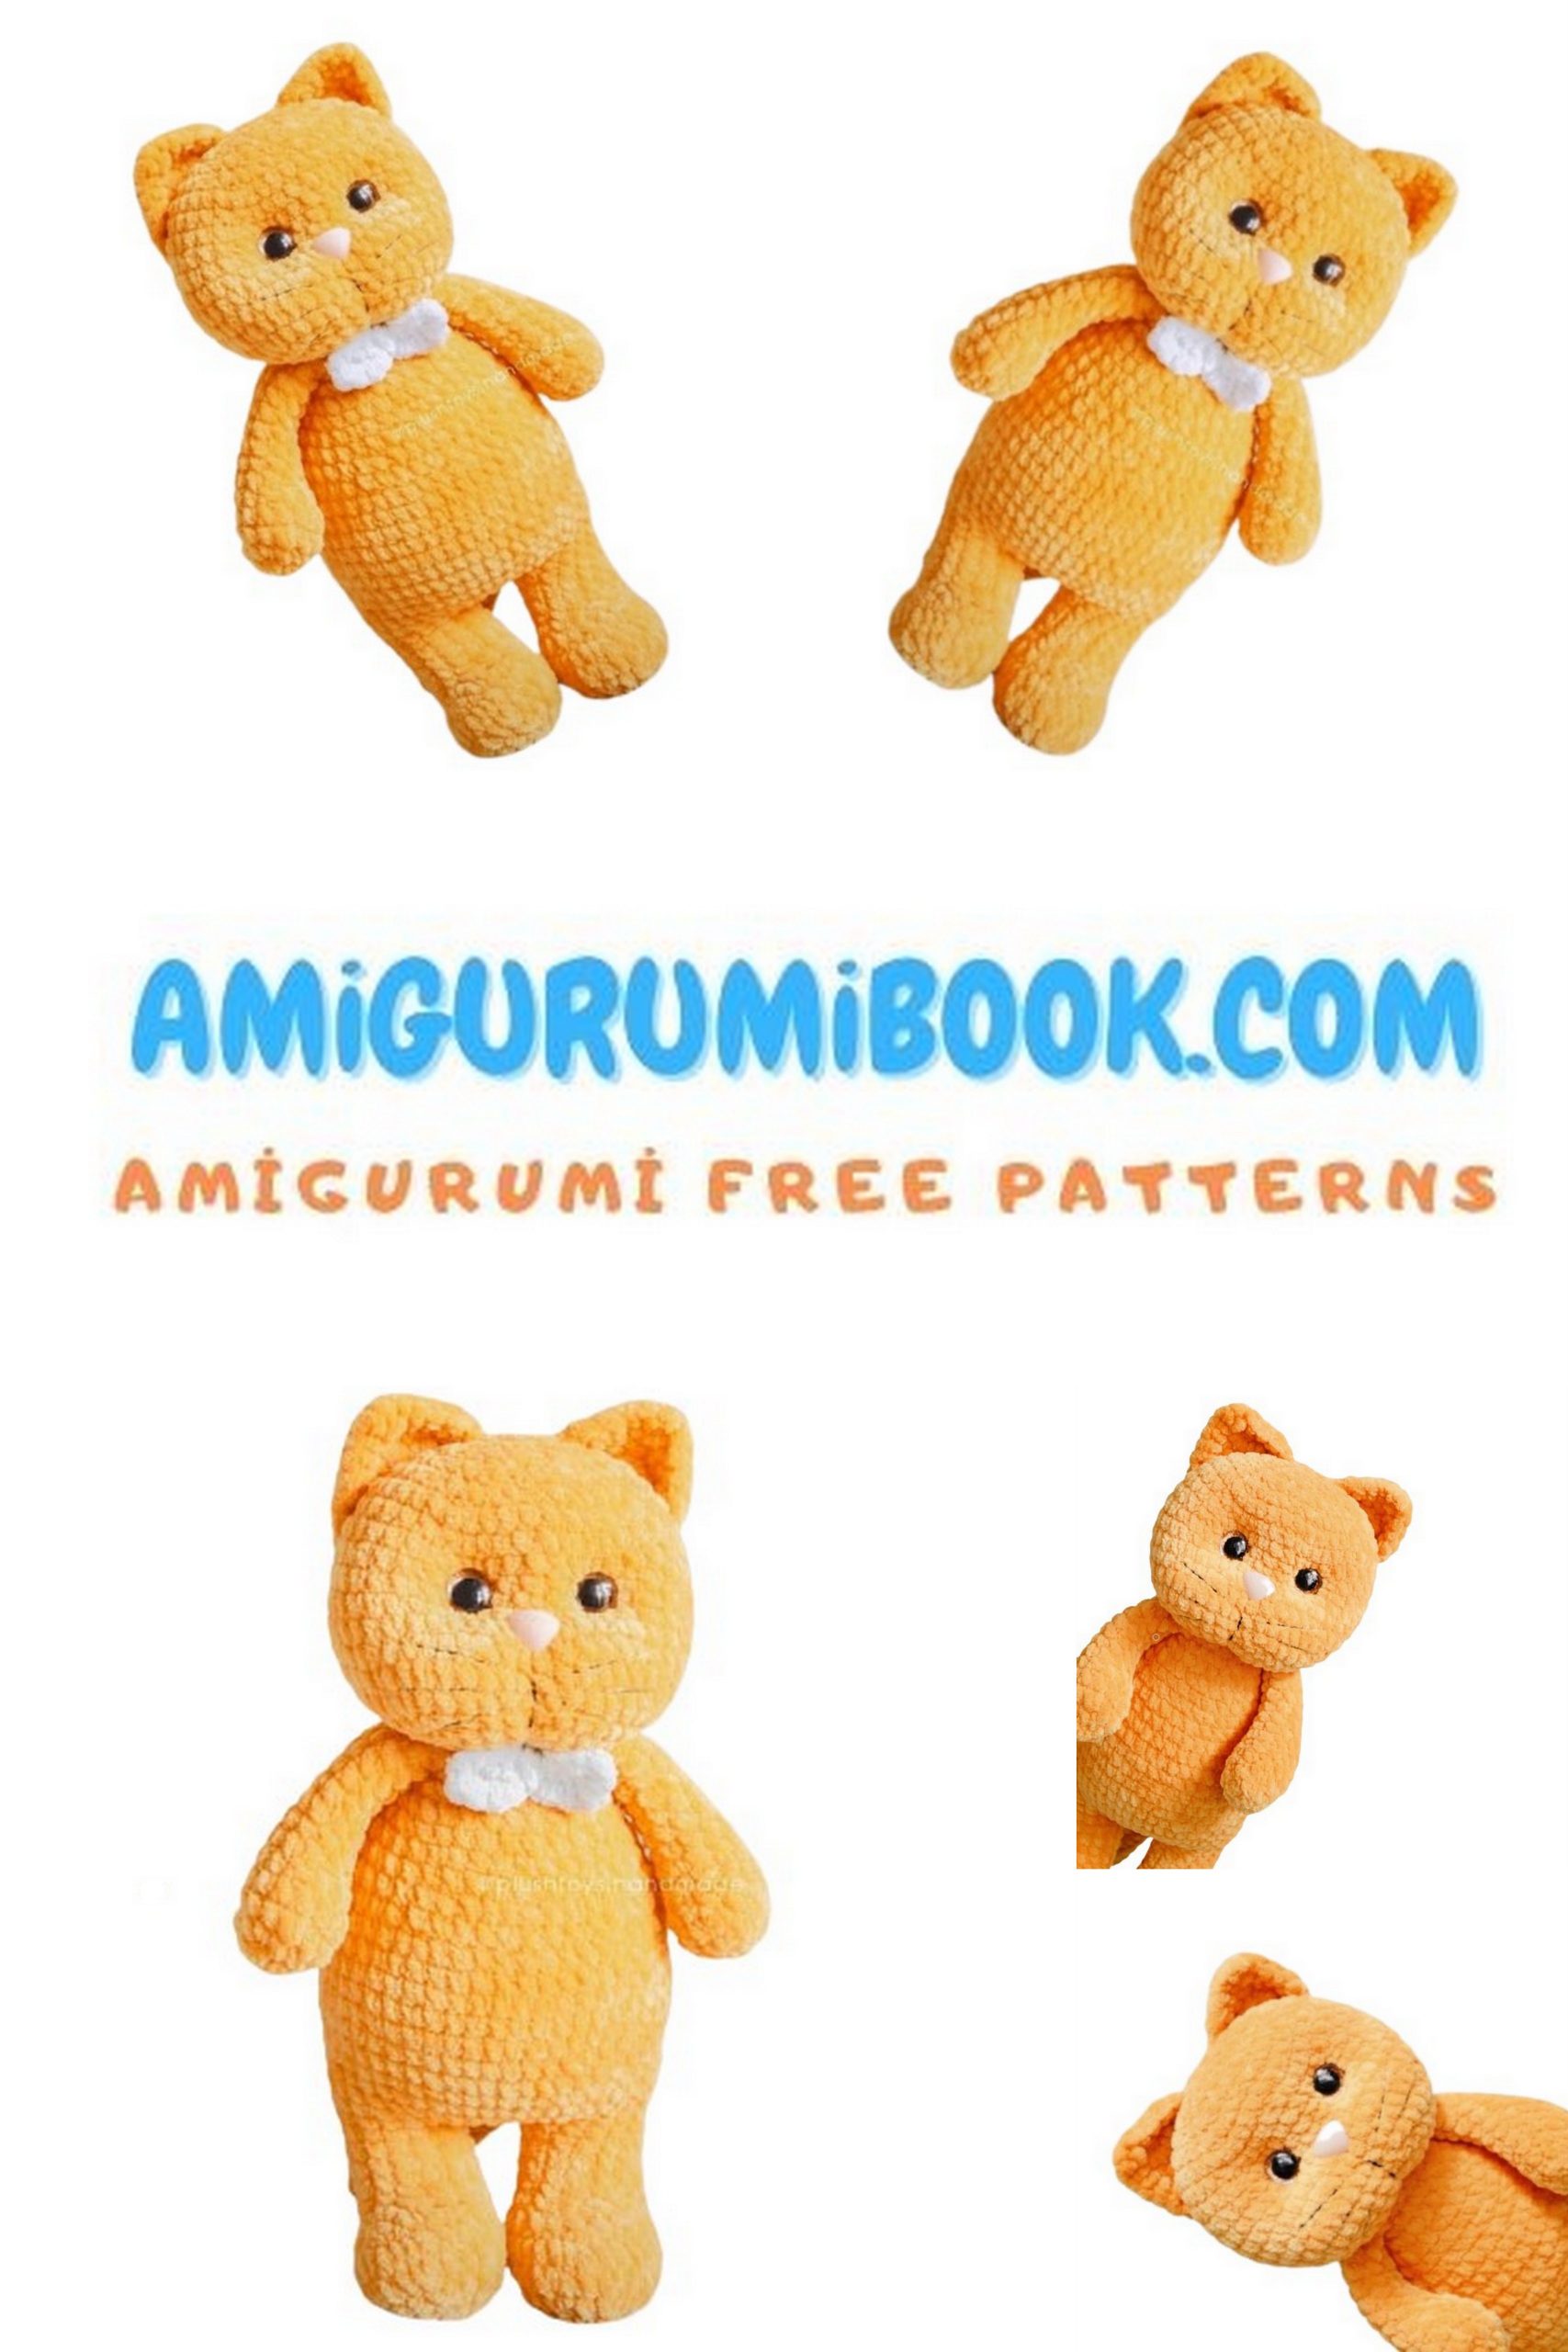
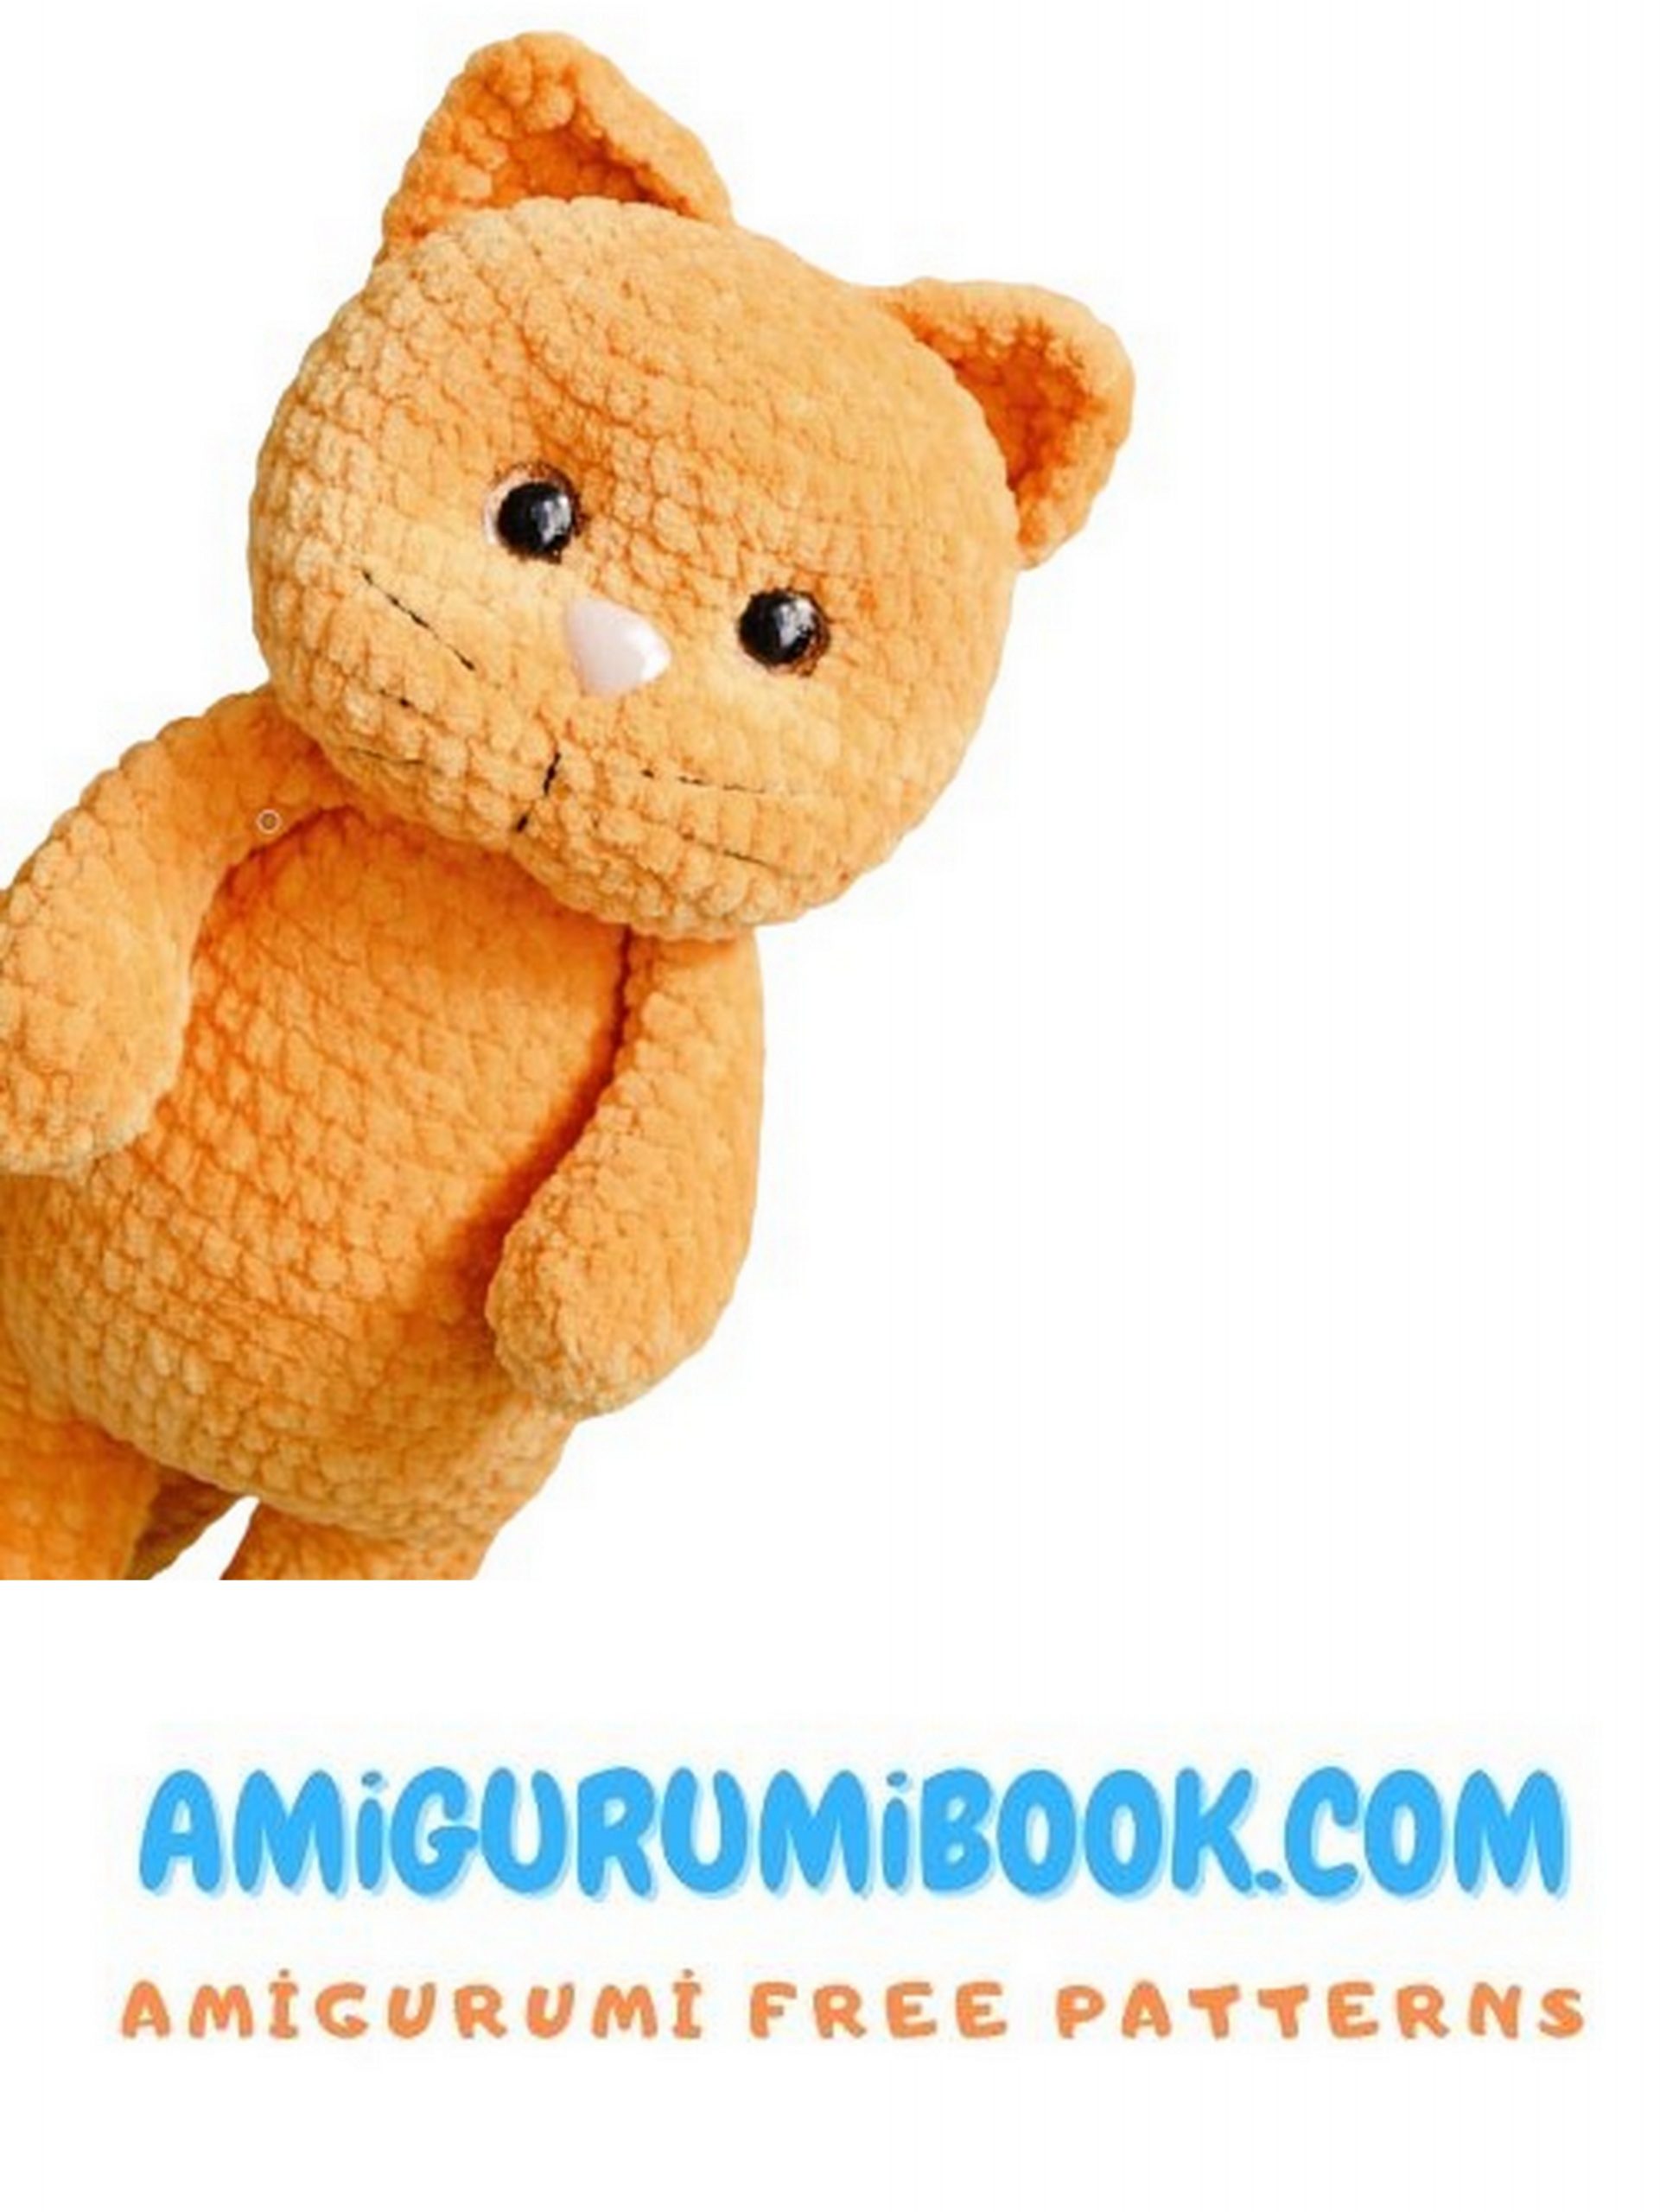
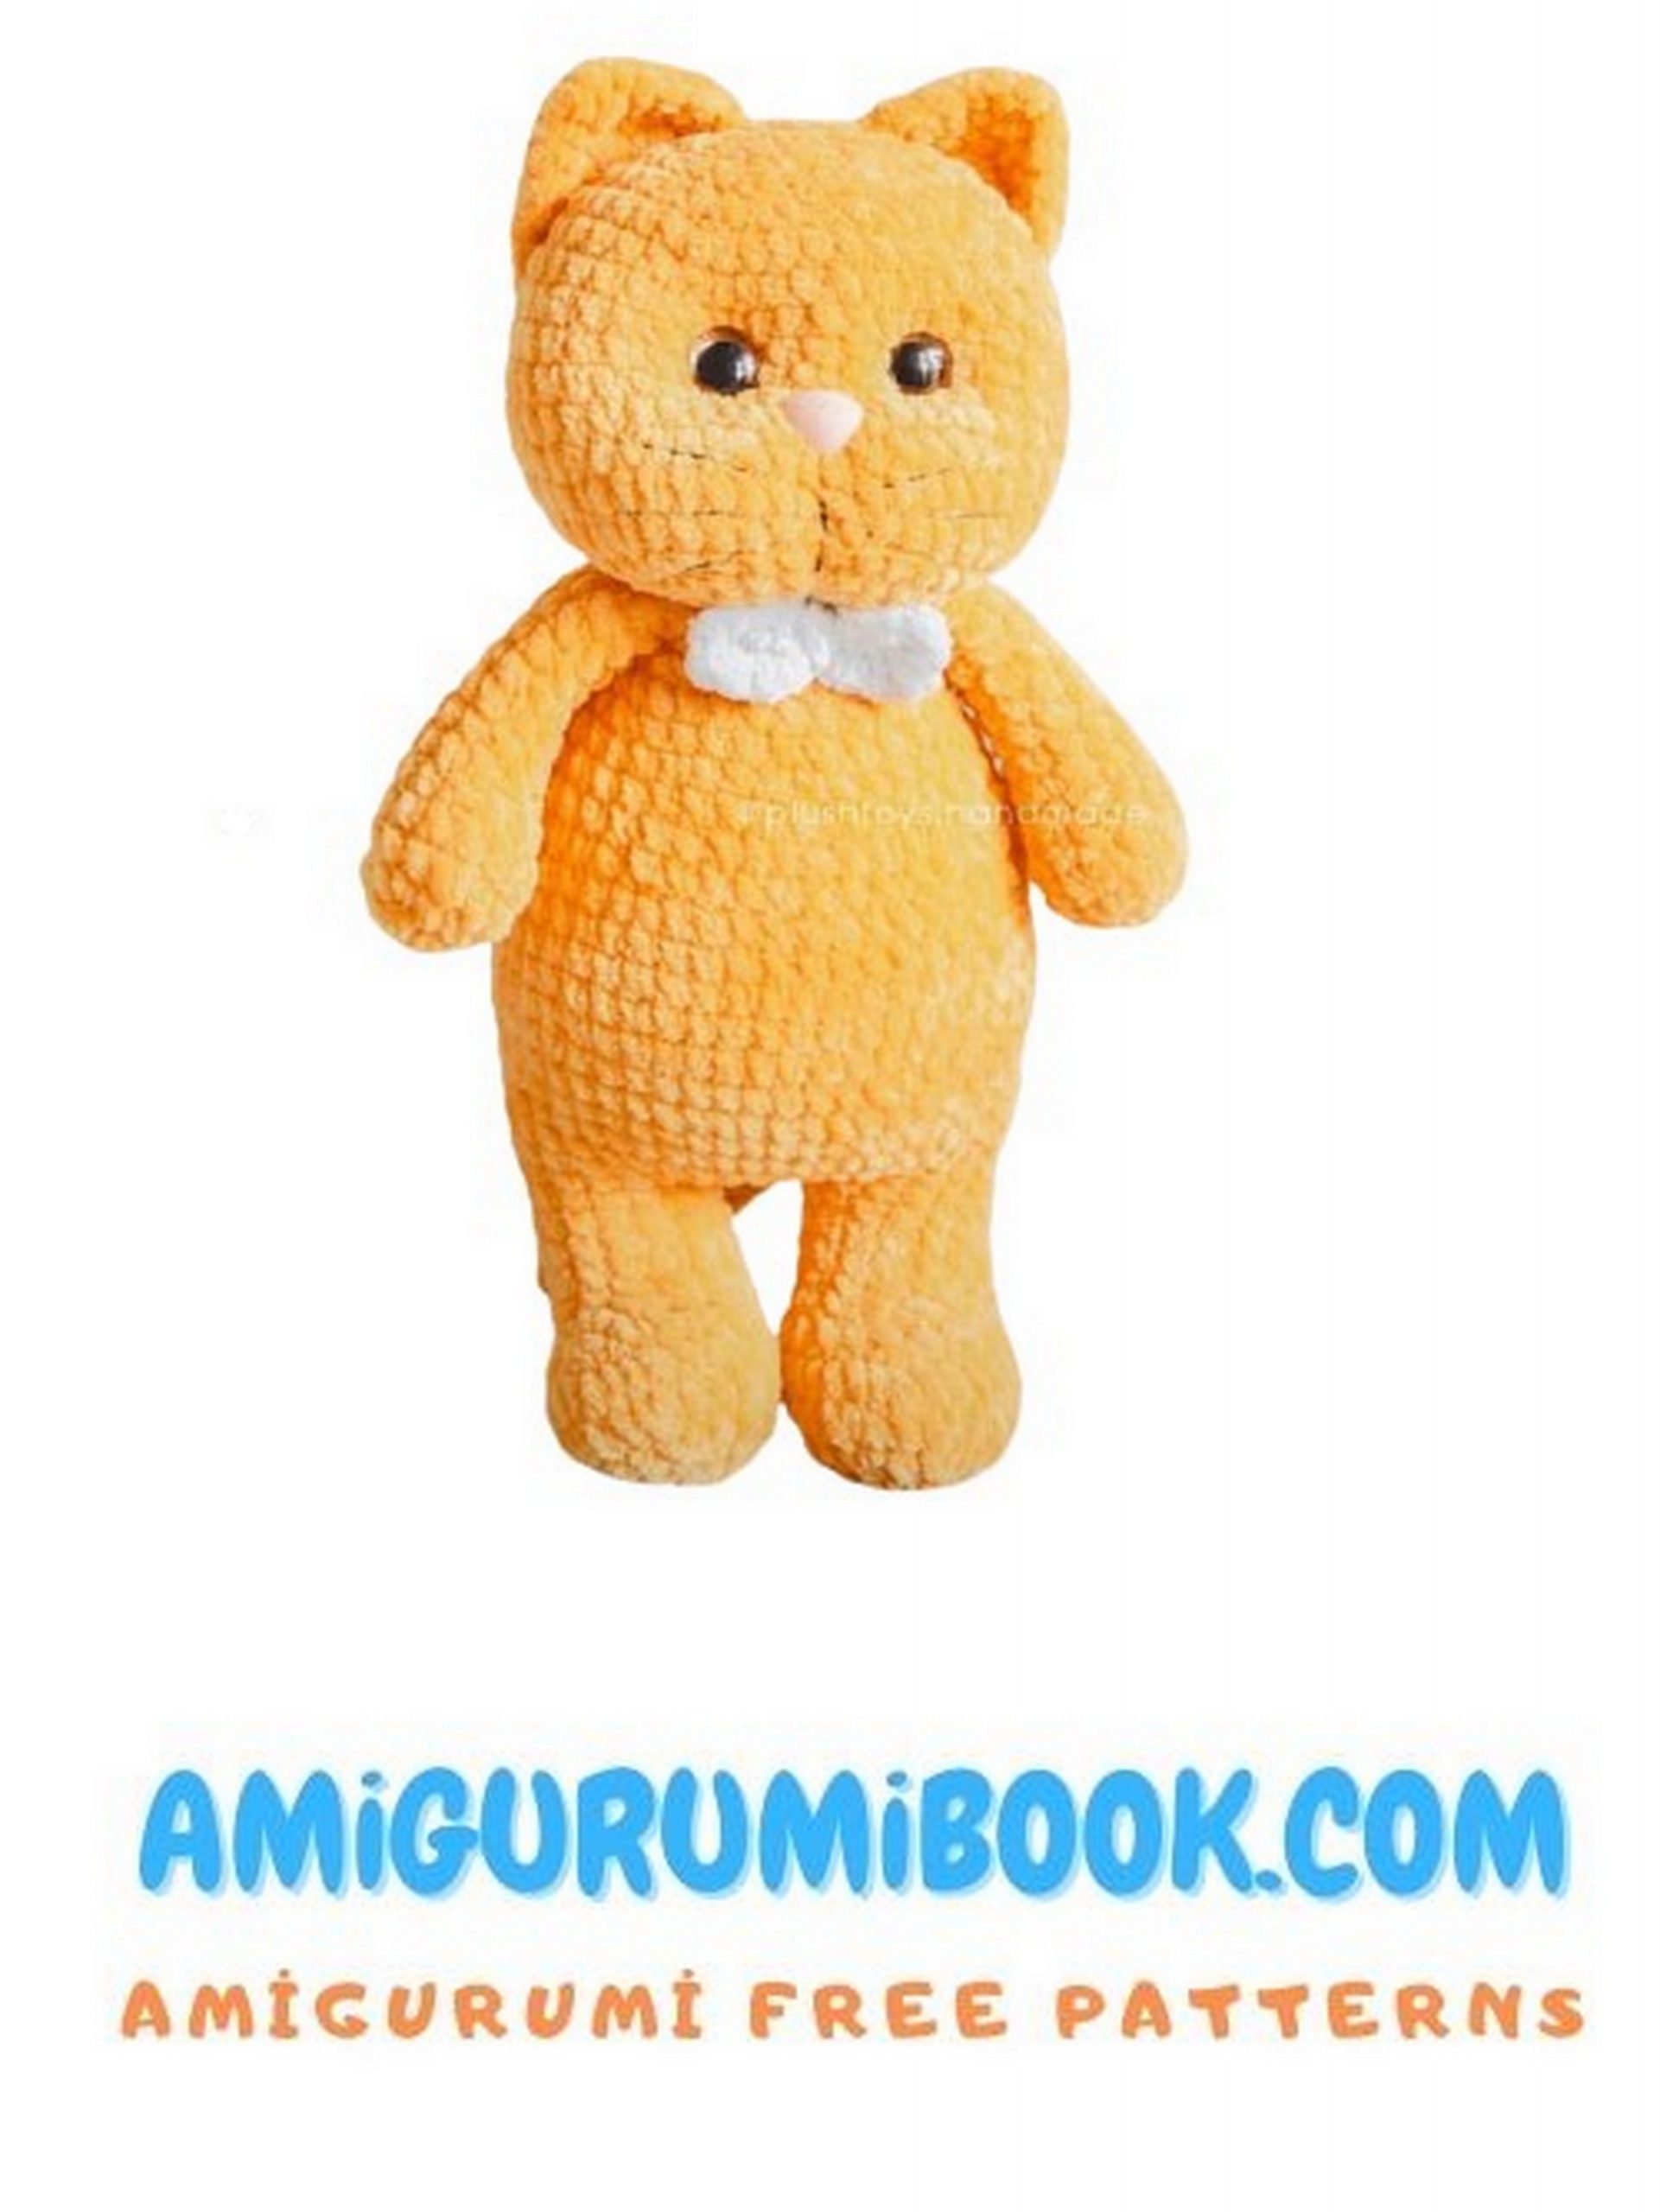
The Velvet Cat Amigurumi Free Pattern offers a charming and easy-to-follow guide for creating an adorable plush cat using soft velvet yarn. Perfect for both beginners and experienced crafters, this pattern brings a cozy and cuddly companion to life with simple crochet techniques. free crochet patterns – Little Santa Claus Amigurumi Free Pattern
You may also like more amigurumi patterns.
I am sharing free amigurumi patterns. Velvet cat amigurumi free pattern is waiting for you in this article.
Abbreviations
• CH – Chain;
• sc – single crochet;
• inc – increase (knit two sc in one loop);
• dec – decrease (beyond the front walls);
• sl-st – slip stitch;
• (1 sc, inc) x6 times – we knit the action in brackets 6 times in a row,
• (21) – at the end of the line, the number in brackets means the number of loops.
Materials:
• 1 skein of Himalaya Dolphin Baby (120 m – 100 g) or 1.5 skeins of Yarn Art Dolche
• the scheme is designed for hook N:4;
• filler (holofiber);
• eyes 14\16\18 mm (I have shiny trapezium 14 mm);
• spout 12×15 mm (I have velvet peach);
• long sewing needle (about 12 cm);
• a needle with a wide eye for tightening the holes of parts;
• Thread for attaching parts: kapron, dental floss;
• tailor’s pins with a ball at the end;
• knitting needles 2-3 pcs.
The appearance and size of the toy depends on the density of knitting and the way the thread is captured. I left exactly 1 skein, I knit tightly with checkmarks. For the first time, I recommend taking yarn with a margin.
PATTERN
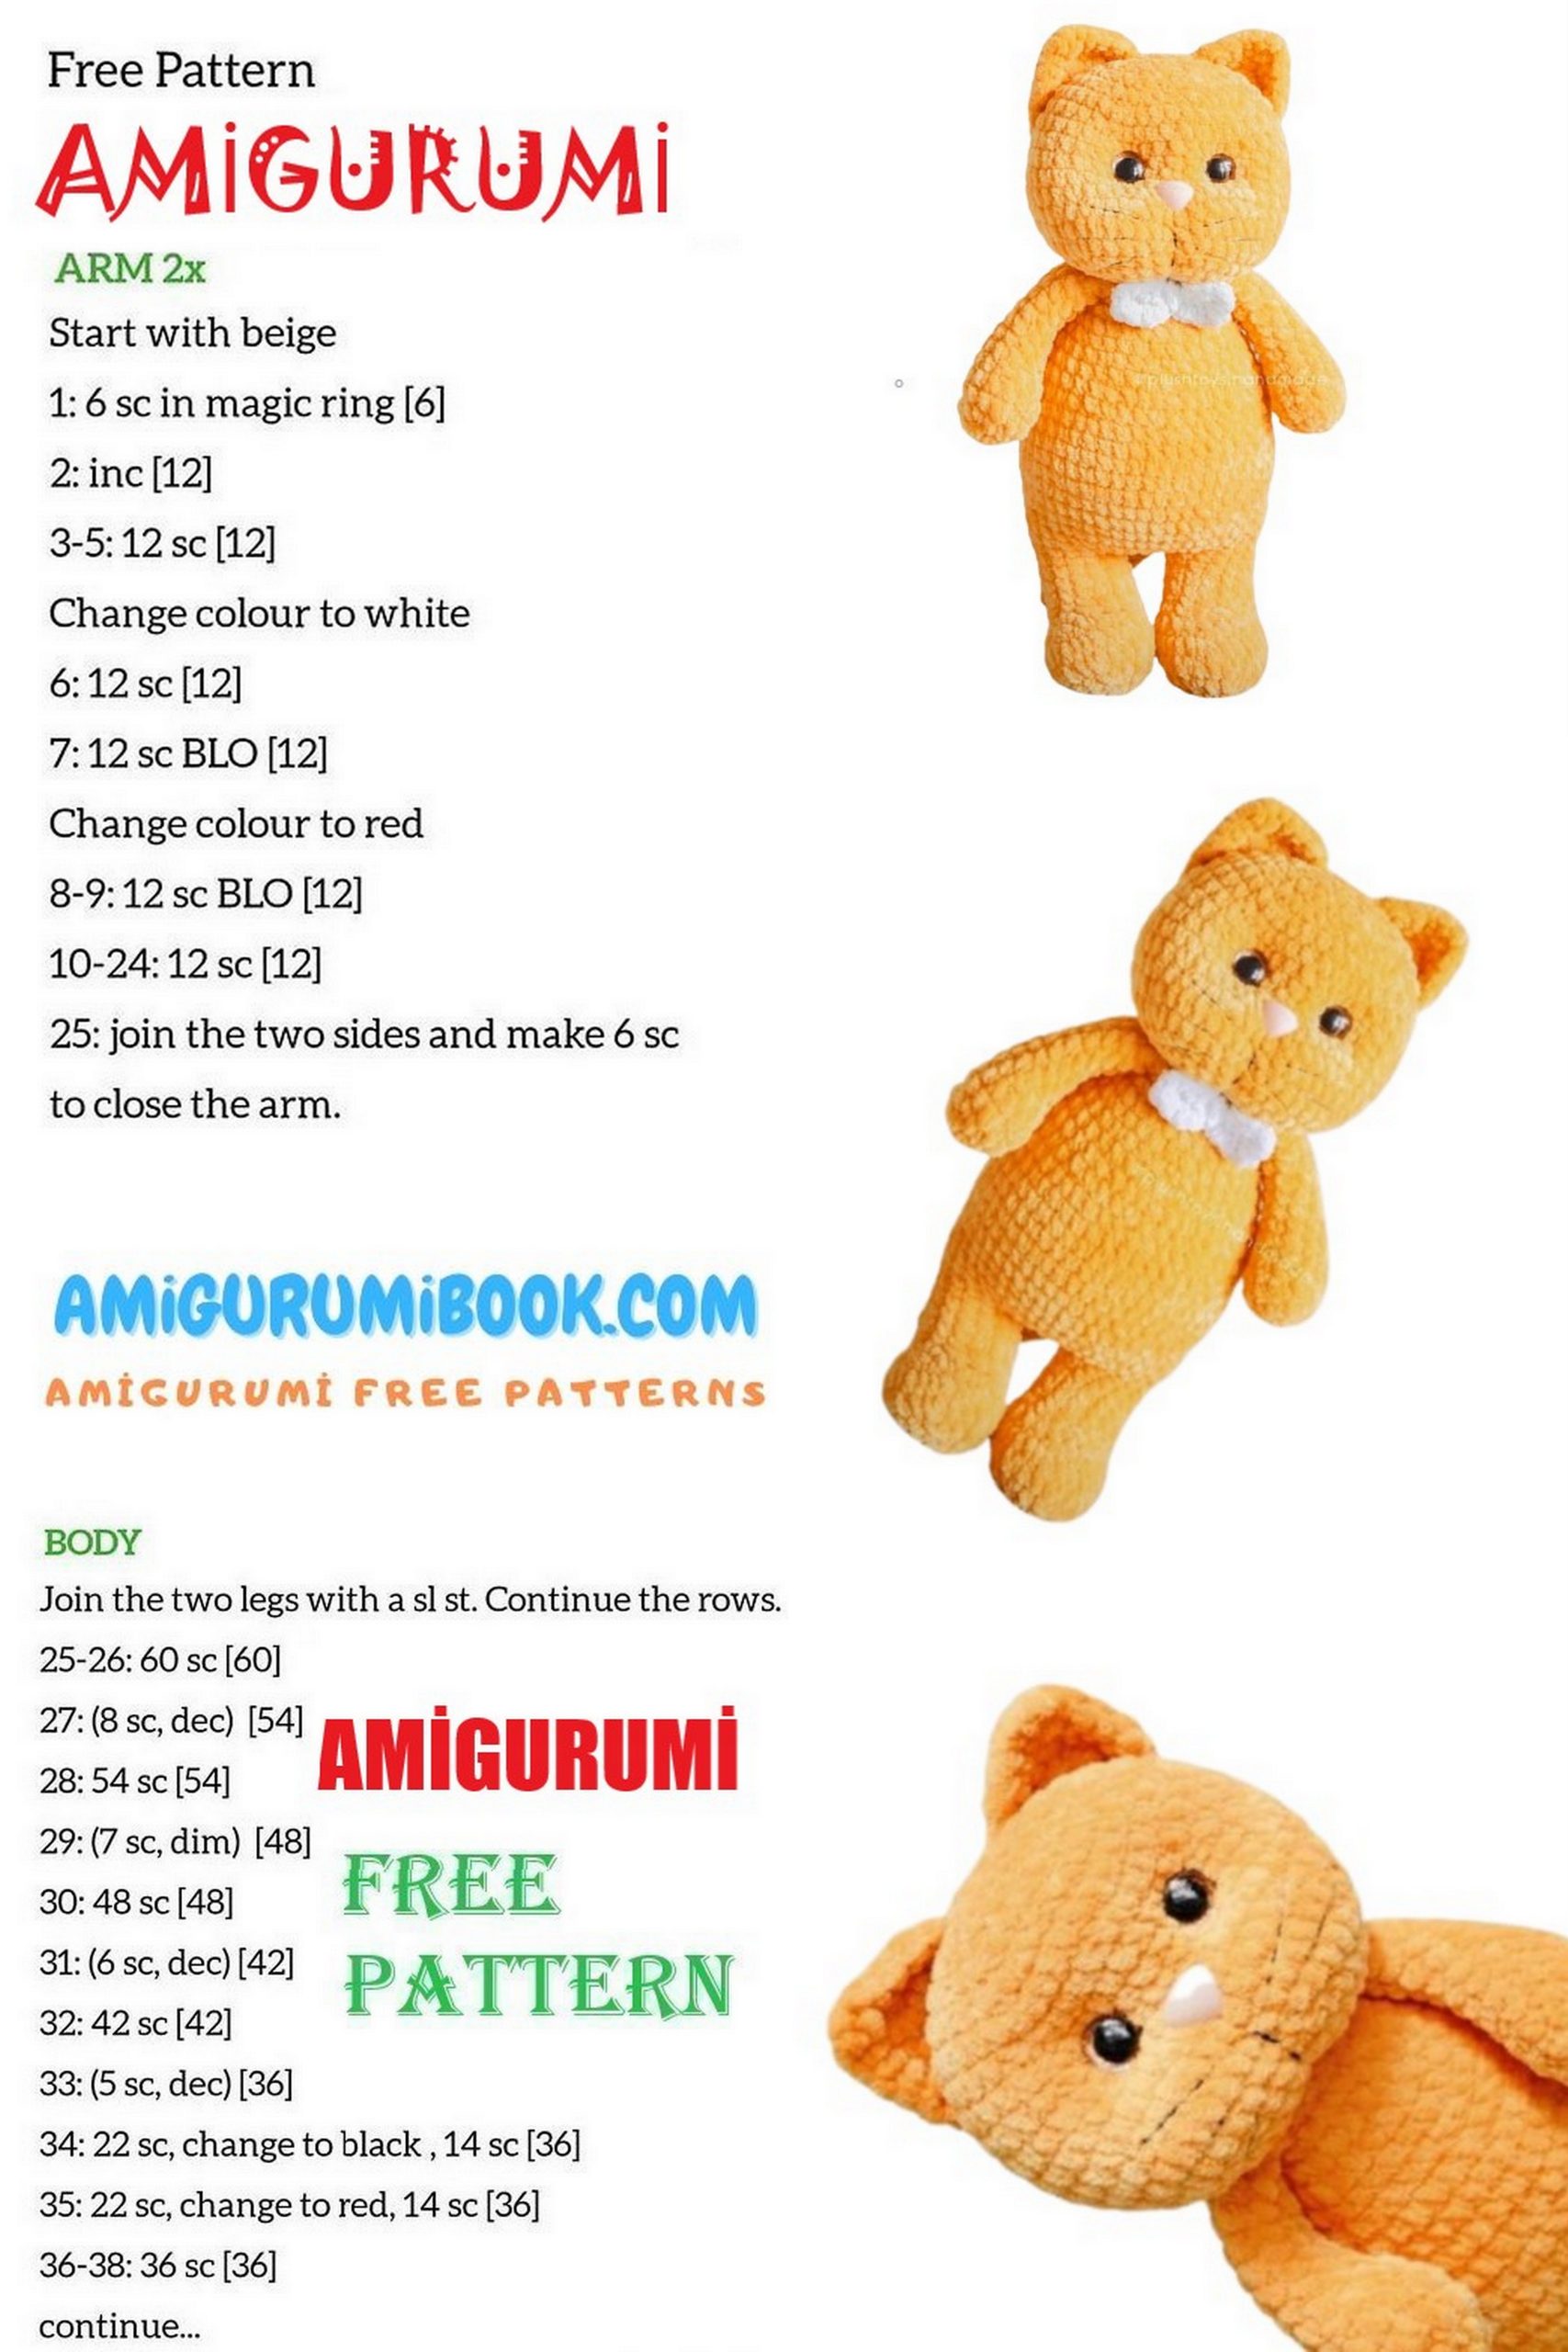
Hands (2 parts)
1. 6 sc into magic ring.
2. inc x6 (12).
3. 4 sc, 4 inc, 4 sc (16).
4. 6 sc,, 2 dec, 6 sc (14).
5. 5 sc, 2 dec, 5 sc (12).
6. 5 sc, dec, 5 sc (11).
Stuff only the bottom of the foot.
7-13. 11 sc – 7 rows. Knit 4 more sc.
No more stuffing, we knit two sides together – 5 sc.
We fix the thread, hide.
Tail
1. 6 sc into magic ring.
2. (1 sc, inc) x3 (9).
3-13. 9 sc – 1 rows.
We do not fill. Fold, knit for both sides – 4 sc.
We fix the thread, hide.
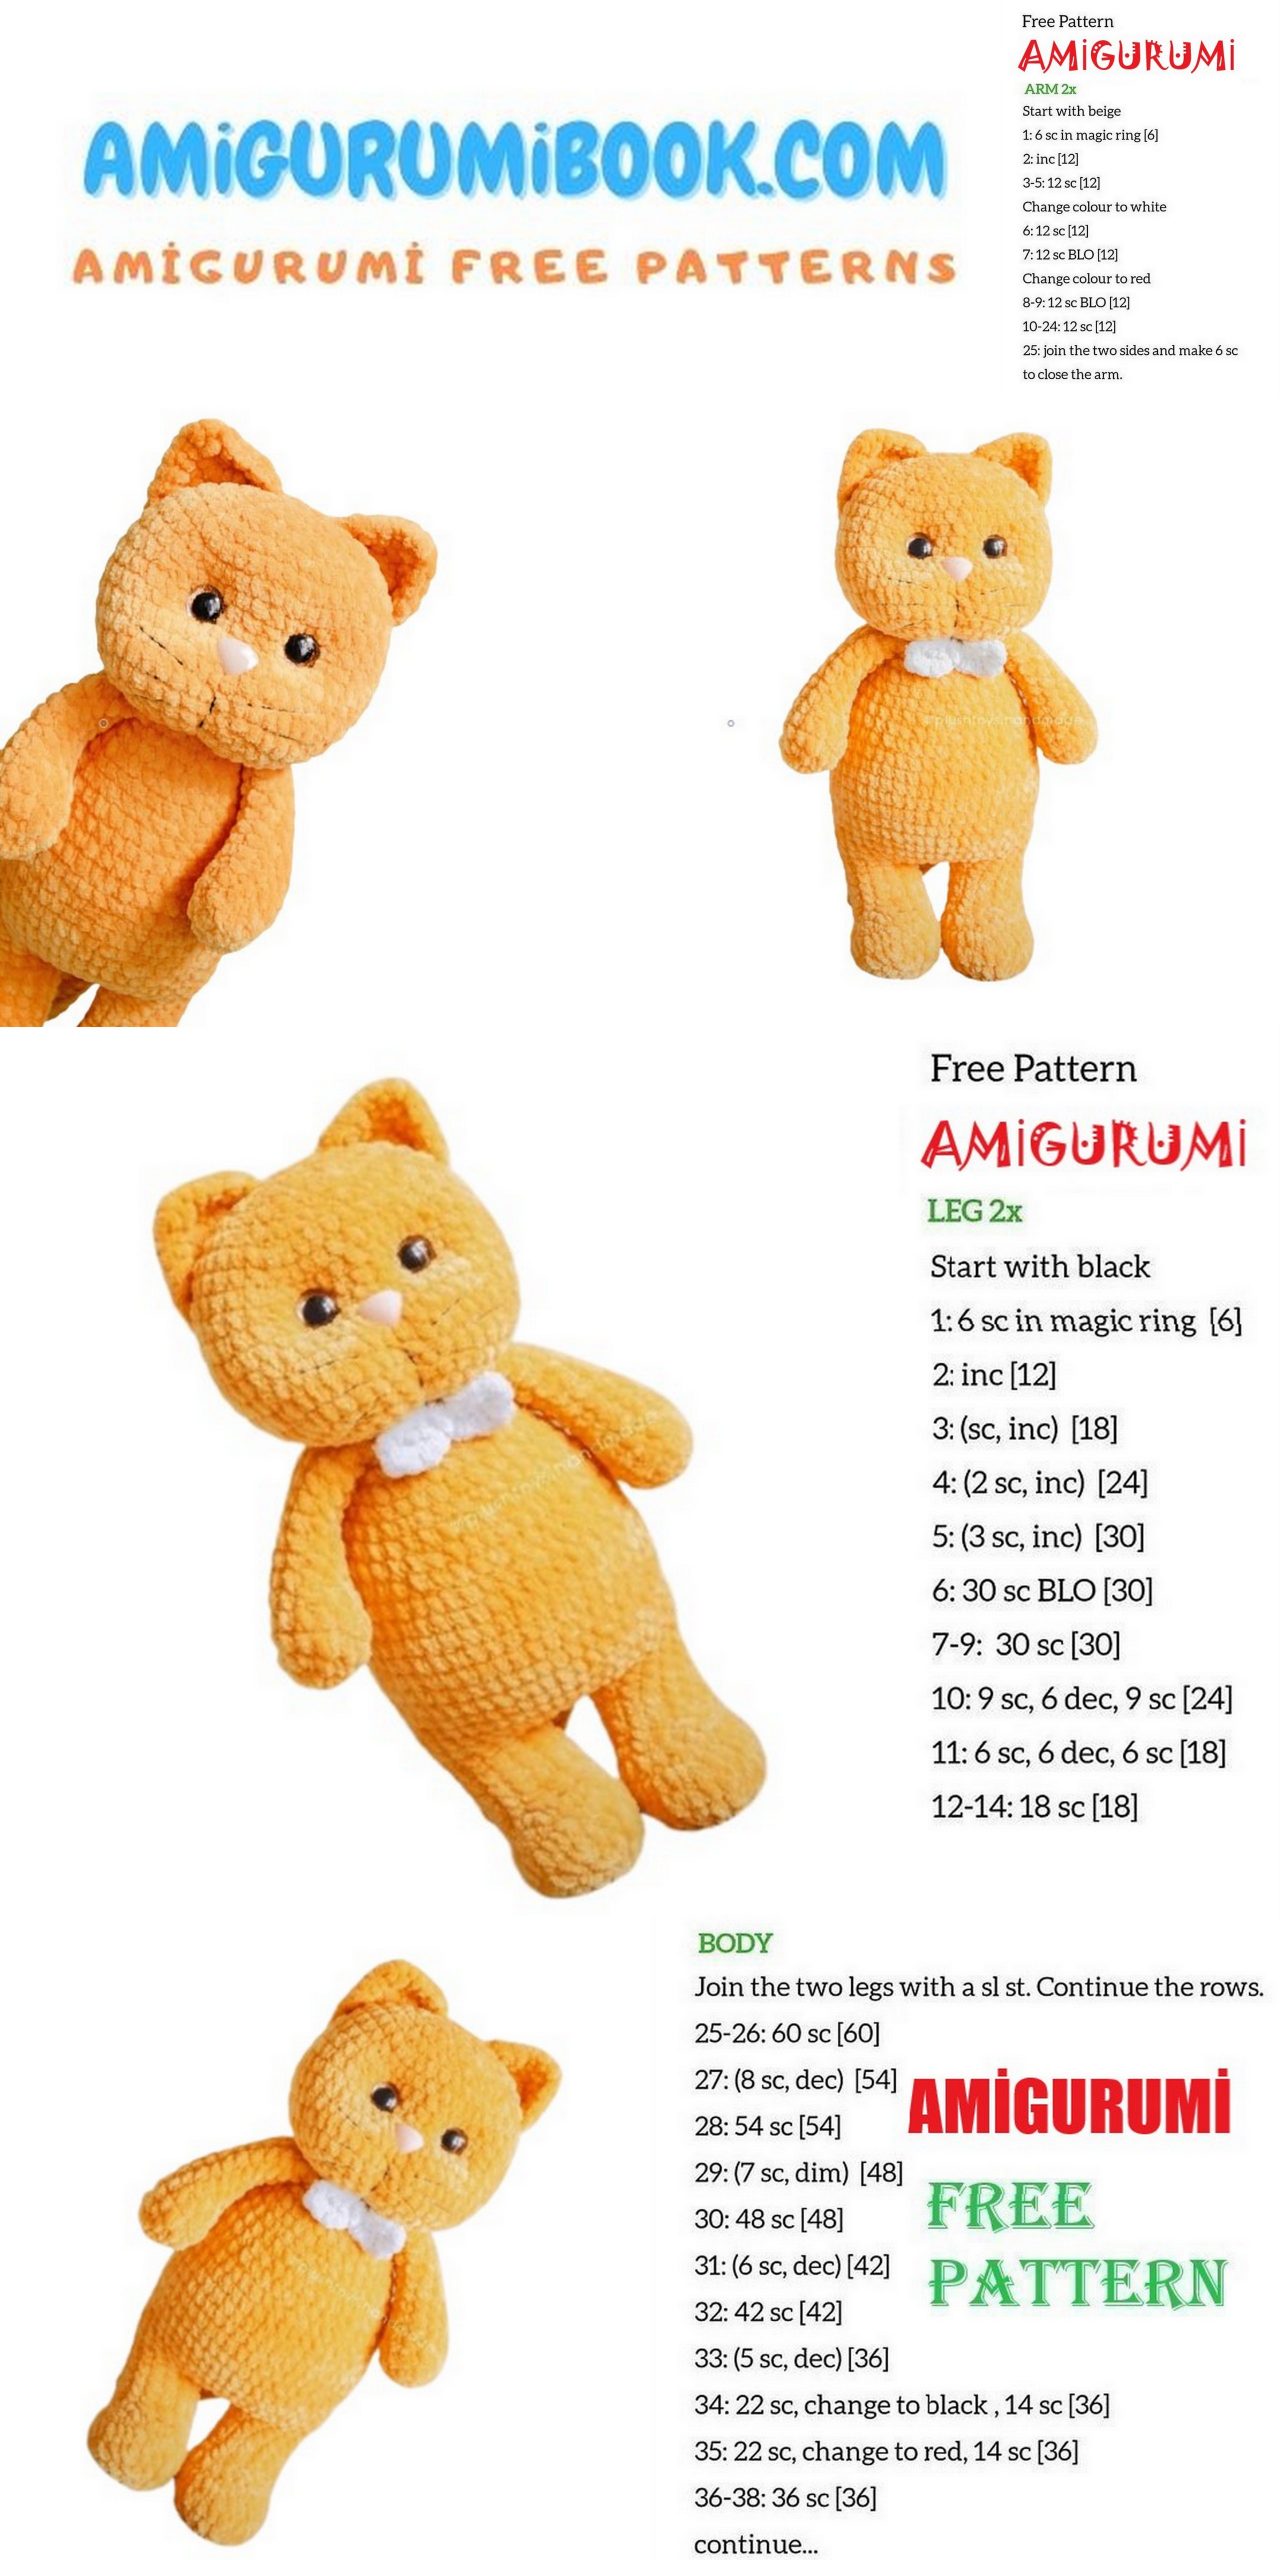
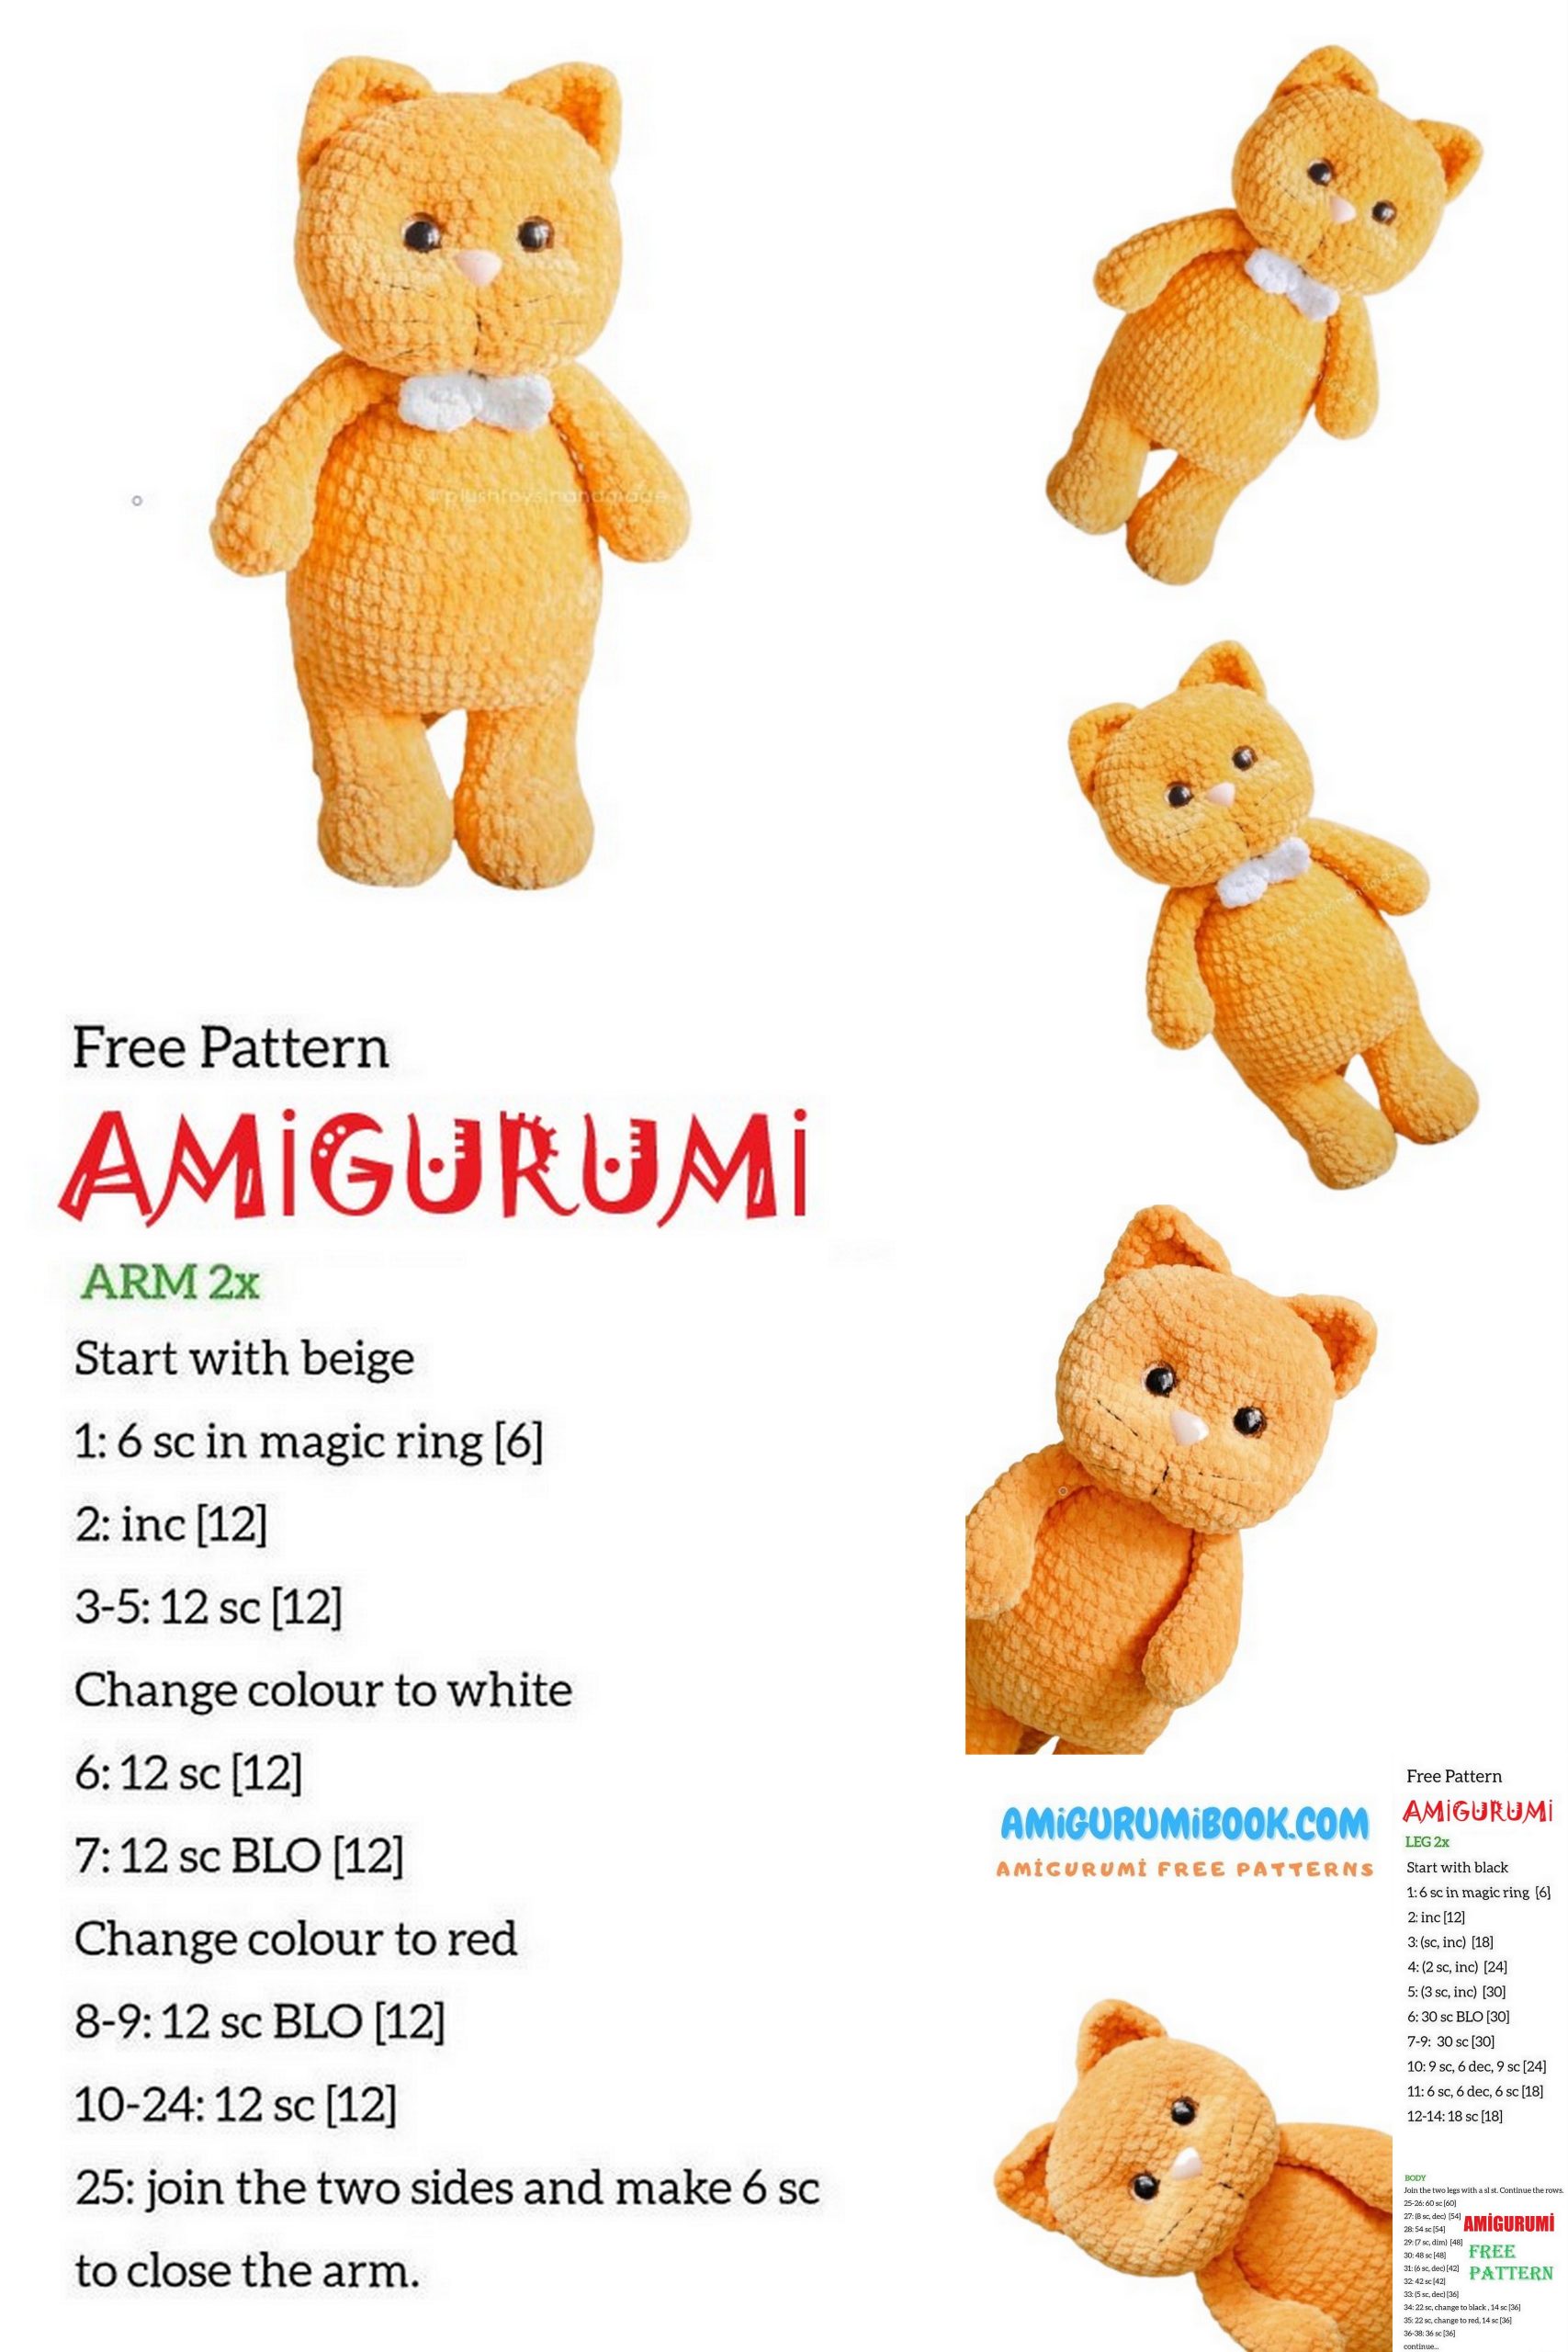
Legs (2 parts)
1. 7 sc into magic ring.
2. inc x7 (14).
3. (1 sc, inc) x7 (21).
4. (6 sc, inc) x3 (24).
5.24 sc.
6. (4 sc, dec) x4 (20).
7. (2 sc, dec) x5 (15).
8-11. 15 sc – 4 rows.
Connecting column. Cut the thread.
We knit the second leg in the same way, we do not cut the thread.
Body.
we have the first leg where the Thread is cut and the second where the Thread is left.
We knit on the second 3 sc – put a marker (end of the row).
0-1. A chain of 4 ch, then we attach the first leg: we knit 15 sc on it. Further along the first side of the chain: sl-st, 2 inc, sl-st; again 15 sc on the second leg – we reached the marker. On the second side of the chain: sl-st, 2 inc, sl-st and knit the remaining sc to the end of the row (to the marker) (42).
2. 14 sc, inc, 18 sc, inc, 8 sc (44).
3. We knit the tail. We make sure that it is in the middle above the chain: 1 sc, 4 together along the tail and body, 14 sc, inc, 7 sc, inc, 13 sc (46).
4-7. 46 sc – 4 rows. We stuff the bottom of the toy, the legs are tight.
8. (6 sc, dec) x6 (40).
9.40 sc.
10. (6 sc, dec) x5 (35).
11.35 sc.
12. (5 sc, dec) x5 (30). We fill the belly not very tightly.
13. (4 sc, dec) x5 (25).
14. (3 sc, dec) x5 (20).
15. We knit the handles: 5 sc,, 5 sc together, 6 sc,, 5 sc Together (20).
It turned out that we stepped over the marker by one loop.
Move the marker forward.
16. (2 sc, dec) x5 (15).
17. (1 sc, dec) x5 (10).
We stuff the neck. Try to pull the toy up, and not wide, while stuffing.
Head
1. 7 sc into magic ring.
2. inc x7 (14).
3. (1 sc, inc) x7 (21).
4. (2 sc, inc) x7 (28).
5. (3 sc, inc) x7 (35).
6. (4 sc, inc) x7 (42),
7. (5 sc, inc) x7 (49).
8.49 sc.
9.49 sc. This row will be the nose: marker around 27 sc. For convenient installation of accessories on a safe mount, we knit a few more rows.
10-13. 49 sc – 4 rows.
Let’s face ourselves. We put the nose in the 9th row between 27-28 sc. We rise up 2 rows – this is a row: we put eyes at a distance of 8 sc from each other.
14. (5 sc, dec) x7 (42).
15.42 sc. We begin to stuff the part: the cheeks are denser, but the head should remain soft.
16. (4 sc, dec) x7 (35).
17. (3 sc, dec) x7 (28).
18. (2 sc, dec) x7 (21).
19. (1 sc, dec) x7 (14).
20. dec x7 (7) – pull off. Let’s hit it to the end.
Ears (2 parts)
1. 7 sc magic ring. Do not pull too hard to form a triangle.
2. Turn knitting. 3 sc, 3 sc B1 (top), 3 sc.
3. Ch, turn knit, inc, 4 sc, 3 sc B1, 3 sc, inc.
4. We tie the bottom, 7 sc (so that there is no big hole from the ring, we grab a couple of columns from the bottom.
Utyazh muzzles
We cut off the thread about 50 cm. If you take a dental one, then fold it 2 times, nylon – 3 times, if YarnArt Jeans, then 1 thread. Jeans with strong tension, the thread may break. I do everything with one thread, you can take several cuts.
We take the head, put our thumbs on the 2nd row of 7 increments closer to the back, and put the index fingers on the eyes – squeeze – if you like the cheeks, then we can fix it with threads, Change the position of the hands until you find a position that you like.
Utyazh muzzles
Eyes. Enter i hardly increase (where pressed with your thumbs) leave the tail of the thread about 15 cm – display 2 on the side under the first eye – Enter 3 under the eye on the other side (after 3 sc) – withdraw back to 1. Press with your finger and slowly tighten, fasten two nodes. We repeat everything again with the right eye (points 4 and 5), only wider (not after 3 sc, but after 5 sc). Pressed down with a finger – pulled the thread – tied knots. If the length allows, you can continue with the same thread.
Cheeks. We insert the needle as much as possible under the tip of the nose 6 – we display it in 1. pull it up. We repeat one more time.
Nose.
Enter in 1 – output 2 immediately above the nose on the right side – Insert 3 needle to the left above the nose on the other side (after 3 sc) – output back to 1. Press the nose, pull the thread, knit a knot.
We look, if you want deeper eyes – we make additional parallel tightenings on the sides of the eyes. For example, in the right eye: draw 4 on one side under the eye – Enter 5 on the same side above the eye – draw in 1, tighten with knots. On the other hand, the same way: we draw 6 at the bottom – we enter і at the top – we output it to 1, we tighten it with knots.
We embroider the antennae, I have half of YarnArt Jeans thread, because everything is too thick. Add brows as desired.
Sew on the head
We cut the thread about 50 cm. If you take a dental one, then fold it 2 times, nylon – 3 times, if Yarn Jeans, then into a thread.
Thanks to the tightening of the muzzle, there is a recess under the head, as if we insert the neck there. Adjust your head tilt. we thread the head and body with knitting needles, so it will not move out during sewing.
I start sewing under my nose. We sew for a full column between the 16th row.
When half of the back is sewn, we take out the knitting needles, relax the head, sew it on. Fixing.
Sew on the ears.