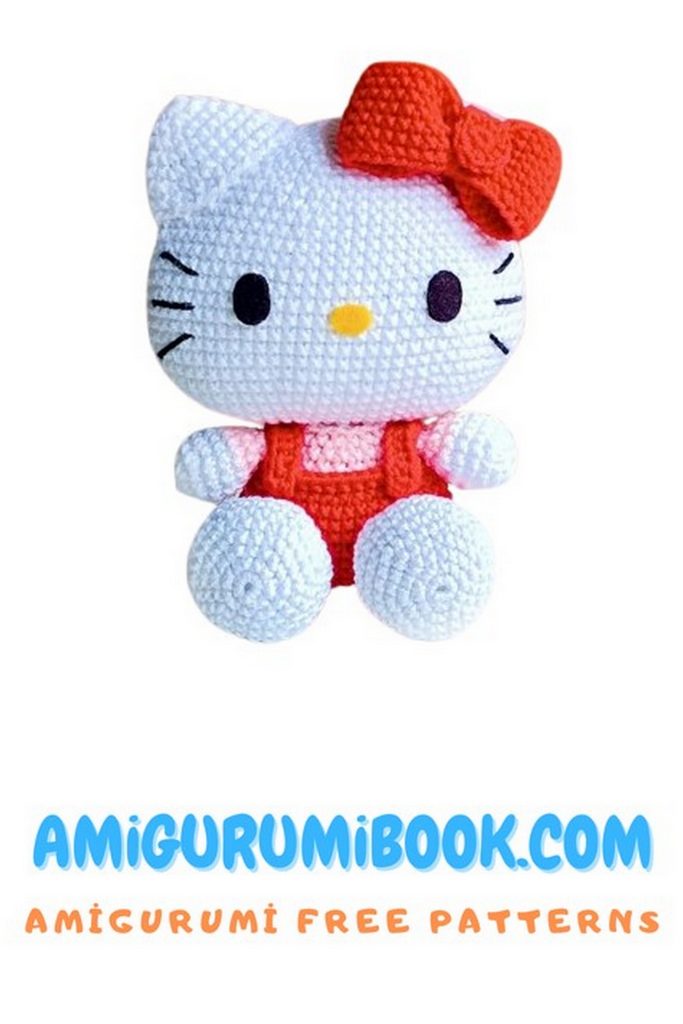
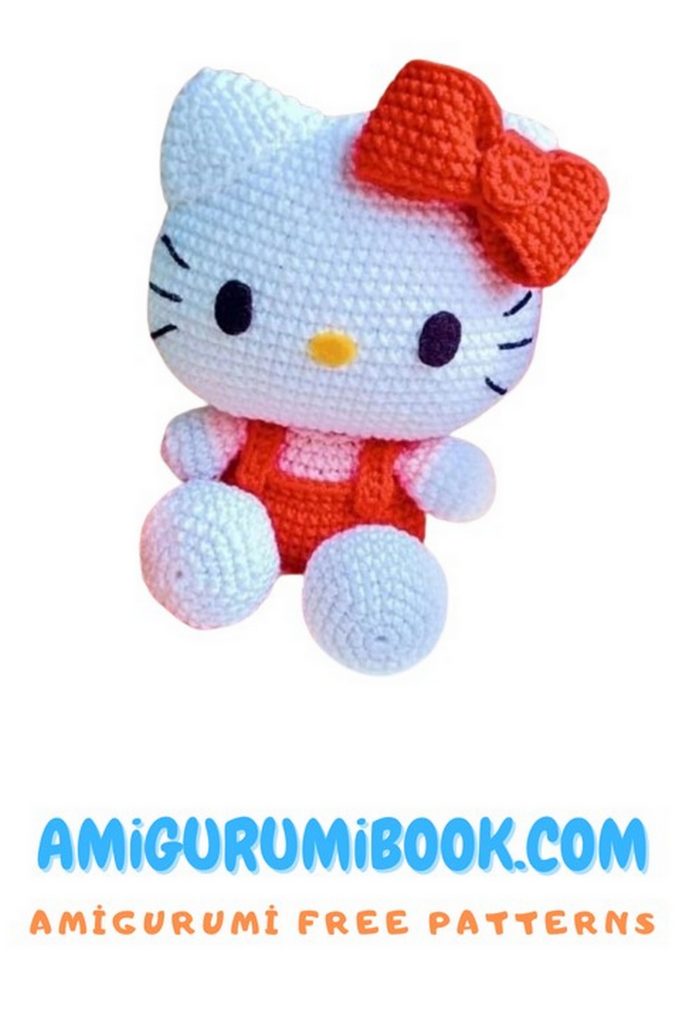
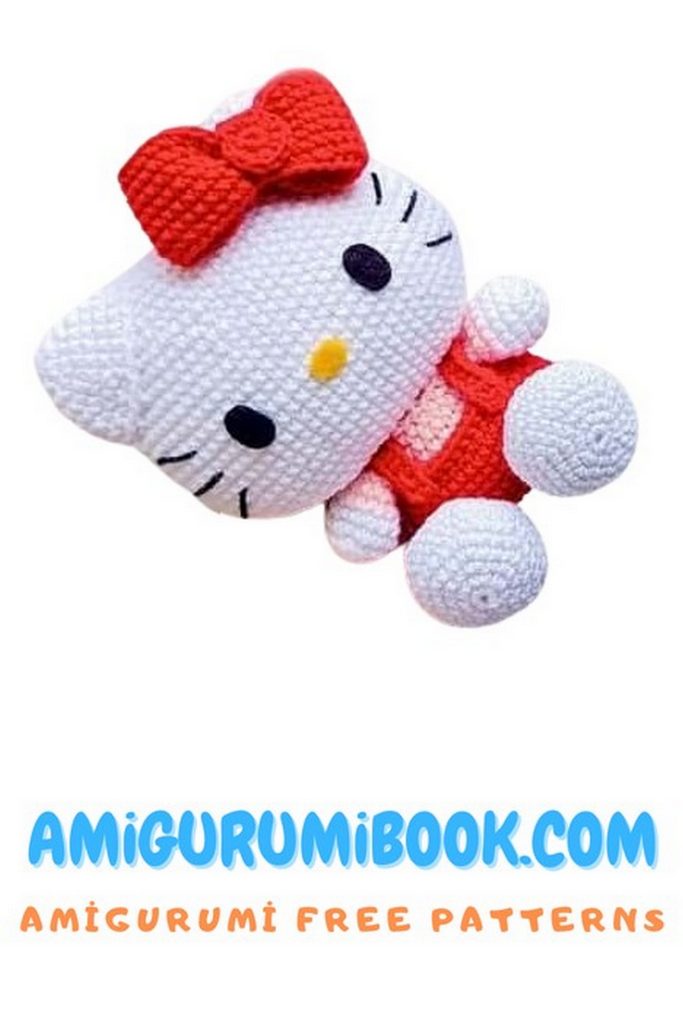
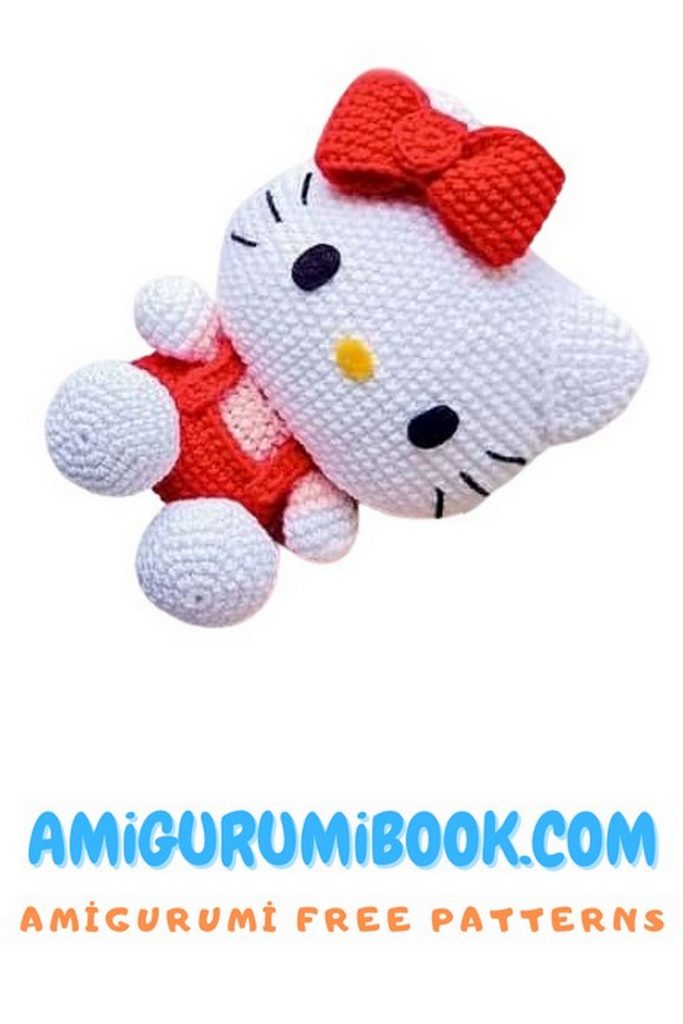
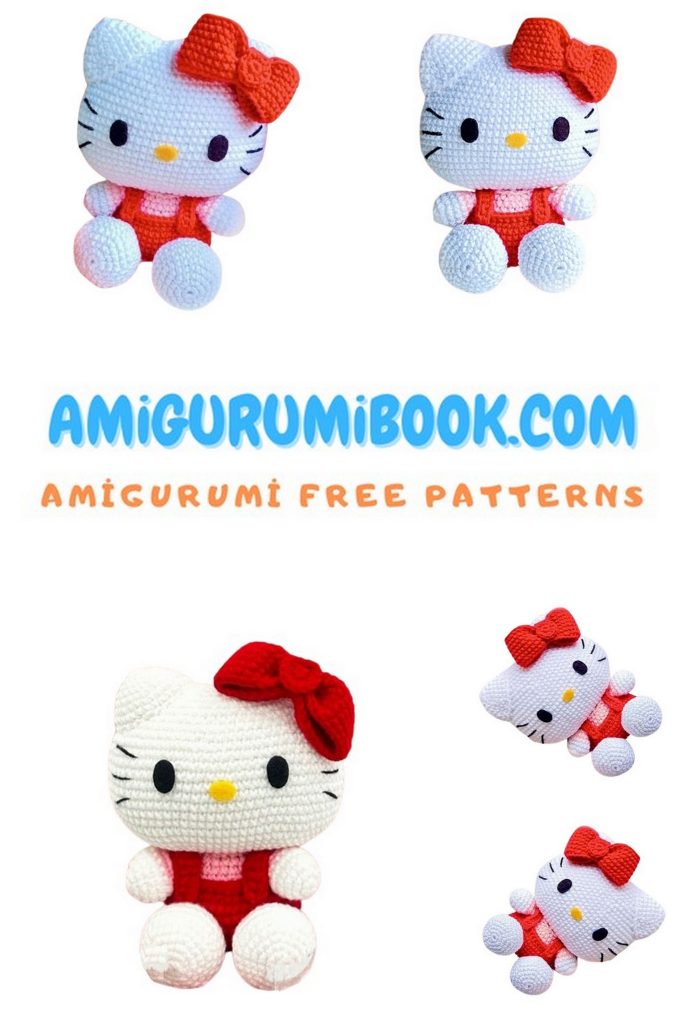
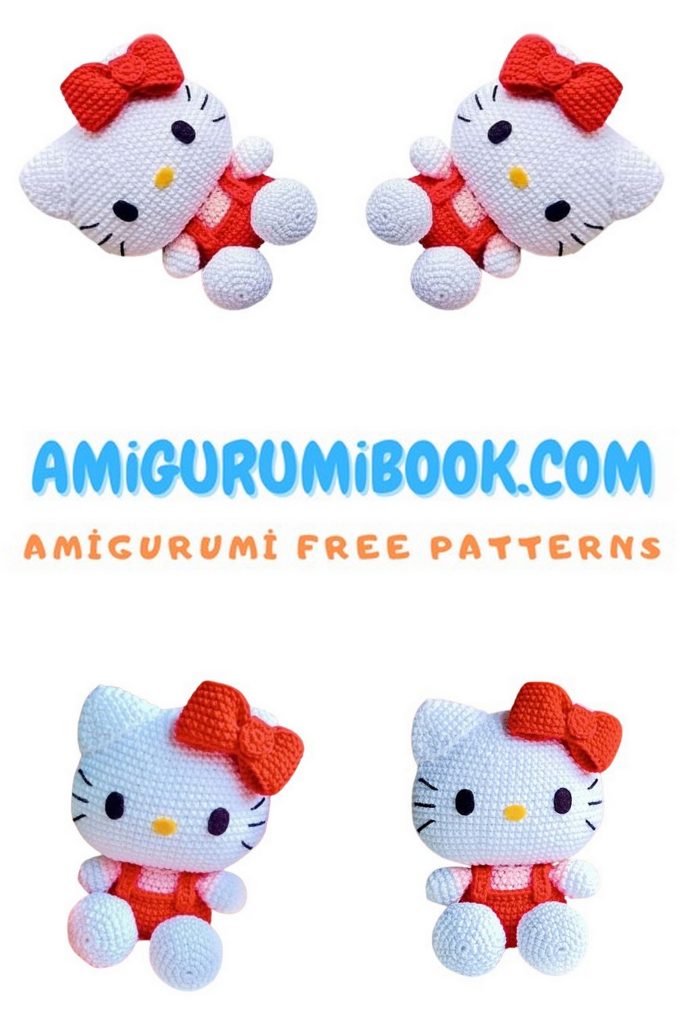
Discover how to crochet your very own Hello Kitty amigurumi cat free pattern and step-by-step tutorial. Perfect for fans of the iconic character, this cute and beginner-friendly project makes a great handmade gift or collectible.
If you want to access 1000+ free amigurumi patterns, you can download our application from this link!
Abbreviations:
ch -chain
sc – single crochet
inc – increase
dec – decrease
PATTERN
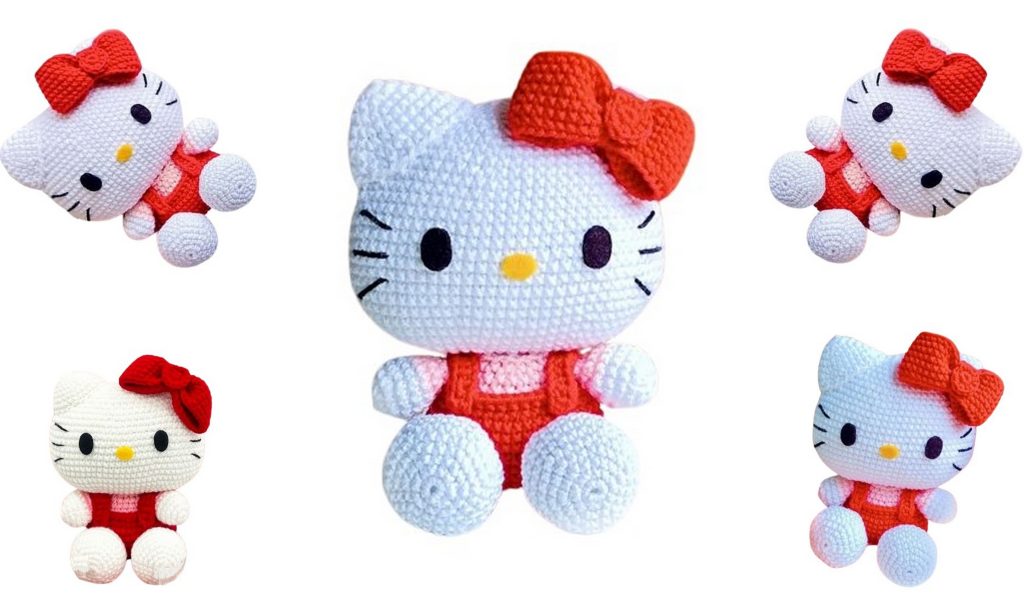
Head – Amigurumi Hello Kitty
(white yarn)
1: Ch 14
2: Inc in first st, 11 sc, inc in last st
3: Inc, 11 sc, inc on the other side of the chain (30 sts)
4: 2 inc, 11 sc, 4 inc, 11 sc, 2 inc (38)
5: 2 sc, inc, 13 sc, inc, 2 sc, 2 sc, inc, 13 sc, inc, 2 sc (42)
6: (6 sc, inc) × 6 (48)
7: 2 inc, 20 sc, 3 inc, 22 sc, inc (54)
8: (8 sc, inc) × 6 (60)
9: 2 inc, 26 sc, 3 inc, 28 sc, inc (66)
10: (10 sc, inc) × 6 (72)
11–20: 72 sc
21: (10 sc, dec) × 6 (66)
22: 2 dec, 28 sc, 3 dec, 26 sc, dec (60)
23: (8 sc, dec) × 6 (54)
24: 2 dec, 22 sc, 3 dec, 20 sc, dec (48)
25: 48 sc
26: (6 sc, dec) × 6 (42)
27: (5 sc, dec) × 6 (36)
28: (4 sc, dec) × 6 (30)
Stuff the head.
29: (3 sc, dec) × 6 (24)
30: (2 sc, dec) × 6 (18)
31: (1 sc, dec) × 6 (12)
32: 6 dec (6)
Fasten off and leave a long tail to close.
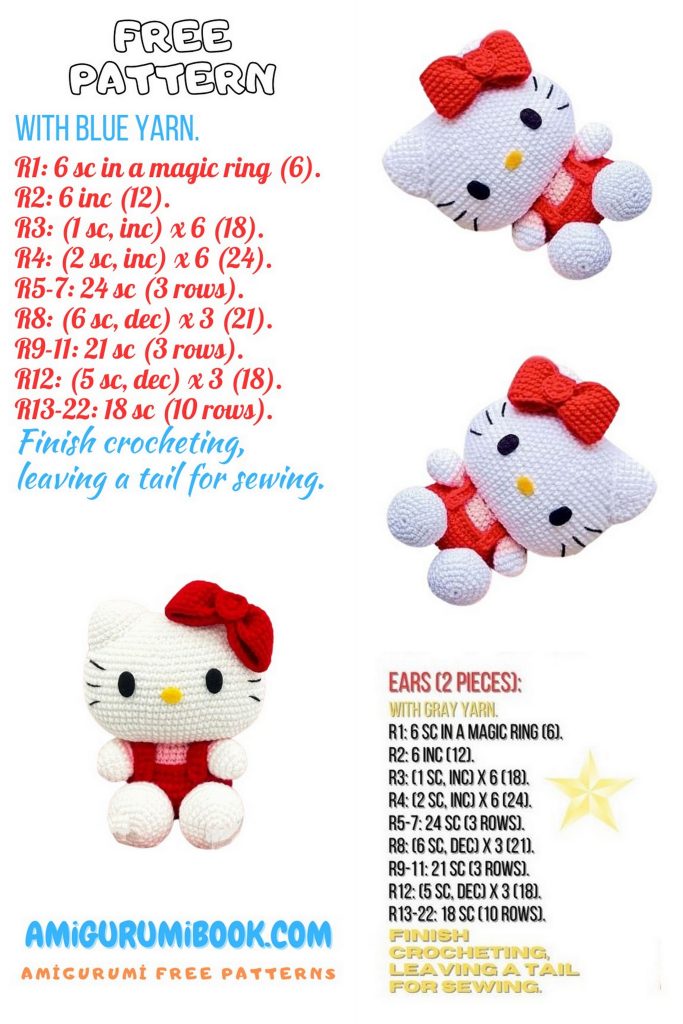
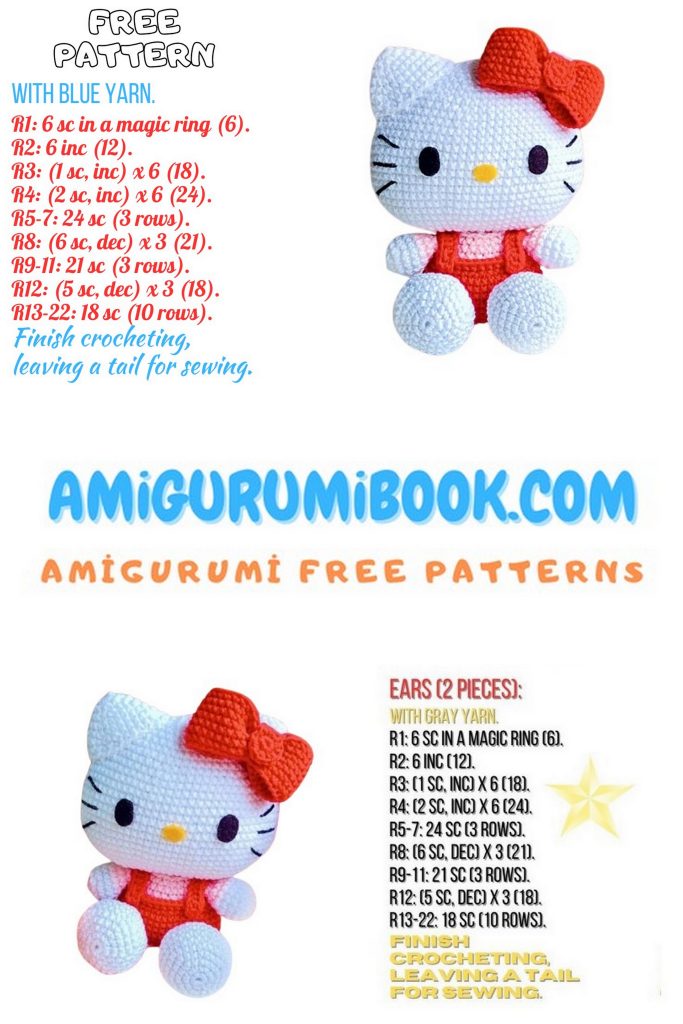
Ears (make 2) – Amigurumi Hello Kitty
1: 6 sc in MR
2: 6 inc (12)
3: (1 sc, inc) × 6 (18)
4: (5 sc, inc) × 3 (21)
5: (6 sc, inc) × 3 (24)
6: (5 sc, inc) × 4 (28)
7: (inc, 13 sc) × 2 (30)
Fasten off and leave a long tail for sewing. Stuff lightly.
Face Details
Cut facial features from felt.
Eyes: 13 mm high × 10 mm wide
Nose: 11 mm × 8 mm
Glue eyes and nose on Row 13 from the bottom.
Embroider 3 whiskers with black thread.
Body – Amigurumi Hello Kitty
(start with red yarn)
1: Ch 14
2: Starting from 2nd ch: inc, 11 sc, inc
3: Work on opposite side of the chain: inc, 11 sc, inc (30)
4: 2 inc, 11 sc, 4 inc, 11 sc, 2 inc (38)
5: 2 inc, 17 sc, 2 inc, 17 sc (42)
6–11: 42 sc
12: (5 sc, dec) × 6 (36)
Before closing the last stitch, switch to pink yarn.
13: In back loops only: (4 sc, dec) × 6 (30)
14: (3 sc, dec) × 6 (24)
15: 24 sc
16: (4 sc, dec) × 4 (20)
Fasten off and leave a long tail to sew to the head.
Make a surface stitch with red yarn on the back of the body with your hook.
Work a round in front loops only.
Stuff the body and sew the head in the center.
Arms (make 2) – Amigurumi Hello Kitty
1: 6 sc in MR
2: 6 inc (12)
3: (1 sc, inc) × 6 (18)
4–5: 18 sc
Change to pink
6: (4 sc, dec) × 3 (15)
7: (3 sc, dec) × 3 (12)
8: (1 sc, dec) × 4 (8)
9: Fold in half and close with 4 sc
Fasten off with a long tail for sewing. Sew both arms to the sides above the red part.
Suspenders (make 2) – Amigurumi Hello Kitty
1: Ch 17
2: Starting from 3rd ch from hook: 15 sc
Finish and cut the yarn. Glue with silicone or sew on with red yarn.
Legs (make 2) – Amigurumi Hello Kitty
1: 6 sc in MR
2: 6 inc (12)
3: (1 sc, inc) × 6 (18)
4: (2 sc, inc) × 6 (24)
5: (3 sc, inc) × 6 (30)
6–9: 30 sc
10: (3 sc, dec) × 6 (24)
11: (2 sc, dec) × 6 (18)
12: (1 sc, dec) × 6 (12)
Fasten off and leave a long tail for sewing to the body.
Tail – Amigurumi Hello Kitty
1: 6 sc in MR
2: 6 inc (12)
3: (1 sc, inc) × 6 (18)
4–6: 18 sc
7: (1 sc, dec) × 6 (12)
8: (1 sc, dec) × 4 (8)
Fasten off and leave a tail for sewing.
Bow – Amigurumi Hello Kitty
1: Ch 38
2: 38 sc
3: Ch 1, 38 sc
Repeat this for 5 more rows. Finish with a row of sc.
Wrap and pull a long yarn end around the center to shape the bow.