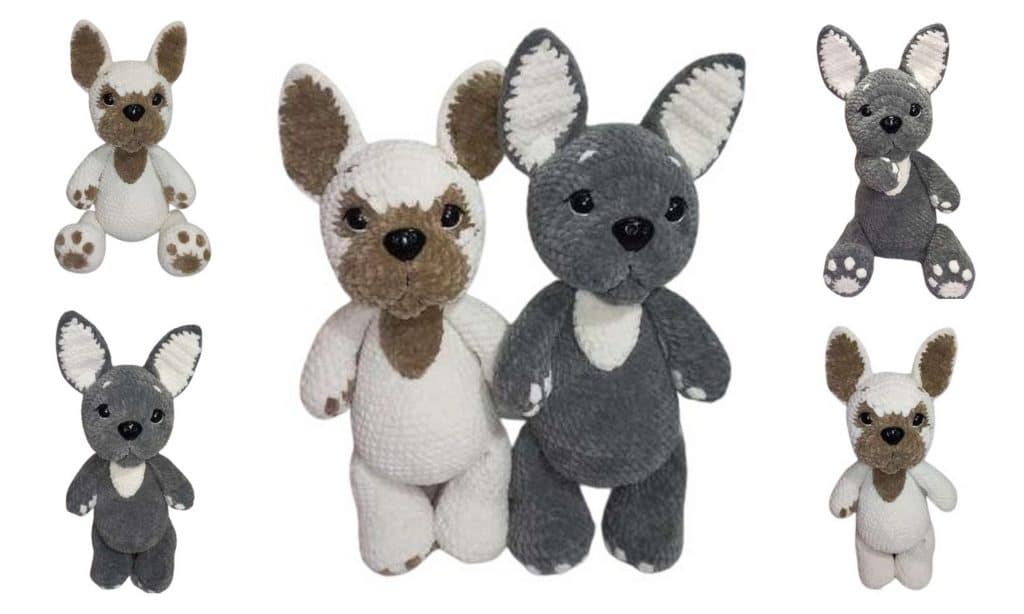
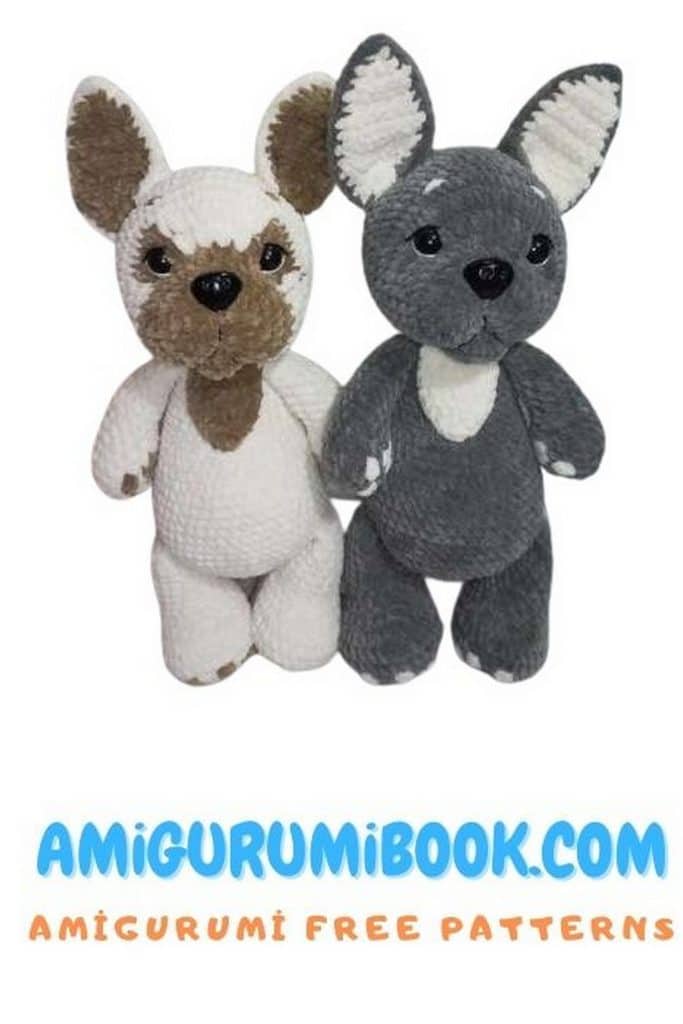
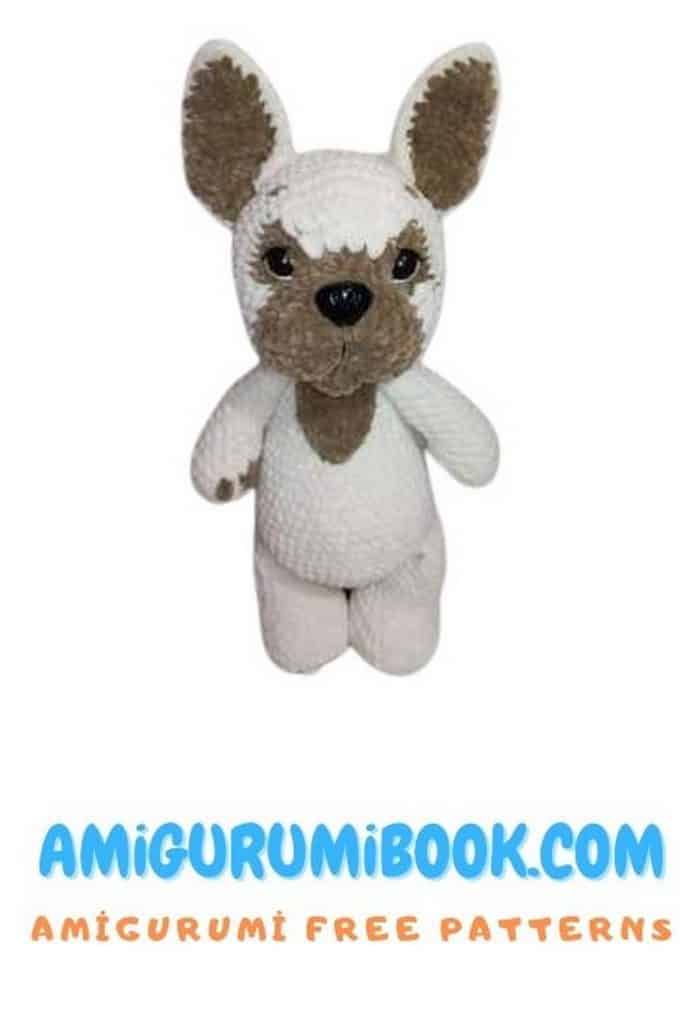
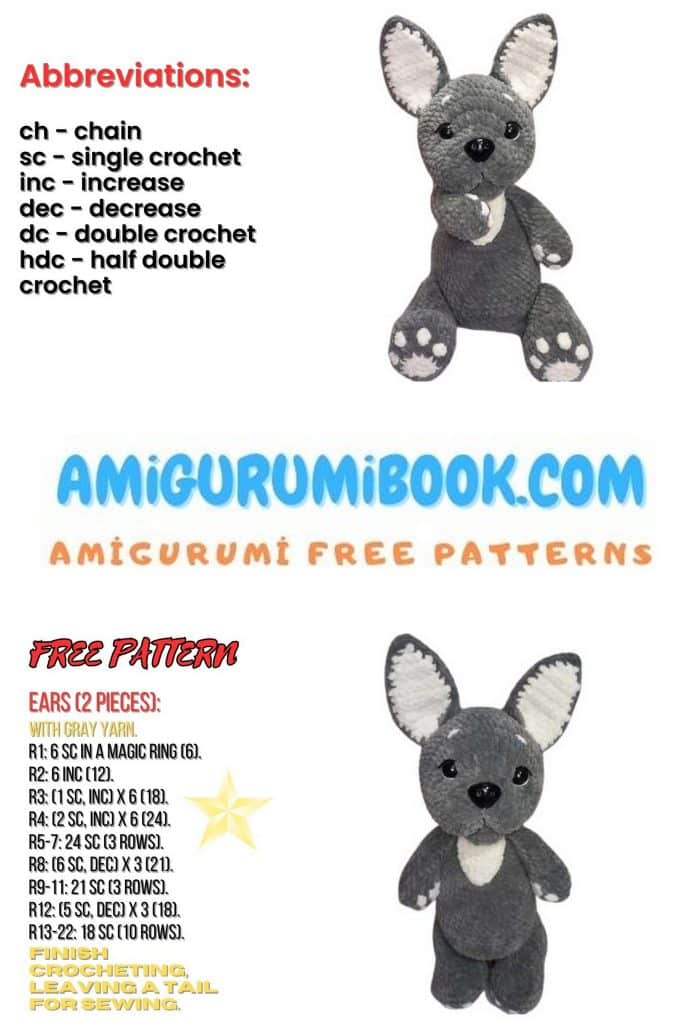
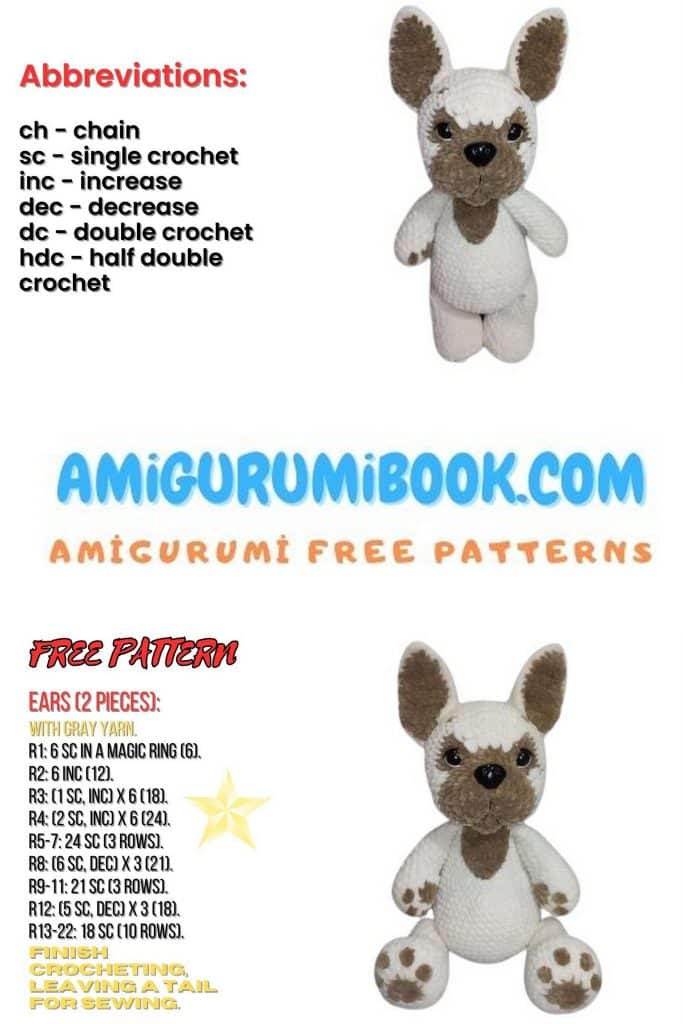
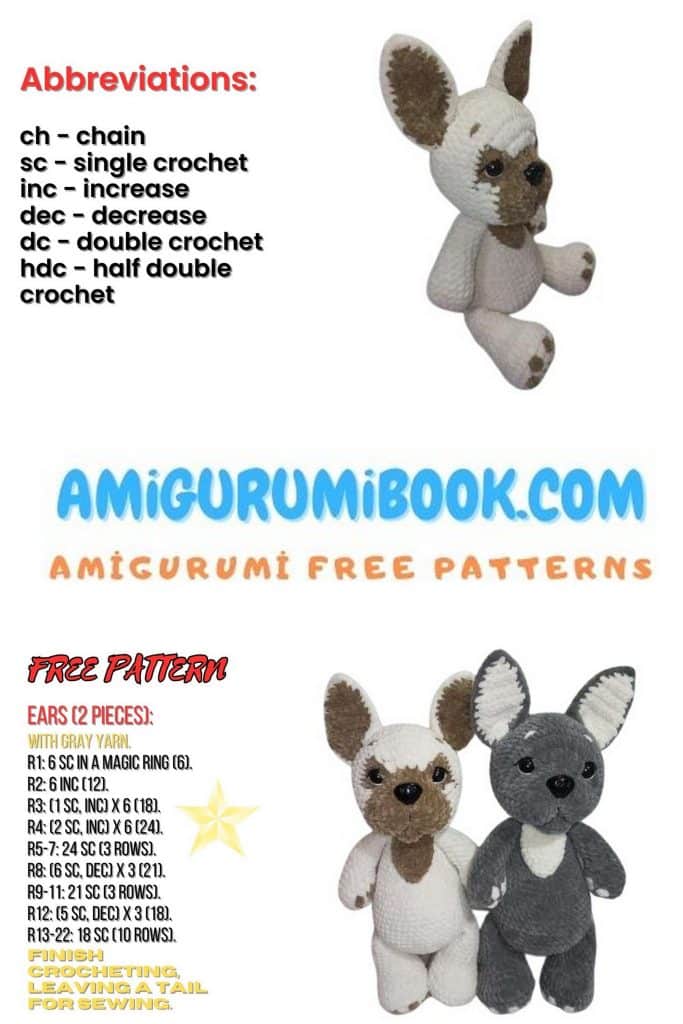
Meet Arni the adorable bulldog! This charming amigurumi dog pattern is perfect for crochet lovers who enjoy making animal-themed toys. With his sturdy build and cute little face, Bulldog Arni will make a wonderful handmade gift or a delightful addition to your amigurumi collection. This free amigurumi pattern includes detailed step-by-step instructions, making it suitable for both beginners and advanced crocheters. Grab your yarn and hook, and bring this loyal companion to life with your own hands!
If you want to access 1000+ free amigurumi patterns, you can download our application from this link!
🧶 Materials Needed:
LaVita Yarn Velur (120 m / 100 g):
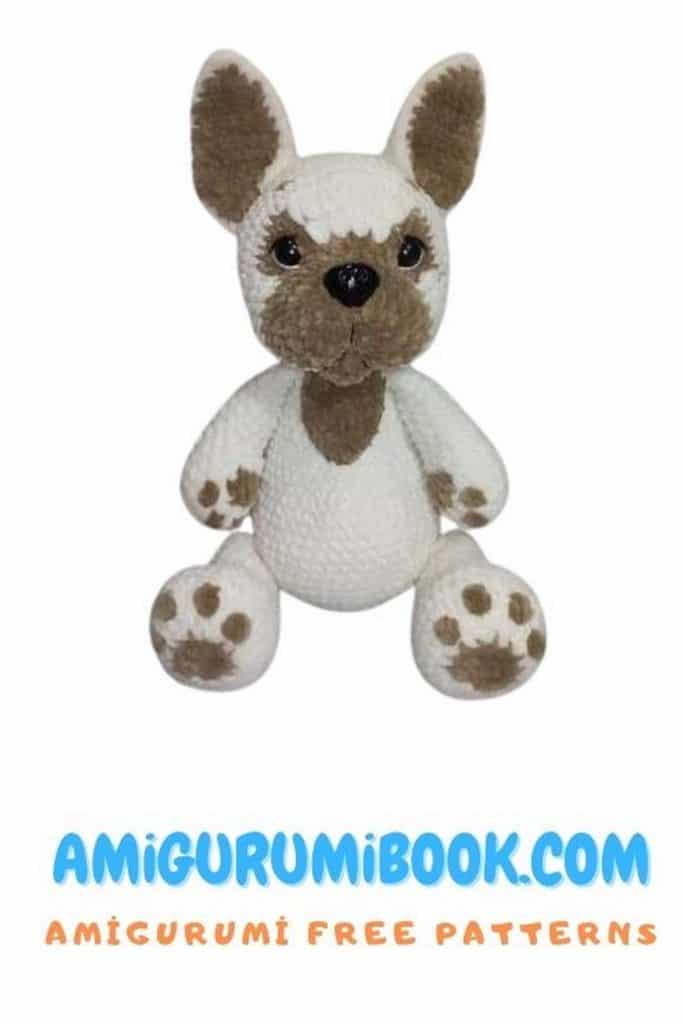
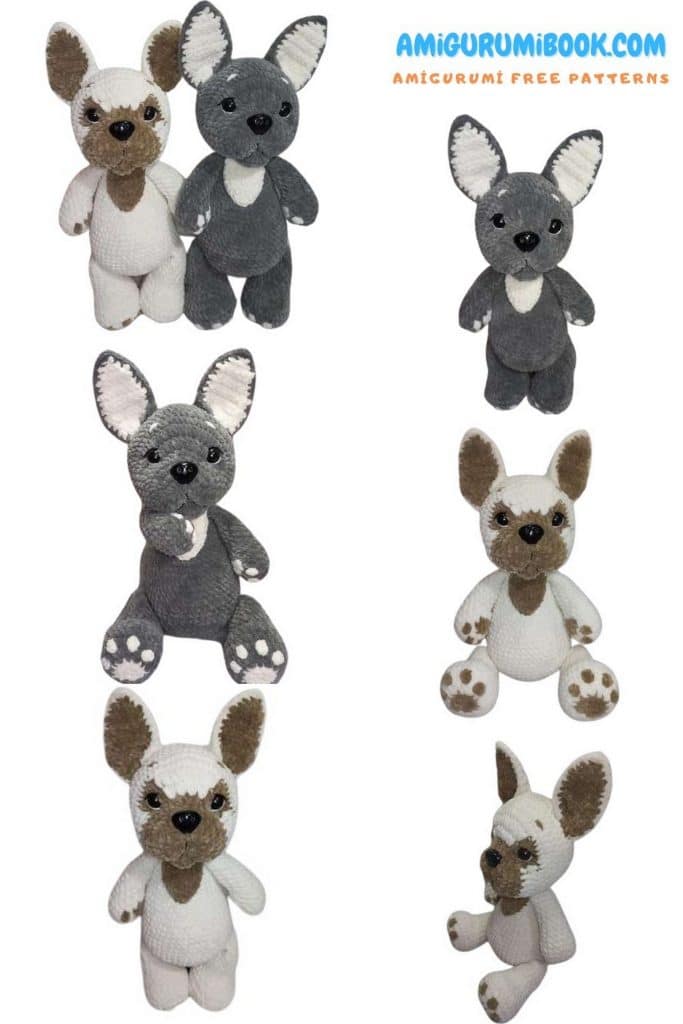
For the cream bulldog:
Main color: #1011 (cream) – 2 skeins
Accent color: #1039 (brown-grey) – 0.5 skein
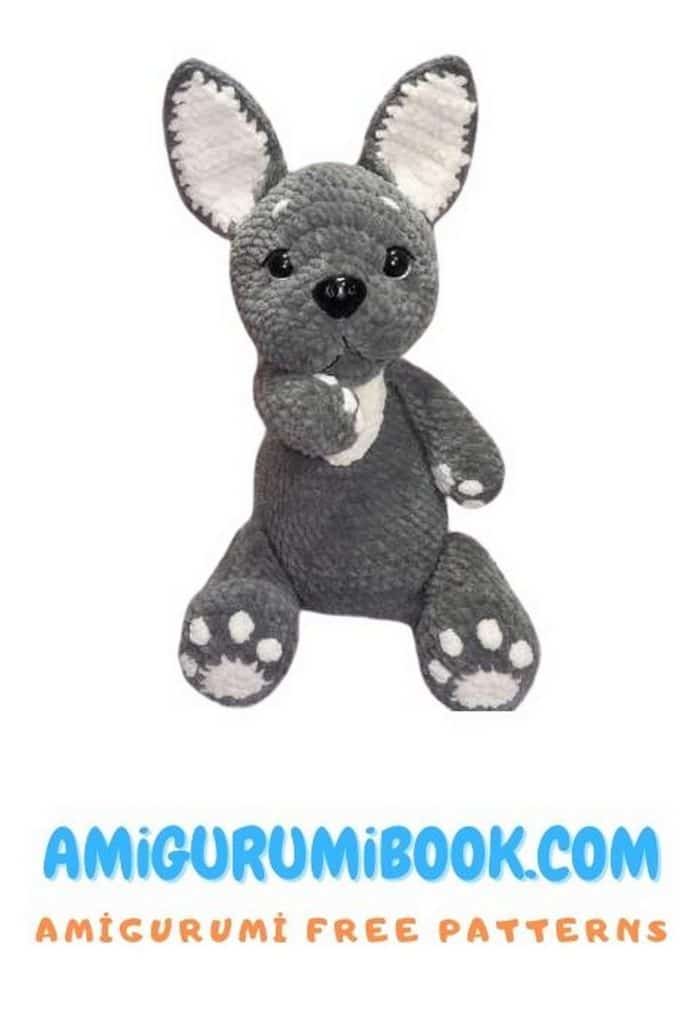
For the grey bulldog:
Main color: #6019 (grey) – 1.5 skeins
Accent color: #1011 (cream) – 0.5 skein
YarnArt Jeans – small amounts of black and white for eyes and muzzle details
Safety eyes – 16 mm diameter
Safety nose – 20 mm diameter
Crochet hook (I use 4.0 mm)
Stuffing (polyester fiberfill, hollofiber, or similar)
Yarn needle, stitch marker, scissors, sewing pins
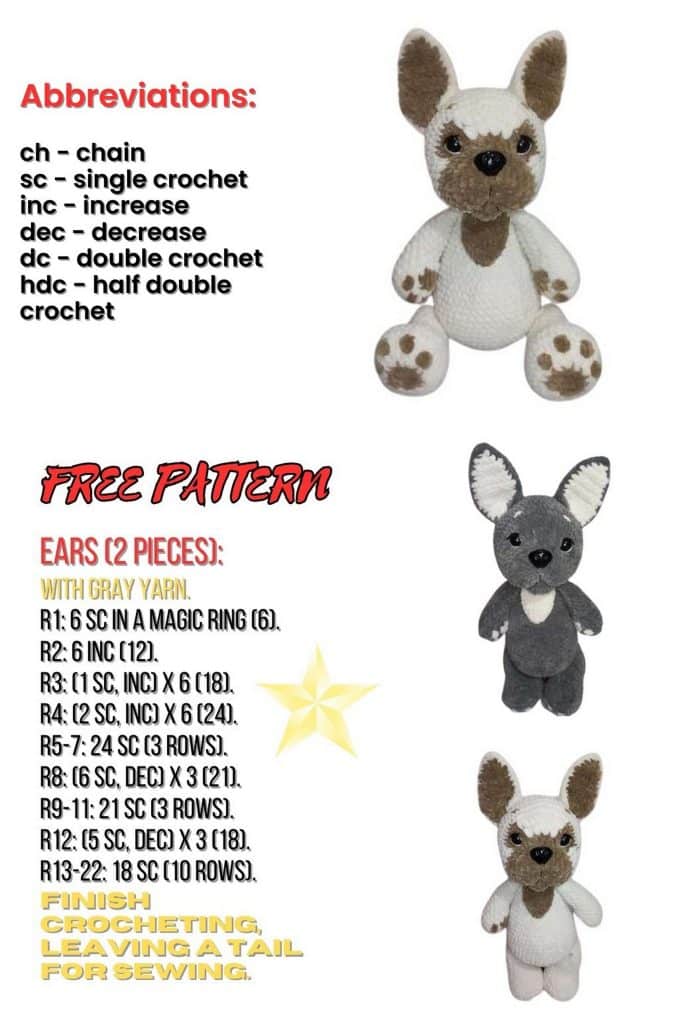
🧵 Abbreviations (US terms):
ch – chain
BLO – back loop only
MR – magic ring
FLO – front loop only
inc – increase
hdc – half double crochet
sc – single crochet
sl st – slip stitch
dc – double crochet
dec – decrease
(number) – total number of stitches in the round or number of repeated rows
(…) x n – repeat the sequence in brackets n times
“Pad of the finger made of two partial sc stitches” – described on pages 10–11 of the pattern
PATTERN – Amigurumi Bulldog
🐶 Head – Amigurumi Bulldog
If you’re using an accent color for the muzzle, begin with the accent color yarn. Crochet in a spiral, stuffing as you go.
1: ch 4, starting in 2nd ch from hook: inc, 1 sc, 4 sc in last ch, continue on other side of chain: 1 sc, inc (10)
2: 2 inc, 1 sc, 4 inc, 1 sc, 2 inc (18)
3: (1 sc, inc) x 2, 1 sc, (1 sc, inc) x 4, 1 sc, (1 sc, inc) x 2 (26)
4: 1 sc, (inc, 2 sc) x 2, 1 sc, (inc, 2 sc) x 4, 1 sc, inc, 2 sc, inc, 1 sc (34)
5: 34 sc
6: Shift the stitch marker so the round ends centered under the muzzle. For me, that was 26 sc; it may vary by ±1–2 stitches.
Row 7–8 include two options:
Option 1 – For muzzle in accent color (changes to main color):
Bold and underlined sections are crocheted with the accent color.
7: 3 sc, 9 sc, 3 inc hdc, 4 inc hdc, 3 inc hdc, 12 sc (44)
8: 10 sc, 2 hdc, inc hdc, (1 hdc, inc hdc) x 2, 1 hdc, (inc hdc, 1 hdc) x 2, (1 hdc, inc hdc) x 2, 1 hdc, (inc hdc, 1 hdc) x 2, inc hdc (1 in accent, 1 in main color), 2 hdc, 10 sc (54)
Fasten off accent color and continue with main color.
Option 2 – Solid color:
7: 12 sc, 10 inc hdc, 12 sc (44)
8: 10 sc, 2 hdc, (inc hdc, 1 hdc) x 5, (1 hdc, inc hdc) x 5, 2 hdc, 10 sc (54)
9–15: 54 sc (7 rounds)
Insert safety eyes between rounds 7 and 8 – centered in the second hdc increase group (accent color), or in the 2nd and 8th hdc increases if using one color (14 hdc between eyes).
Insert the nose between rounds 3 and 4, but before securing it, wrap a strong thread (~60 cm) around the back of the nose – this will be used for shaping the muzzle.
16: (7 sc, dec) x 6 (48)
17: 3 sc, dec, (6 sc, dec) x 5, 3 sc (42)
18: (5 sc, dec) x 6 (36)
19: 2 sc, dec, (4 sc, dec) x 5, 2 sc (30)
20: (3 sc, dec) x 6 (24)
21: 1 sc, dec, (2 sc, dec) x 5, 1 sc (18)
22: (1 sc, dec) x 6 (12)
23: 6 dec (6)
Fasten off and close the opening by weaving through the front loops.
Eye Shaping – Amigurumi Bulldog
1.We do the eye shaping using a separate thread, not the one attached to the nose.
2.Insert the needle with thread at the center bottom of the head, approximately between rounds 11 and 12 (we will call this point 0) and bring it out at point 1.
3.Insert the needle at point 2 and bring it out at the bottom of the head, one stitch away from point 0 (we’ll call this new point 01).
4.Insert the needle at point 0 again and bring it out at point 3.
5.Insert the needle at point 4 and bring it out at point 01.
6.Pull both ends of the thread to shape the eyes. Tie the ends together but do not hide them inside the head yet.
7.If you want the shaping to be more secure, you can repeat steps 1–4 once more.
Muzzle Shaping – Amigurumi Bulldog
1.We use the thread that is attached to the nose.
2.Point 6 is between rounds 2 and 3.
3.Points 7 and 8 are between rounds 6 and 7.
4.The distance between points 7 and 8 should be 6–10 stitches.
5.Using a needle with both ends of thread tied at the nose, insert into point 6 and bring it out at point 5, pulling slightly to create shaping between points 5 and 6.
6.From now on, we will shape each side of the muzzle using one end of the thread at a time.
7.With one end of the thread, insert the needle into point 6 and bring it out at point 7.
8.Insert the needle into point 6 again and bring it out at point 5. Pull the thread to shape the muzzle.
9.Repeat steps 2 and 3 once more. Then bring the thread out at the bottom of the head at point 0, and tie it with the thread left from the eye shaping.
10.Using the other end of the thread, insert into point 6 and bring it out at point 8.
11.Insert the needle into point 6 again and bring it out at point 5. Pull the thread to shape the muzzle.
12.Repeat steps 5 and 6 once more. Then bring the thread out at the bottom of the head at point 0, and tie it with the thread left from the eye shaping.
Hide all thread ends inside the head.
Use white YarnArt Jeans thread to define the whites of the eyes from the bottom and sides.
Use black YarnArt Jeans thread to embroider the eyelashes and accentuate the muzzle shaping.
Embroider the eyebrows after attaching the ears.
Right Ear – Amigurumi Bulldog
Crochet in turning rows. Make 2 identical pieces.
The first piece is made with a contrast color.
The second piece is made with the main color.
1: 2 sc in MR, ch 1
2: inc x2, ch 1 (4)
3: inc, 2 sc, inc, ch 1 (6)
4–5: 6 sc, ch 1 (2 rows)
6: inc, 4 sc, inc, ch 1 (8)
7–8: 8 sc, ch 1 (2 rows)
9: inc, 6 sc, inc, ch 1 (10)
10: dec, 8 sc, ch 1 (9)
11: 3 sl st, 2 sc, 2 hdc, hdc dec, ch 1 (8)
12: 3 hdc, 2 sc, 3 sl st, ch 1 (8)
Fasten off and cut the yarn on the contrast-colored piece.
Do not cut the yarn on the main-colored piece.
Place the contrast-colored piece on top of the main-colored one.
Join the pieces together by single crocheting along both side edges through both layers.
In the top corner, crochet 3 sc.
Do not stuff.
Fasten off, leaving a long tail for sewing.
Left Ear – Amigurumi Bulldog
Crochet in turning rows. Make 2 identical pieces.
The first piece is made with a contrast color.
The second piece is made with the main color.
1: 2 sc in MR, ch 1
2: inc x2, ch 1 (4)
3: inc, 2 sc, inc, ch 1 (6)
4–5: 6 sc, ch 1 (2 rows)
6: inc, 4 sc, inc, ch 1 (8)
7–8: 8 sc, ch 1 (2 rows)
9: inc, 6 sc, inc, ch 1 (10)
10: 8 sc, dec, ch 1 (9)
11: hdc dec, 2 hdc, 2 sc, 3 sl st, ch 1 (8)
12: 3 sl st, 2 sc, 3 hdc, ch 1 (8)
Fasten off and cut the yarn on the contrast-colored piece.
Do not cut the yarn on the main-colored piece.
Place the contrast-colored piece on top of the main-colored one.
Join the pieces together by single crocheting along both side edges through both layers.
In the top corner, crochet 3 sc.
Do not stuff.
Fasten off, leaving a long tail for sewing.
On the inner side of the ear, fold it in half at the base – i.e., connect the corner (point 1) to the center of the base (point 2) (refer to photo).
Sew ears to the head between rounds 13 and 14.
The distance between the outer edges of the ears on the head is 22 stitches.
After sewing the ears at the base, also sew 3 rows along the inner edge of each ear (refer to photo).
Embroider the eyebrows.
Arms (Make 2) – Amigurumi Bulldog
Crochet in a spiral, stuffing as you go until round 12. Start with main color. From here on, stitches that need to be worked in contrast color will be shown in bold and underlined.
1: Ch 6, starting from the 2nd ch from the hook: 4 sc, 3 sc in last ch, on the other side of the chain 3 sc, inc (12)
2: inc, 3 sc, 3 inc, 3 sc, 2 inc (18)
3: 2 sc, crochet a finger pad of two incomplete scs as follows:
1. Insert hook into the next stitch on the piece and pull up a loop with contrast color — you have 2 loops (1 in each color).
2. Yarn over with contrast color, pull through one loop (now you have 2 loops: 1 in main color, 1 in contrast).
3. In the same stitch, pull up another loop with contrast color (now 3 loops: 1 main, 2 contrast).
4. Yarn over with contrast color, pull through one loop (still 3 loops: 1 main, 2 contrast).
5. Yarn over with main color, pull through all 3 loops.
One finger pad is done. From now on, this entire process will be referred to as “finger pad of two incomplete sc”.
Continue round 3: 1 sc, finger pad, 13 sc (18)
4: 1 sc, finger pad, 2 sc (in main color) – close stitch with contrast color
(i.e. insert hook, yarn over with main color – 2 loops in main color – yarn over with contrast color and pull through both loops), 2 sc, finger pad, 11 sc (18)
5: 2 sc (on the second, switch to contrast color as above), 1 sc in BLO, 2 sc, 1 sc in BLO – close with main color, 12 sc (18)
6: 2 sc, 4 sc in contrast color – close with main color (yarn over with contrast color – 2 contrast loops on hook – yarn over with main color and pull through), 12 sc (18)
Fasten off and cut contrast yarn.
7: 4 dec, 10 sc (14)
8: 2 dec, 10 sc (12)
9–13: 12 sc (5 rounds)
14: (4 sc, dec) ×2 (10)
15: Work 5 sc (+/- 1–2 stitches to finish on the side of the arm), fold in half and crochet through both layers across with 5 sc.
Legs (Make 2) – Amigurumi Bulldog
Crochet in a spiral, stuffing as you go until round 15–16. Start with contrast color.
1: 8 sc in MR
2: 5 inc (switch to main color in the last sc), 3 inc (16)
3: In BLO: (1 sc, inc) ×8 (24)
4: 4 sc, finger pad of three incomplete scs in BLO
(same technique as the arms, but make 3 incomplete scs instead of 2),
(inc, 1 sc) ×2, inc, finger pad of three incomplete scs in BLO, 13 sc (27)
5: 5 sc, inc, 1 sc, finger pad, 1 sc, inc, finger pad, 2 sc, inc, 13 sc (30)
Fasten off and cut contrast yarn.
6–8: 30 sc (3 rounds)
9: 5 sc, 6 dec (decreases should be centered at the front of the foot – adjust with extra sc if needed), 13 sc (24)
10: 5 sc, 3 dec (also centered at front), 13 sc (21)
11: (5 sc, dec) ×3 (18)
12–17: 18 sc (6 rounds)
18: (7 sc, dec) ×2 (16)
19: 7 sc (+/- 1–2 stitches to center the front), fold in half and crochet through both layers with 8 sc, fasten off and secure.
Tail – Amigurumi Bulldog
Work in main color in a spiral. Do not stuff.
1: 6 sc in MR
2: (2 sc, inc) ×2 (8)
3–6: 8 sc (4 rounds), fasten off and secure.
Body – Amigurumi Bulldog
Work in main color in a spiral, stuffing as you go.
1: 7 sc in MR
2: 7 inc (14)
3: (1 sc, inc) ×7 (21)
4: 1 sc, inc, (2 sc, inc) ×6, 1 sc (28)
5: (3 sc, inc) ×7 (35)
6: 2 sc, inc, (4 sc, inc) ×6, 2 sc (42)
7: 3 sc, inc, (6 sc, inc) ×5, 3 sc (48)
8: 48 sc
Keep track of the round marker—it should run along the center of the back. Adjust with extra sc if needed.
9: 8 sc, align a leg and crochet 8 sc through both the body and leg, 16 sc, align the second leg and crochet 8 sc through both, 8 sc (48)
10: 46 sc, fold the tail in half and crochet 2 sc through both layers of the tail and body (48)
11: 2 sc over tail, 46 sc (48)
12–17: 48 sc (6 rounds)
18: 15 sc, (1 sc, dec) ×3, (dec, 1 sc) ×3, 15 sc (42)
19–20: 42 sc (2 rounds)
21: 12 sc, (1 sc, dec) ×3, (dec, 1 sc) ×3, 12 sc (36)
22–23: 36 sc (2 rounds)
24: 5 sc, dec, (10 sc, dec) ×2, 5 sc (33)
25: (9 sc, dec) ×3 (30)
26: 30 sc
27: 4 sc, dec, (8 sc, dec) ×2, 4 sc (27)
28: (7 sc, dec) ×3 (24)
29: 4 sc, align arm and crochet 5 sc through both body and arm, 6 sc, align second arm and crochet 5 sc through both, 4 sc (24)
30: (4 sc, dec) ×4 (20)
31: 20 sc
Fasten off, leaving a long tail for sewing.
Chest Piece
Work in contrast color in turning rows.
1: 2 sc in MR, ch 1 (2)
2: 2 inc, ch 1 (4)
3: inc, 2 sc, inc, ch 1 (6)
4–9: 6 sc, ch 1 (6 rows)
Single crochet around the sides, work 3 sc into the bottom corner, fasten off leaving a long tail for sewing.
Assembly
Sew the chest piece to the top front of the body. Then sew the head to the body.
Your toy is finished!