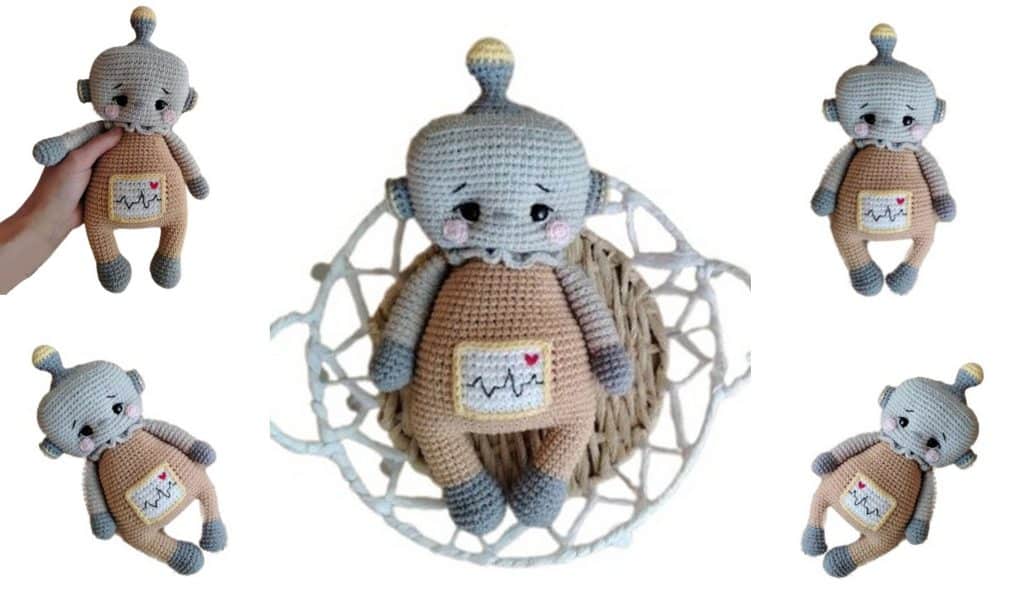
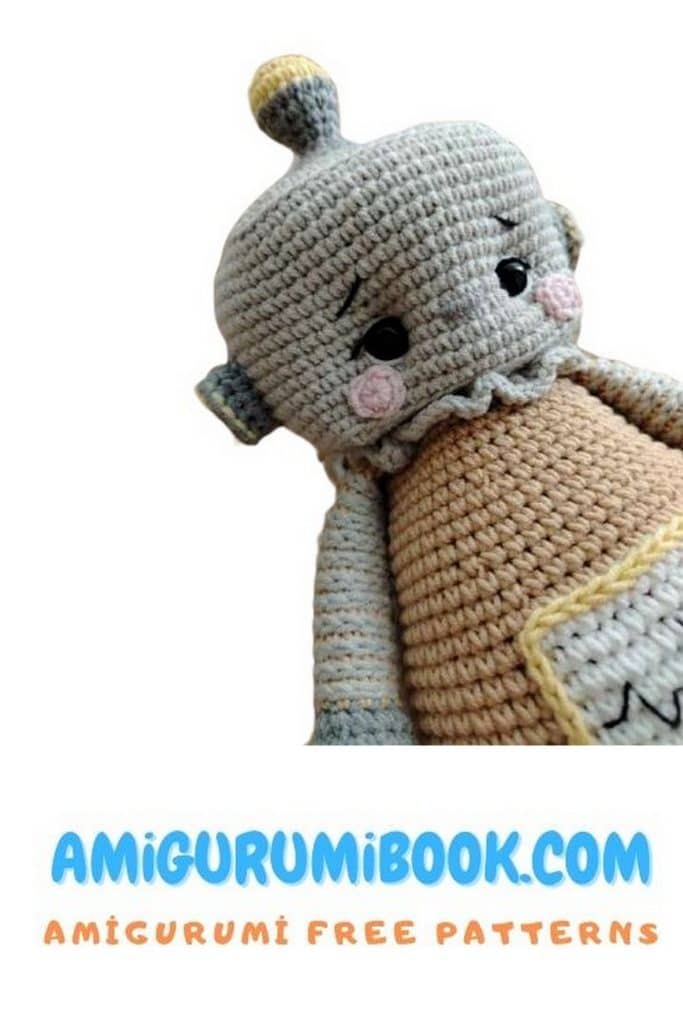
Bring a touch of futuristic charm to your crochet collection with this Baby Robot Amigurumi Free Pattern! Designed for both beginners and advanced crocheters, this adorable little robot is full of character with its cute antennas, boxy body, and expressive details. Whether you’re crafting a handmade toy for a tech-loving child or looking for a unique gift idea, this step-by-step crochet tutorial makes it easy to bring this lovable robot to life. With easy-to-follow instructions and creative design, it’s the perfect project for anyone who loves a fun and modern twist on classic amigurumi.
According to this pattern, the finished toy will be about 21–24 cm tall, depending on your tension, hook size, and yarn.
If you want to access 1000+ free amigurumi patterns, you can download our application from this link!
Materials and Tools:
Yarn: YarnArt JEANS
Arms and legs base color: #46 (gray)
Head color: #49 (light gray)
Body color: #07 (beige)
Cheeks color: #18 (pink)
Extra color for antennae: #88 (yellow)
Hook size: 2 mm or 2.5 mm (if your tension is tight)
12 mm safety eyes
Stuffing (I use polyester fiberfill)
Yarn needle for sewing parts together
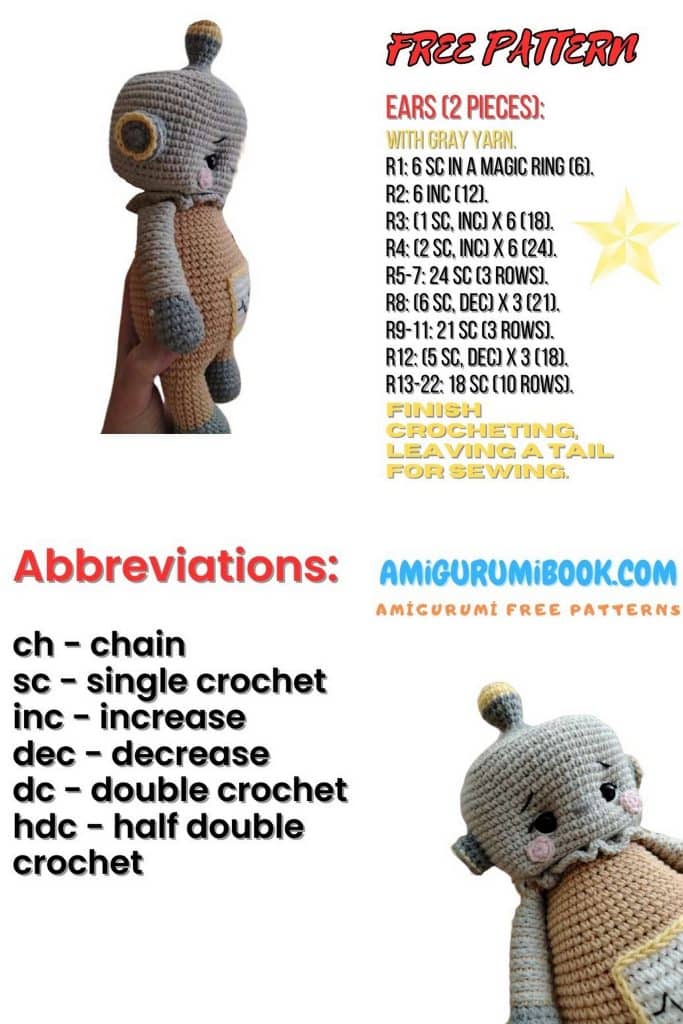
Abbreviations:
MR – magic ring
ch – chain
sc – single crochet
dc – double crochet
sl st – slip stitch
inc – increase (2 sc in same st)
dec – decrease (invisible decrease if possible)
rep – repeat
(…) – total number of stitches in the round
[ ] x N – repeat the instructions inside brackets N times
We work in continuous rounds without slip stitches unless specified.
Mark the first or last stitch of each round with a stitch marker and move it up as you go.
PATTERN – Amigurumi Robot
HEAD – Amigurumi Robot
Start with 8 ch + 1 turning ch
1: inc, 6 sc, 3 sc in 1 st (from here on this is “3 sc in 1 st”), 6 sc, 1 sc in the last st (18)
2: 1 sc, 3 sc in 1 st, 6 sc, 3 sc in 1 st, 1 sc, 3 sc in 1 st, 6 sc, 3 sc in 1 st (26)
3: 2 sc, 3 sc in 1 st, 8 sc, 3 sc in 1 st, 3 sc, 3 sc in 1 st, 8 sc, 3 sc in 1 st, 1 sc (34)
4: 3 sc, 3 sc in 1 st, 10 sc, 3 sc in 1 st, 5 sc, 3 sc in 1 st, 10 sc, 3 sc in 1 st, 2 sc (42)
5: 4 sc, 3 sc in 1 st, 12 sc, 3 sc in 1 st, 7 sc, 3 sc in 1 st, 12 sc, 3 sc in 1 st, 3 sc (50)
6: 5 sc, 3 sc in 1 st, 14 sc, 3 sc in 1 st, 9 sc, 3 sc in 1 st, 14 sc, 3 sc in 1 st, 4 sc (58)
7: 6 sc, 3 sc in 1 st, 16 sc, 3 sc in 1 st, 11 sc, 3 sc in 1 st, 16 sc, 3 sc in 1 st, 5 sc (66)
Work shifting stitches:
7 sc + 1 sl st (this makes the transition less visible)
8: 66 sc (in back loops only)
9–21: 66 sc (13 rounds)
Insert safety eyes between Rounds 16 and 17, 12 sc apart between eye posts.
Begin stuffing the head.
Work another shift:
10 sc + 1 sl st
22 (back loops only): 8 sc, triple dec (sc 3 together), 10 sc, triple dec, 17 sc, triple dec, 10 sc, triple dec, 9 sc (58)
23: 7 sc, triple dec, 8 sc, triple dec, 15 sc, triple dec, 8 sc, triple dec, 8 sc (50)
24: 6 sc, triple dec, 6 sc, triple dec, 13 sc, triple dec, 6 sc, triple dec, 7 sc (42)
25: 5 sc, triple dec, 4 sc, triple dec, 11 sc, triple dec, 4 sc, triple dec, 6 sc (34)
26: dec, 6 sc, dec, 7 sc, dec, 6 sc, dec, 7 sc (30)
27: 30 sc
Fasten off.
ARMS (make 2) – Amigurumi Robot
1: 6 sc in MR
2: 6 inc (12)
3: [3 sc, inc] x3 (15)
4–6: 15 sc
7: [3 sc, dec] x3 (12), change color
8–19: 12 sc (12 rounds)
Use a contrasting color and make a spiral line of slip stitches between rounds as you go.
Stuff about ⅔ of the arm. Then work 5 sc through both layers to close. Fasten off and hide the yarn tail.
LEGS (make 2) – Amigurumi Robot
1: 6 sc in MR
2: 6 inc (12)
3: [1 sc, inc] x6 (18)
4: [2 sc, inc] x6 (24)
5–6: 24 sc (2 rounds)
7: [2 sc, dec] x6 (18)
8–9: 18 sc (2 rounds)
10: [4 sc, dec] x3 (15), change color
11–16: 15 sc (6 rounds)
Cut the yarn and weave in the end for the first leg.
From the second leg, continue to the body.
Make a shift: 3 sc.

BODY – Amigurumi Robot
Chain 12, attach to first leg. Place a marker.
1: 54 sc
2: 7 sc, inc, 7 sc, inc, 10 sc, inc, 7 sc, inc, 7 sc, inc, 10 sc, inc (60)
3: 17 sc, inc, 10 sc, inc, 31 sc (62)
4–5: 62 sc
6: 8 sc, dec, 29 sc, dec, 21 sc (60)
7: 60 sc
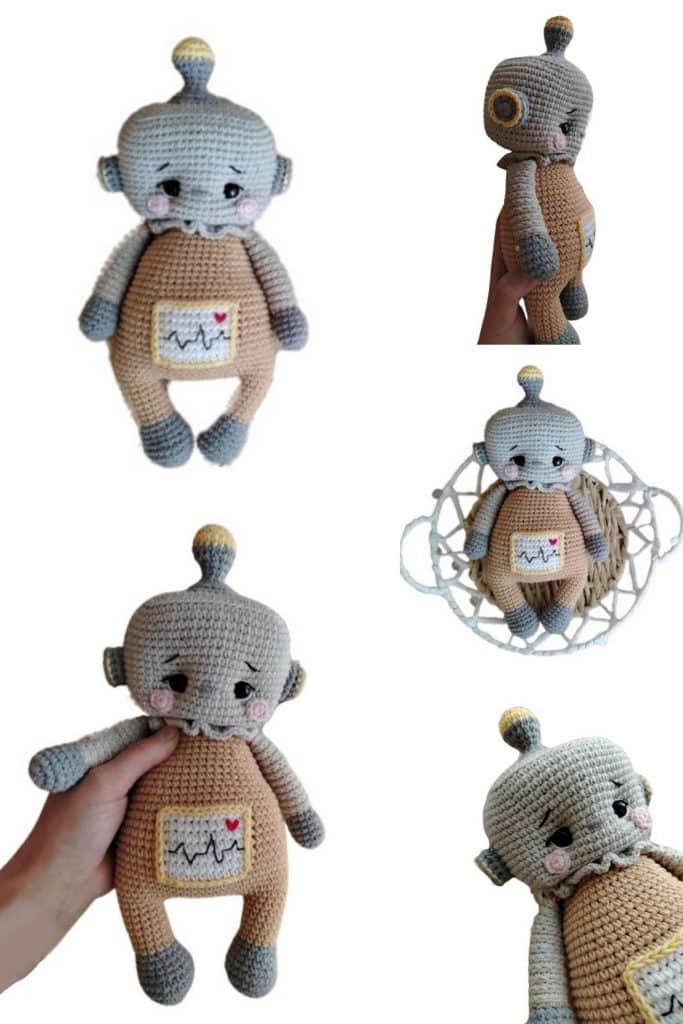
Now we begin to work the screen on the belly:
8: 18 sc, switch to white, 11 sc, switch back to previous color, 31 sc
Repeat this for Rounds 9–14 (total 7 rounds with screen).
15: 60 sc
Now, while the screen is accessible, make an edging with slip stitches around it (like the arms). Embroider the design.
Begin stuffing the body.
16: [8 sc, dec] x6 (54)
17: 54 sc
18: [dec, 7 sc] x6 (48)
19–21: 48 sc
22: [6 sc, dec] x6 (42)
23–25: 42 sc
Attach the arms in the next round:
26: 6 sc, 5 sc together with first arm, 16 sc, 5 sc with second arm, 10 sc (42)
27 (back loops only): [5 sc, dec] x6 (36)
28: [4 sc, dec] x6 (30)
29: 30 sc — leave a long tail for sewing the head.

Collar
Using the front loops left from Round 27, make:
2 dc in each stitch around (this is an increase in every st).
Fasten off and hide the yarn tail inside the body.
ANTENNA (make 1 or 2 as desired)
1: 6 sc in MR
2: 6 inc (12)
3: [1 sc, inc] x6 (18)
4: 18 sc, change color
5: 18 sc
6: [1 sc, dec] x6 (12)
7: 2 sc, dec ×3 (9)
8–9: 9 sc (2 rounds)
10: inc ×9 (18)
11: 1 sc, inc ×9 (27)
12: 27 sc in back loops only
Cut the yarn, leaving a tail for sewing.
Ears (make 2) – Amigurumi Robot
1: 8 sc in MR
2: inc ×8 (16)
3: 16 sc, crocheting into the front leg of the previous round’s stitches
4: 16 sc
Take a yarn of a different color and crochet slip stitches around into the front loops of Round 2.
Cheeks (make 2)
1: 8 sc in MR, cut the yarn, leaving a tail for sewing.
Assembly
1. Sew the antenna to the center top of the head.
2. Sew the ears on the sides at eye level.
3. Sew the cheeks below and slightly outward from the eyes.
4. To prevent the neck from looking too elongated, perform a shaping (tightening).
5. Use a long needle and thread it with yarn in the same color as the head.
Tightening the neck:
1: Insert the needle into the center of the neck and bring it out at the top center of the head.
2: Skip 1 stitch, insert the needle again, and bring it back out at the neck, also skipping 1 stitch.
3: Pull both ends of the yarn tightly and tie them together. Cut and hide the yarn inside the head.
Eye shaping:
1: Insert the needle into the center of the neck and bring it out at the outer corner of the first eye.
2: Insert it into the inner corner of the same eye, and bring it out at the neck, skipping 1 stitch. Pull the loop tight.
3: Insert the needle into the first stitch on the neck and bring it out at the outer corner of the second eye.
4: Insert it into the inner corner of the second eye and bring it out at the neck. Pull the loop tight.
5: Pull the yarn ends firmly, tie a knot, cut the yarn, and hide it inside the head. If the eyes are not symmetrical, adjust them manually.
Embroider the nose between Rounds 16 and 17 of the head. Nose width: 3 sc.
Embroider the eyebrows and eyelashes.
Your robot is ready! 🤖