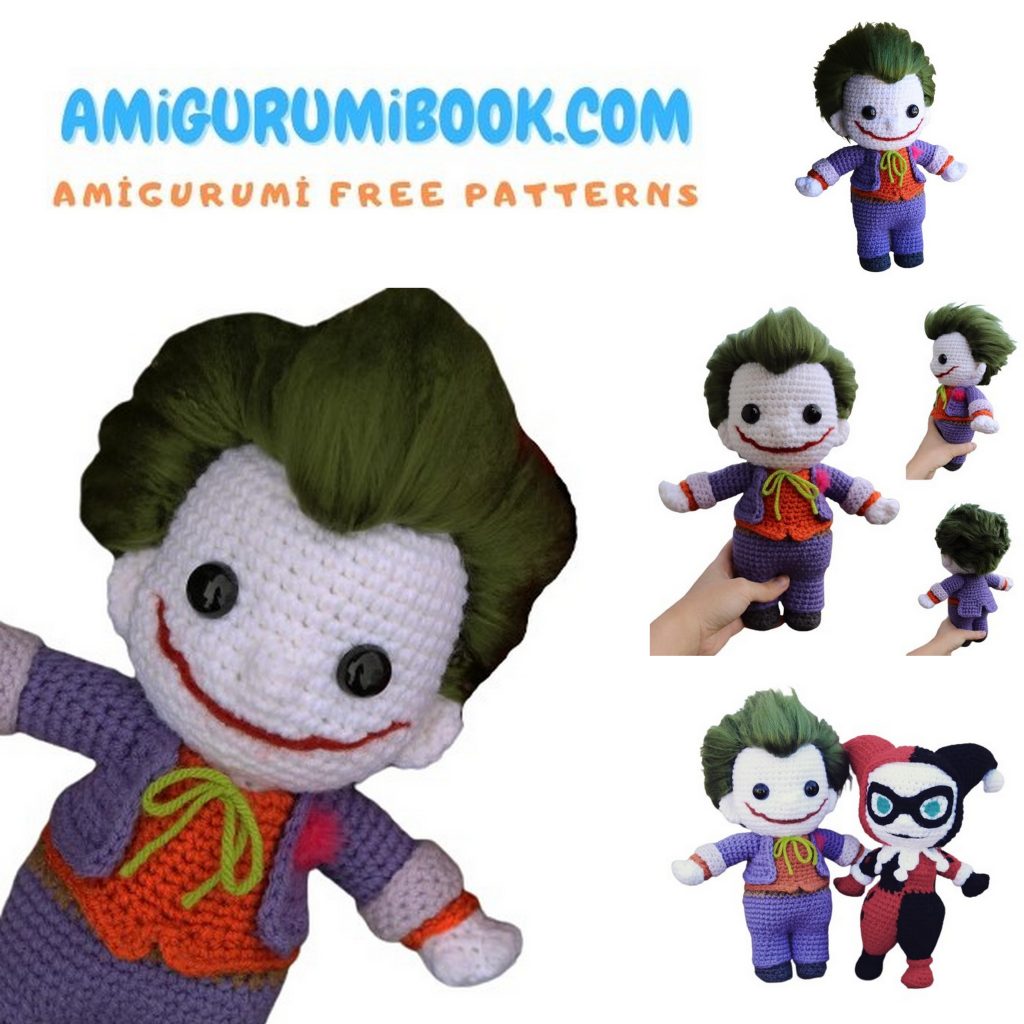
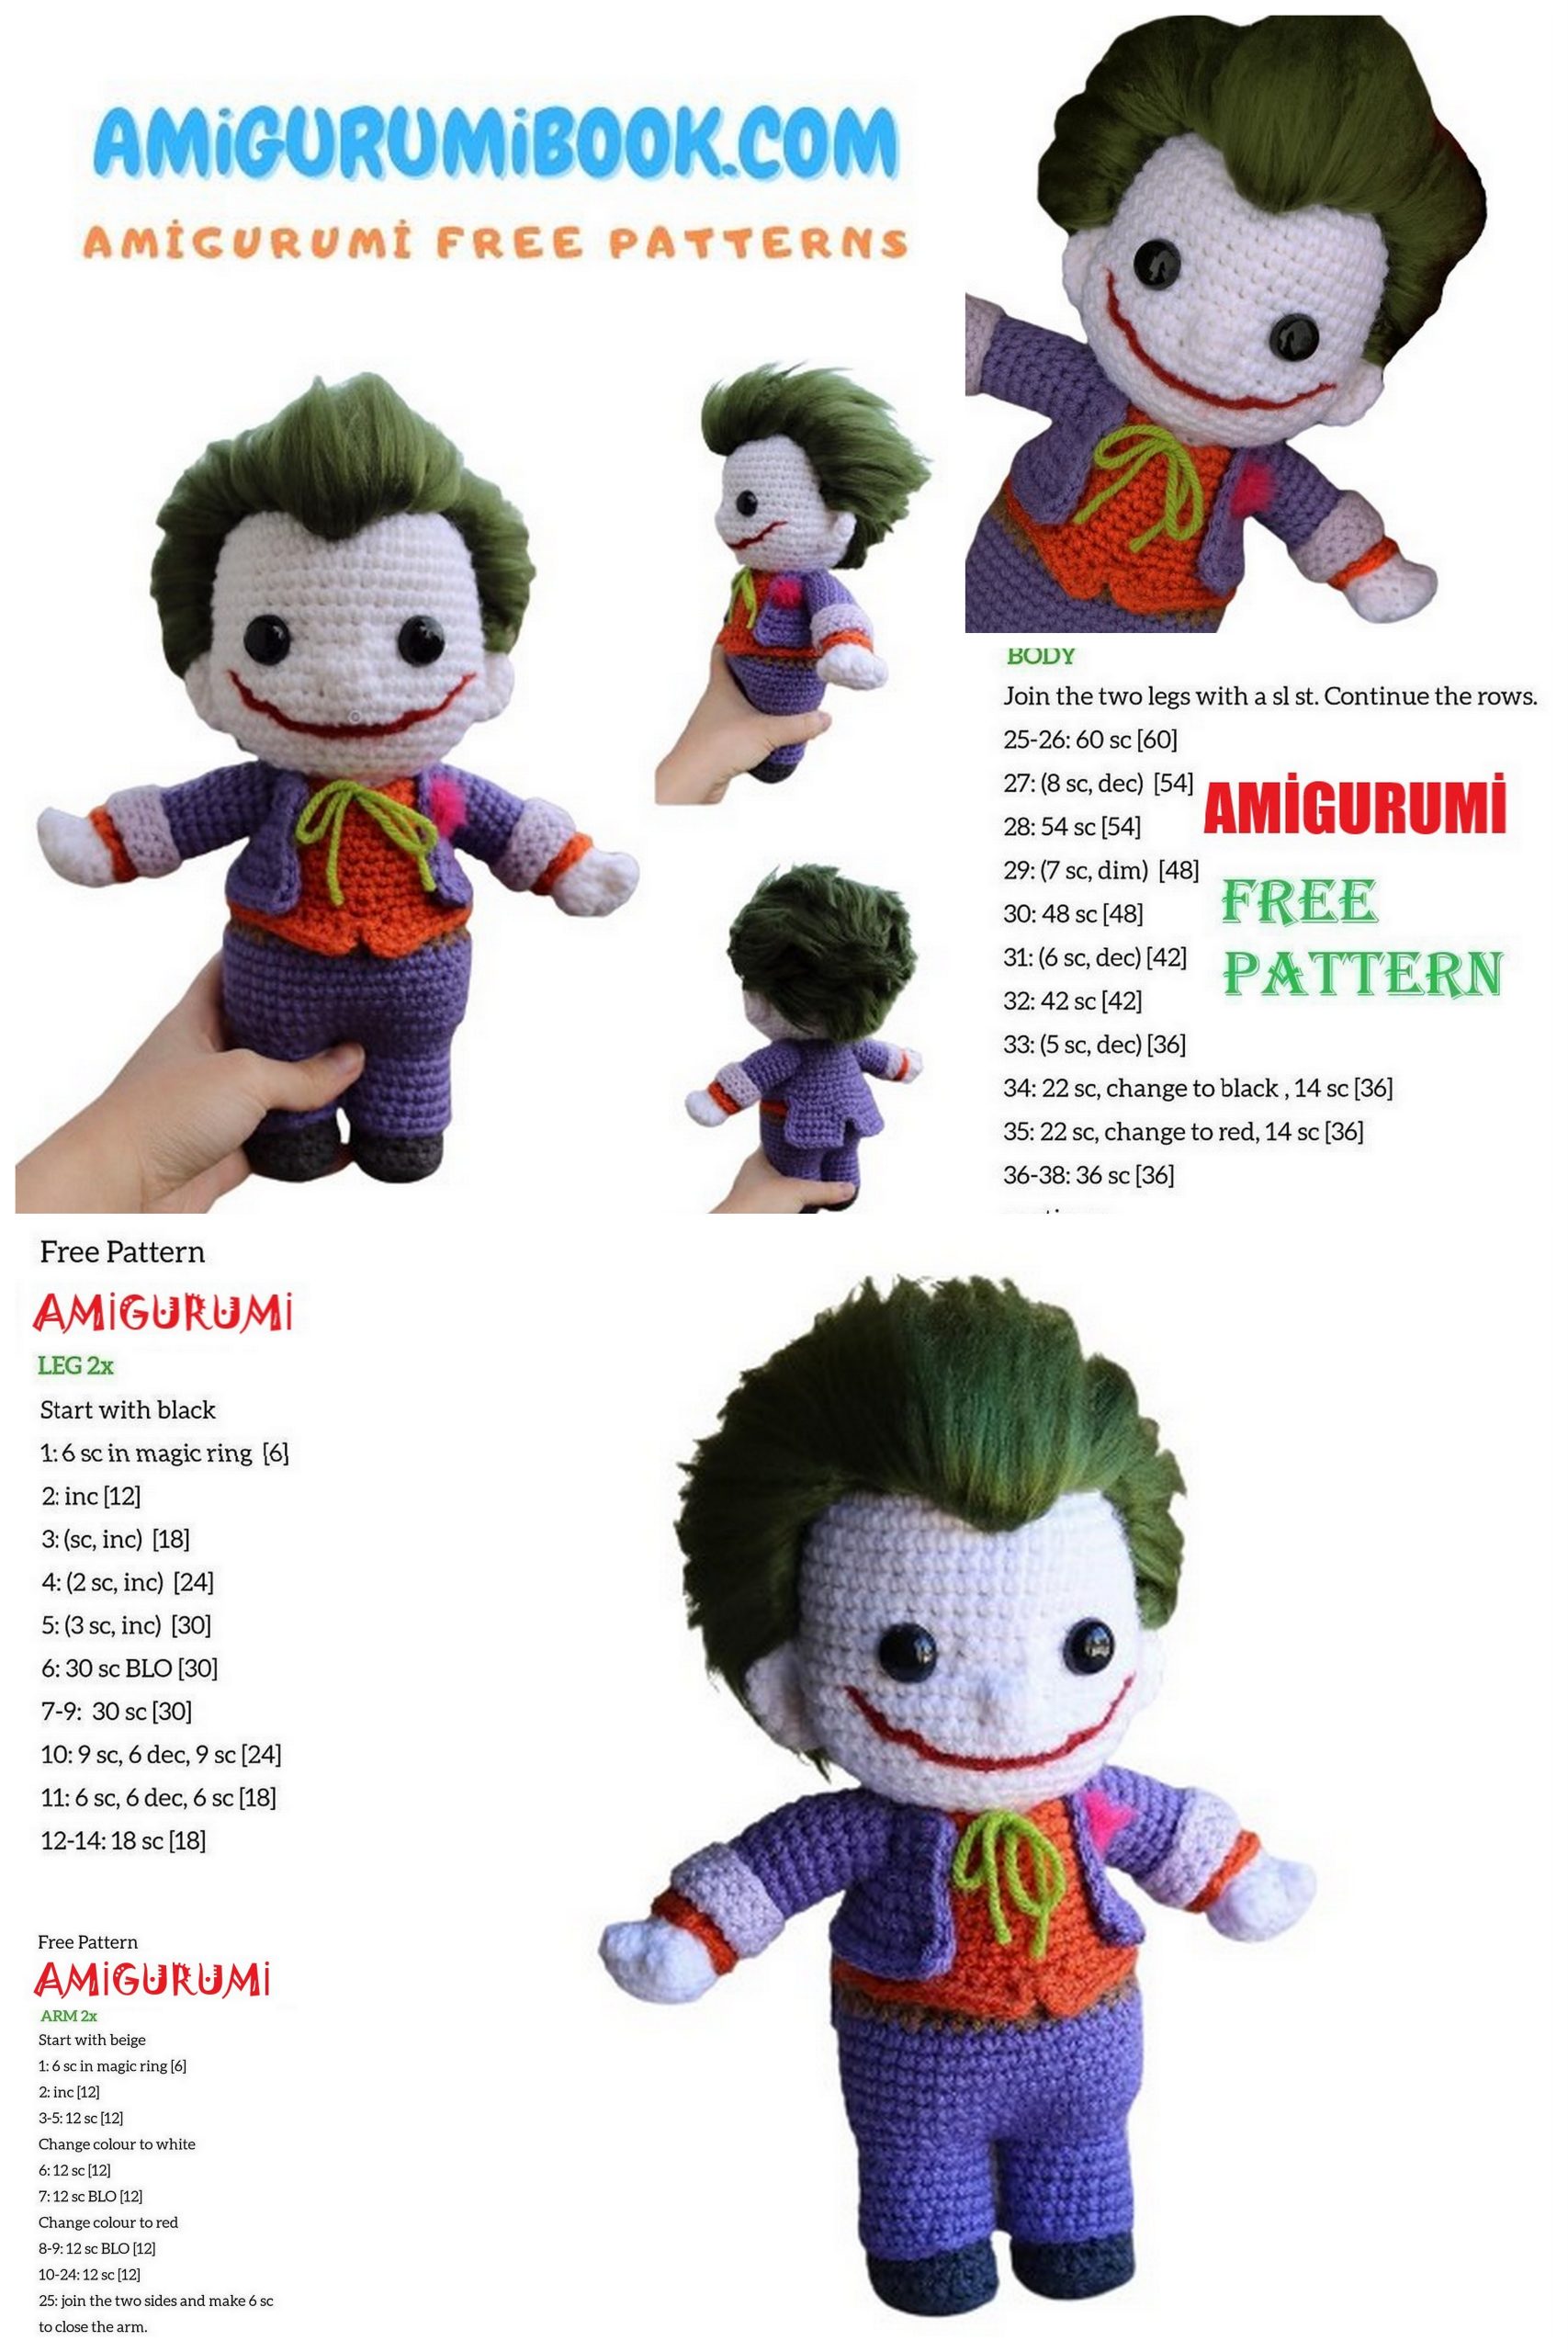
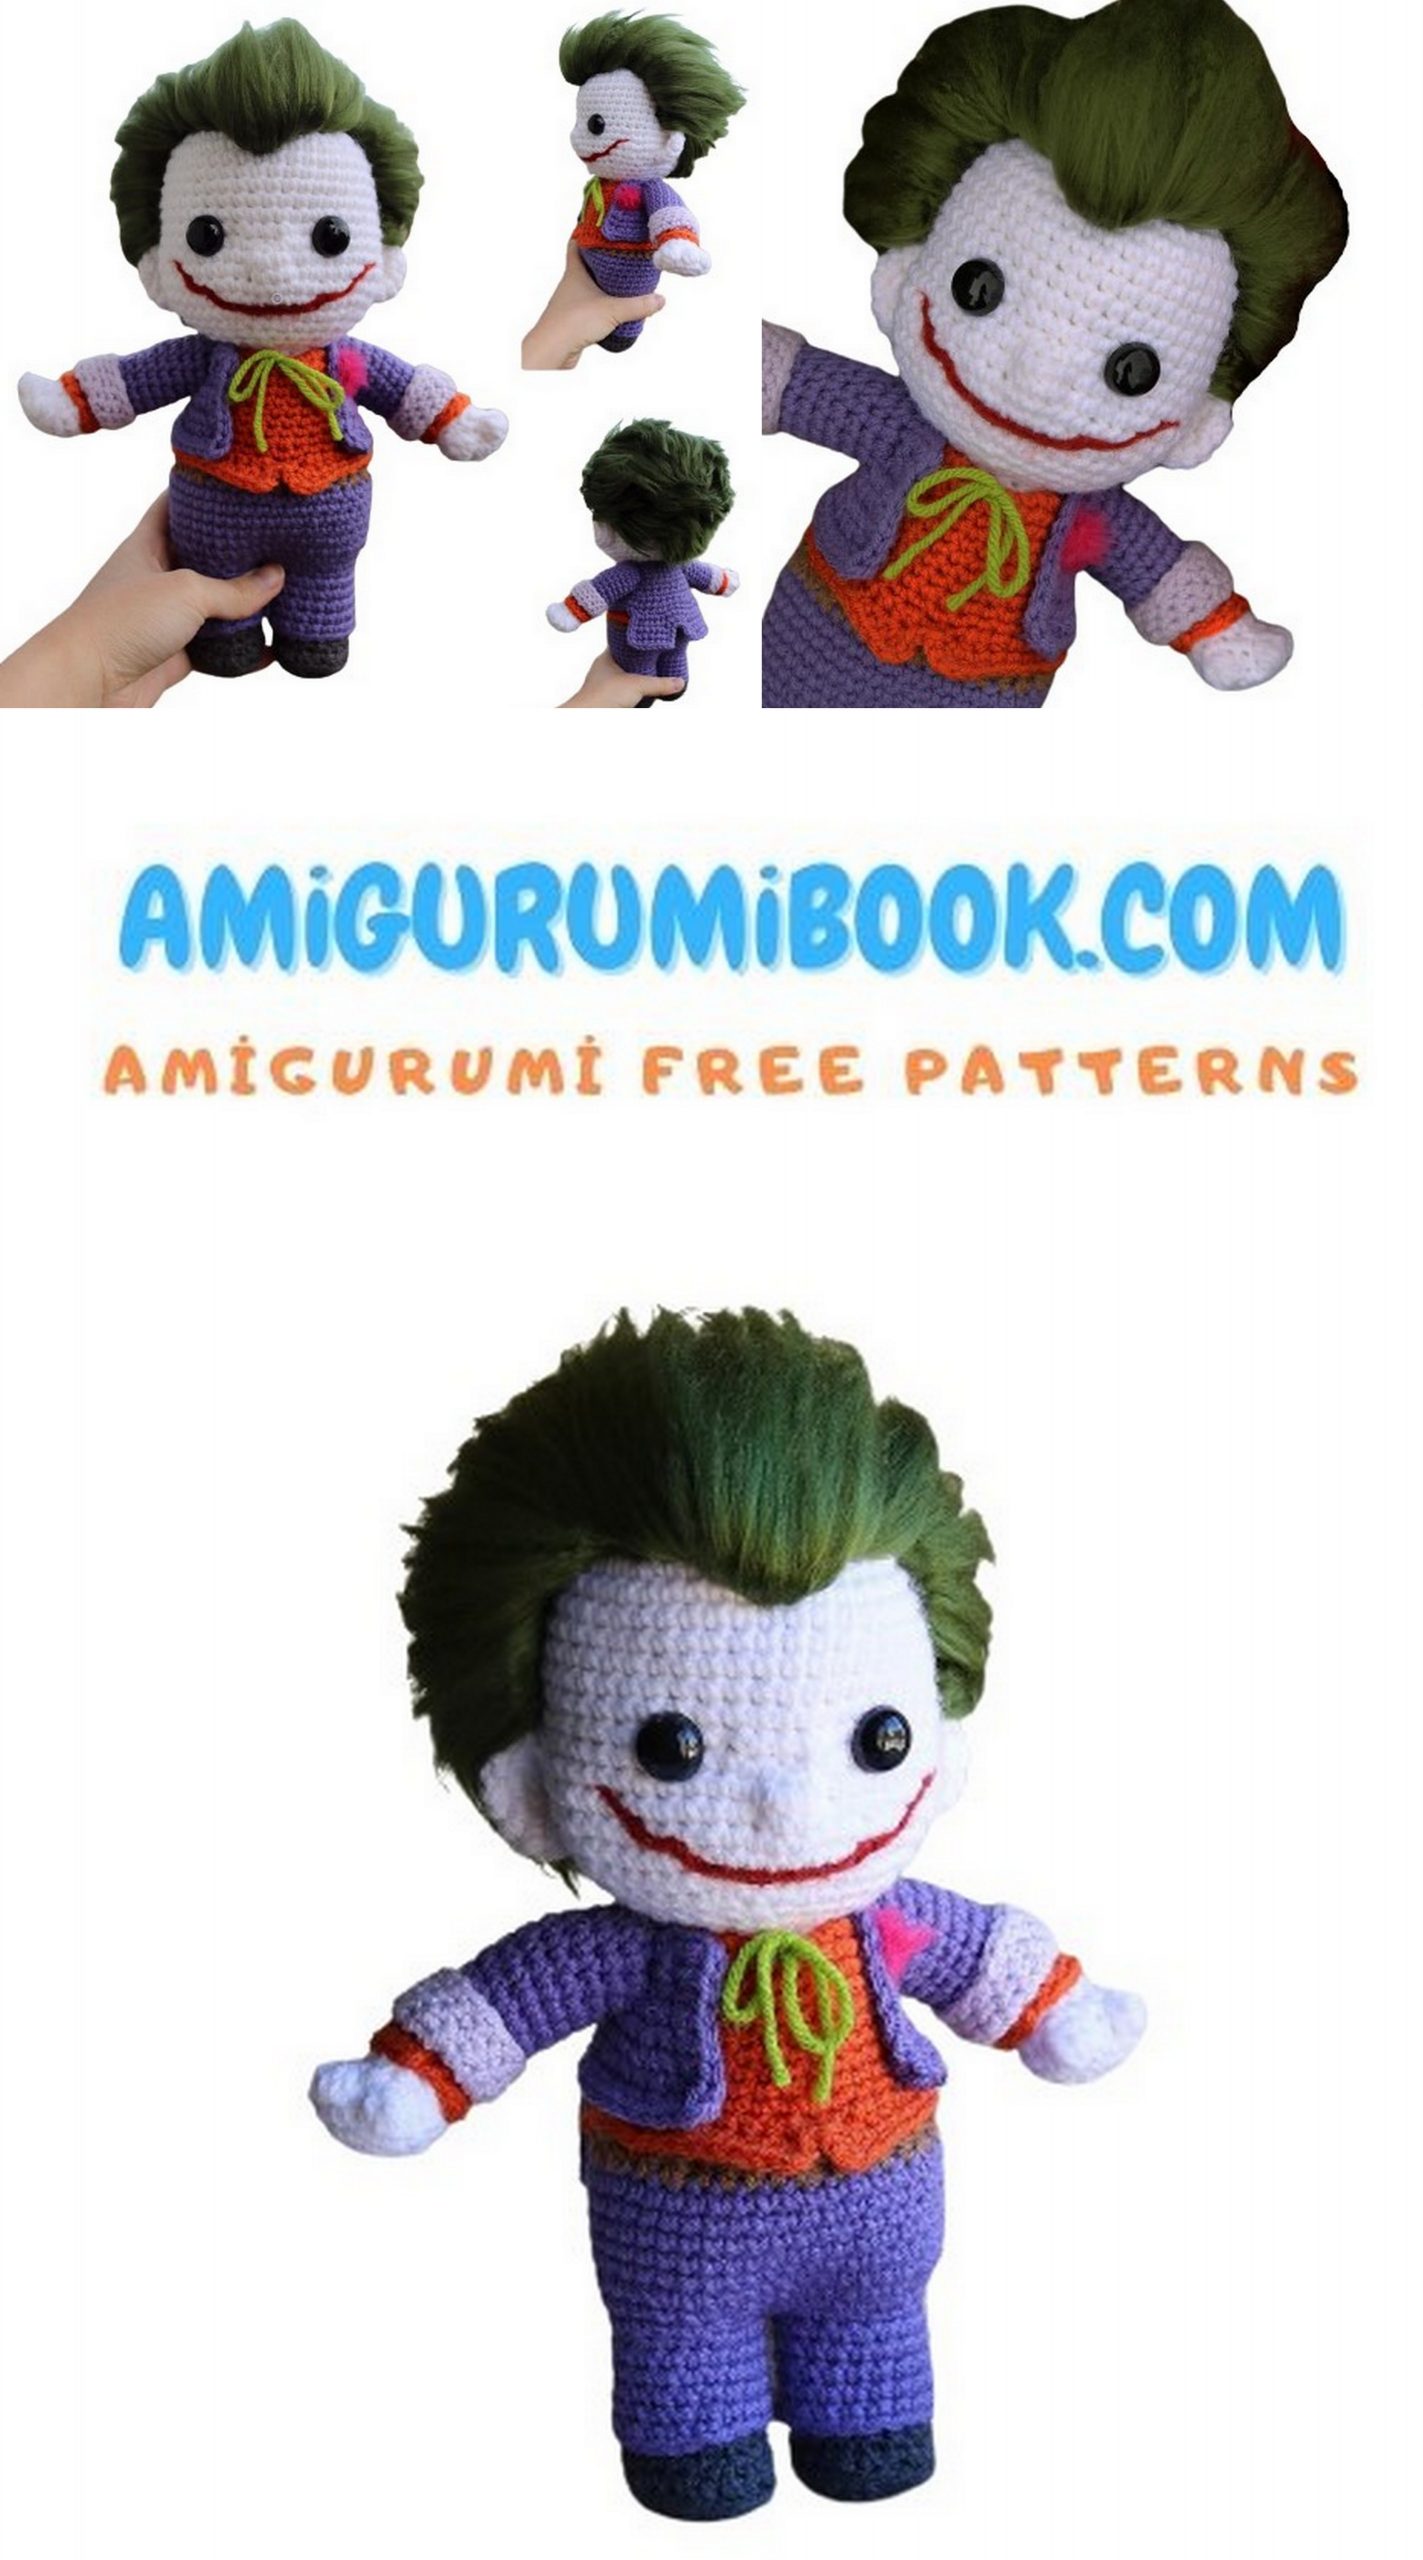
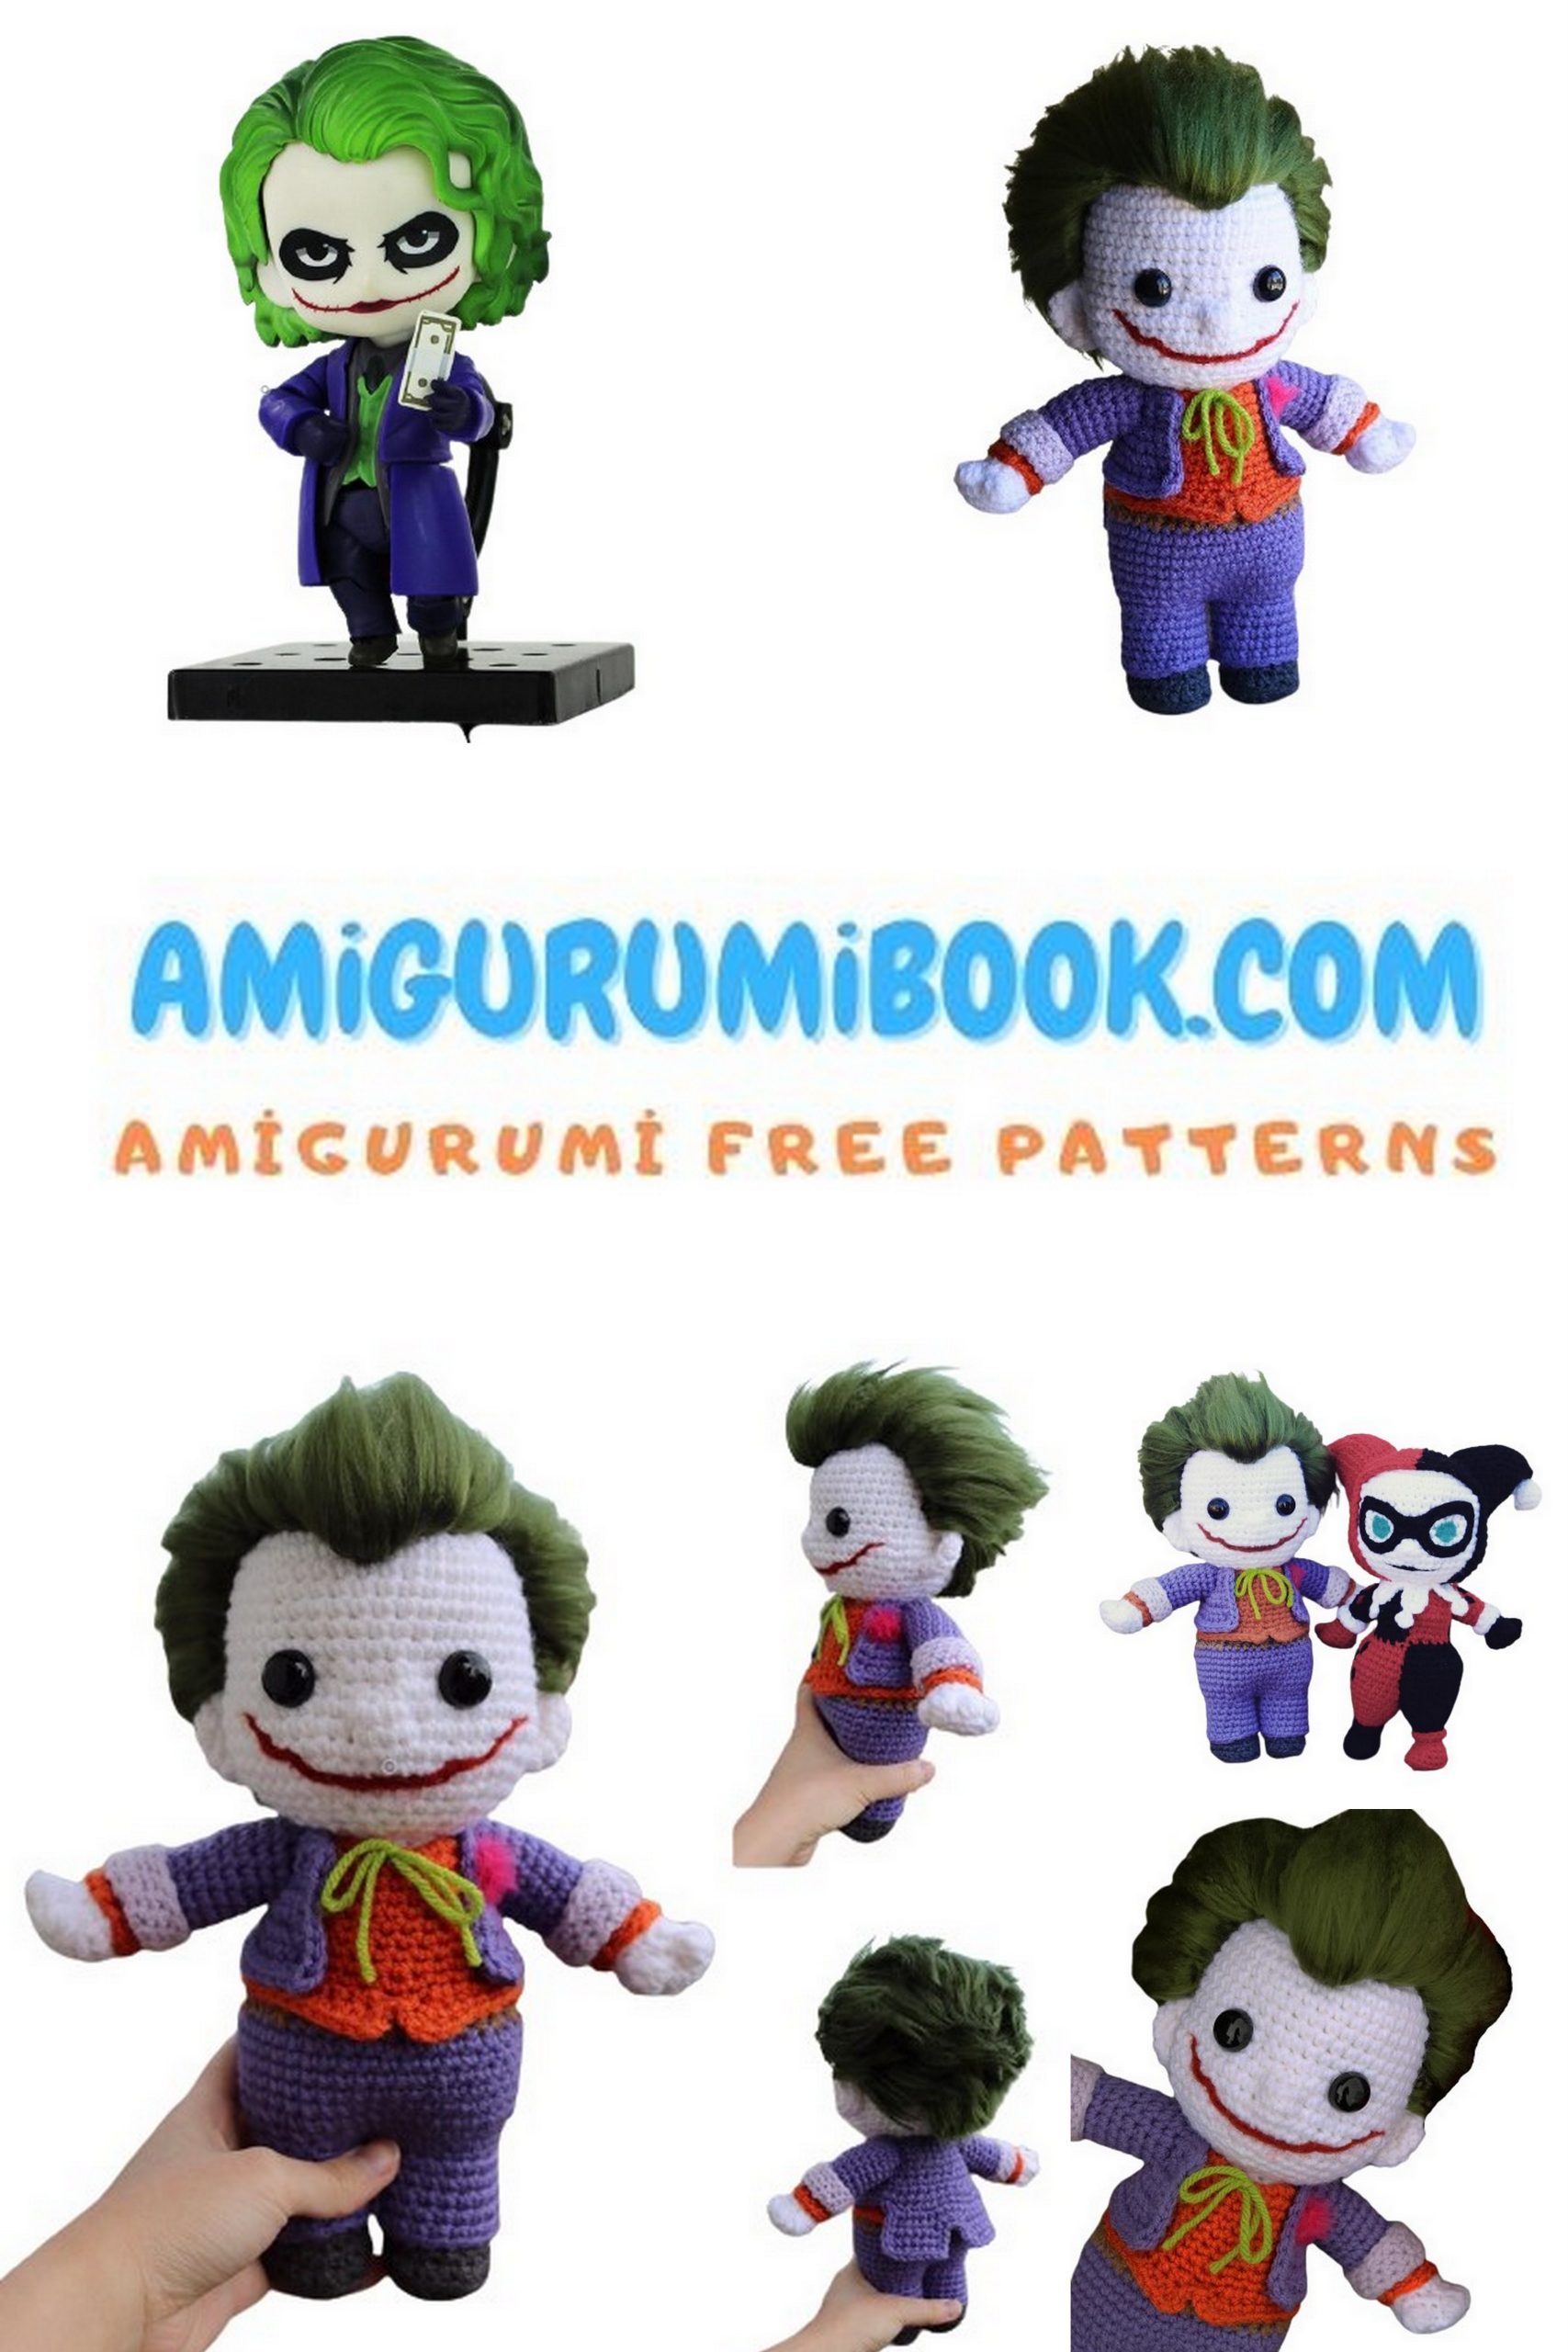
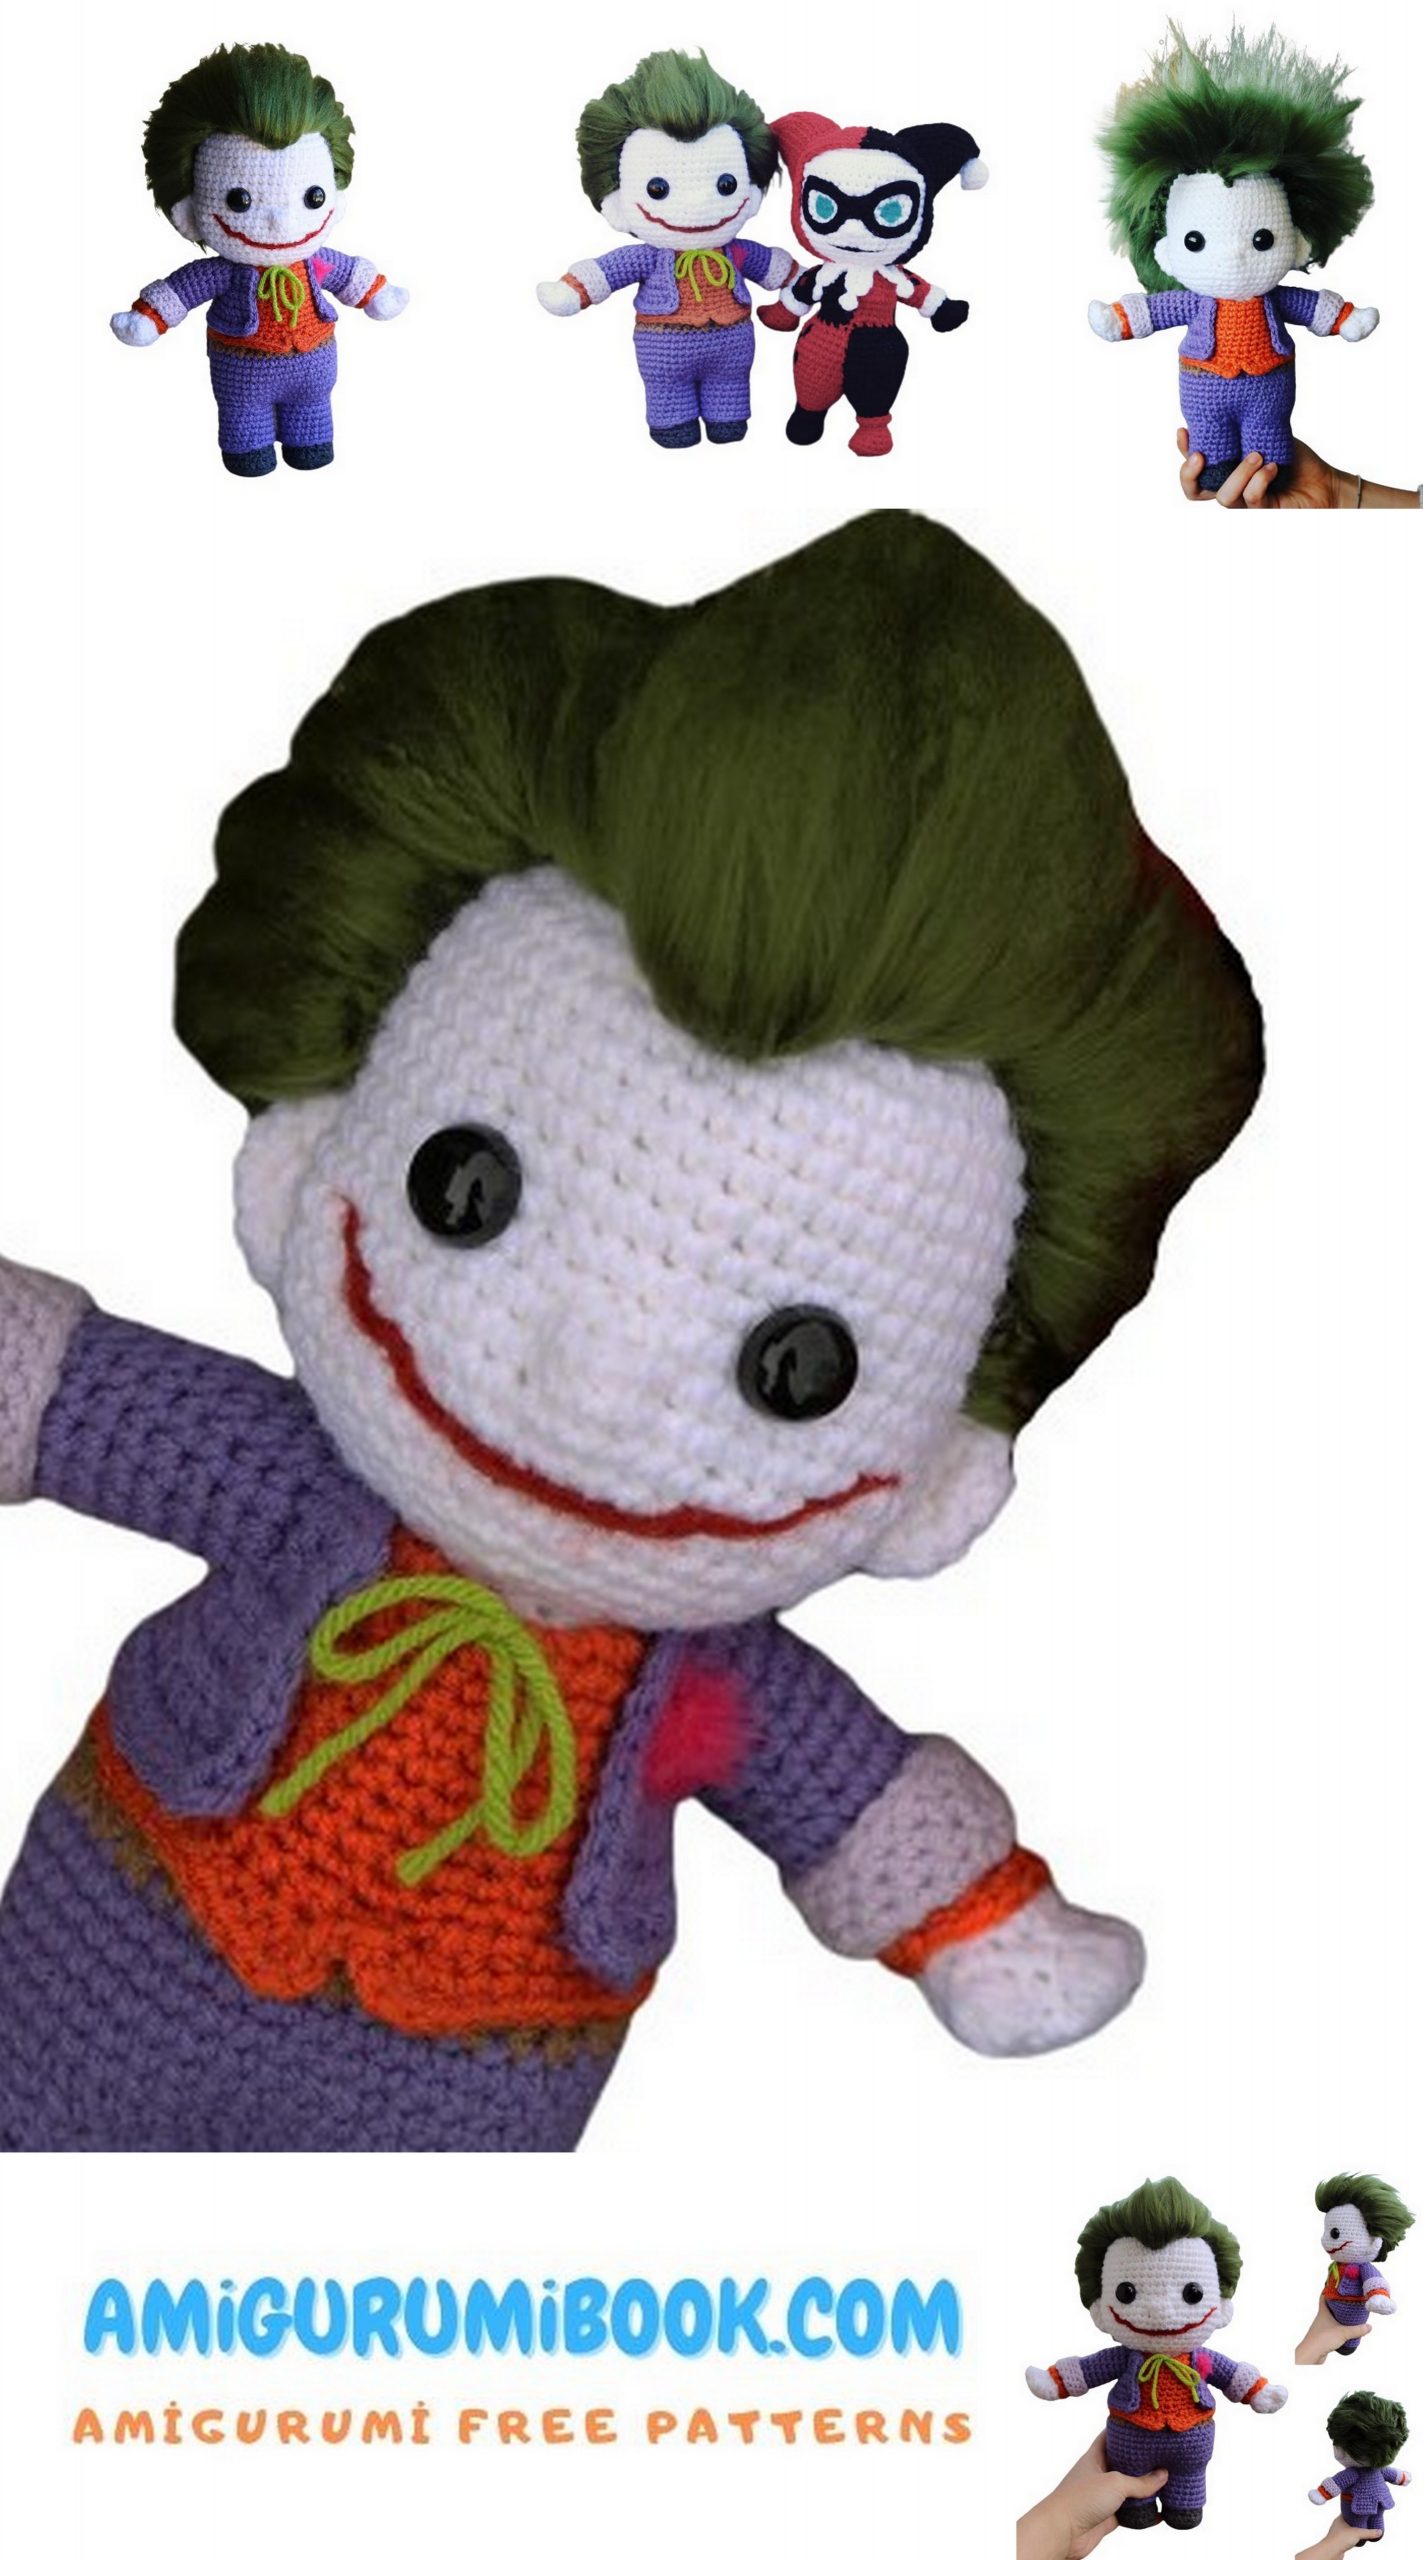
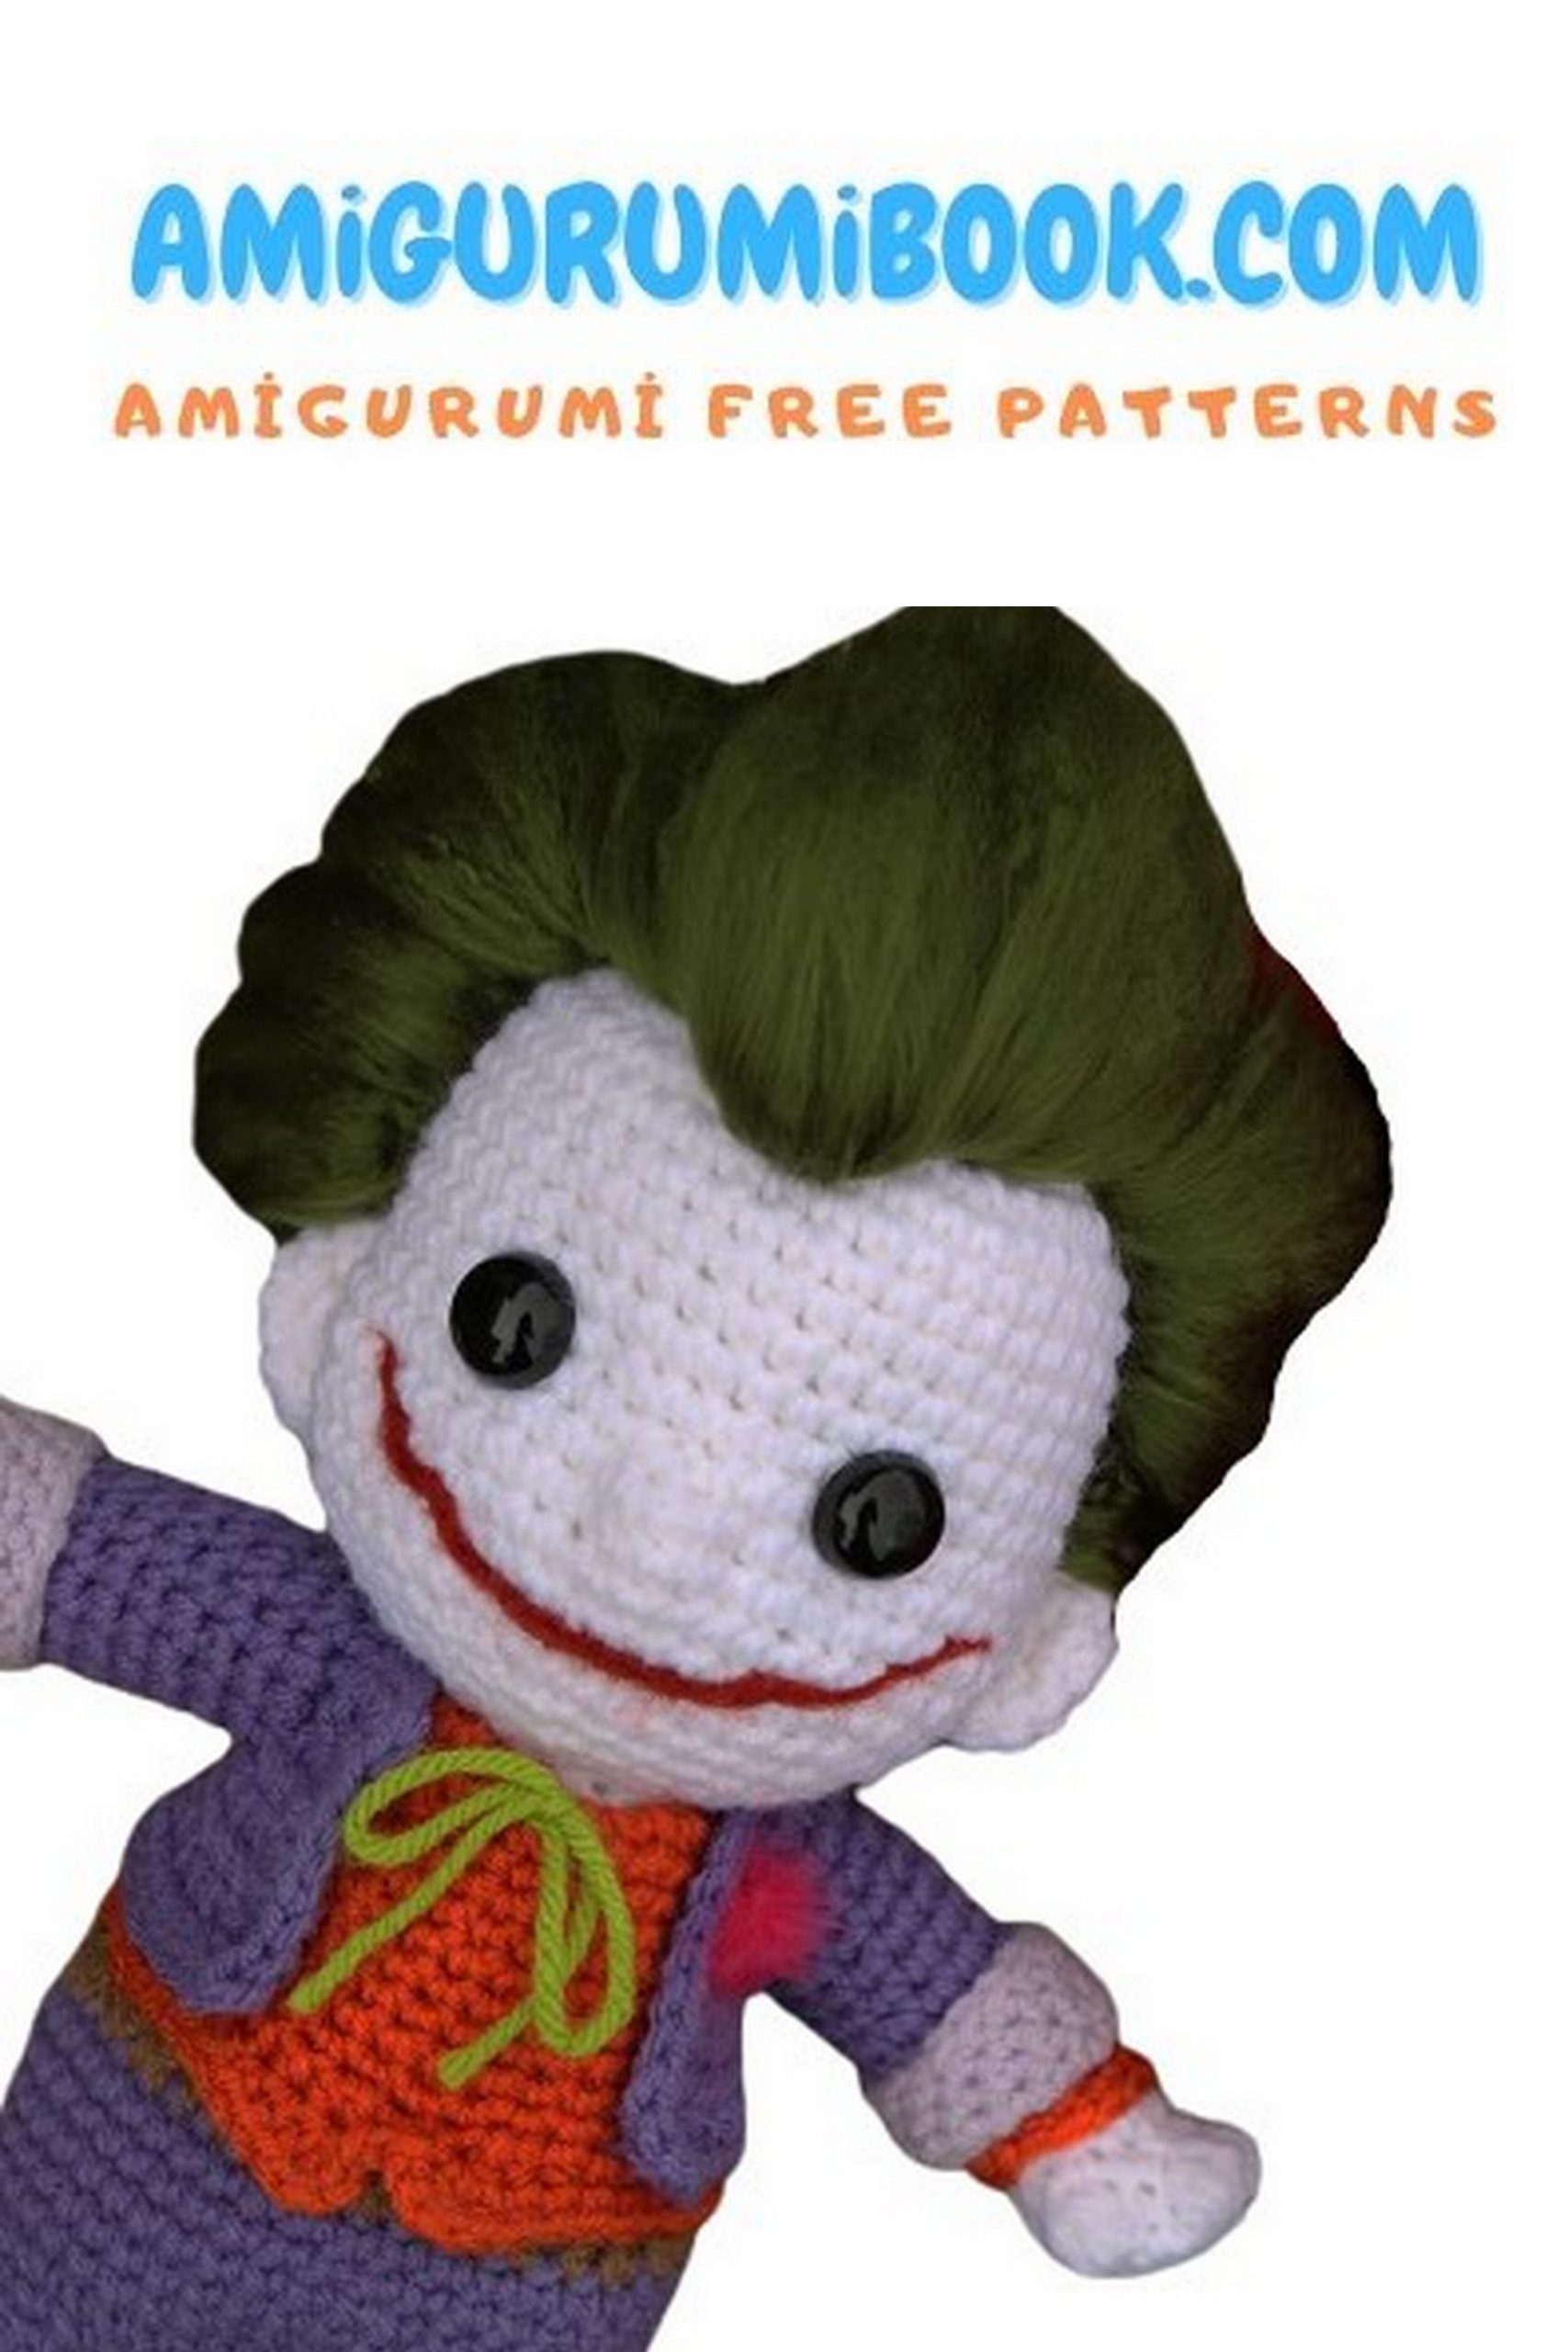
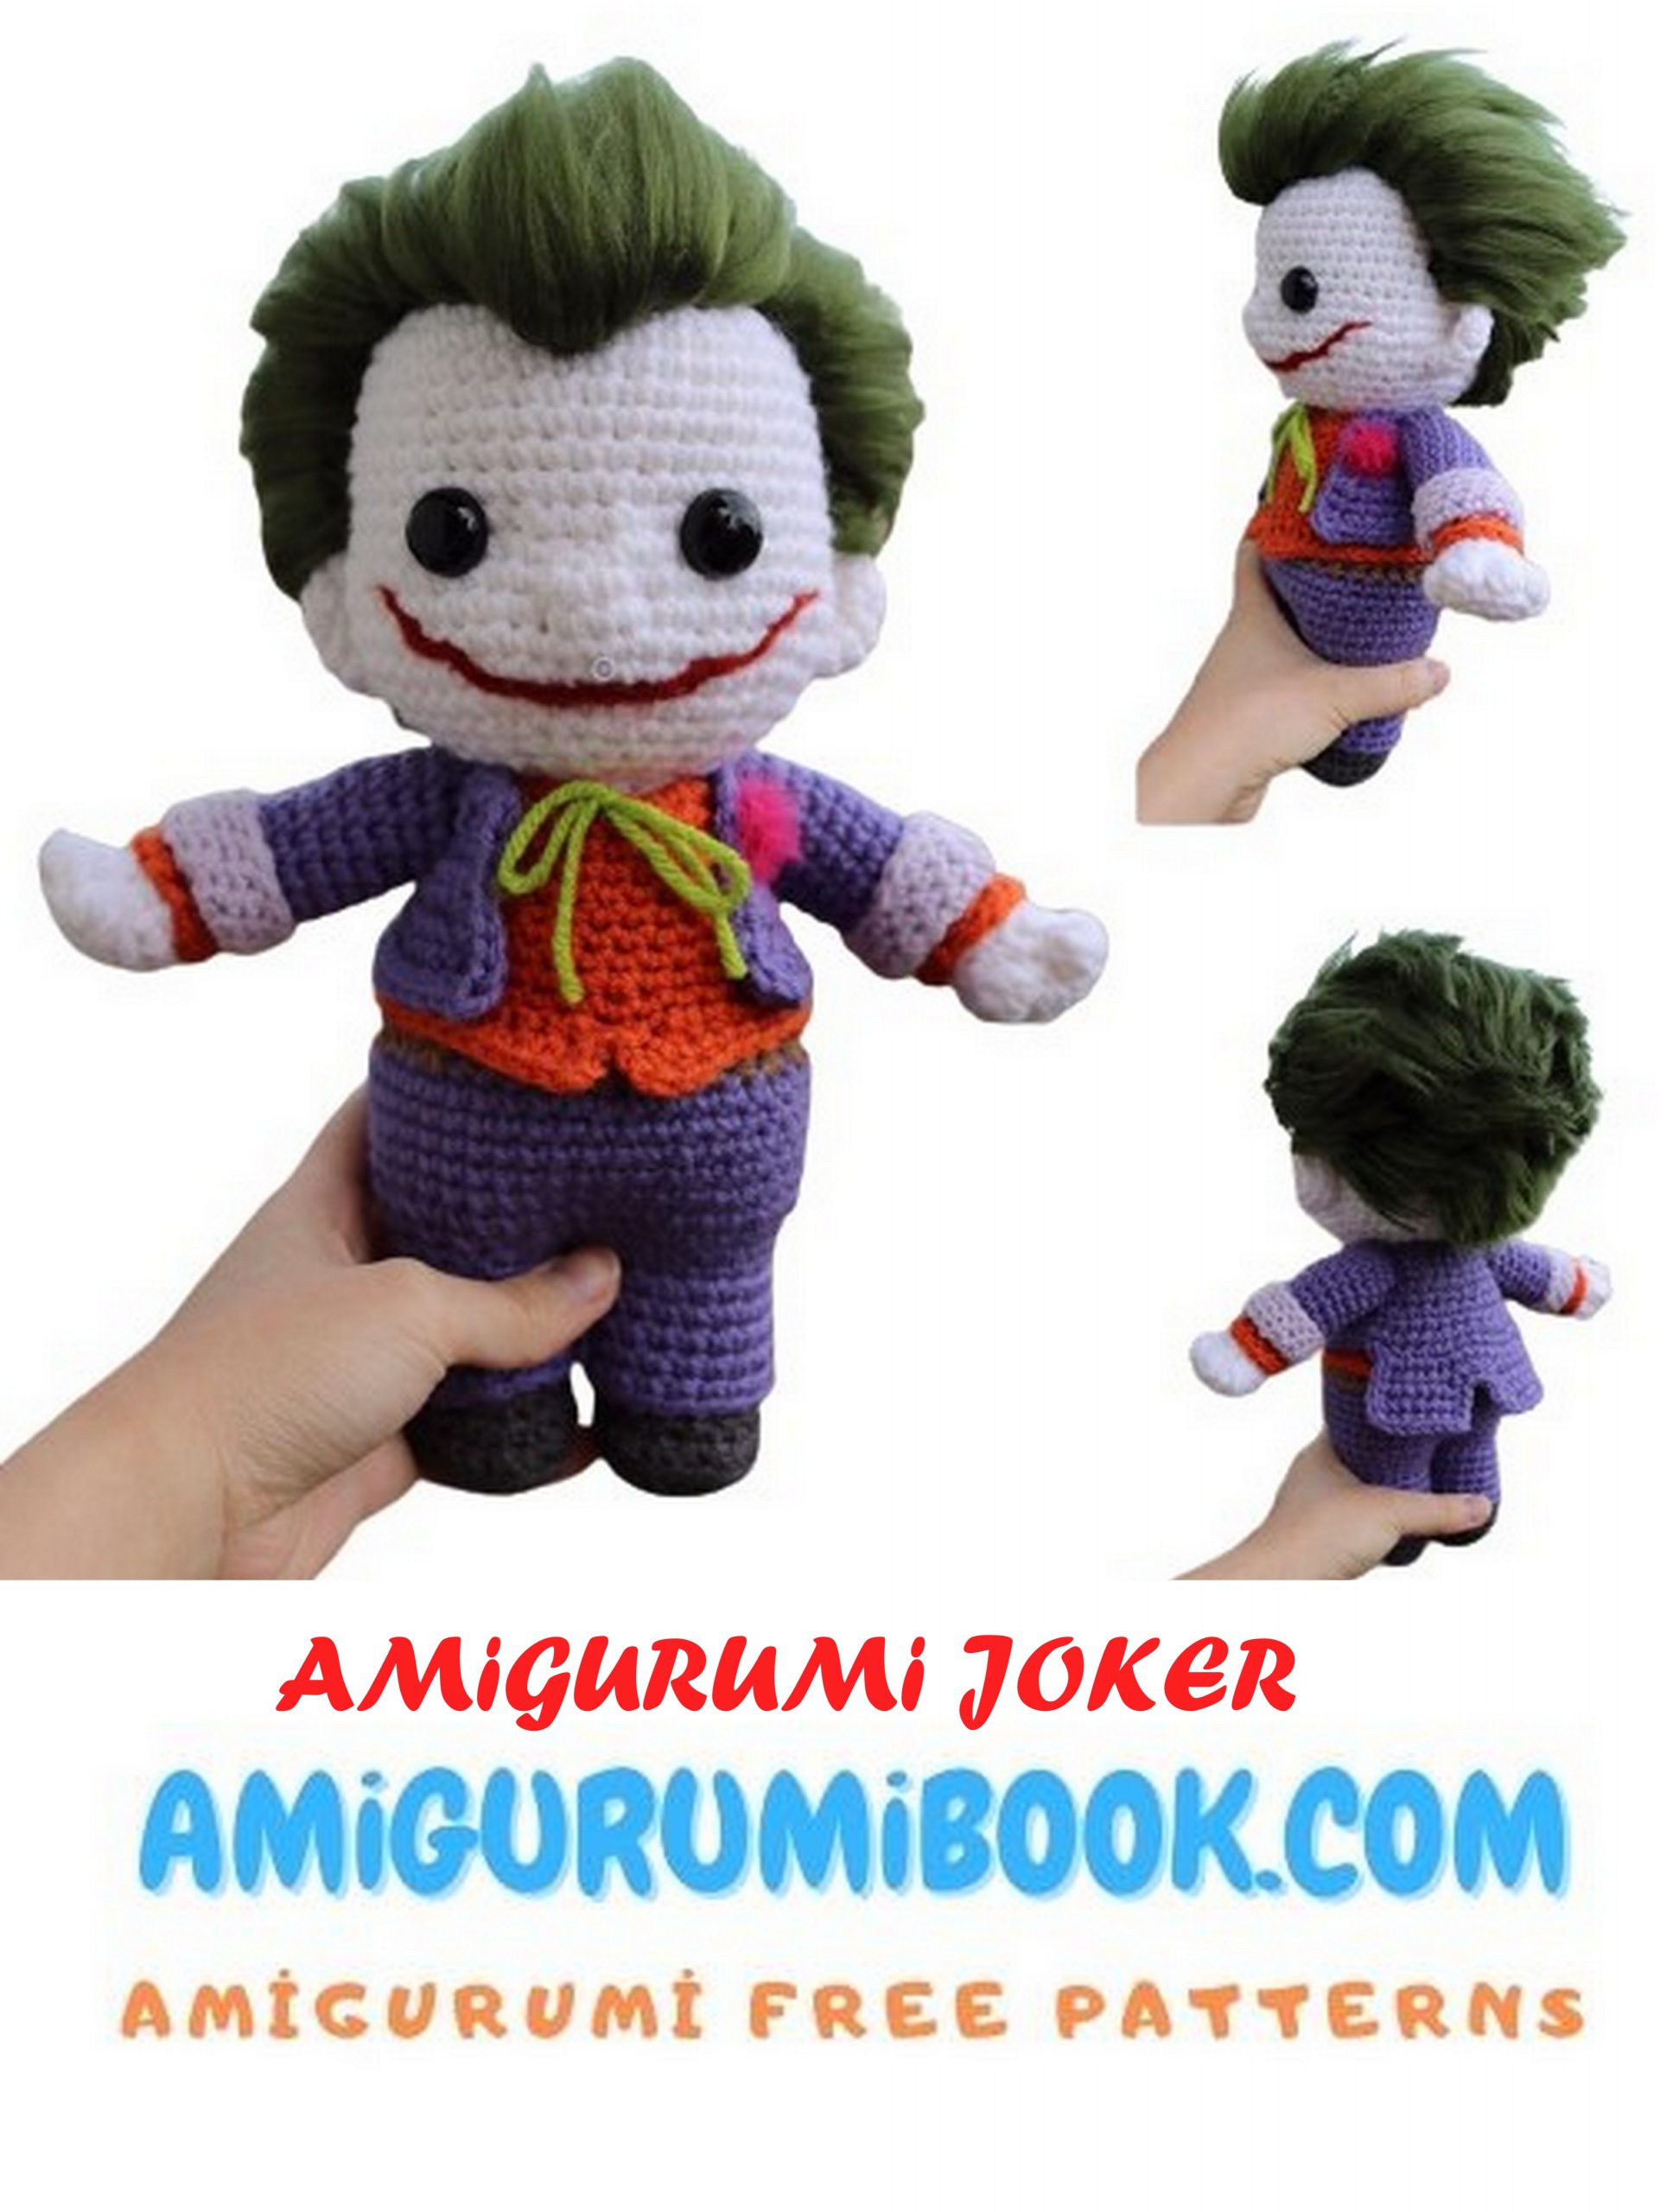
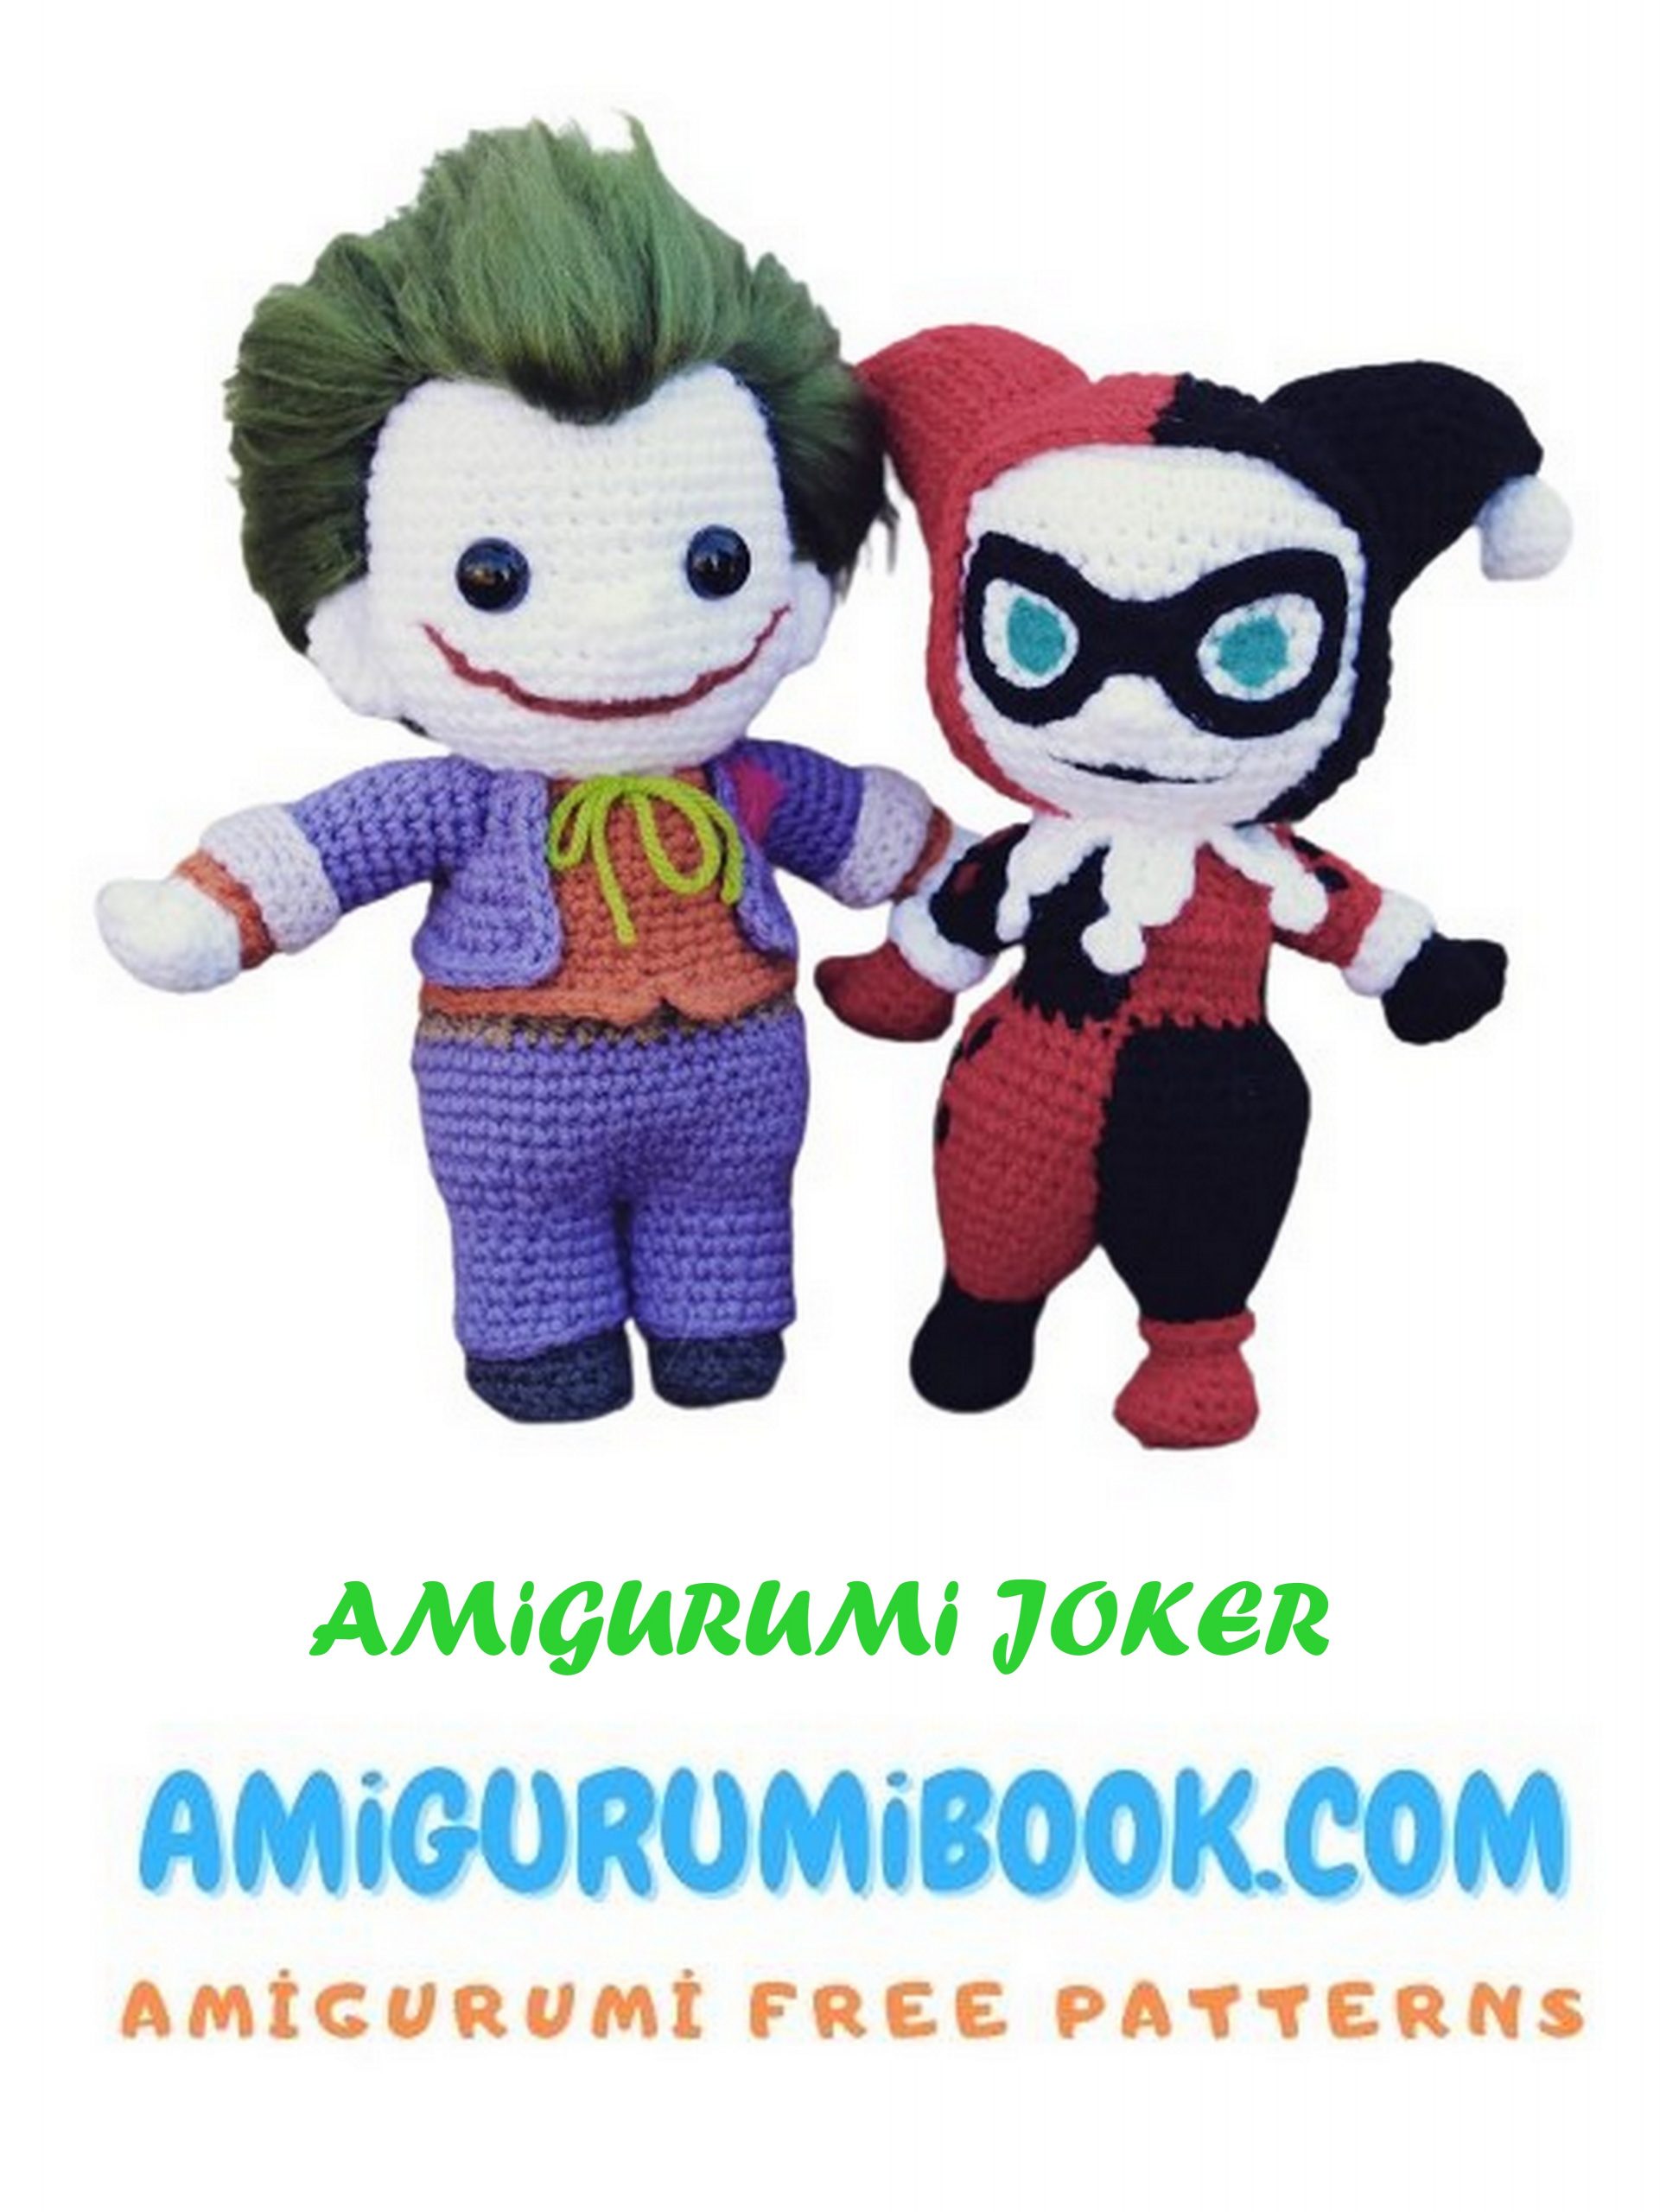
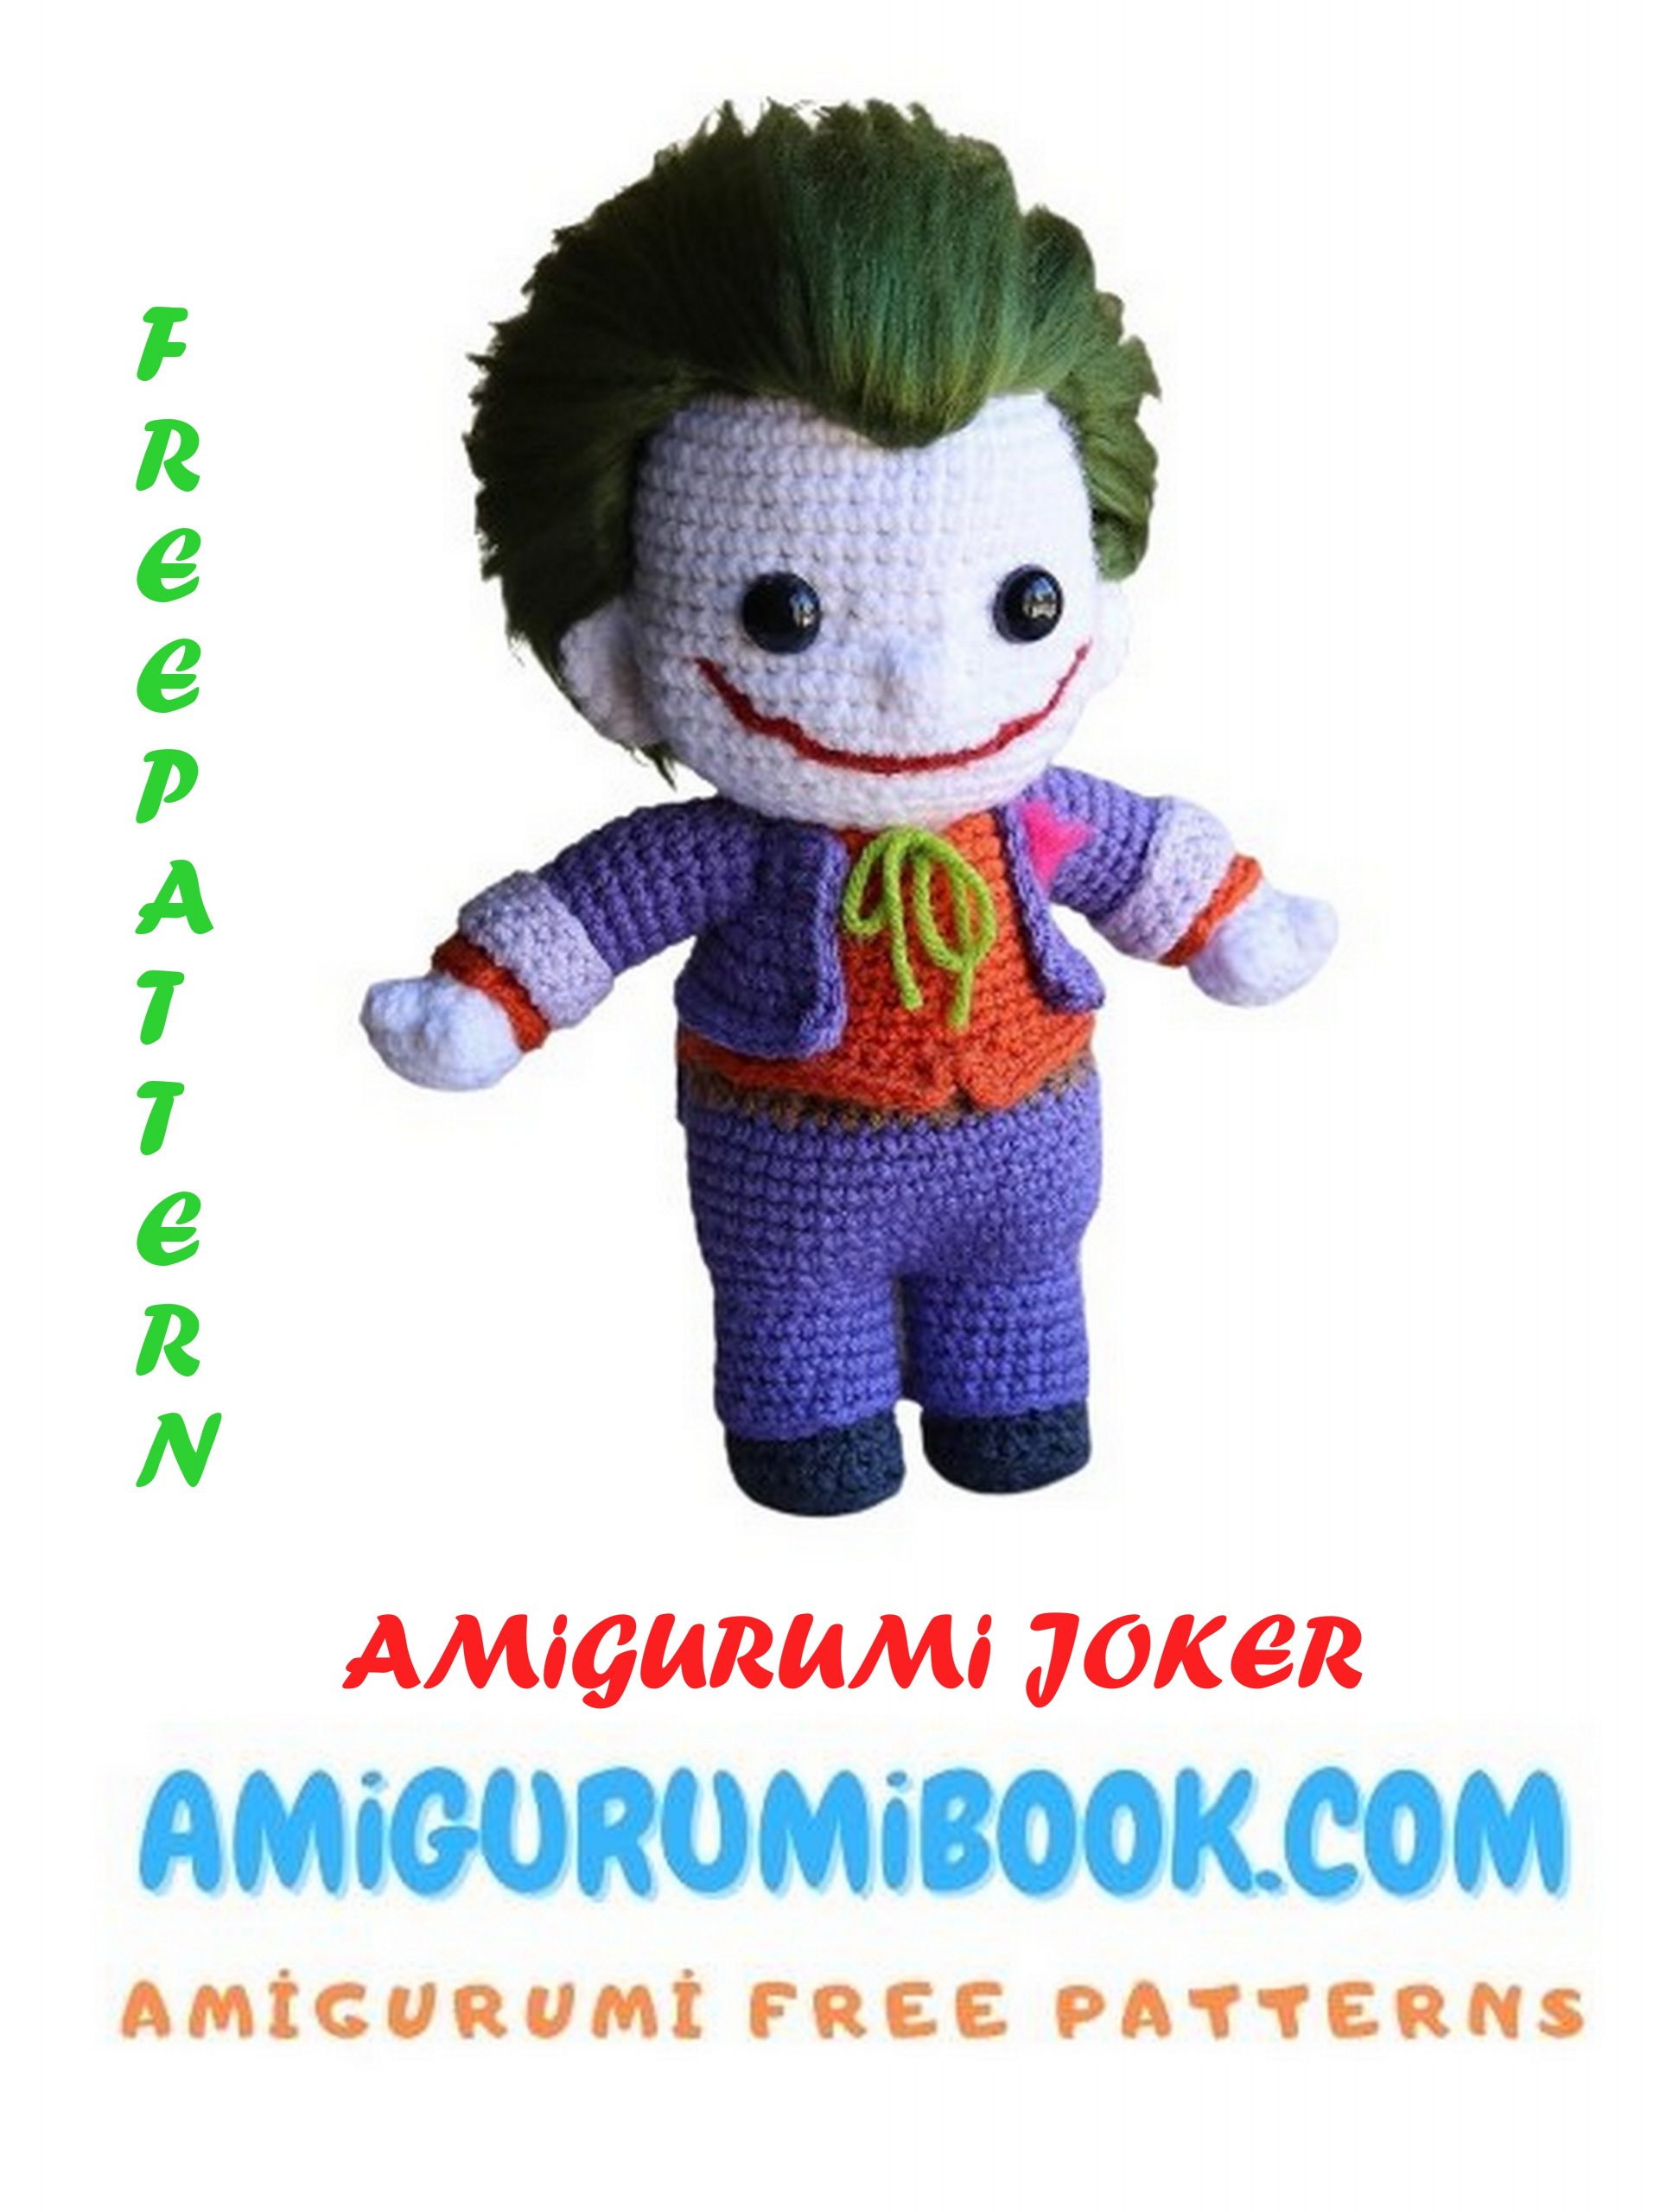
Free amigurumi patterns are waiting for you; You can make joker amigurumi free pattern in this article.
For this Joker amigurumi pattern, you will work continuously in a spiral instead of joining. We start with the legs and work our way up to the top of the head.
Materials:
Purple yarn (worsted weight)
Orange yarn (worsted weight)
White yarn (worsted weight)
Brown yarn (worsted weight)
Black yarn (worsted weight)
Lime green yarn for tie
Green yarn for hair (I used Caron Simply Soft)
Safety Eyes
Red Yarn for mouth
Tapestry needle
Crochet Hook in size G

PATTERN
Legs
Make two, do not fasten off after finishing the second leg. Instead, join with slip stitch to the first leg and continue to make body portion of the doll.
Start with magic circle using black yarn.
Row 1: 6sc in circle (6)
Row 2: 2sc in each (12)
Row 3: *sc in first, 2sc in next* (18)
Row 4: *sc in first 8 sts, 2sc in next* (20)
Rows 5 & 6: sc in each (20)
*change to purple yarn*
Rows 7 – 16: sc in each (20)
DO NOT fasten off on the second leg.
Join legs with slip stitch in the center (see photo), begin to stuff legs. There should be 40 sts to start row 17 (20 sts for each leg).
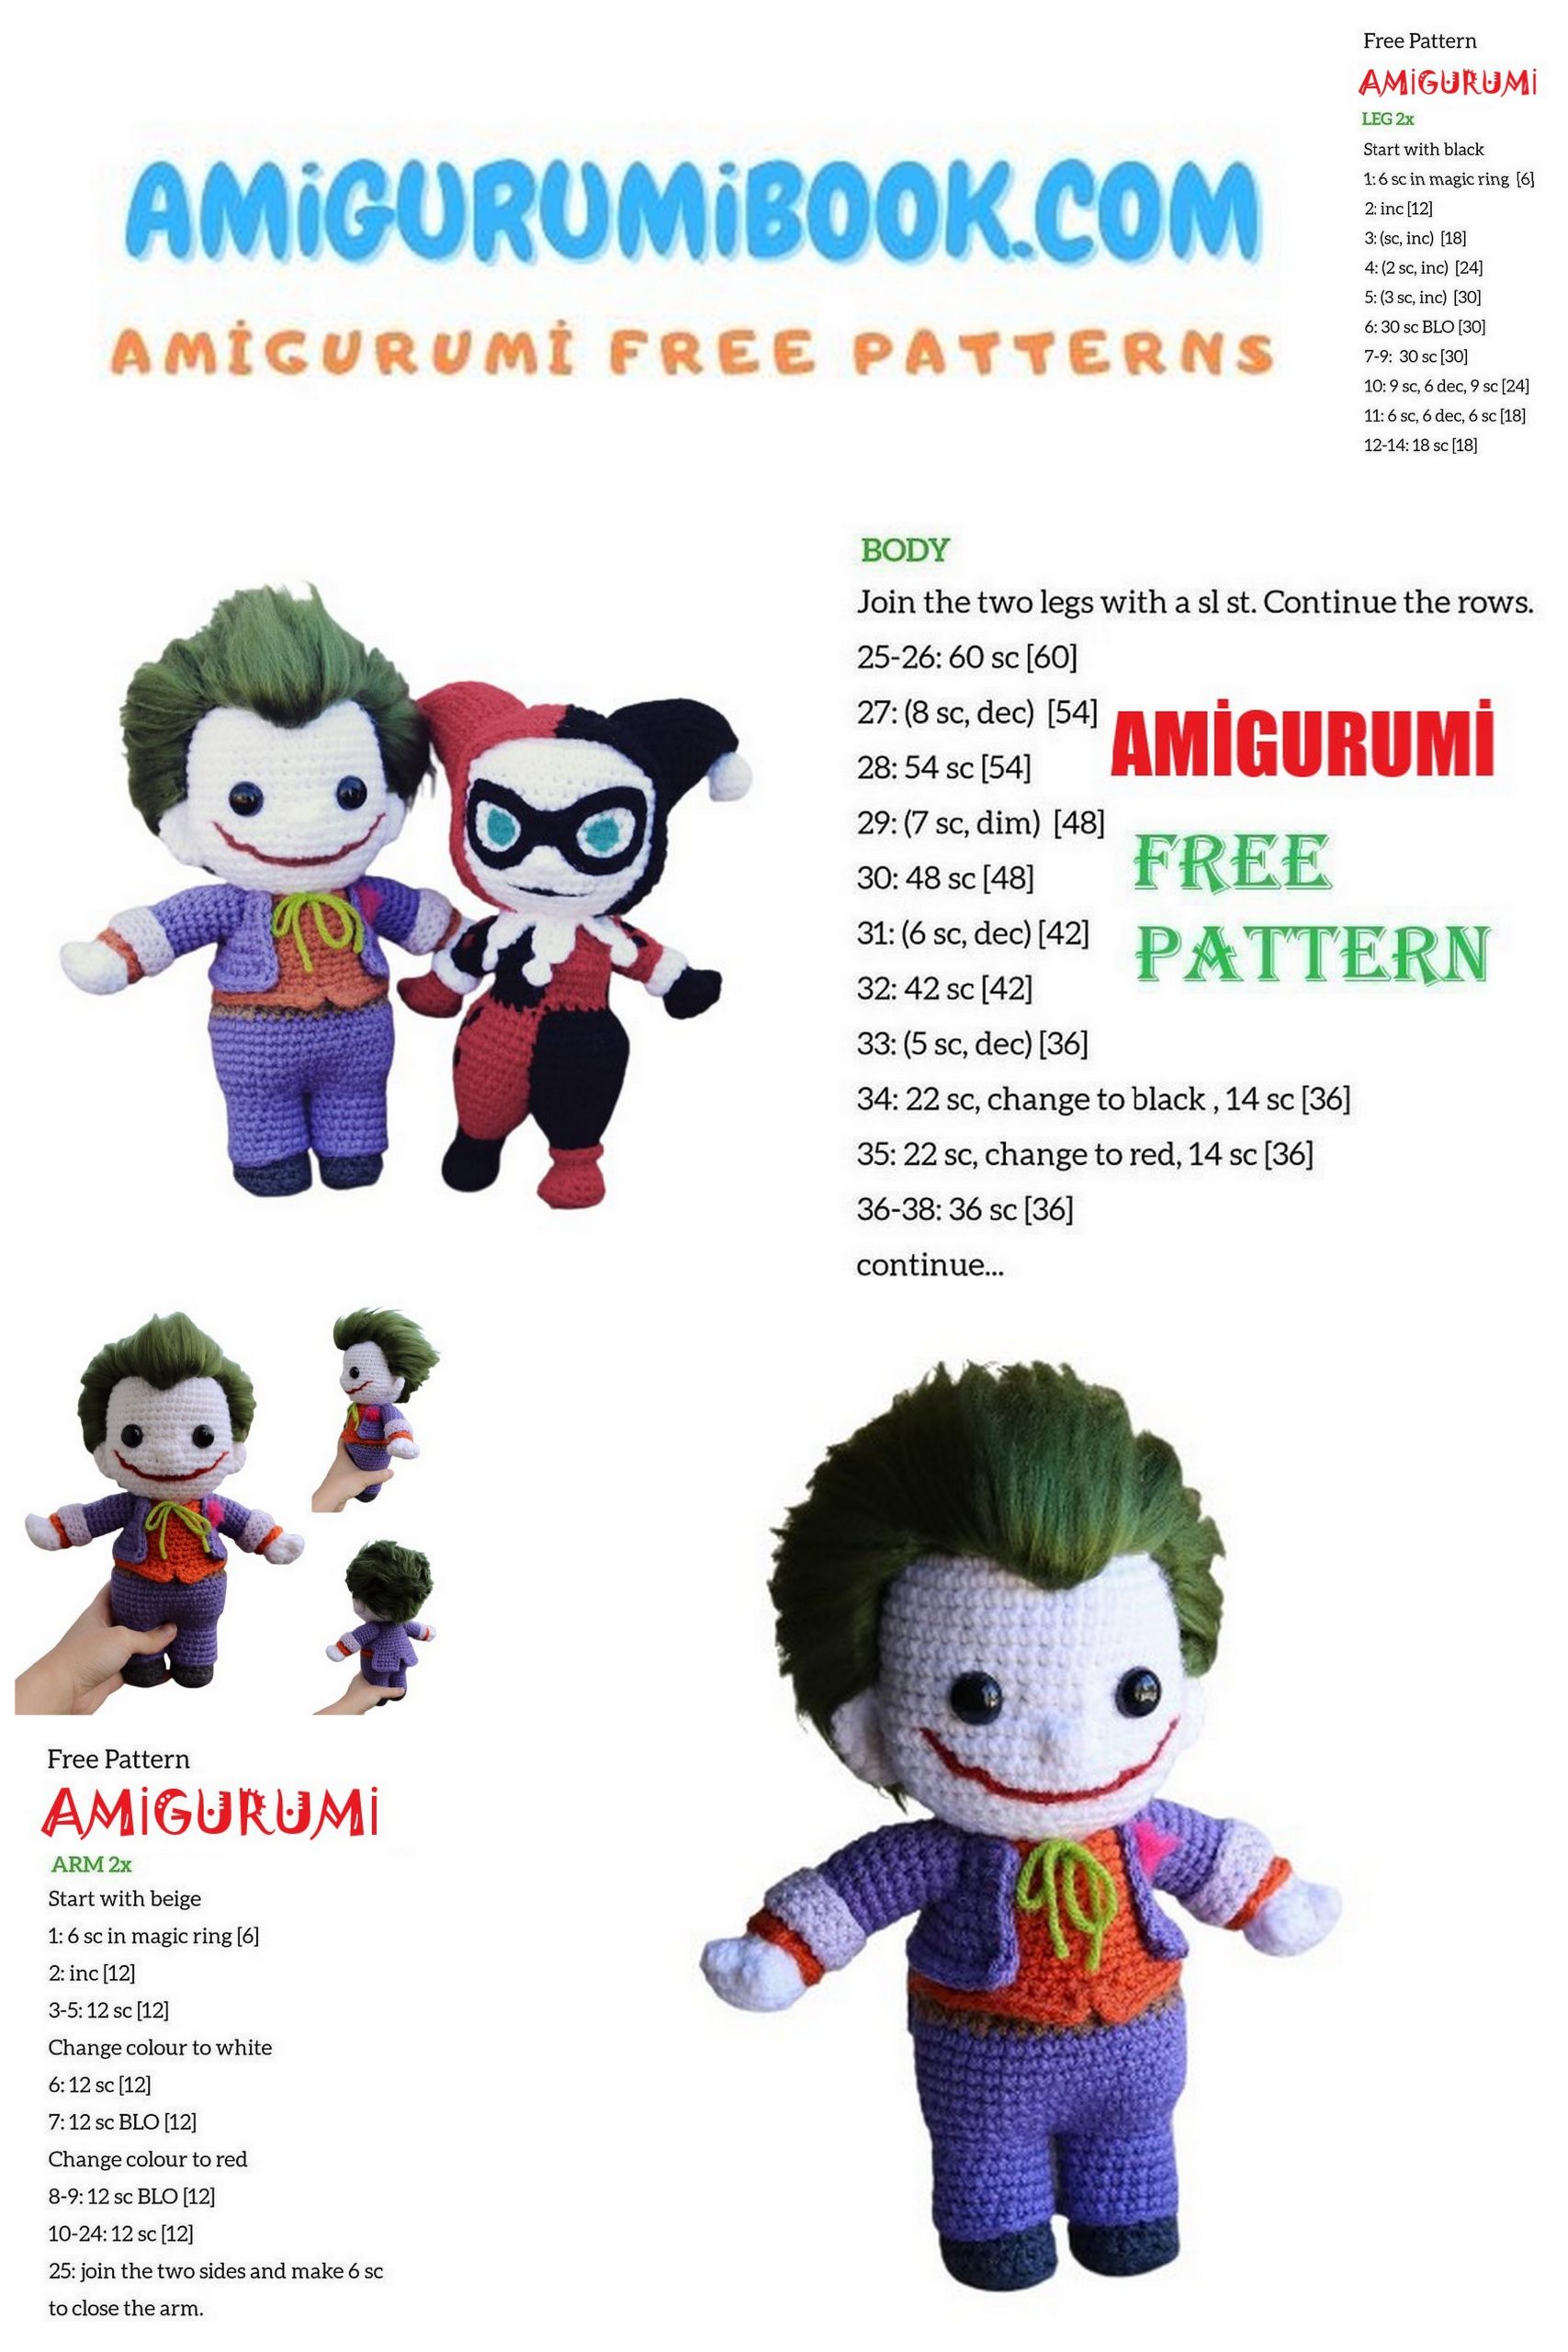
Body
Row 17: *sc in next 3 sts, 2sc in next* (50)
Rows 18 – 23: sc in each around (50)
Row 24: continuing your sc around, but instead of counting your sts, take the purple sc alllll the way to the MIDDLE of the doll’s back. (this will help with st counts as we continue, plus it looks prettier in the middle 🙂 )
* change to brown yarn*
Rows 25 & 26: sc in each around (50)
*change to orange*
Row 27: sc in each around (50)
Row 28: sc in BLO around (50)
*you’ll use the front loop of row 28 for the front shirt tails later
Start decrease for chest
Row 29: sc in first 5 sts, sc2tog, sc in next 5, sc2tog, sc in next 18, sc2tog, sc in next 5, sc2tog, sc in next 10 (46)
Row 30: sc in each around (46)
Row 31: sc in first 7 sts, sc2tog, sc in next 21, sc2tog, sc in next 14 (44)
Row 32: sc in each around (44)
Row 33: sc in first 4 sts, sc2tog, sc in next 3, sc2tog, sc in next 15, sc2tog, sc in next 3, sc2tog, sc in next 11 (40)
Row 34: sc in each around (40)
Row 35: sc in first 5 sts, sc2tog, sc in next 2, sc2tog, sc in next 14, sc2tog, sc in next 2, sc2tog, sc in next 9 (36)
Row 36: sc in first 6 sts, sc2tog, sc in next 17, sc2tog, sc in next 9 (34)
Row 37: sc in each around (34)
Row 38: sc in first 10 sts, sc2tog, sc in next 8, sc2tog, sc in next 12 (32)
Row 39: sc in each around (32)
Beginning jacket next, keep stuffing the doll as you go, continue on…
Row 40: continuing with orange, sc in first 18 sts, *change to purple* sc in next 26 sts. Ch-1,
TURN.
Row 41: sc in BLO of each purple st around. Ch-1, turn. (26)
Row 42: 2 sc in first st, sc in next 24, 2sc in last. Ch-1, turn. (28)
Row 43: 2sc in first st, sc in next 26, 2sc in last. Ch-1, turn. (30)
Row 44: 2sc in first st, sc in next 28, 2sc in last. Ch-1, turn. (32)
Row 45: 2sc in first st, sc in next 30, 2sc in last. Ch-1, turn. (34)
Rows 46 & 47: sc in each around. Ch-1, turn. (34)
Row 48: 2sc in first st, sc in next 32, 2sc in last (36)
Fasten off.
Flaps on jacket
Looking down at jacket (with his legs facing away from you) attach purple yarn in 12th st.
Row 1: sc in next 14. Ch-1, turn. (14)
Rows 2-9: sc in first 6 sts. Ch-1, turn. (6)
Row 10: sc in each, fasten off and weave in end. (6)
*first (right) flap finished* Attach yarn on underneath/inside of jacket, leaving two sts between flaps.
Row 1: sc in next 6 sts. Ch-1, turn.
Row 2 – 8: sc in first 6 sts. Ch-1, turn.
Row 9: sc in each. (6)
*second (left) flap finished*
INSTEAD of fastening off, continue to sc around the edges to the front of the jacket. When you reach the end/collar, fasten off and re-attach at the other collar. Continue sc around to complete the jacket border.
DONE with jacket!
At this point, go ahead and weave in ALL of your ends throughout the entire doll, if you have not already. Next, we’ll add his orange front shirt tails.
Orange shirt tails
With the feet facing away from you, attach orange yarn to the the MIDDLE of his back, where your yarn color changes from brown to orange. (you’re working into the front loop from row 28 on body)
***for this row you you will probably need to adjust your sc sts to make sure the center of his shirt (the sl sts) ends up on the center of his body. The important thing is to have your hdc and dc and sl sts line up***
Sc in next 18 sts, hdc in next 3 sts, dc in next 3 sts, sl st in next 2 şts (should be very center of his belly), dc in next 3, hdc in next 3, sc in next 18 and join. Weave in end.
DONE with body!
The last row of the body/neck (row 39 above) should have ended with 32 sts. Attach white yarn to the top of HIS left collar (the right side of the orange shirt if you’re looking at him) and work in the spiral looking at him (not inside).
start head here
Head
Row 1: *sc in first 2 sts, 2sc in next* (44)
Row 2: *sc in first 3 sts, 2sc in next* (54)
Rows 3 – 10: sc in each st around (54)
Row 11: sc in each st around, when you get to the CENTER of his face do a bobble st (for nose) and continue sc around
Row 12: sc in each st around (54)
Row 13: sc in each st around, attaching safety eyes 10 sts apart (5 sts on each side of his nose), continue sc around (54)
Rows 14 – 16: sc in each st around (54)
*start decrease*
Row 17: *sc in first 6 ts, sc2tog* (48)
Row 18: *sc in first 5 sts, sc2tog* (41)
Row 19: *sc in first 4, sc2tog* (34)
*begin stuffing head*
Row 20: *sc in first 3, sc2tog* (27)
Row 21: *sc in first 2, sc2tog* (20)
Row 22: *sc in first st, sc2tog* (14)
*continue stuffing head*
Rows 23 and beyond: sc2tog until closed, sew together and weave in ends.
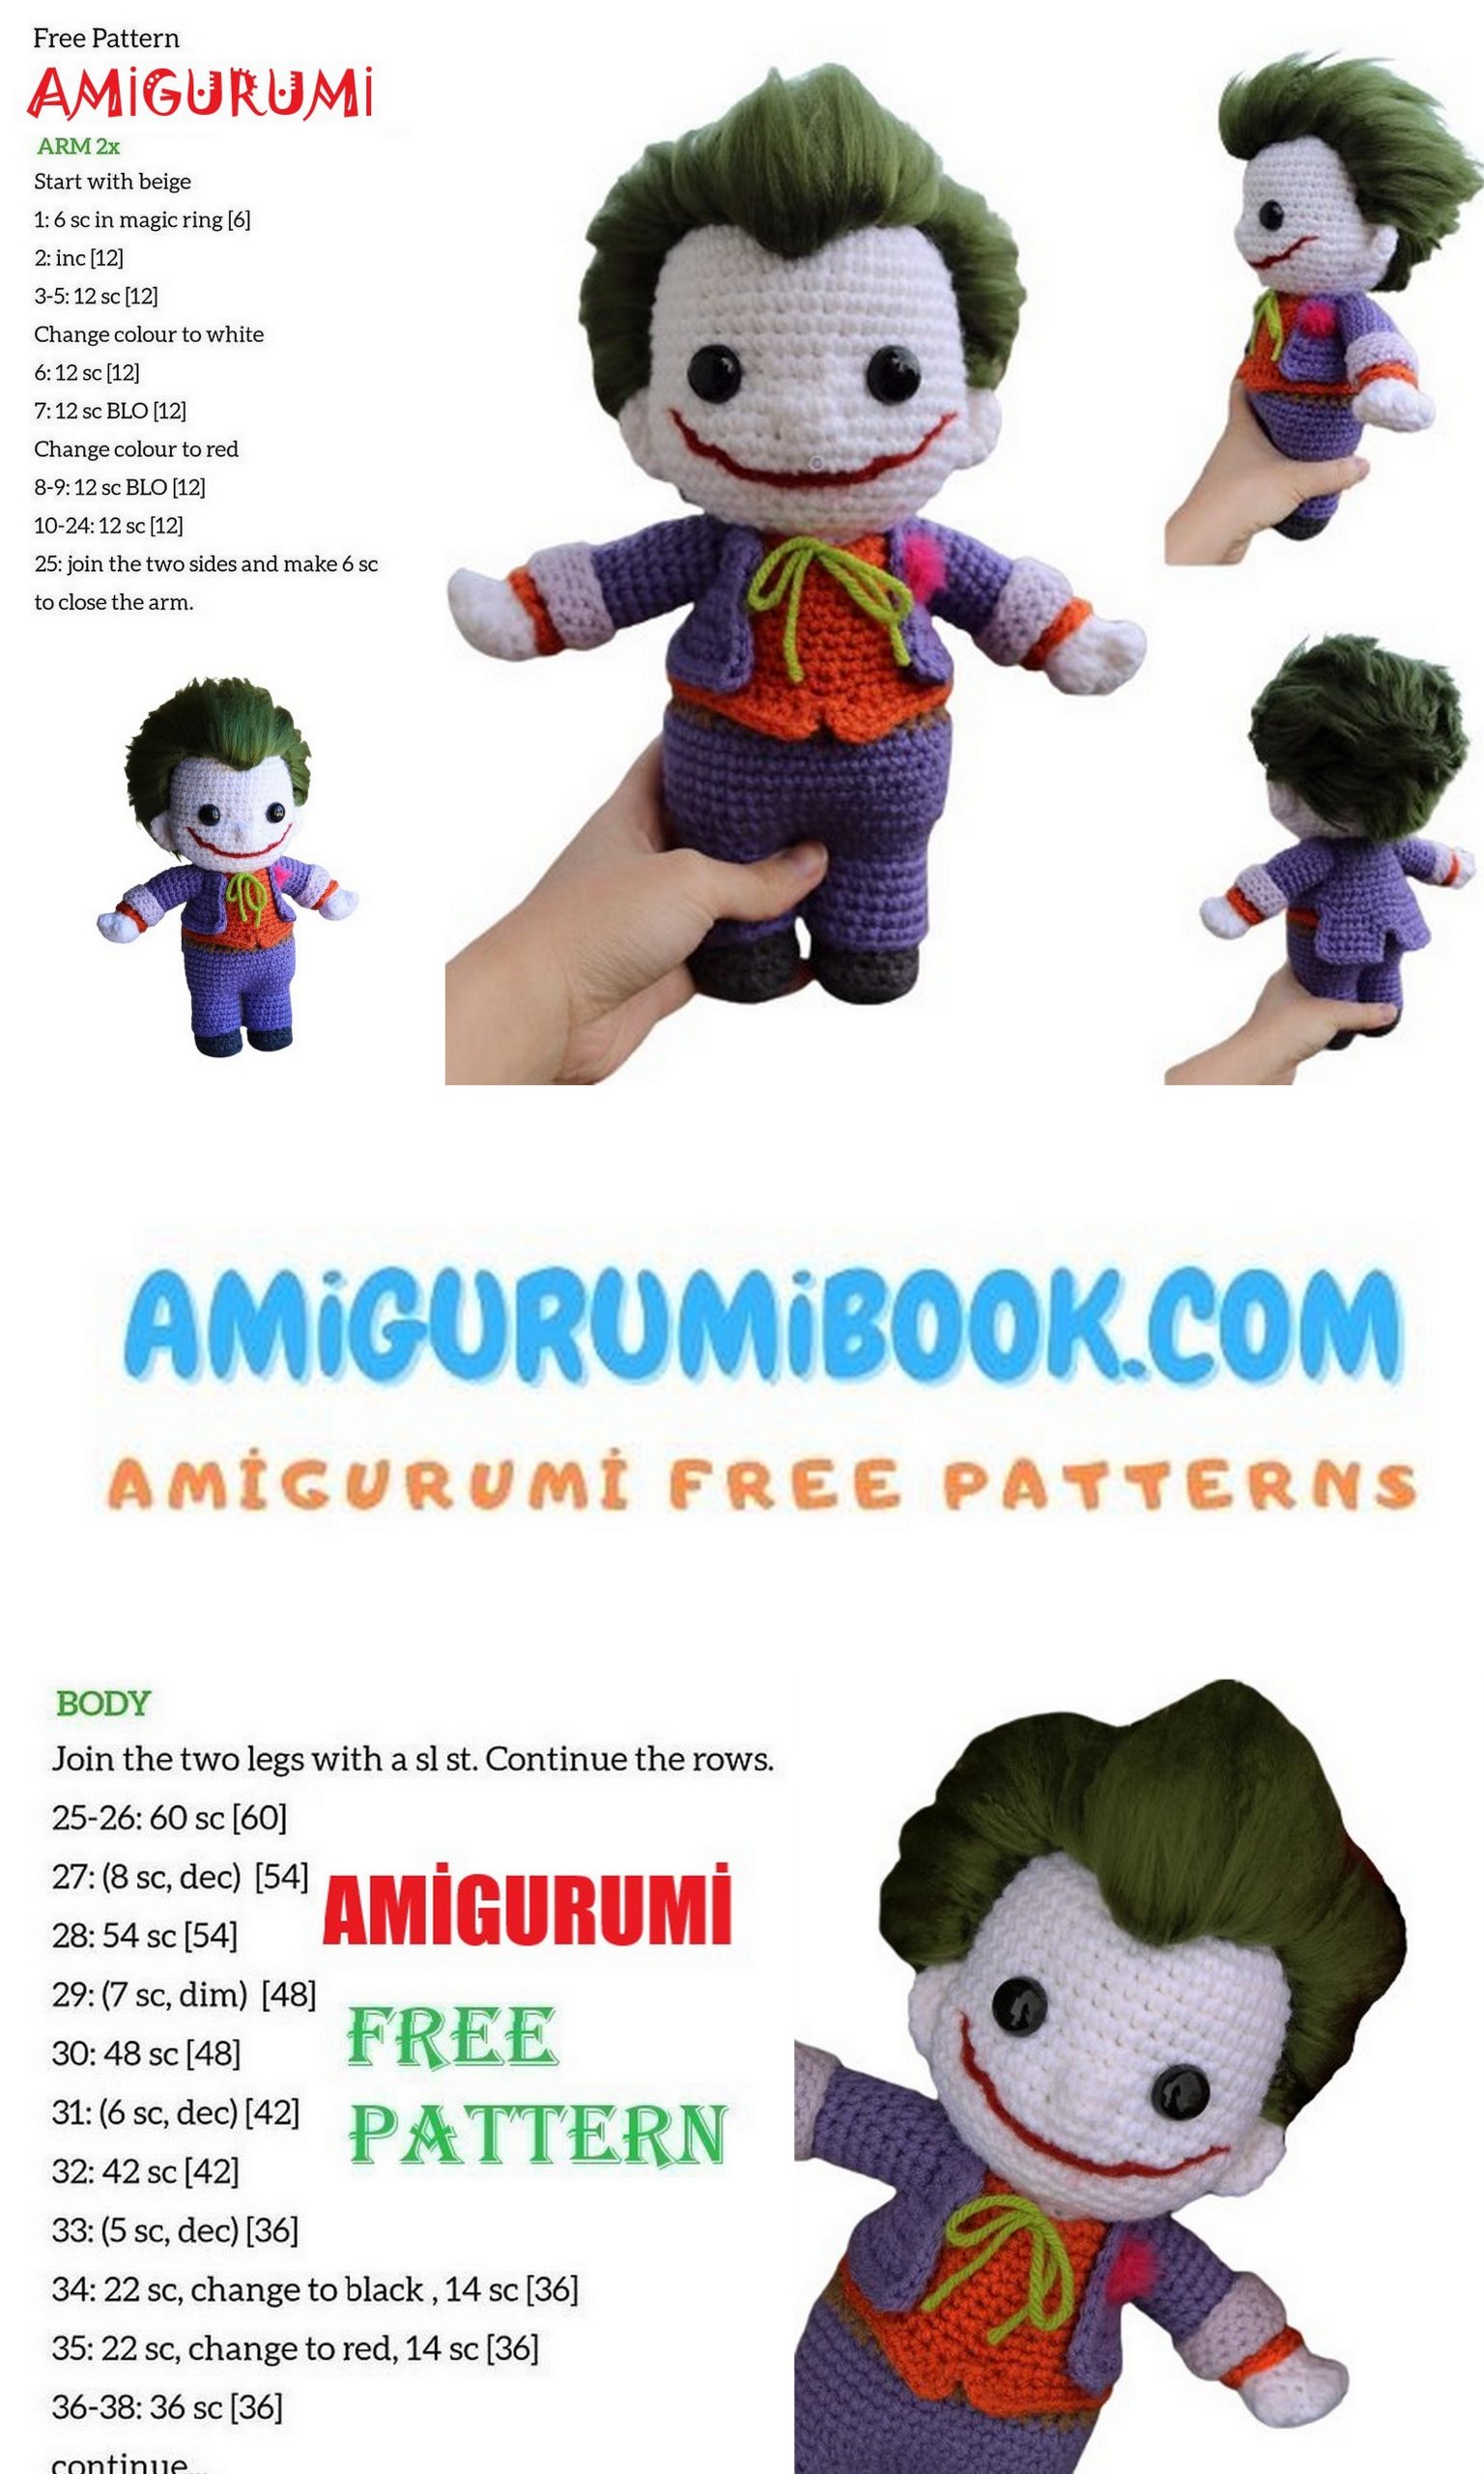
Arms
Make two, beginning with a magic circle and working in a spiral with white yarn.
Row 1: 6sc in circle (6)
Row 2: 2sc in each around (12)
Row 3: *sc in first st, 2sc in next* (18)
Row 4 & 5: sc in each (18)
* change to orange yarn*
Row 6: hdc in each around (18)
Row 7: sc in the 3rd (back back) loop of row 6 (this helps to push the front two loops out to form cuffs)
third loop
Row 8: sc in each around (18)
*change to purple*
Row 9: sc in blo (18)
Rows 10 – 18: sc in each (18)
Row 19: *sc, sc2tog* (12)
Stuff, fasten off leaving long-ish tail for sewing. Attach a lighter purple to the front loop from row 9 with his “hand” pointing toward you. Sc in each around, and do four more sc rows before fastening off. This will appear to be the lining of his jacket, turned up.
Attach arms to body.
Now you’re ALL done except for the ears, hair and smile! Woohoo!
Ears
Make two, using a magic circle with white yarn.
Row 1: 6sc in circle (6)
Row 2: 2sc in each around (12)
Row 3: sc in each around (12)
Fold ear in half, pinch it a little so it’s curved in (like an ear) and sew onto head. I sewed mine with the top of ears lining up to the center of his nose.
Using bright red yarn and a tapestry needle, sew on his smile. This is supposed to look messy, SO don’t overanalyze it.
Next, using green yarn, attach his hair in the manner you prefer. I personally thread my tapestry needle and tie them off securely, one strand at a time. Do as little or as much hair as you like, and trim when finished.
Attach a small piece of red fluff (or a small flower) to his lapel if you choose, and a lime green piece of yarn as his neck tie.