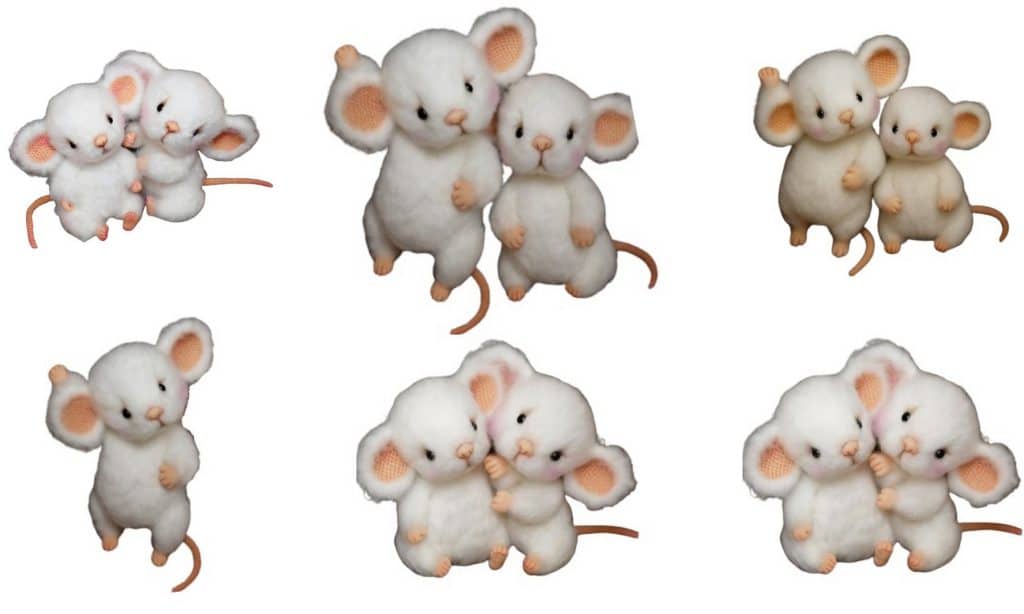
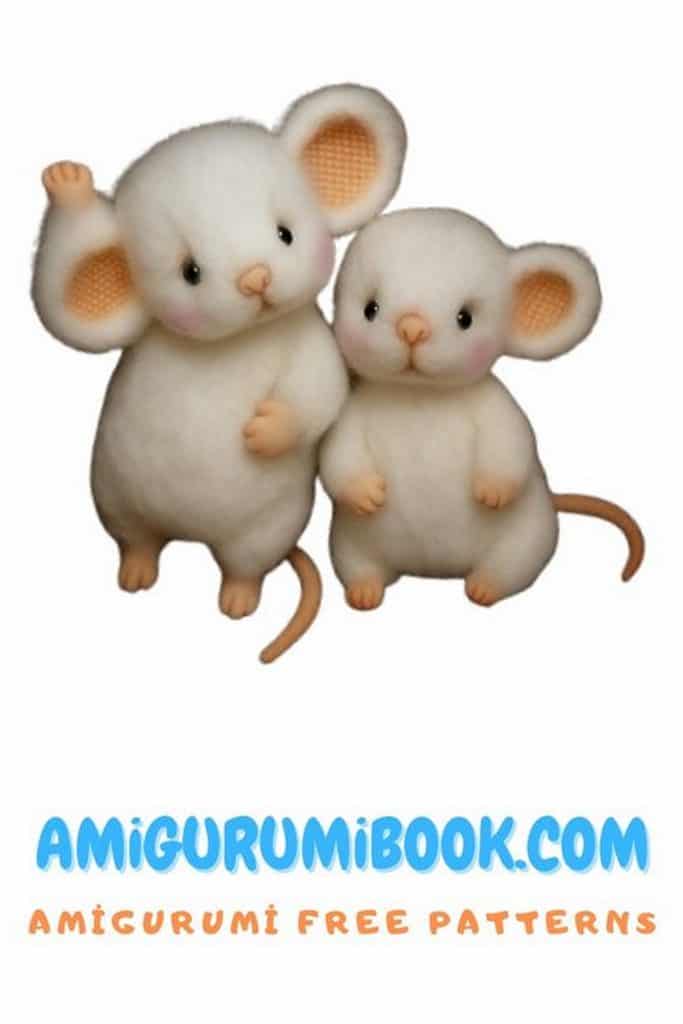
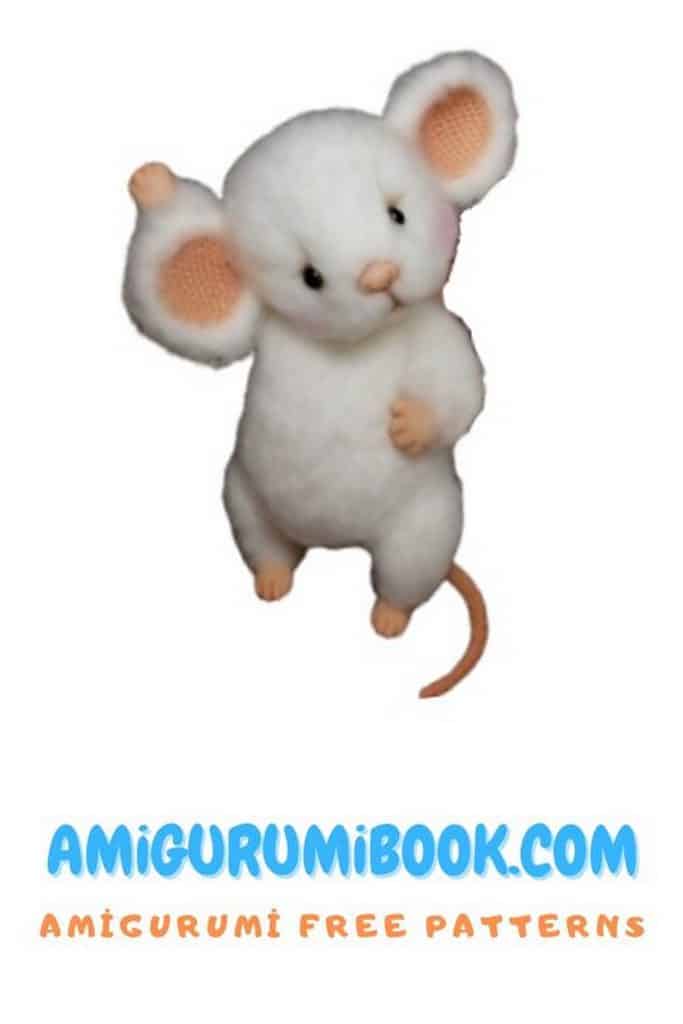
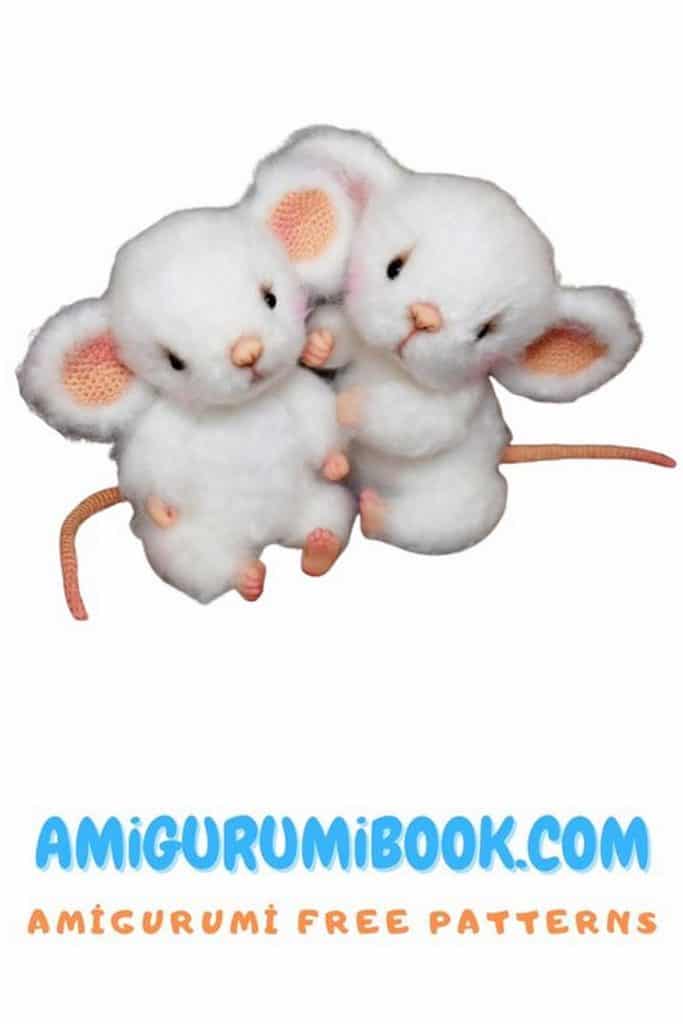
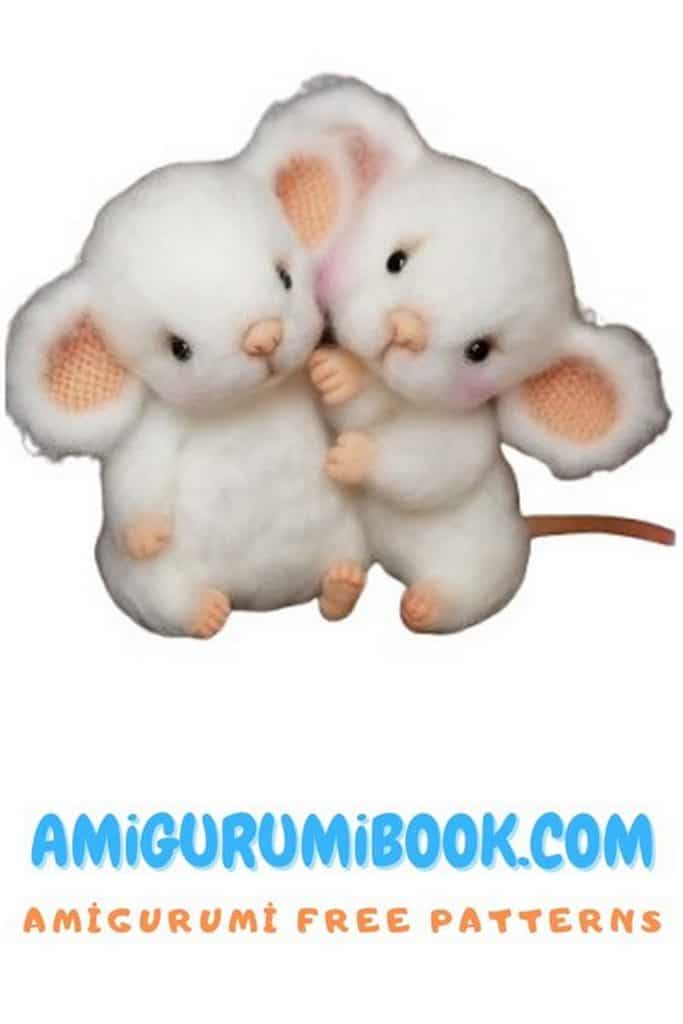
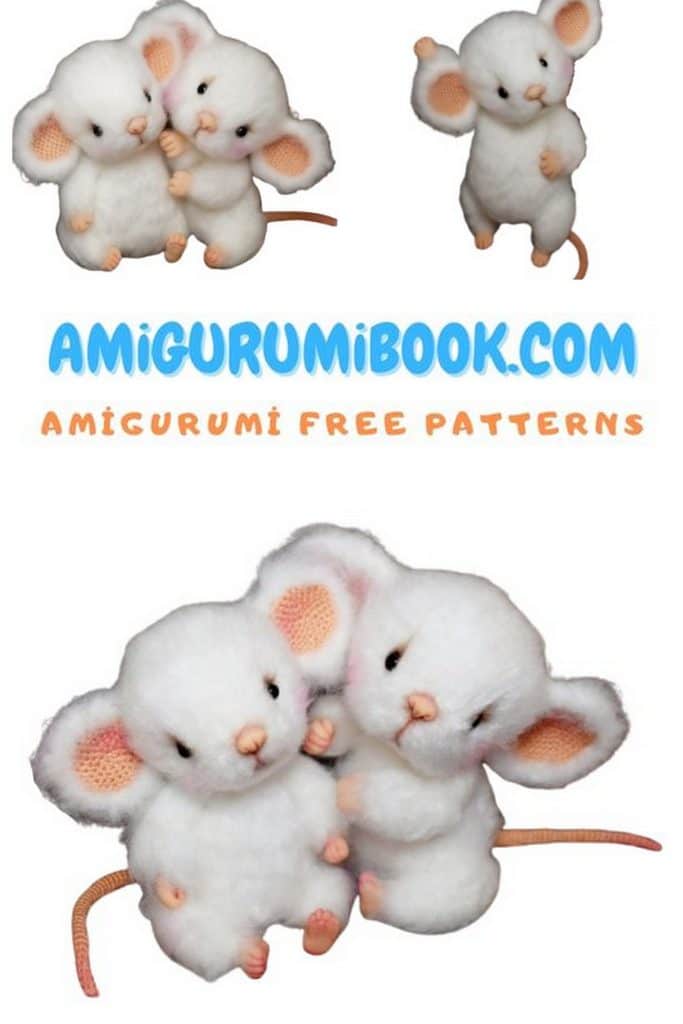
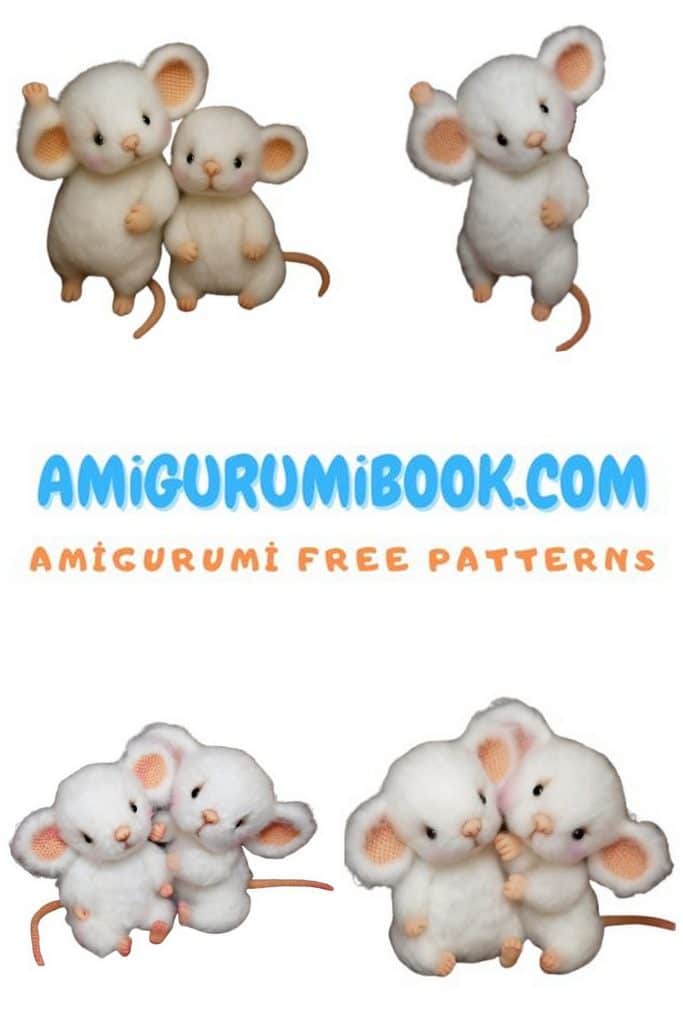
Bring a touch of cuteness to your crochet projects with this White Mouse Amigurumi Free Pattern and step-by-step tutorial! This adorable little mouse is perfect as a handmade toy, a nursery decoration, or a special DIY gift for loved ones. Designed with simple stitches and easy-to-follow instructions, this crochet mouse pattern is beginner-friendly yet fun for experienced crocheters too. Add this sweet amigurumi mouse to your collection and enjoy creating your very own cuddly companion!
If you want to access 1000+ free amigurumi patterns, you can download our application from this link!
Materials used:
Yarn: Kartopu Bebe Pofuduk (white), Iris thread (skin color)
Crochet hook: 2 mm (for main yarn), 0.8 mm (for Iris)
Stuffing: Polyester fiberfill
Safety or glass eyes, nose
Polymer clay (Fimo) for brushes, feet, and hands
Head: mounted on a double cotter pin joint
Arms and legs: mounted on screws
Abbreviations (US terms)
MR – magic ring
ch – chain
sc – single crochet
inc – increase (2 sc in one st)
dec – decrease (sc2tog)
st(s) – stitch(es)
rep – repeat
rnd – round
PATTERN – Amigurumi Mouse
Head
1: MR, 6 sc
2: 6 inc = 12 sts
3: (3 sc, inc) × 3 = 15 sts
4: (4 sc, inc) × 3 = 18 sts
5: 18 sc
6: (2 sc, inc) × 6 = 24 sts
7–10: 24 sc (mark the place between rnds 8–9 for the joint)
11: (2 sc, dec) × 6 = 18 sts
12: (1 sc, dec) × 6 = 12 sts
→ Stuff the head firmly. Continue decreasing.
13: dec × 6 = 6 sts
Close with a yarn needle. Weave in the yarn tail inside the head and trim.
Lower Legs
1: MR, 6 sc
2–4: 6 sc
5: inc, 5 sc = 7 sts
6–7: 7 sc
→ Stuff, insert the joint, close, sew shut, brush out the yarn. Glue on polymer clay feet.
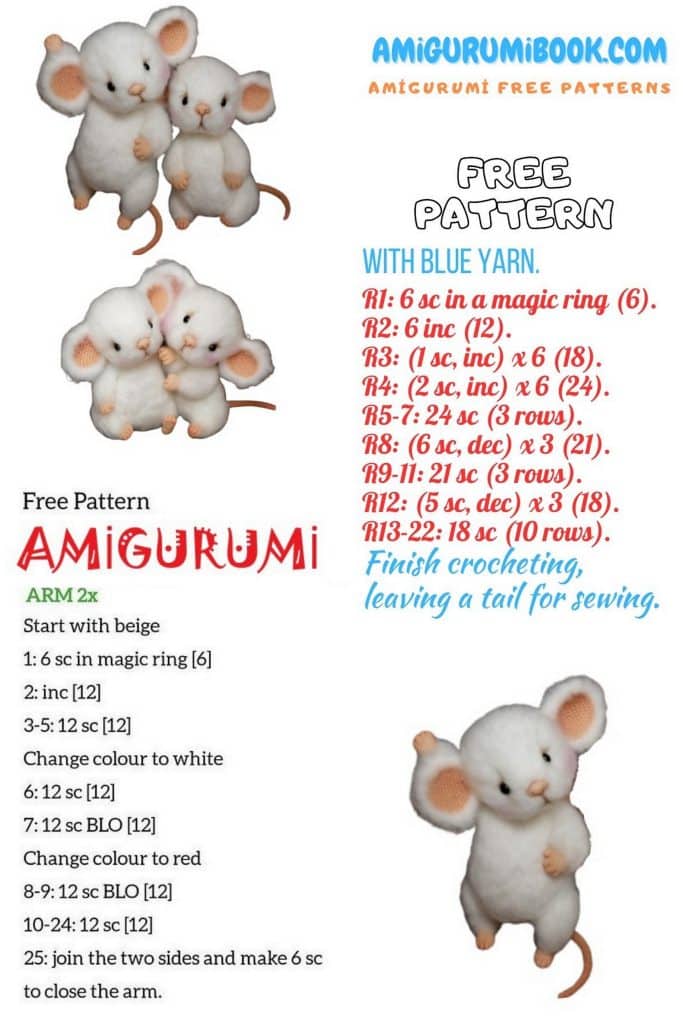
Upper Arms
1: MR, 6 sc
2–6: 6 sc
→ Stuff, insert the joint, close, sew shut, brush out the yarn. Glue on polymer clay hands.
Ears (White)
1: MR, 6 sc
2: 6 inc = 12 sts
3: (1 sc, inc) × 6 = 18 sts
Ears (Skin color)
1: MR, 6 sc
2: 6 inc = 12 sts
3: (1 sc, inc) × 6 = 18 sts
4: (2 sc, inc) × 6 = 24 sts
5: (3 sc, inc) × 6 = 30 sts
→ Sew the two pieces together. The skin-color part is smaller; sew it onto the white piece with the wrong side facing outward.
Body (like the “Sleepy” doll)
Work from bottom up.
1: MR, 6 sc
2: 6 inc = 12 sts
3: (1 sc, inc) × 6 = 18 sts
4–8: 18 sc
(At this point, if attaching legs with screws, sew them to the body.)
9: Turn, ch 1, (1 sc, dec) × 6, 1 sc at the end = 13 sts
10: Turn, ch 1, 13 sc
11: Turn, ch 1, 13 sc
12: dec × 6, 1 sc = 7 sts
Close the top with a needle, sew slightly to shape. Leave a long tail (about 20 cm).
→ Attach the upper arms and head with screws/joints.
Tail (skin color thread)
1: MR, 4 sc
2: 4 sc
3: inc, 3 sc = 5 sts
4–7: 5 sc
8: inc, 4 sc = 6 sts
9–16: 6 sc
17: inc, 5 sc = 7 sts
18–25: 7 sc
26: inc, 6 sc = 8 sts
27–33: 8 sc
34: inc, 7 sc = 9 sts
35–40: 9 sc
41: inc, 8 sc = 10 sts
42–46: 10 sc
47: inc, 9 sc = 11 sts
48–49: 11 sc
50: inc, 10 sc = 12 sts
51: 12 sc