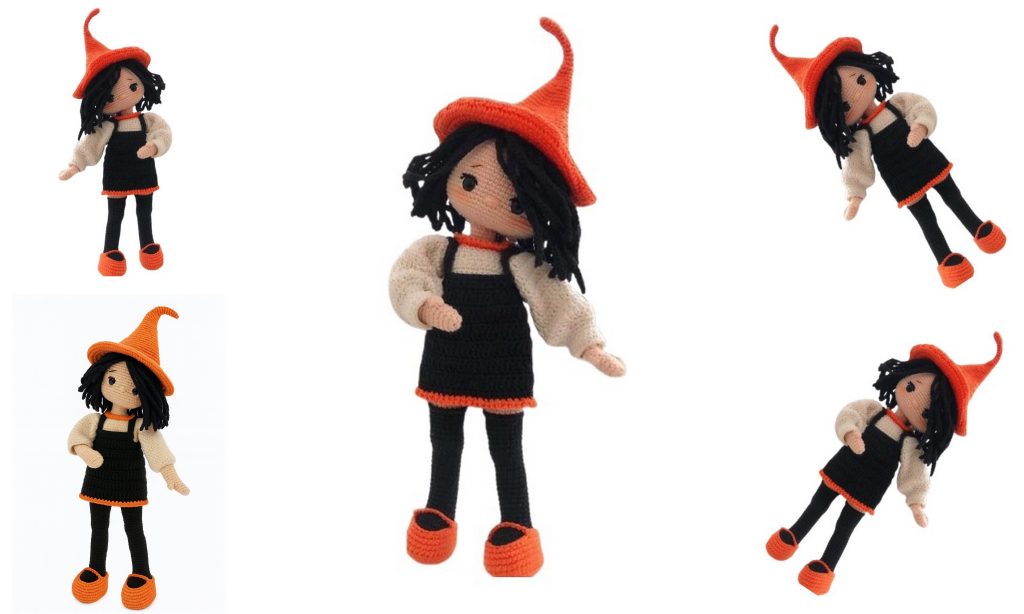
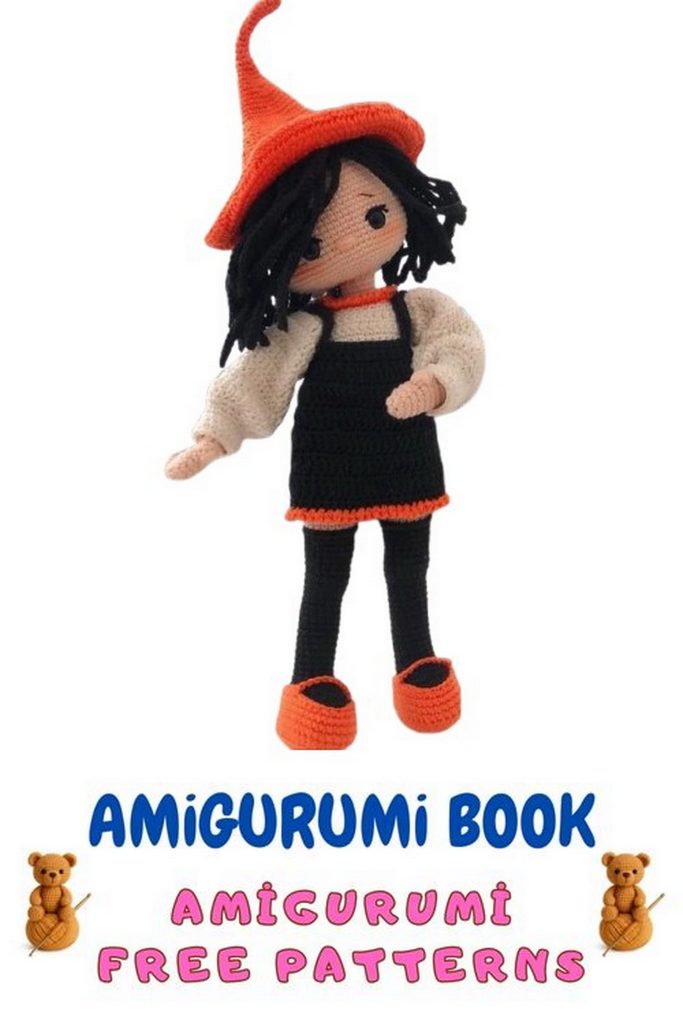
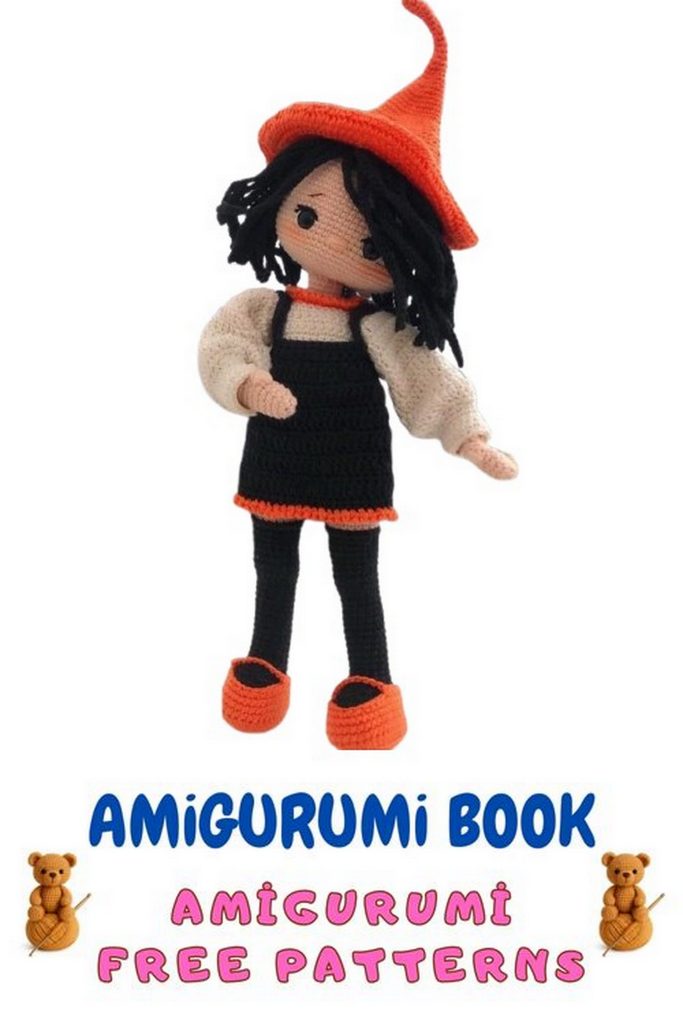
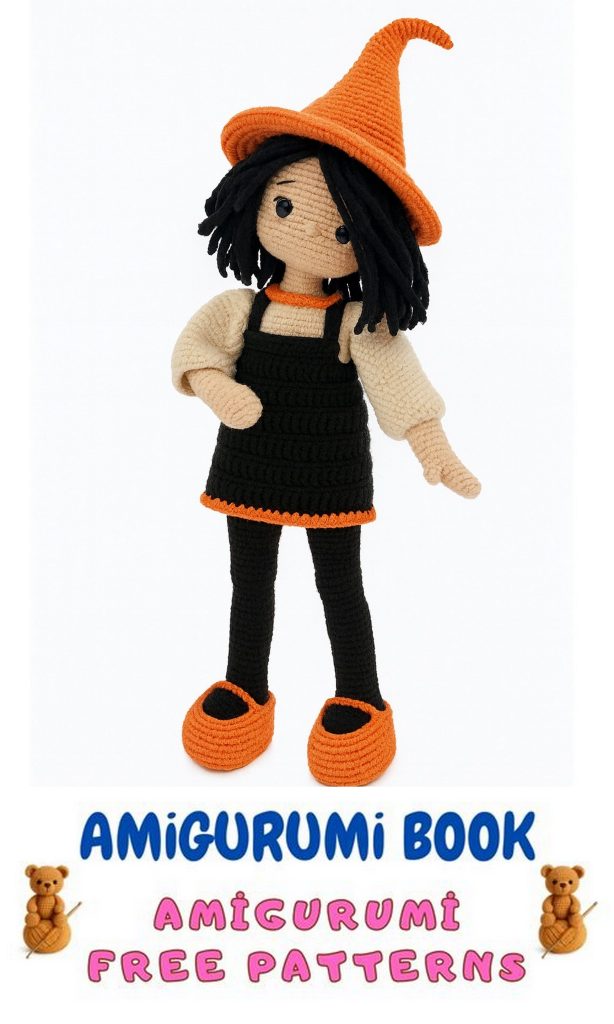
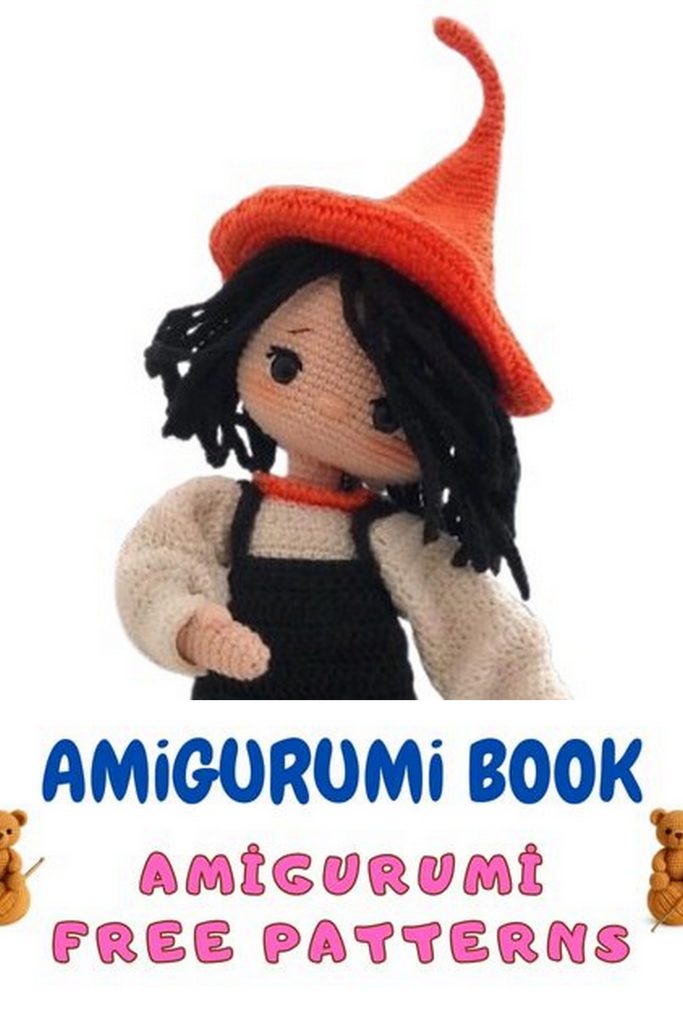
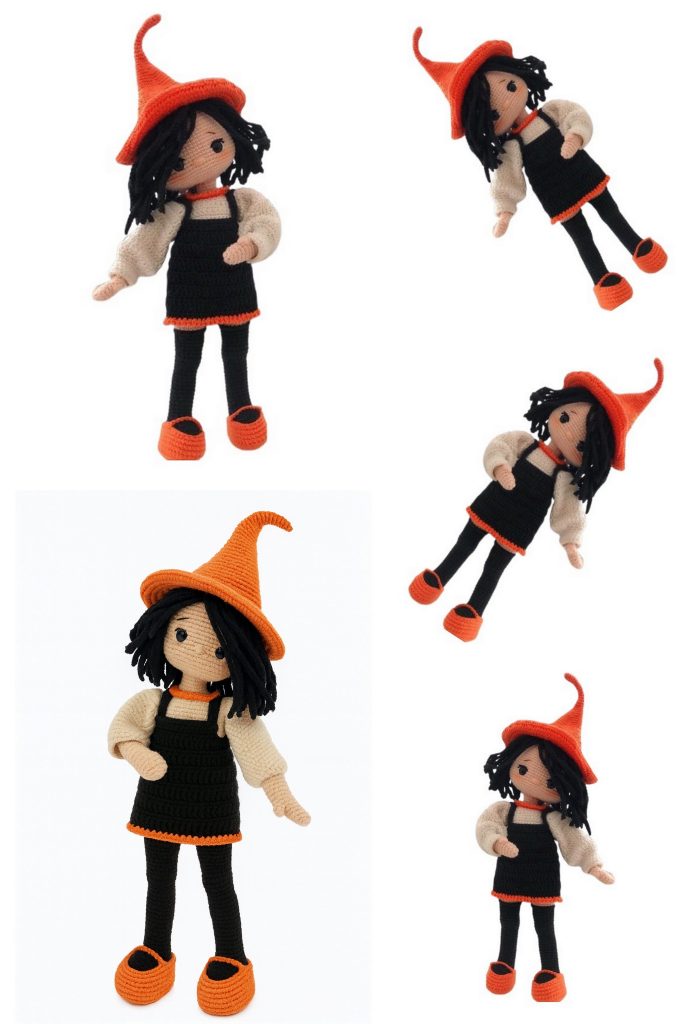
Meet Little Witch Alvina, a charming handmade doll brought to life with soft yarn, rich colors and beautiful details. This Amigurumi Witch Doll Crochet Pattern includes step-by-step instructions for creating her cute hat, dress, blouse and curly hair. Perfect for beginners and experienced crocheters, Alvina is an adorable project for Halloween, fall decor or as a magical gift for crochet doll lovers. If you enjoy making detailed and character-filled amigurumi toys, this little witch will be one of your favorite creations.
If you want to access 1000+ free amigurumi patterns, you can download our application from this link!
Designer: @kraliceleylek
🧶 Materials
- Peria Everest – Black
- Peria Everest – Orange
- Peria Everest – White
- Peria Everest – Skin color
- 10 mm safety eyes
- Wire
- Chopstick or stuffing stick
- Fiberfill stuffing
- Scissors
- 1.75 mm crochet hook
- A little love and effort 💙
📘 Terms (Abbreviations)
- sc: single crochet
- dec: decrease
- inc: increase
- dc: double crochet
- tr: treble crochet
- sl st: slip stitch
- MR: magic ring
- FLO: front loop only
- BLO: back loop only
- popcorn: make 4 dc into the same stitch, pull loop through all
- For BLO/FLO tutorials, check YouTube channel
🪄 ARM -Witch Alvina
1: 6 sc into MR
2: inc (6 → 12)
3–5: 12 sc
6: 1 sc, popcorn (4 dc), 10 sc
7–8: 12 sc
9: dec, 10 sc
10–30: 11 sc
Finish. Do not stuff the arm, insert wire inside.
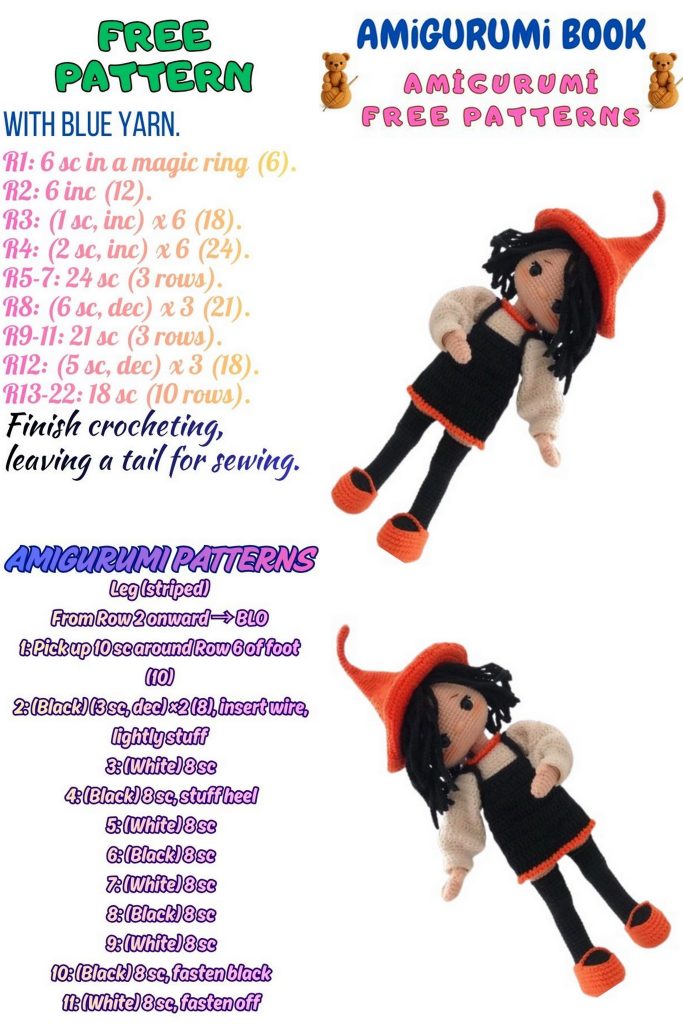
🦵 LEG + FEET (Left Leg First)
Using black yarn.
Left Leg
1: Ch 8, starting from 2nd chain → 6 sc
2: inc, 2 sc, 4 sc, (inc)*4, 5 sc
3: (inc)*3, 5 sc, (sc, inc)*4, 4 sc, inc
4–7: 29 sc
8: 12 sc, (sc, dec)*4, 5 sc
9: 10 sc, (sc, dec)*4, 3 sc
10: 10 sc, (sc, dec)*3, 2 sc
11: 10 sc, (dec)*3, 2 sc
12: 21 sc
13: 11 sc, (inc)*4
14-27: 11 sc
28: 11 sc, dec, 2 sc, dec, 2 sc
29: 2 sc, inc (side), 6 sc, inc (side), 4 sc, dec (front middle), sc
30: 18 sc
31: 3 sc, inc (side), 7 sc, inc (side), 6 sc
32–33: 20 sc
34: 9 sc, change to skin color, 20 sc BLO (fold marker here)
35–40: 20 sc
41: 17 sc → leg is finished
🦵 RIGHT LEG
41: 20 sc, then crochet 7 extra sc (do NOT cut yarn) → this will connect to body later.
🧍♀️ Witch Alvina – BODY (Start)
1: Ch 4, join to the left leg.
→ 20 sc (left leg), 4 sc on chain, 20 sc (right leg), 4 sc on chain = 48 sc
(Marker must be at the back.)
2-27: 48 sc
28: 7 sc, dec, 5 sc, dec, 6 sc, dec, 6 sc, dec, 4 sc, dec, 3 sc
29: 10 sc, dec, 7 sc, inc (side), 6 sc, inc (side), 4 sc, dec (front), 1 sc
30: 18 sc
31: 3 sc, inc (side), 7 sc, inc (side), 6 sc
32–33: 20 sc
(We stopped at row 33 with 20 sc)
34: 9 sc, change to skin color, BLO 20 sc
→ Place your stitch marker here (this is the back).
After completing this BLO round, follow the FLO you left earlier with black yarn and make a full round of single crochet. (This creates the sock/leg border.)
35–40: 20 sc
41: 17 sc (Body is finished)
🔸 RIGHT LEG TO BODY CONNECTION
Already done in Part 1—right leg yarn is NOT cut.
We continue body from there.
🔸 ARMS JOINING THE BODY
We closed the body at Row 41. Now:
25: 8 sc (from body), 4 sc to join 1st arm to body,
then 15 sc (front of body),
4 sc to join 2nd arm to body,
5 sc (back of body).
26: 8 sc (from body), 7 sc (across arm),
15 sc (front body),
7 sc (across other arm),
5 sc (back of body).
(You may insert wire into arms if desired.)
27: (5 sc, dec)*6
28: (4 sc, dec)*6
29: (3 sc, dec)*6
30: (2 sc, dec)*6
31–34: 18 sc
→ Leave a long tail. This tail will be used to sew the head to the body.
Witch Alvina – HEAD
1: 6 sc in MR
2: inc (12)
3: (sc, inc)*6 (18)
4: (2 sc, inc)*6 (24)
5: (3 sc, inc)*6 (30)
6: (4 sc, inc)*6 (36)
7: (5 sc, inc)*6 (42)
8: (6 sc, inc)*6 (48)
9: (7 sc, inc)*6 (54)
10: (8 sc, inc)*6 (60)
11-16: 60 sc
17: (dec, 4 sc)*6
18-24: 54 sc
25: (3 sc, inc)*6
26: (4 sc, inc)*6
27: (5 sc, inc)*6
28: (6 sc, inc)*6
29: (7 sc, inc)*6
30: 75 sc
31: (inc, 7 sc)*6
32: 81 sc
33: 81 sc
34: 81 sc
35: 81 sc
36: (dc, dc, dc, inc dc)*18, ch 1
37: 54 dc
38: 54 dc
39: 54 dc
40: 54 sc
41: 72 sc
42: (11 sc, inc)*6
43: 78 sc
44: (4 dc, dc-inc)*13 → 3 dc
45: (2 dc, dc-inc)*27
46: 108 dc → Head finished
Witch Alvina – HAIR (WIG)
1: 6 sc in MR
2: inc (12)
3: (sc, inc)*6 (18)
4: (2 sc, inc)*6 (24)
5: (3 sc, inc)*6 (30)
6: (4 sc, inc)*6 (36)
7: (5 sc, inc)*6 (42)
8: (6 sc, inc)*6 (48)
9: (7 sc, inc)*6 (54)
10: (8 sc, inc)*6 (60)
Now the strands:
31 chains → 30 sc down the chain,
sl st to next stitch,
31 chains → 30 sc down,
Continue this around until all stitches have a strand.
Witch Alvina – BLOUSE
Note: At the end of every row, chain 1 and turn.
Using cream color:
1: Ch 31, start from the 2nd ch → 30 sc
2: 5 sc, skip 2 sts, 7 hdc, 10 sc, 7 hdc, 6 sc
3: 34 sc
4: 2 sc, (4 sc, inc)*6, 2 sc
5–13: 40 sc → Row 13 ends the body part of the blouse
Blouse Sleeve
14: 4 dc inc, sc, 2 dc, ch 2
15–19: 28 dc
20: 28 dc, ch 1
21: (sc, dec)*9, sc → 19 sc
22–23: 19 sc
24–25: 19 hdc → sleeve finished
Neckline:
With orange yarn, crochet 1 ch and then 1 sc around the neckline.
BLACK DRESS
Turn at the end of every row.
1: Ch 59, start from the 2nd ch → 58 sc, ch 1 turn
2: 25 sc, 7 hdc, skip 1 st, 12 sc, 7 hdc, skip 1 st, 5 sc, ch 1
3: 36 sc, ch 1
4: 36 sc, ch 1
5: (dc, dc, inc)*18, ch 1
6: 54 sc, ch 1
7: 54 dc, ch 1
8: 54 sc, ch 1
9: 54 dc, ch 1
10: 54 sc, ch 1
11: 54 dc, ch 1
12: 54 sc, ch 1
13: 54 dc, ch 1
14: 54 sc, ch 1
15: 54 dc, ch 1
16: 54 sc (finish)
Back straps:
Make 3 button loops. Start from the dress hem edge using orange yarn.
Each button hole = ch 4.
Adjust according to the size of your buttons.
Witch Alvina – WITCH HAT
1: 6 sc in MR
2–12: 6 sc
13: (sc, inc)*3 (9)
14–15: 9 sc
16: (2 sc, inc)*3 (12)
17: 12 sc
18: (3 sc, inc)*3 (15)
19: 15 sc
20: (4 sc, inc)*3 (18)
21: 18 sc
22: (5 sc, inc)*3 (21)
23: 21 sc
24: (6 sc, inc)*3 (24)
25–26: 24 sc
27: (2 sc, inc)*8 (32)
28–29: 32 sc
30: (3 sc, inc)8 (40)
31–32: (4 sc)? → actually 40 sc
33: (4 sc, inc)*8 (48)
34–35: 48 sc
36: (5 sc, inc)*8 (56)
37: 56 sc
38: (6 sc, inc)*8 (64)
39: 64 sc
40: (7 sc, inc)*8 (72)
41: 72 sc
42: (11 sc, inc)*6 (78)
43: 78 sc
44: (4 dc, dc-inc)*13, 3 dc
45: (2 dc, dc-inc)*27 (wide brim)
46: 108 dc → Hat finished
🕷️ SPIDER
1: 6 sc in MR
2: (sc, inc)*3 (9)
3–5: 9 sc
6: 4 sc, inc, 4 sc
7: (dc, dec)*4 → 12 dc
8: Finish
You can sew the legs using yarn or embroidery.