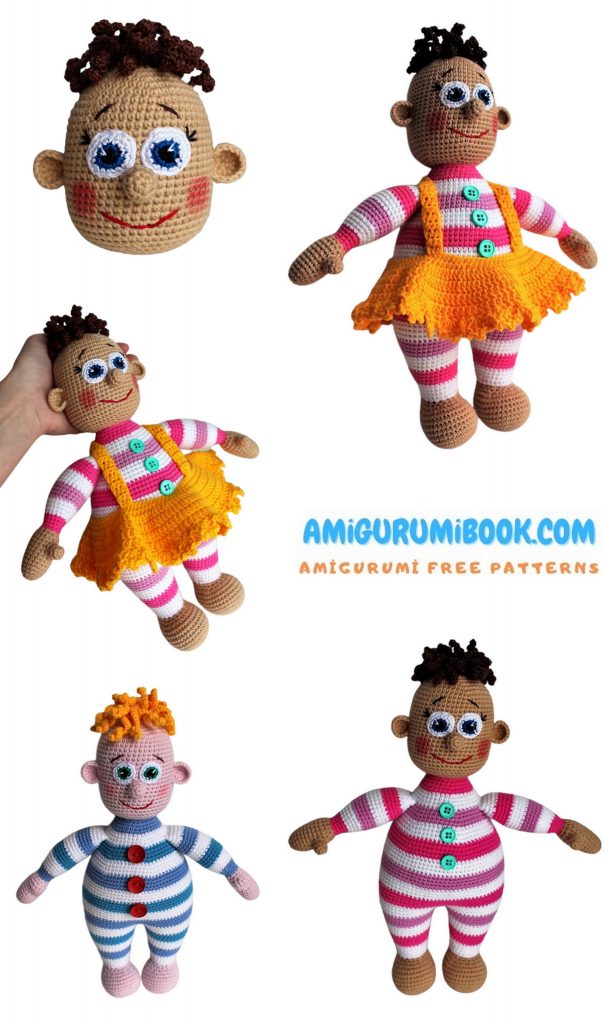
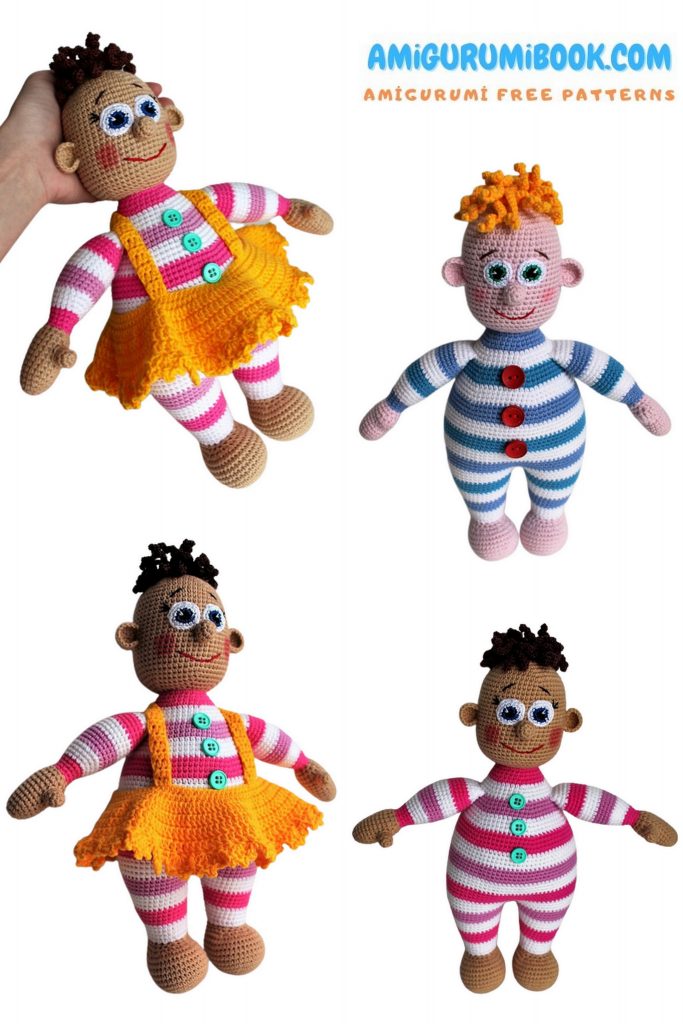
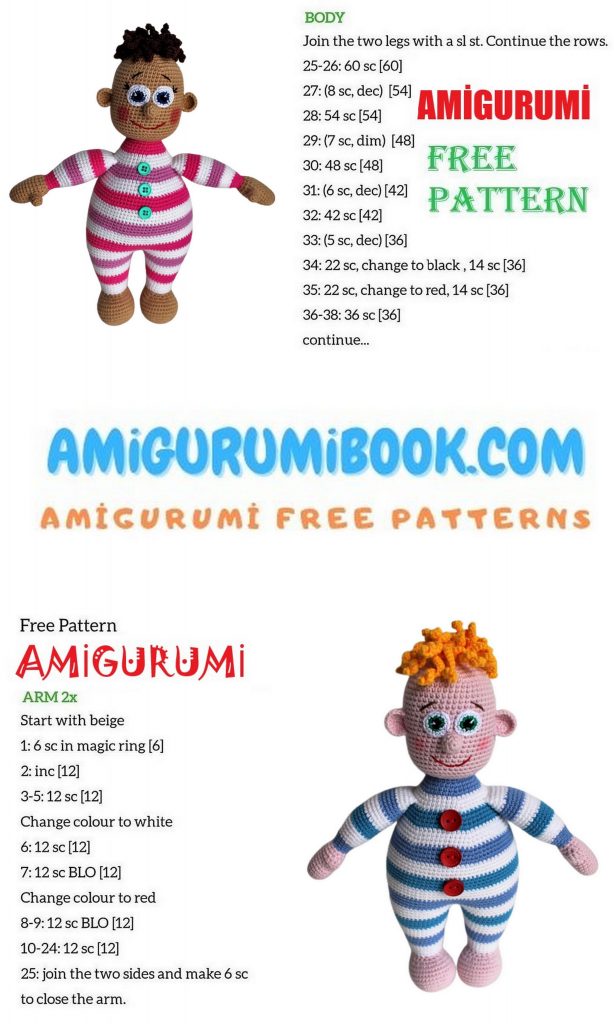
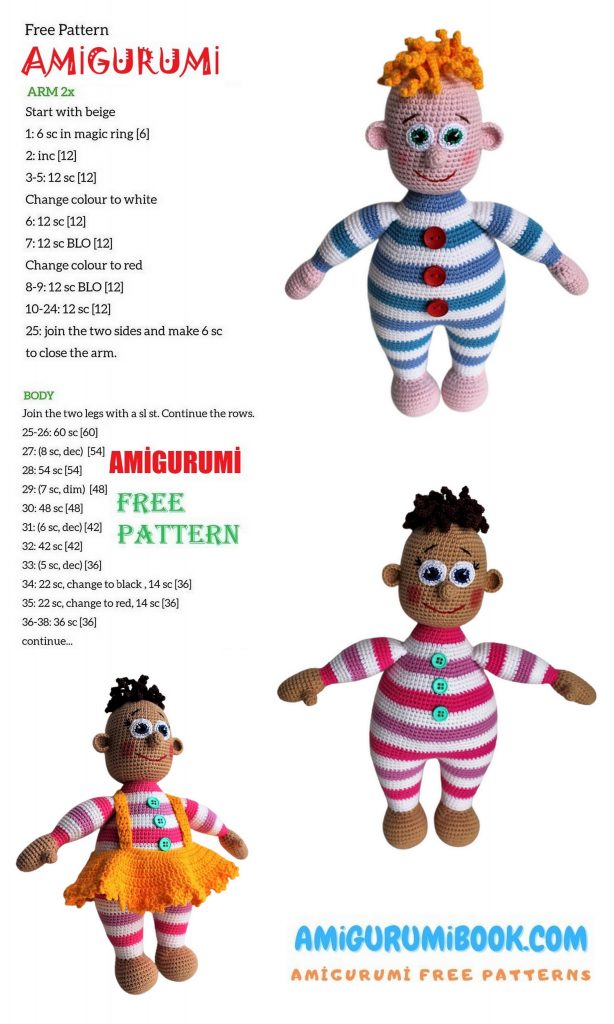
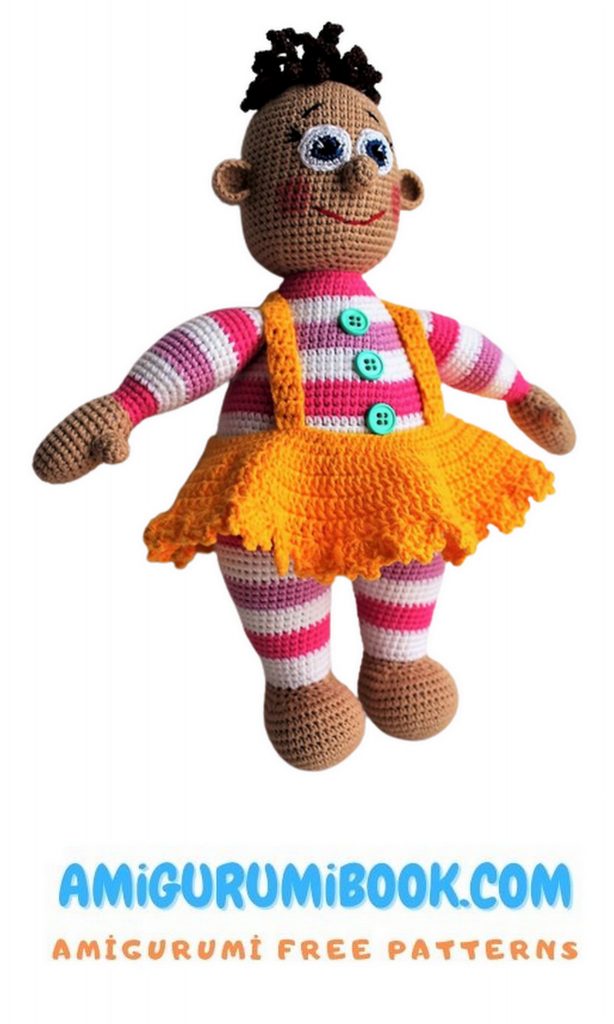
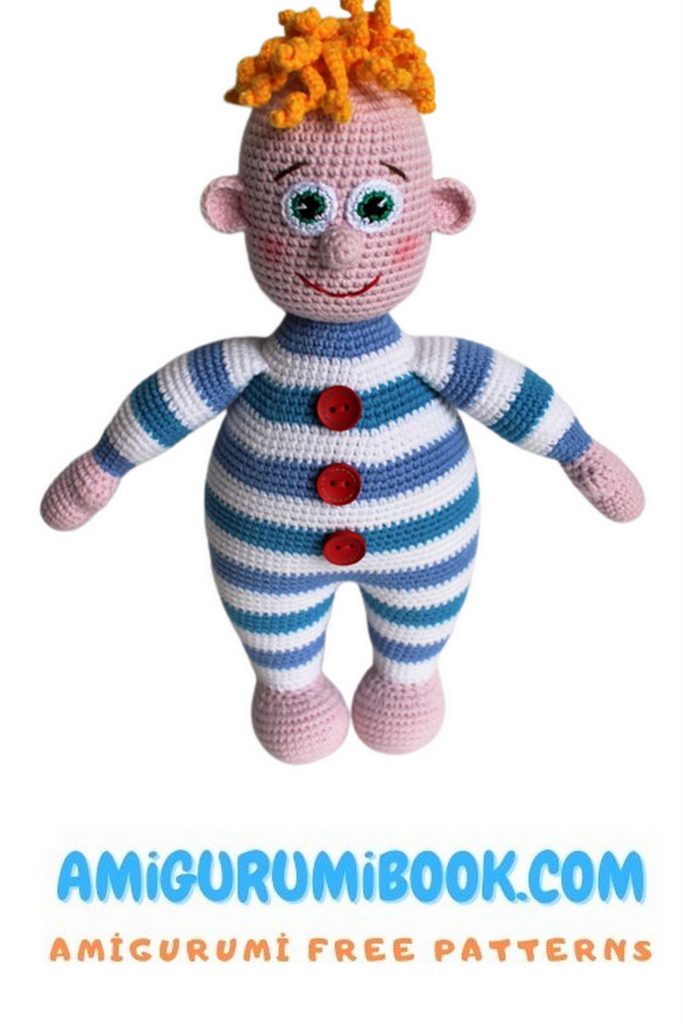
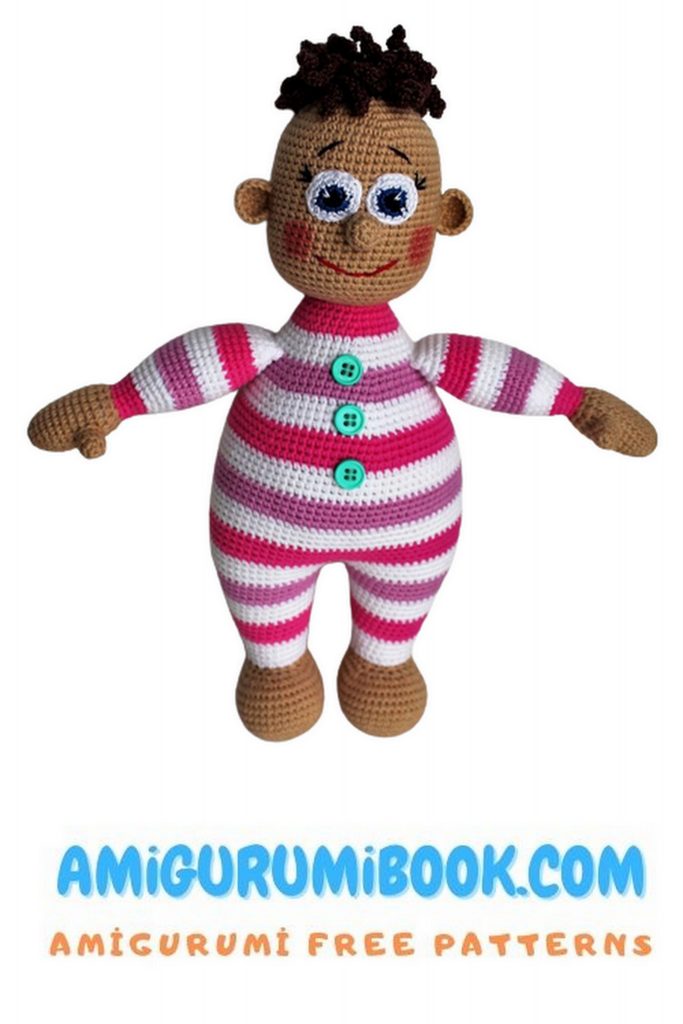
The Pajamas Fat Doll Amigurumi Free Pattern is a delightful and easy-to-follow guide for creating a charming handmade doll dressed in cozy pajamas. Perfect for both beginners and experienced crafters, this pattern offers a fun project to add a cute, cuddly friend to your collection or gift to someone special. free crochet patterns – Puppet Horse Amigurumi Free Pattern
You may also like more amigurumi patterns.
I continue to share amigurumi free patterns. In this article, pajamas fat doll amigurumi free pattern is waiting for you.
Materials and tools we need:
Yarn Jeans from Yarn Art (55% cotton, 45% polyacryl, 160 m in 50 g) pens, for the face, pens and legs.
Yarn Jeans from Yarn Art or Alize Coton Gold (55% cotton and 45% acrylic, 330 m per 100 g), three different body colors, a little.
Begonia yarn from Yarn Art (100% cotton, 170 m in 50 g), for hair, I still choose the color, for the eyes and for the design of the face there is the same thread. Eyebrows, eyelashes, mouth – I also use the Soso thread from Vita sometimes for this purpose, here I look which thread is more suitable.
Yarn for a skirt, it is at your discretion, I knit either from Begonia, then from Soso, then from any other not thick thread that is at hand suitable in color.
Sintepuh.
Buttons 3pcs. – small, about 1 cm in diameter.
Two needles, larger and smaller for convenience.
Two hooks 1.75 mm (2 mm possible) and 2.5 mm (this one for knitting clothes).
Tweezers and a wooden stick (from sushi) for stuffing toys.
Oil paints for cheeks.
Scissors.
Abbreviations :
Sc – single crochet.
Ch – chain.
Dc – double crochet.
Hdc – half double crochet.
Sl-st – slip stitch (Also called half-crochet)
Increase – 2sc in one loop of the previous row.
Decrease – 2sc knitted together.
PATTERN
Head
1 row: We collect 2ch into the second loop from the hook, we knit 6sc – this is the first row. Next, we knit, not closing in a circle, adding 6sc in each row
2 row: Increase in each sc of the previous row. = 12 sc
3 row: increase in each 2sc = 18sc
4 row: increase in each 3sc = 24sc
5 row: increase in each 4sc = 30sc
6 row: increase in each 5sc = 36sc
7 row: increase in each 6sc = 42sc
8 row: increase in each 7sc = 48sc
9 row: increase in each 8sc = 54sc
From 10 to 28 rows, inclusive (19 rows), we knit directly to 54sc in a row.
We will postpone our head and tie our eyes!
Eyes (Begonia thread)
1 row: With black thread, we put 2ch into the second loop from the hook, we knit 6 sc
2 row: Blue, green, or brown thread. The increase in each sc of the previous row. = 12 sc
3 row: White thread, increase in each 2sc = 18sc
4th row: All this same white thread, we knit a row to the middle, three increases are obtained, and not six, on the 1st, 2nd and 3rd increase of the previous row. We cut off leaving a long tip for sewing the eye and embroidering glare on it !!!! In the same way, we knit the second eye, and at the back we carefully knit all the threads we do not need and cut them off.
Sew our eyes, next to each other between 14 and 20 rows, counting from above. And with the same threads we embroider glare.
Keep knitting
29 row: We begin to make a decrease, 6 sc in each row, in this every 7sc, the previous row = 48sc
30 row: There are also 6 decreases in a row, every 6sc, of the previous row. = 42sc
From the 31st to the 34th row, (4 rows), we make 6 decreases, exactly the same. = 18sc
And we begin to fill our heads with syntepuh. I stuff the toys very tightly!
35 and 36 row, do exactly the same for 6 decreases in a row.
Having completed the head and having checked everything, we close the knitting.
I do it like that.
When we have 6sc left, we cut and pull the thread out of the loop. Using this hooked thread, we hook each loop of the previous row and simply pull all 6 loops into a small circle, use a needle to fasten with a knot and hide the tip of the thread in a toy.
Nose
1 row: We collect 2ch into the second loop from the hook, we knit 6 sc
2nd row: We make four increases in a row, on the 1st, 2nd, 4th and 5th loops of the previous row. = 10sc
3 and 4 row: We knit directly in 10sc
Cut, leaving the thread for sewing. We sew the nose under the eyes, and in the process we fill it with syntepuhe with tweezers.
EMBROIDER THE MOUTH, BROWS AND EYELASHES, with Begonia thread, or Soso, introducing the thread from the neck, carefully so that we can hide all this with the sewn neck!
Ears
1 row: We collect 2ch into the second loop from the hook, we knit 6 sc
2 row: We knit five increases in a row, and deploy knitting. = 10sc + 1 loop from the bottom will be.
3 row: We do 1ch-raising, and we knit: 2sc, increase, 2sc, increase, 2sc, increase, 1sc, unfold the knitting. = 13sc + 1 loop from the bottom.
4 row: Do 1ch-lift and knit 13sc
Cut, leaving the thread for sewing. In the same way we knit the second eye.
Sew on the ears.
Hair: Begonia thread.
From the very beginning of head knitting we hook the thread and dial 21ch (one of which will be for lifting); and skipping one – the lifting loop, we knit in the opposite direction 20sc, then we knit 2sc on the head; we dial again 21ch, knit in the opposite direction (skipping one loop) 20sc, and on the head 2sc, again 21c.p, in the opposite direction 20sc, and 2sc on the head.
And so we knit four to five rows of the head. We cut and hide the threads.
Oil paints carefully draw cheeks!
Body (yarn jeans)
First color:
1 row: We collect 2ch into the second loop from the hook, we knit 6sc – this is the first row. Next, we knit without closing in a circle, adding 6sc in each row
2 row: Increase in each sc of the previous row. = 12 sc
3 row: increase in each 2sc = 18sc
4 row: increase in each 3sc = 24sc
5 row: increase in each 4sc = 30sc
6 – 7 row: We knit directly 30sc in a row.
8 row: Increases in each 5sc = 36sc
9 row: We knit directly 36sc in a row, cut the first thread.
Sew the body to the neck between 5 and 6 next to the body.
10 row: Change the thread, I have it white, generally every four rows I change the thread, alternating! We make an increase in every 6th sc = 42sc
11 row: Knit straight 42sc
12 row: We make increments in each 7sc = 48sc
13 row: We knit directly 48sc Change the thread !!!
From the 14th to the 25th row, inclusive, (another 12 rows), we knit, making an increase through the row and changing colors, as expected. = 84sc
From 26 to 45 rows (20 rows), we knit directly in 84sc, changing colors every four rows.
46 row: Divide the body into legs, everything by eye, so that it is exactly 42sc
And we knit from 46 to 61 rows, (16 rows), with decreases on the sides, (2 decreases in a row), through a row, we begin to decrease from 46 rows, also remembering to change the thread color, in four rows!
Starting to knit the second leg, I fill the body with a synthetic pad, tightly, while it is comfortable, and I tie the second leg.
We also tie the second leg, leaving the thread for sewing.
Handles and legs
Foot:
We collect 6v.p, one of which is for lifting. And we knit in the opposite direction, starting from the second loop from the hook!
1 row: We knit 4sc; 5sc in one loop; 3sc; 4sc, in one loop. = 16sc
2 row: 5sc; three increases; 5sc; three increases. = 22sc
3 row: 5sc; increase; 1sc; increase; 1sc; increase, 6sc; increase; 1sc; increase; 1sc; increase; 1sc = 28sc
4 row: 6sc; increase; 2sc; increase; 2sc; increase; 7sc; increase; 2sc; increase; 2sc; increase; 1sc = 34sc
5 row: 7sc; increase; 3sc; increase; 3sc; increase; 8sc ,; increase; 3sc; increase; 3sc; increase; 1sc = 40sc
From 6 to 11 rows, (6 rows), we knit directly in 40sc in a row.
From the 12th row, we make reductions in the area of the sock, by eye. In the figure above, the arrow shows which side we will have the sock on! There are 7 decreases in this row, in the area of the sock through 1sc = 33sc
13 row: In the same place, 8 decreases in a row, NOT skipping sc = 25sc
14 row: There are 3 decreases, after 1sc = 22 sc And cut the thread in the heel area and tie it and hide it. We knit the second foot in the same way.
Filling the feet and legs with sintepuh, we sew them with the thread remaining at the legs, directly over the edge, and gradually sewing them, we fill the legs and feet with tweezers to the end, tightly!
And since there are more loops in the leg along the edge than in the foot, I sew three times, 2 stitches from the leg into one on the foot. It’s easier for me to align my foot. I hope I explain it clearly.
Pens
1 row: We collect 2ch into the second loop from the hook, we knit 6sc
2 row: Increase in each sc of the previous row. = 12 sc
3 row: Two increases in a row. (Increase, 5sc, increase, 5sc) = 14sc
4th and 5th row, we make 2 increments in each row, in the same places as in the previous one. = 18sc
From 6 to 12 rows, (7 rows), we knit directly in 18sc
13th and 14th row, make 4 decreases in each row, approximately uniformly. = 10sc Change the thread to a colored one. The photo below shows the order of colors, also in four rows.
From the 15th to the 22nd row, (8 rows), we knit with two increases in a row, from the sides, where there were increases on the palm. = 26sc
Fill your palm with syntepuha.
From 23 to 34 rows, (12 rows), we knit directly, 26sc in a row.
35 row: Two decreases in a row on the sides, where there were increases, approximately. = 24sc
36 row: Knit straight.
37 row: Two decreases in a row there. = 22sc
38 row: Knit straight.
We cut it off, leaving the thread for sewing on the handle, and fill the handle with synthetic padding, not very tight.
Knit a finger:
1 row: We collect 2ch into the second loop from the hook, we knit 6sc
2 row: We make three increases in a row, through 1sc = 9sc
3 and 4 row, we knit directly on 9sc in a row. We trim leaving a thread for sewing.
Sew the finger from the side so that the seam of the handle looks back, this is for beauty :), and, sewing it a little, we fill it with syntepuh. In the same way we knit the second handle.
We sew the handles on one row, a little, again, I sew several loops from the handle into one loop on the body.
Sew buttons neatly.
Skirt
I got the right yarn (MILK COTTONE 45% – cotton 15% – silk 40% – acrylic 50g / 150m)
And the size you need to look at the volume of your baby doll.
We knit the chain from ch exactly to the circumference of the small doll, hook 2.5mm, No. 4.0, I have 90 loops, we connect the sl-st chain to the other end, and knit in a circle.
1 and 2 rows: 2ch for lifting, this is the first hdc, and 89hdc
3rd row: Here also depending on which skirt you want, magnificent, then we make an increase in 1 hdc, less magnificent in 2hdc. And this row is knitted already DC and also in this row, 3ch for lifting is the first dc
4, 5 and 6 row, we knit directly dc, without any increase.
7 row, the hem is beautiful, we select any pattern, we customize it according to the number of loops, everything from the first sketch has perfectly laid down, (last rows, on the diagrams!)
We cut, hide the thread, make the straps, try on the skirt, seam back, and we hook the thread in the place you want, and we knit 3 hdc, turn the knit, 1ch to raise, and 3hdc And so, trying on, we knit the length we need straps and sew the same thread on the other side with the same thread, and in the same way we knit the second strap. We hide all the threads. The skirt is ready.
Dress our baby and admire. I hope everything turned out even better than mine, and I clearly wrote everything, if anything, ask! Thanks:)
Convincing request:
Do not distribute on the Internet my description and photos of this baby! I hope for your understanding!
You can sell the toy, but preferably indicating me as the author of the scheme and only with your own photos!
Thank you in advance 🙂
You can always ask me if something is not clear, I will tell you. Or tell me, maybe I’m missing something. Also I’m waiting for your little pictures of ready-made little babies, I wonder very much 🙂
Enjoy all knitting and smooth loops. And have a nice chat with all of us!
