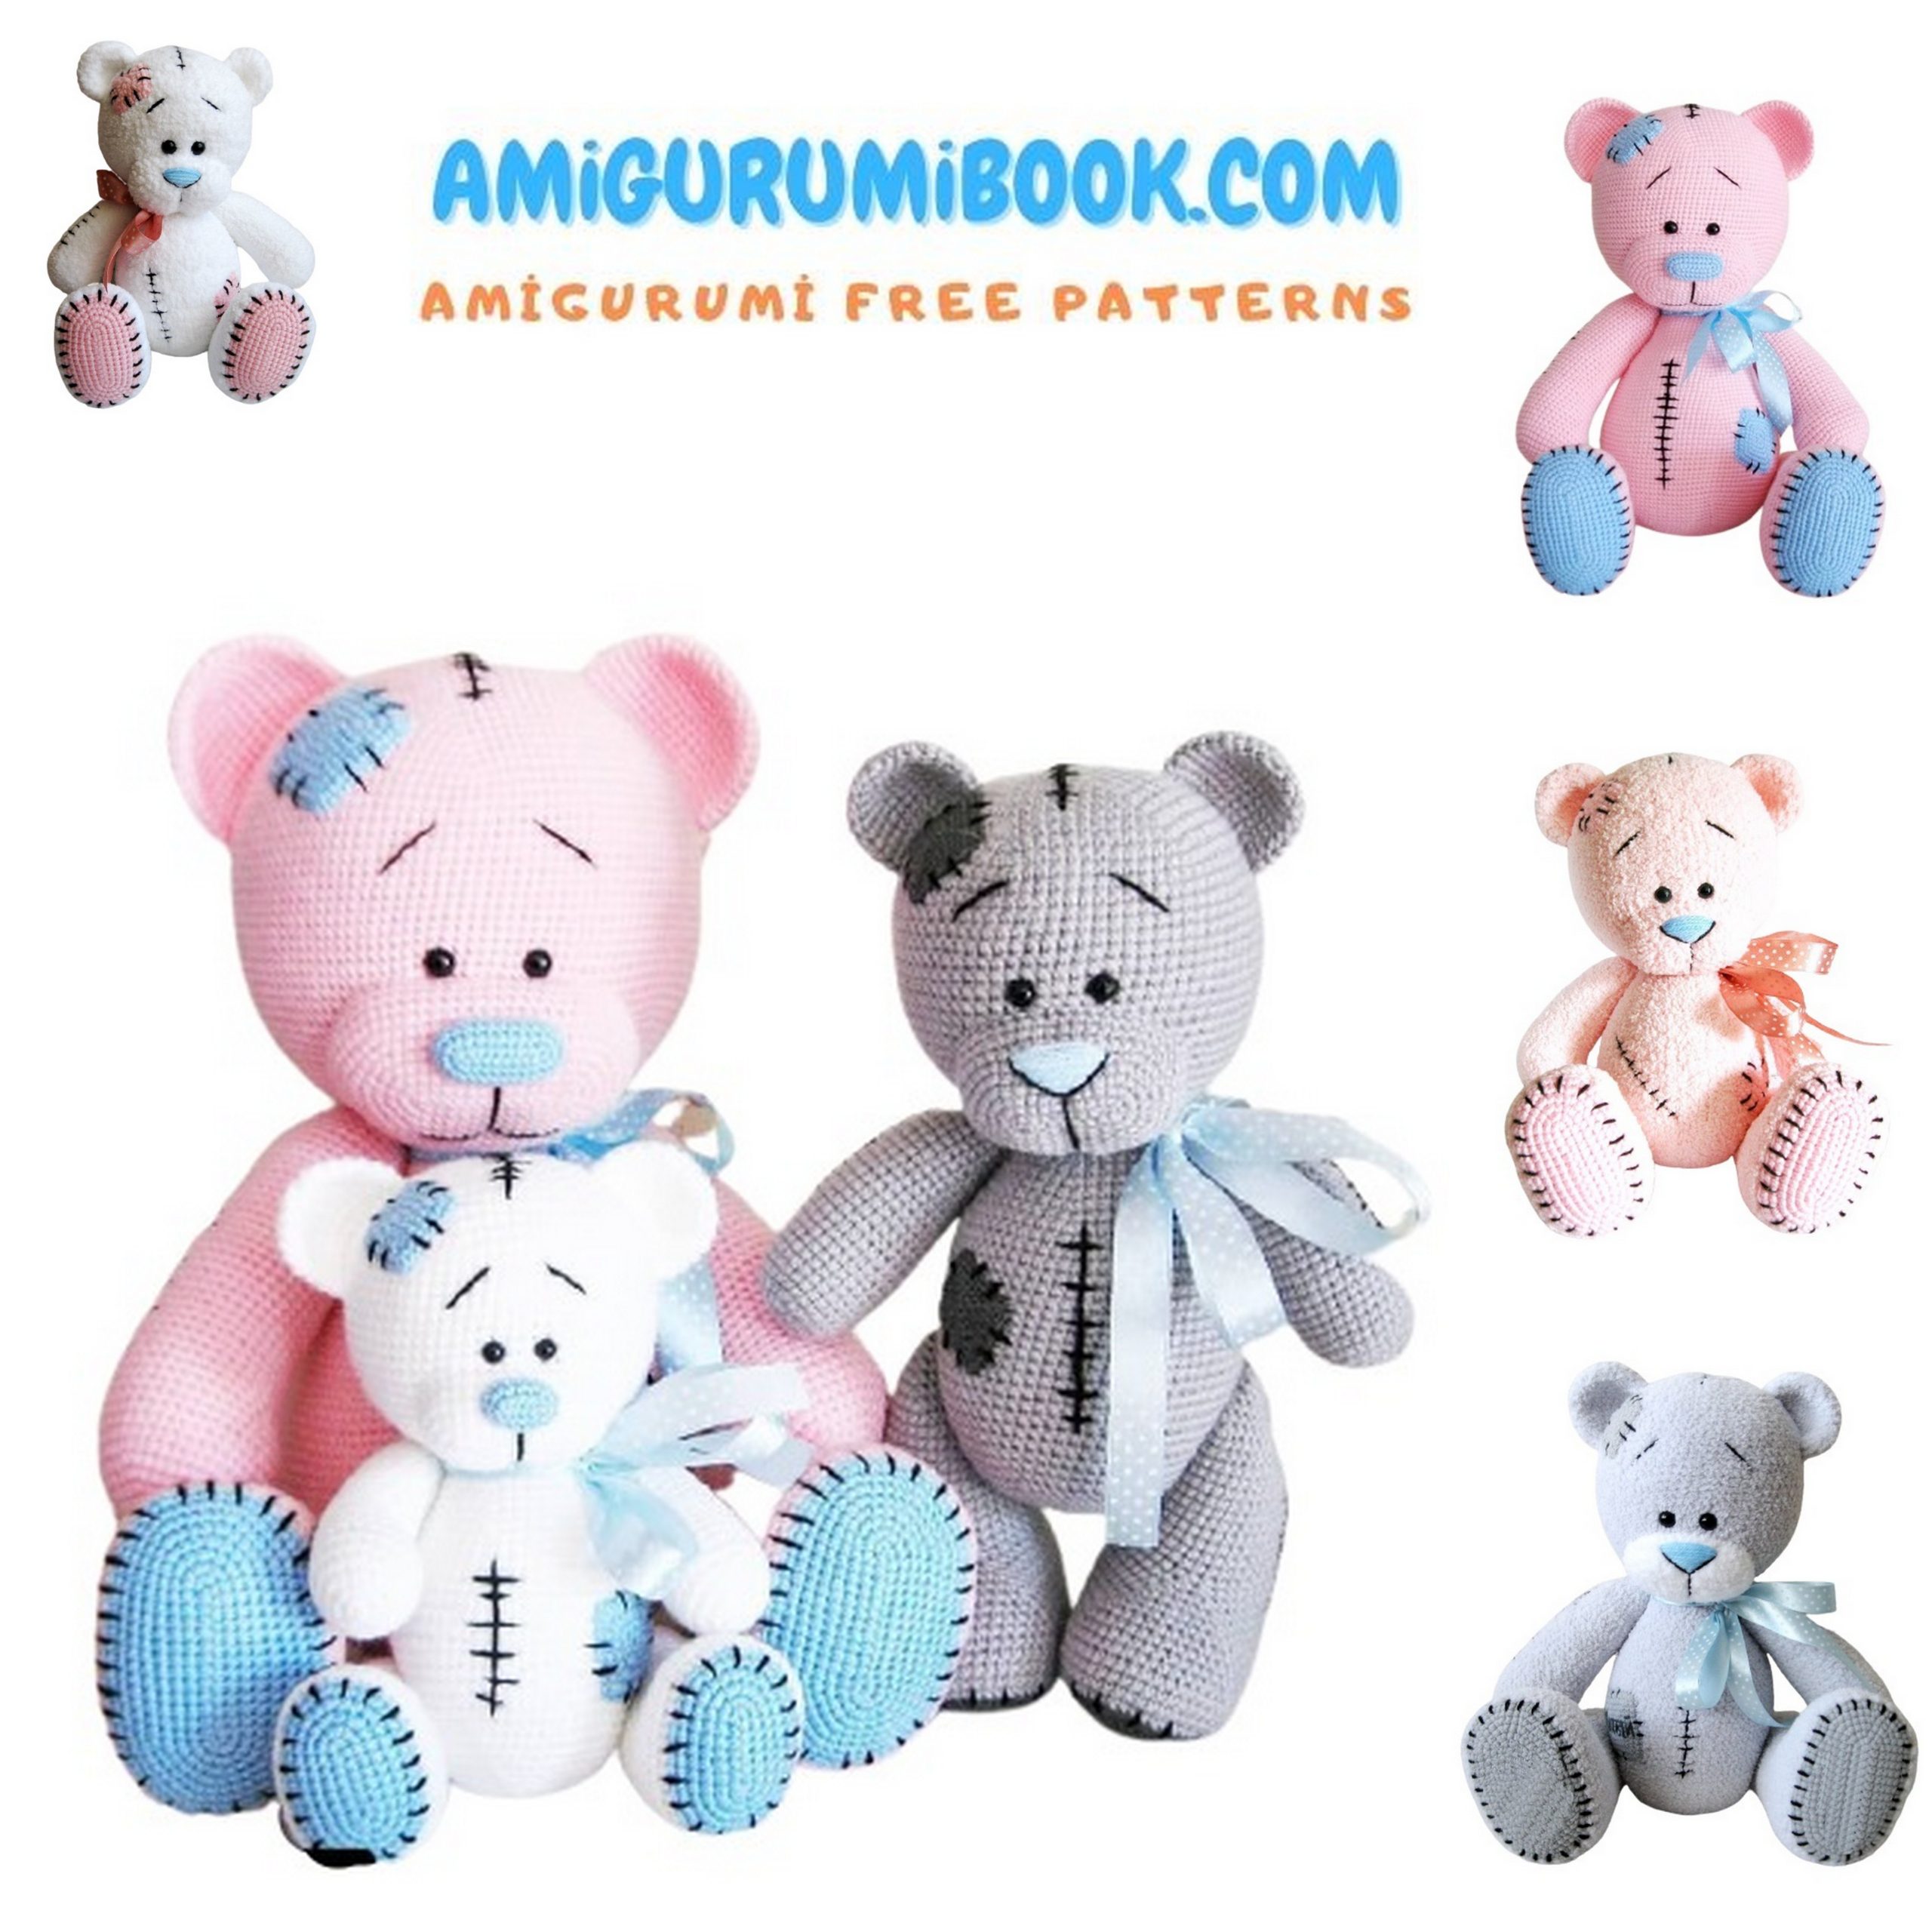
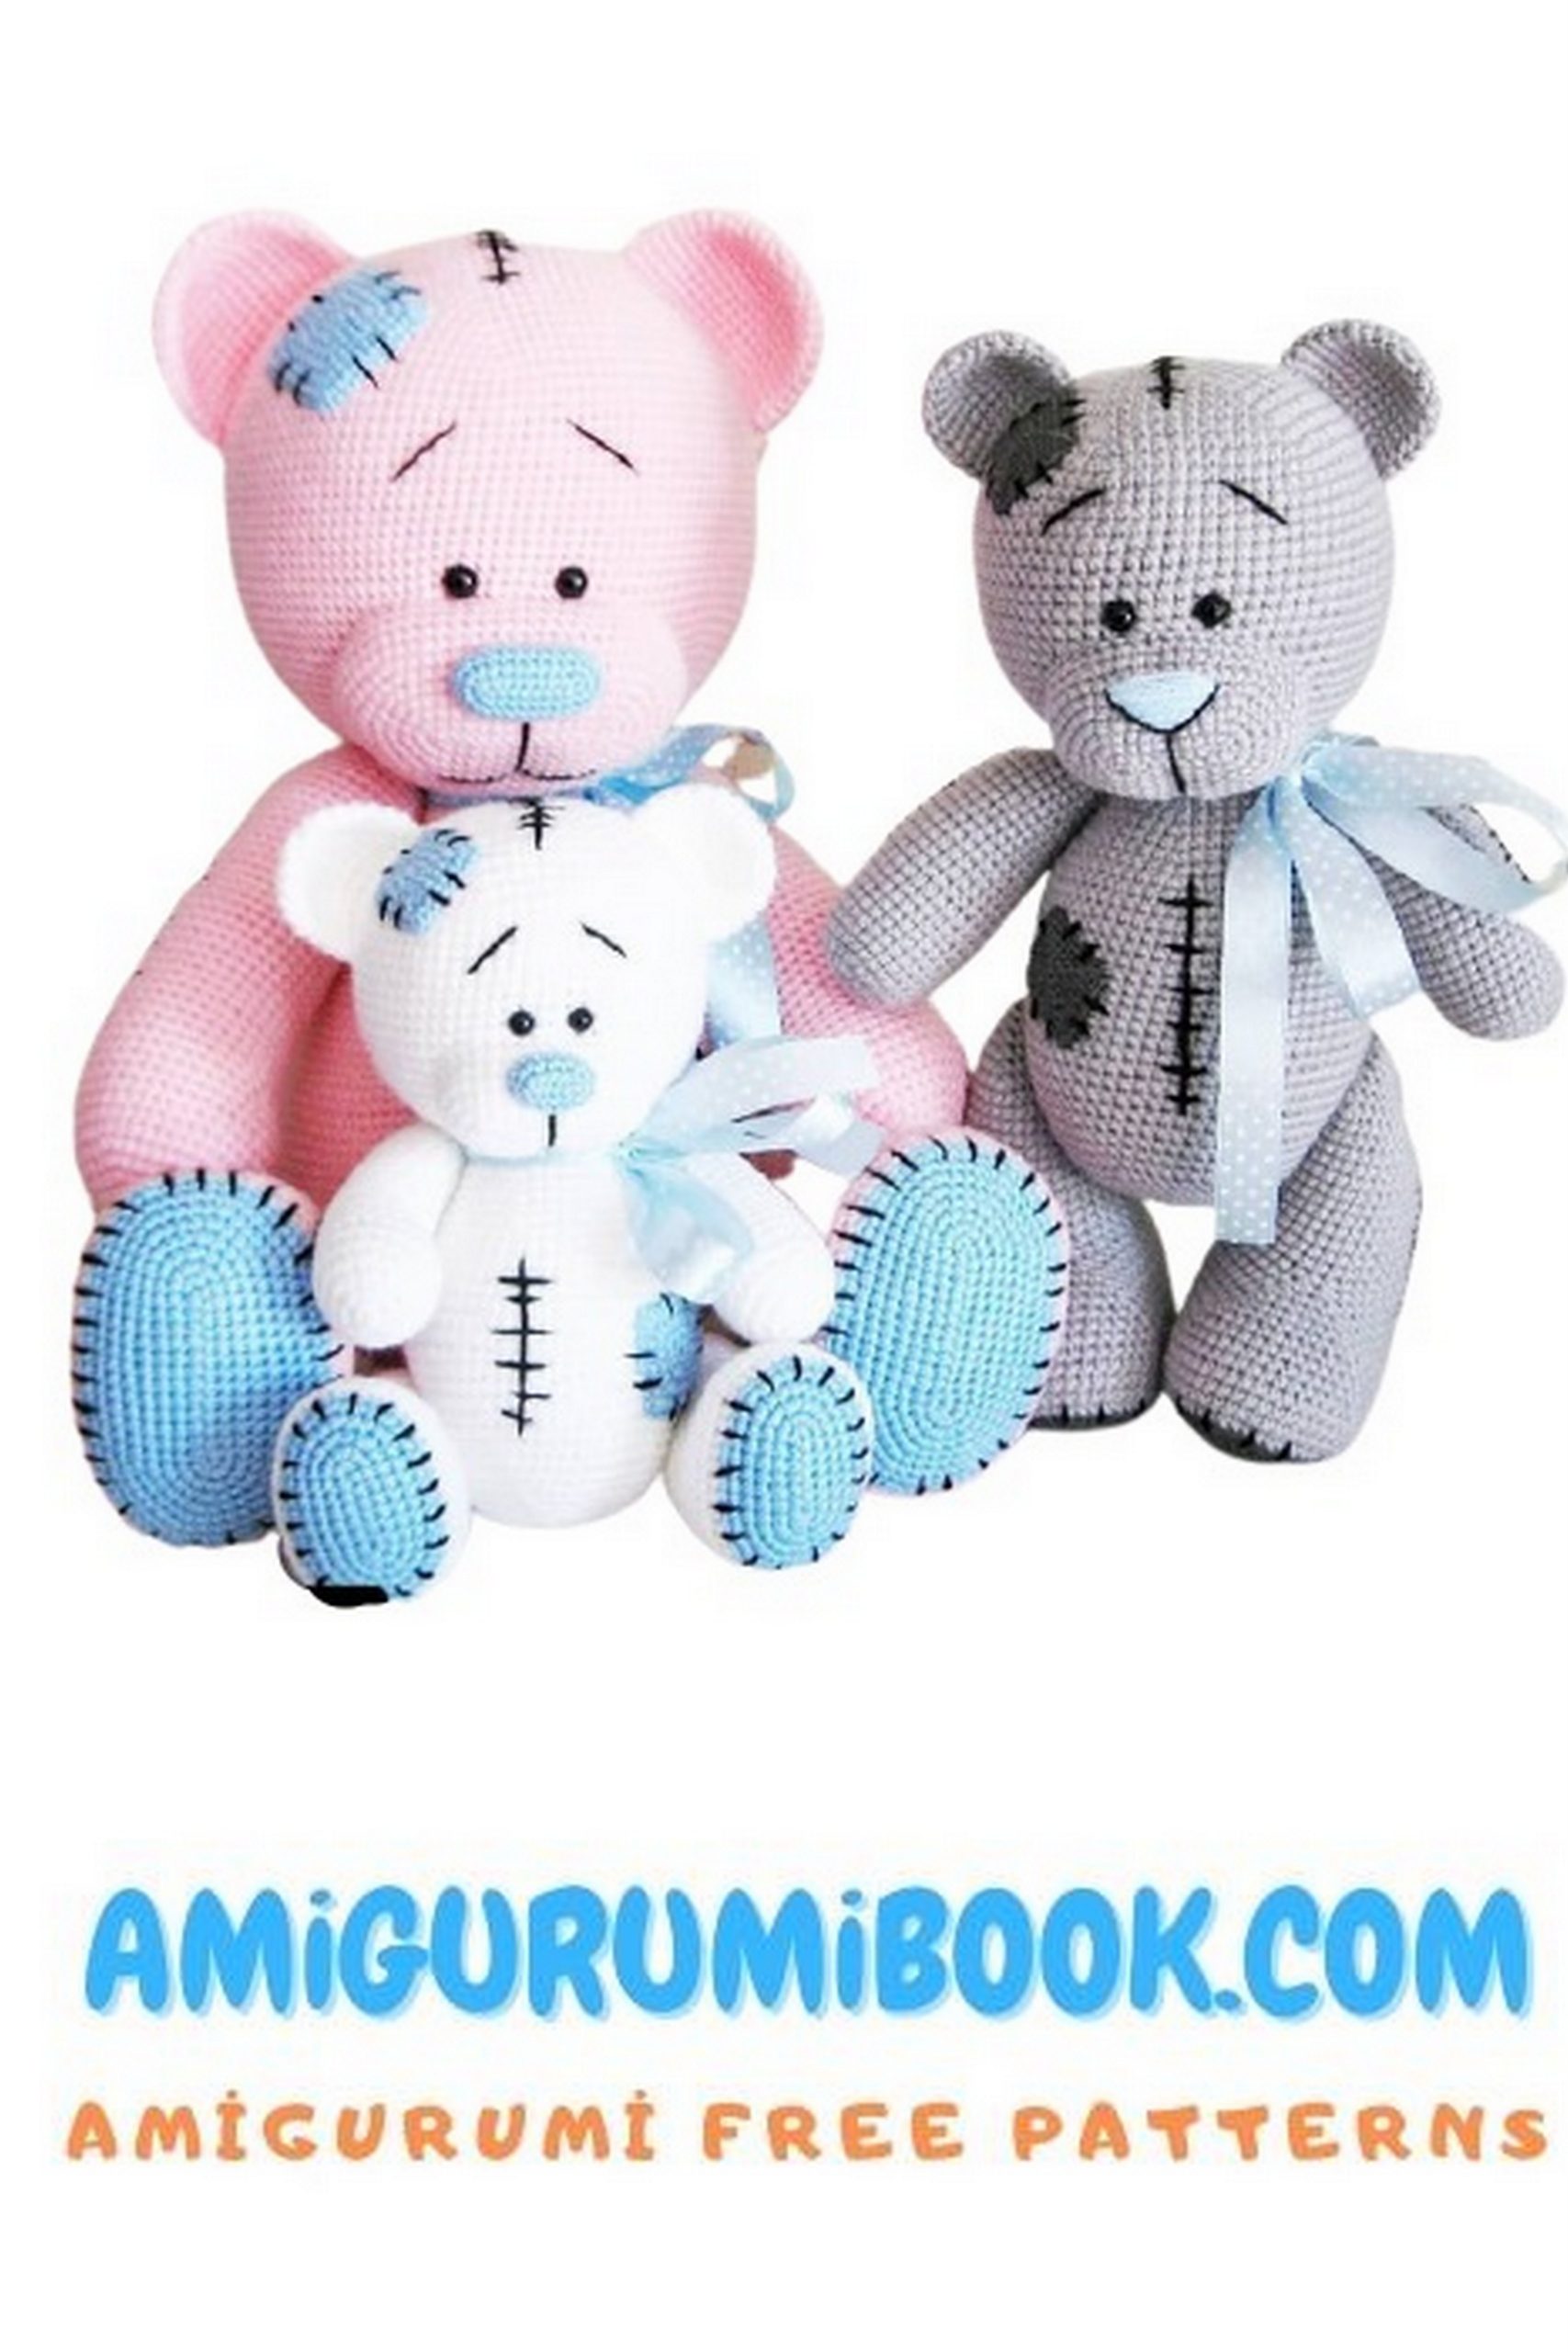
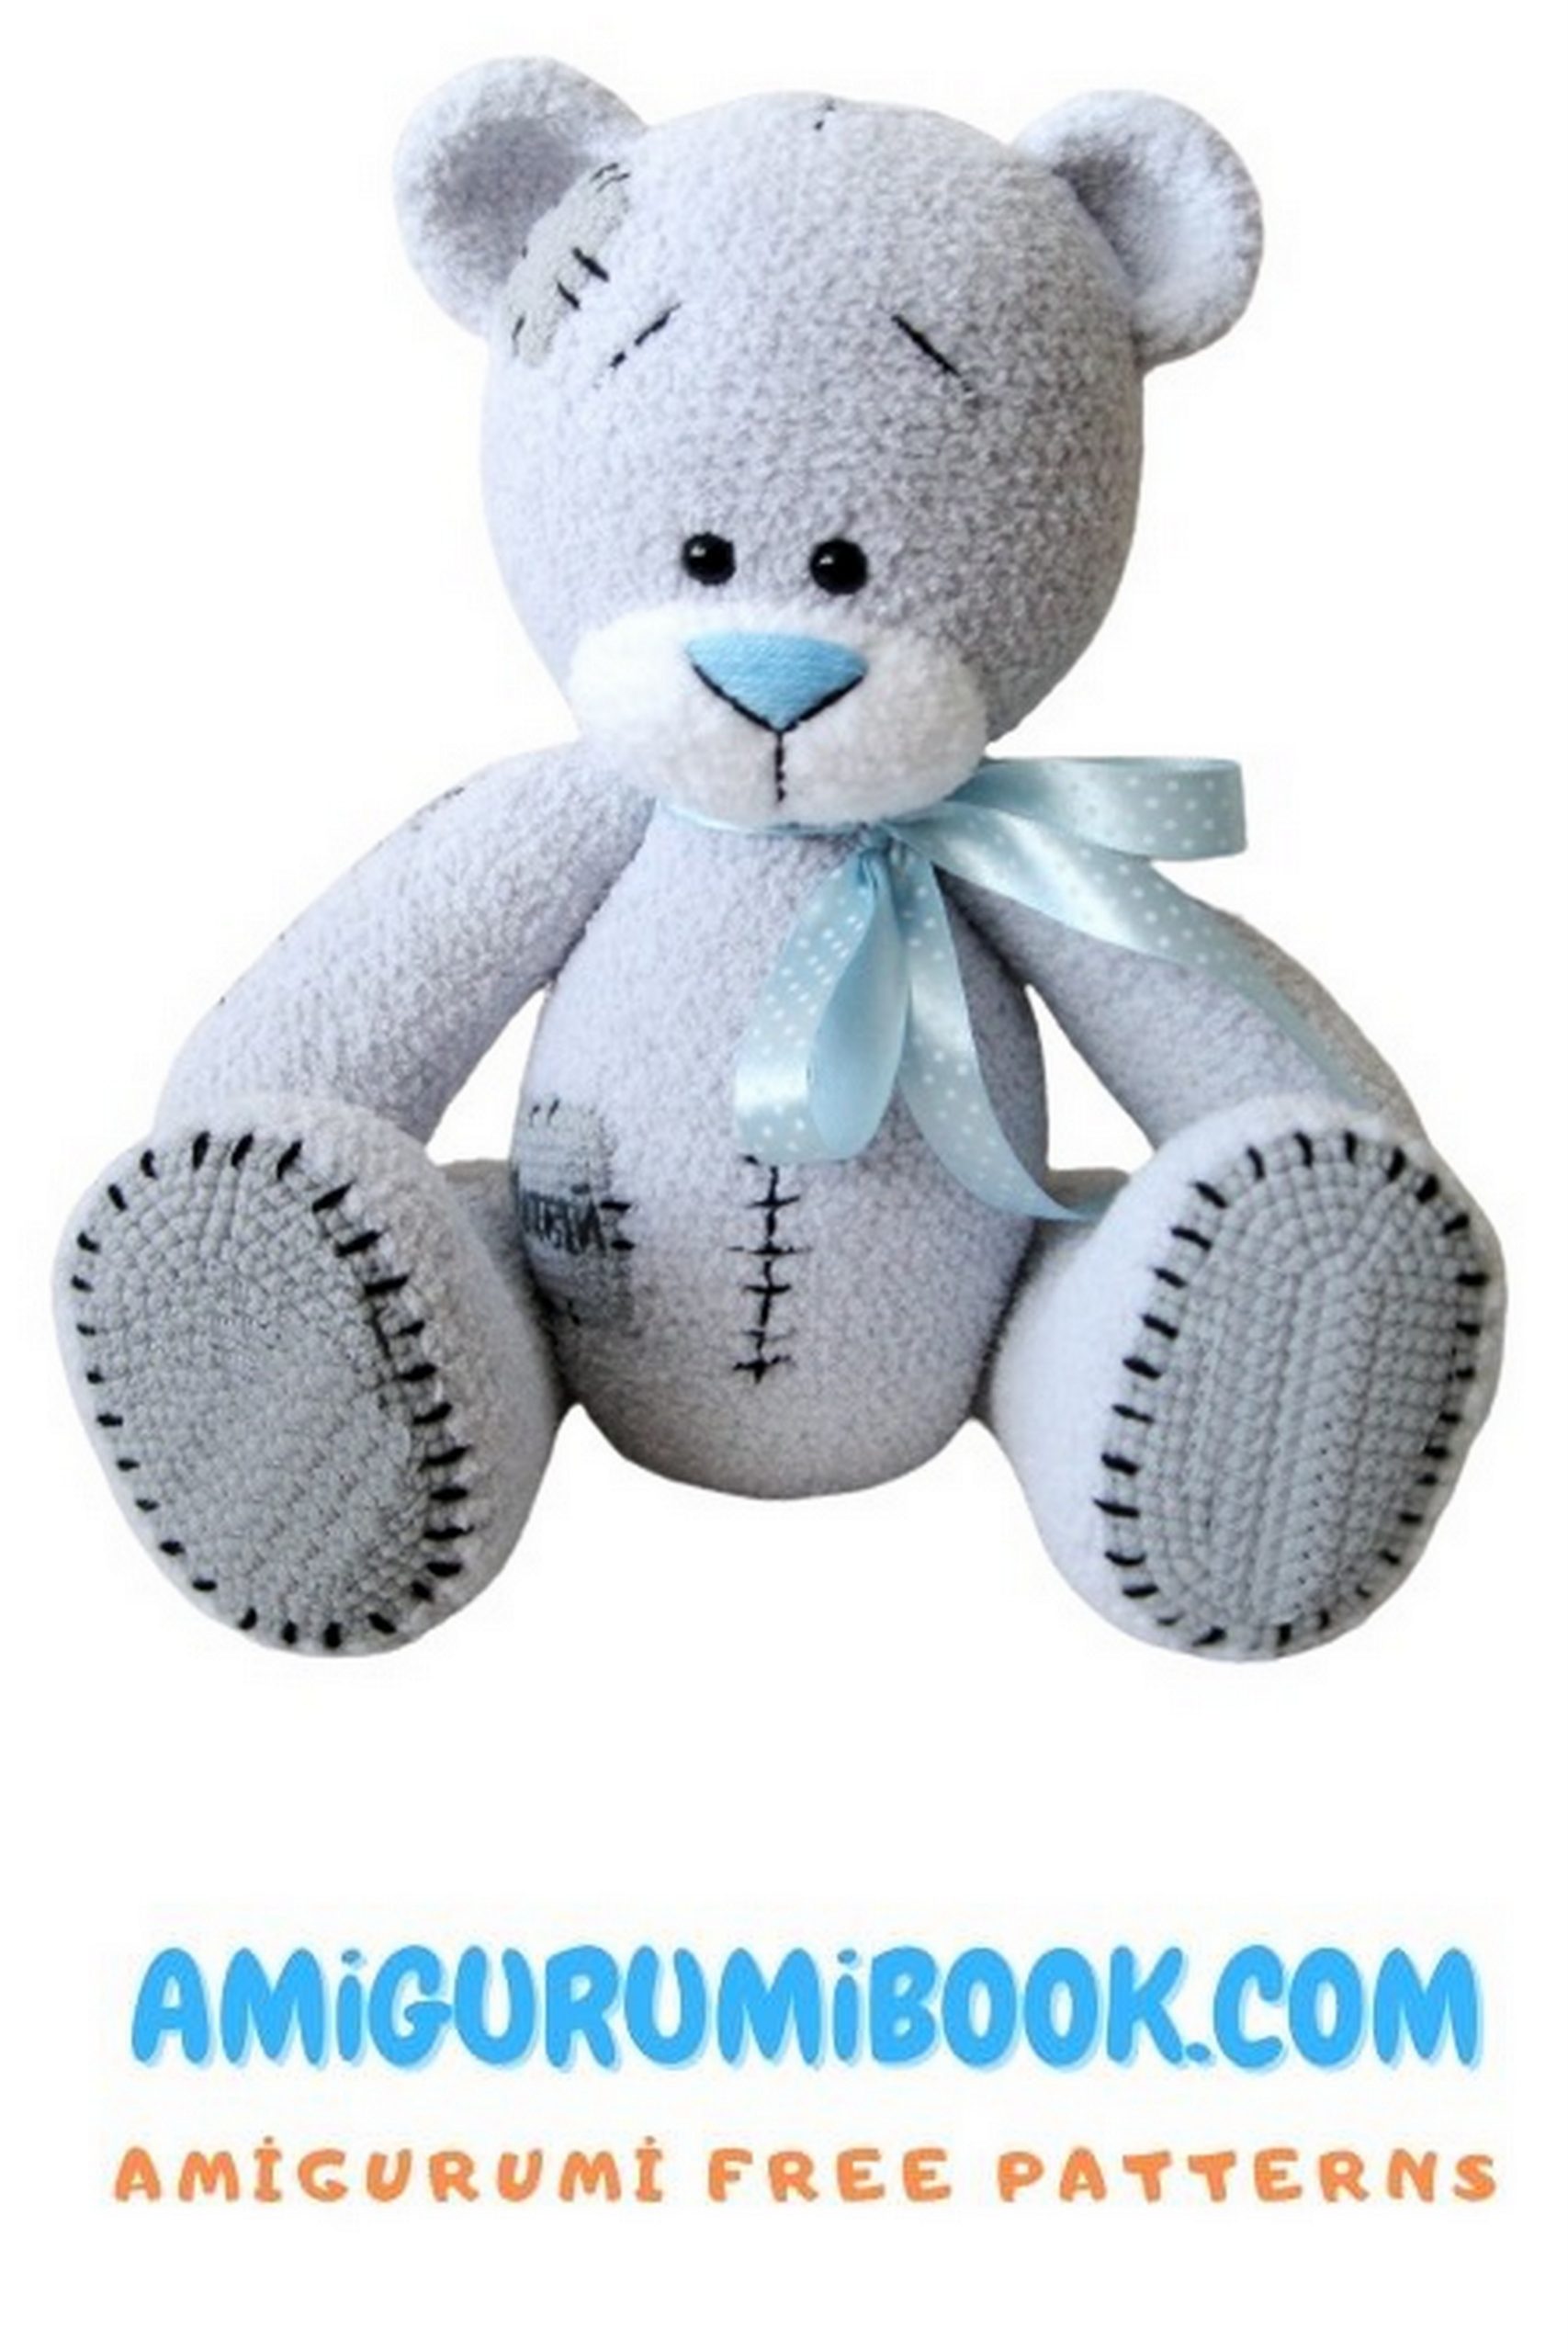
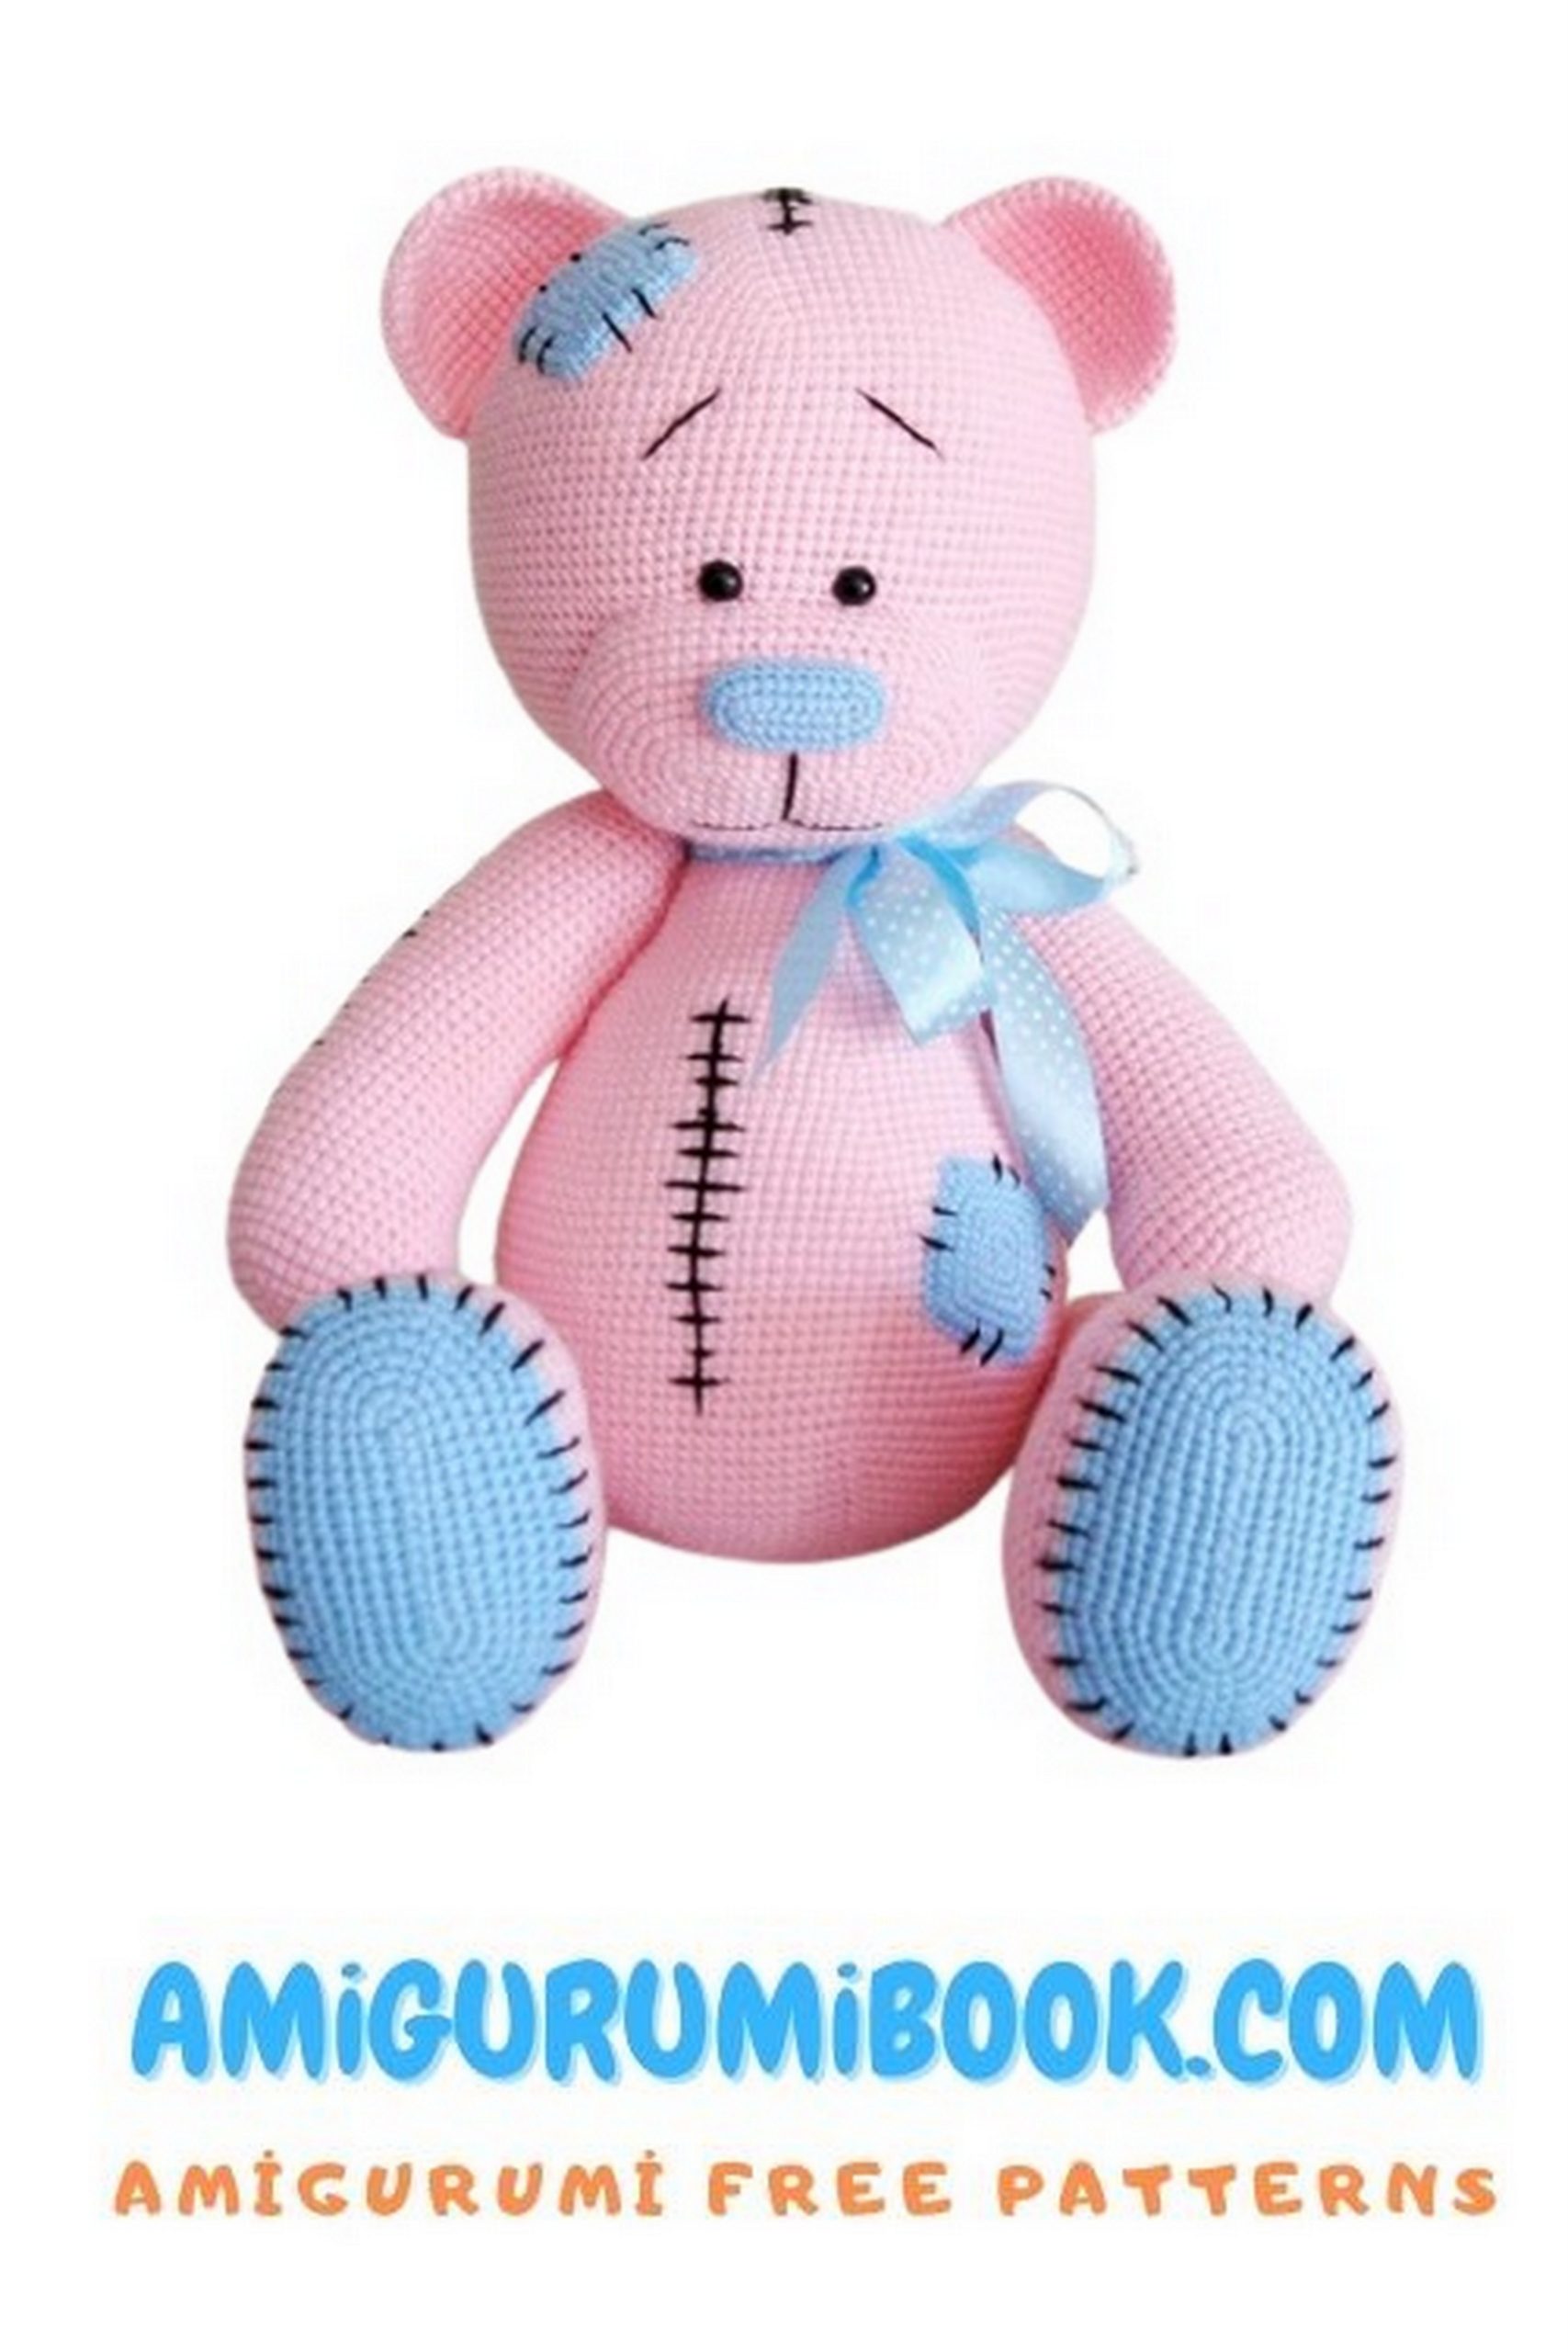
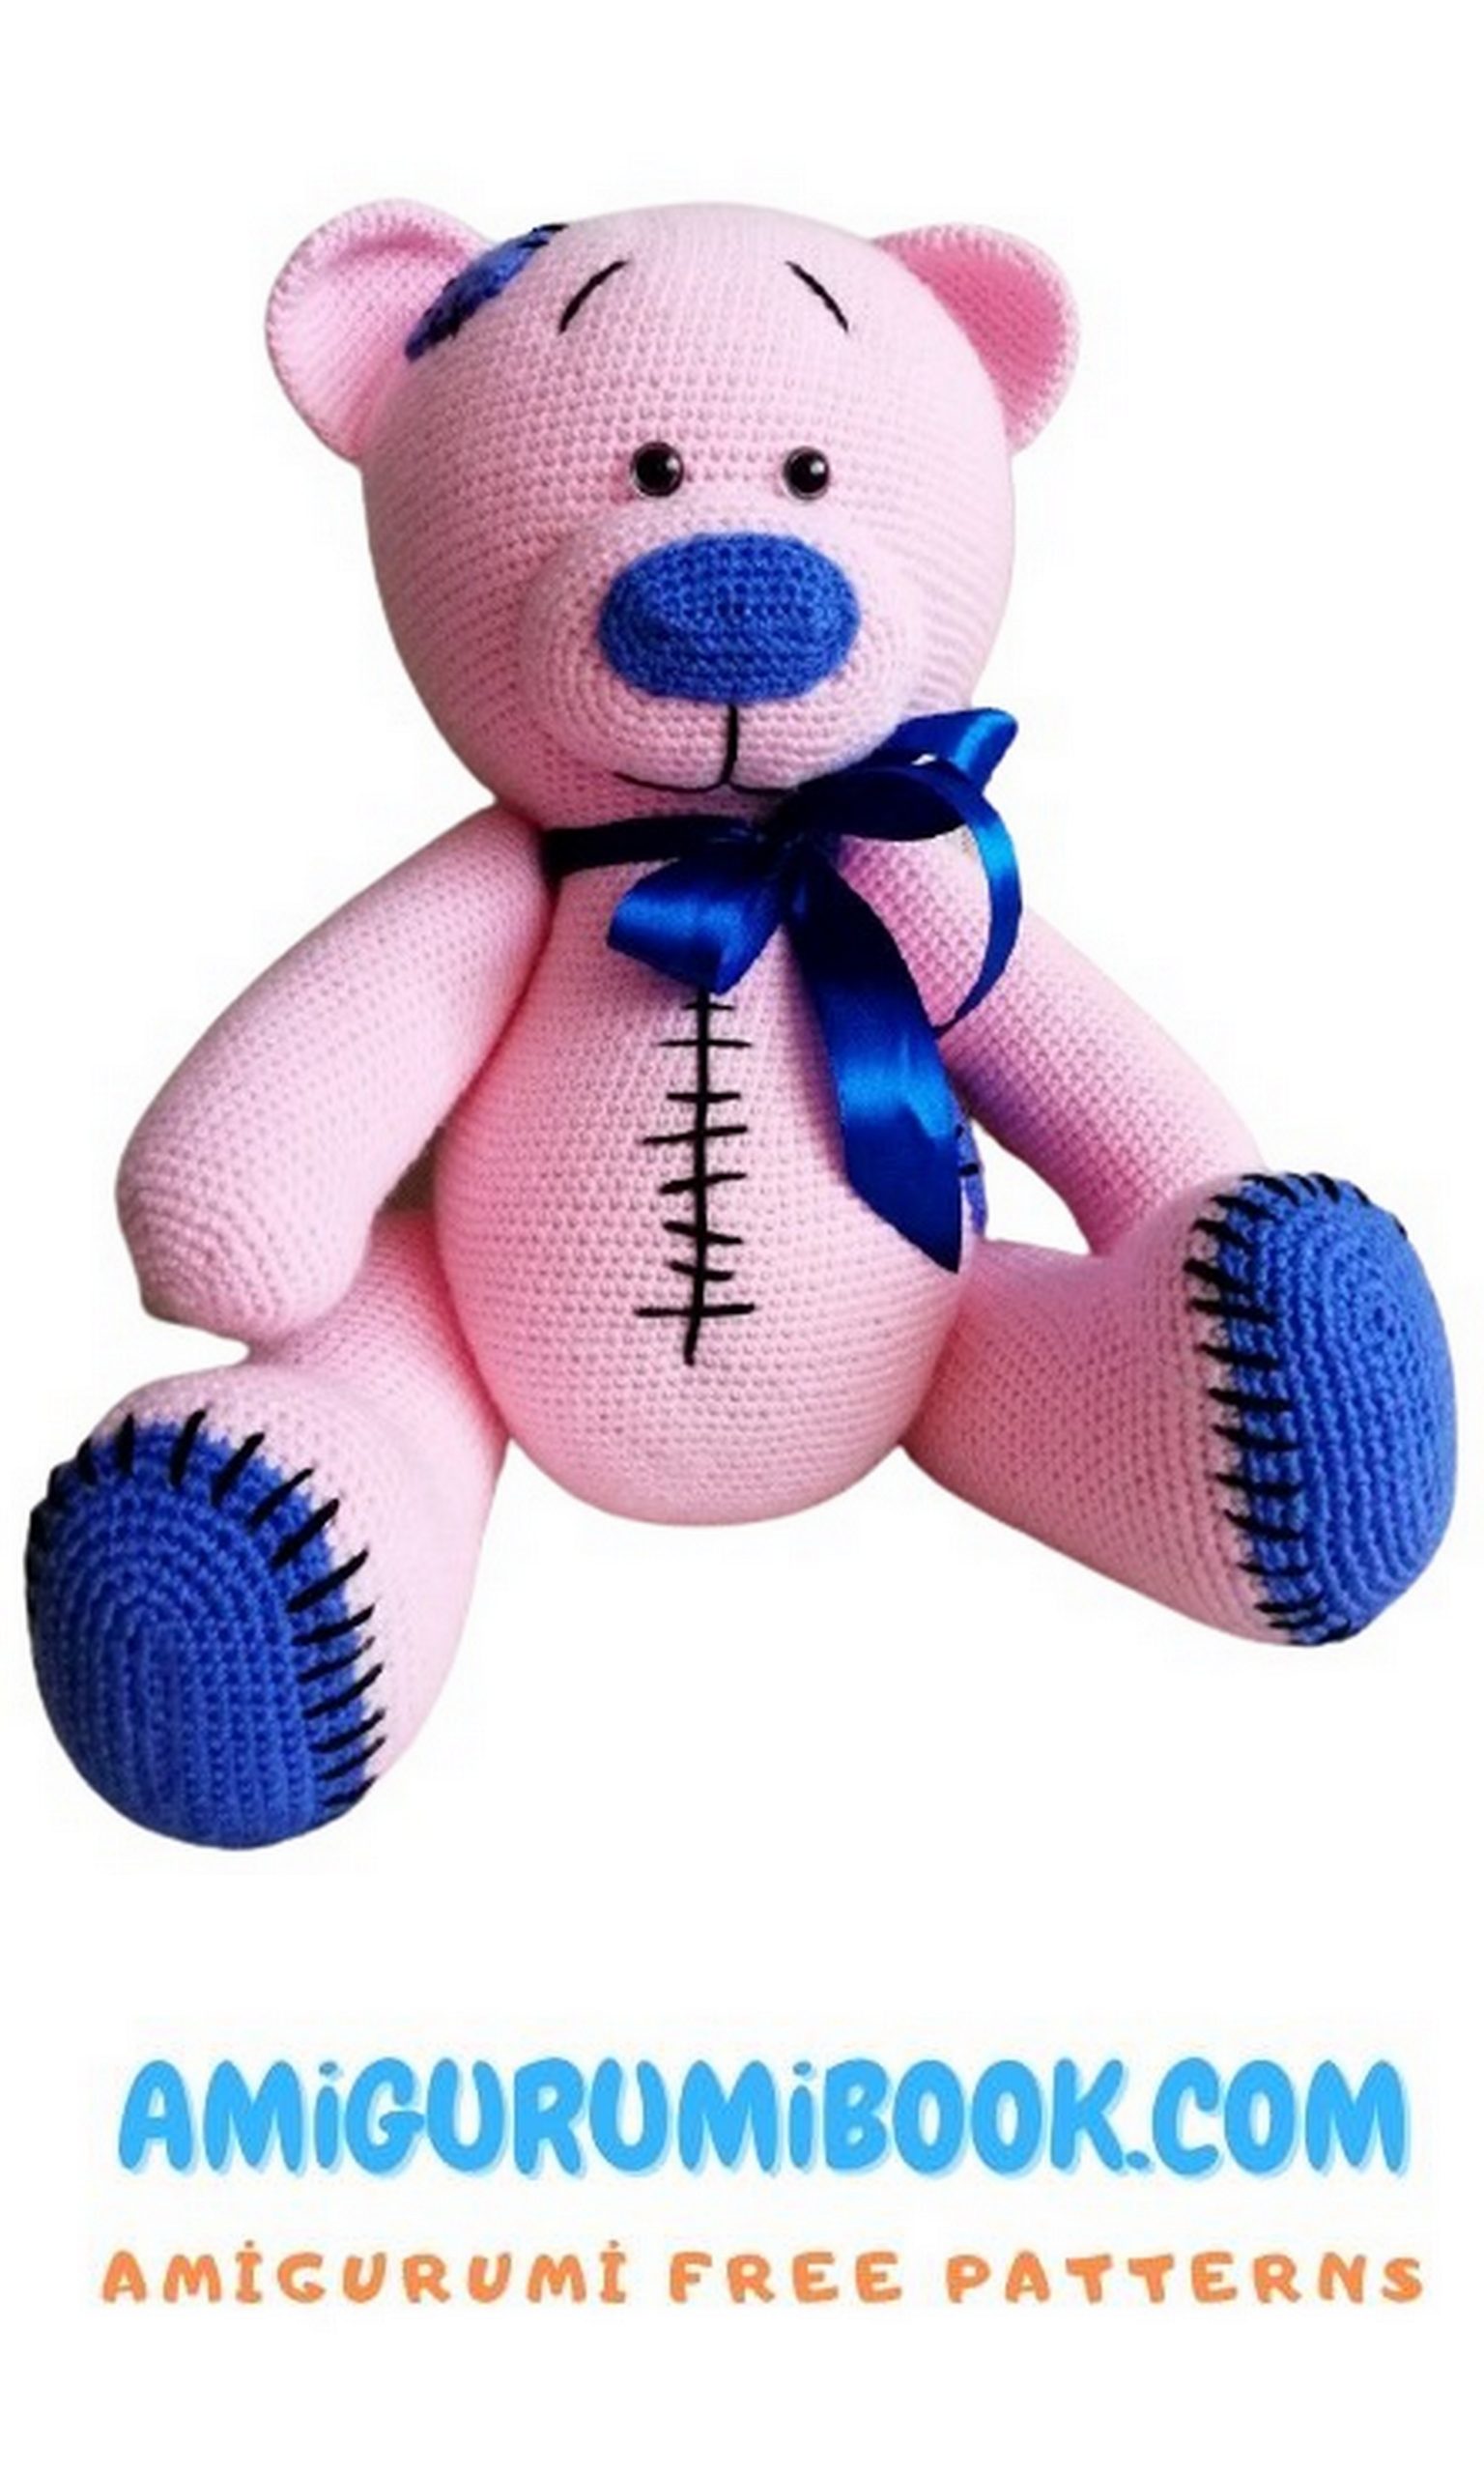
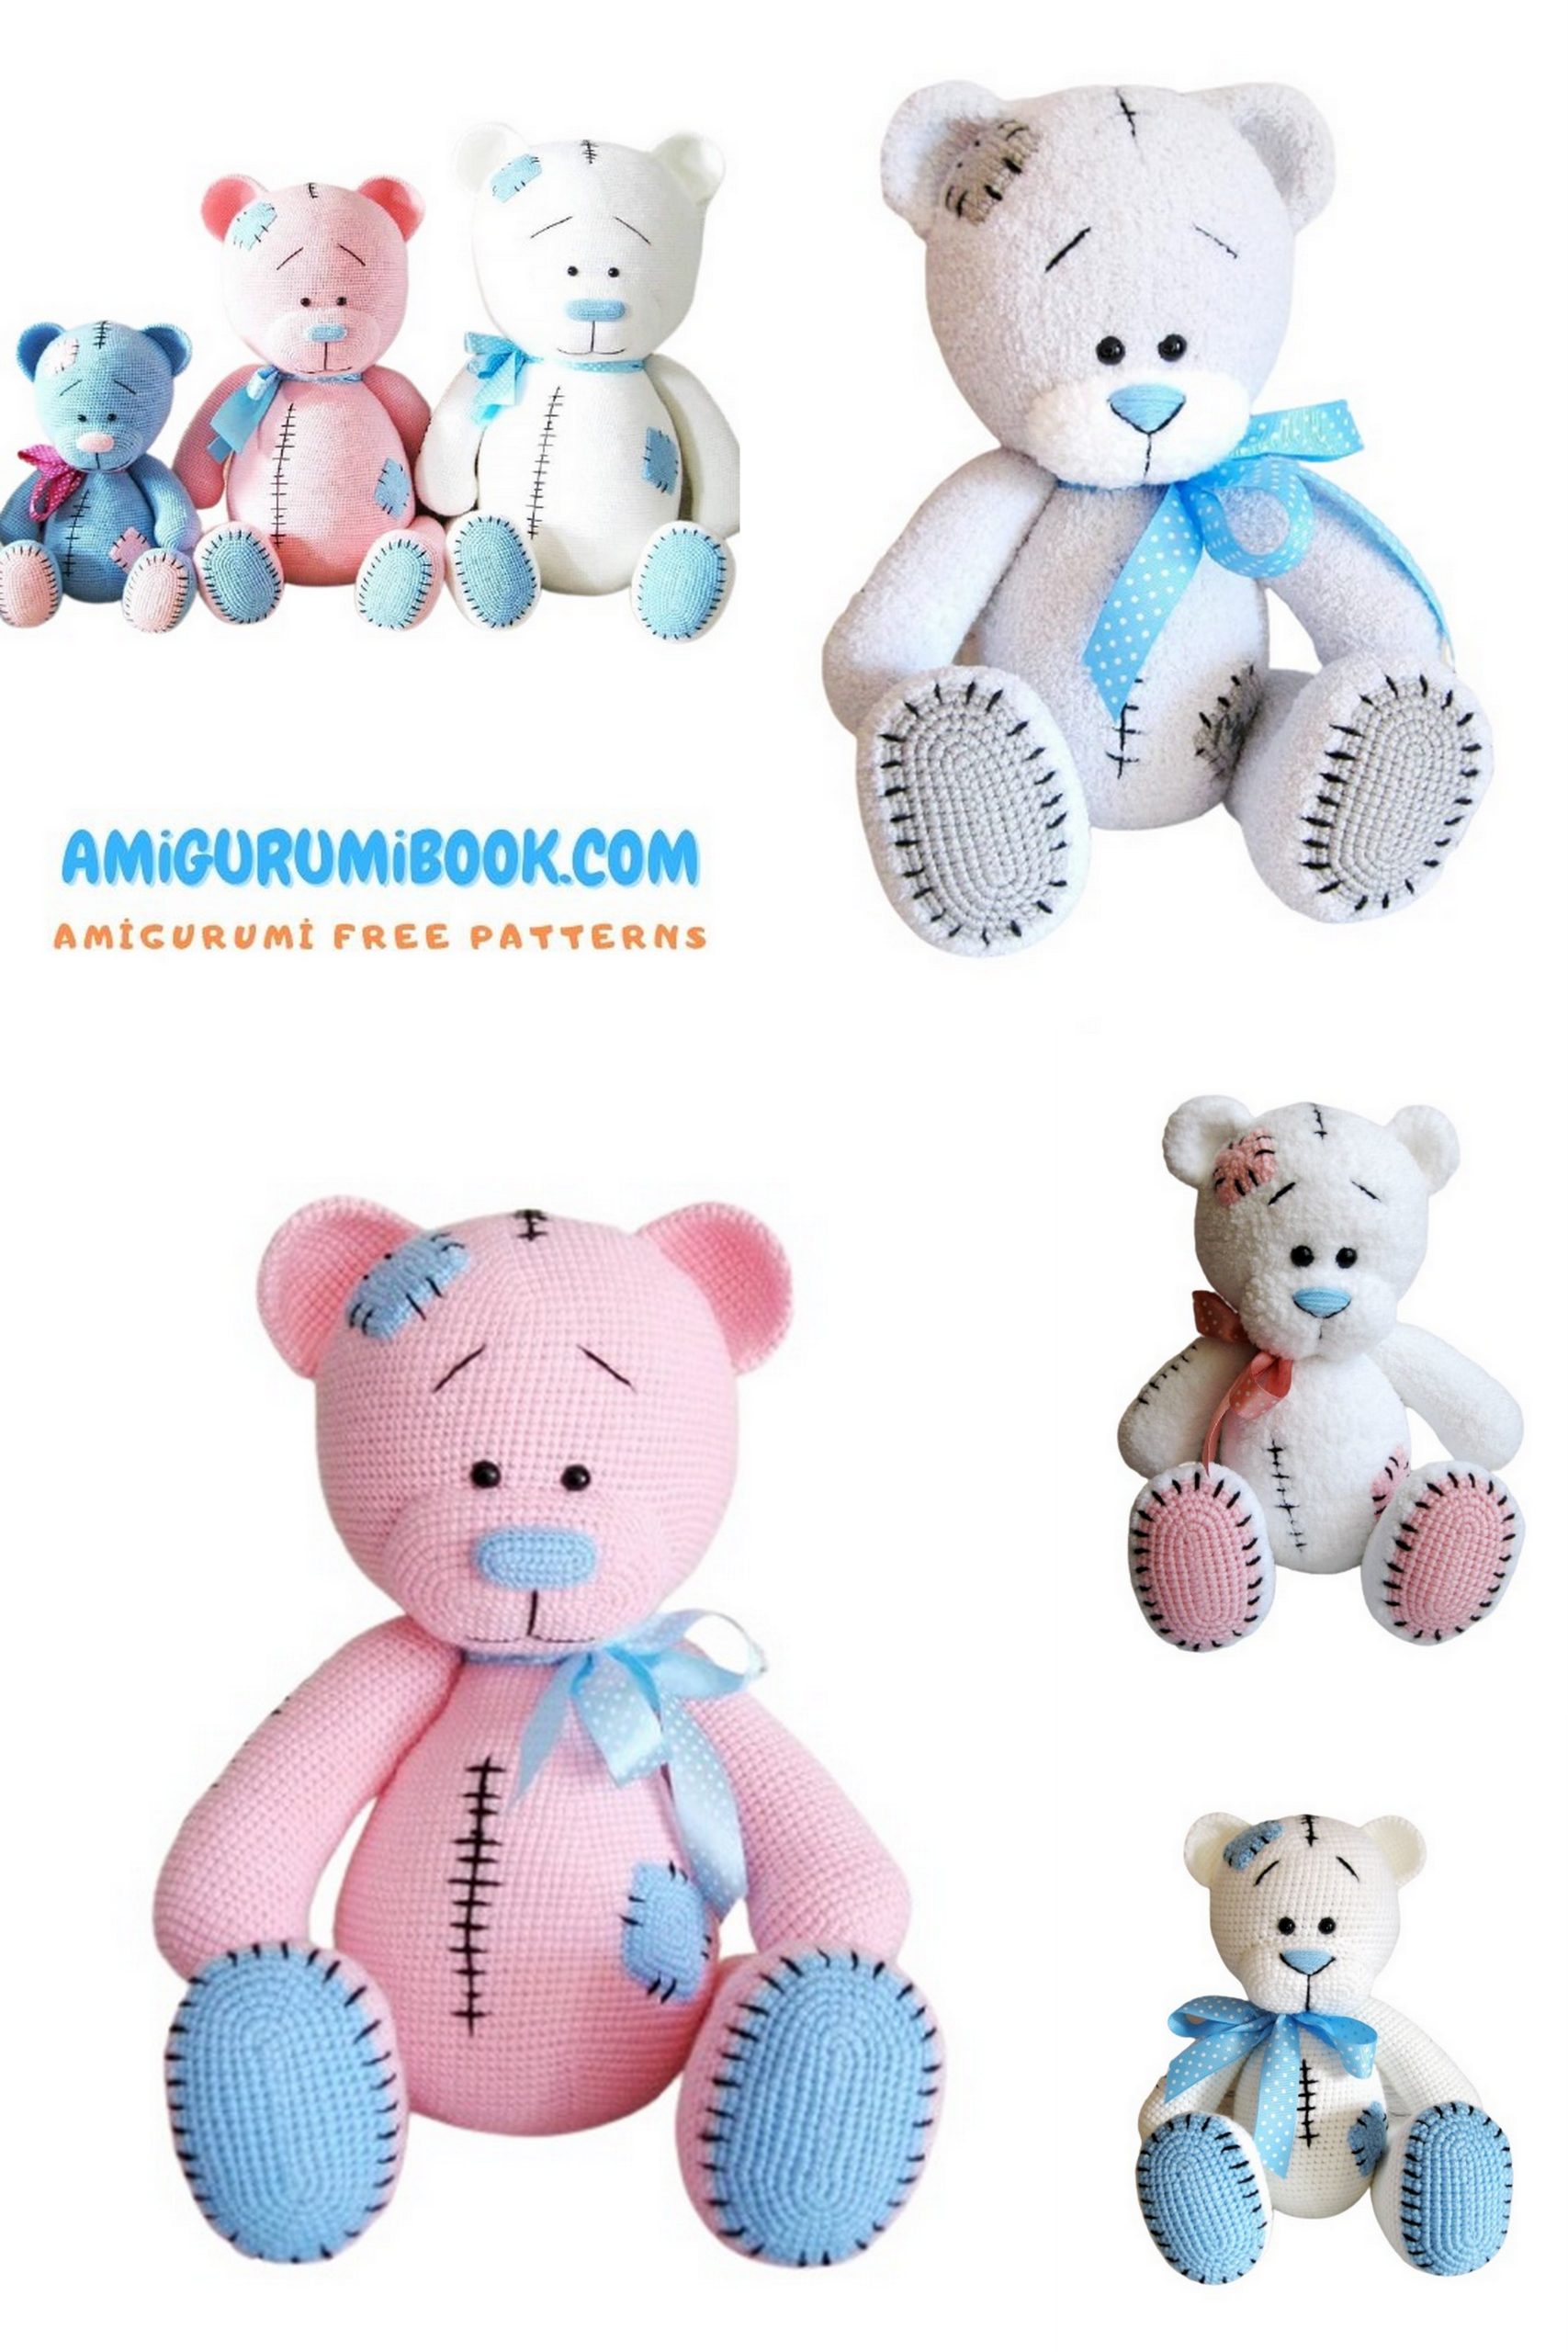
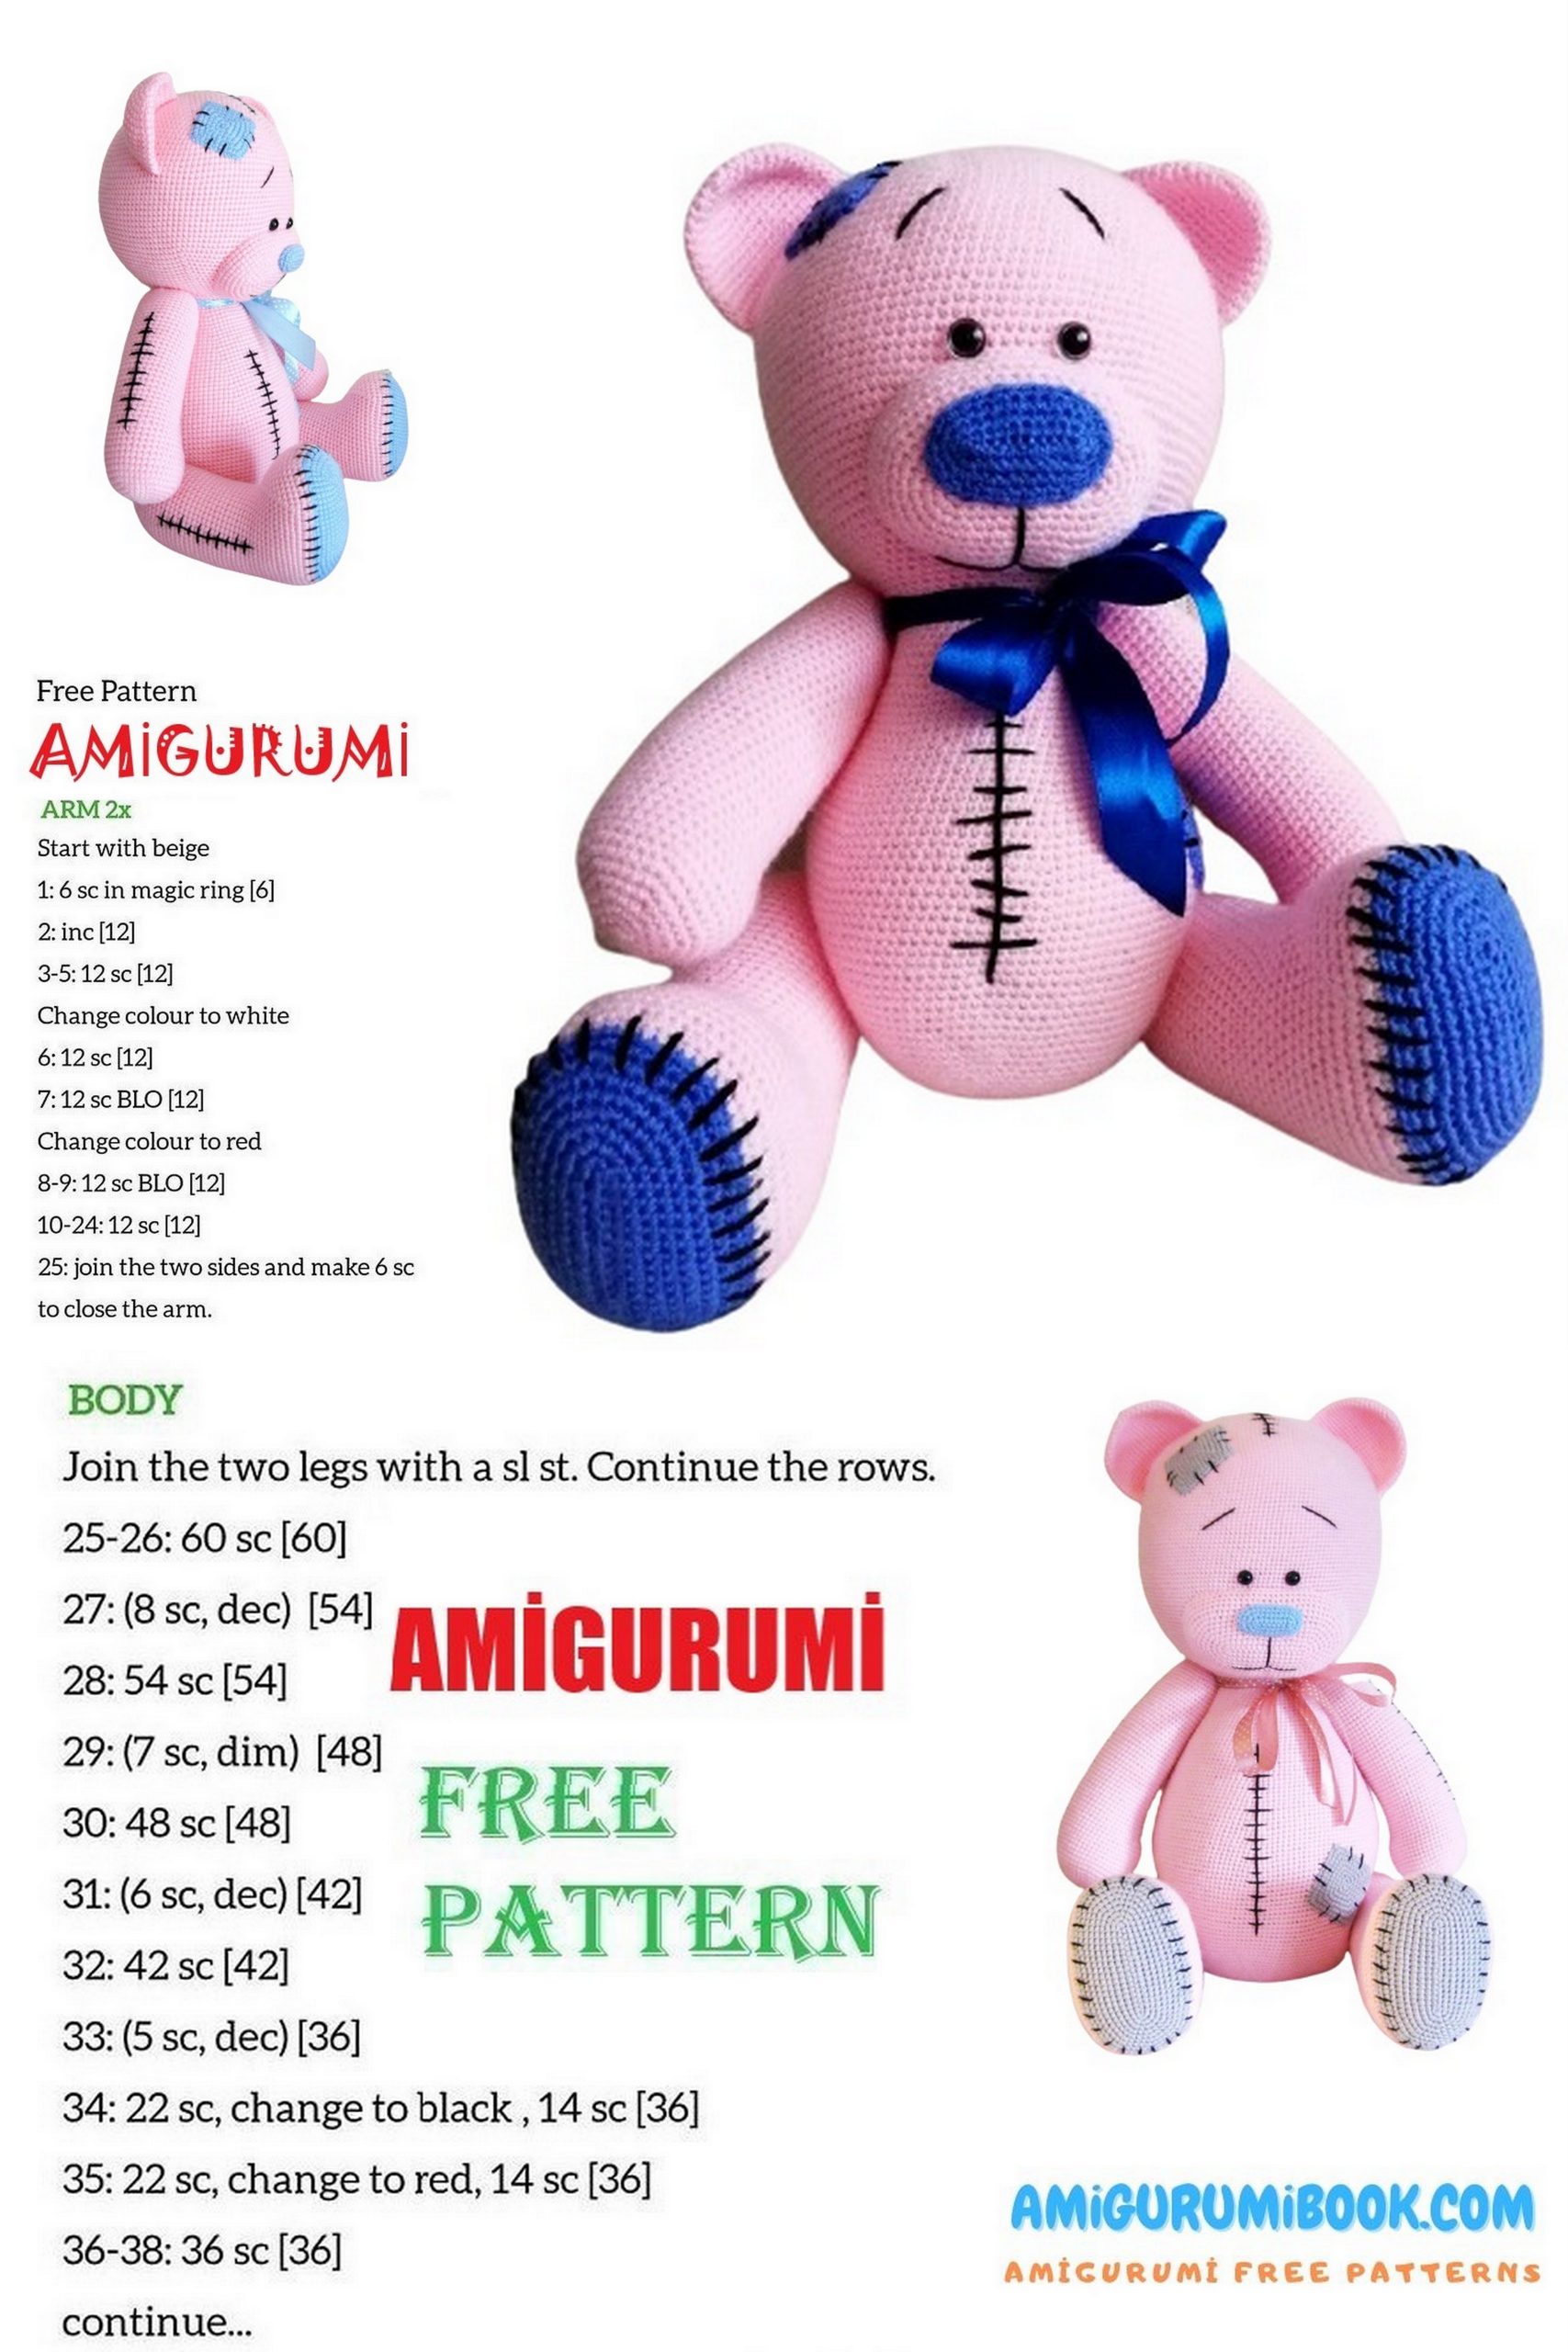
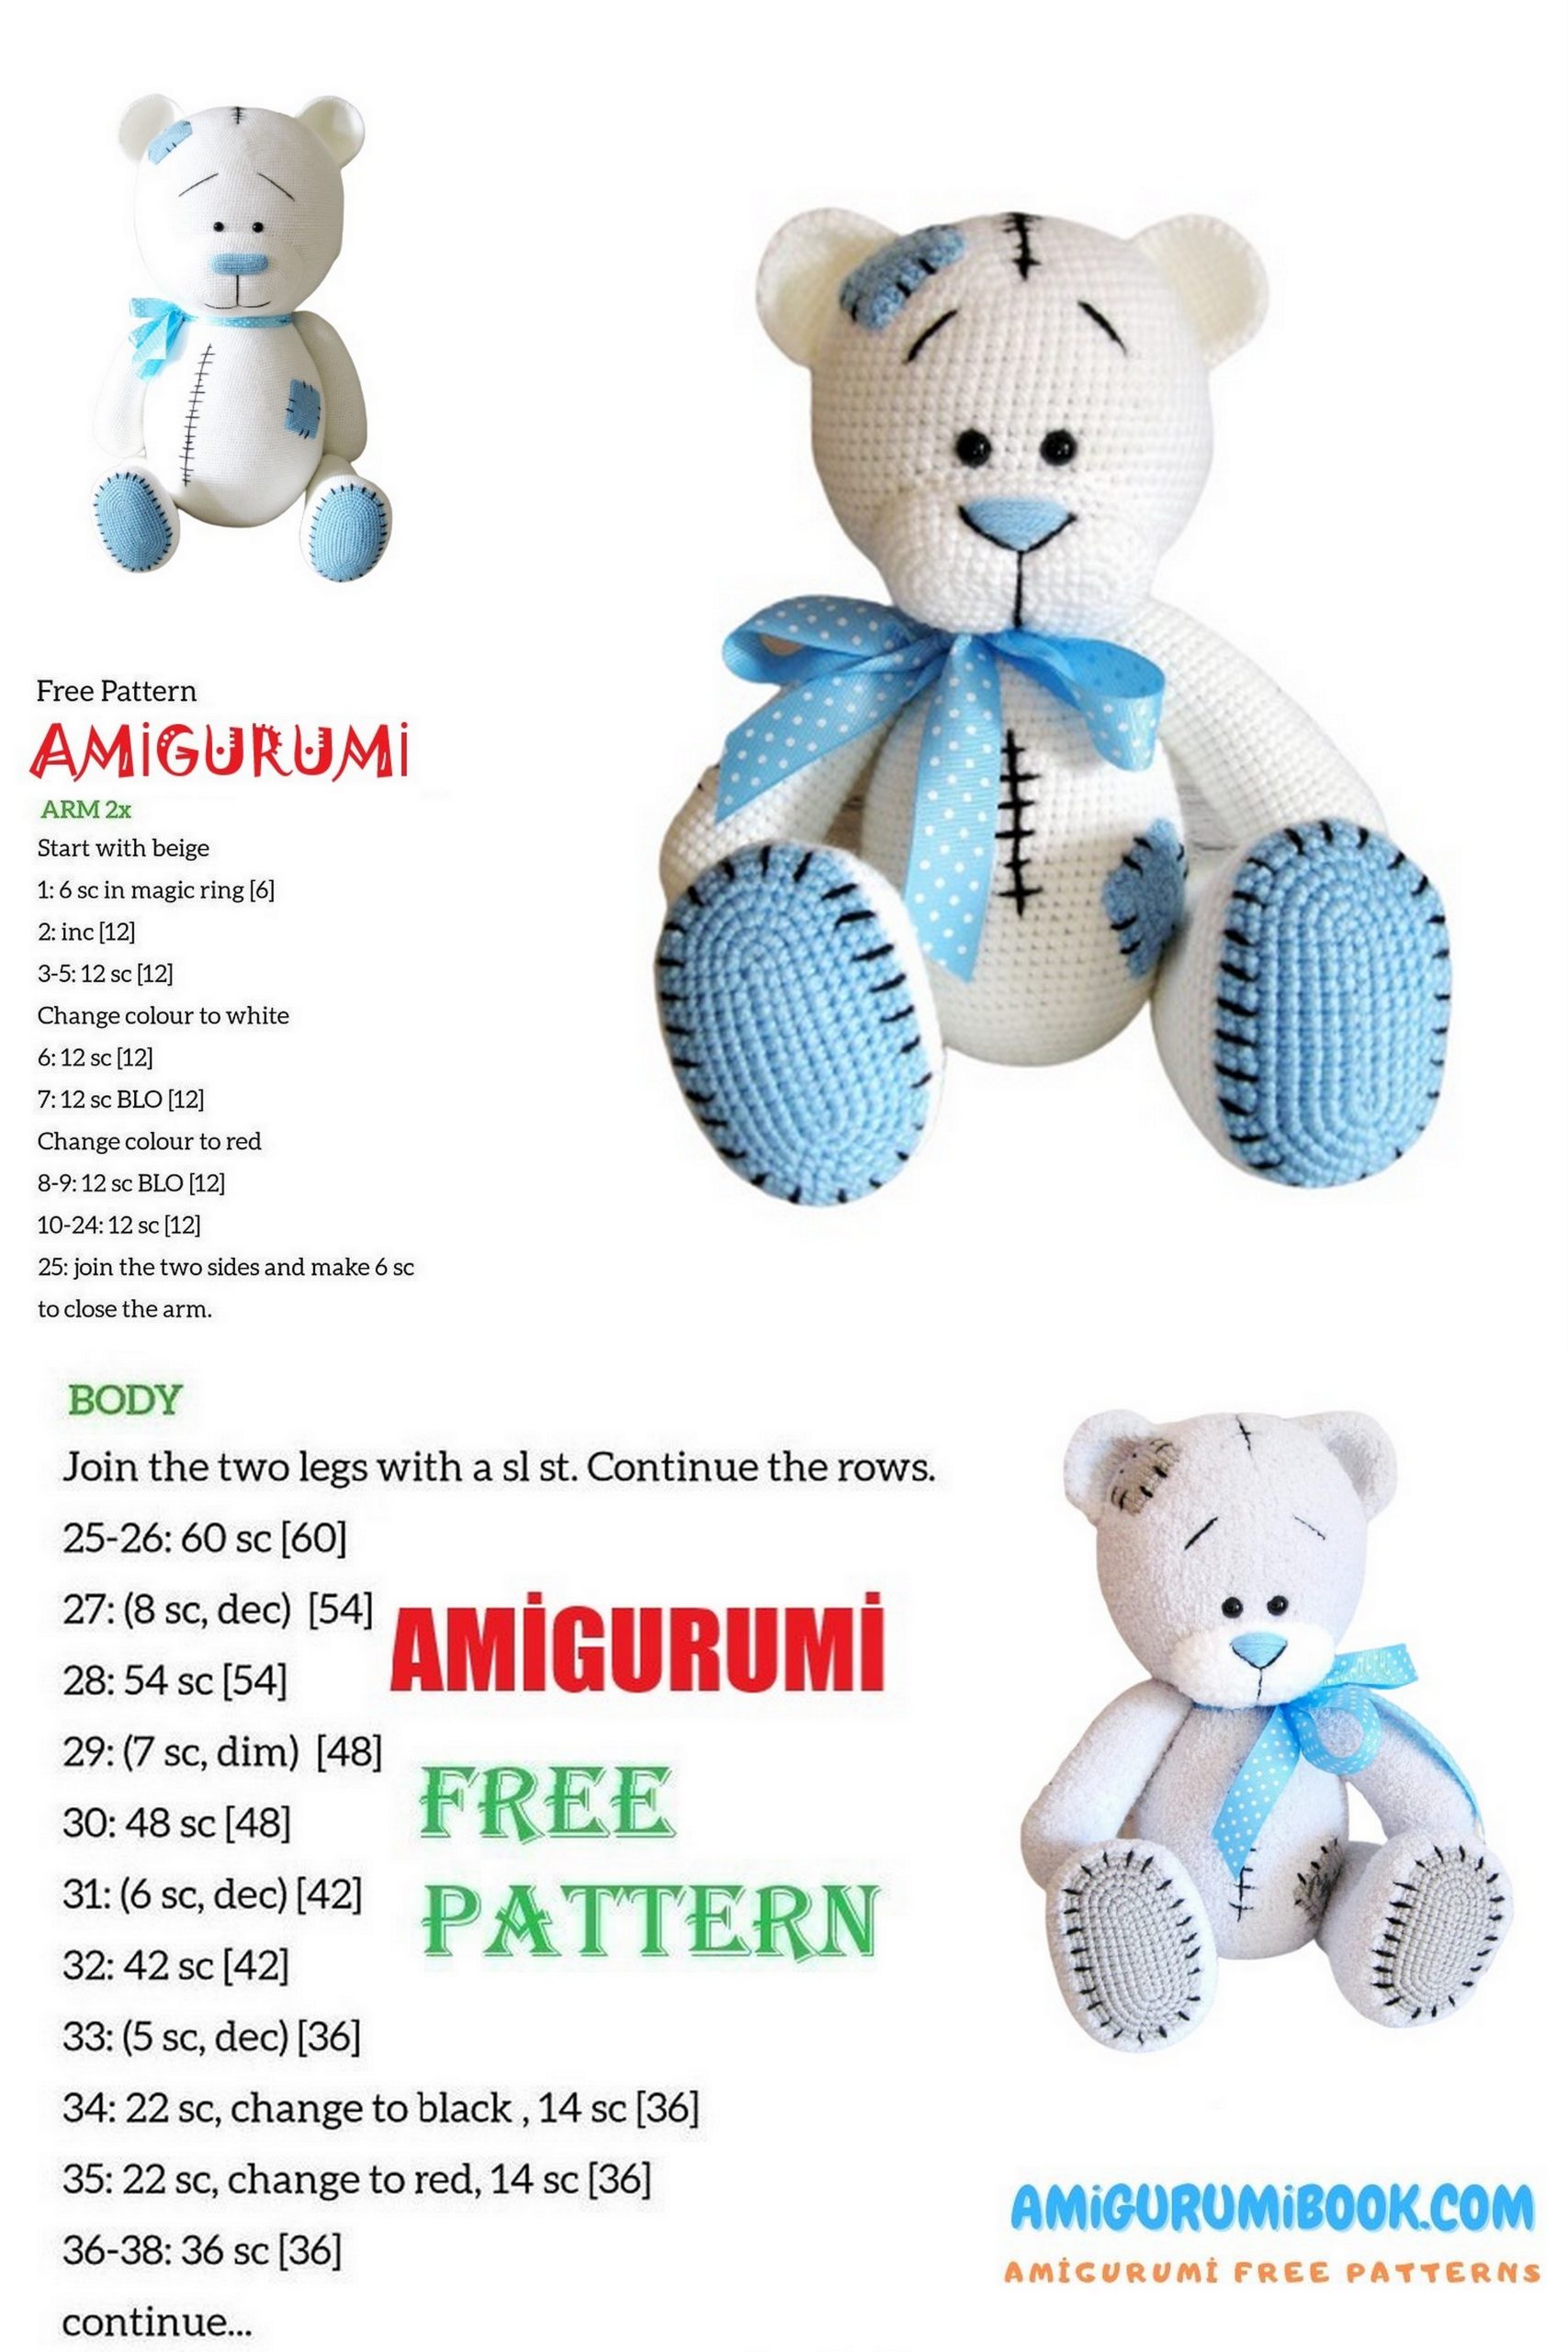
Create a cuddly and charming companion with our free Big Boy Bear Amigurumi pattern and crochet tutorial. Ideal for both beginners and experienced crocheters, this detailed guide offers step-by-step instructions and clear photos to help you craft an adorable big boy bear.
Whether as a cherished gift or a delightful addition to your amigurumi collection, this big bear is sure to bring warmth and joy. Start your Big Boy Bear Amigurumi project today and experience the fun and satisfaction of handmade crafting!
Size: 42 cm
If you want to access 1000+ free amigurumi patterns, you can download our application from this link!
Preparation of Materials and Tools
This master class does not include basic crochet lessons.
Basic amigurumi and crochet skills are required.
- Difficulty level: Below average
- Finished size:
- Approx. 42 cm standing
- Approx. 30 cm seated
Yarn Information
Main yarn used in this example:
- Pekhorka “Children’s Novelty”
Color: Light Begonia 180
Composition: 100% acrylic
Weight: 200 m / 50 g
Usage: approx. 200 g (4 skeins)
→ Main color of the toy, knitted in one strand
Additional colors:
- Pekhorka “Children’s Novelty” Venus Slipper 519
Used for muzzle, patches, soles
Approx. 25 g (½ skein) - Pekhorka “Children’s Novelty” Black 02
Used for seams, eyebrows, nose embroidery
(Any black yarn of similar thickness may be used)
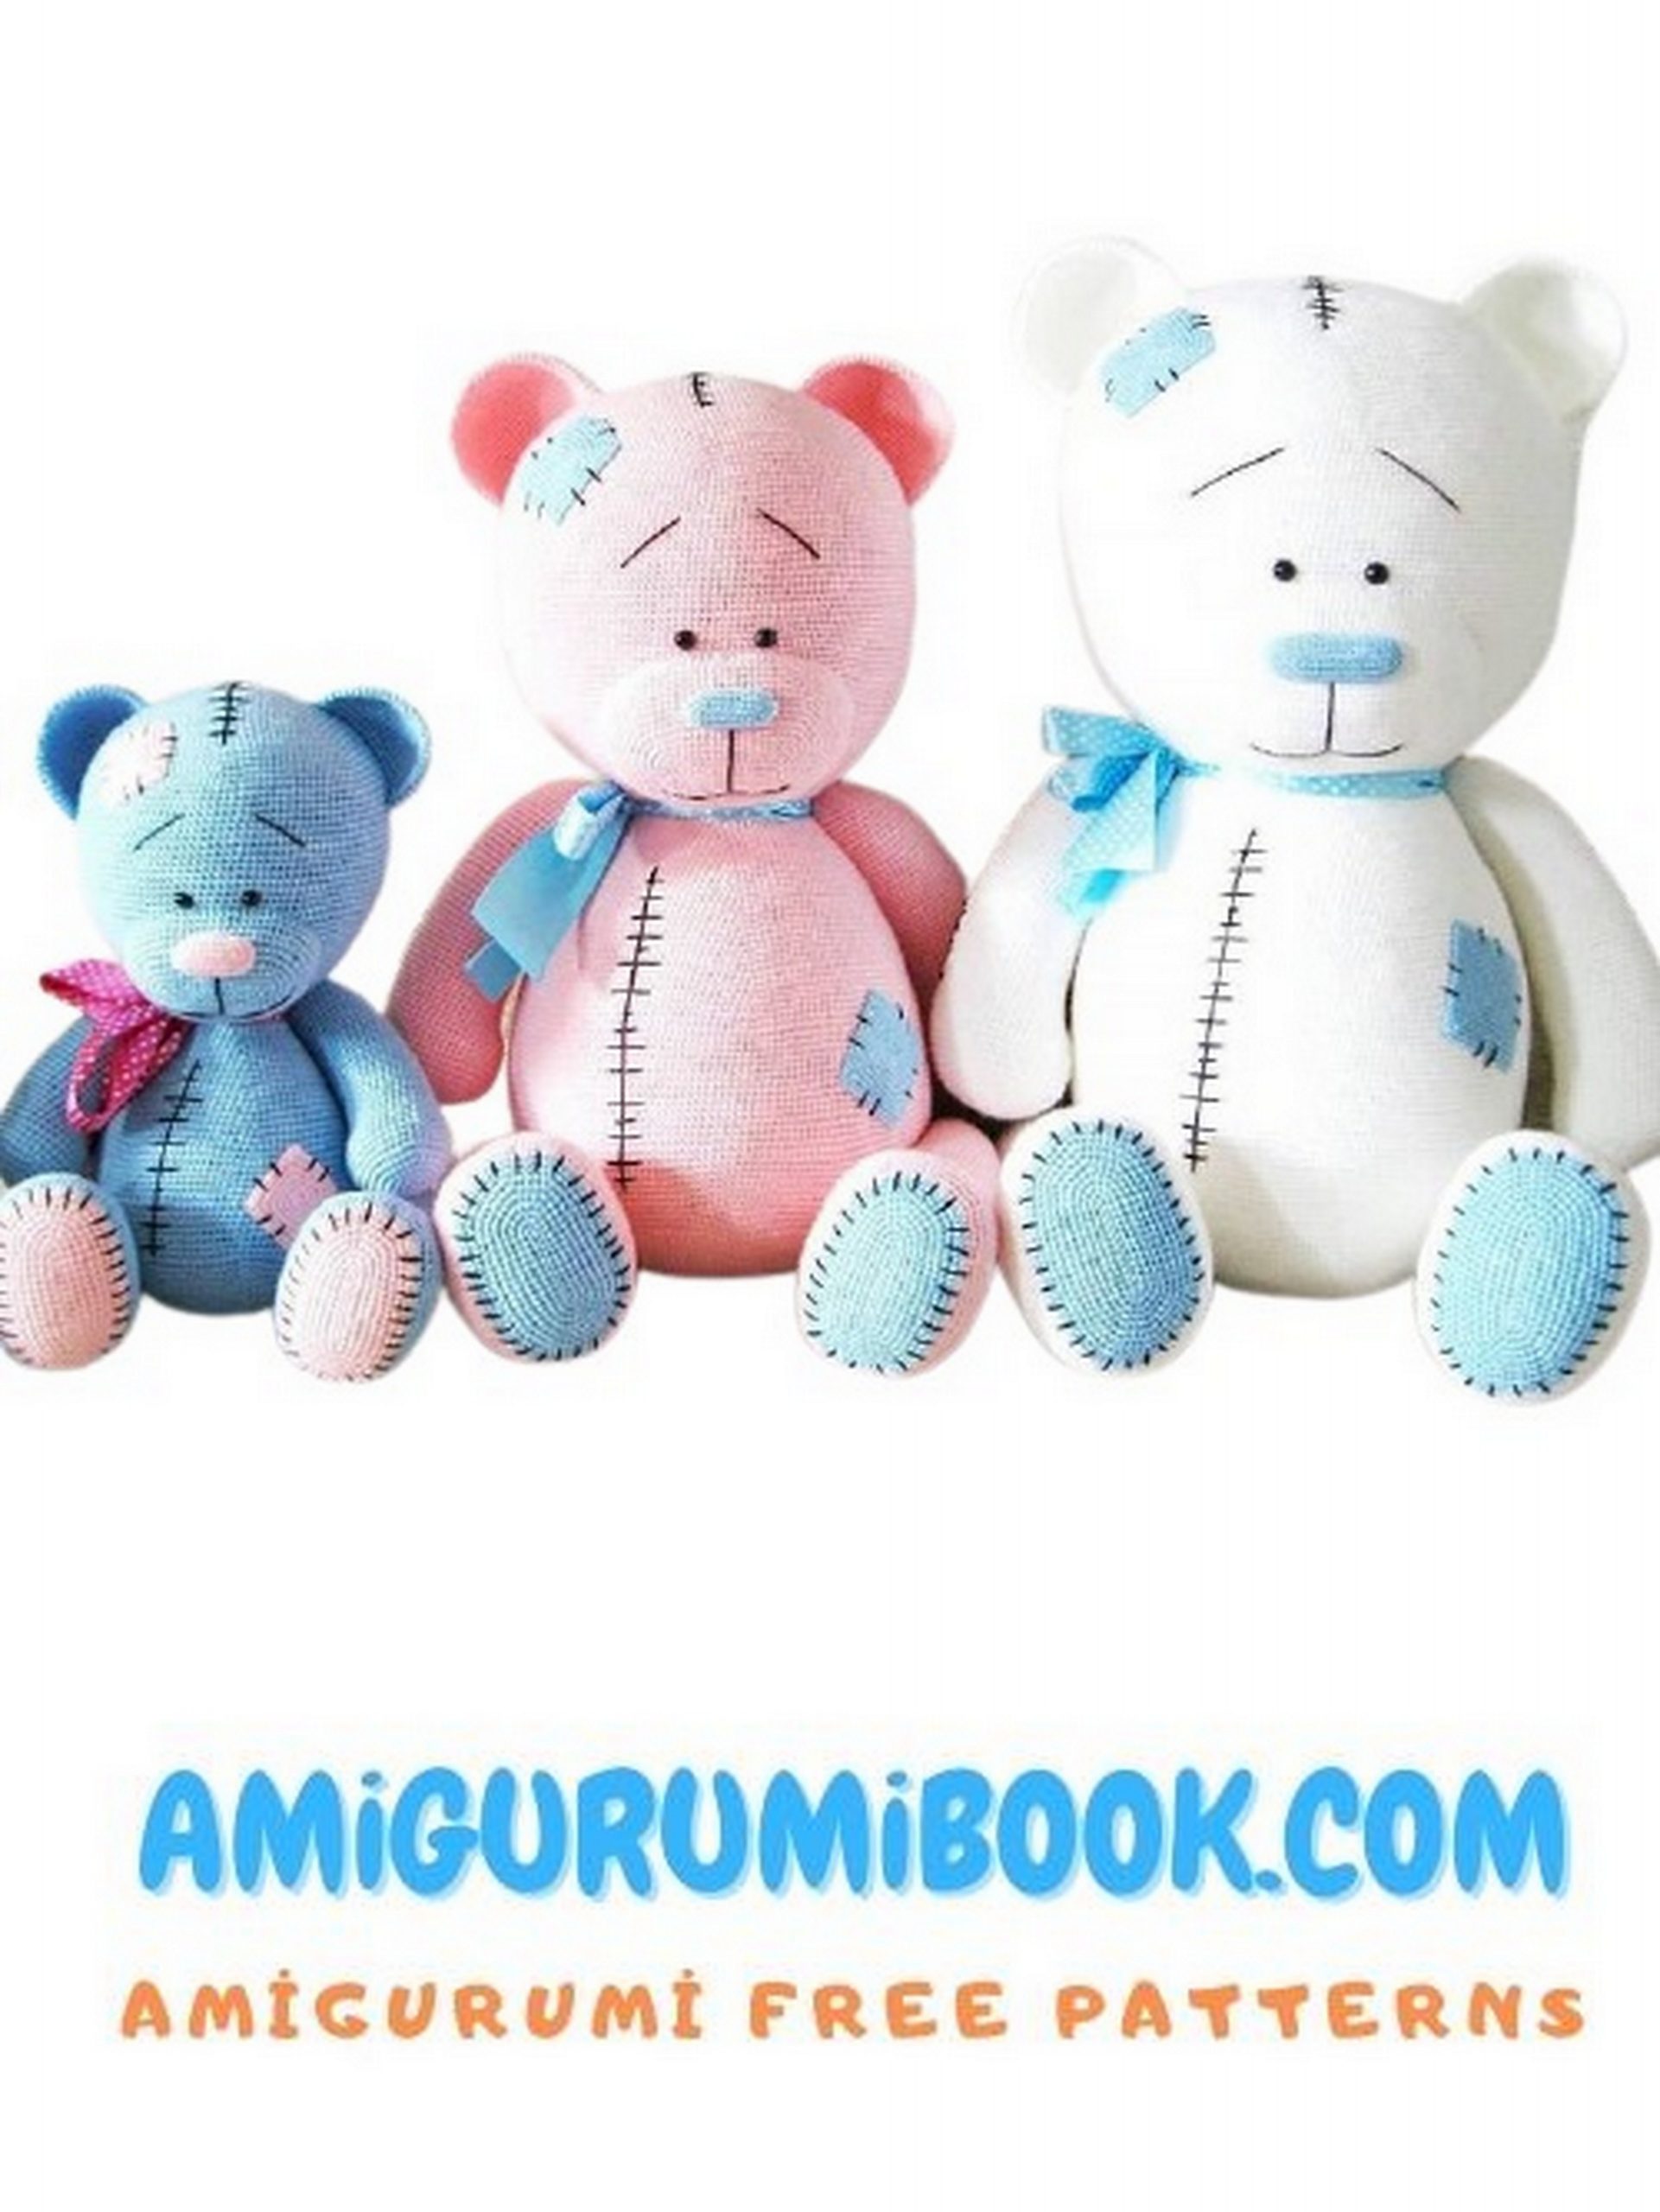
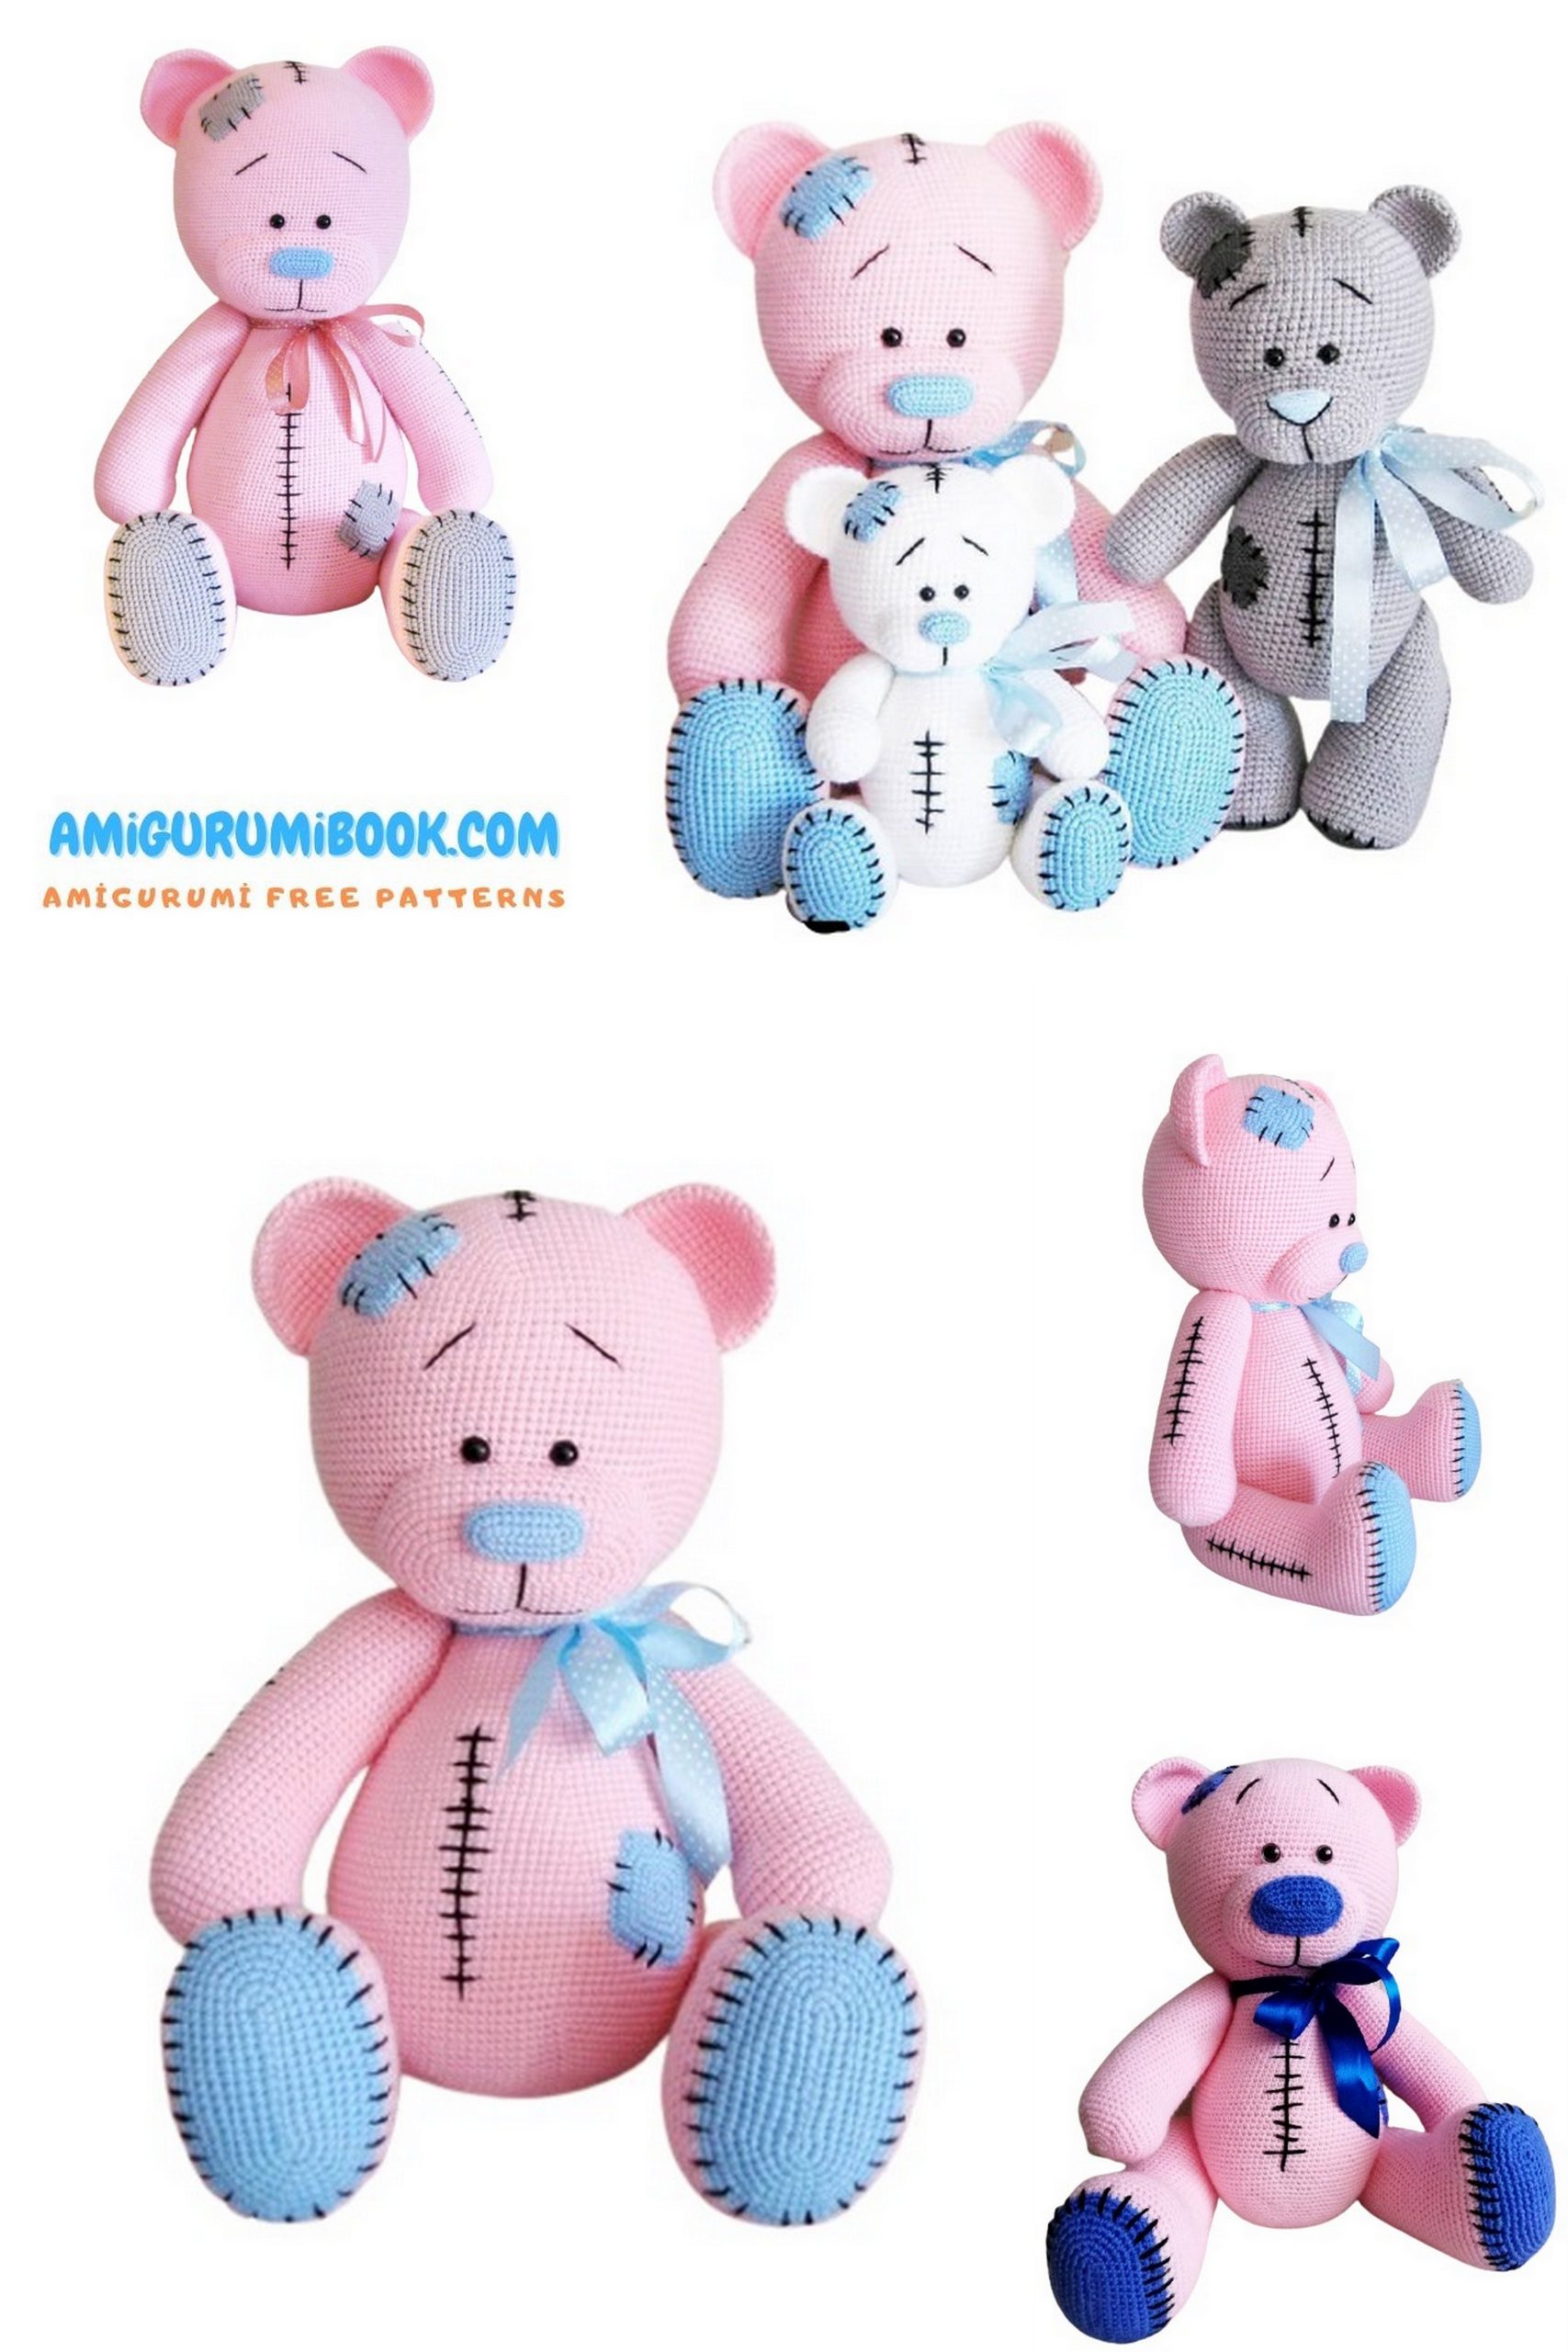
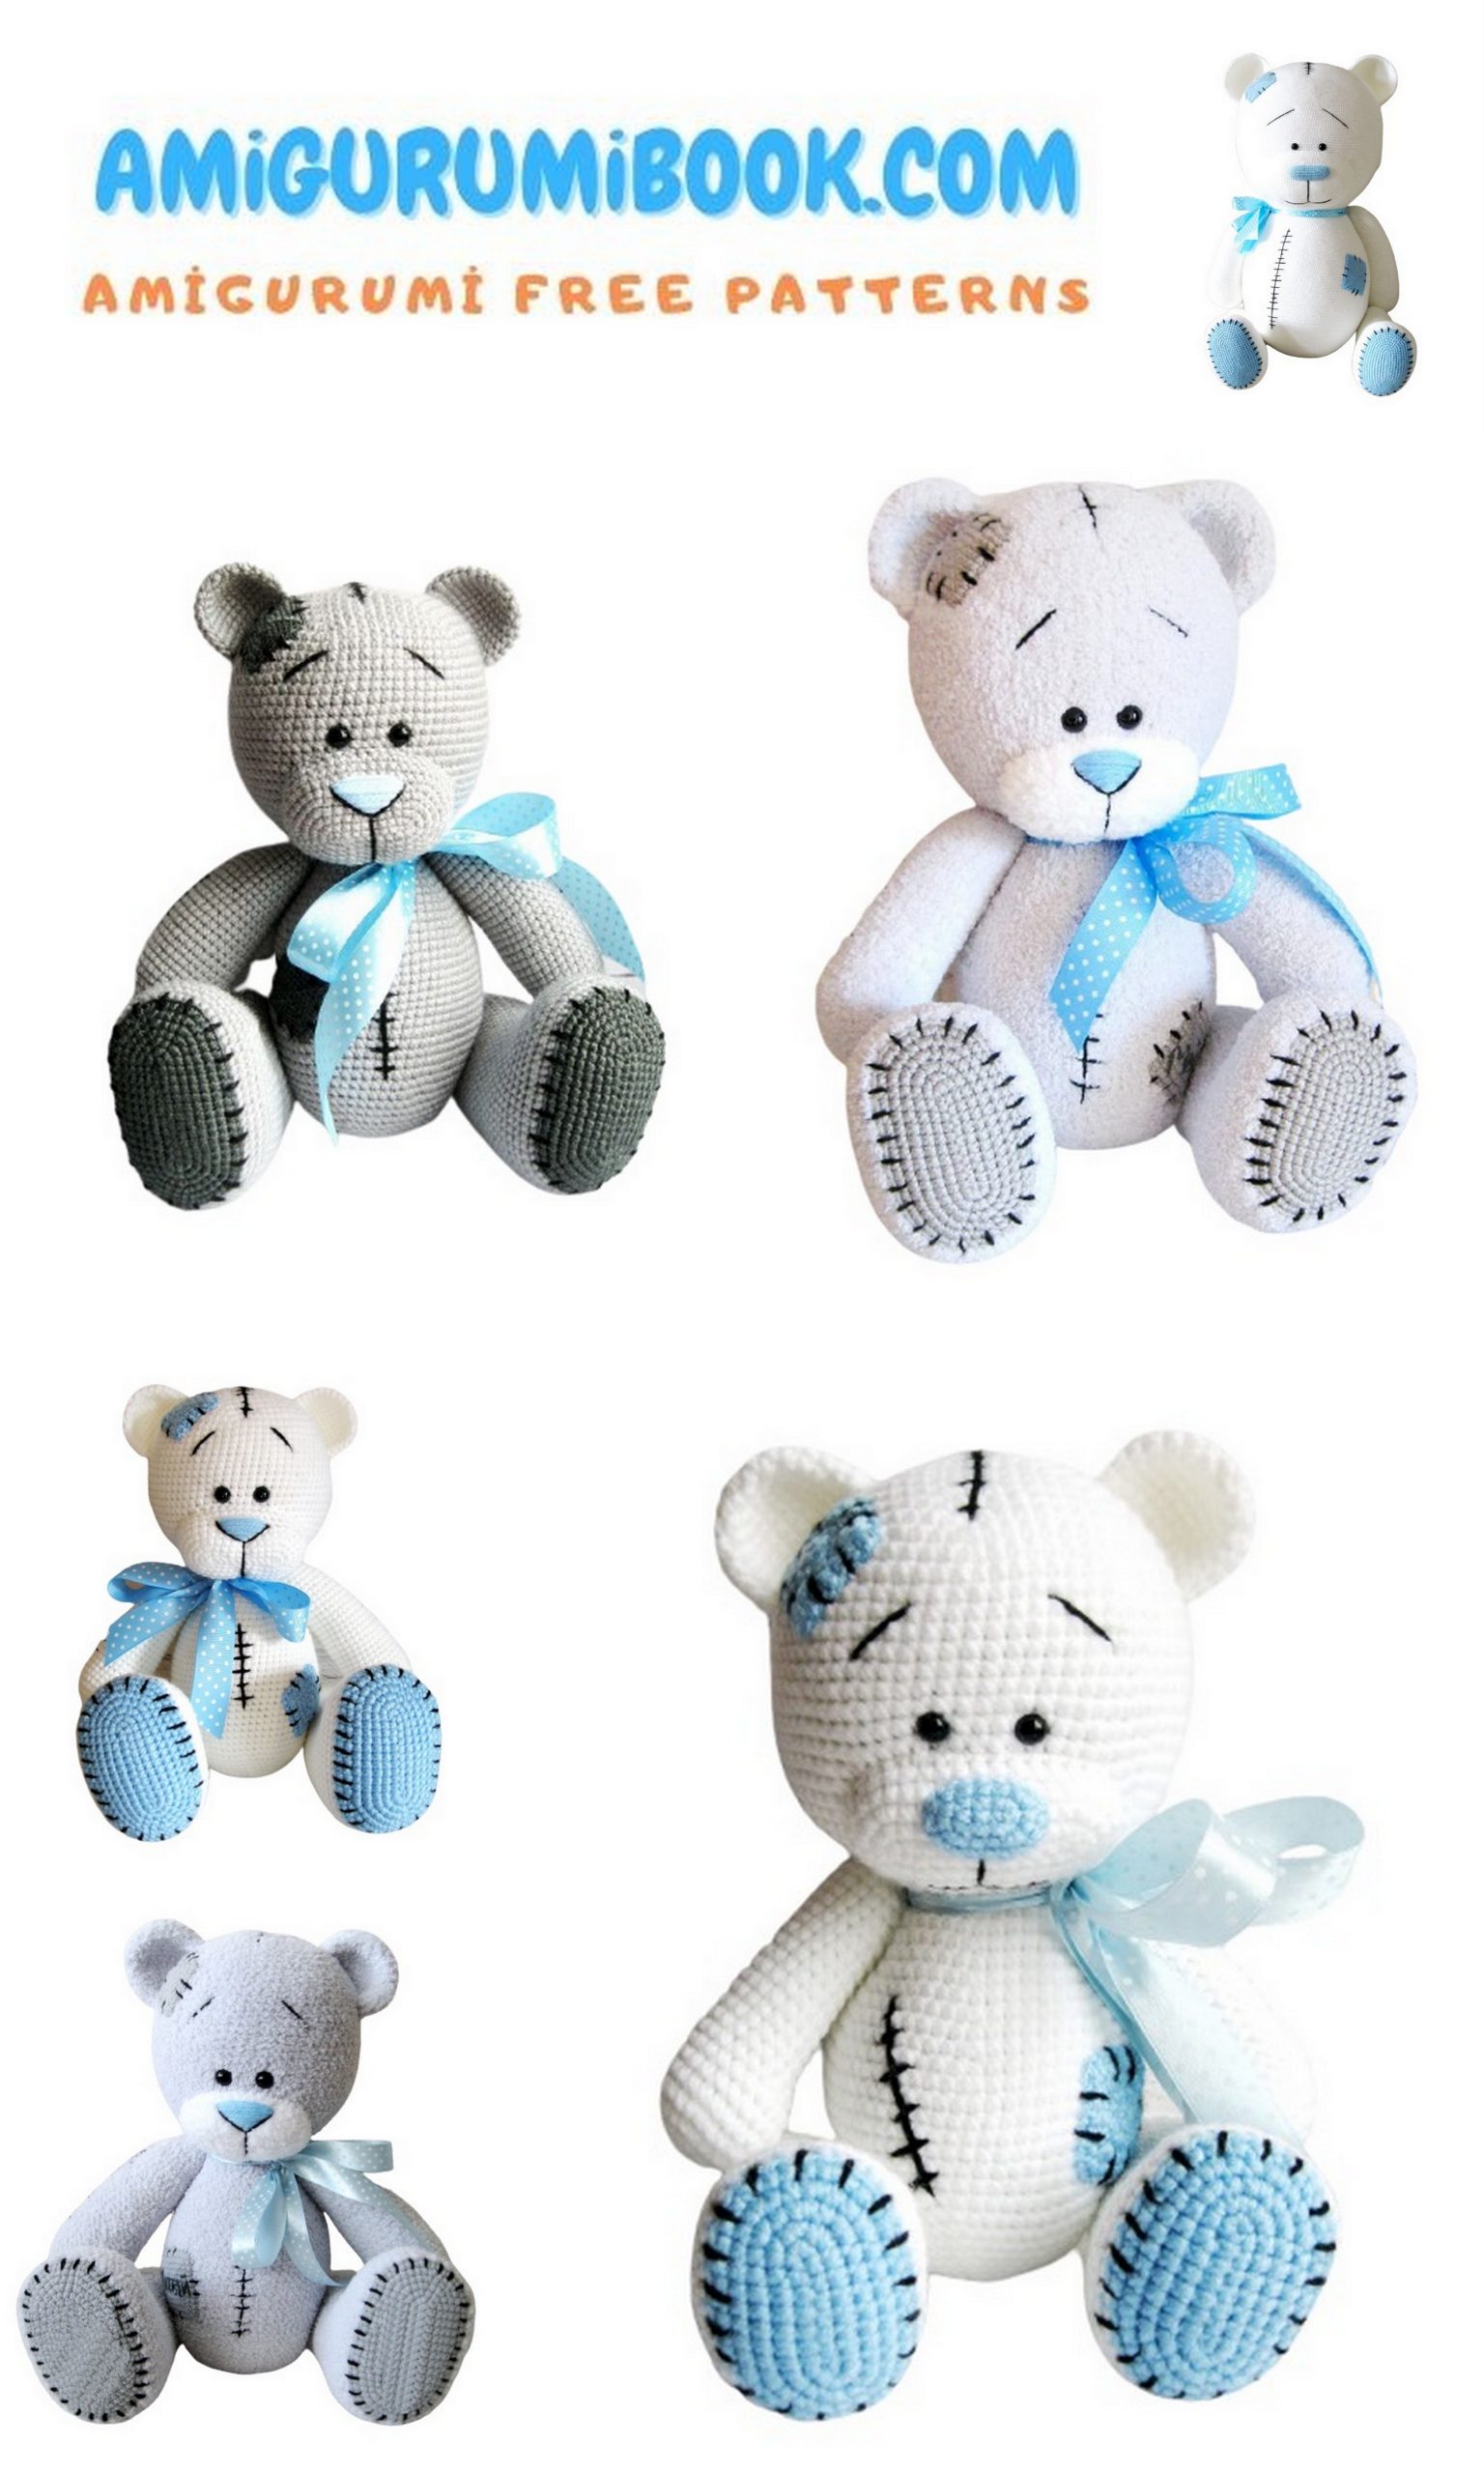
Yarn colors are for reference only.
You may choose any colors you like.
Additional Materials
Strong sewing threads in matching colors
(You may also use yarn for sewing if using a large-eye needle)
Crochet hook: 1–2 sizes smaller than yarn label
(Used in this project: 1.6 mm hook)
Filling: synthetic winterizer / synthetic fluff / holofiber
Approx. 400–500 g
Safety screw eyes: 9 mm (1 pair)
Buttons: 2 pcs, approx. 2 cm (for jointed legs)
Satin ribbon (optional, for decoration)
Tailor’s pins (for positioning parts)
Sewing needle
Long needle (for attaching legs through body)

Abbreviations (US Terms)
- ch – chain
- SC – single crochet
- INC – increase (2 SC in one stitch)
- DEC – decrease (2 SC together)
Important Notes
For neat decreases, crochet both loops together
(do not skip stitches)
All parts are crocheted in a continuous spiral
Do not use turning chains
Always use a marker to track the beginning of each round
Crochet should be tight (use a smaller hook)
Work through both loops unless stated otherwise
Toy Creation Process
Head and Torso (One Piece)
The head and body are crocheted in one piece, starting from the head.
Main yarn, hook 1.6 mm
Head
1: 6 SC in MR (6)
2: INC in each stitch (12)
3: 1 SC, INC × 6 (18)
4: 2 SC, INC × 6 (24)
5: 3 SC, INC × 6 (30)
6: 4 SC, INC × 6 (36)
7: 5 SC, INC × 6 (42)
8: 6 SC, INC × 6 (48)
9: 7 SC, INC × 6 (54)
10: 8 SC, INC × 6 (60)
11: 9 SC, INC × 6 (66)
12: 10 SC, INC × 6 (72)
13: 11 SC, INC × 6 (78)
14: 12 SC, INC × 6 (84)
15: 13 SC, INC × 6 (90)
16: 14 SC, INC × 6 (96)
17: 15 SC, INC × 6 (102)
18: 16 SC, INC × 6 (108)
19: 17 SC, INC × 6 (114)
20: 18 SC, INC × 6 (120)
21: 19 SC, INC × 6 (126)
22–42: 126 SC
👉 Insert 9 mm safety eyes between rows 37–38,
distance between eyes: 4–5 stitches
Head Decreases
43: 19 SC, DEC × 6 (120)
44: 18 SC, DEC × 6 (114)
45: 17 SC, DEC × 6 (108)
46: 16 SC, DEC × 6 (102)
47: 15 SC, DEC × 6 (96)
48: 14 SC, DEC × 6 (90)
49: 13 SC, DEC × 6 (84)
50: 12 SC, DEC × 6 (78)
51: 11 SC, DEC × 6 (72)
52: 10 SC, DEC × 6 (66)
53: 9 SC, DEC × 6 (60)
54: 8 SC, DEC × 6 (54)
55: 7 SC, DEC × 6 (48)
56: 48 SC
Lightly stuff the head.
Body Increases
Increases are made every two rows.
57: 7 SC, INC × 6 (54)
58–59: 54 SC
60: 8 SC, INC × 6 (60)
61–62: 60 SC
63: 9 SC, INC × 6 (66)
64–65: 66 SC
66: 10 SC, INC × 6 (72)
67–68: 72 SC
69: 11 SC, INC × 6 (78)
70–71: 78 SC
72: 12 SC, INC × 6 (84)
73–74: 84 SC
75: 13 SC, INC × 6 (90)
76–77: 90 SC
78: 14 SC, INC × 6 (96)
79–80: 96 SC
81: 15 SC, INC × 6 (102)
82–83: 102 SC
84: 16 SC, INC × 6 (108)
85–86: 108 SC
87: 17 SC, INC × 6 (114)
88–89: 114 SC
90: 18 SC, INC × 6 (120)
91–103: 120 SC
Body Decreases (Pause for Hind Legs)
104: 18 SC, DEC × 6 (114)
105: 17 SC, DEC × 6 (108)
106: 16 SC, DEC × 6 (102)
107: 15 SC, DEC × 6 (96)
108: 14 SC, DEC × 6 (90)
109: 13 SC, DEC × 6 (84)
110: 12 SC, DEC × 6 (78)
111: 11 SC, DEC × 6 (72)
112: 10 SC, DEC × 6 (66)
👉 Stop here.
Leave an opening to attach hind legs from the inside.

Front Legs (Make 2)
Stuff while crocheting.
1: 6 SC in MR (6)
2: INC × 6 (12)
3: 1 SC, INC × 6 (18)
4: 2 SC, INC × 6 (24)
5: 3 SC, INC × 6 (30)
6: 4 SC, INC × 6 (36)
7: 5 SC, INC × 6 (42)
8–13: 42 SC
14: DEC × 6, 30 SC (36)
15–46: 36 SC
47: 4 SC, DEC × 6 (30)
48: 3 SC, DEC × 6 (24)
49: 2 SC, DEC × 6 (18)
50: 1 SC, DEC × 6 (12)
51: DEC × 6 (6)
Fasten off and tighten.
Make the second leg the same.
Hind Legs
Start with an oval sole using contrasting yarn.
Rows 1–8 follow standard amigurumi oval scheme.
Change to main color, stuff as you go.
Continue rows 9–54 exactly as written.
Fasten off, tighten hole.
Make second leg the same.
Ears (Make 2)
Rows 1–14 as written.
Fold flat and sew edges.
Tail
Rows 1–9 as written.
Leave long tail for sewing.
Muzzle and Nose
- Muzzle is crocheted as an oval
- Start with 13 chains
- Rows 1–7: increases
- Rows 8–11: 62 SC without increases
Nose is crocheted separately using blue yarn.
Patches
Make 2 identical pieces
Can be felt or crocheted squares
Assembly
Hind Legs
- Sew from inside the body
- Reinforce with buttons
- Use long needle and double strand yarn
Body Closure (Continue Decreases)
113: 9 SC, DEC × 6 (60)
114: 8 SC, DEC × 6 (54)
115: 7 SC, DEC × 6 (48)
116: 6 SC, DEC × 6 (42)
117: 5 SC, DEC × 6 (36)
118: 4 SC, DEC × 6 (30)
119: 3 SC, DEC × 6 (24)
120: 2 SC, DEC × 6 (18)
121: 1 SC, DEC × 6 (12)
122: DEC × 6 (6)
Fasten off and tighten.
Front Legs Attachment
Sew through the body using a long needle.
Do not over-tighten.

Ears, Muzzle & Final Design
- Sew muzzle close to eyes
- Stuff muzzle lightly
- Embroider mouth, nose line, eyebrows
- Sew ears and tail
- Sew patches and decorative stitches
Finished 🎉
Your Big Boy Bear Amigurumi is complete 🧸