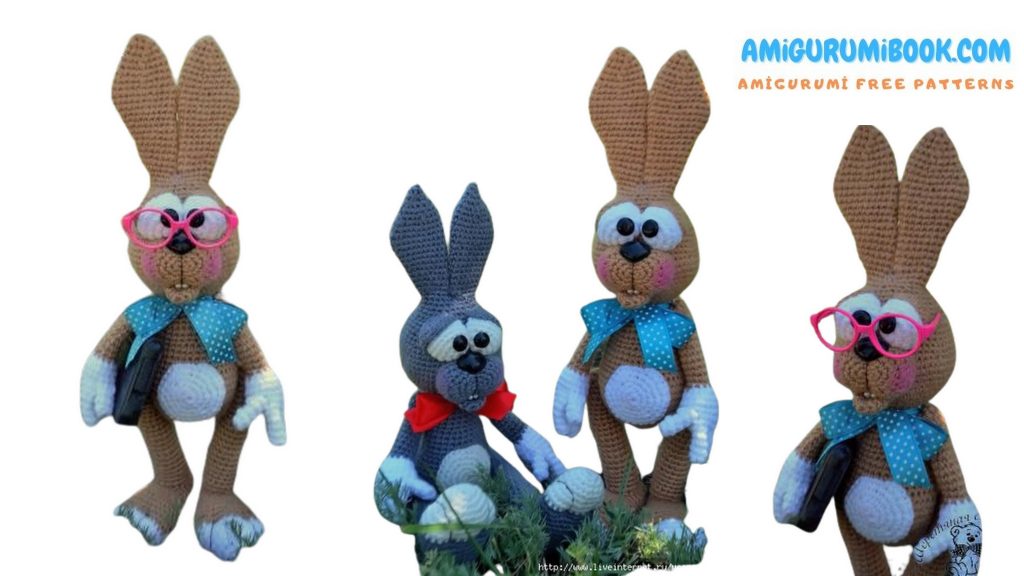
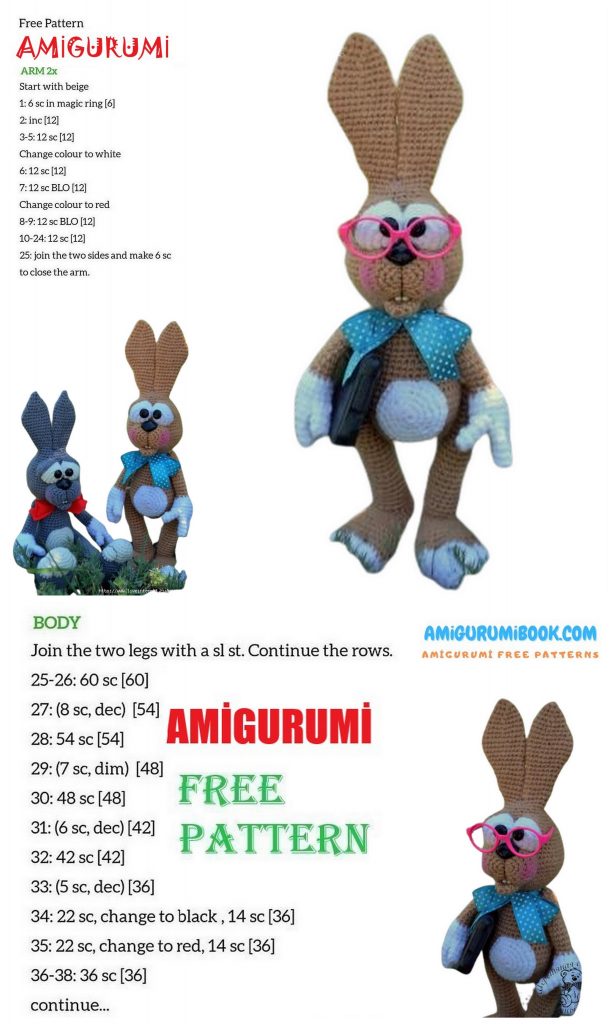
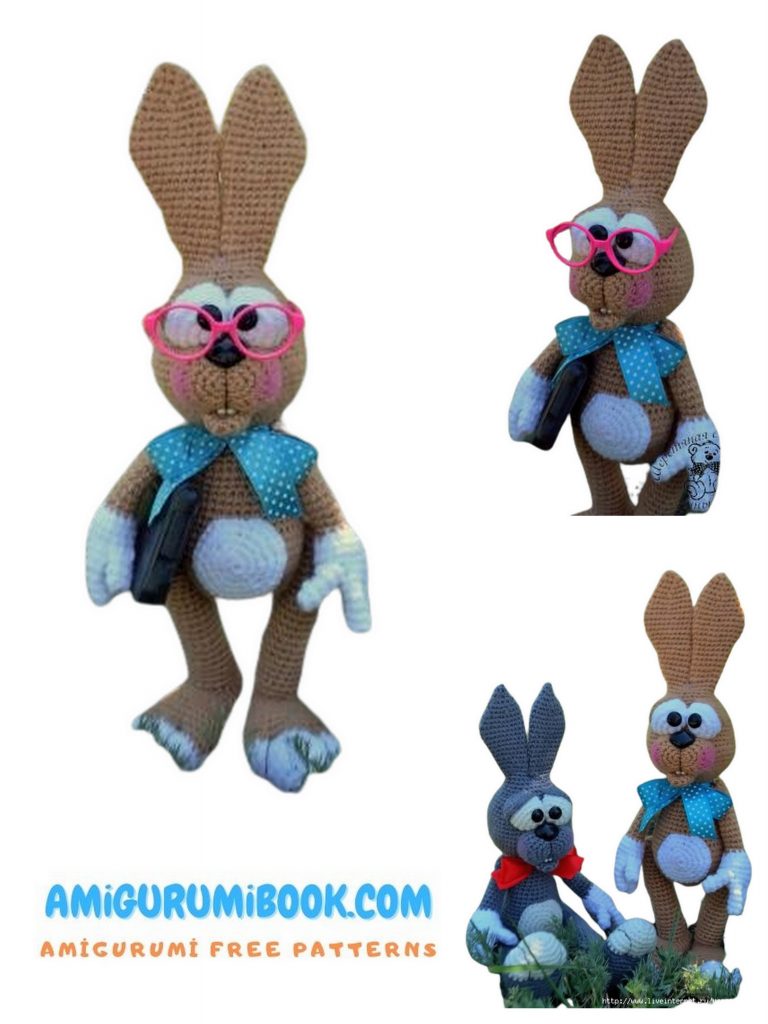
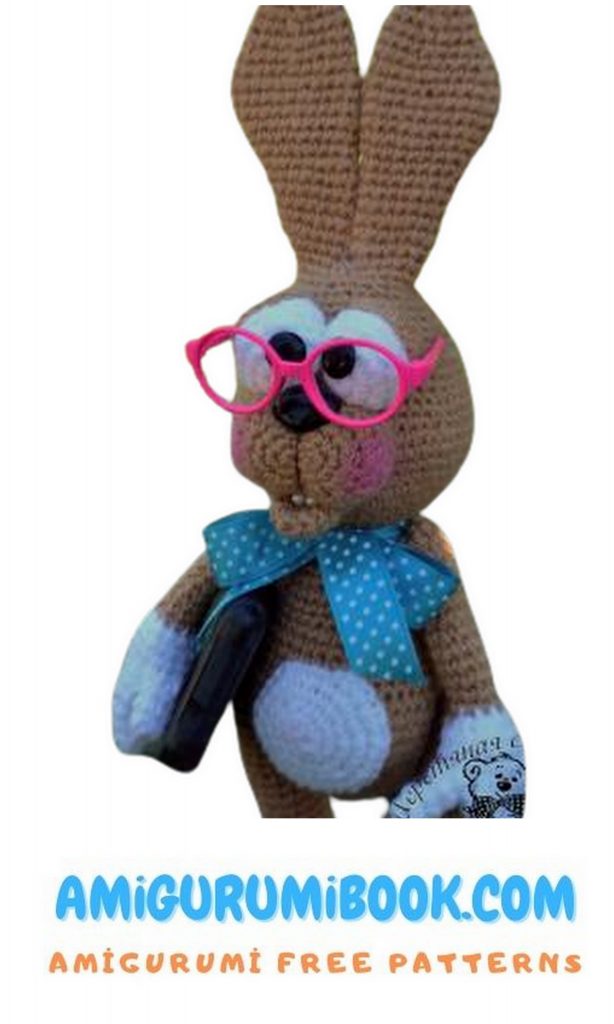
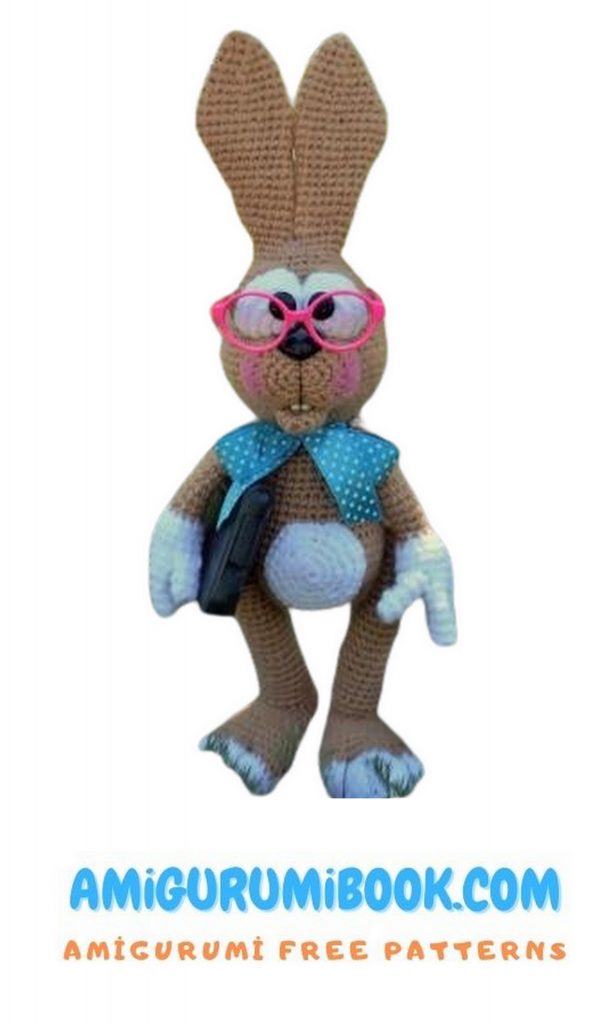
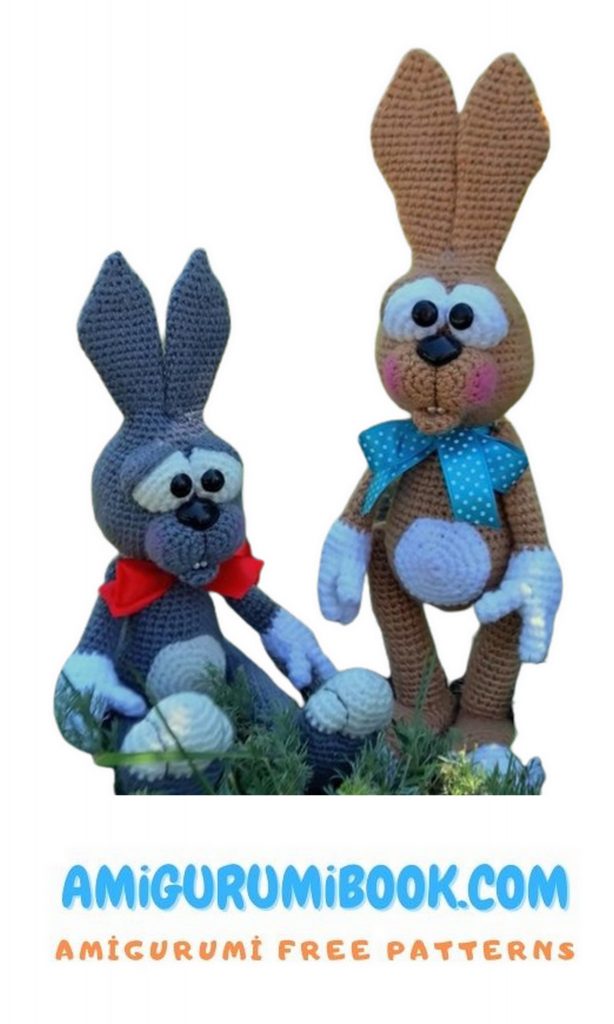
Creating a Glasses Bunny Amigurumi is a delightful and charming crochet project perfect for both beginners and experienced crafters. This free pattern guides you step-by-step to make an adorable bunny wearing glasses, adding a unique and playful touch to your handmade collection. free crochet patterns – Velvet Cute Lion Amigurumi Free Pattern
You may also like more amigurumi patterns.
I continue to share amigurumi free patterns. In this article, the glasses bunny amigurumi free pattern is waiting for you.
Abbreviations:
SC – single crochet
İNC – increase
DEC – decrease
CH – chain
Materials
Hook 2 – 2.5
· Yarn about 100 g of the main and
a little white on the legs and tummy
· Two black half beads and a ready nose
· Needle for tightening
Filler
PATTERN
Torso (primary color)
1 row: 6 sc into magic ring = 6
2 row: (inc) x 6 times = 12
3 row: (1 sc, inc) x 6 times = 18
4 row: (2 sc, inc) x 6 times = 24
5 row: (3 sc, inc) x 6 times = 30
6 row: (4 sc, inc) x 6 times = 36
7 row: 36
8 row: (5 sc, inc) x 6 times = 42
9 row: (6 sc, inc) x 6 times = 48
10-12 row: 48
13 row: (6 sc, dec) x 6 times = 42
14 row: 42 sc
15 row: 6 sc (3 sc, dec) x 6, 6 sc = 36
16 row: 6 sc (2 sc, dec) x 6, 6 sc = 30
17-21 row: 30
22 row: (3 sc, dec) x 6 times = 24
23-26 row: 24
27 row: (2 sc, dec) x 6 times = 18
28 row: 18 (fill, continue knitting)
Head
29 row: inc x 18 = 36
30 row: 36
31 row: (2 sc, inc) x 12 = 48
32 row: 48
33 row: (7 sc, inc) x 6 times = 54
34 row: (8 sc, inc) x 6 times = 60
35-37 row: 60
38 row: (8 sc, dec) x 6 times = 54
39 row: 54
40 row: (7 sc, dec) x 6 times = 48
41-42 row: 48
43 row: (6 sc, dec) x 6 times = 42
44 row: 42
45 row: (5 sc, dec) x 6 times = 36
46 row: 36
47 row: (4 sc, dec) x 6 times = 30
48-49 row: 30
50 row: (3 sc, dec) x 6 times = 24
51 row: 24 (good to fill)
The first ear (uhi not to stuff, they keep their shape well)
52 row: 6 sc, skip 12 sc, 6 sc = 12
53 row: 12
54 row: inc, 10 sc, inc = 14
55 -56 row: 14
57 row: inc, 12 sc, inc = 16
58 row: 16
Make sure that the increments go along the outer edge of the eyelet, if necessary, knit the offset loops.
59 row: inc, 14 sc, inc = 18
60 row: 18, 1 sc for offset
61 row: inc, 16 sc, inc = 20
62 row: 20
63 row: inc, 18 sc, inc = 22
64-64 row: 22
66 row: 22, 1 sc for offset
The ears can be “played” by knitting additional repeating rows. The main thing is not to forget about symmetry and knit them on the second ear
67 row: dec, 18 sc, dec = 20
68 row: 20, 1 sc for offset
69 row: dec, 16 sc, dec = 18
70 row: (4 sc, dec) x 3 = 15
71 row: (3 sc, dec) x 3 = 12
72 row: (2 sc, dec) x 3 = 9
73 row: (1 sc, dec) x 3 = 6
74 row: dec x 3, close, cut the thread.
The second ear (attach the thread from the inner edge, remember the placement of increases!)
52 row: 12
53 row: 12
54 row: 5 sc, 2 inc, 5 sc = 14
55 -56 row: 14
57 row: 5 sc, 2 inc, 5 sc = 14
58 row: 16
59 row: 7 sc, 2 inc, 7 sc = 18
60 row: 18, 1 sc for offset
61 row: 8 sc, 2 inc, 8 sc = 20
62 row: 20
63 row: 9 sc, 2 inc, 9 sc = 22
64-64 row: 22
66 row: 22, 1 sc for offset
67 row: 9 sc, 2 dec, 9 sc = 20
68 row: 20, 1 sc for offset
69 row: 8 sc, 2 dec, 8 sc = 18
70 row: (4 sc, dec) x 3 = 15
71 row: (3 sc, dec) x 3 = 12
72 row: (2 sc, dec) x 3 = 9
73 row: (1 sc, dec) x 3 = 6
74 row: dec x 3, close, cut the thread
Eyelids (2 children, primary color)
1 row: 6 sc into magic ring = 6
2 row: (inc) x 6 times = 12
3 row: (1 sc, inc) x 6 times = 18
4 row: 18
Eyes (2 children, white, do not stuff)
1 row: 6 sc into magic ring = 6
2 row: (inc) x 6 times = 12
3 row: (1 sc, inc) x 6 times = 18
4-5 row: 18
6 row: (1 sc, dec) x 6 = 12
7 row: decrease to the end
Muzzle (primary color)
1 row: 6 sc into magic ring = 6
2 row: (inc) x 6 times = 12
3 row: (1 sc, inc) x 6 times = 18
4 row: 6 sc, 3 inc, 6 sc, 3 inc = 24
5 row: 6 sc, (hdc, inc hdc) x 3, 6 sc, (hdc, inc hdc) x 3 = 30
6-7 row: 30
Lower lip (primary color, do not stuff)
1 row: 6 sc into magic ring = 6
2 row: (inc) x 6 times = 12
3-4 row: 12
Fold in half, knit 6 sc over both edges.
Tail!!! (primary color)
1 row: 6 sc into magic ring = 6
2 row: (inc) x 6 times = 12
3 row: (1 sc, inc) x 6 times = 18
4-6 row: 18
Midsection (in white)
1 row: 6 sc into magic ring = 6
2 row: (inc) x 6 times = 12
3 row: (1 sc, inc) x 6 times = 18
4 row: 6 sc, 3 inc, 6 sc, 3 inc = 24
5 row: (3 sc, inc) x 6 times = 30
Feet (primary color, stuff in the process)
1 row: 6 sc into magic ring = 6
2 row: (inc) x 6 times = 12
3-9 row: 12
10 row: (3 sc, inc) x 3 times = 15
11-23 row: 15
Feet (2 children, stuff in the process)
In white
1 row: 6 sc into magic ring = 6
2 row: (inc) x 6 times = 12
3 row: (1 sc, inc) x 6 times = 18
4 row: 6 sc, 3 inc, 6 sc, 3 inc = 24
5 row: 24
6 row: (3 sc, inc) x 6 times = 30
7 row: 30
Primary color
8-9 row: 30
10 row: (8 sc, dec) x 3 = 27
11 row: 27
12 row: (7 sc, dec) x 3 = 24
13 row: 24
14 row: (6 sc, dec) x 3 = 21
15-16 row: 21
17 row: (5 sc, dec) x 3 = 18
18-19 row: 18
20 row: (1 sc, dec) x 6 = 12
21 row: 12
22 row: dec x 6, close, crop.
Hands (2 children)
Fingers (4 pcs, white)
1 row: 6 sc into magic ring = 6
2-4 row: 6, cut the thread
Having connected the 4th finger, we do not cut the thread, continue knitting, collect the palm
5th row: 3 sc on the finger, 3 sc on the 2nd finger, 6 sc on the 3rd finger, 3 sc on the 2nd, 3 on the 1st = 18 (3 fingers connected)
6 row: 18
We knit the 4th finger:
7 * row: 3 sc along the loops of the 4th finger and palm, 15 sc = 18
7 ** row: 6 sc, 3 sc along the loops of the 4th finger chika and palms, 9 sc = 18
8 * row: 3 sc on the remaining loops of the 4th finger and palm, 15 sc = 18
8 ** row: 6 sc, 3 sc on the remaining loops of the 4th finger and palm, 9 sc = 18
9 row: 18
10 row: (1 sc, dec) x 6 = 12
Fill a hand, change the thread
Primary color
11-22 row: 12
23 row: dec x 6, close, cut
P.S. * – for the left palm
** – for the right palm
Assembly.
From the side of the hooks on the body we attach the tail (to immediately indicate the back-front of the toy).
Fill the muzzle with filler, sew on the bottom of the head. Make a tightening: insert the needle from the bottom in the middle of the muzzle at the junction of the head with the head, display the top in the middle at the junction of the head and the muzzle, bend the muzzle with the thread and re-insert the needle from the bottom up, pull it up, make another stitch around the muzzle, bring the needle up, fasten the thread, cut the thread .
From below, in the place of the muzzle tightening, we sew two small beads (beads) -tooths. Sew the lower lip to the head
We form a hollow eye (bend it with your finger, we get a “boat”), insert its edge into the eyelid, fix it with a thread. We attach both eyes to the muzzle, sew on, focusing on the position of the eyelids (I have an inner edge of the eyelid slightly higher than the outer). Glue the half-beads pupils
Eyes can pick up ready-made plastic ones.
Glue the nose in the place of fixation. The nose can be made knitted according to the principle of knitting a ponytail (be guided by the size of the muzzle.)
Sew on the tummy.
Sew feet to the feet. On the feet we make out the fingers.
We fix the limbs with a thread mount. If desired, do tinting. Be sure to knit a bow around the neck.