Creating a plush bunny amigurumi is a delightful and rewarding crochet project perfect for beginners and experienced crafters alike. This step-by-step guide will walk you through the process of making your own adorable, soft bunny from start to finish. free crochet patterns
You may also like more amigurumi patterns.
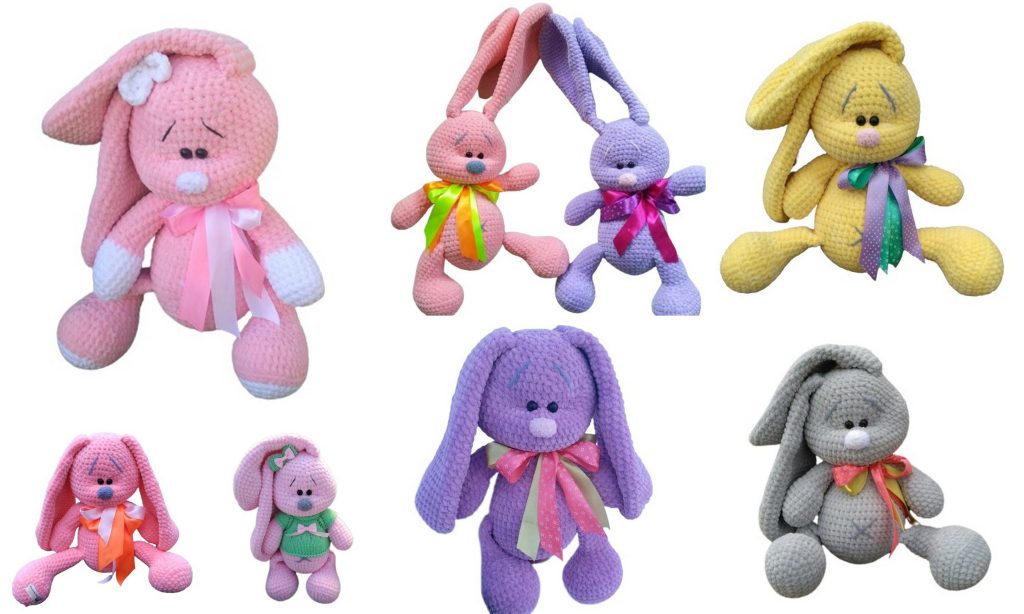
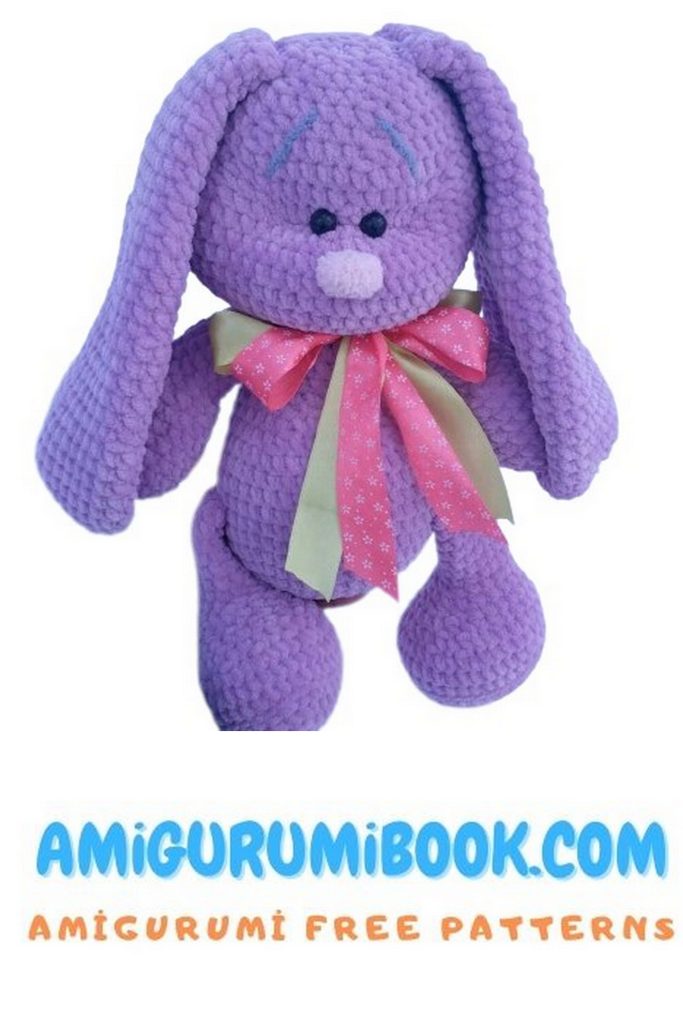
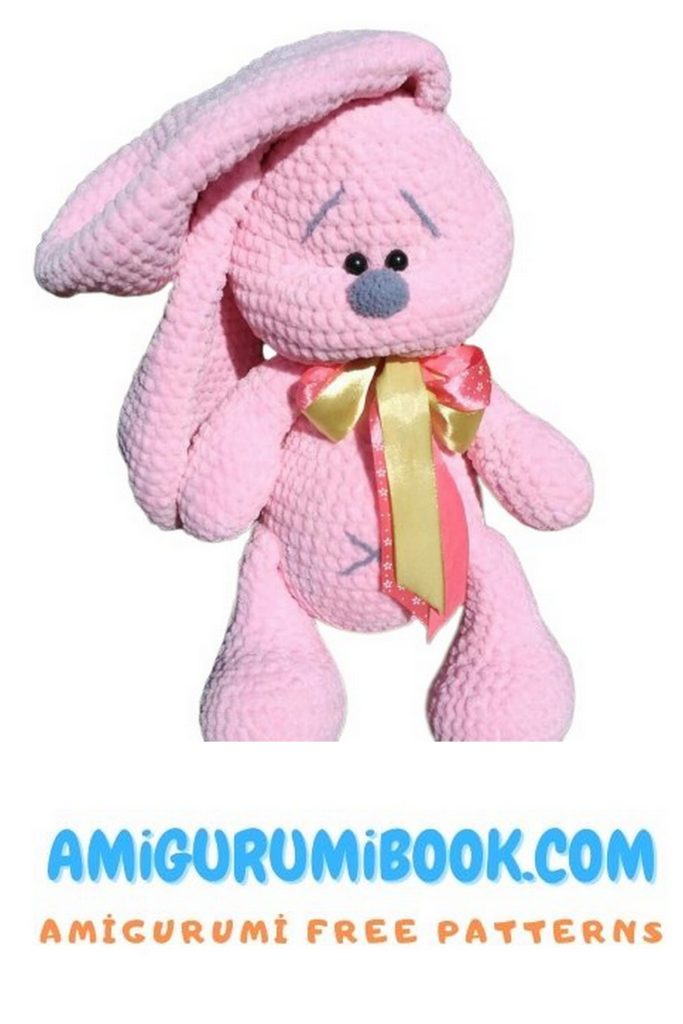
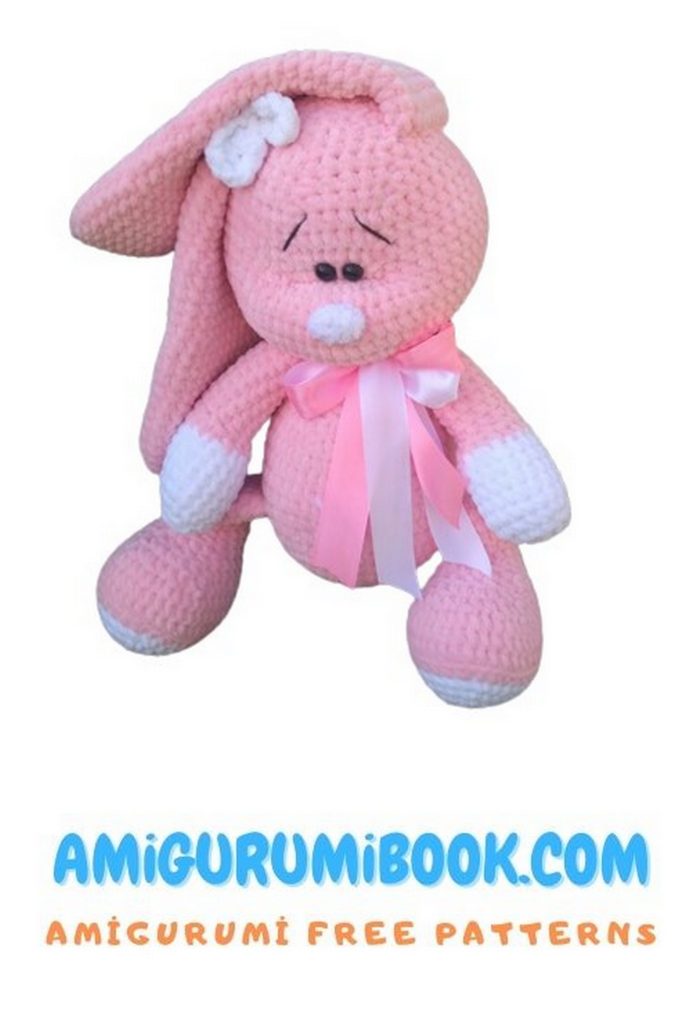
Welcome to our delightful world of crochet, where we bring you a charming and cuddly creation – the Plush Bunny Amigurumi! Whether you’re a crochet enthusiast or just starting your crafting journey, this free crochet pattern is perfect for you.
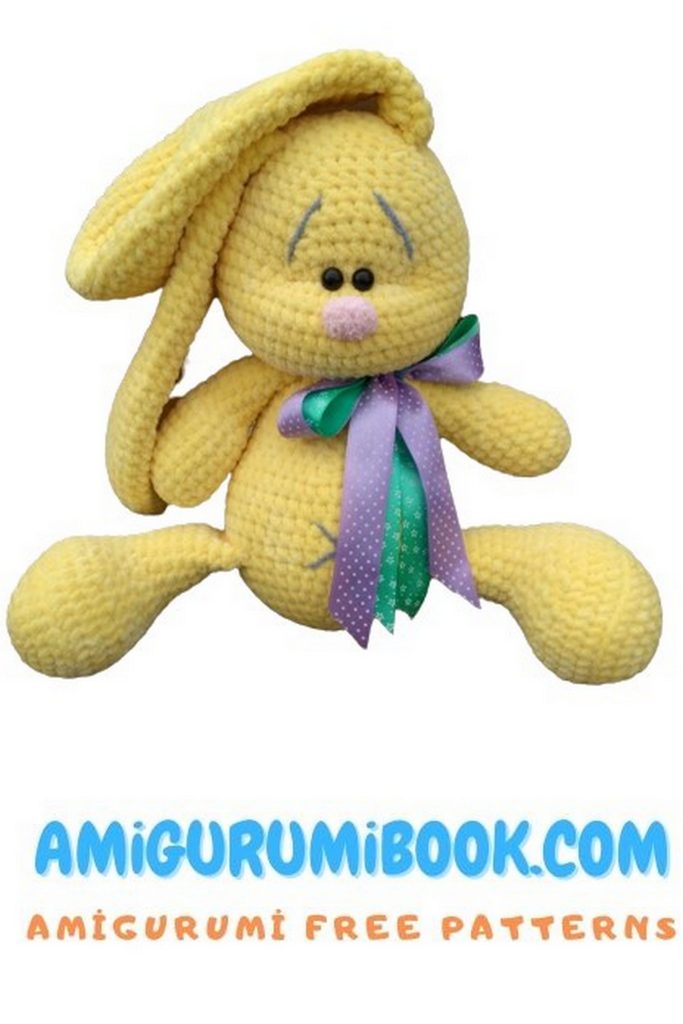
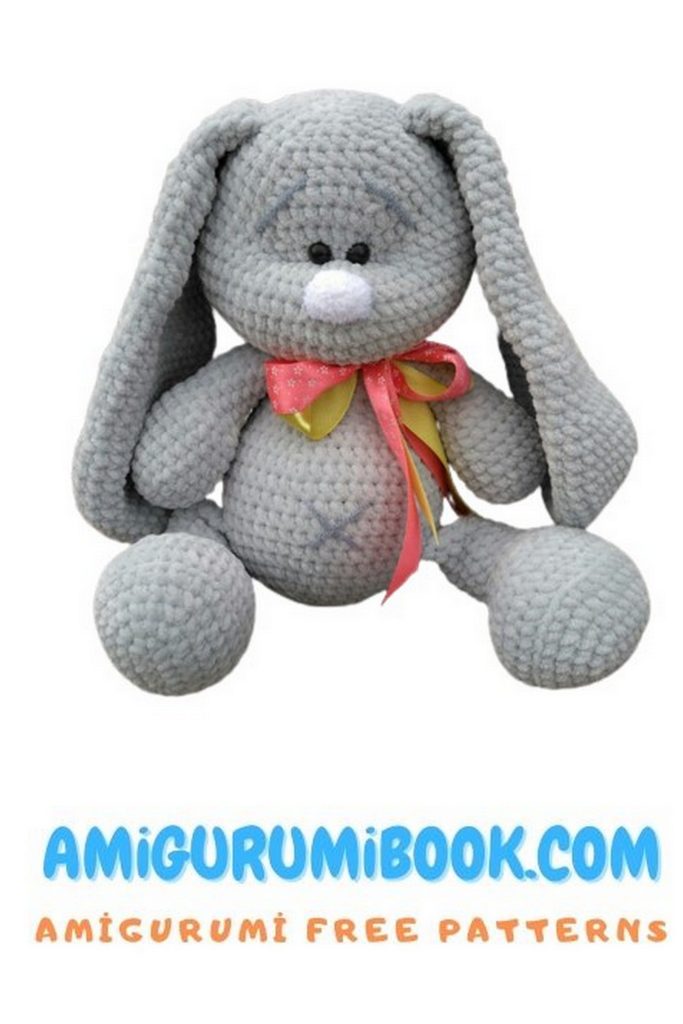
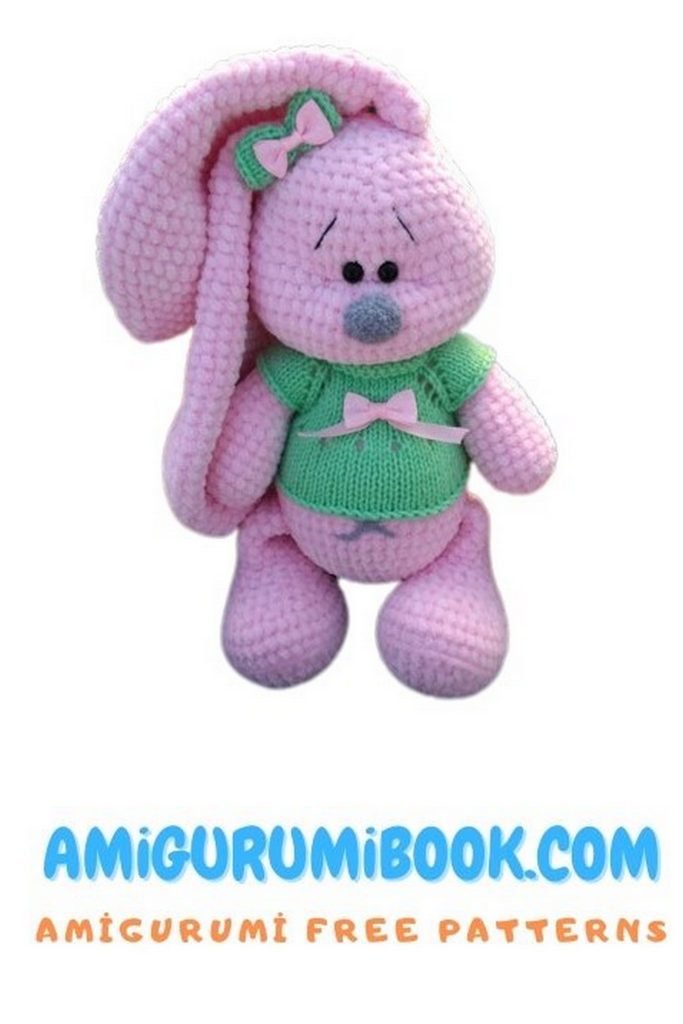
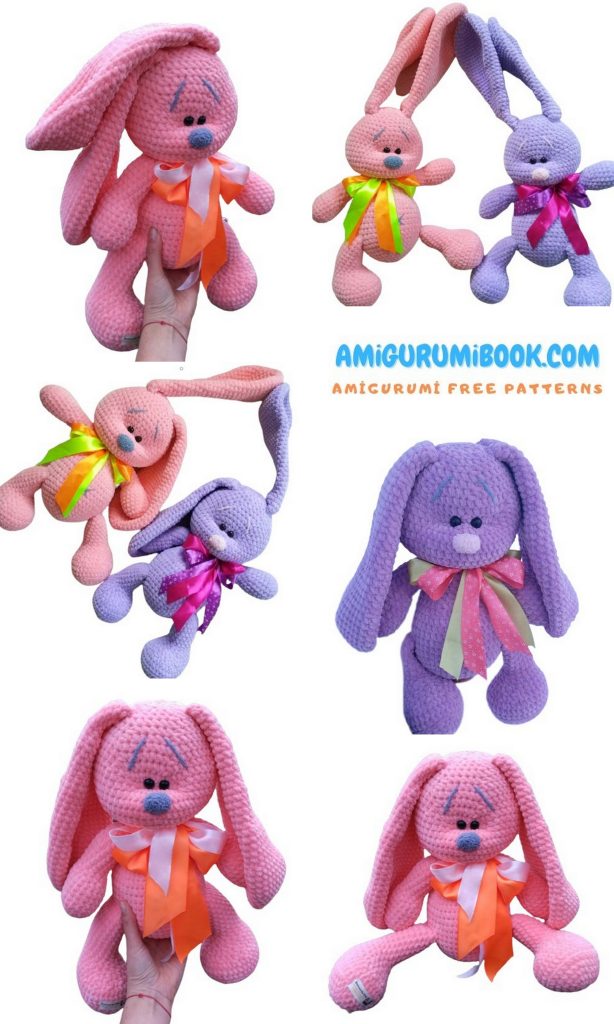
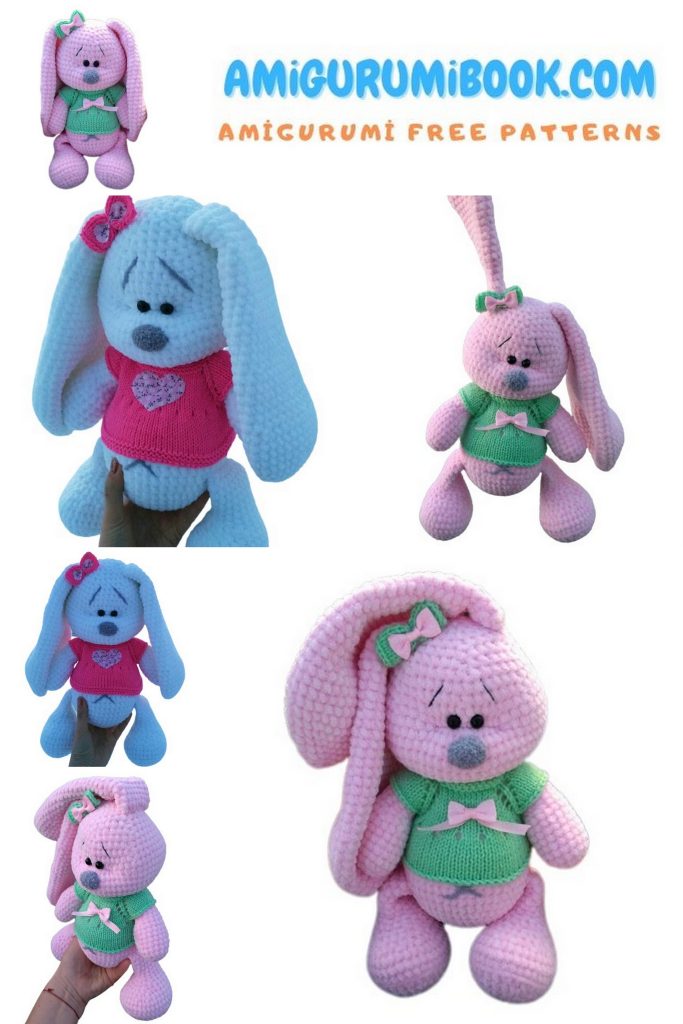
This amigurumi rabbit is not only cute but also incredibly soft and huggable. With our detailed step-by-step guide, you’ll find it easy to create your very own plush bunny. It’s a wonderful handmade gift idea for kids or a cute addition to your home décor.
Grab your crochet hook, favorite yarn, and let’s get started on this adorable project. Follow along as we guide you through each stitch, ensuring a rewarding and enjoyable crochet experience.
Get ready to fall in love with the Plush Bunny Amigurumi. Let’s dive into the world of creativity and craftsmanship together!
Create your own adorable plush bunny with our free crochet pattern. Follow our step-by-step guide to crochet this cute amigurumi rabbit. Perfect for beginners and experienced crocheters alike.
These plush bunny crochet toys are made using HIMAIAY Dolphin Baby yarn and a 4.5 mm crochet hook.
You will also need stuffing, safety eyes, and a small amount of yarn for the nose to create this crochet toy.
Abbreviations:
sc – Single Crochet
inc – Increase: Work 2 sc in the same stitch of the previous round
dec – Decrease: Work 2 stitches together
ch – Chain
*6 – Repeat the instructions in parentheses 6 times
PATTERN
Body and Head (worked as one piece)
Row 1: 6 sc in magic ring (6)
Row 2: 6 inc (12)
Row 3: (1 sc, inc)*6 (18)
Row 4: (2 sc, inc)*6 (24)
Row 5: (3 sc, inc)*6 (30)
Row 6: (4 sc, inc)*6 (36)
Row 7: 36 sc (36)
Row 8: (5 sc, inc)*6 (42)
Row 9: (6 sc, inc)*6 (48)
Rows 10-16: 48 sc (48)
Row 17: (6 sc, dec)*6 (42)
Row 18: (5 sc, dec)*6 (36)
Row 19: 3 sc, 6 dec, 21 sc (30) — This forms the belly
Rows 20-23: 30 sc (30)
Row 24: (3 sc, dec)*6 (24)
Row 25: 24 sc (24)
Row 26: 12 dec (12)
Row 27: 12 inc (24) — This is the start of the head, continue working in rounds:
Row 28: (1 sc, inc)*12 (36)
Row 29: (5 sc, inc)*6 (42)
Row 30: (6 sc, inc)*6 (48)
Row 31: (7 sc, inc)*6 (54)
Row 32: (8 sc, inc)*6 (60)
Rows 33-37: 60 sc (60)
Row 38: (8 sc, dec)*6 (54)
Row 39: (7 sc, dec)*6 (48)
Row 40: (6 sc, dec)*6 (42)
Row 41: 42 sc (42)
Row 42: (5 sc, dec)*6 (36)
Row 43: (4 sc, dec)*6 (30)
Row 44: 30 sc (30)
Row 45: (3 sc, dec)*6 (24)
Row 46: 24 sc (24)
Row 47: (1 sc, dec)*8 (16)
Row 48: 8 dec (8)
Legs (2 Pieces)
Start by crocheting an amigurumi oval.
Ch 7
Row 1: In the second chain from the hook, work in the round – 5 sc, 3 sc in the last chain, 4 sc, inc (14)
Row 2: inc, 4 sc, 3 inc, 4 sc, 2 inc (20)
Row 3: 1 sc, inc, 5 sc, inc, 3 sc, inc, 5 sc, inc, 2 sc (24)
Row 4: 2 sc, inc, (5 sc, inc)*3, 3 sc (28)
Row 5: 1 sc, inc, 1 sc, inc, 5 sc, inc, 1 sc, inc, 3 sc, inc, 1 sc, inc, 5 sc, inc, 1 sc, inc, 2 sc (36)
Row 6: 36 sc through the back loop only (36)
Rows 7-8: 36 sc (36)
Row 9: 9 sc, dec, (1 sc, dec)*5, 8 sc, dec (29)
Row 10: 8 sc, 2 dec, 3 sc, 2 dec, 8 sc, dec (24)
Row 11: 8 sc, 4 dec, 8 sc (20)
Row 12: 6 sc, dec, 4 sc, dec, 6 sc (18)
Row 13: 7 sc, 2 dec, 7 sc (16)
Rows 14-20: 16 sc (16)
Row 21: 8 dec (8)
Arms (2 Pieces)
Row 1: Ch 4, 2 sc, 3 sc in the last chain, 1 sc, inc (8)
Row 2: inc, 1 sc, 3 inc, 1 sc, 2 inc (14)
Row 3: 1 sc, inc, 3 sc, inc, (1 sc, inc)*2, 3 sc, inc (19)
Rows 4-8: 19 sc (19)
Row 9: 7 sc, dec, 1 sc, dec, 7 sc (17)
Row 10: 4 sc, 2 dec, 1 sc, 2 dec, 4 sc (13)
Rows 11-19: 13 sc (13)
Row 20: dec until the end of the row
Ears (2 Pieces)
Row 1: 6 sc in magic ring (6)
Row 2: 6 inc (12)
Row 3: (1 sc, inc)*6 (18)
Row 4: (2 sc, inc)*6 (24)
Row 5: (3 sc, inc)*6 (30)
Row 6: (4 sc, inc)*6 (36)
Row 7: (5 sc, inc)*6 (42)
Rows 8-12: 42 sc (42)
Row 13: (5 sc, dec)*6 (36)
Rows 14-18: 36 sc (36)
Row 19: (4 sc, dec)*6 (30)
Rows 20-24: 30 sc (30)
Row 25: (3 sc, dec)*6 (24)
Rows 26-30: 24 sc (24)
Row 31: (2 sc, dec)*6 (18)
Rows 32-36: 18 sc (18)
Row 37: (1 sc, dec)*6 (12)
Rows 38-42: 12 sc (12)
Nose
Row 1: 6 sc in magic ring (6)
Row 2: 6 inc (12)
Row 3: (1 sc, inc)*6 (18)
Row 4: (2 sc, inc)*6 (24)
Assembling the Face
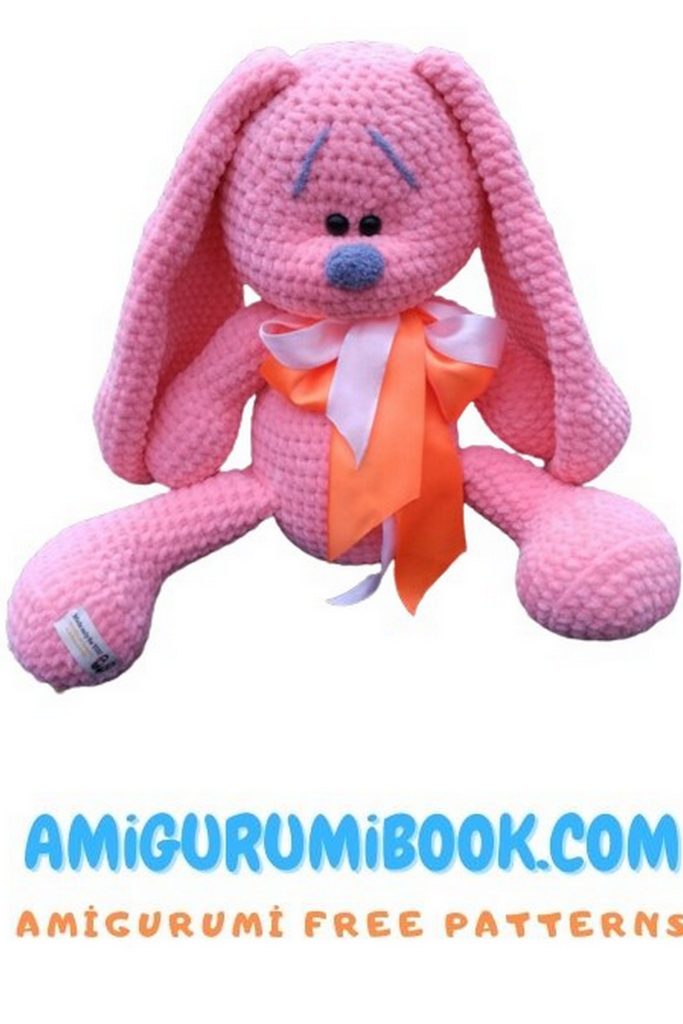
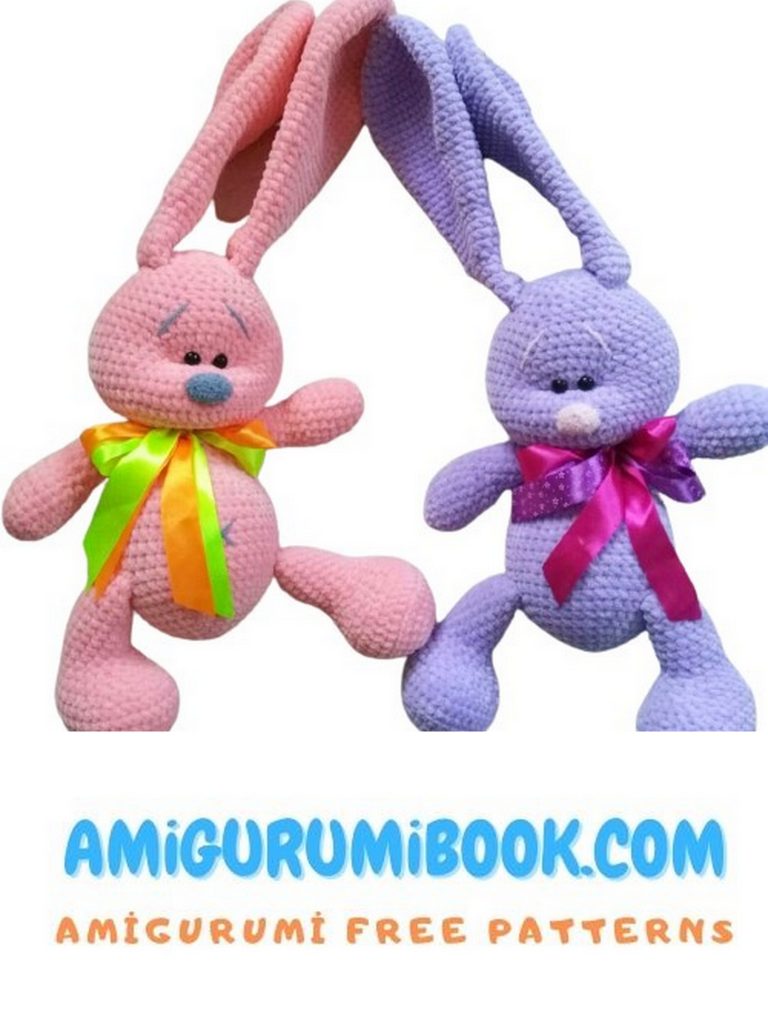
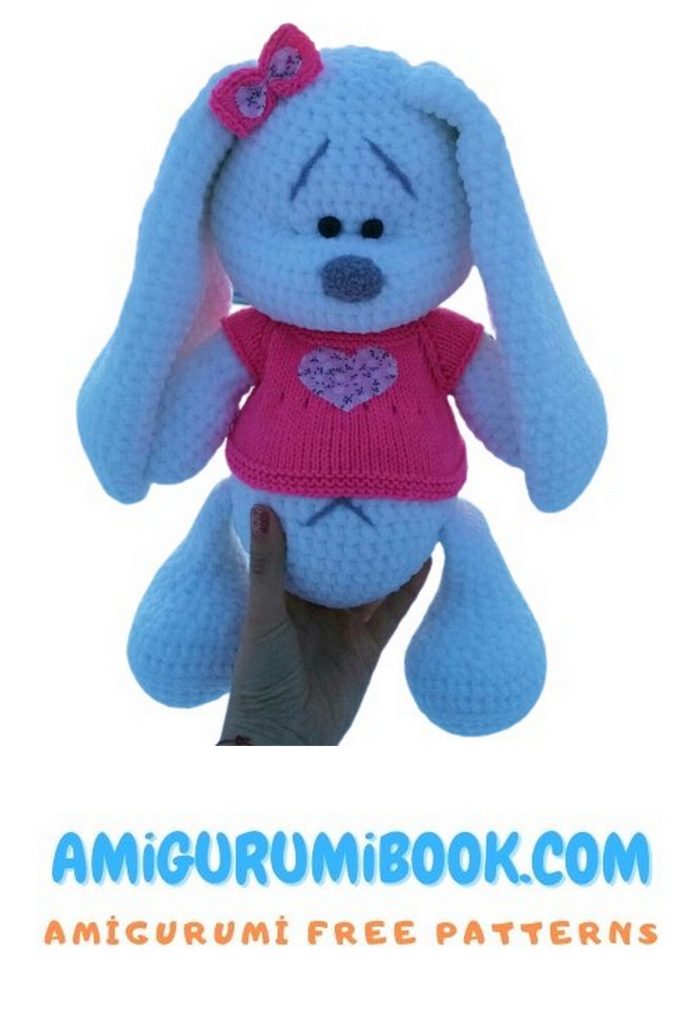
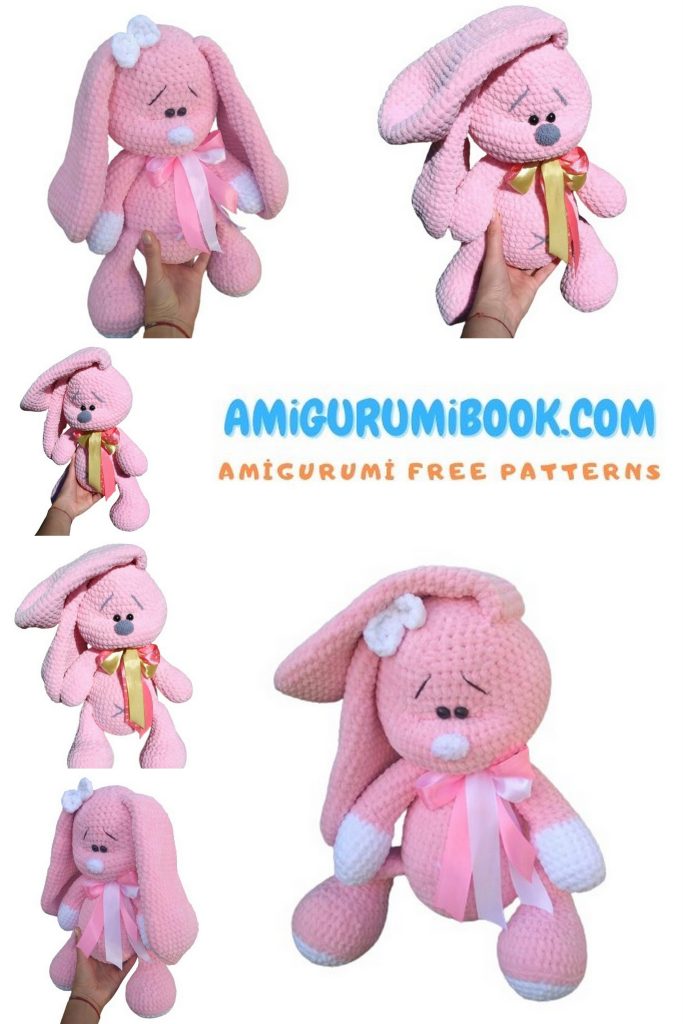
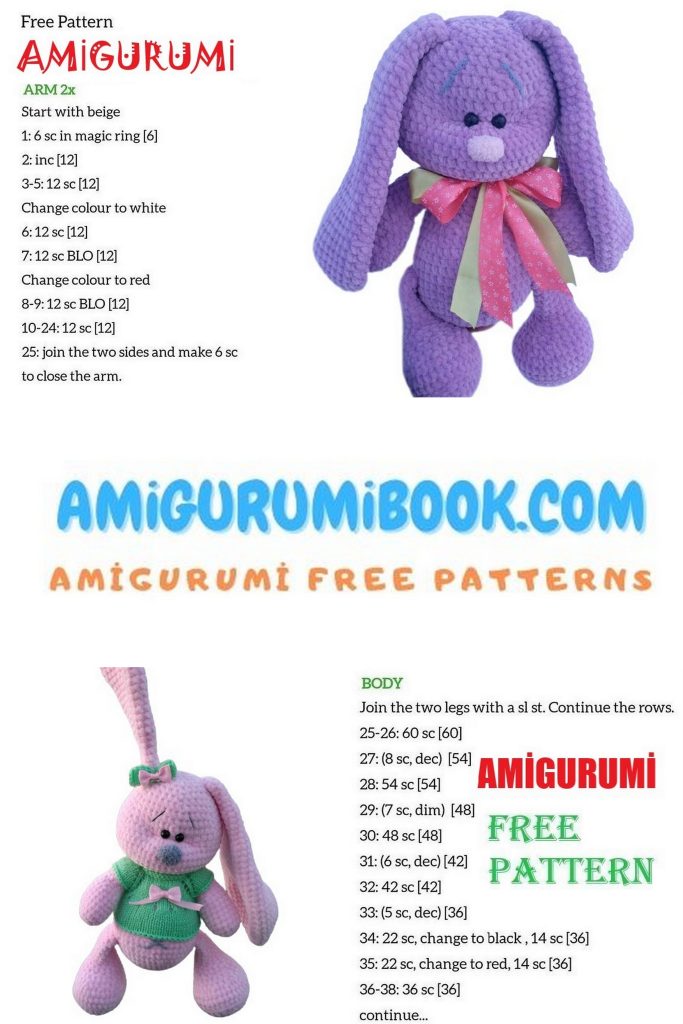
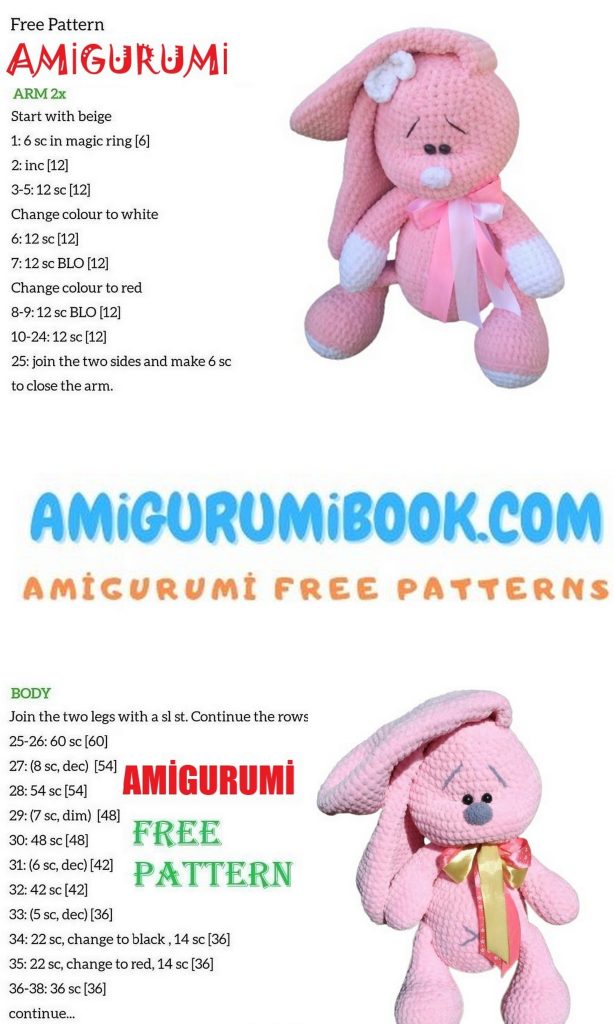
Insert the needle between rows 26 and 27 of the head/torso piece (where there are 12 inc and 12 dec). Count upwards from there, and make a few horizontal stitches where the eyes will be located, pulling the thread slightly. Please refer to the toy’s photo for a better understanding.